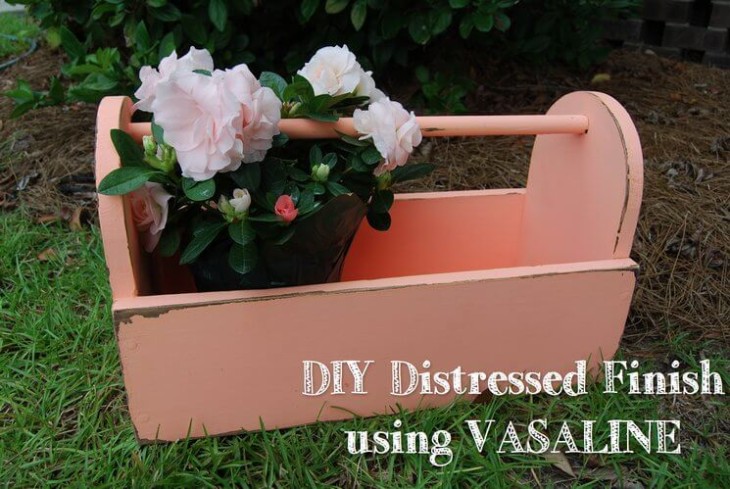
Distressed painting is certainly in style right now and so easy to do on your own. Here are some step by step instructions showing you how to give your project that “distressed” finish using VASELINE!
Supplies
- Base Color
- Option 1:
- Wood Stain
- High quality synthetic bristle brush, Foam brush or clean, lint-free cloth
- Option 2:
- Paint
- Sponge roller and/or Paint brush
- Option 1:
- Top Color
- Paint
- Sponge roller and/or Paint brush
- Vaseline
Instructions

Prep your project
Before you get started…
Before any of this you need to make sure you’ve prepared your wood for finishing. Check here for tips on preparing your wood for applying a color.
Step 1: Applying Base Color
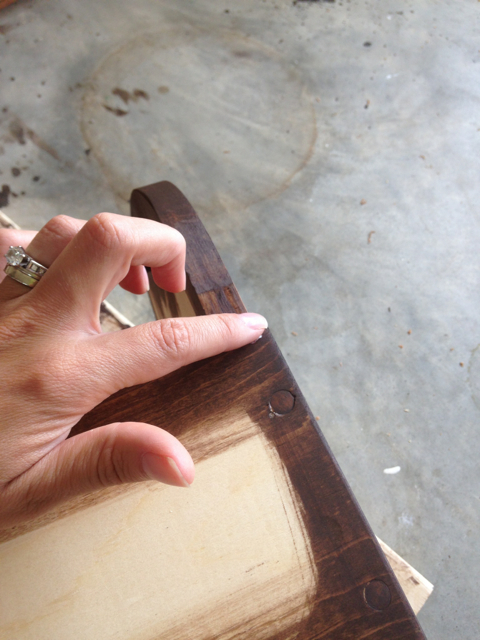
Stain or paint the piece whatever base color you prefer following the manufacturers instructions. When staining make sure to use a high quality synthetic bristle brush, foam brush or clean, lint-free cloth and when painting you may use a sponge roller, sprayer, and or paint brush.
It is only necessary to stain or paint in the areas that you want to show through, mostly the corners and the edges. But it depends on your taste and how much “distressing” you want your piece to have! Don’t worry about this part being messy looking…we are painting over it!

Step 1: Apply Base Color
Step 2: Add Vaseline
After you have allowed the base coat to dry. The next step is to apply the Vaseline. Using your finger, put Vaseline in the areas you want to distress. Apply more or less, depending on your taste. The more you use the more of a distressed finish you will get.
When applying the Vaseline be sure to only use a thin layer. Applying too thick will cause the Vaseline to spread when applying the top coat of paint. The Vaseline keeps the paint from sticking in the areas you want the base coat to show through.
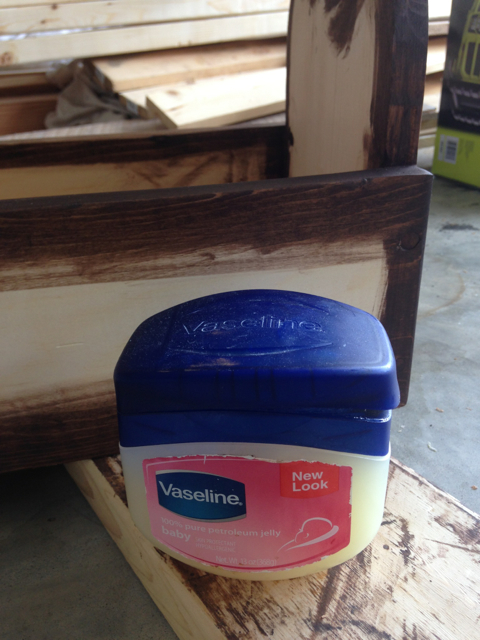
Step 2: Apply Vaseline
Step 3: Apply Top Color
Time to apply the top coat! I found that using a sponge roller was the best for this method. Using a brush tends to streak the Vaseline. I used a latex based paint for the top coat, apply 1 to 2 layers of paint. Be sure to let dry in a debris free area.
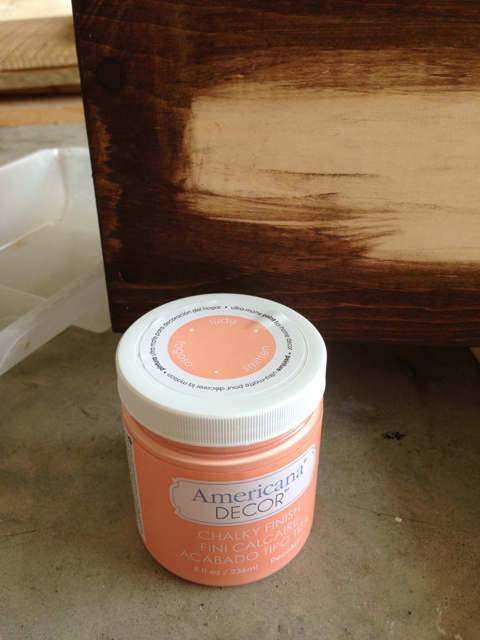
I used this chalk paint from Americana Decor that Jamison got in his swag bag at the Haven conference.
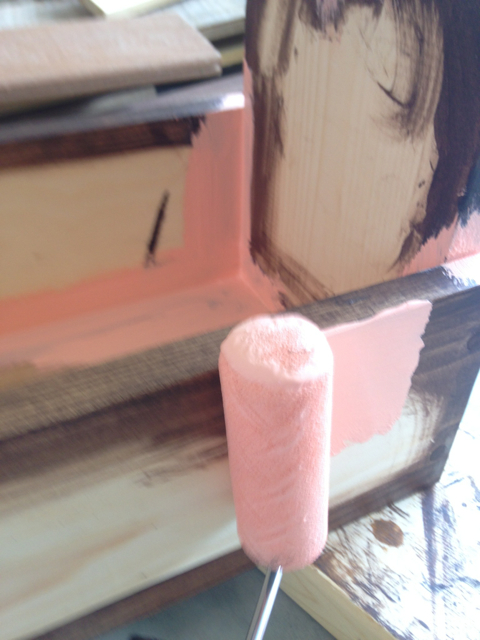
Use your paint brush in the corners and roll on your paint where you can.
First coat down. You can still make out the stain underneath.
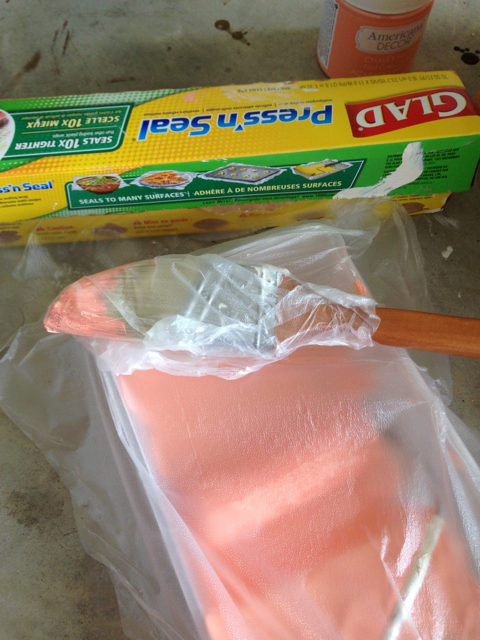
Glad press’n seal is may favorite for store paint and brushes in between coats
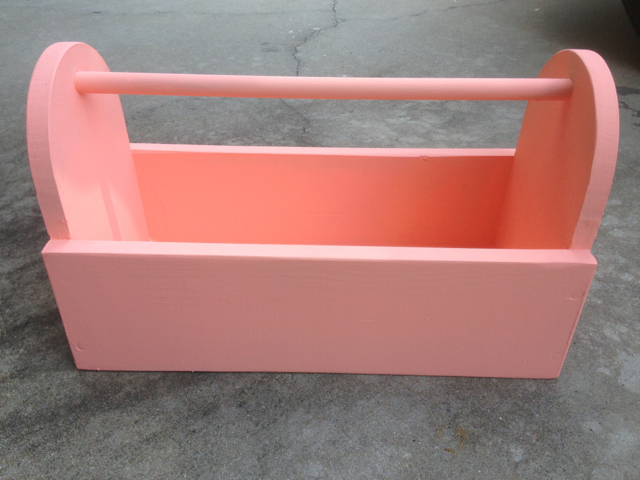
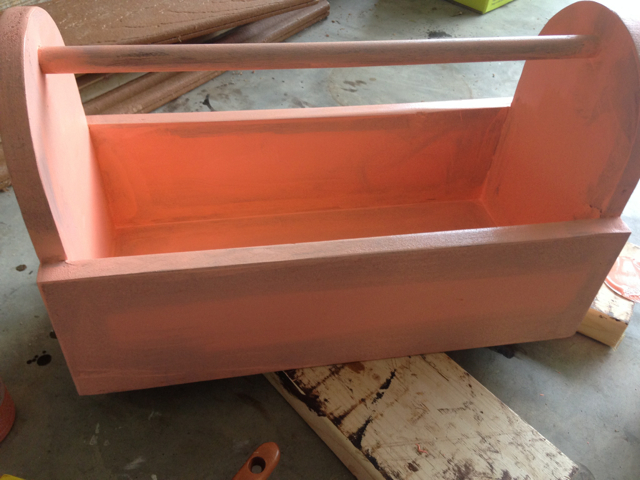
Second coat on and the stain is covered.
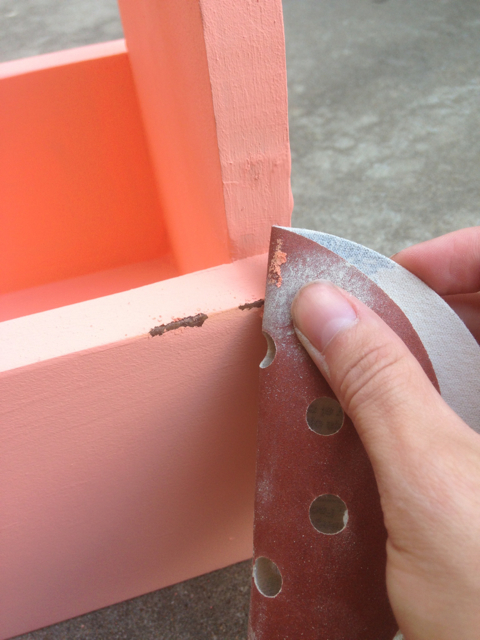
Step 4: Distress
Step 4: Distress
Now its time for the distressing! Simply rub off the paint with your finger and, when necessary, maybe steel wool or 220 grit sand paper.
Make sure you choose areas that would naturally be distressed like corners edges and handling areas.
This will take the top coat off and allow your base coat to show through, giving you that beautiful distressed finish.
What’s next…?
After spending all this time to get this beautiful look you really need to protect it so that it will last you a lifetime. For that I recommend you go with furniture wax for a flat finish or a polycrylic for a glossier finish. For more options take a look at the protectant section of the finishes page.
As always if you have any questions don’t hesitate to comment below and especially don’t forget to post pictures of your finished products in the comments! ENJOY!