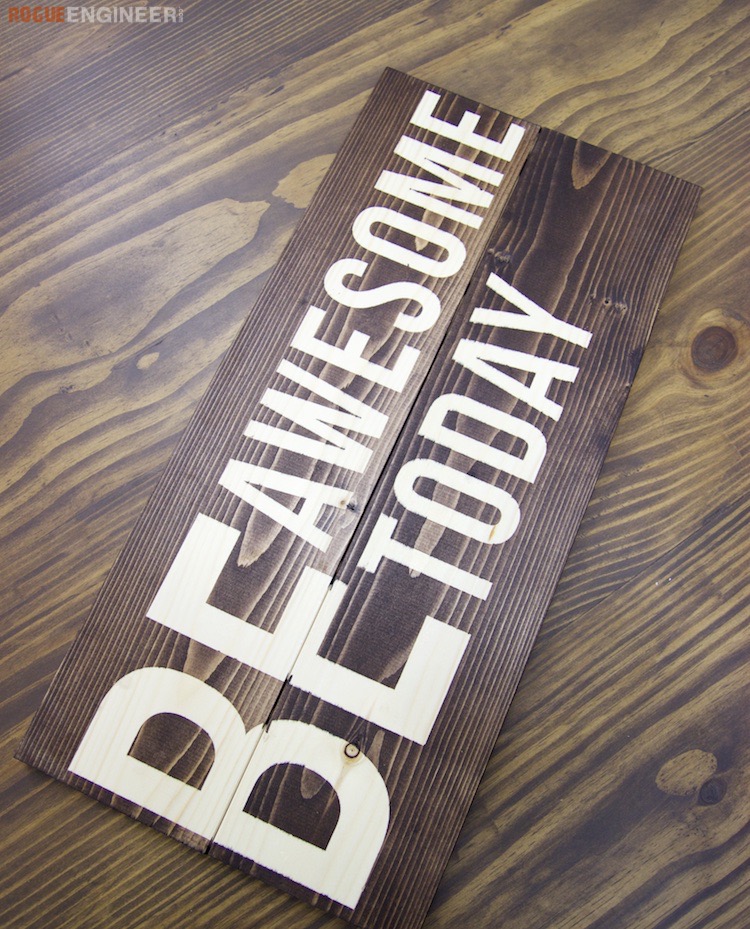
Day 4 of our Facebook live holiday series was somewhat of a test since I have never actually done it before. I wanted to make some wall art using a graphic I ordered but I wanted this to just be a template and later pull off the vinyl and expose the raw wood. This turned out pretty good but there are definitely was to improve on this one but overall I am happy with it.
For sneak peeks of our upcoming projects be sure to follow me on Facebook and Instagram. Also, follow me on Pinterest to get tons of projects plans from all around the web!
Required Tools
Materials
Disclosure: The links provided in the “materials” and “required tools” sections are affiliate links. If you would like to support our site and help keep our content free come find out more about how we can make money with no extra cost to you.
Making Wall Art using Stain and Decal
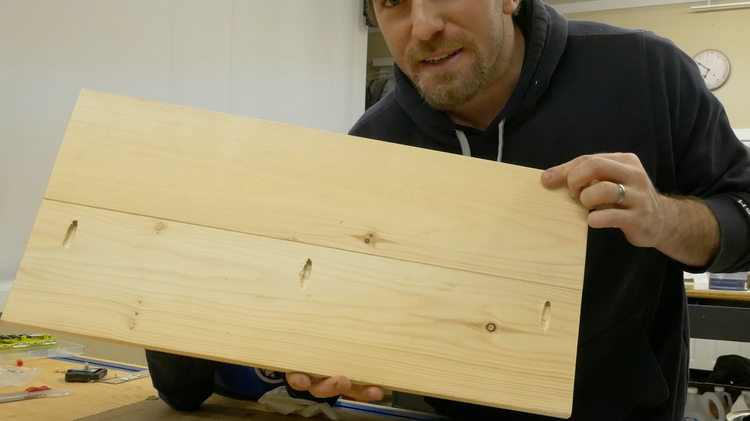
Step 1: Make the Wood Panel
I simply cut two 1x6s down to an appropriate length. Then I drilled a few pocket holes and attached them together with 1-1/4″ pocket screws.
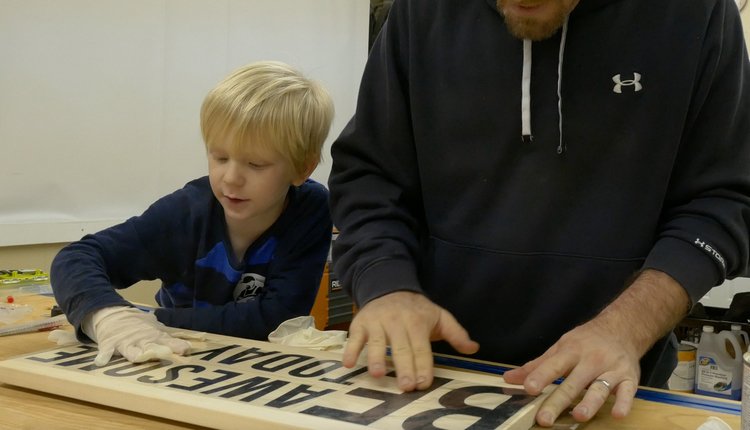
Step 2: Apply the Decal
Firmly apply the graphic and remove the transfer paper.
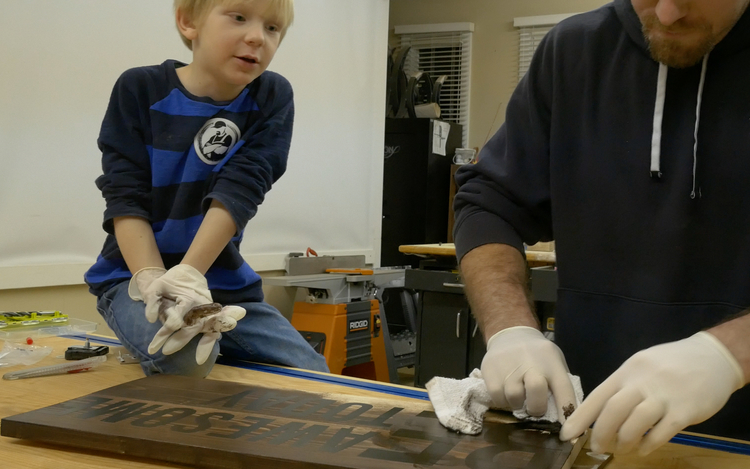
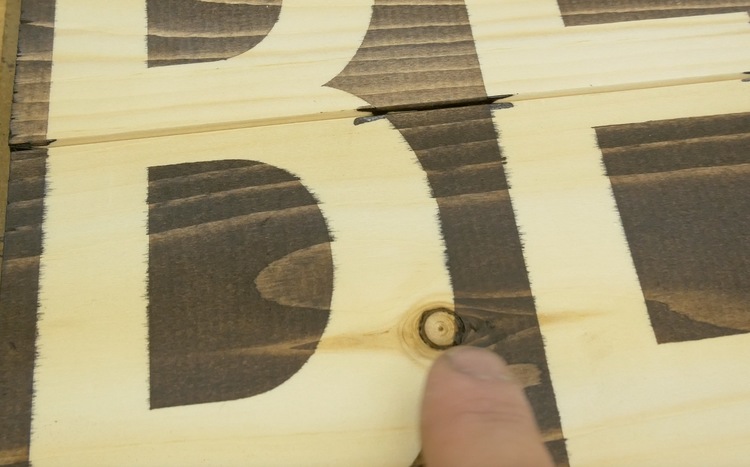
Step 3: Staining
I just slapped a bunch of stain on and wiped it off. I think you may have better results using a smaller amount of stain and maybe cut the decal where passes over a joint and roll it into the joint to prevent the stain from going under the graphic at the joint.
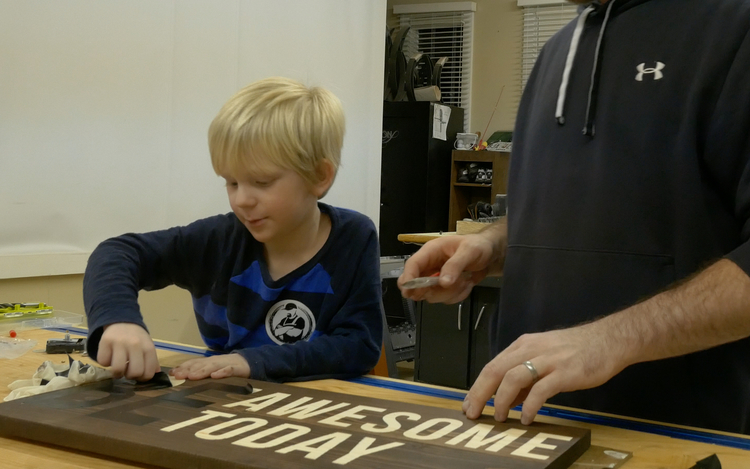
Step 4: Peel of the Decal
I used a razor to get under the decal and pull it off but this is pretty self explanatory.
Lessons Learned
Like I said in step 3, I think applying the stain a little more conservatively and cutting the decal at the joints and pressing it into the joint would be helpful to keep the stain from getting under the decal.
Also, I think applying a shellac prior to everything would be a better look too.
Finally, adding a polyurethane or the like to cover the entire panel would be a good idea as well.
Questions? Comments?
As always, if you have any questions don’t hesitate to comment below and especially don’t forget to post pictures of your finished products in the comments! ENJOY!