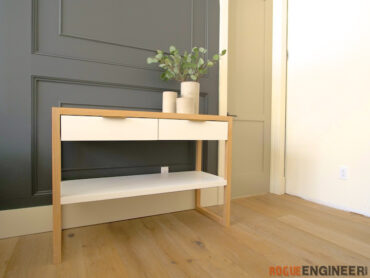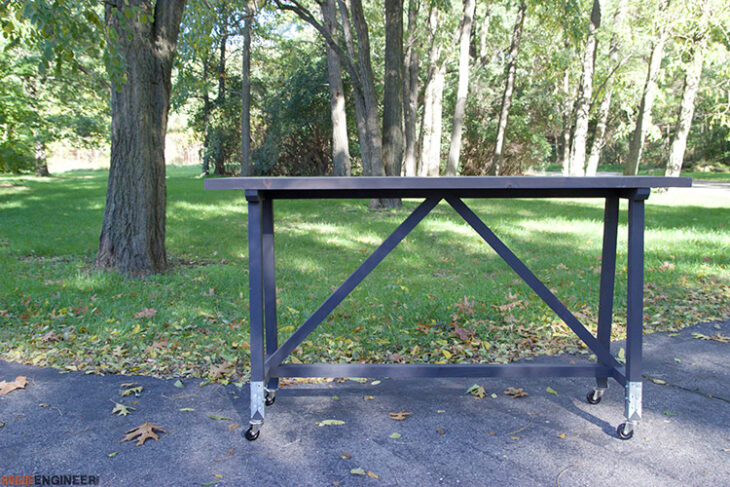
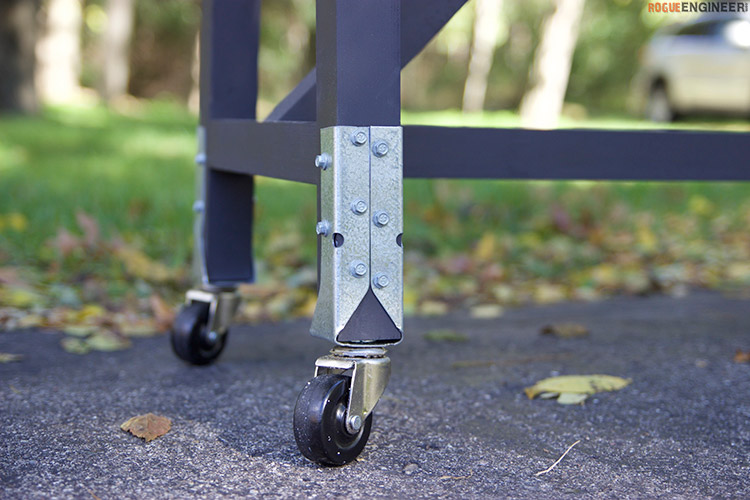
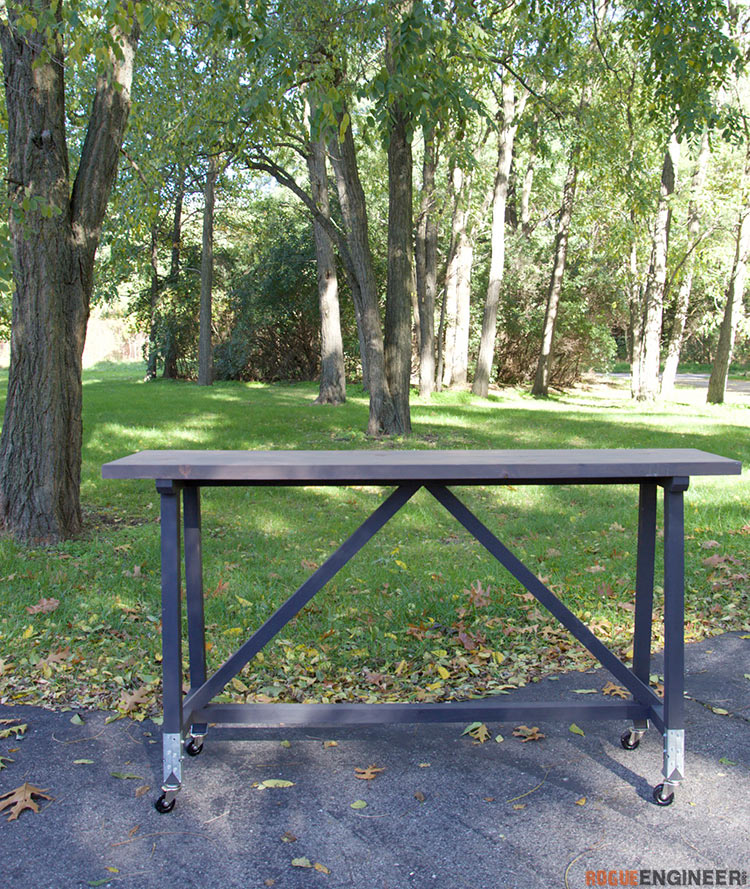
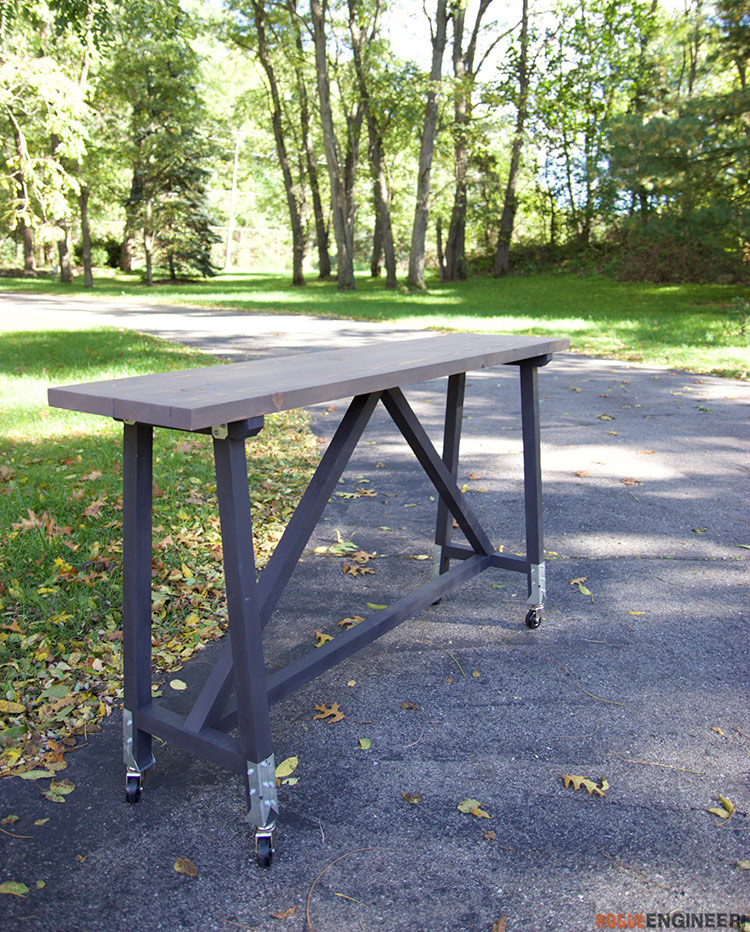
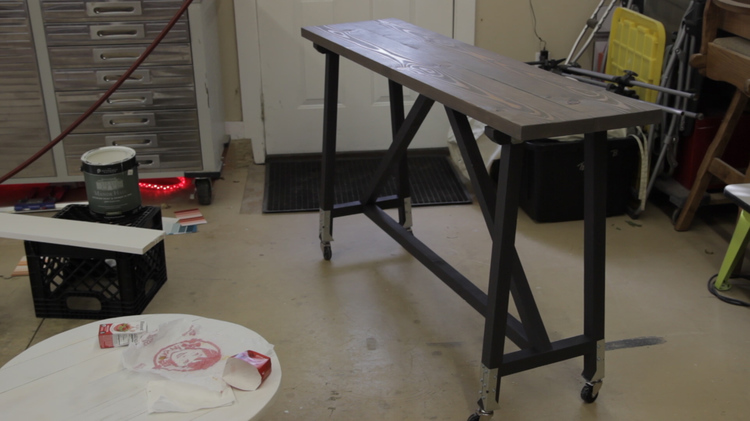
Console tables are our weakness. I wanted to create a more of an industrial looking console table this time though and I’ve always like the idea of adding casters to something like this. I got the idea of adding the concealed joist hangers from the industrial tripod fan by our friends Katie and Jeremy from the Bower Power blog. The casters, galvanized trim, subtle angles of the legs and the truss-like angled supports in the middle are really attractive to me. Since we were going for an industrial look we opted for the matte black base and gray top along. Can you believe that we built this table, casters and all, for about $40!?! I hope you like it as much as we do and if you have a different style in mind for this table I’d love to see it. Dress it up, dress it down, either way, I think this is a console that is going to stick around. Whoa, I’m a poet and I didn’t even know it. Cheers!
For sneak peeks of our upcoming projects be sure to follow me on Facebook and Instagram. Also, follow me on Pinterest to get tons of projects plans from all around the web!

Required Tools
Materials
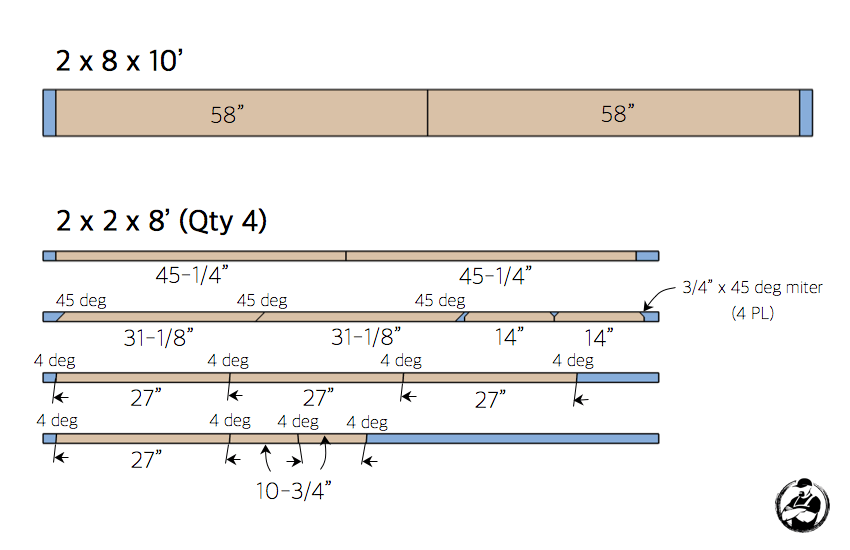
- Qty 1 – 2 x 8 x 10′
- Qty 4 – 2 x 2 x 8′
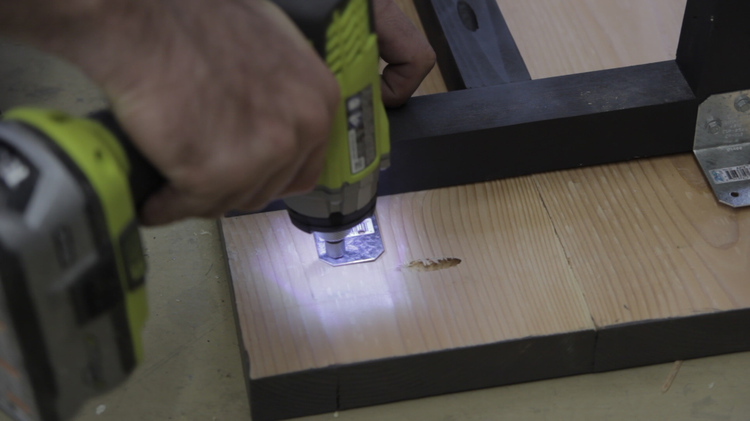
- 2-1/2″ Kreg Pocket Hole Screws (Coarse)
- 2-1/2″ Wood Screws
- Wood Glue
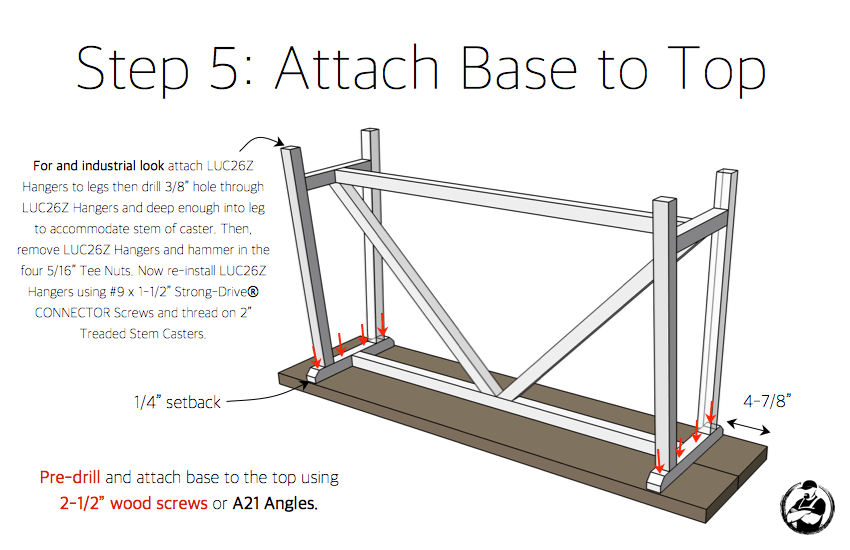
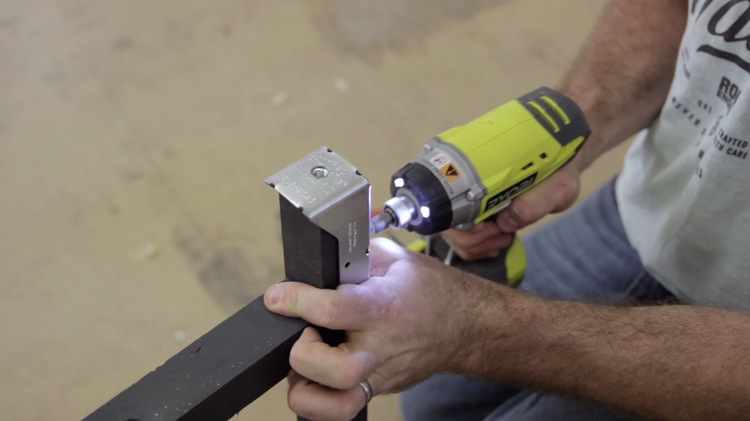
- Qty 4 – Simpson Strong-Tie® LUC26Z Hangers
- Qty 4 – Simpson Strong-Tie® A21 Angles
- Simpson Strong-Tie® #9 x 1-1/2” Strong-Drive® CONNECTOR Screws
- Qty 2 – 2” Treaded Stem Casters (2 Pack) (Home Depot)
- Qty 1 – 5/16” Tee Nuts (4 Pack)
Disclosure: The links provided in the “materials” and “required tools” sections are affiliate links. If you would like to support our site and help keep our content free come find out more about how we can make money with no extra cost to you.
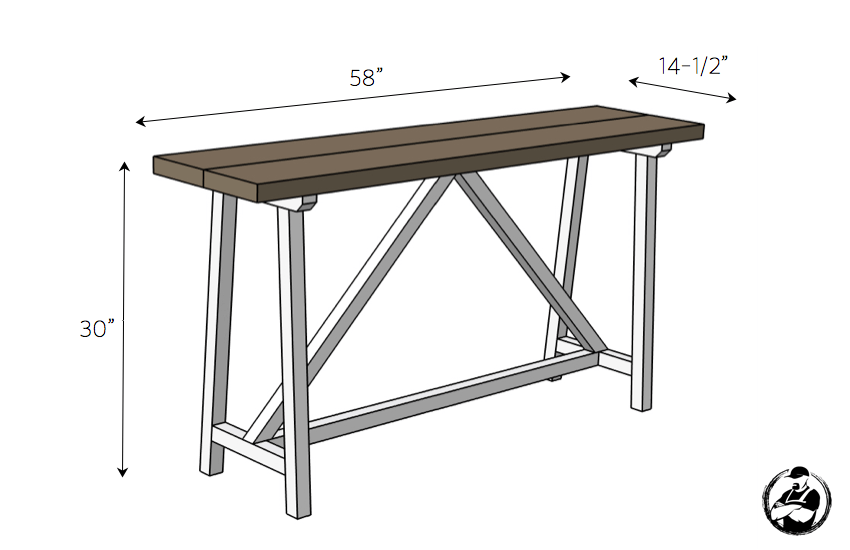
Dimensions
Cut List
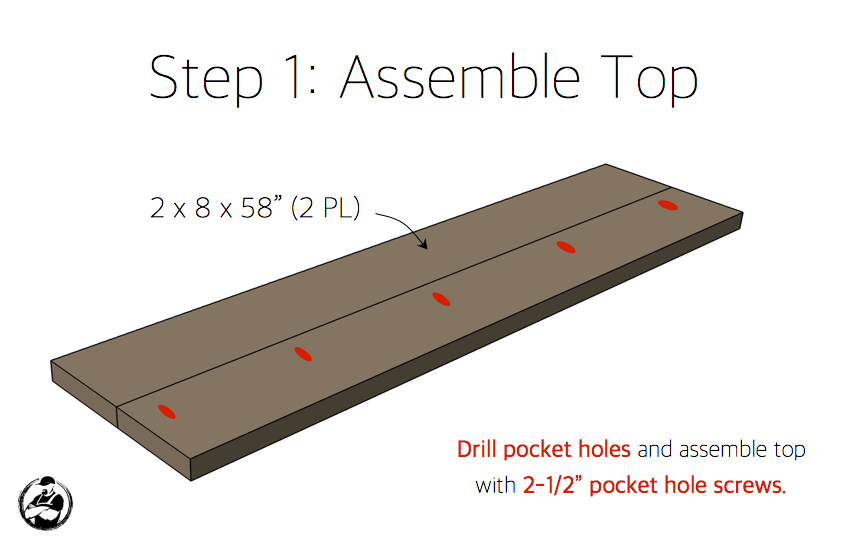
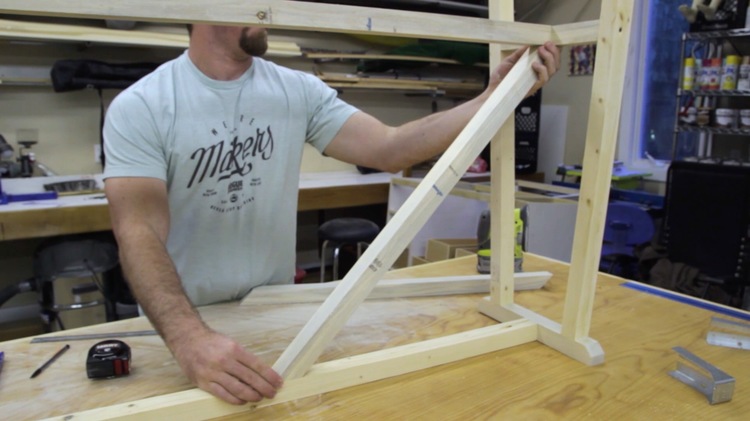
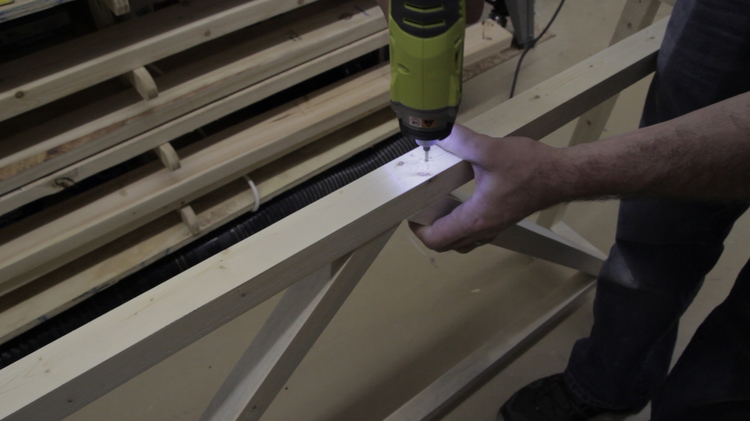
How to build a Console Table
If you decide to take on this project I highly recommend you download the printable PDF below to have with you during the build. To do so just click the button below and subscribe to get weekly updates. In return I’ll instantly email you the PDF for free! It’s a win-win.

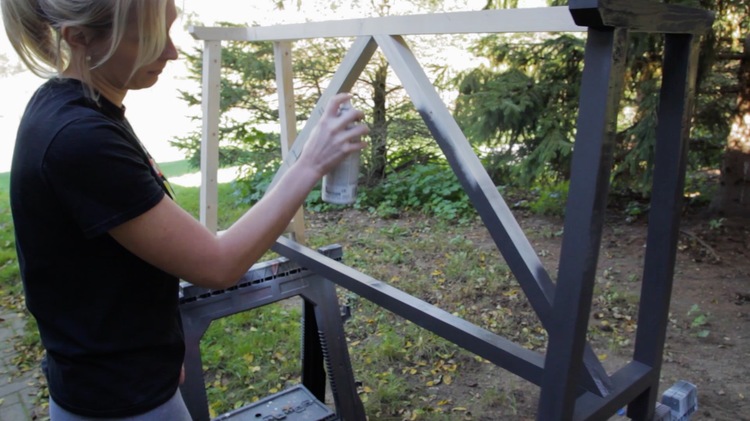
Finishing
If you plan on going with a two tone look like we did, it is best to finish the top and base separately prior to final assembly. We went with Rustoleum’s Chalked Paint in charcoal for the base and Varathane’s Briarsmoke wood stain for the top. Then we sealed the top with 3 coats of matte polyurethane.
Questions? Comments?
As always, if you have any questions don’t hesitate to comment below and especially don’t forget to post pictures of your finished products in the comments! ENJOY!