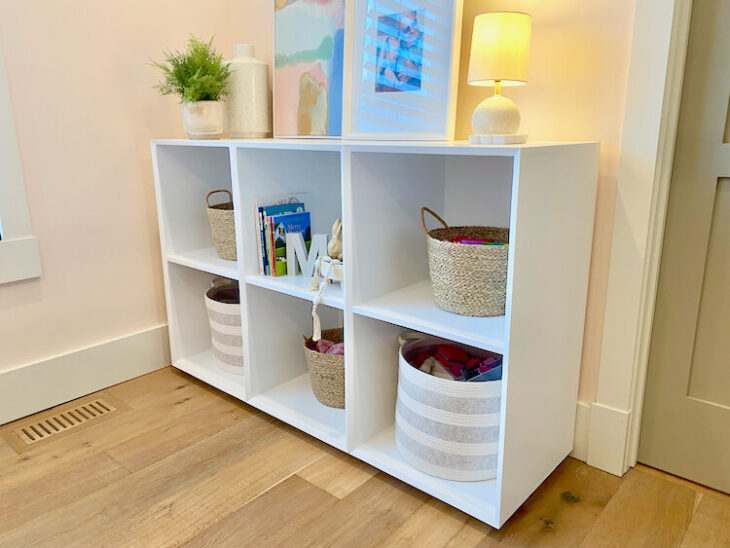
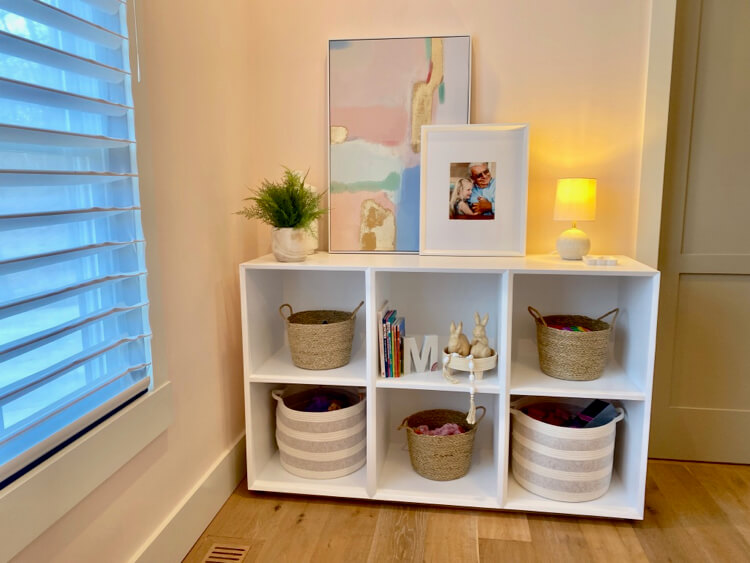
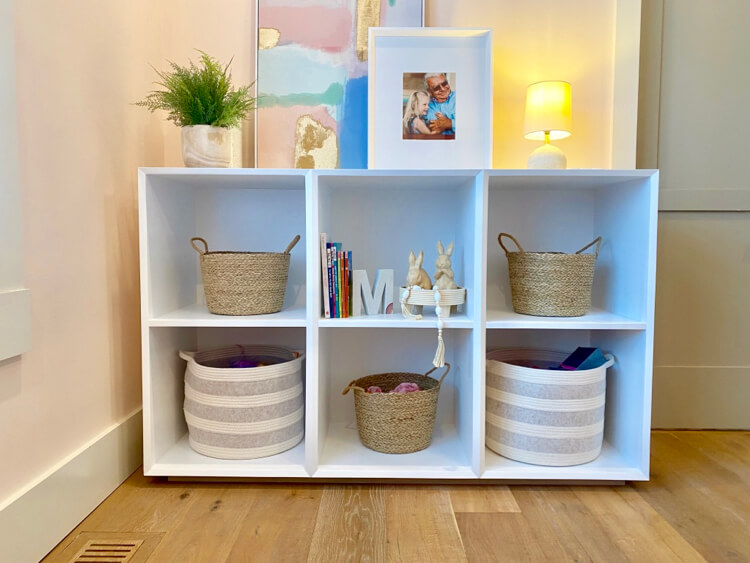
Our daughter was in need of a storage unit in her room to help organize toys and books so we decided to build her an open storage unit with baskets. While it is a simple design, we wanted to add a little flare by installing beveled edges to the front of it rather than just standard plywood edge banding. With a few sheets of plywood we were able to make something that we think is pretty cool.
If you love this stuff as much as we do, you might want to consider following us on Instagram where we post sneak peeks and behind the scenes stuff in our stories. Also, did you know you can get tons of projects plans from all around the web when you follow us on Facebook and Pinterest!
Disclosure: This project was sponsored by DAP Products however the design opinions are 100% my own.
Full Project Video
Wanna see how it all came together? Check out the full project video below and don’t forget to subscribe on YouTube so you won’t miss future videos!
Time to Complete
1 Wknd
Estimated Cost
~$150-250
Skill Level
Intermediate
Printable PDF
Tools
Materials
- (2) 3/4” x 4’ x 8’ Plywood
- 3/4” x 2’ x 2’ Plywood
- 1/4” x 4’ x 8’ Plywood
- (2) 1 x 2 x 8’ Boards
- 1 x 6 x 6’ Board
- 1-1/4” Pocket Screws
- 1-1/4” Brad Nails or Pin Nails
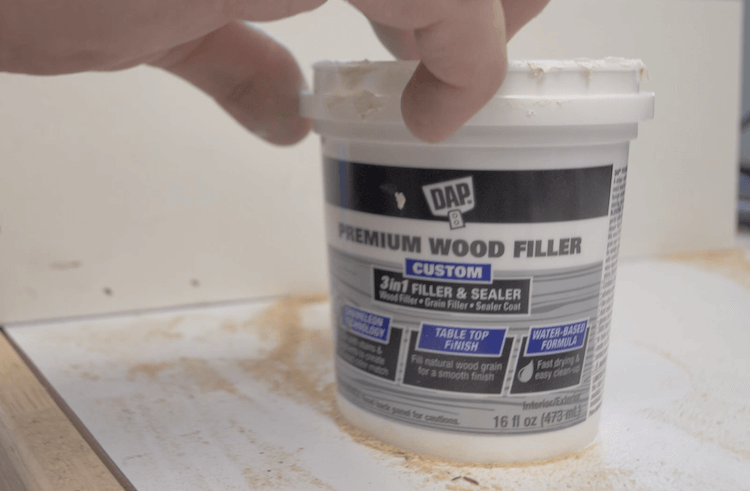
- DAP Premium Wood Filler
- DAP Alex Ultra
- DAP Weldwood Wood Glue
- Primer & Paint

Disclosure: The links provided in the “materials” and “required tools” sections are affiliate links. If you would like to support our site and help keep our content free come find out more about how we can make money with no extra cost to you.
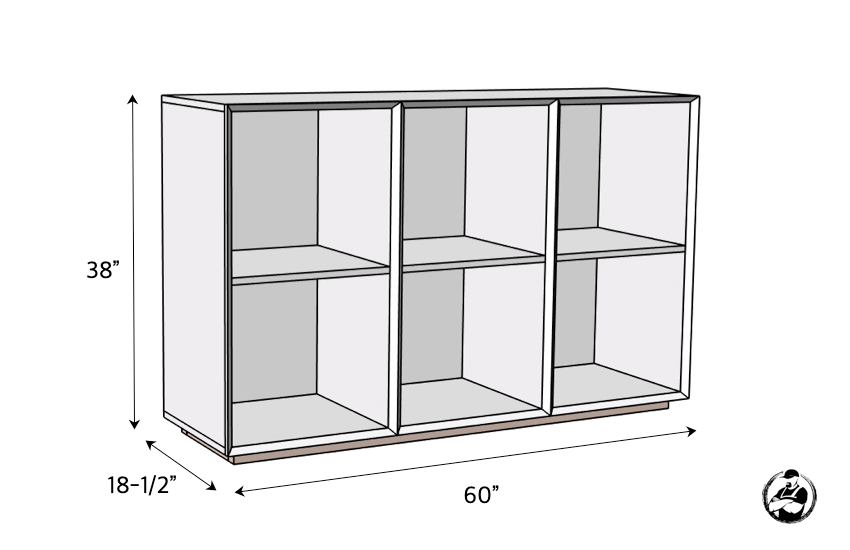
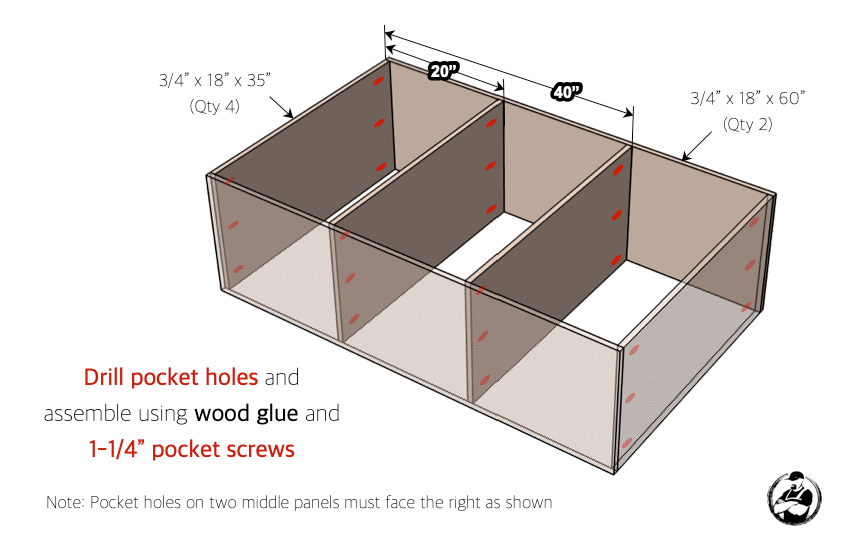
Dimensions
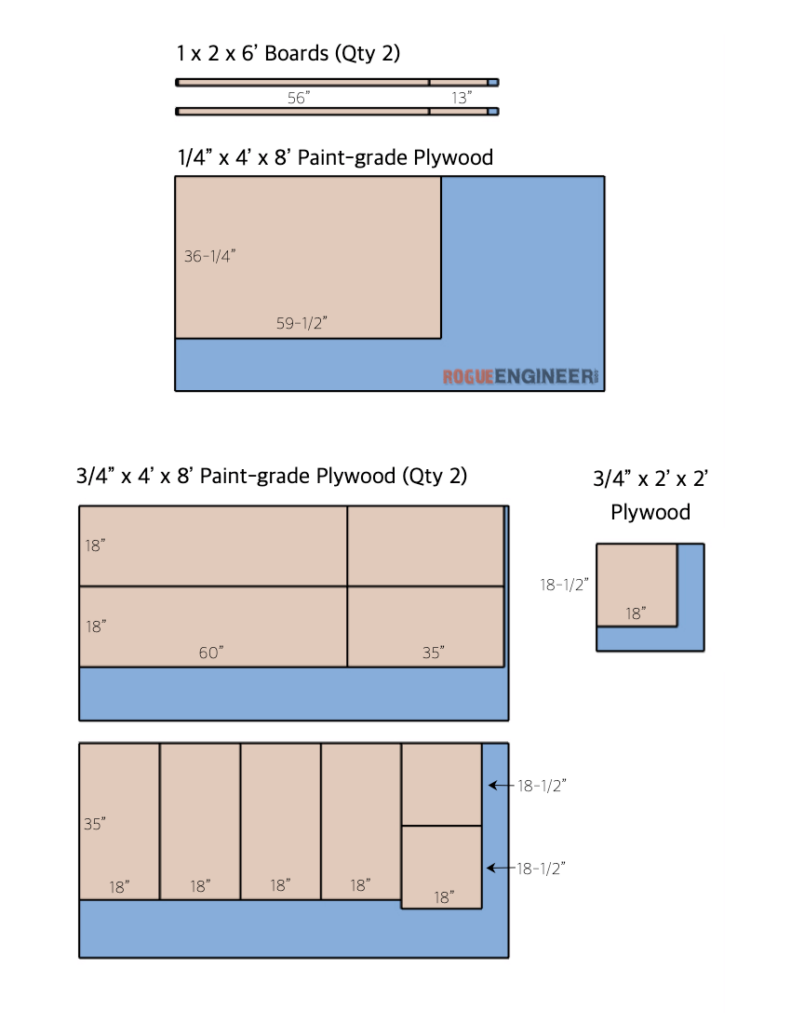
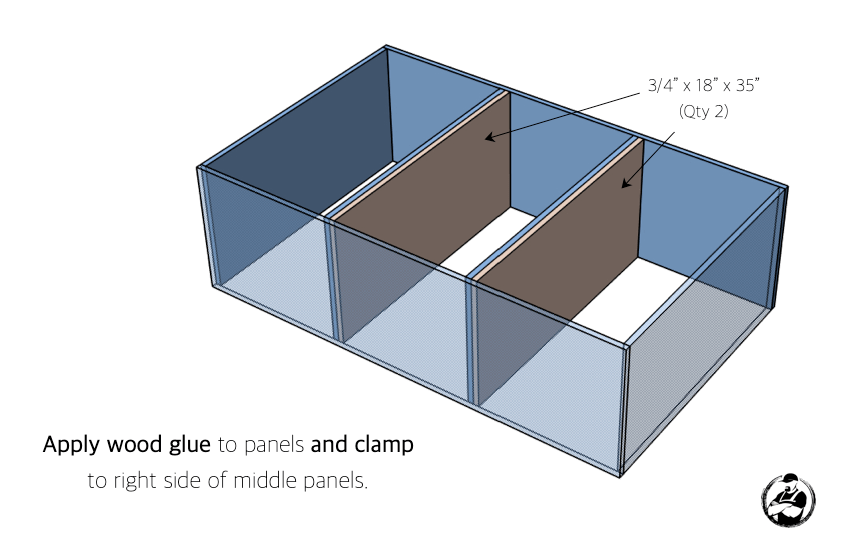
Cut List
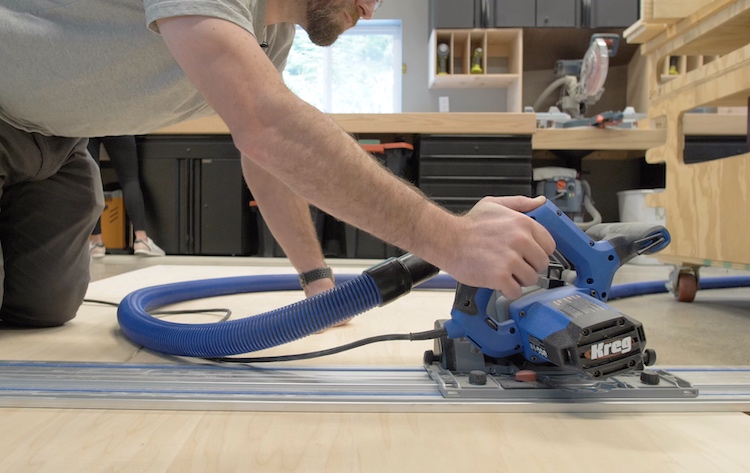
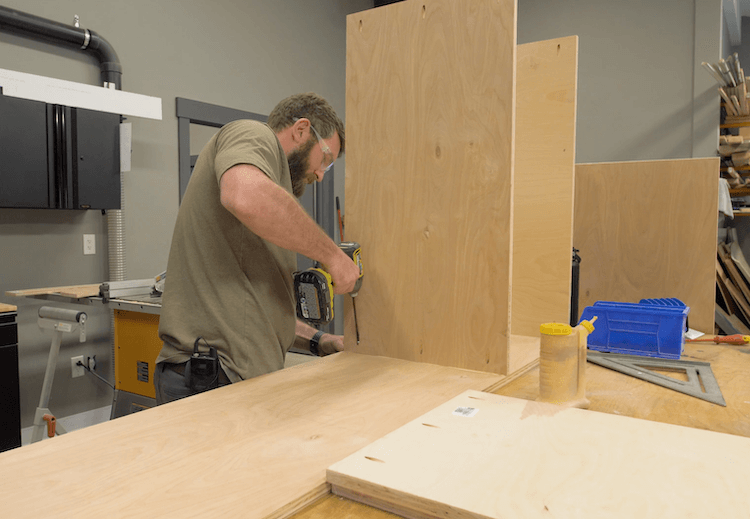
How to Build an Open Storage Unit
Time needed: 1 day.
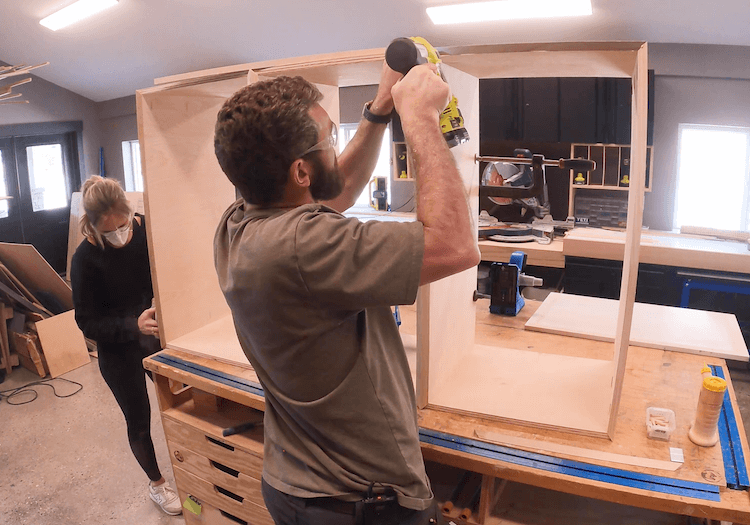
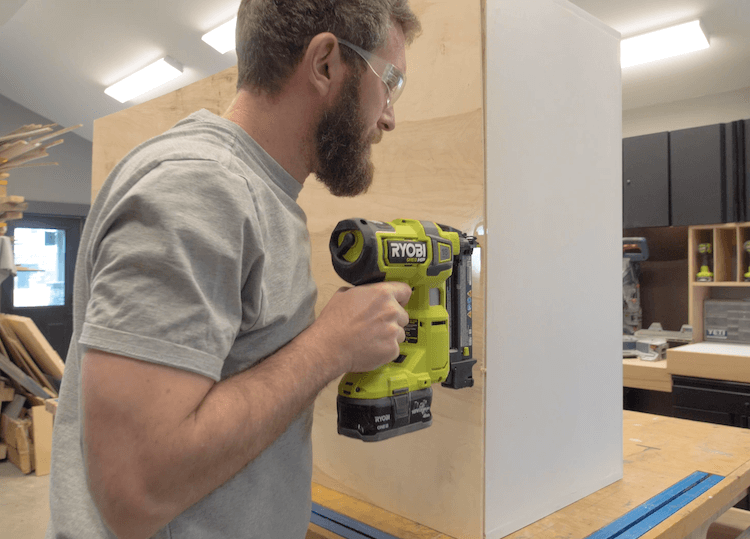
- Assemble Unit


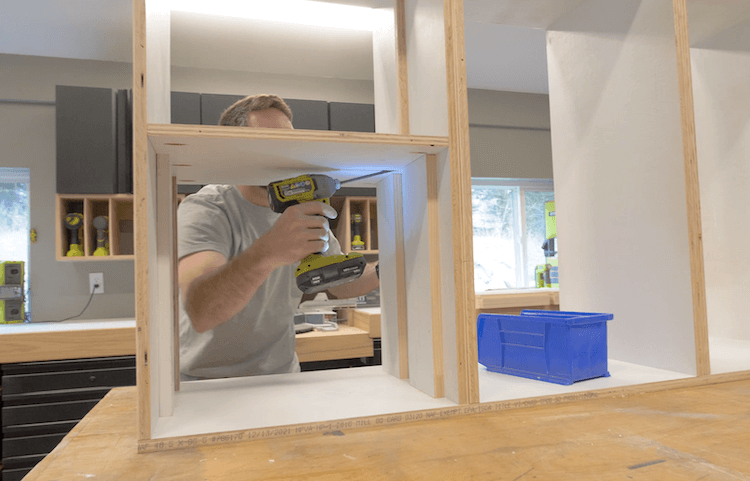
- Install Additional Vertical Panels

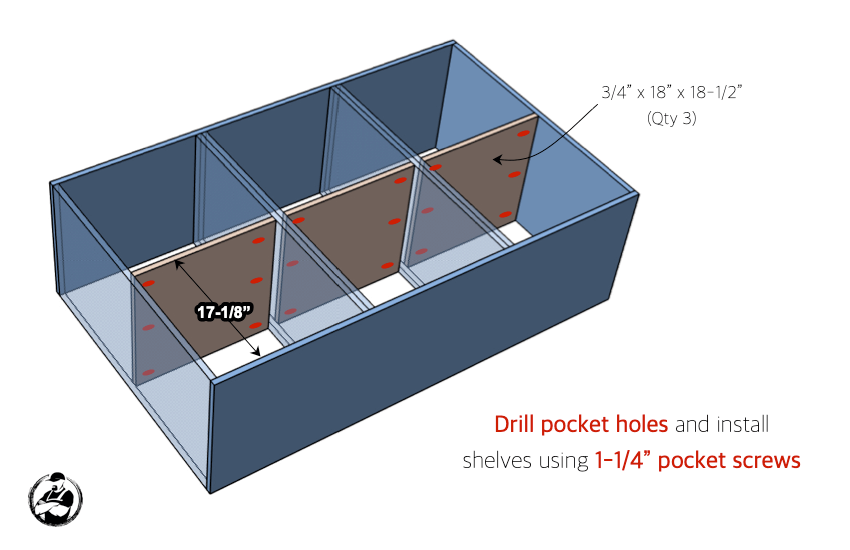
- Install Shelves

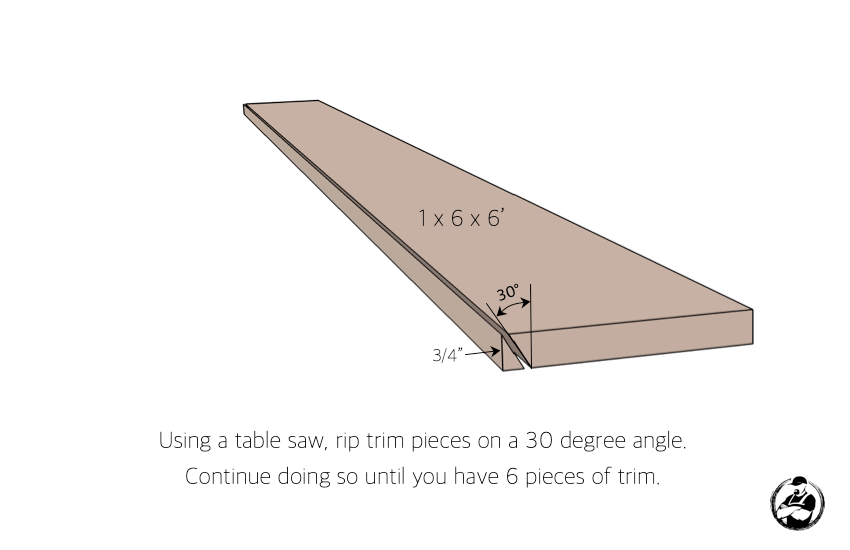
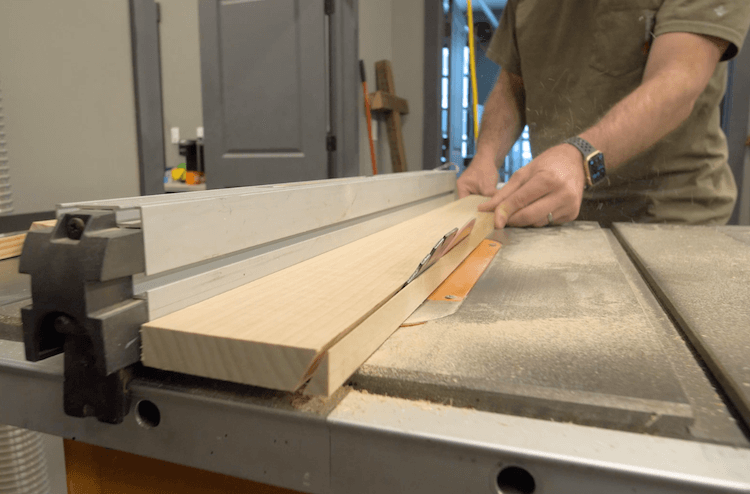
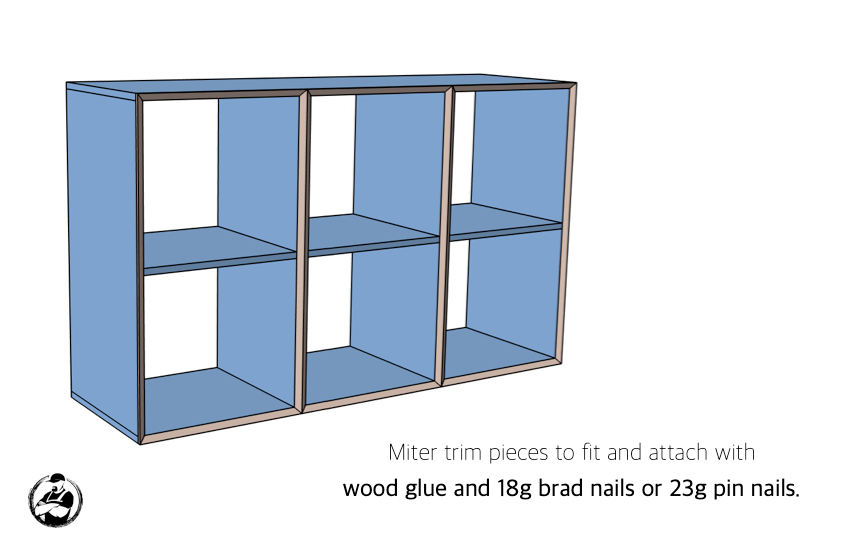
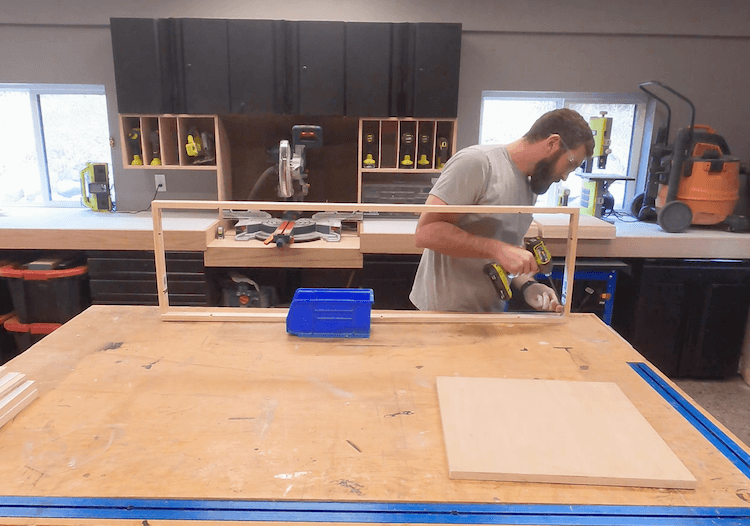
- Cut Beveled Trim

- Install Beveled Trim

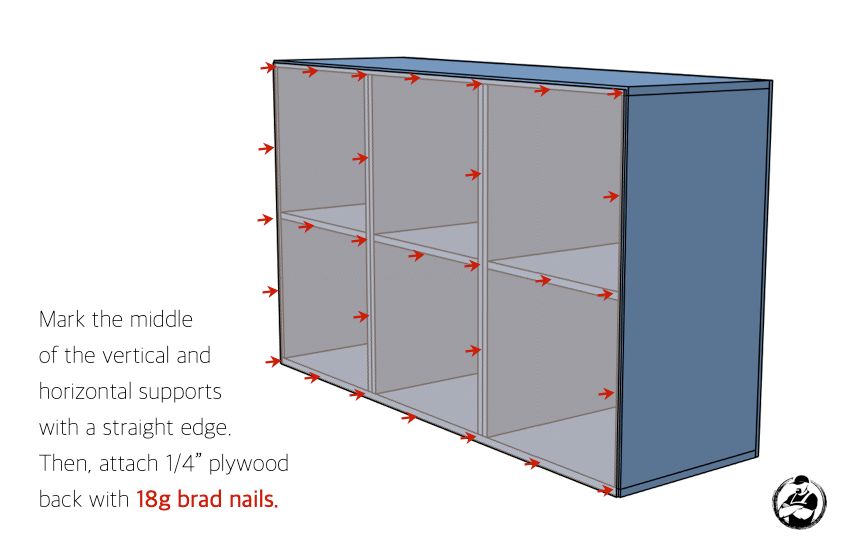
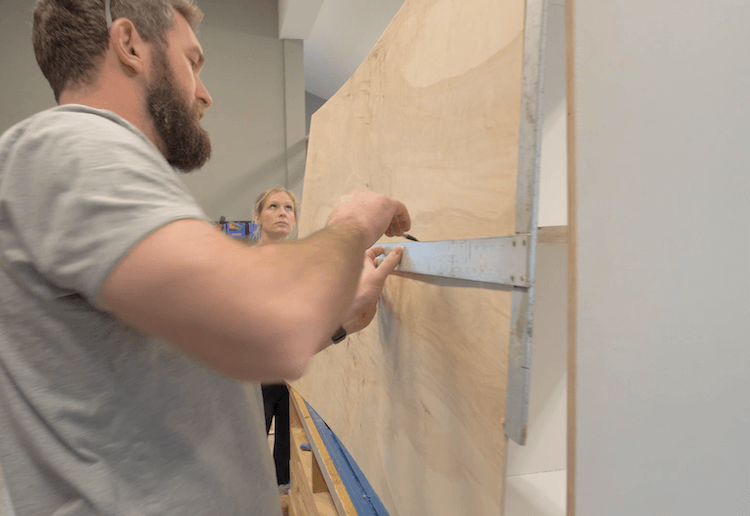
- Install Back


- Caulk, Fill, Prime, and Paint
We actually did this a little out of order. We started the finishing process before installing the shelves by first filling any wood joints adjacent to the trim with DAP Premium Wood Filler.
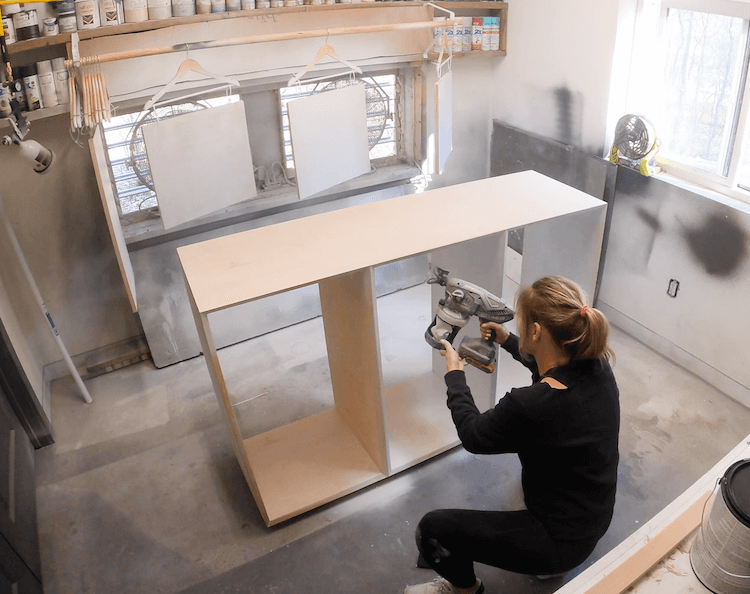
Then, after a good sanding we applied the primer and paint to the unit, shelves and back. Since our unit is white, we applied caulk later. If going with a color you would want to complete assembly and caulk before painting.
After completing the unit we then applied DAP Alex Ultra to all the cubbies and this not only makes those joints disappear, with their Anti-Shrink technology, it will make sure you don’t see any cracking in the caulk as the wood moves.
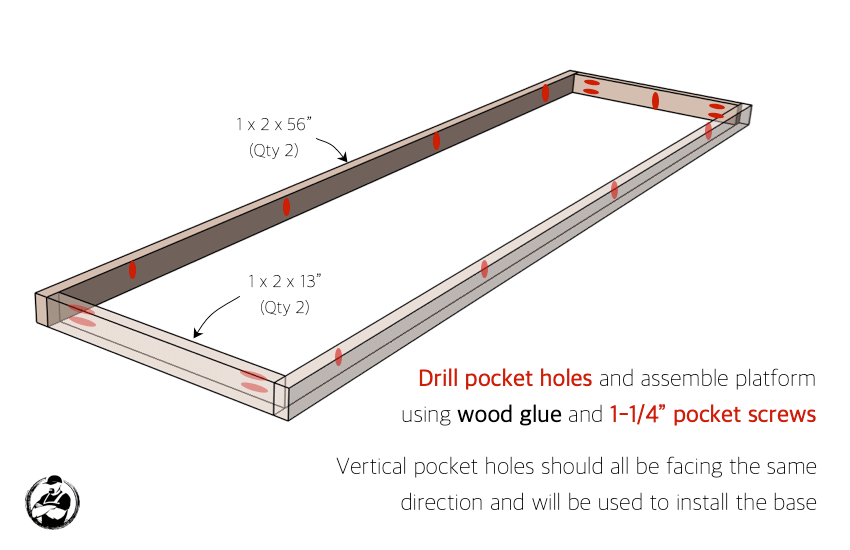
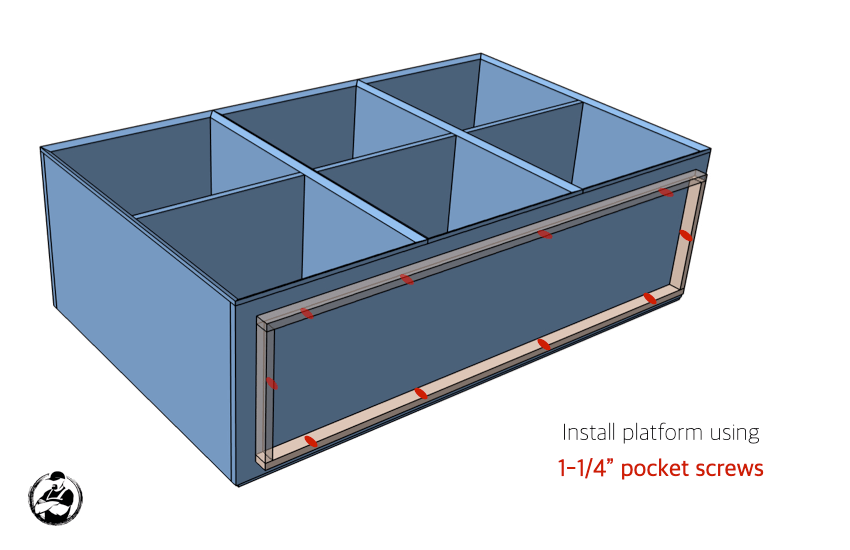
- Assemble Base

- Install Base


Questions? Comments?
As always, if you have any questions don’t hesitate to comment below and especially don’t forget to post pictures of your finished products in the comments! ENJOY!