
Closed Terrarium from Glass Centerpiece
Time to Complete
1 Day
Estimated Cost
$50-$100
Skill Level
Beginner
My wife, Jamie, has always wanted a terrarium in our kitchen however we were a little particular of the size. We wanted it to be more of a centerpiece on the table or island and not too tall. That being said, we ultimately decided to make our own from a glass centerpiece that was actually meant to be a candleholder. It was the perfect size and we could simply build a wood platform, turn it upside down and we would have a true closed terrarium. Read on to see exactly how we did it.
If you are unfamiliar with terrariums, it is basically a glass enclosure that is used as a planter. There are open terrariums which in my opinion are not real terrariums. They lack the benefits of a closed glass case, which is that the plants get to form their own humid ecosystem. Essentially, the moisture is recycled, creating a small scale water cycle, which is great for people like us that don’t always remember to water plants. That being said, the plants that go in here should be something that likes a moist environment (not succulents). But enough science for now, let’s get to building this thing.
If you love this stuff as much as we do, you might want to consider following us on Instagram where we post sneak peeks and behind the scenes stuff in our stories. Also, did you know you can get tons of projects plans from all around the web when you follow us on Facebook and Pinterest!
Disclosure: This project was sponsored by Dremel however the design and opinions are 100% my own.
Tools
Materials
Disclosure: The links provided in the “materials” and “required tools” sections are affiliate links. If you would like to support our site and help keep our content free come find out more about how we can make money with no extra cost to you.
Cutting Boards for Base
To get started I cut the first board down to length. To determine the length I took the width of the board (5.5″) and subtracted the width of the centerpiece. Then I added that number to the length of the centerpiece and cut the wood to the dimension. This will give us an even spacing on all sides of the container.
Tip: Using a speed square as a guide will ensure you get a straight cut.

Now using the first board as a reference I marked the length of the second board and cut it to length.

Making Space for Soil
One of the boards will have a hole cut in it to allow for soil. The hole will be on the inside of the container and we will add a lip to allow the container to rest securely in place. To do so, center the container and trace a line around it.

Then measure the thickness of the container, in our case 1/8″, and mark that line inside the previous line.

Then use a straight edge to extend that line all the way around. This is the line we will use for the hole cut out.

I used the Dremel Ultra-Saw for this cut because, while it is a powerful saw, the design and smaller blade is very easy to control.

This saw is also great for plunge cuts and provide great visibility to make sure you get the cut right. The cut capacity is limited to 3/4″, which is all we need for this project.

Now we raise the cutting depth up to a shallow 1/8″ deep cut and being to make the outer cut.

Make multiple passes until all the material is removed between the outer line and the inner cut.

After that I removed the inside piece and finished off the corners with the Dremel 8220, depth gauge and a cutting bit.

Check the fit of the case and remove any material needed to get a good fit.

Next you can swap out the cutting bit for a sanding wheel and clean up the inside of that ledge.

Assembly
Time for the glue up. Flip the top over and apply a bead of glue to the bottom, then spread it out to assure even coverage.

Clamp the two boards together, wipe off any excess glue and allow to cure as required.

Finishing
Once the glue is cured you can remove the boards from the clamps and sand done the sides and corners.

Make sure to take your time with the ends and sides to smooth out the seams.

Tape off the top and side of the base with painters tape. Then I applied a liberal amount of outdoor spray paint to the inside. If I had to do it again, I would have went with another option such as, line it with plastic, rubber, or waterproof it with a coating of wood glue or flex seal.

Once that is fully cured, apply a finish to the wood to protect it. We went with a natural danish oil finish.

Planting
Now you can add the drainage layer. A thin layer of stone should be sufficient.

Next, the soil can be added. We used a potting mix and applied just a thin layer. The micro plants that we will be planting won’t require much.

The moss is now added to cover the soil.

I used a pair of scissors to trim the moss around the inner edge.

Place the micro plants as you would like, either evenly spaced or grouped like we did.

Cut a hole in the moss and plant the micro plants as desired.

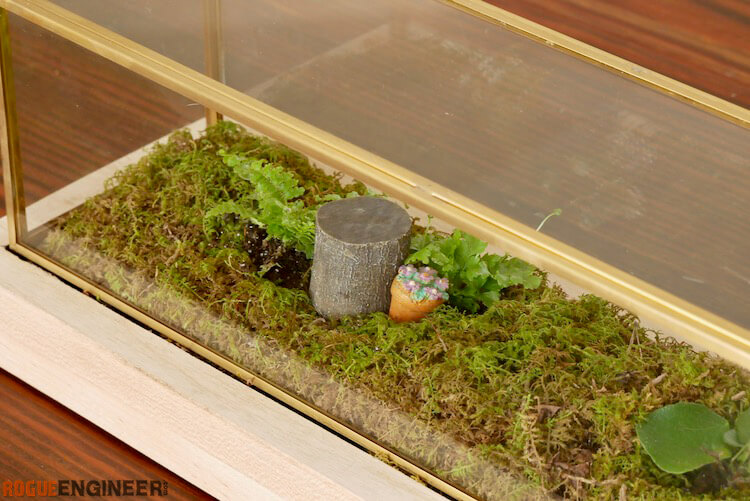
Finally, add the glass enclosure and there you have it. A low maintenance, closed terrarium that will look amazing and only need a spritz of water every few weeks! Enjoy!

