

Outdoor Bench – Lowboy
$10.00
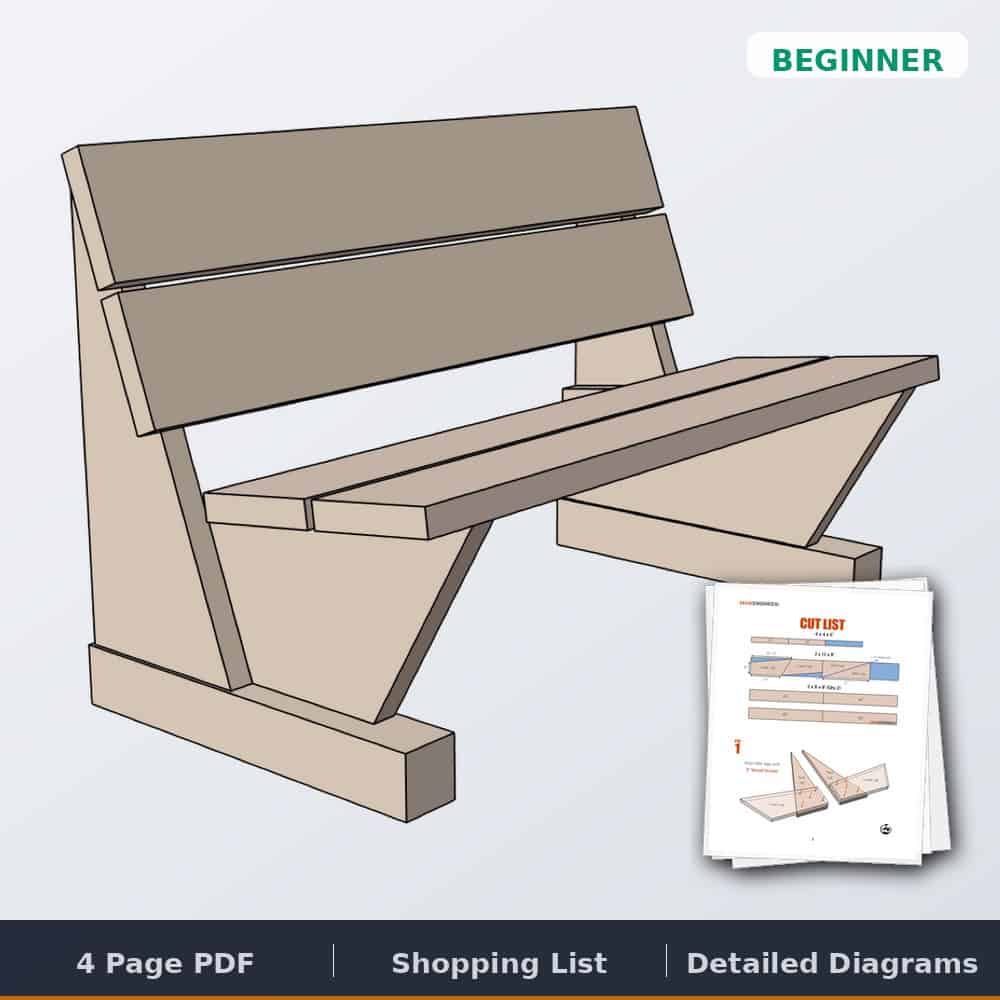
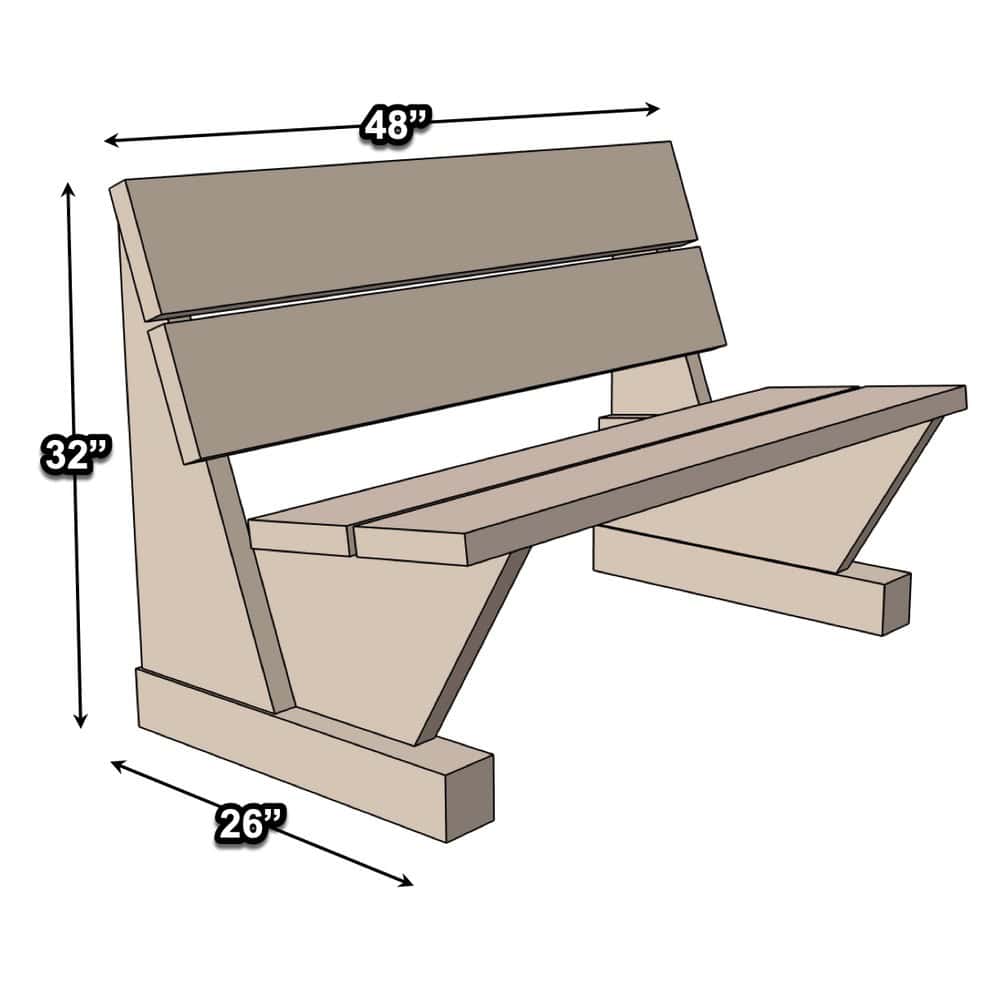
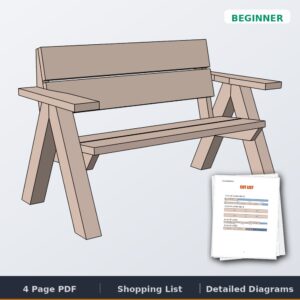
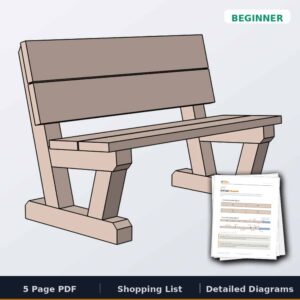
Printable Lowboy outdoor bench plans: a cantilevered bench with 2×12 legs, 4×4 feet and a 2×8 seat and back, 32″ tall x 48″ wide x 26″ deep. Built with just a drill and a circular saw in about 30 minutes. Instant 4-page PDF with dimensions, cut list, diagrams and a shopping list.
✓ Instant download · Personal use license · Secure checkout via Stripe
Description
Lowboy outdoor bench plans: a cantilevered 2×12 leg bench with just two tools
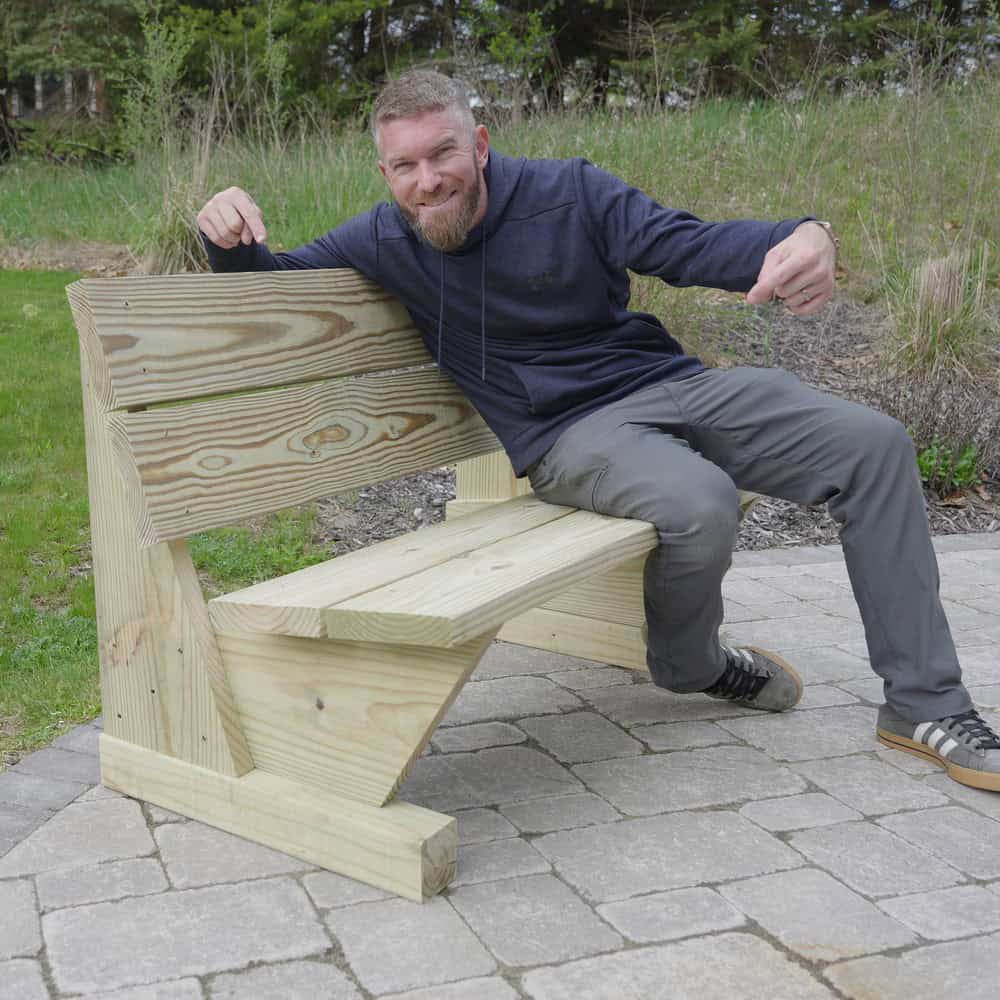
The Lowboy is the 2-tool bench from my outdoor bench page, and it’s my pick for the best-looking 30-minute bench I’ve designed. Each leg is two triangles cut diagonally from a single 2×12, overlapped so the seat and back look like they float. That overlap gives it the cantilevered look and all of its strength. Chunky 4×4 feet keep the end grain off the ground. No pocket holes, no fancy joinery: a drill and a circular saw get it done in about 30 minutes, for about $65 in pressure-treated lumber.
Watch the build
What you get
- Printable 4-page PDF plan, instant download
- Full dimensions
- Cut list, including the diagonal 2×12 leg layout
- Step-by-step diagrams and instructions
- Shopping list
Specs
- Overall size: 32″ tall x 48″ wide x 26″ deep
- Seat and back: four 48″ 2x8s, two for the seat and two for the back
- Build time: about 30 minutes
- Skill level: Beginner
- Estimated lumber cost: about $65
Lumber you’ll need
- 2 boards, 2x8x8′ pressure treated (seat and back, four 48″ pieces)
- 1 board, 2x12x8′ pressure treated (legs, cut diagonally)
- 1 board, 4x4x6′ pressure treated (feet, two 24″ pieces)
Hardware
- 3″ exterior wood screws
Tools you’ll need
- Drill/driver with a 1″ drill bit for counterboring the feet
- Circular saw
- Speed square, tape measure and pencil
- Safety glasses and hearing protection
Common questions
Do I need a pocket hole jig? No. Every joint is a 3″ exterior screw. The only extra is a 1″ spade bit to counterbore the 4×4 feet so the screws reach deep into the legs.
How do the seat and back go on? Both are pairs of 48″ 2x8s spaced 1/2″ apart for drainage. The seat overhangs the legs 3″ on each end, and the back overhangs 1-1/2″ and screws to the flat tops you cut on the legs.
Should I stain it? Yes, eventually. Let the pressure-treated lumber dry a few weeks, then stain or seal it.
Want to see it first? The full build, with every step, is on the blog: DIY outdoor bench plans, where you can also compare all our outdoor bench plans side by side. Furnishing the whole patio? See the outdoor furniture plans index.
Quick answers
Reviews
There are no reviews yet.