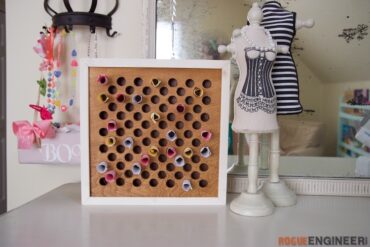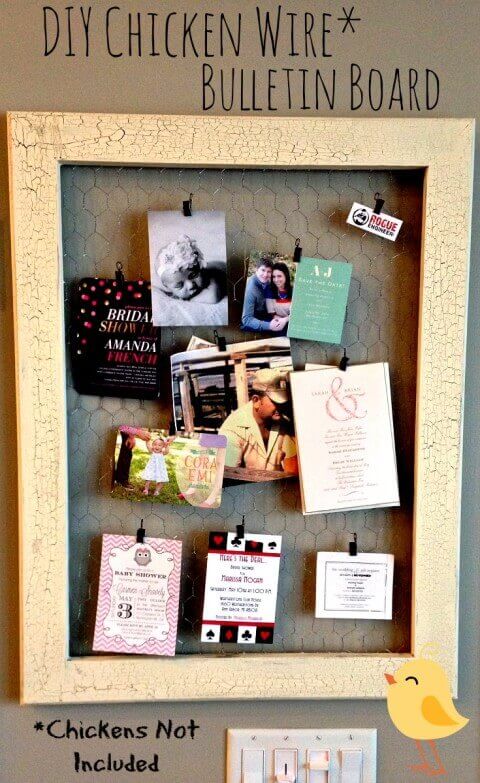
Since my husband has been spending so much time in his “man cave” building things, I decided it was time for the girls to crash his party! With all the scrap wood lying around I decided what better way to put it to use than to create a project of my own. I decided to create a hanging wall display for cards, invitations, kids’ art work, and important business cards (Notice: Rogue Engineer, top left corner). Most of the time I’m in charge of the staining and painting of the finished pieces, but this time I wanted to give it a go on my own. With little to no experience with power tools, I wanted to start with something easy. So here’s the simple step by step instructions on how to create your own bulletin board!
Required Tools
Supplies
- 1x 1 x 3 x 8′ (select pine board)
- Chicken Wire
- Adhesive Bumpers
- Sawtooth Picture Hangers
- Staples
- Curtain Clips
Cut List
- 2x 1 x 3 x 19.5″
- 2x 1 x 3 x 28″
Instructions
As always if you have any questions don’t hesitate to comment below and especially don’t forget to post pictures of your finished products in the comments! ENJOY!
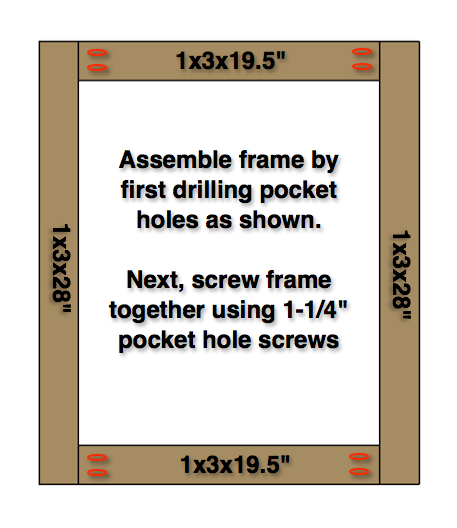
Step 1: Assemble Frame
Step 1:
Assemble frame by first drilling pocket holes as shown.
Note: When drilling these holes make sure your Kreg jig is set to 3/4″ board thickness.
Next screw the frame together using 1-1/4″ pocket hole screws. Be sure to clamp the joint while screwing it together to assure you have a planer joint when done.
Step 2: Route Edges (optional)
Step 2: Routed Edges (optional)
If you want to get fancy with it you can choose to add a routed edge like we did.
If you decide to do so make sure you sand down all your surfaces so that they are nice and even first.

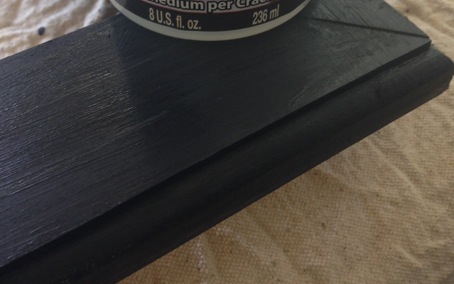
Step 3: Apply Color
Step 3: Apply your Color
In this case I decided to go with the weathered wood crackle finish. I wanted there to be a significant contrast in the top coat color and the base coat color. To find out more about how I applied this finish check out the post on weathered wood crackle finish.
Step 4: Apply your Protective Coating
It is always a good idea to add a protective coating to your project once your done. This is no exception to the rule. For this project we added a satin polycrylic.

Step 5: Add Chicken Wire
Step 5: Add Chicken Wire
Using tin snips or wire cutters, cut the chicken wire in the shape of a rectangle that is slightly larger than the opening in the frame.
Then pull the chicken wire across the back of the frame (side with pocket holes) and staple it to the frame.
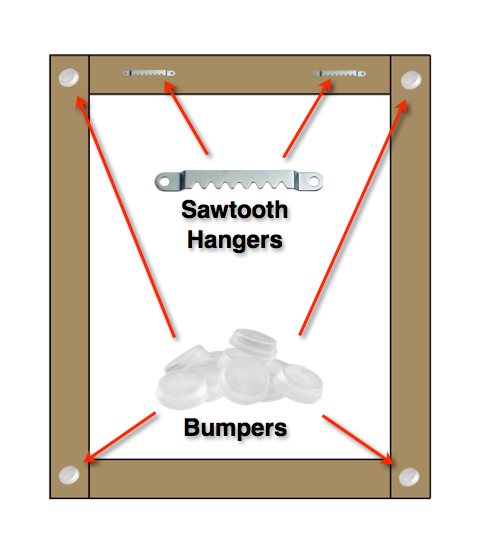
Step 6: Install Bumpers and Hanging Hardware
Step 6: Add Bumpers and Hanging Hardware
Now, in order to keep that pesky chicken wire from scratching up your walls, add the bumpers to each corner, as shown.
Lastly, add the two sawtooth hangers. Make sure these are vertically even with one another so that it will be easy to hang the bulletin board level.
Step 7: Add the Clips
Now the easy part! Add the curtain clips and all you cards, invites, etc. and there you have it folks!
As always if you have any questions don’t hesitate to comment below and especially don’t forget to post pictures of your finished products in the comments! ENJOY!