

Easy Portable Workbench
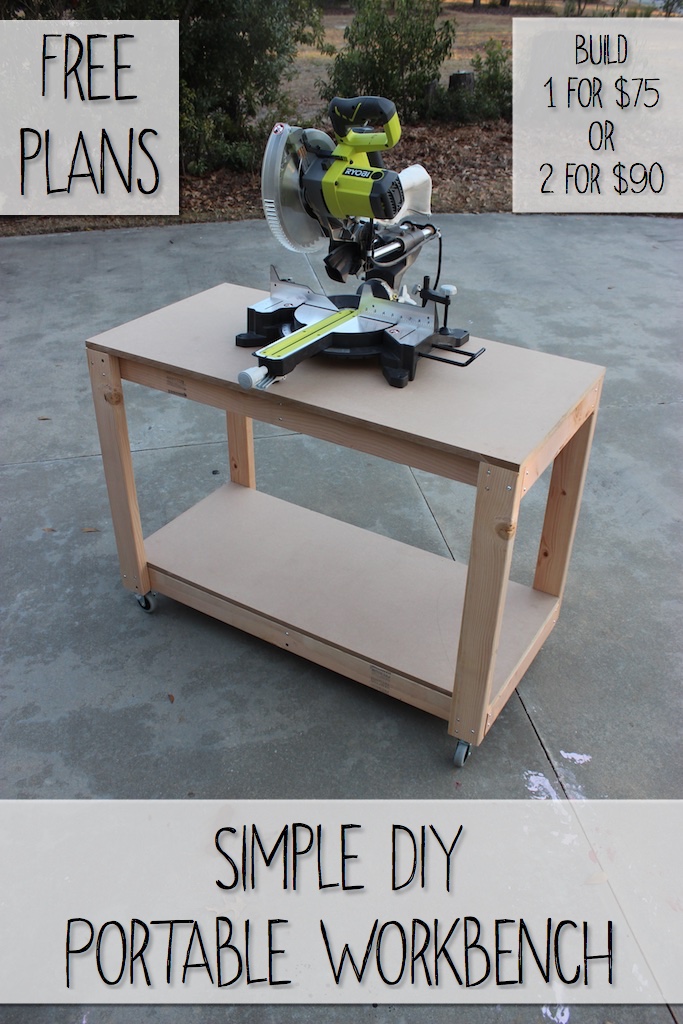
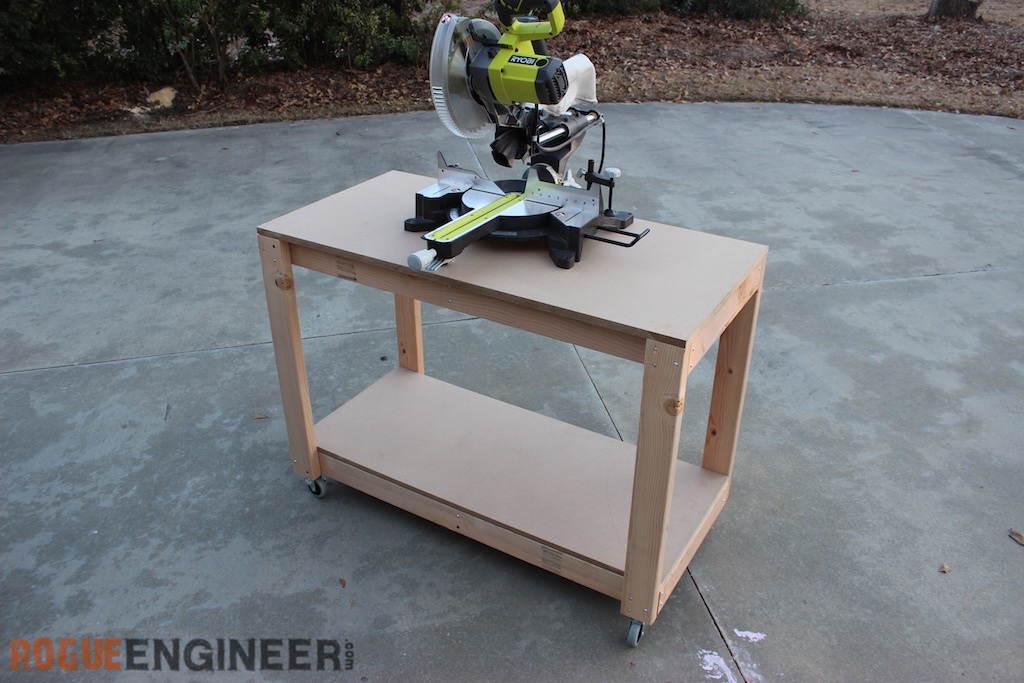
So a while back I built Jamie a really nice portable workbench with storage for assembly and finishing. Well, I have found myself using it a lot and I decided that it was time I had my own. I really needed a quick and cheap portable workbench. These easy portable workbench plans will show you how I made my workbench for about $75 and in about 30 mins. Also, since these plans only use 1/2 of the sheet of MDF you could build another with only 5 more 2x4s and four casters.
For sneak peeks of our upcoming projects be sure to…



Disclosure: The links provided in the “materials” and “required tools” sections are affiliate links. If you would like to support our site and help keep our content free come find out more about how we can make money with no extra cost to you.
Tools Required
Materials
- 5x 2 x 4 x 96″ (Premium Studs)
- 1x 3/4″ x 49″ x 97″ (MDF Sheet)
- Very Heavy! Much easier to have this cut at the store
- Casters (Set of 4)
- 2-1/2″ Wood Screws
- 1-1/4″ Washer Head Screws
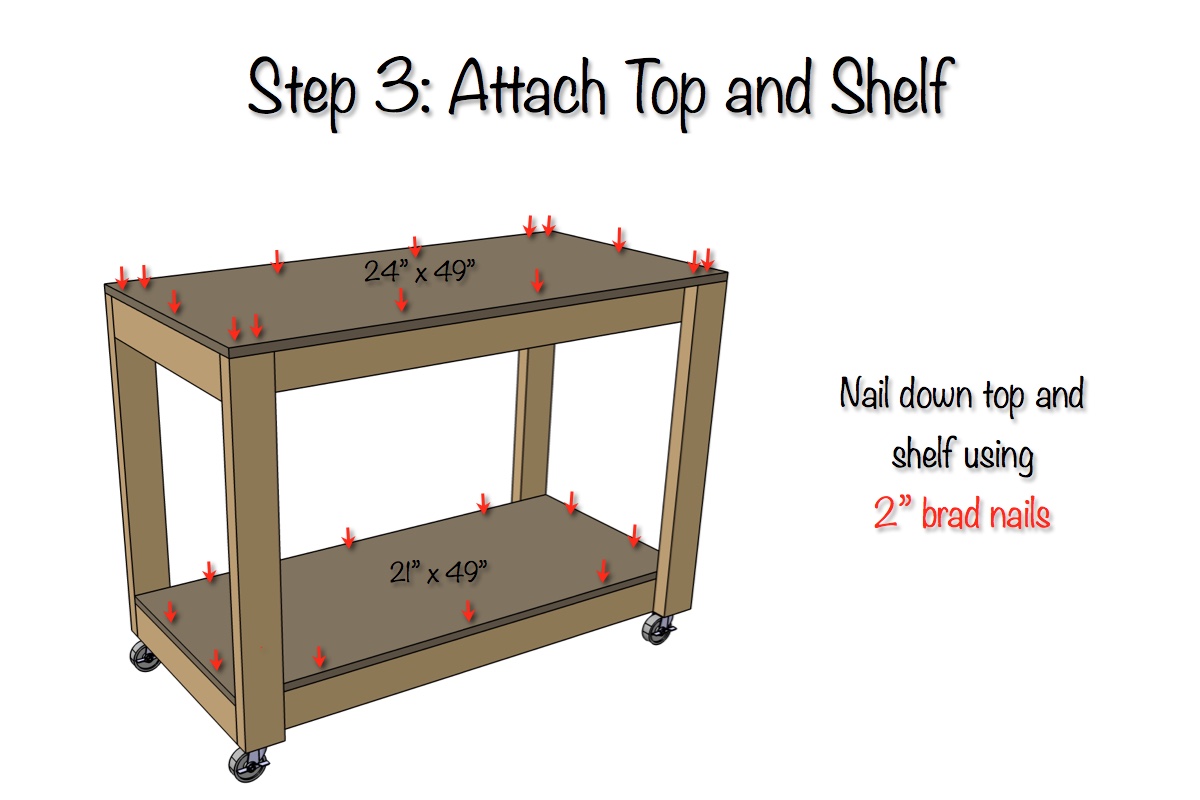
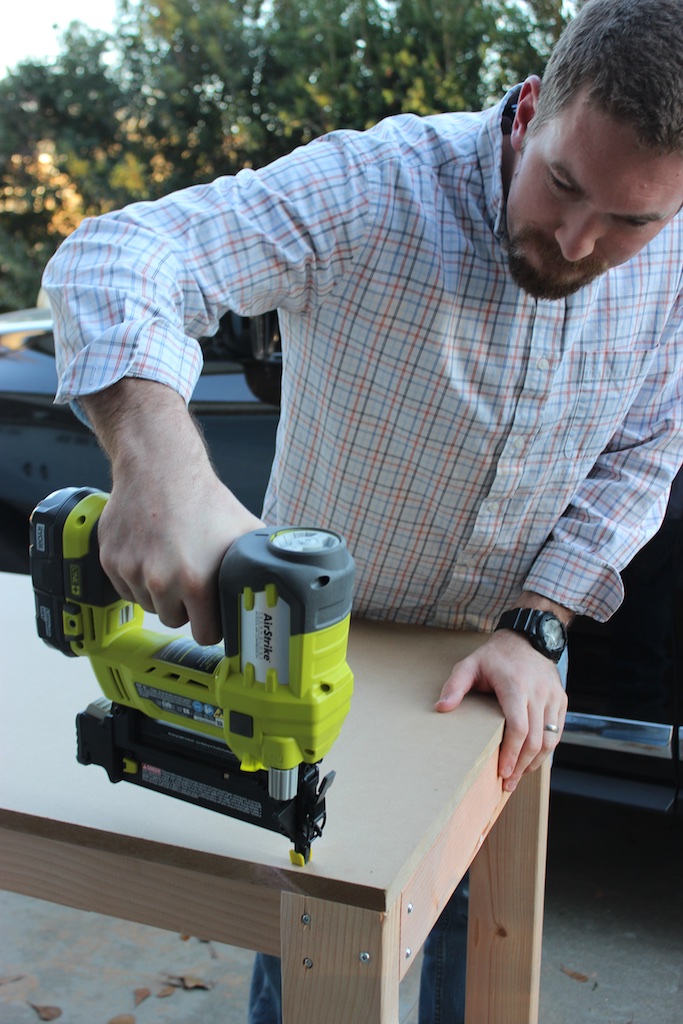
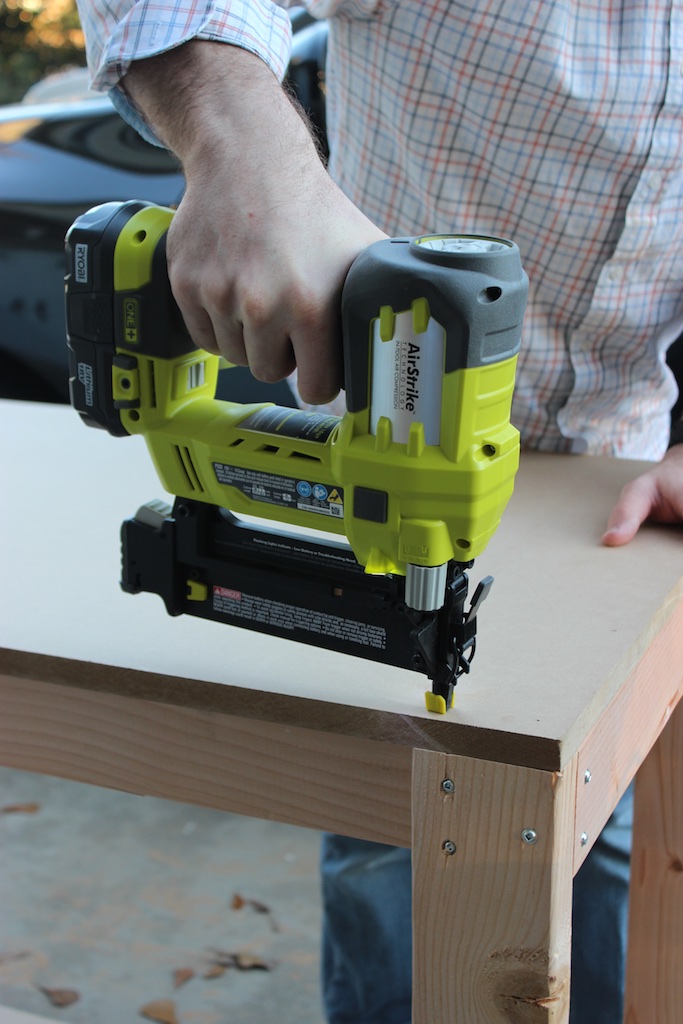
- 2″ Brad Nails
Note: You can easily build two of these from one sheet of MDF all you would need is 5 more 2x4s and 4 more casters.
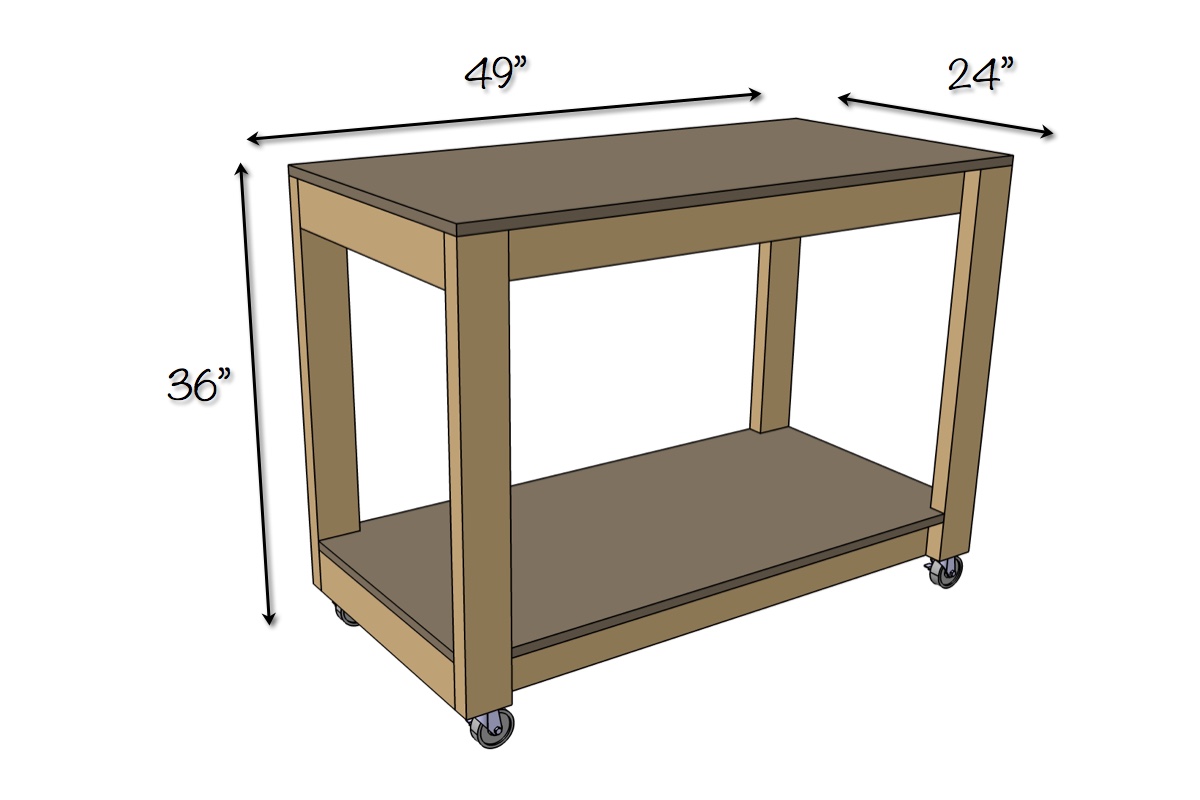
Dimensions
Cut List
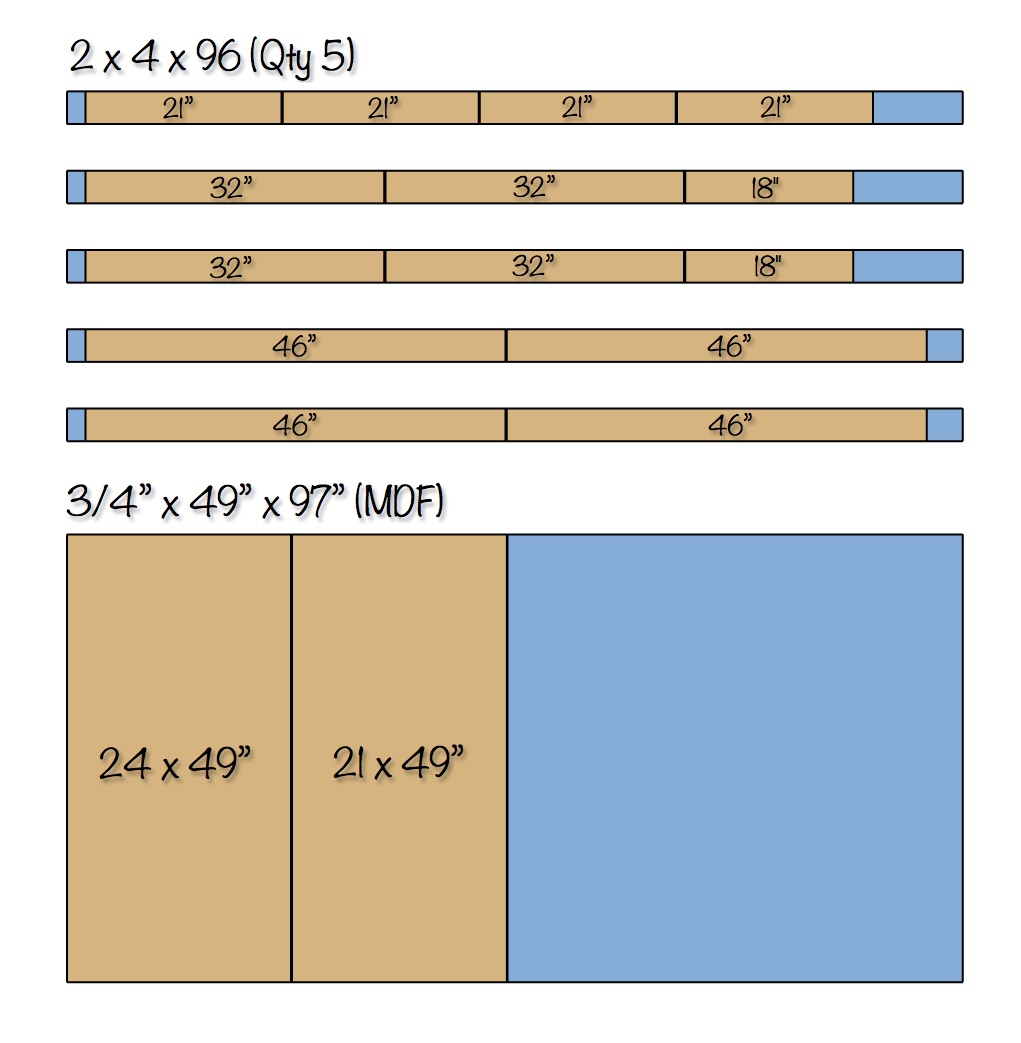
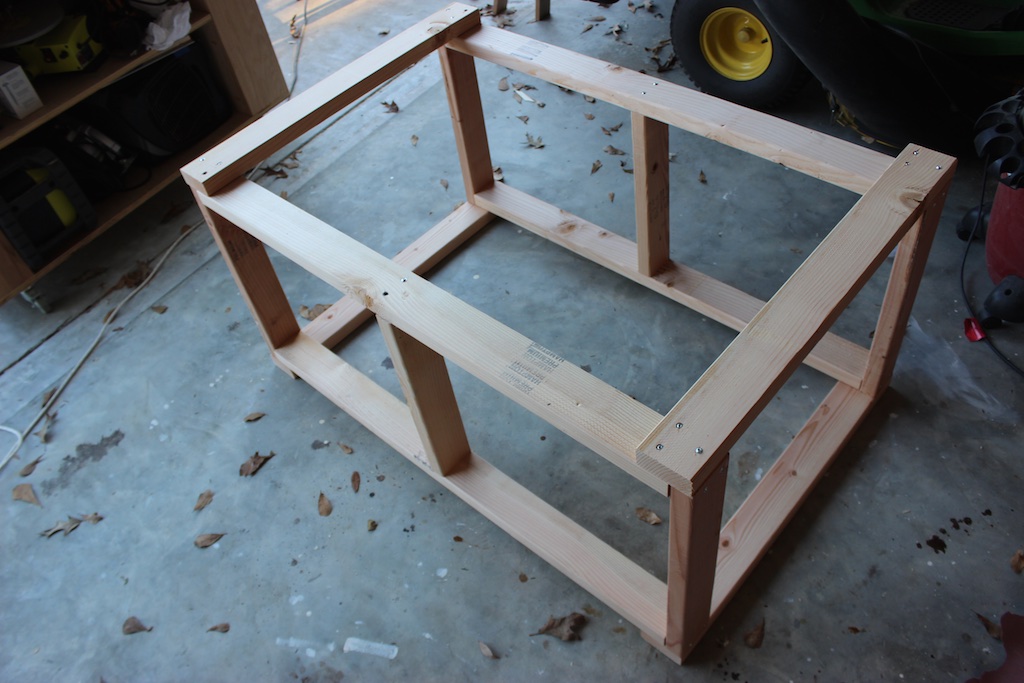
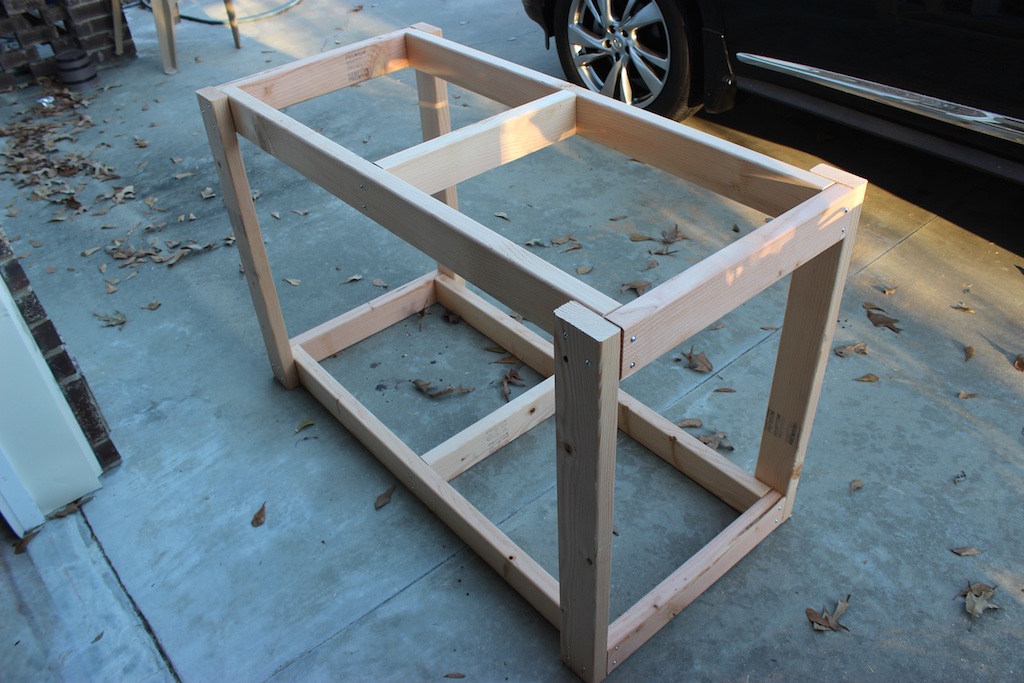
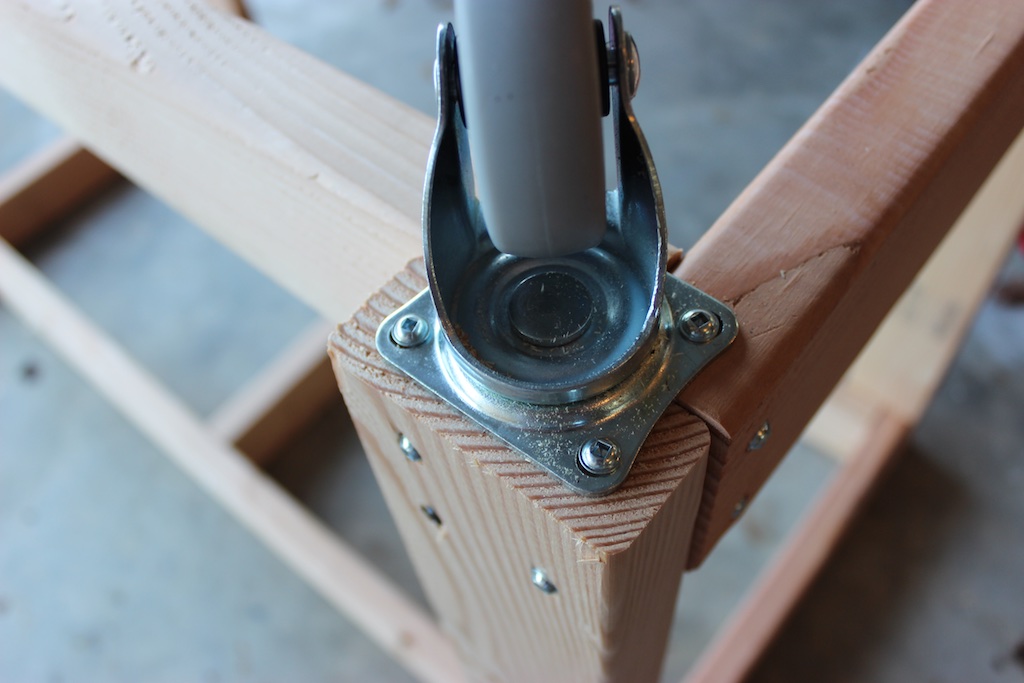
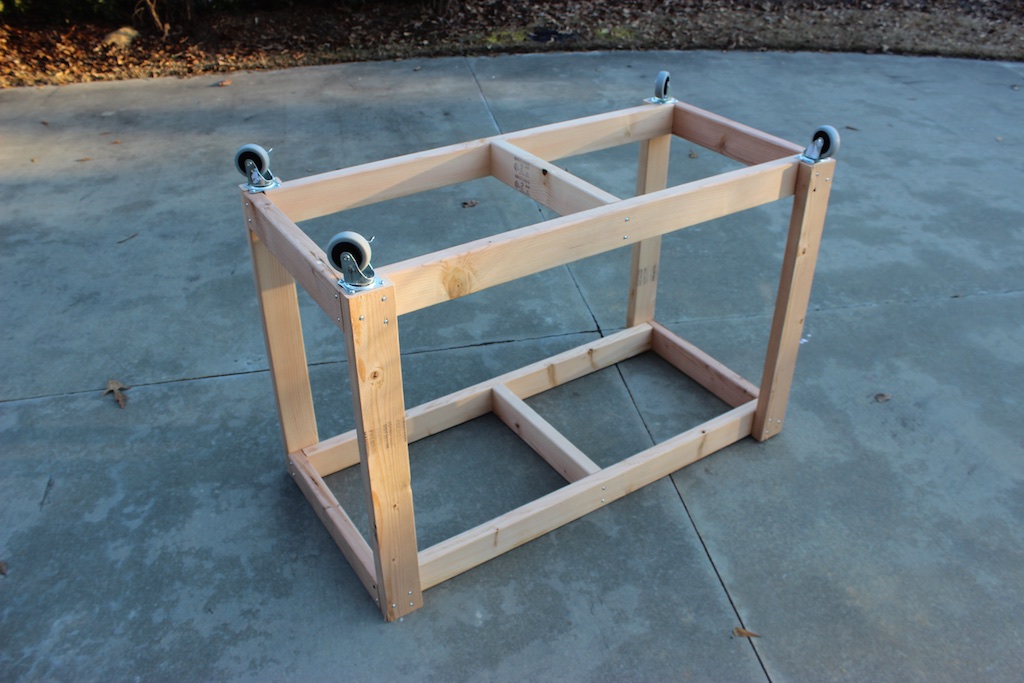
Easy Portable Workbench Plans
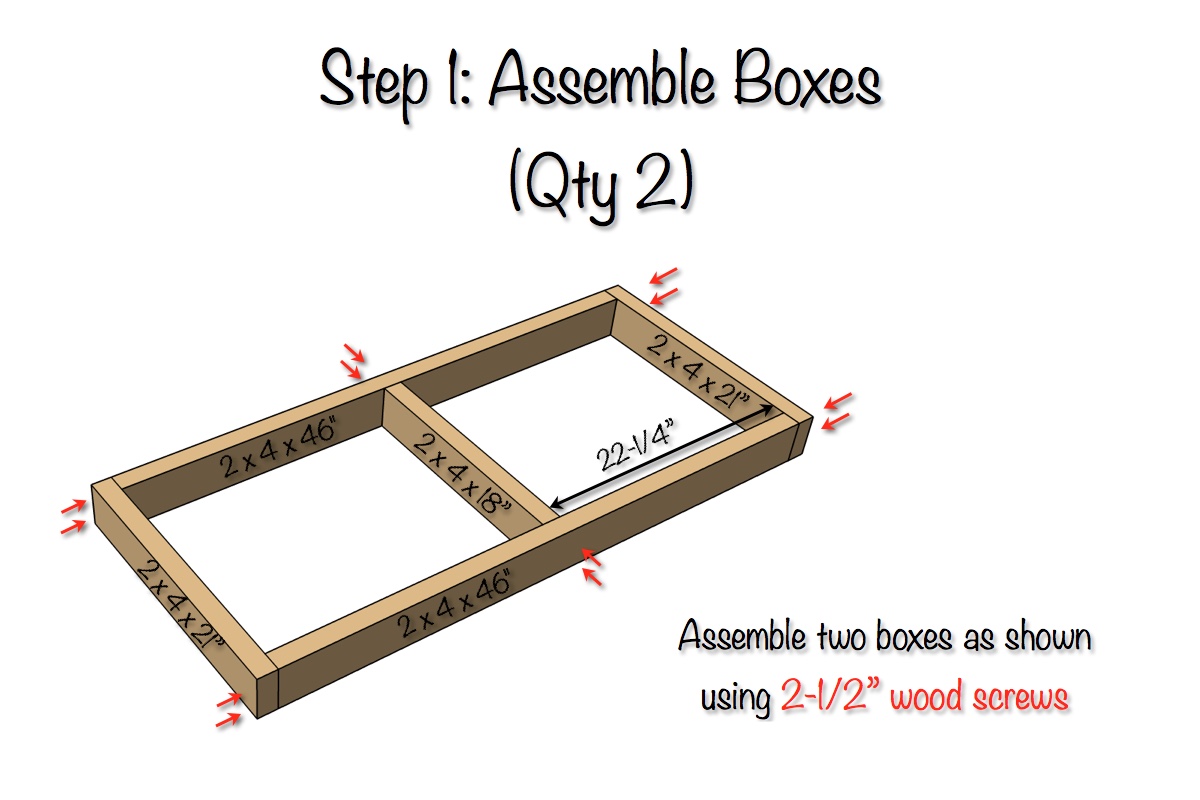
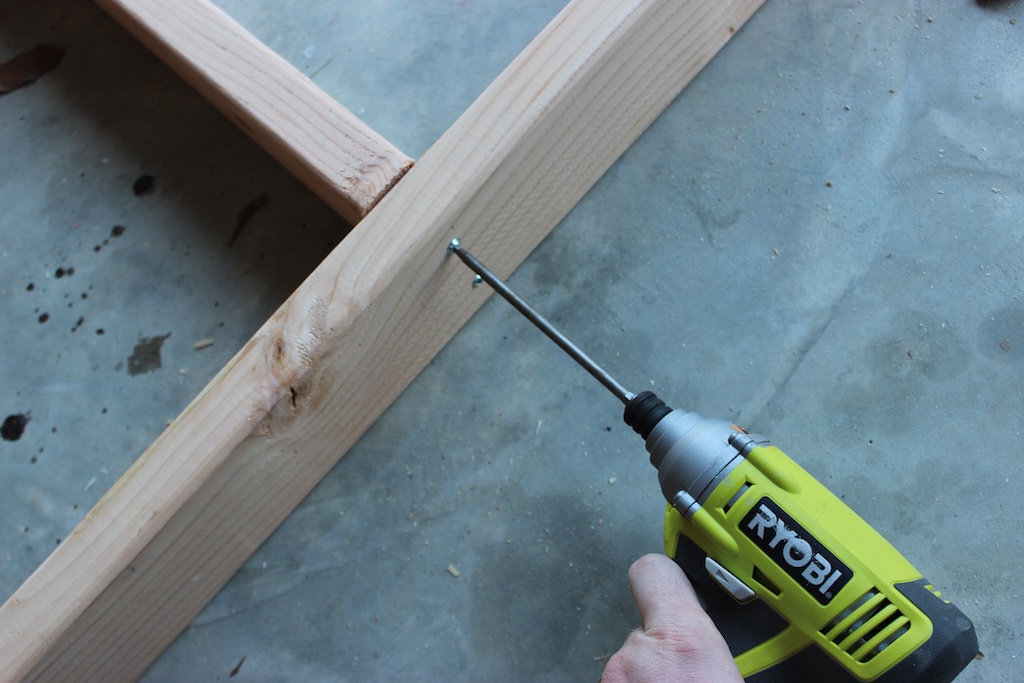
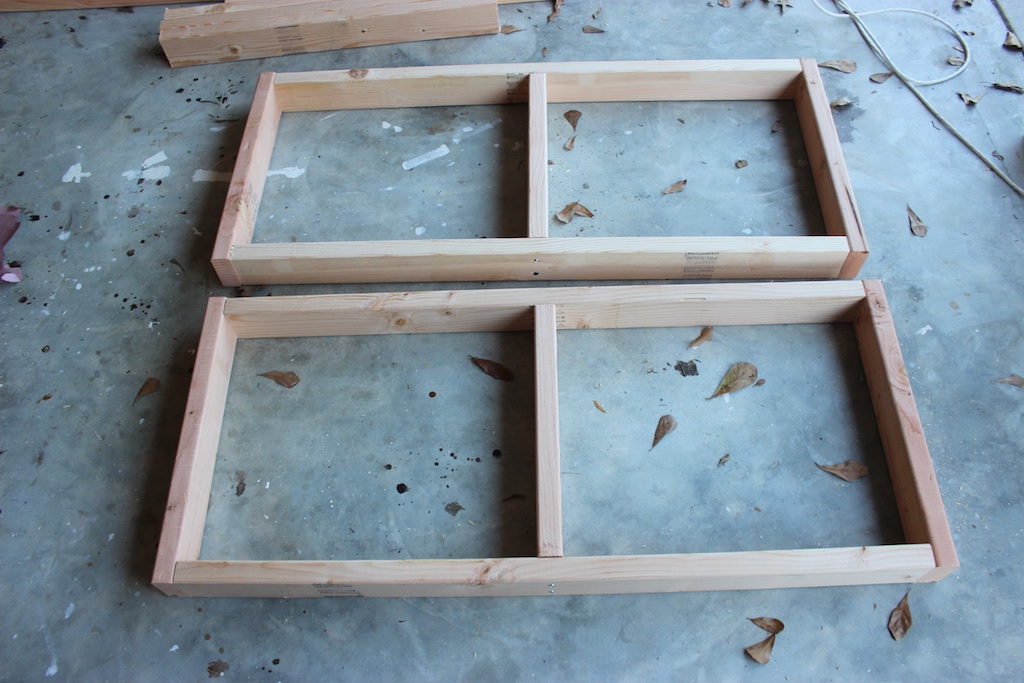
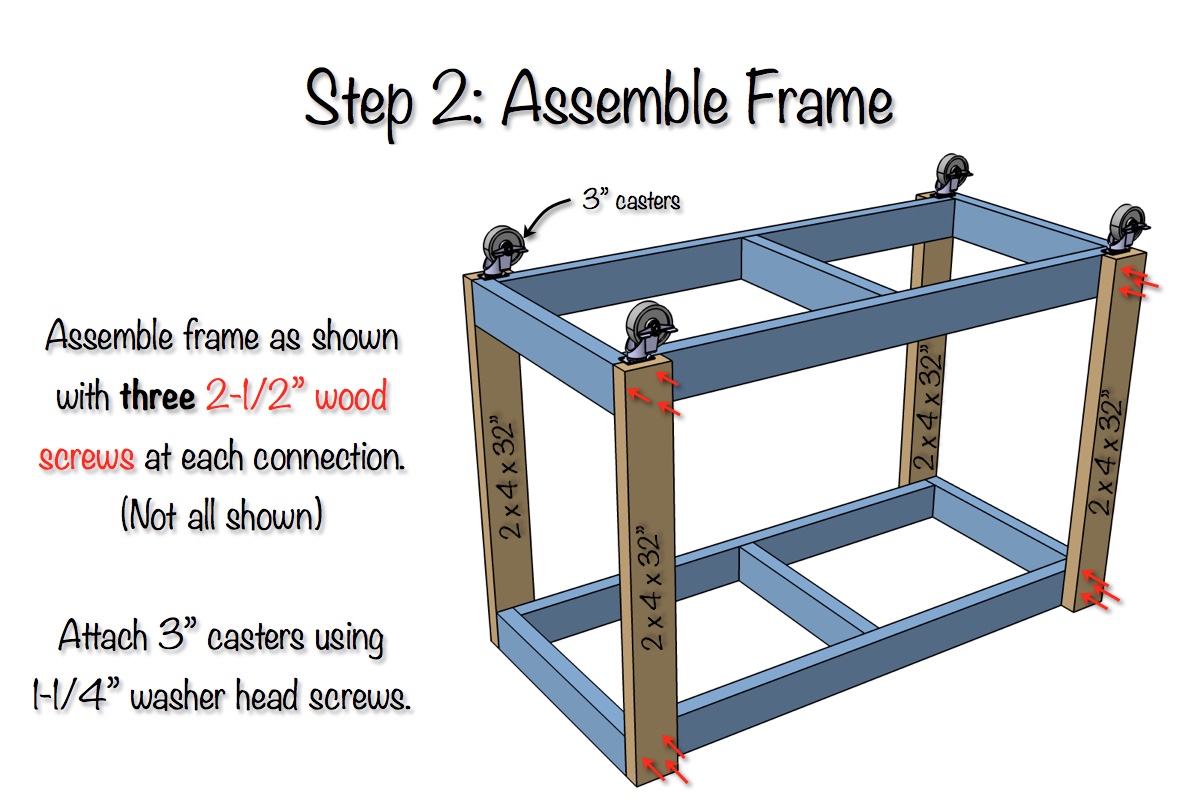
Questions? Comments?
As always, if you have any questions don’t hesitate to comment below and especially don’t forget to post pictures of your finished products in the comments! ENJOY!
I built this workbench last weekend and I like it more than I thought I would. I’ve rolled it out on the driveway to work and have used it to spin around in the garage to get better lighting to refinish furniture. It took me 2-3 hours to build in total.
I was worried about using MDF as the top surface since MDF is not great when it comes to moisture, but its so smooth which makes it very easy to slide a project around.
Yea I agree Brad. It’s makes a heck of a utility/small assemblies cart.
Reattaching photos that were removed
[…] and noticed that the frame was pretty much the same but it was easier to build. I found a plan on here and altered it to fit my needs. My plan was to build a wood work bench with shelves and then use […]
[…] Easy Portable Workbench Plans – Rogue Engineer. Jan 25, 2015 – Easy DIY Portable Workbench Plans | Rogue Engineer. Easy DIY Portable Workbench Plan | Rogue Engineer. Disclosure: The links provided … […]
[…] workbench by Rogue Engineer is perfect for a small workshop. Compact, yet plenty of space to work on top and storage down […]
[…] build your own workbench with these diy plans. Determine the size workbench you need, cut the. Easy portable workbench plans rogue engineer. These easy portable workbench plans contain stepbystep instructions showing you exactly how to […]
Jamison, thanks for the excellent and simple plans! I am not a handy individual, but your simple and straightforward plans gave me enough confidence to attempt my first carpentry project. As I always look for the best bargain, I decided to make a pair of workbenches–one for my garage and one for work as a standing laptop podium/lectern (using 36″ legs rather than 32″). As it was my first project, both pieces are a little bit out of alignment, but in the end, both of them function quite well. I also finished both workbenches with a few layers of shellac and I also ended up sanding and painting the standing podium. Both were fun to build and I’m excited to build some more!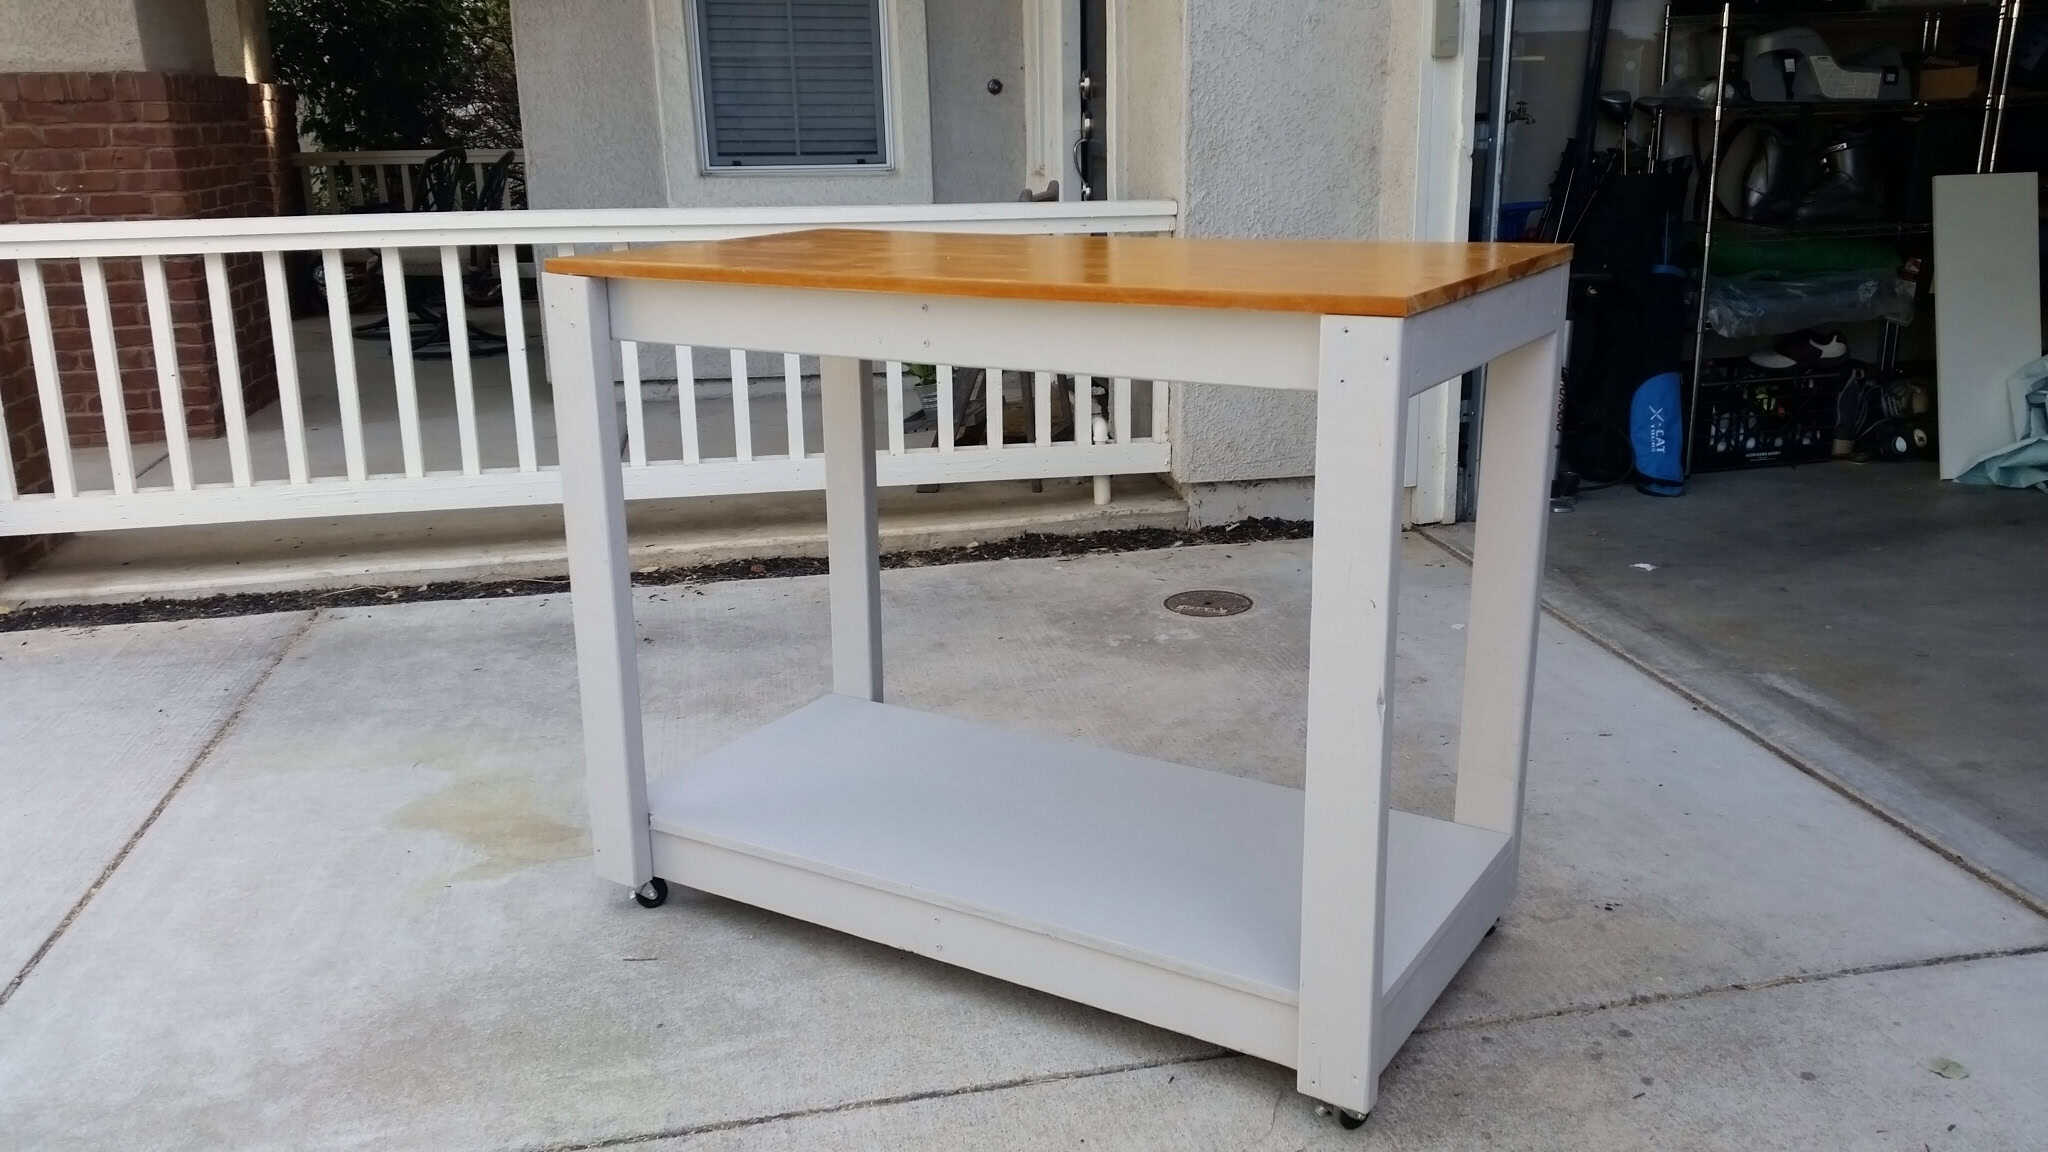
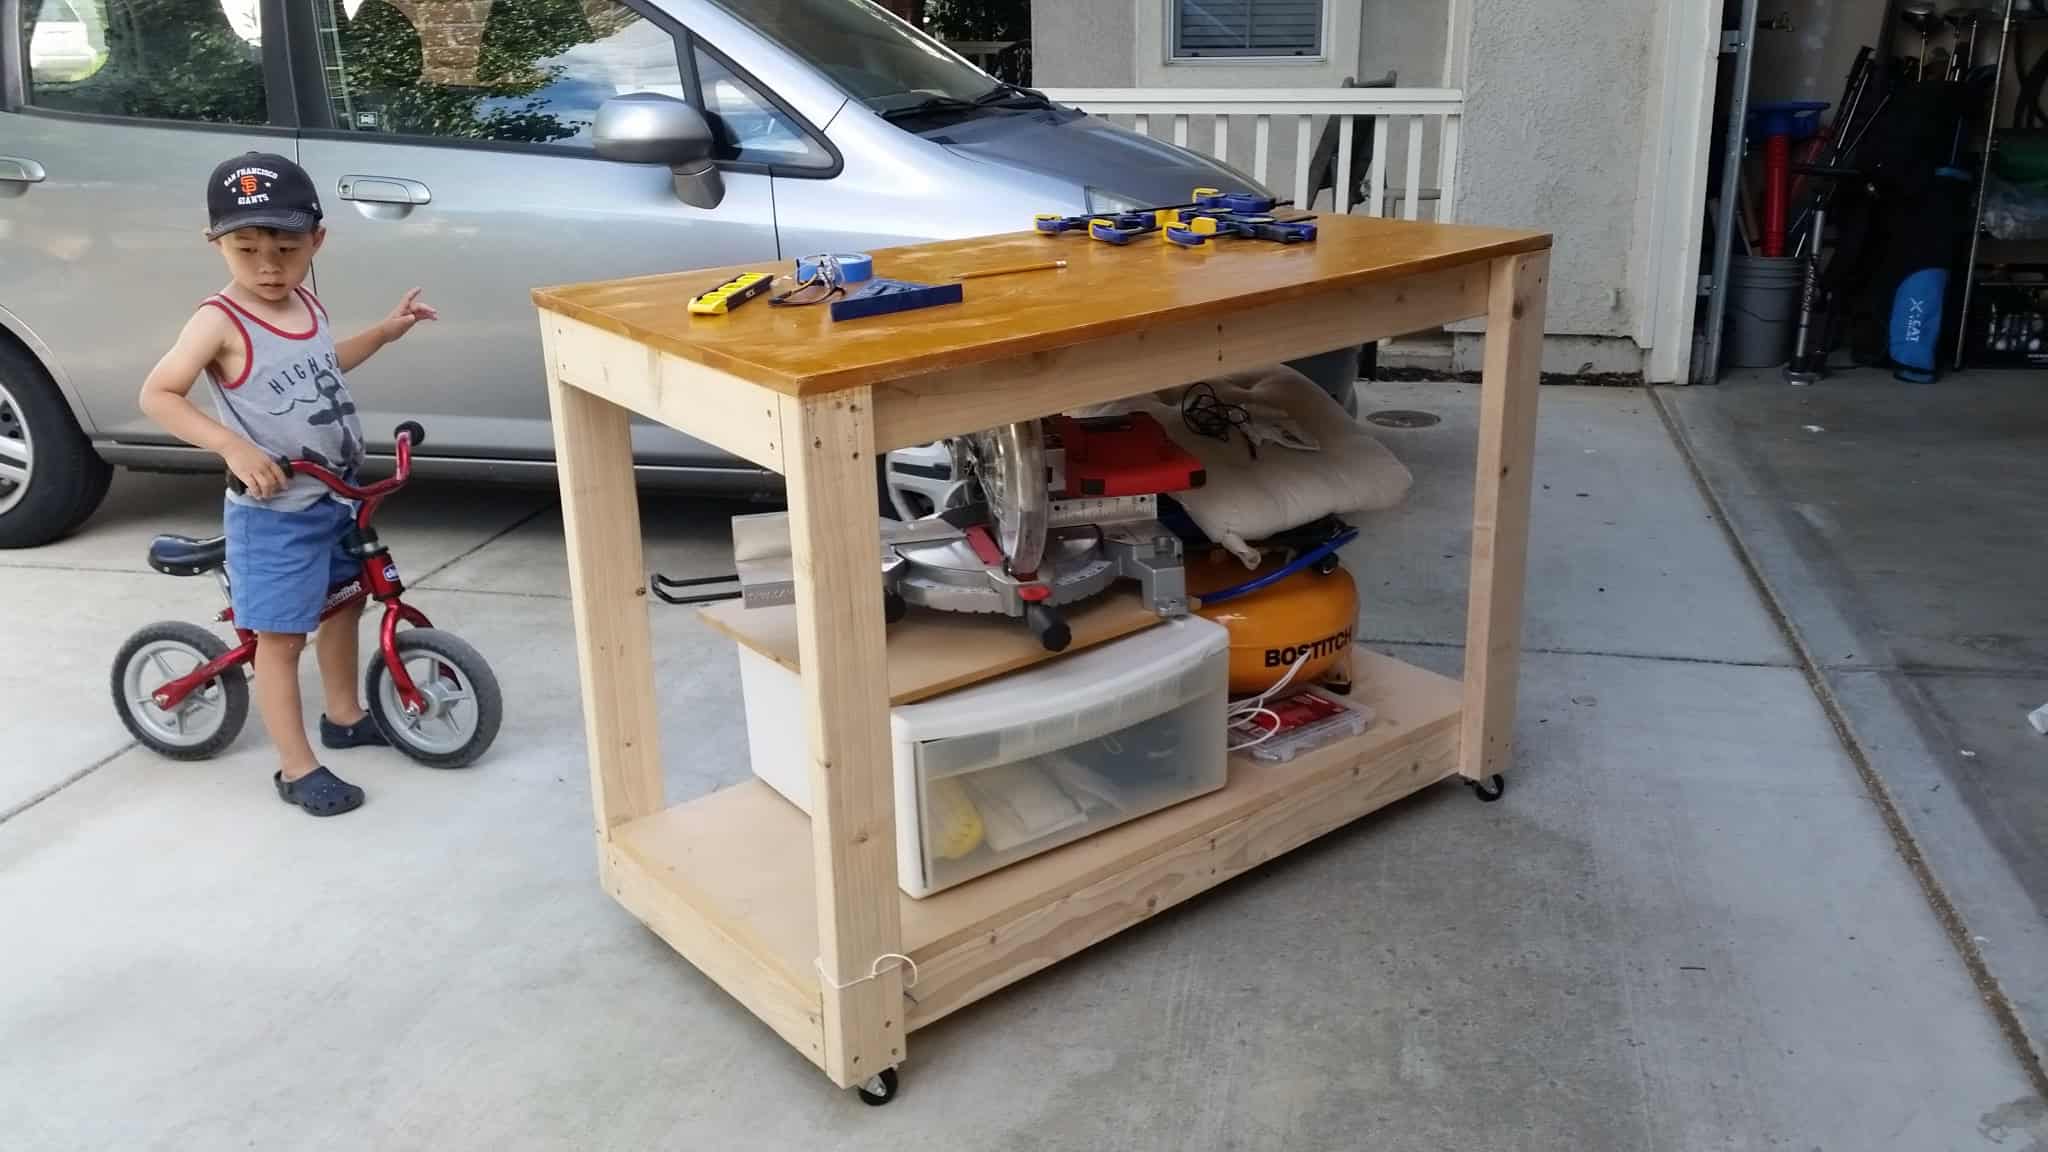
Wow those turned out great! thanks for sharing!
Hi Jamison, I love your design. It’s by far one of the best simple workbench designs I’ve seen among woodworking blogs, both in terms of strength and costs. I just have a simply question, as I’m still pretty much a newbie to woodworking. What’s the benefit of using MDF over, let’s say, 3/4″ plywood? I know it can be more smooth, but is it more rigid as well?
Thanks man! I used the MDF just to have a smoother work statin, but 3/4 plywood would work just as well.
This is a great, simple work bench and seems very sturdy. Made one with my dad in about hours. The casters you listed in the plans didn’t have a brake, so I purchased some lockable casters instead .
AWESOME! So cool you built it with your dad. Nothing better than a family that builds together!
Hey Jamison! I see that you use brad nails on the MDF board but they aren’t on the supply list – can I use screws instead? thanks!
You sure can, just pre-drill first. And thanks for the heads up. I’ve added that to the materials list.
Thanks for replying! One last question – Step 2 in your post says to use 3″ casters, but your link in the supply list goes to 2″ casters. Can you advise me on what size to get? I plan to use the workbench as a plant stand, so I was thinking the 3″ will offer better weight support, but want to make sure they will fit. Thanks again – this will be my first build.
Either should be fine just make sure the mounting play is no bigger than 3″ by 3-1/2″
How much weight does it hold? Want to use for storage and work surface for a small church to prepare school supplies to send to other countries. Will probably buy the storage baskets for the shelves and fill with supplies until needed. First build.
This table is very study and will be able to support the weight for what you need. Also, what an awesome thing your church is doing! Happy Building.
Great work table and SUPER easy to build, even for a beginner like me. Thanks again Jamison!!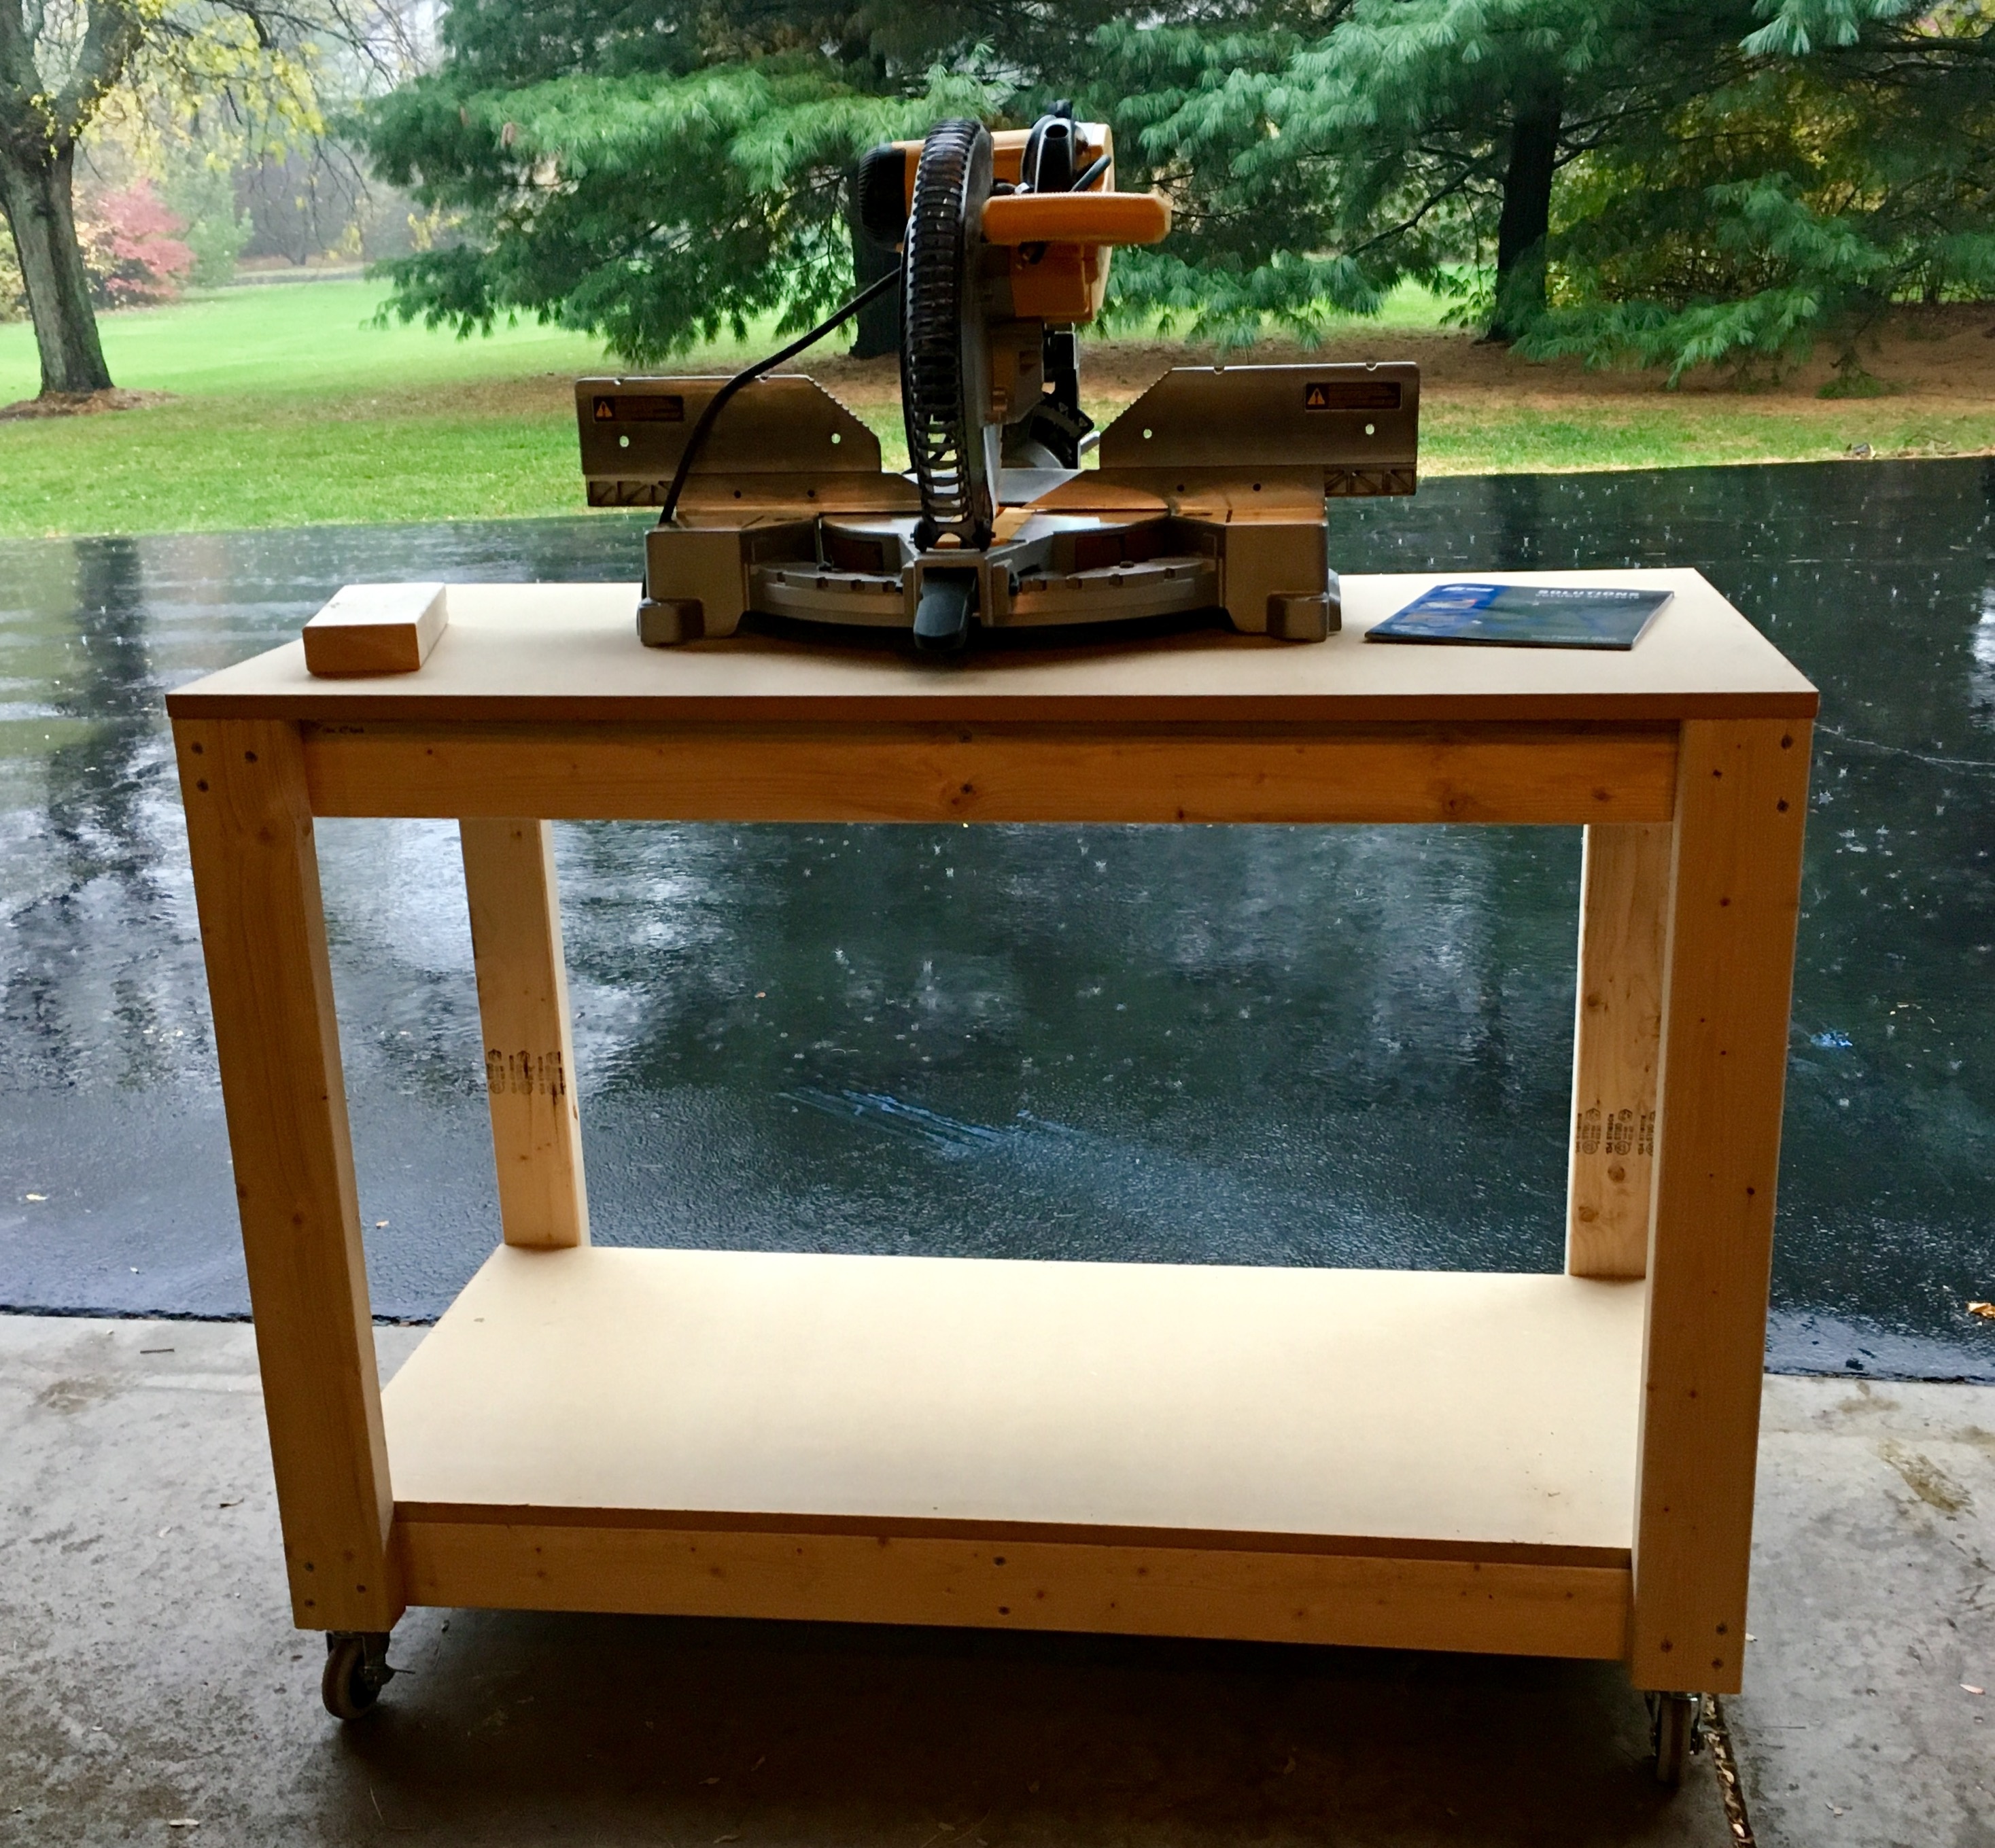
This is a great, simple work bench and seems very sturdy. Made one with my dad in about 3 hours. The casters you listed in the plans didn’t have a brake, so I purchased some lockable casters instead .
Just finished mine and I’m really happy with the outcome. I intend to add another shelf in the middle and some peg board on the side for common tools I use while assembling projects. https://uploads.disquscdn.c… https://uploads.disquscdn.c…
Is this comment/question section still active after the 3 years? I hope so.
I have 2 questions. We want to be able to clamp things to the table as needed. Will the two long sides with the 1 3/4 ” indent be enough for clamping? Secondly, because we want to make it stable, we are not adding casters. Would it be better then to have the bottom shelf not flush with the legs in case the floor is uneven? We could raise the shelf ~2″ so the legs are the only parts that touch the floor.
We plan on size modification for a total of 4 tables. Thanks for these plans.
I made one, but used 1/2″ ply for the top and shelf. Love it! Thanks for the plans! https://uploads.disquscdn.c…
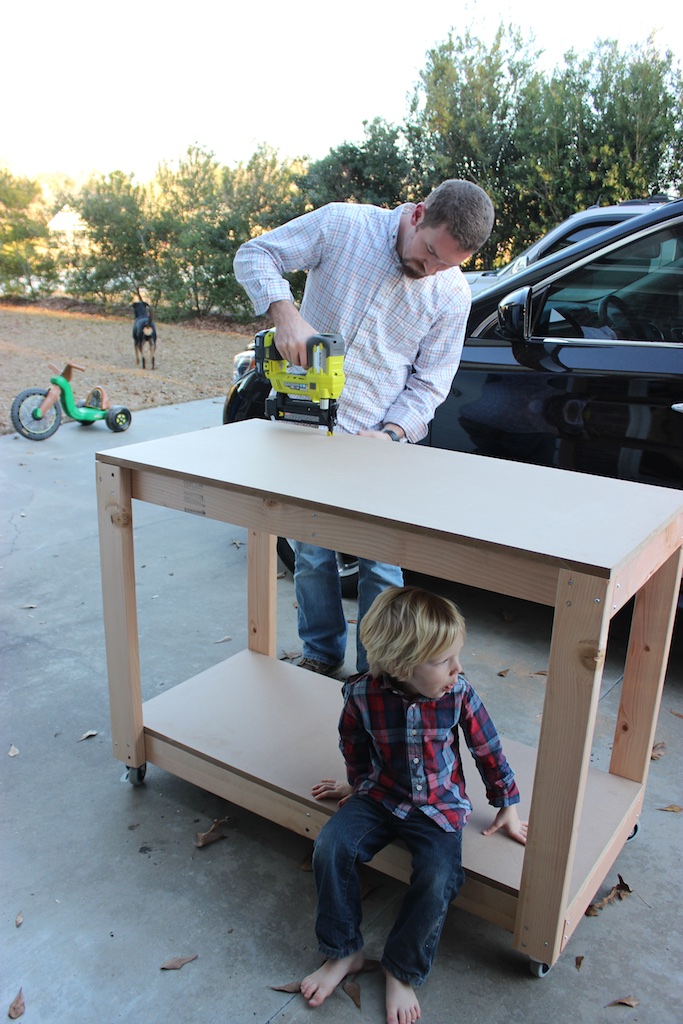
I’ll be building two of these this weekend. Since i already have enough left-over pieces of 3/4 plywood, I’ll be using that instead of mdf. These will be perfect for my needs, thanks for sharing the plans. On a side note, I know it is just a picture, but the one of your son sitting below where you appear to be nailing gives me the heebie-jeebies! 🙂
I’ve been excited to work on a lot of these projects and realized I needed a good workbench first. I altered the design slightly taking two benches and connecting them with a stand for a miter saw.
Thanks for the designs!
What am I missing here ? When I look at the plans I see that the top should be 50 inches. 46 inch with 2 inches on either side. No one else had a problem with it so it must be something I am missing.
Thanks
2x4s are actually 1.5” thick
Thanks … I “assumed” they were 2 inches !!Dave
I enjoyed this, it was exactly what I wanted, a lot of work benches are too big and also just trying too hard to be all kitted out. This isn’t as basic as it looks though, once it’s built I can see how it transmits forces to the legs and holds itself together.
Only thing I’ll add is I’m in a metric country and it’s not as simple as just converting all the measurements too mm’s. For me the 46 inch lengths needed 65mm taken off because metric MDF/Ply sheets are slightly smaller and the “4×2′”s are a bit bigger.
Also as a note it’s quite funny how much extra these cost to make 9 years because of inflation, and I know the manager of a hardware store who gives me the max discount available.