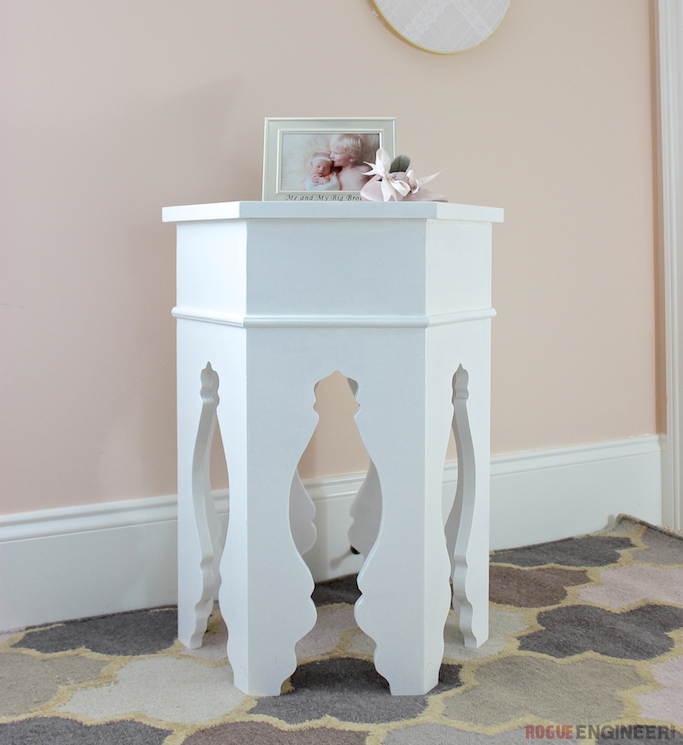
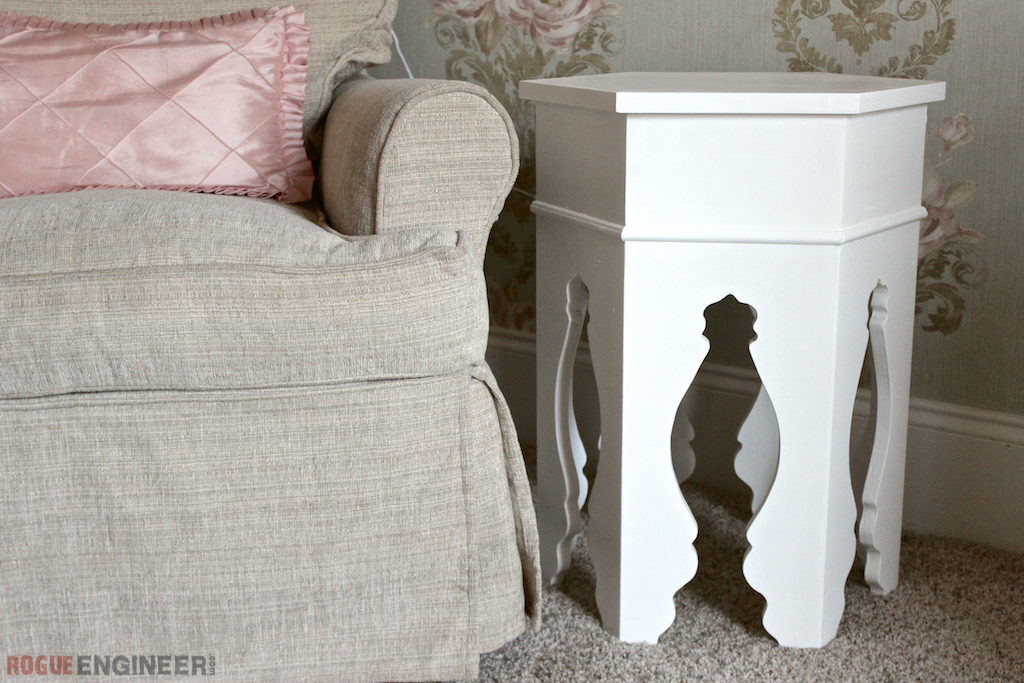
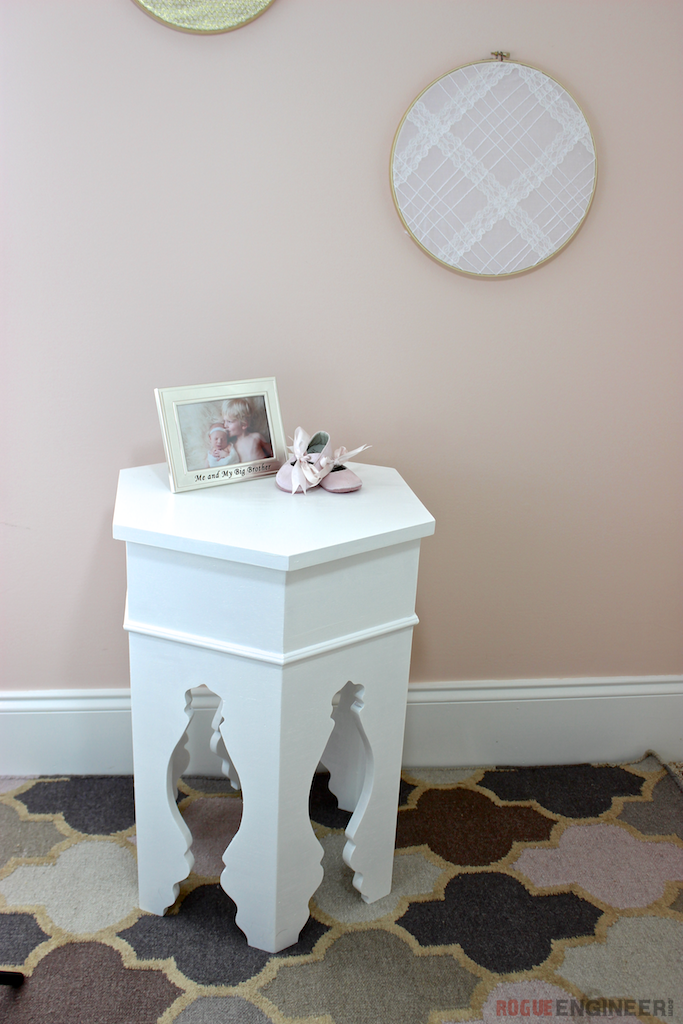
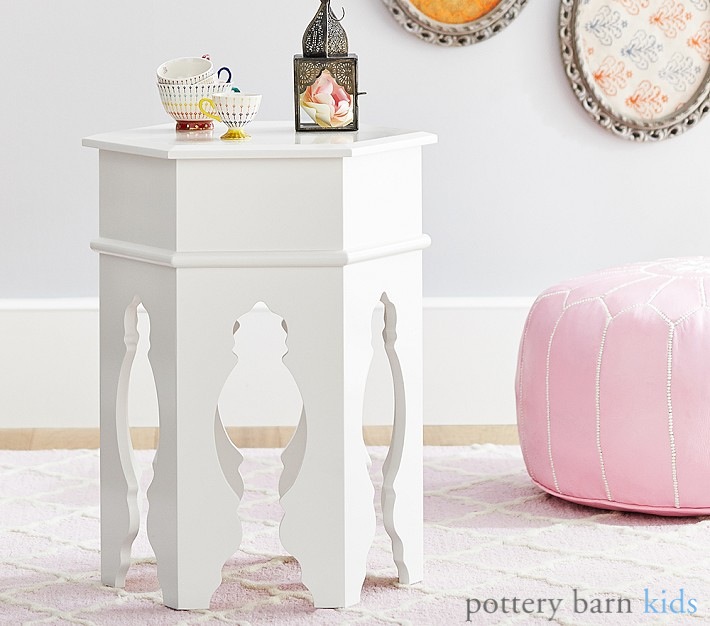
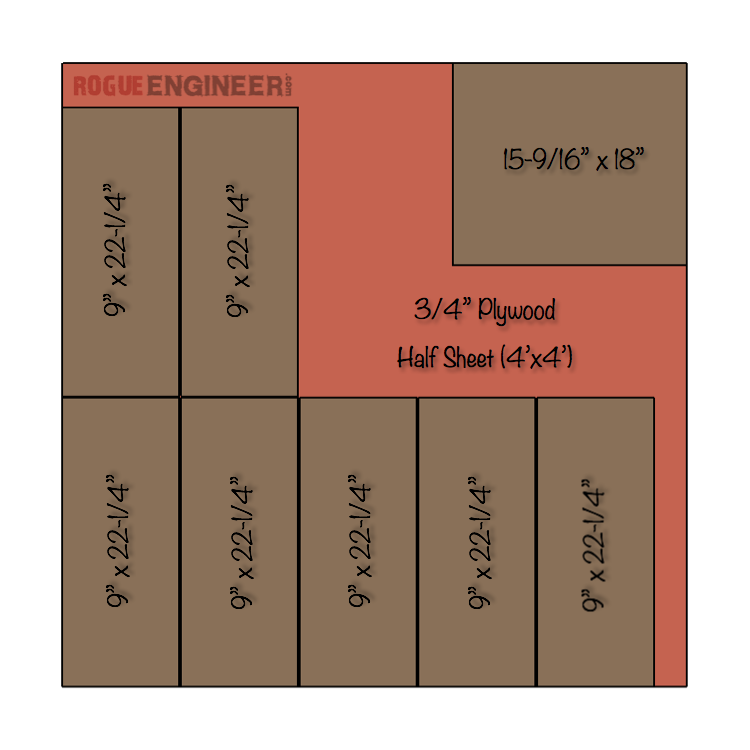
When we were laying out our nursery for Madison, a side table by the glider was a must, and since the Conner side table we made before is now being used as Brayden’s bedside table, we had to get something new. Whether it’s books or a drink, a side table is certainly a functional piece of furniture. So Jamie went shopping, window shopping that is, and she fell in love with this Moroccan Side Table from Pottery Barn Kids. The problem is that the dang thing is $150. I said, “Not in my house!”. So I got to work on a design. One weekend and a half a sheet of plywood later, and there you have it. The $40 Moroccan Side Table from Rogue Engineer. Boom goes the dynamite! Oh yea and that crazy cut out, don’t worry about it, I’ve included a template that makes it crazy easy. Enjoy these free plans and don’t forget to pin it on Pinterest.
Disclosure: The links provided in the “materials” and “required tools” sections are affiliate links. If you would like to support our site and help keep our content free come find out more about how we can make money with no extra cost to you.
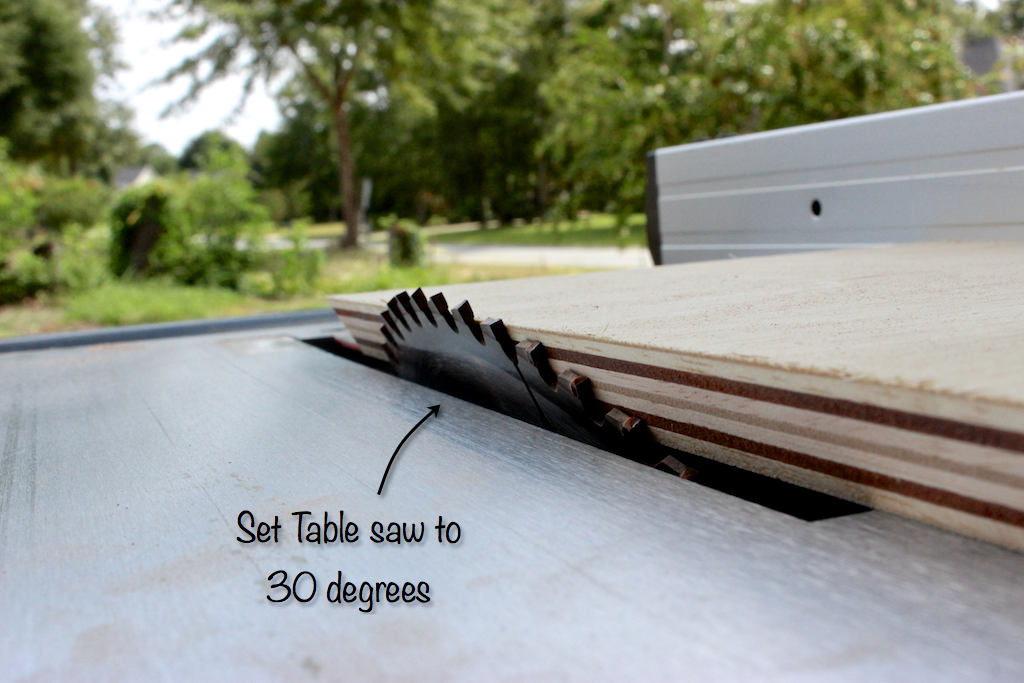
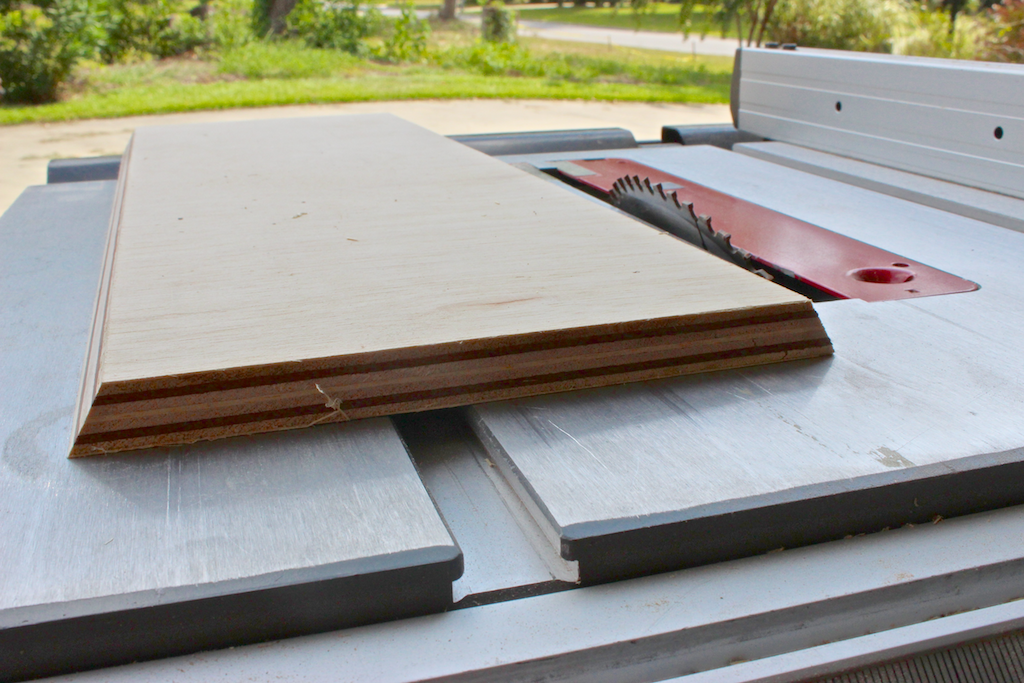
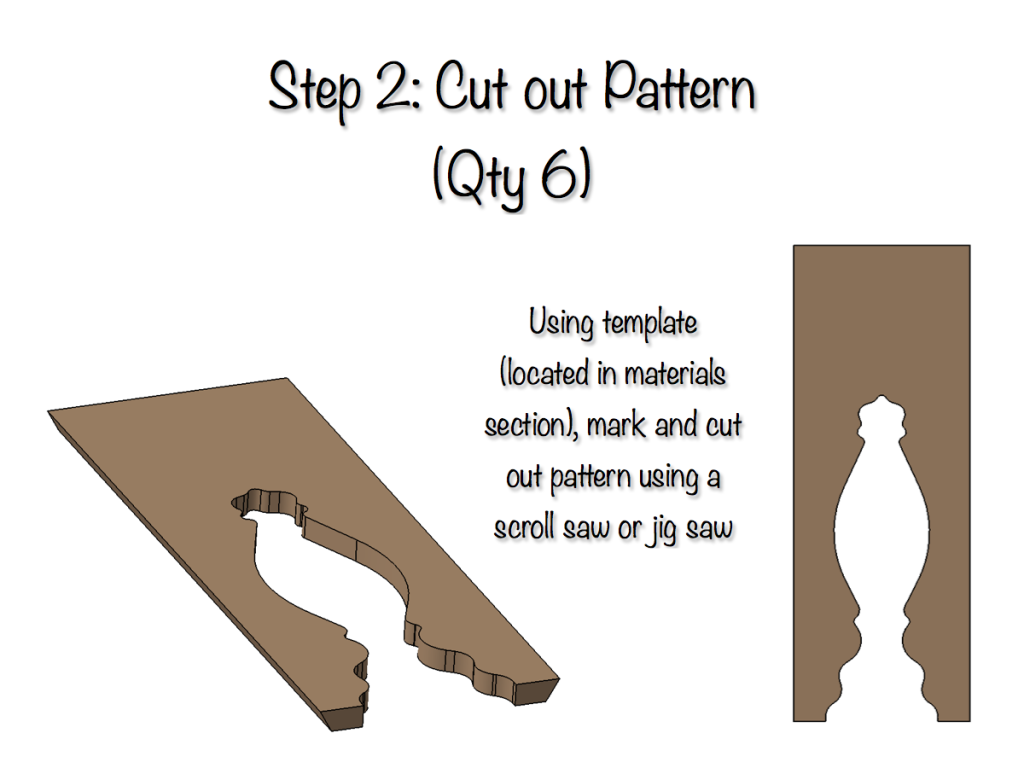
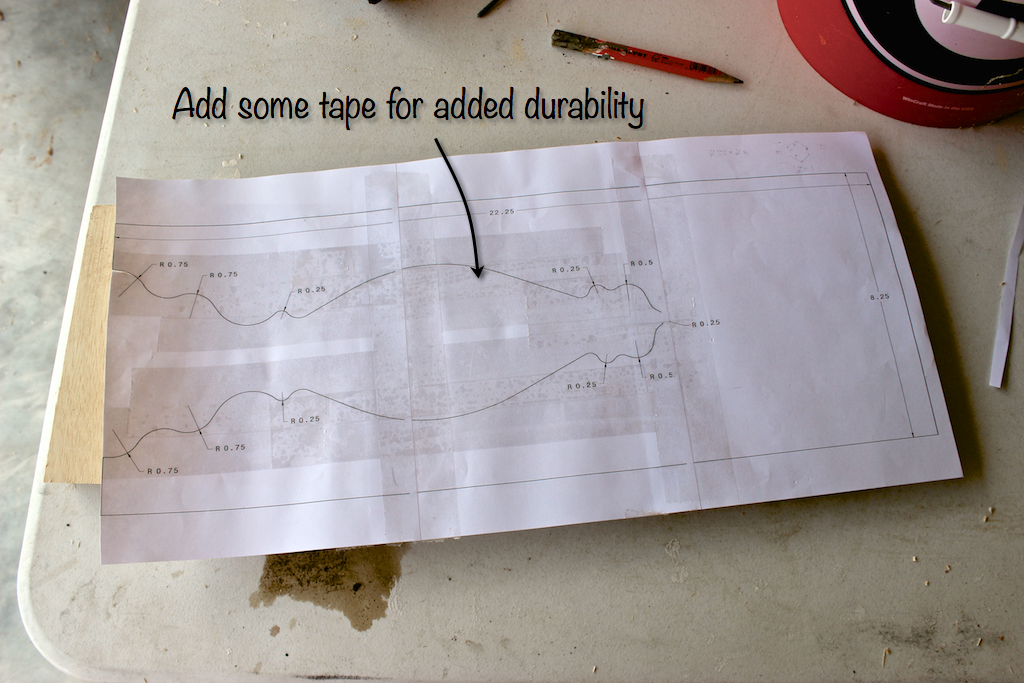
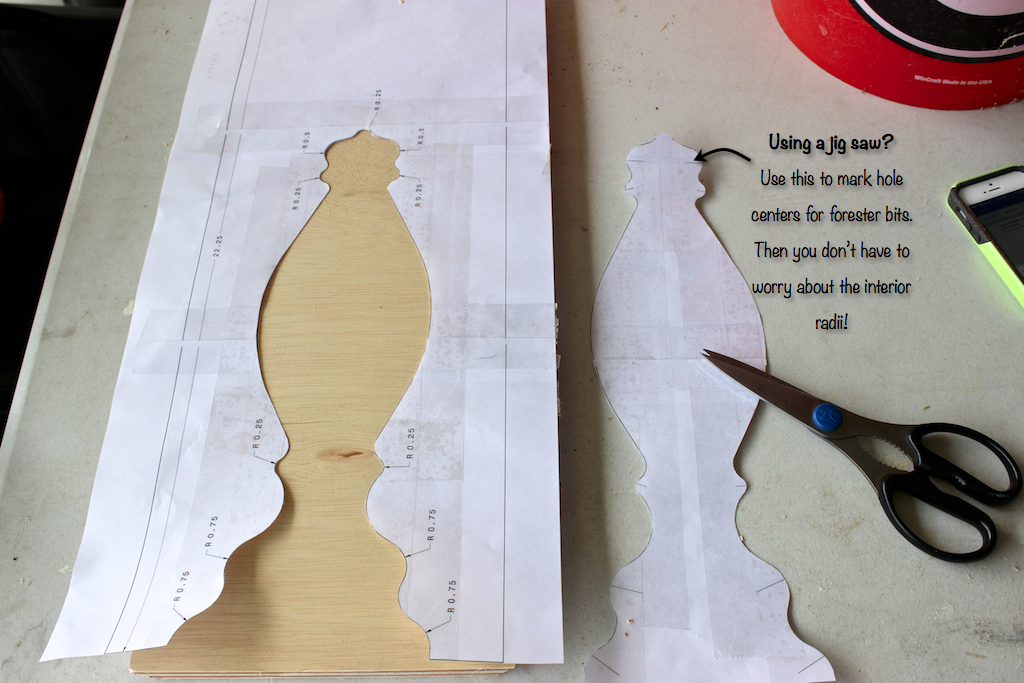
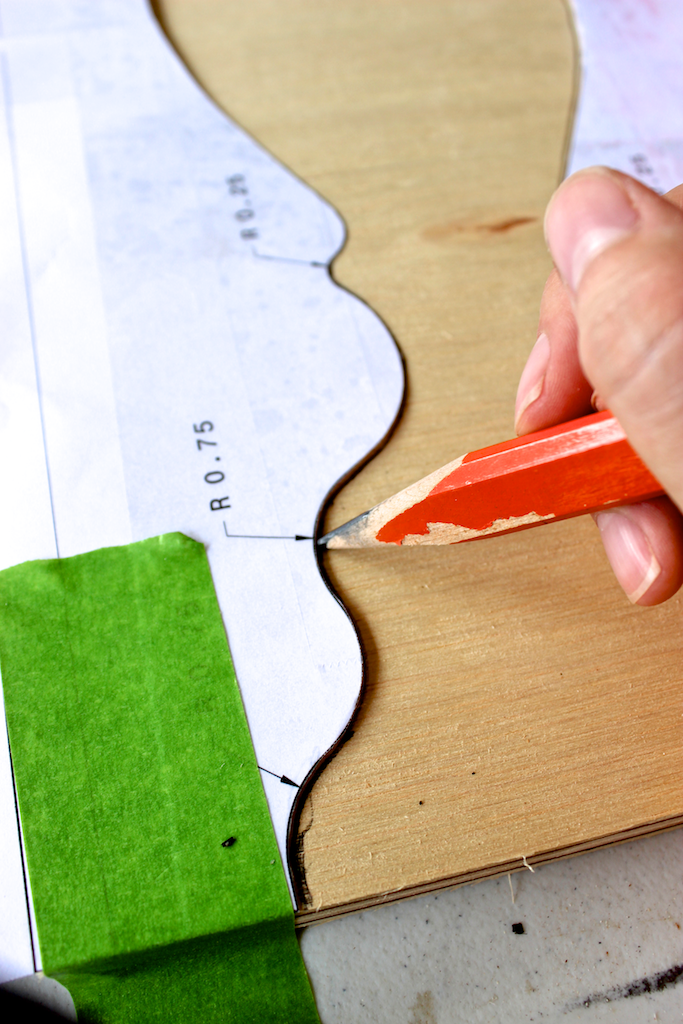
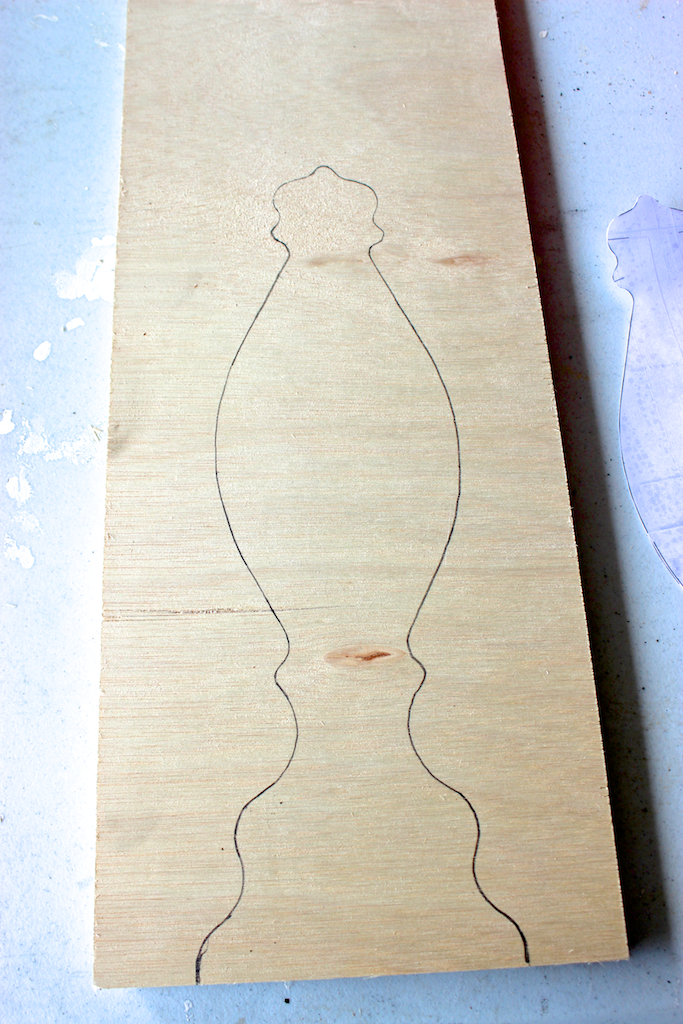
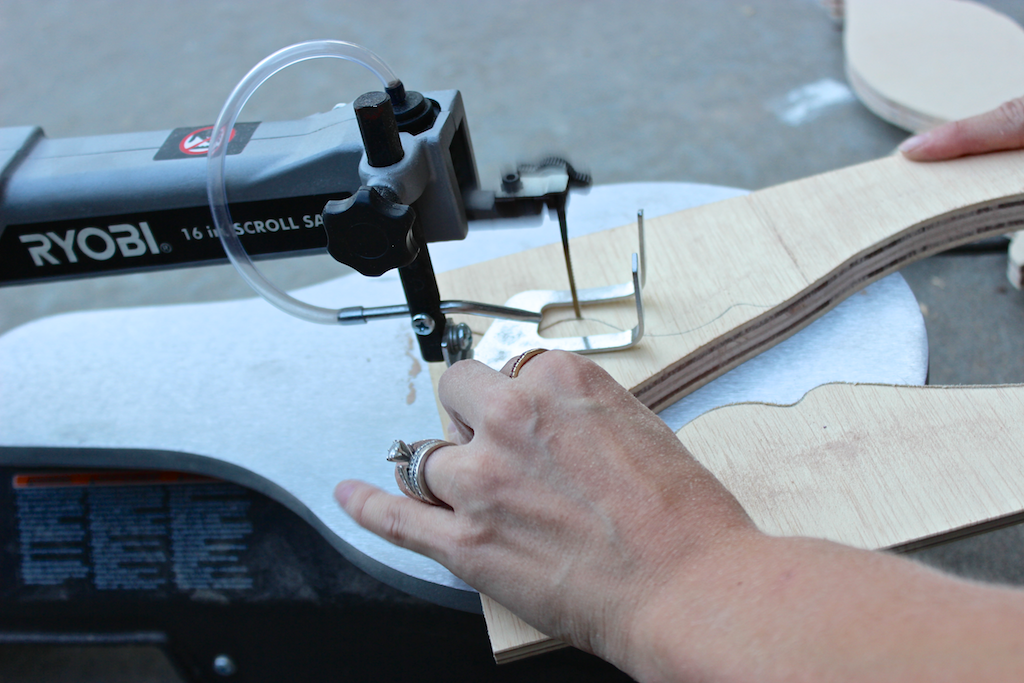
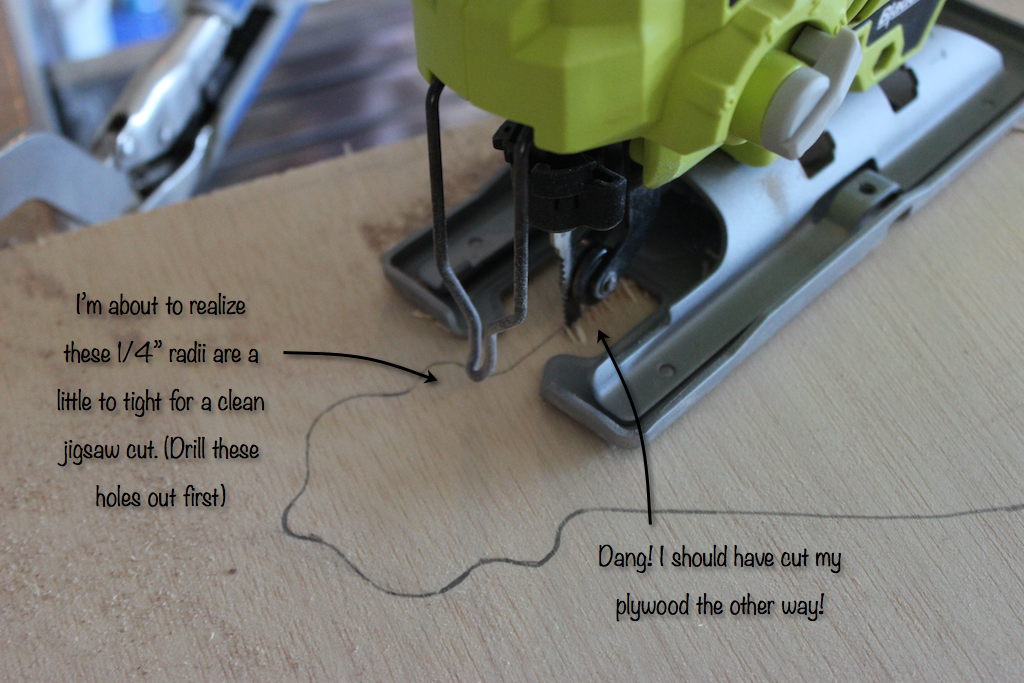
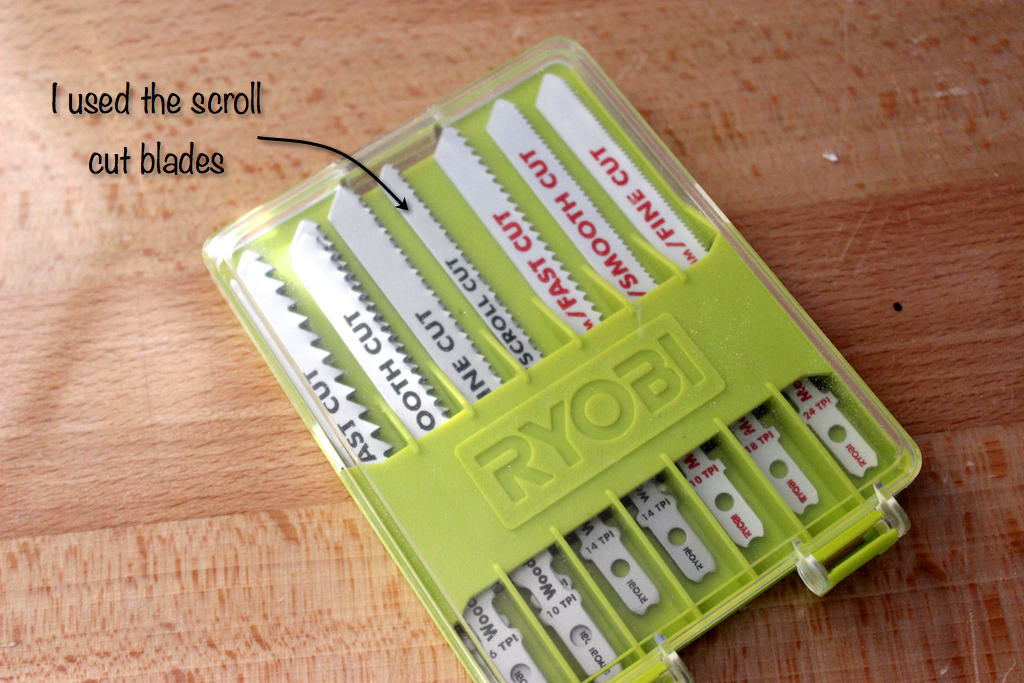
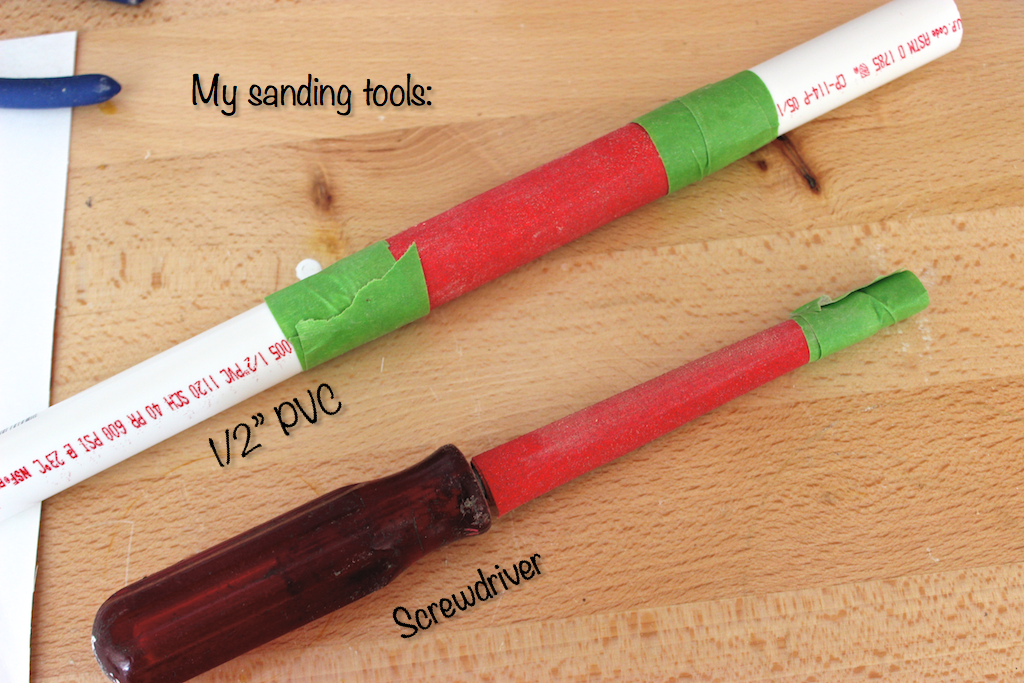
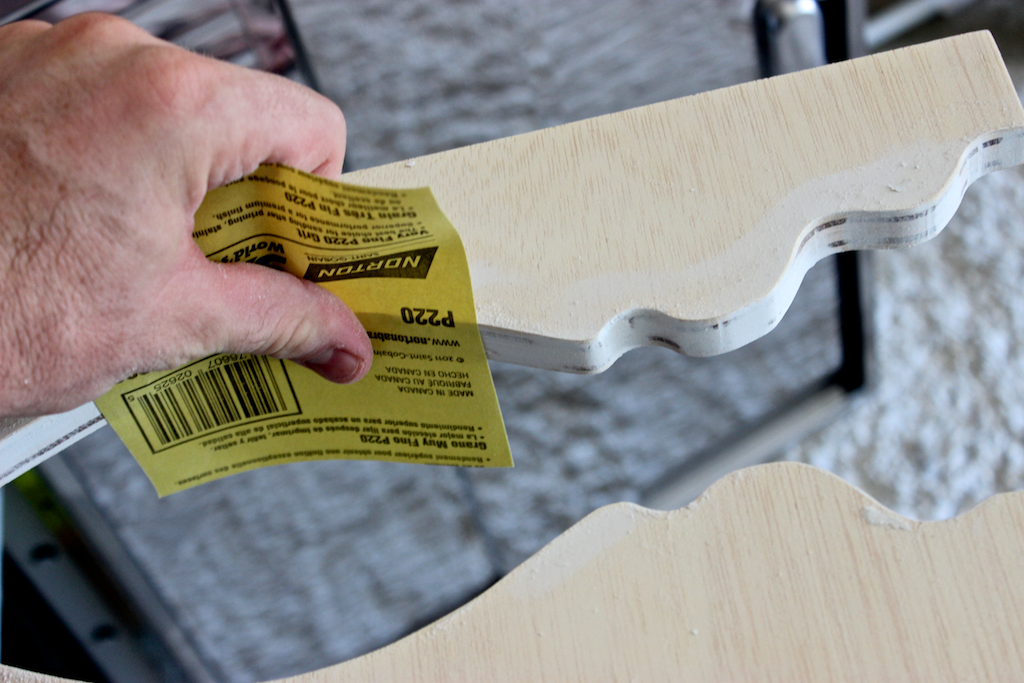
Step 1: Miter SidesEasily miter the edges with a table saw set to 30 degreesOne side panel mitered… 5 more to go.Step 2: Cut out PatternI taped the template with packing tape to add a little more rigidity to the template edges.Cut out the template, and if your drilling holes for your interiors radii, transfer the hole centers on the template with a thumb tackTrace the template onto each panelOne down. 5 more to go.I think the cleanest and most precise way to cut these out is the scroll sawBut you can use a jig saw..Jig saw blades from RyobiClean up those radii with some sand paper.
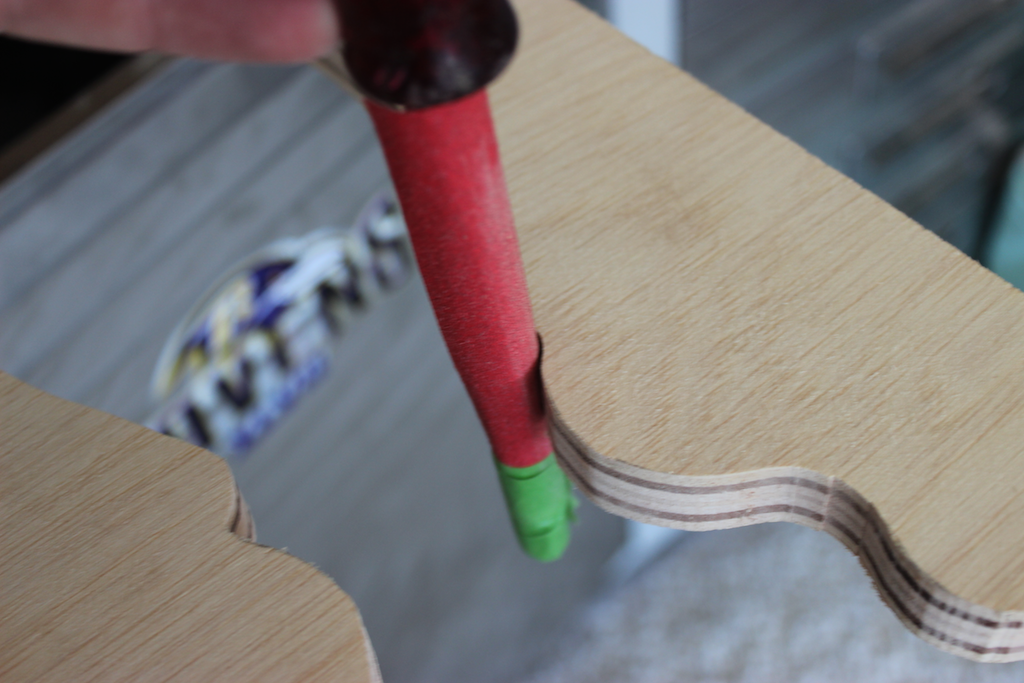
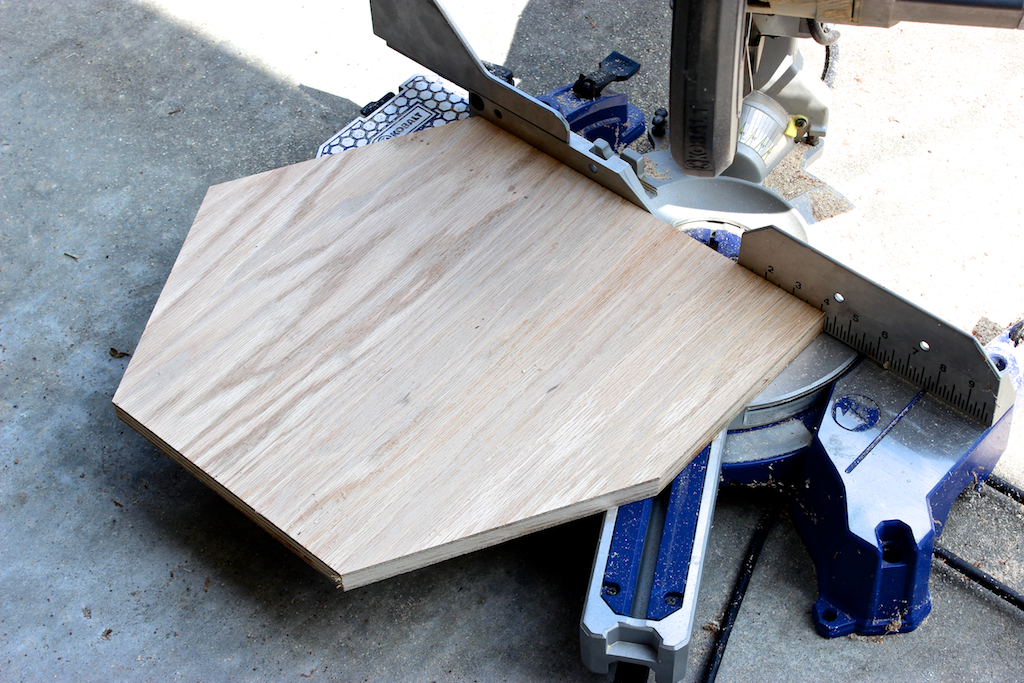
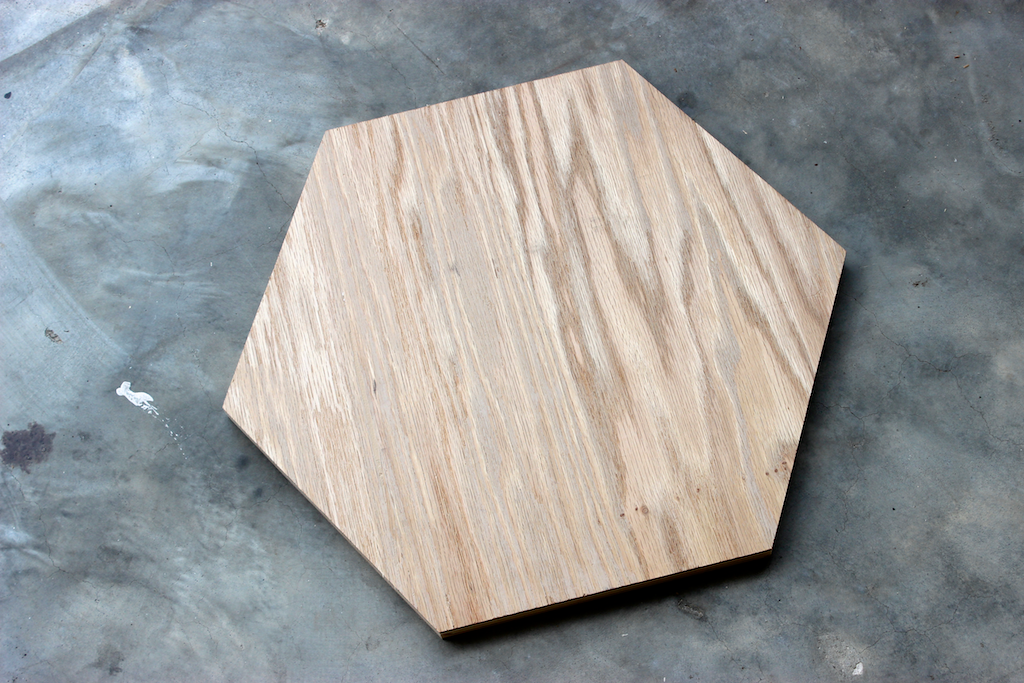
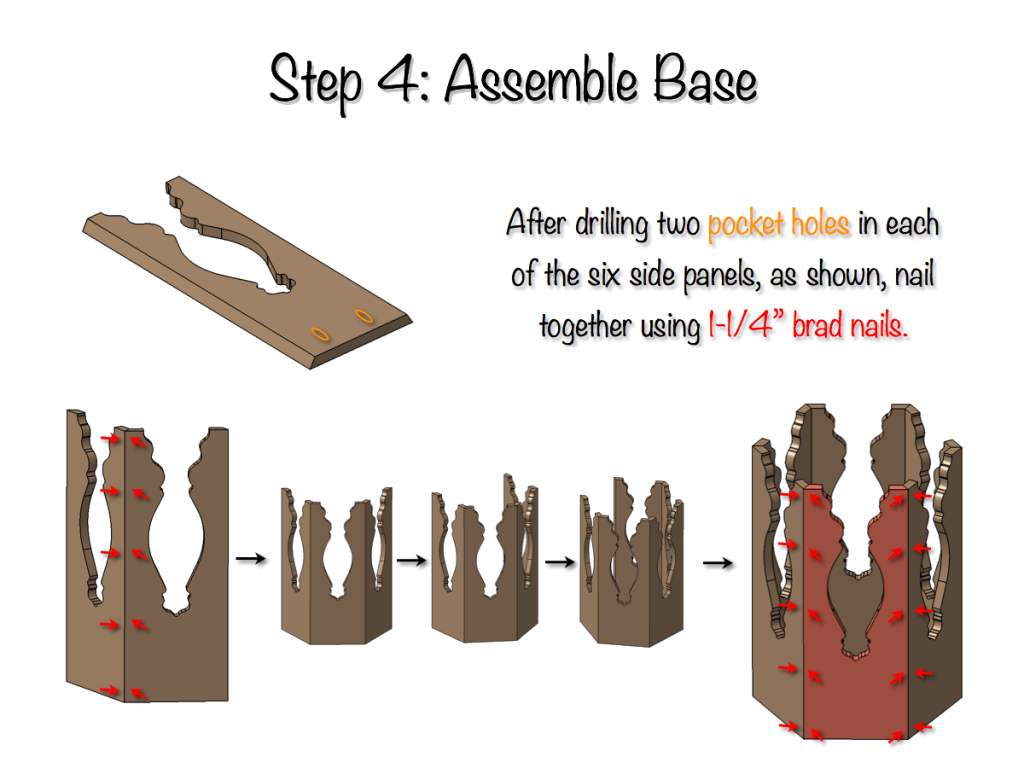
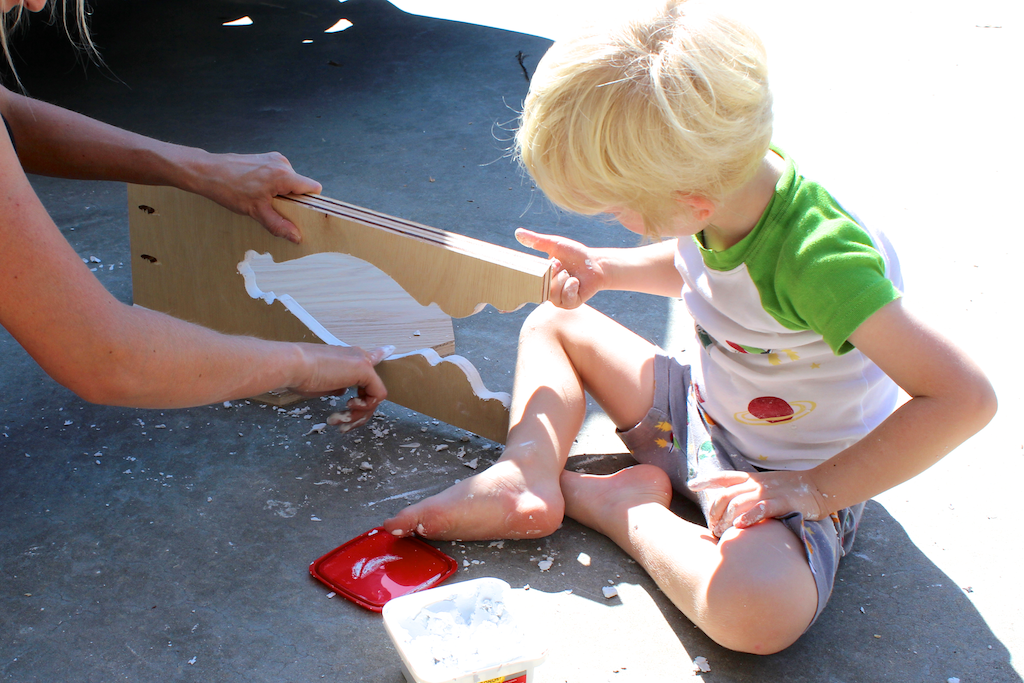
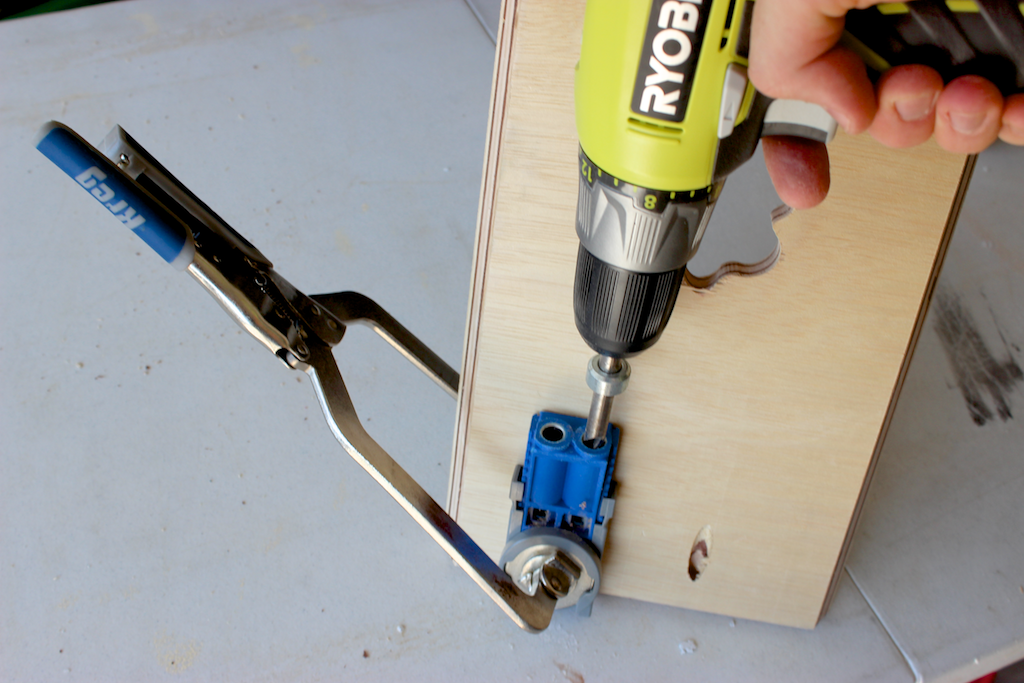
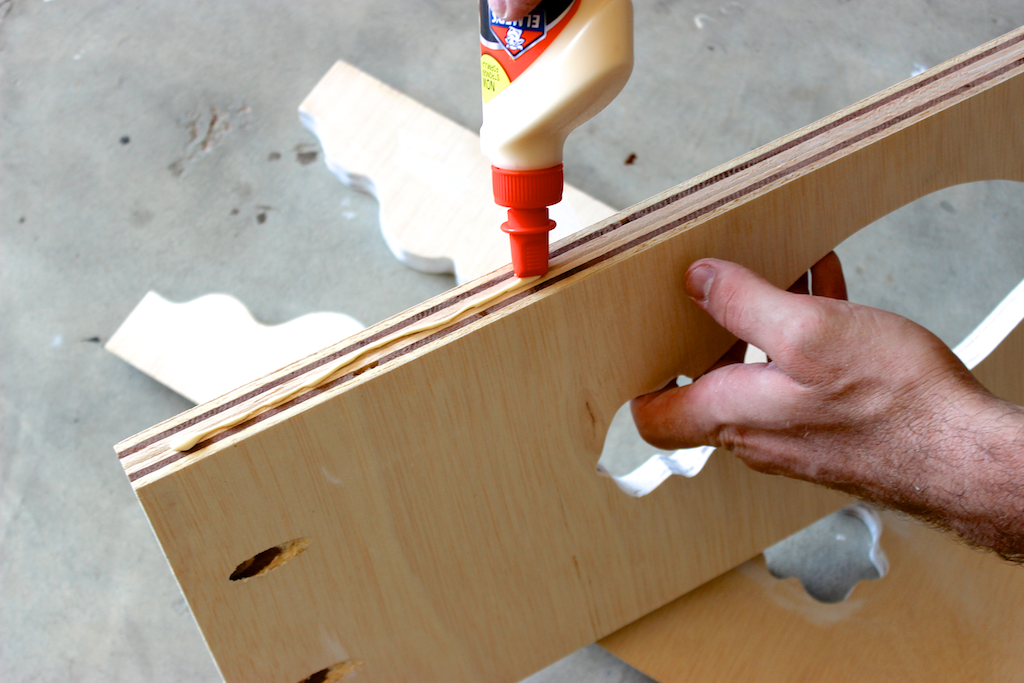
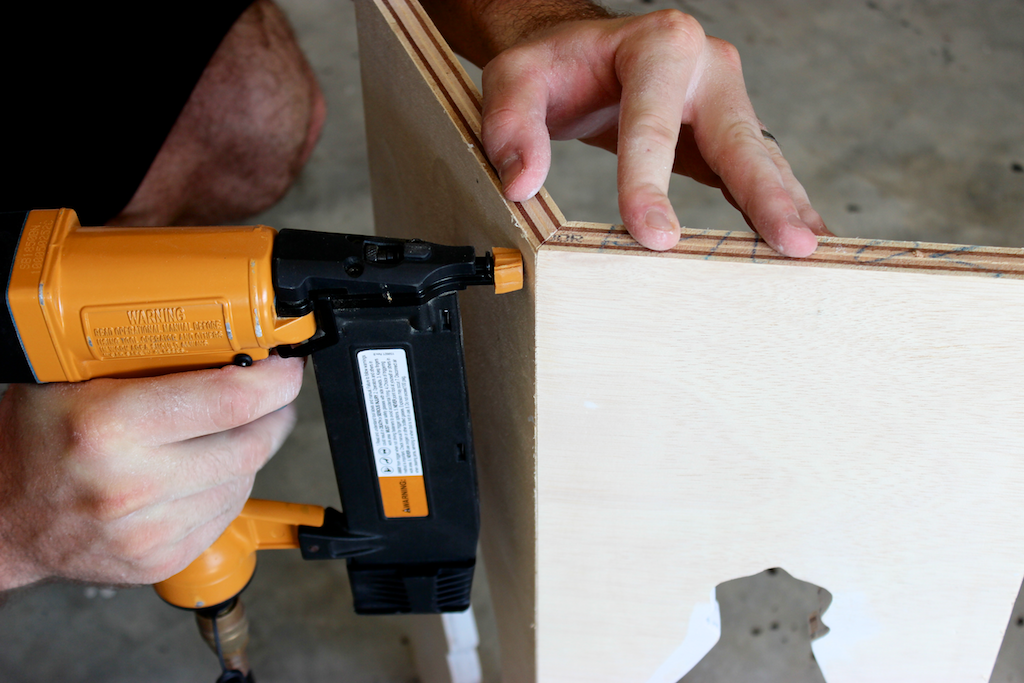
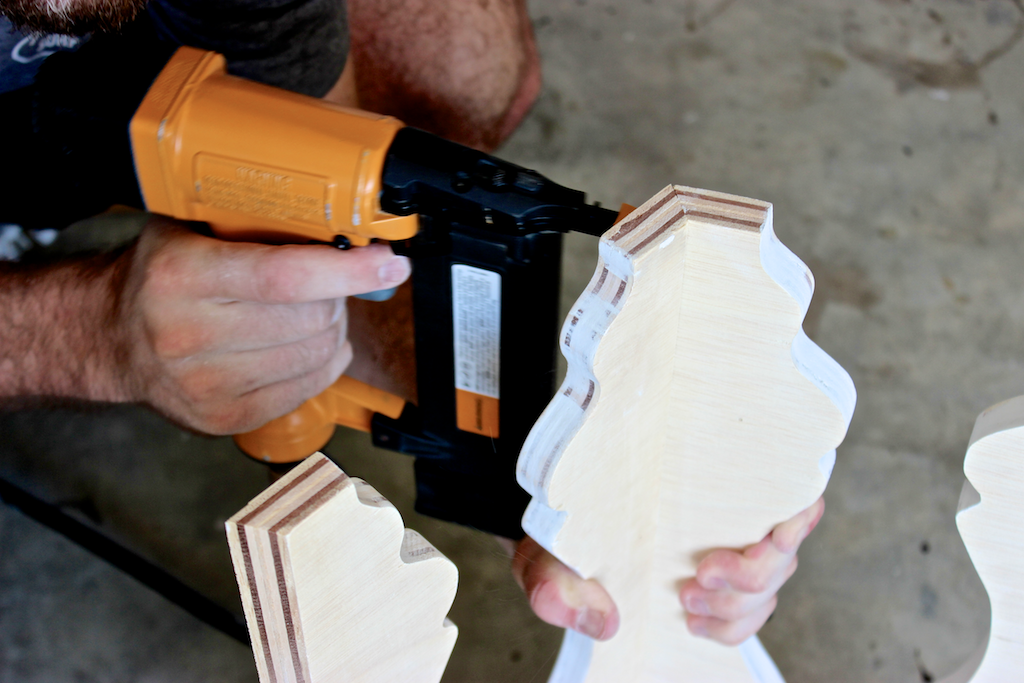
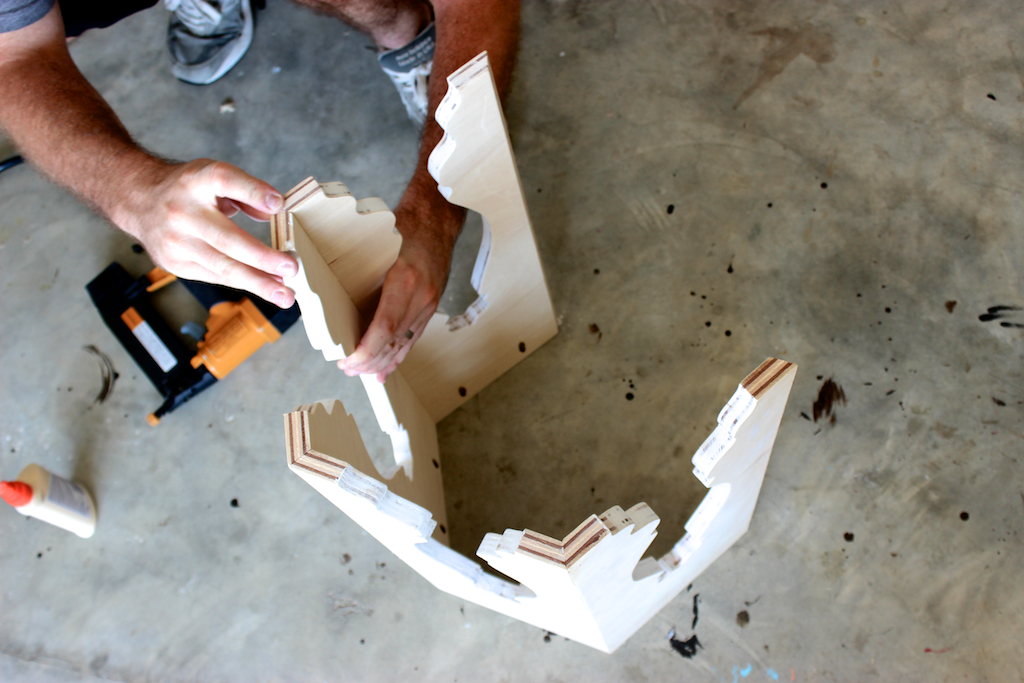
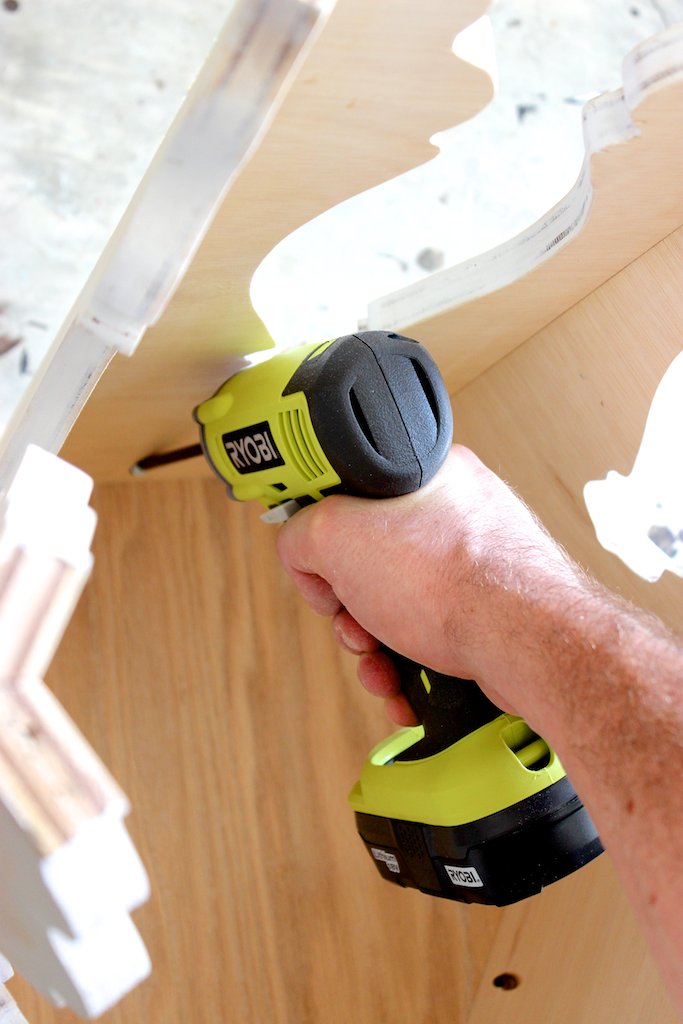
Step 3: Cut TopMy sliding 10″ miter saw had more than enough reach to cut these anglesTop. Done.Step 4: Assemble BaseBrayden helped us fill the cracks with some patch n’ paintSanded down the cut out with 220-grit sand paper. (I figured it would be easier before assembly.)Drilling pocket holes, which are used to attach to the top in the next stepApply some glue to the mitered edges….. and nail those suckers together
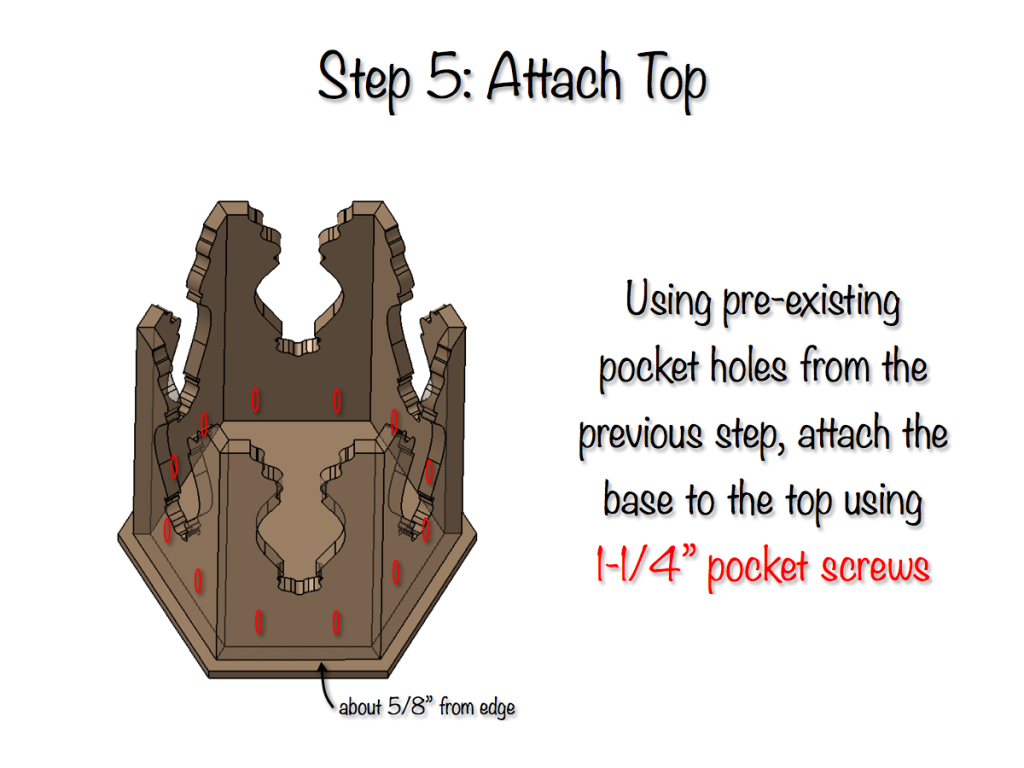
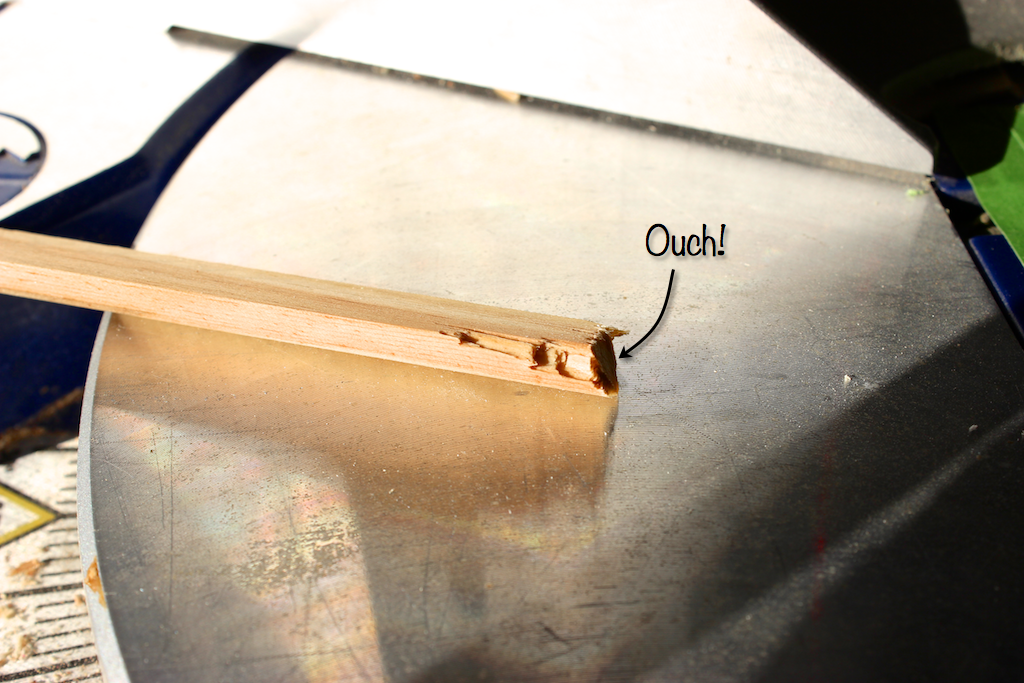
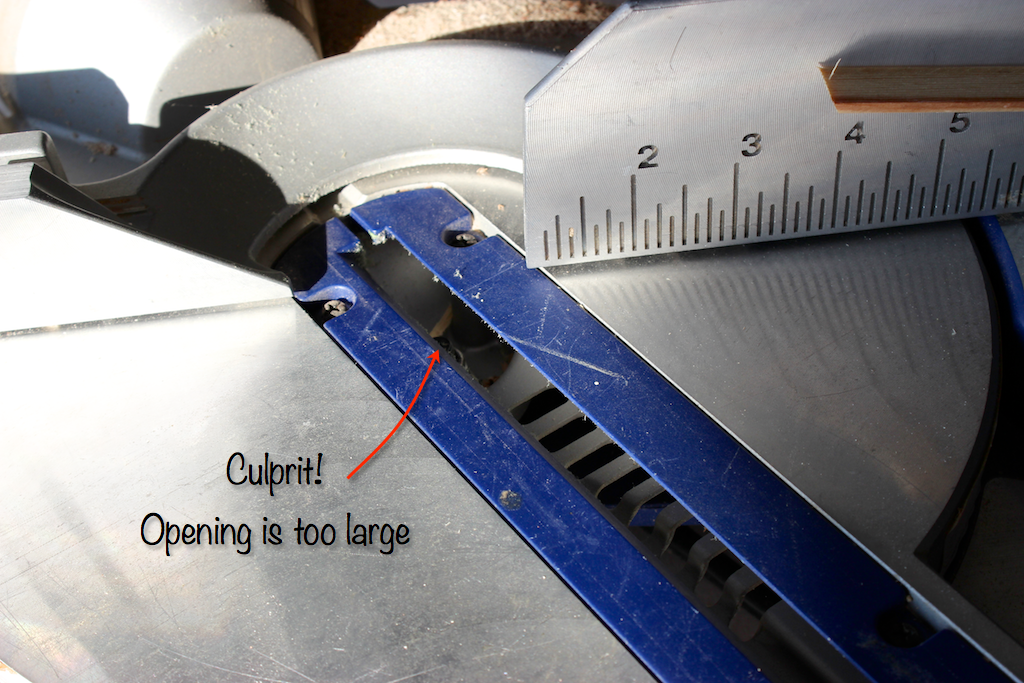
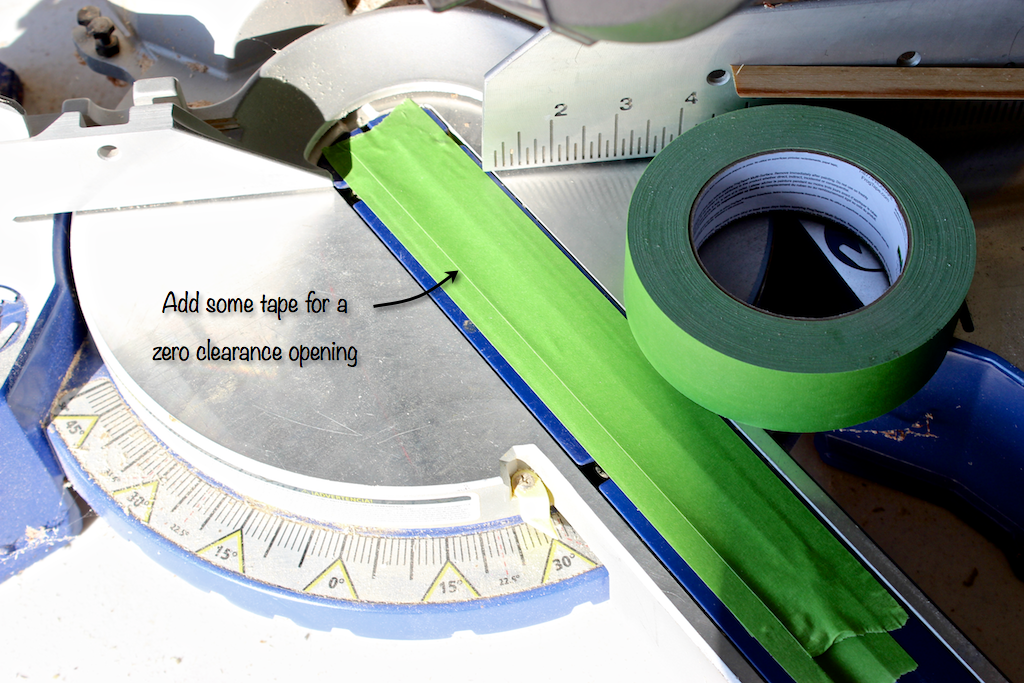
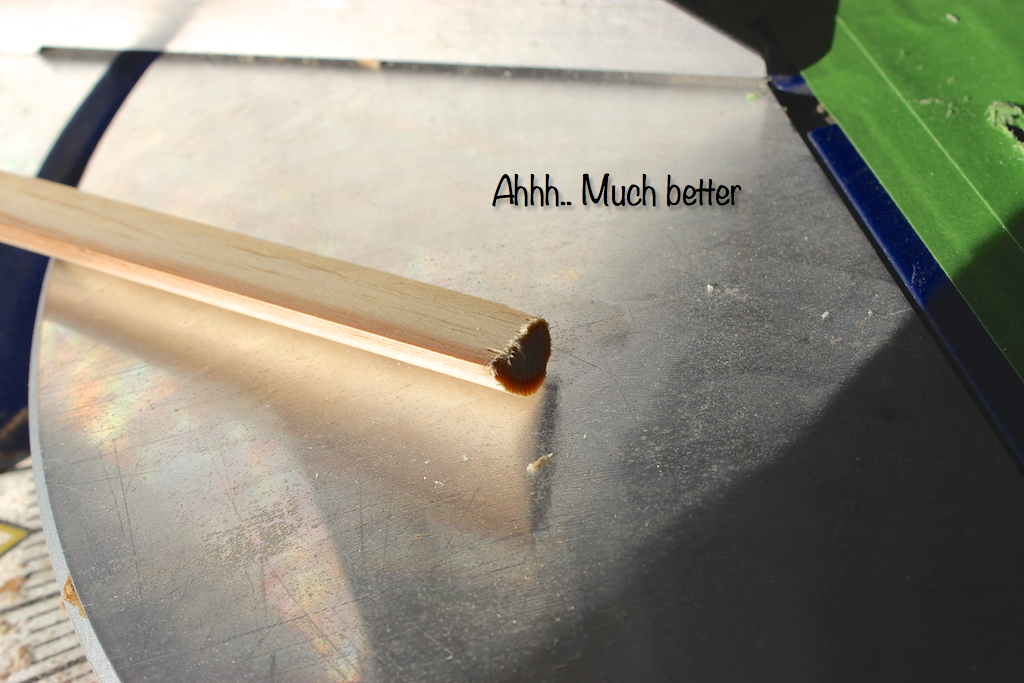
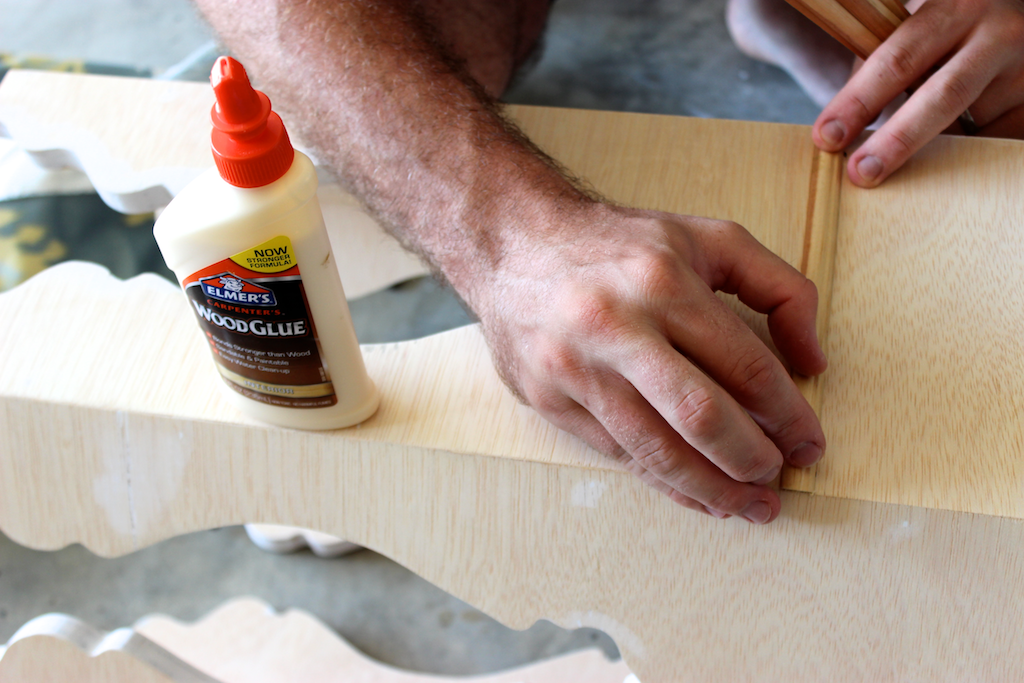
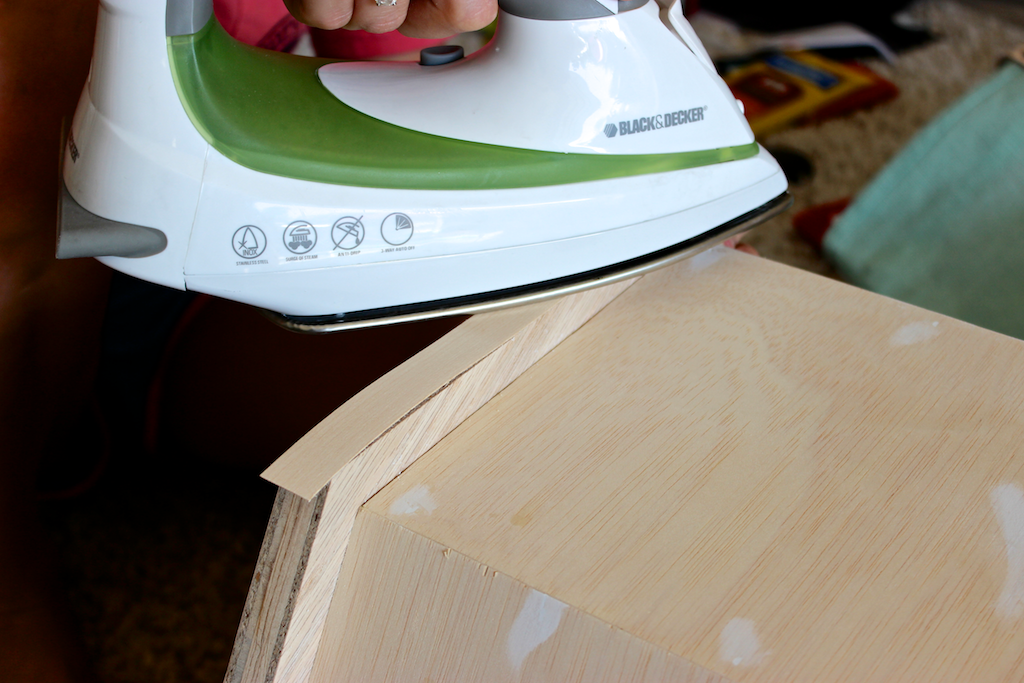
.. almost done ..Maddie loves hanging out in the shop... last panel.Step 5: Attach TopAlign the base and screw that thing in place! (Hey I rhymed there)Step 6: Add TrimFirst piece of trim I cut! Ouch!Problem is that the opening in the base of my miter saw is too large and therefore not supporting the trim close enough to the cut.Solution: Cover the opening with tape.It worked! Much better!Mark and glue the trim in placeIron on your edge banding …… and sand the edges smooth.
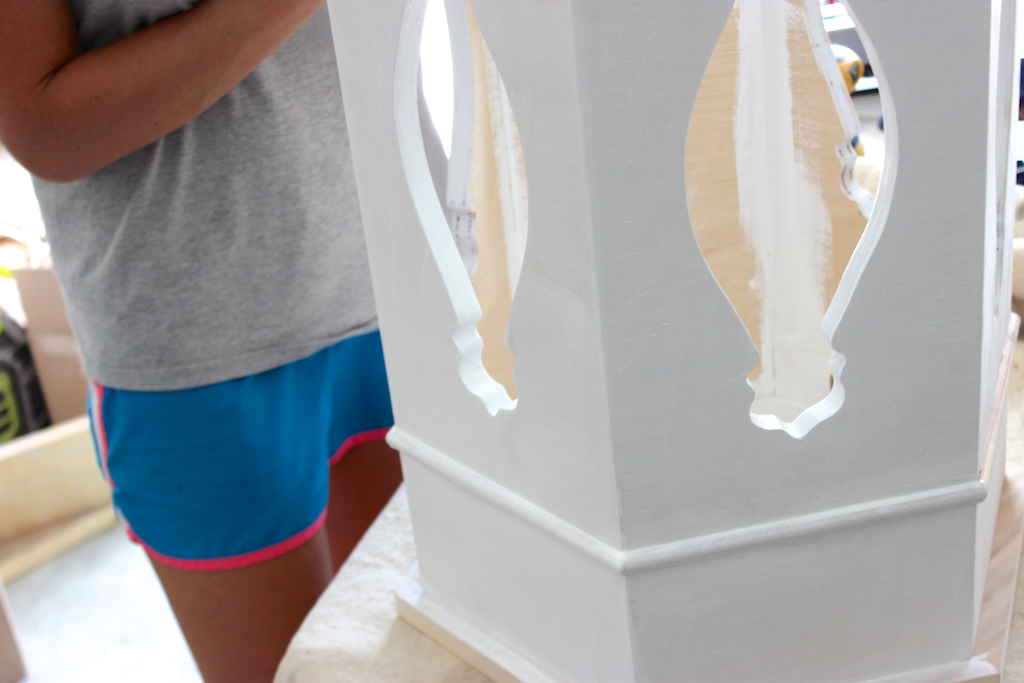
Finishing
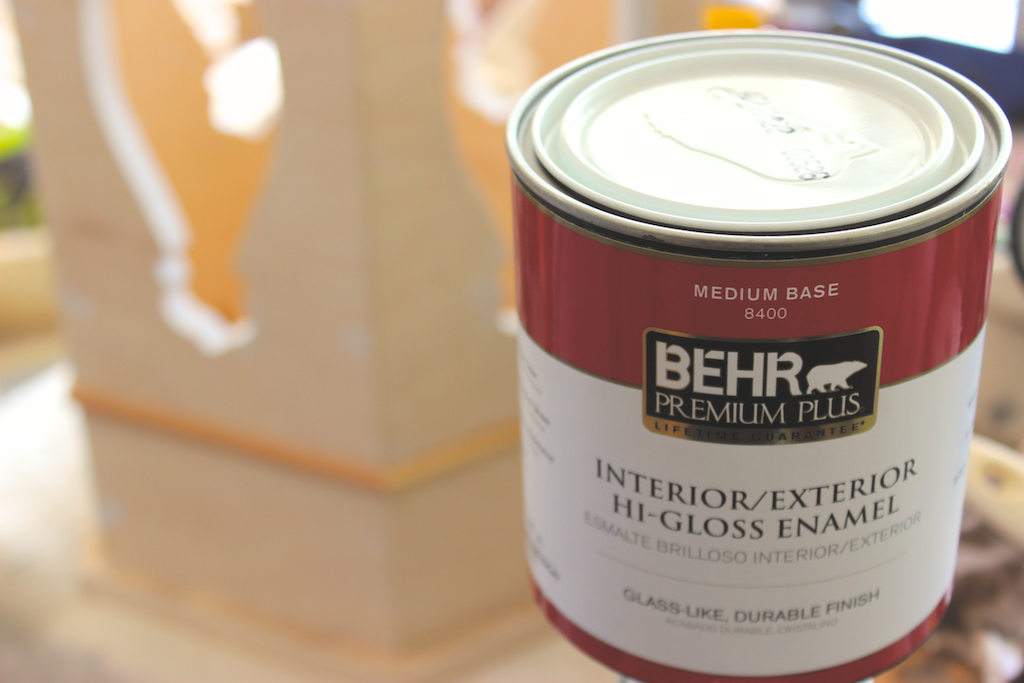
This moroccan side table was finished with 3 coats of gloss white paint, sanding in between coats with 220-grit sandpaper.
Hi-Gloss Enamel PaintFirst coat!
Questions? Comments?
As always, if you have any questions don’t hesitate to comment below and especially don’t forget to post pictures of your finished products in the comments! ENJOY!
5 Comments
I love the table – it’s a beauty. But I have a tool question for you. It looks like you may have the same miter saw that I recently purchased at the Blue home improvement store. I’m wondering if you have any tips for aligning the darn laser cutting guide. I’d like it to line up with the blade so I can center it on a pencil line and just cut. Thank you, any input would be greatly appreciated!
Thank you Riann! Unfortunately my laser doesn’t even work anymore so sorry but I can’t offer you any advice there. And when mine did work it was already aligned so I never had to tweak it.
Thank you. I’ll keep using the vertical 2×4 scrap stop screwed into the top of my workbench til I can figure out how to align that laser 🙂