

Scrap Wood Side Table
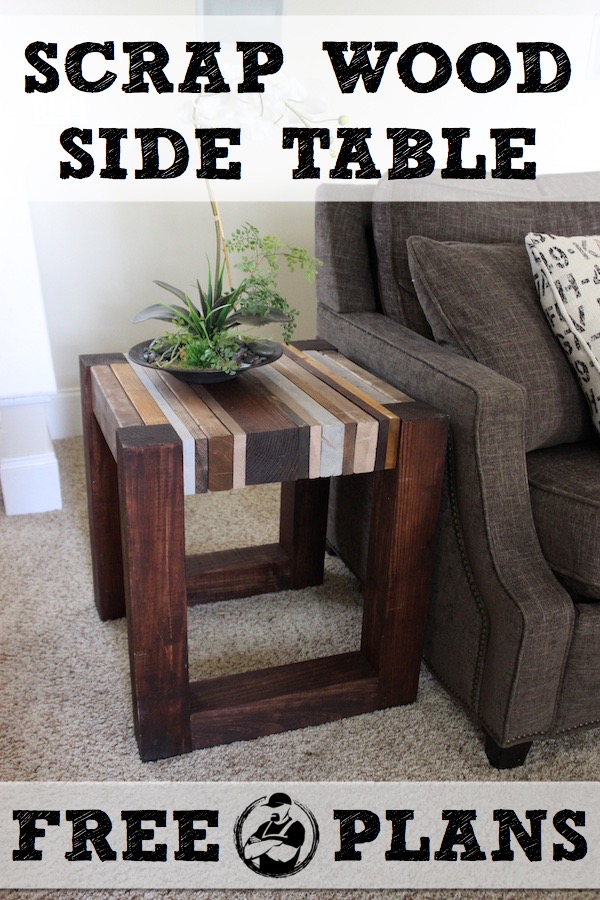
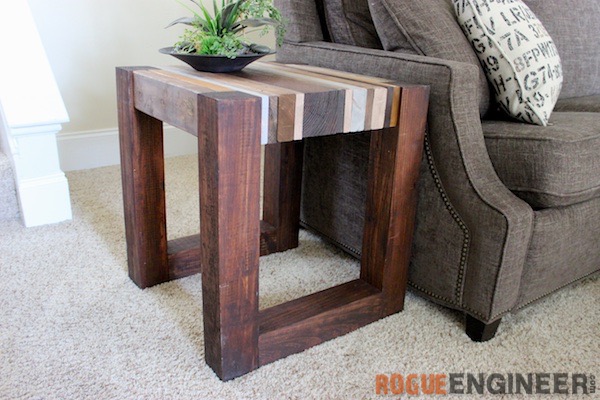
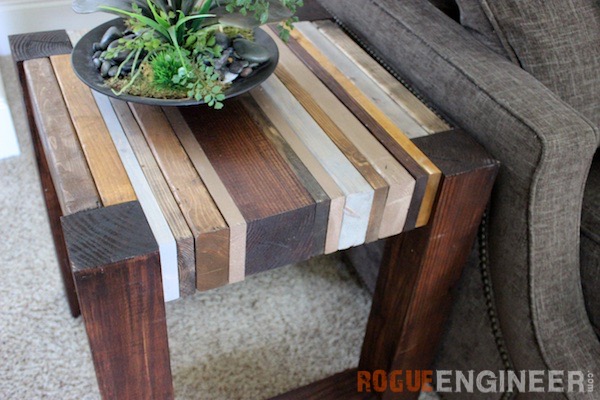
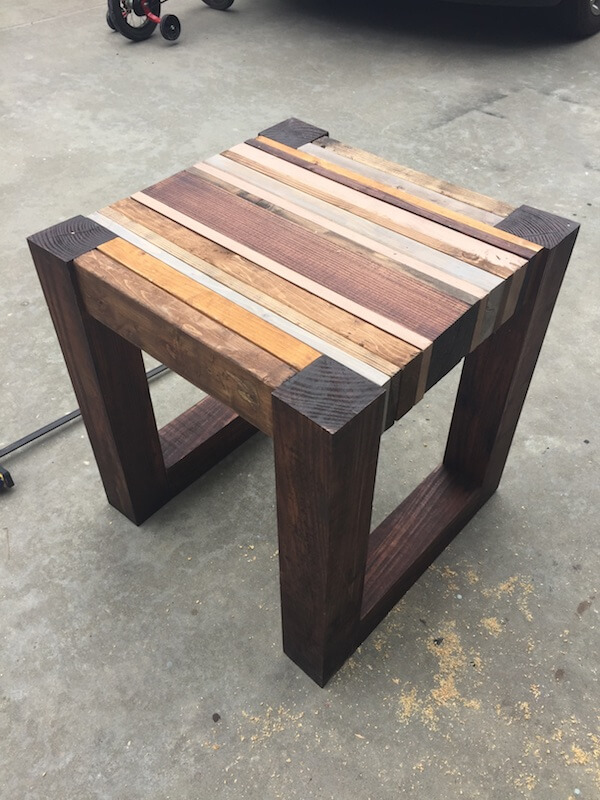
I’m sure you can imagine the endless amount of scrap wood we accumulate with all these projects. We needed more space on our lumber rack, so I made and end table! Here’s how I made this awesome end table from a pile of scrap wood.
For sneak peeks of our upcoming projects be sure to follow me on Facebook and Instagram. Also, follow me on Pinterest to get tons of projects plans from all around the web!
Required Tools
Materials
- 7 – 2 x 4 at least 21″
- 8 – 1 x 4 at least 21″
- 2 – 4 x 4 x 8′
- 2-1/2″ Kreg Pocket Hole Screws (Coarse)
- 1-1/4″ Wood Screws
- 2-1/2″ Wood Screws
Disclosure: The links provided in the “materials” and “required tools” sections are affiliate links. If you would like to support our site and help keep our content free come find out more about how we can make money with no extra cost to you.
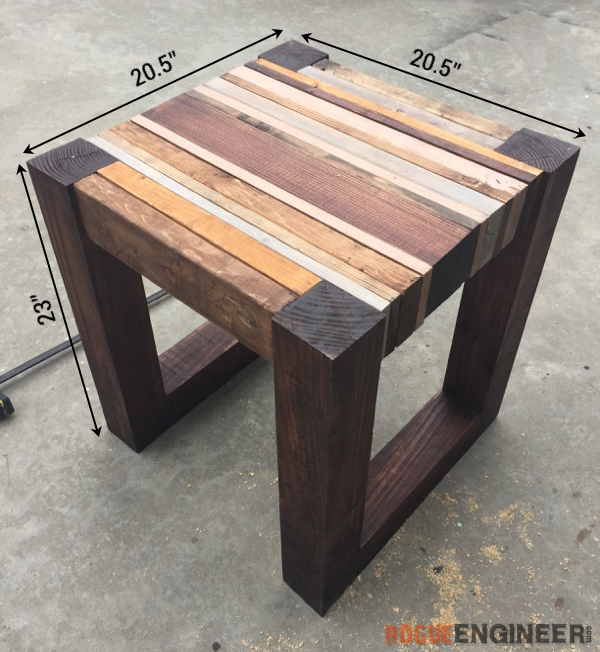
Dimensions
How to Build Scrap Wood Side Table
This will be a tutorial, unlike most of my plans, since this is a scrap wood project and more dependent on what you have in your scrap pile. Follow along with the steps below to get an idea for how to create your own scrap wood side table.
Step 1: Cut Scrap Wood
Using a miter saw make the following list of cuts:
- 4 – 4×4’s cut at 23″
- 2 – 4×4’s cut at 14″
- 1 – 4×4 cut at 20.5″
- 4 – 2×4’s cut at 14″
- 3 – 2×4’s cut at 20.5″
- 8 – 1×4’s cut at 20.5″
Step 2: Sand and Stain
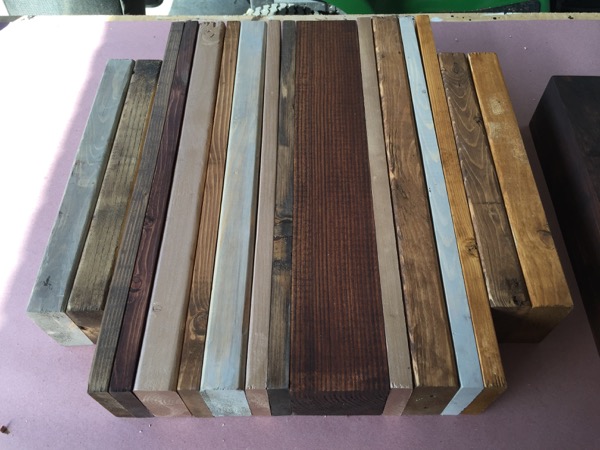
For this step you’ll want to start by sanding each wood piece to prep for staining, using a orbital sander and 120 girt sand paper. Then, use your creative freedom and pick stain colors that work for you and stain each board individually and let dry.Finally lay out your pattern as you best see fit,
Step 3: Assemble Sides
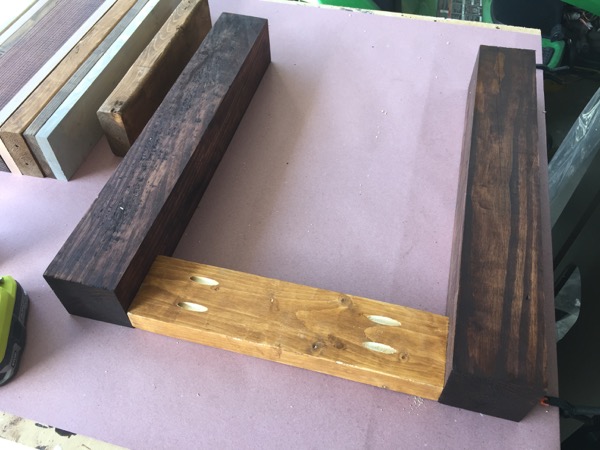
Using a Kreg jig, drill 2 pocket holes on each side of 2 of the 2x4x14” wood pieces, these are going to be the inside pieces that attach to our 4x4x23” legs.
Step 4: Assemble Top
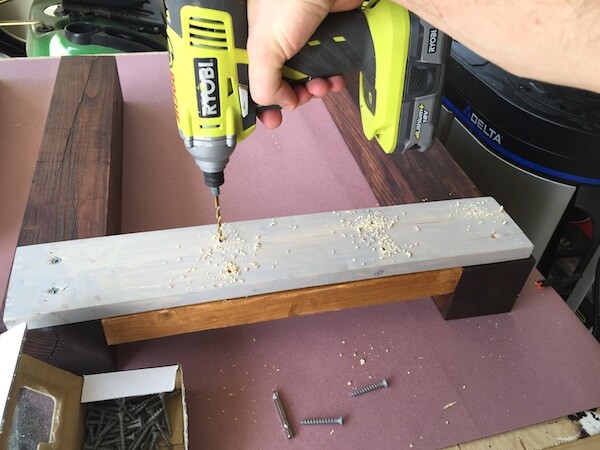
Assemble top by attaching boards randomly to one side using 2-1/2″ wood screws for 2x4s and 1-1/4″ screws for 1x4s (making sure to pre-drill first). Continuously check that the top is level throughout the process.
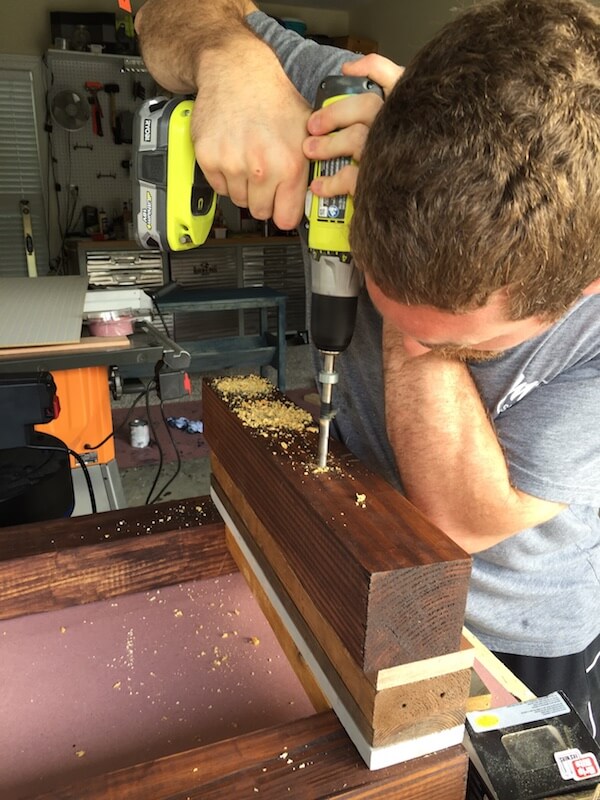
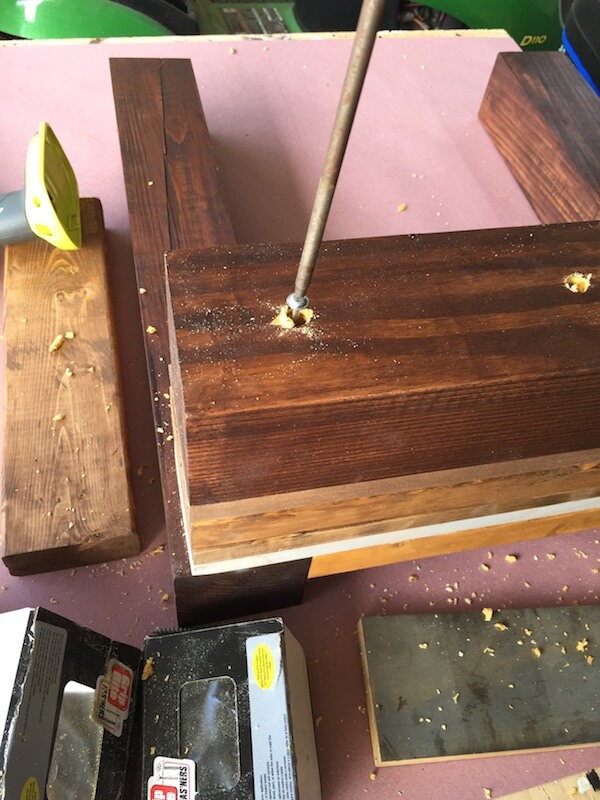
Step 5: Final Assembly
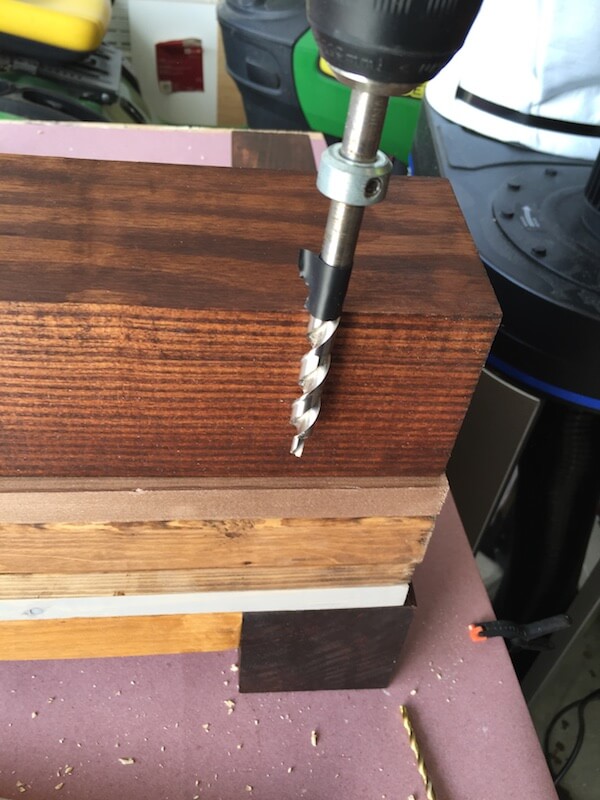
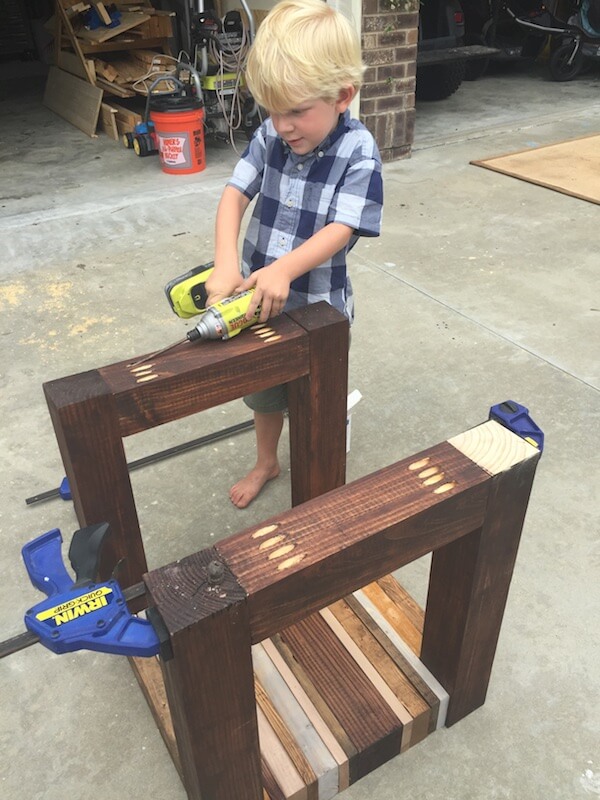
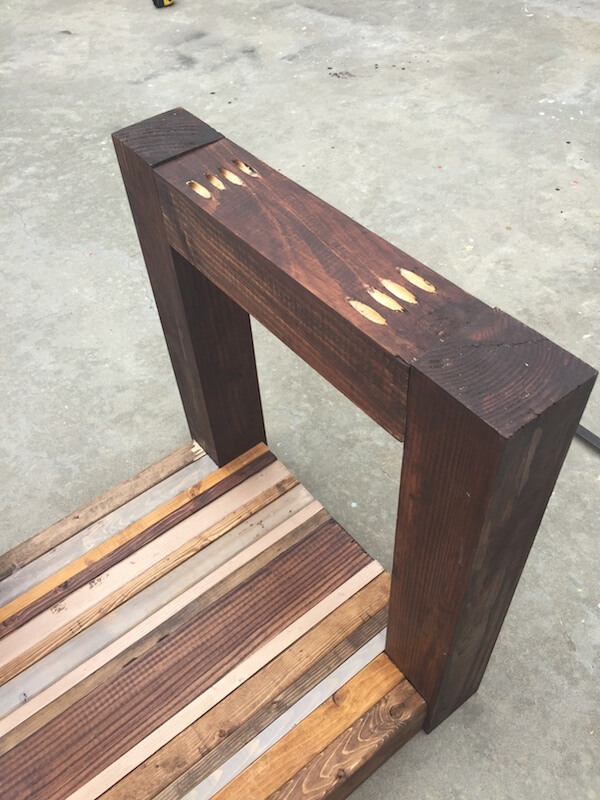
Attach the other set of legs to the top using 2-1/2″ wood screws. Then, drill 4 pocket holes on one side of both of the 4x4x14″ wood pieces, this will be used to assemble and sturdy the base of the table. Install these lateral supports in the opposite direction that the boards in your top run using 2-1/2″ pocket screws.
Questions? Comments?
As always, if you have any questions don’t hesitate to comment below and especially don’t forget to post pictures of your finished products in the comments! ENJOY!
Love the variations in texture with the different shades of wood. I’m guessing you stained in advance? Great way to use extra stain as well as scrap wood!! 🙂
Yes Michele, I stained each piece in advance.
I don’t understand how you attached the other set of legs to the table top in step #5 with 2 1/2 inch screws. Did you by chance use longer 4 inch screws and counter sink them? Thanks in advance!
Hey Amy, I screwed through the 2×4 that connects the legs for each side created in step 3. Then I screwed another board to the side to cover up the pocket holes. I hope that makes sense.
So you had to install the top last 2x4s with screws through the outside. In another words the heads of the screws are visible?
We used some wood filler and stained over top. You would never know.
How did you attach that 14″ 4×4 on the table top without using 4″+ screws? I see you drilling the holes but there is no explanation.
Will, If you are talking about the 20.5″ 4×4 that I used on the table top, then I counterbored holes using a drill and used 2 1/2″ screws, you could just as easily use 4″ or 4-1/2″ screws if you had them.
If you are talking about the 14″ 4×4 that I used on the table for the base, I attached those using pocket holes and 2 1/2″ screws.
I am probably your oldest beginner at 80 years of age, I recently joined a Mens Shed and enjoy simple projects. I think this table is well suited to my skill level but I don’t understand why the materials needed list shows 2pcs.of4x4x8 but the scrap wood lists 7pcs. of 4×4 of various lengths. Obviously the latter is correct. Regards Ron Hales
Hey Ron! The 2 pcs of 4x4x8 in the materials list is would you would need to buy if you didn’t already have it. The 7 pcs is the actual cuts you will need to make. Hope that helps. Happy building!
Love this and have the perfect spot for it! Question about finishing, though – wondering what I could use (poly, etc.) on the top to protect from water, crumbs, etc, getting into the grooves between the planks. Ideas?
Thanks!!
Stacie, yes you can definitely use a poly to protect the table. We love the triple thick poly from Rust-Oleum.
Great idea, Thank you! Turned out great. Super simple and quick. and cost me less than $10.-Wes-Sonoma, CA
That looks awesome Wes! Great work!
Reattaching photo that was removed:
Thanks for the inspiration. Did my own twist on it.
pics didn’t show up first time.
Nice twist! I love it. Looks like a big butcher block. Nice work.
Love this. How are these legs attached?? I have quite a bit of “scrap” barn wood I could use up on this.
Just found your scrap wood side table . love it . Trying to make one . but I’m changing it a little
Awesome! Can’t wait to see how yours turns out. Be sure to share your finished product.
Wife saw some tables she liked, they were $625 for the pair and looked a whole lot like these. Made two of them, she’s happy and so is my wallet. First woodworking undertaking I have done. Going to do a coffee table version in a couple of weeks. Thank you for this place and keep up the good work! Congrats on being able to do what you guys love for a living now!
Hi Jamison, i don’t know how to get all pieces together, do you have a video to show me?
I don’t understand how you connected all the pieces of the top together?
what length do you use for the kreg jig for the leg support pocket holes?
that is what I made
.d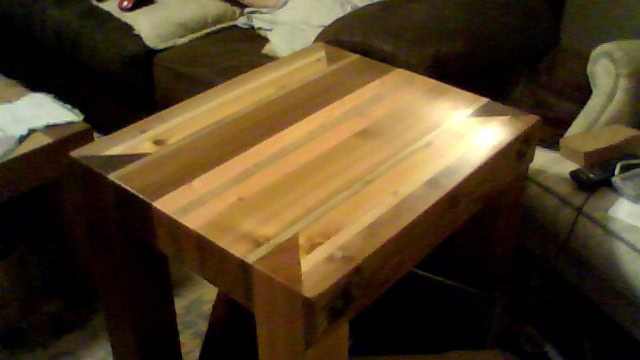
Very nice how you tied the legs in for an added design element.
Tha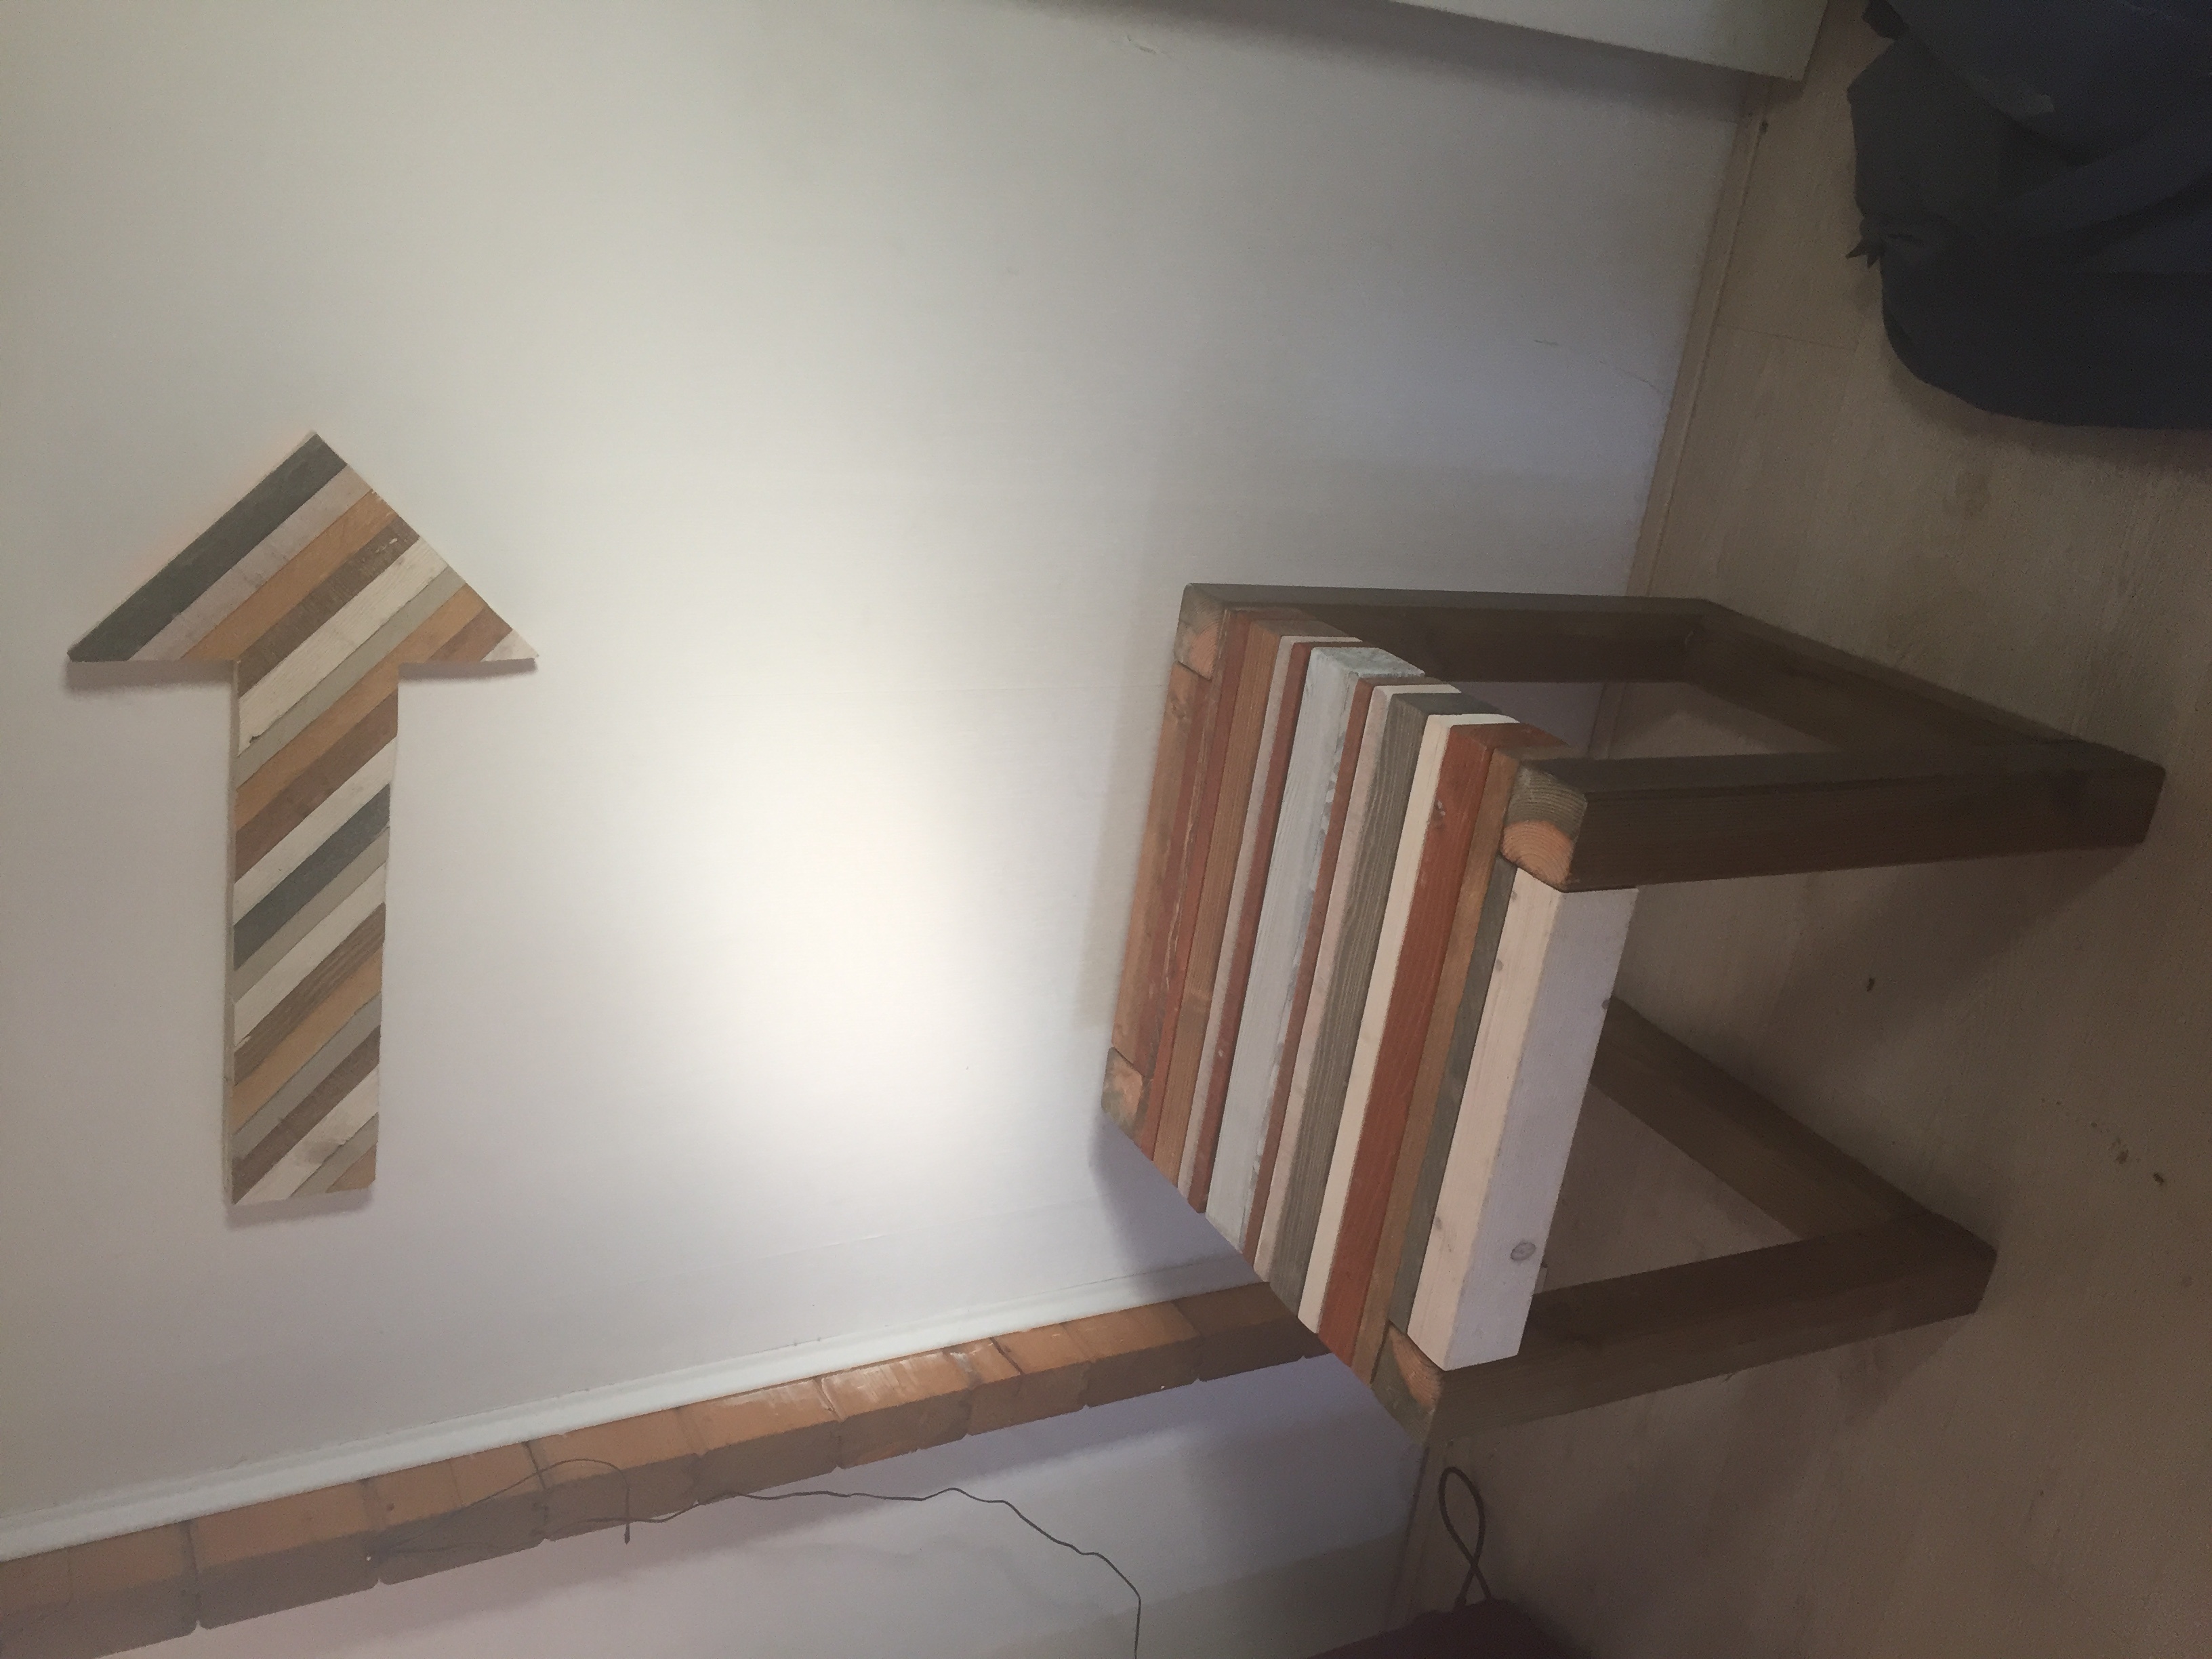 nks for the inspiration here is my version
Greets from the netherlands
And A happy christmas
Fabian
So I’m starting to build furniture and I’m learning as I go. What Pocket Jig should I get? I see K4 and K5, but I’m not sure which would be best. Which did you use for this project?
that is what I made
.dihttps://uploads.disquscdn.com/image…
Tha https://uploads.disquscdn.c… nks for the inspiration here is my version Greets from the netherlands And A happy christmasFabian
We made this over the weekend and think it came out great. Thanks so much for sharing the plans for this project! https://uploads.disquscdn.c…
Hi this is my project i think it was good. Thanks for the idea. https://uploads.disquscdn.c… https://uploads.disquscdn.c… https://uploads.disquscdn.c… https://uploads.disquscdn.c…
Found this article about a month ago . Got inspired after going through all the comments and pics everyone posted . this is the 1st table I made. It didn’t take me a few weekends. Only because I have very limited knowledge of woodworking. I did have to look up a lot of stuff people were talking about. With some help from my husband with the legs I managed to impress everyone https://uploads.disquscdn.c…
https://uploads.disquscdn.c… Thanks
Started out the quarentine trying to get rid of my scraps. How did I do? lol I built 2 of the small ones as well. The small ones were my wife’s upgraded side tables for the living room and I sold the 2 large ones for a lot more than scrap value! Thanks for the plans! https://uploads.disquscdn.c… https://uploads.disquscdn.c…