
5 [Natural Looking] Techniques to Distress Wood
5 [Natural Looking] Techniques to Distress Wood
A lot of people want that naturally distressed or aged look on a piece of furniture. Unfortunately, that wood can be hard to find for most of us and when you do, there’s not enough or it’s not the right size. So how can you achieve this look on any wood?
Here are 5 techniques that I picked up that go beyond just beating the crap out of a piece of wood and actually have some science to them. The best piece of advice I can offer would be to do less distressing and refine the techniques to end up with a great look at the end.
For sneak peeks of our upcoming projects be sure to follow me on Facebook and Instagram. Also, follow me on Pinterest to get tons of projects plans from all around the web!
Disclosure: I did receive compensation from Dremel in return for this post. However, that did not influence any of the info or techniques I have described below.
Wormholes using an Engraver
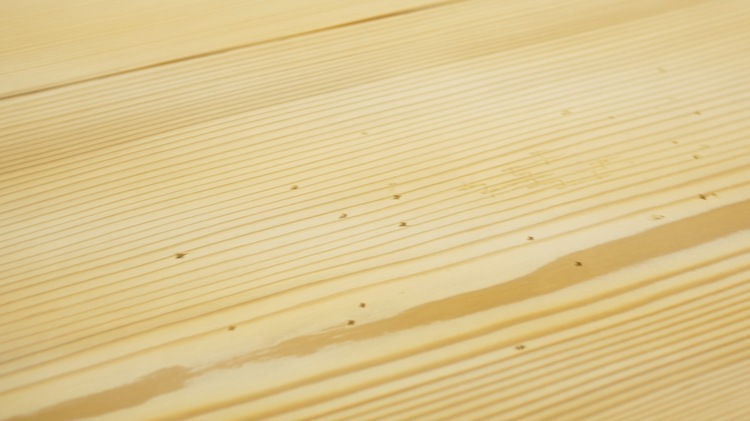
First off, a wormhole is a hole created by larva while burrowing though a piece of wood. These wormholes typically are in certain areas of the wood and not evenly distributed throughout so whenever trying to recreate wormholes make sure to not just litter the board with holes and channels but to establish groupings.
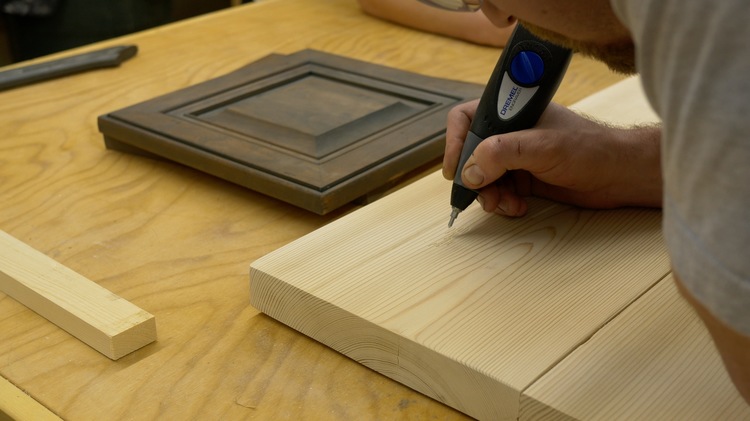
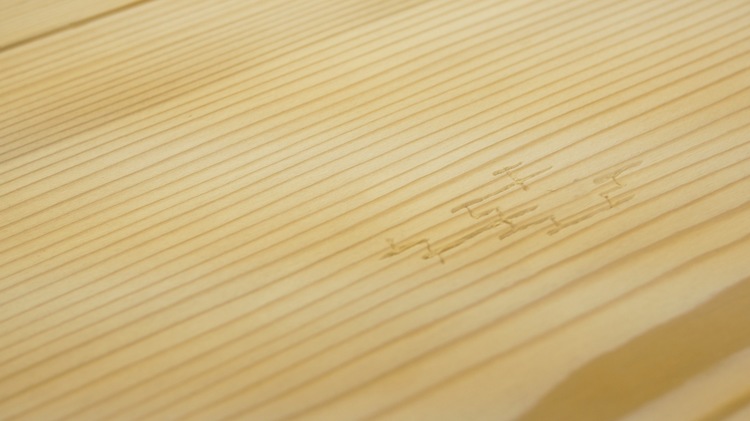
To recreate a vertical channel I used a Dremel engraver. The channels should go with the grain, occasionally jumping over the growth rings and changing directions randomly as a burrowing larva would.
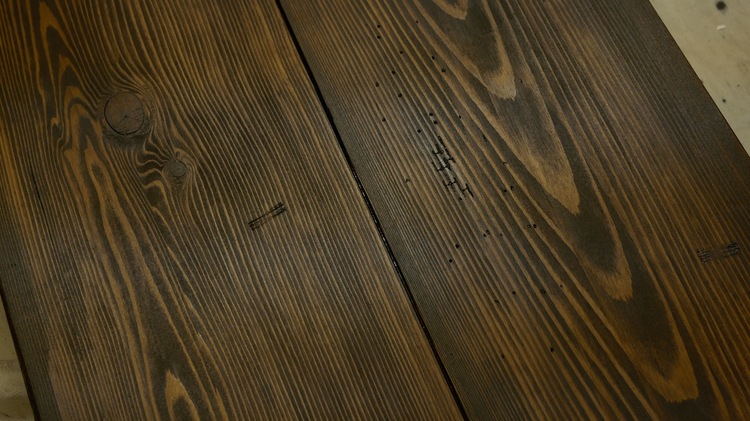
It might not look like much right now but with some stain these artificial wormholes will really pop.
Wormholes with Nails
To recreate a wormhole that goes directly into the board you can use a spike, ice pick, nail, or a stick full of nails. Again, as described in the last technique, the wormholes should be random but in groupings. To achieve a natural look the holes shouldn’t all be vertically into the board, they should change directions. Do this by sticking nails into the wood in random areas and vertical and side to side motions.
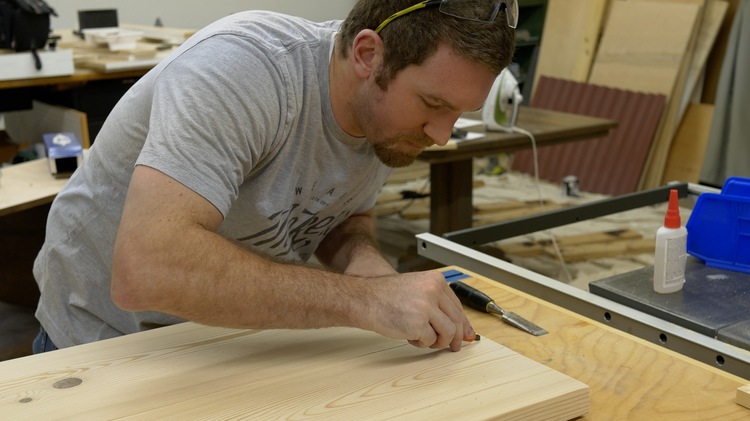
Handling and Tooling Marks with a Chisel
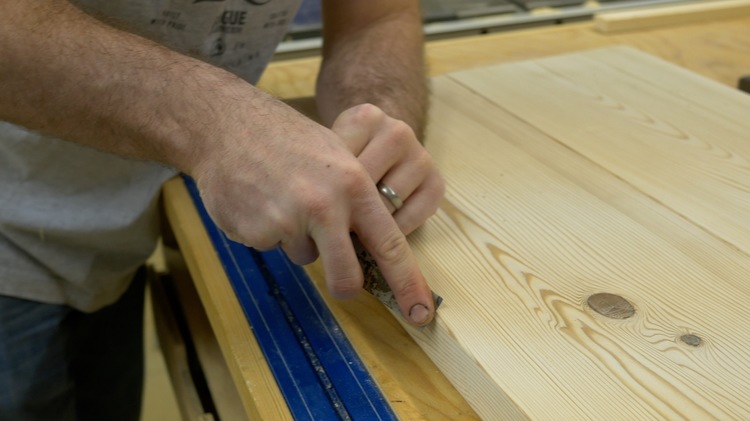
Over time, a piece of furniture gets moved and handled quite a bit. To simulate a piece being scraped against a door frame or bumped by a hard item you can use a chisel. To do so with softer woods like pine you can actually lay the chisel against the edge of the board and apply force as you drag it down the edge. Only do this for a few inches and gradually add force and take it away to make the impression look natural. For harder woods you may need to use the chisel in a typical fashion and actually remove a portion of the wood.
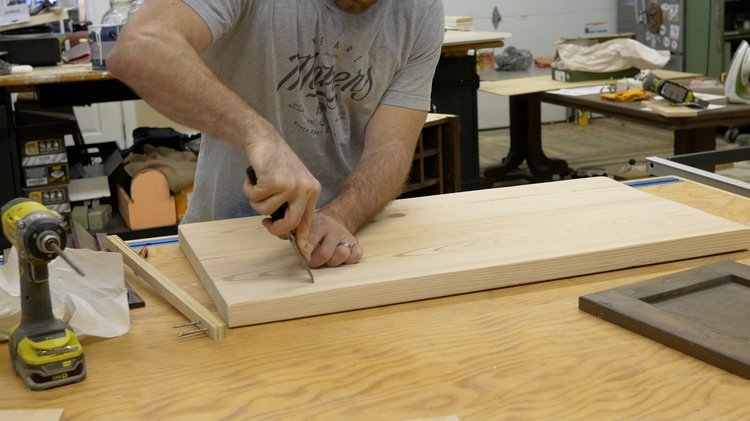
Another use of a chisel, and I suppose this could be considered another technique, is to make tooling marks. When a piece of wood is milled tools are used to grip the wood to move it through the milling process. You can simulate these marks by pressing a chisel straight down into the wood (across the grain) and rocking it back and forth while walking it down the board. This should only be for a short span, maybe 1/2″ -3/4″ long.
Gouging with a Dremel
Gouging is caused by, well, you guessed it, a piece of wood being severely damaged by impact of some sort. This could also be caused by parts of the wood being removed for some reason (decay, loose fibers, etc.) Either way, this can be simulated with a Dremel and drum sanding bit as shown below.
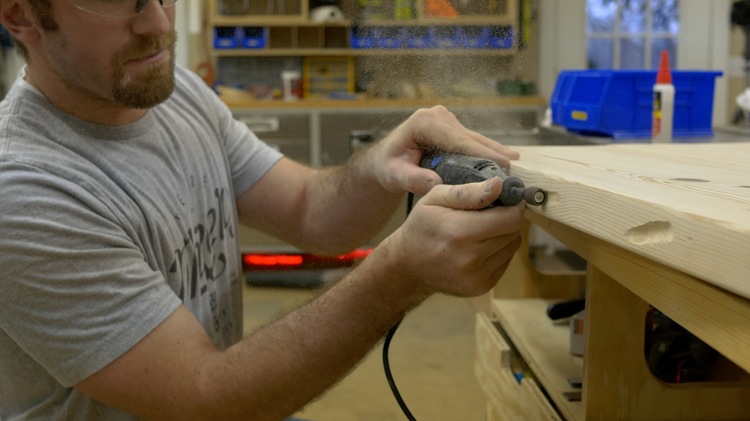
After a couple passes to get the look you want follow up with some sandpaper to round over any harsh edges.

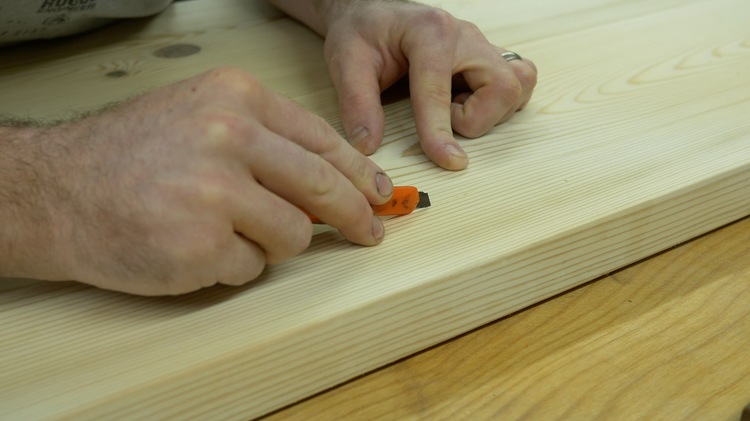
Splitting with a Razor
Splitting in wood can be easily simulated with a razor blade. To do so, going with the grain, gradually increase pressure until you reach the middle of the crack. Then, while maintaining pressure, wiggle the blade aggressively to widen the slit cut with the blade. Finally, pulling the blade down the grain, decrease the wiggling and pressure until the blade exits the wood.
Cracking in the middle of the board is most likely cause by wind whipping, which is when the wind flexes a tree so hard that the internal fibers break free.
Cracking at the end of a board is more than likely cause by the drying of wood which cause the wood to shrink and fibers to pull apart. This is simulated the same way but the middle of the crack (the widest and deepest point) should be at the end of the board.
Questions? Comments?
As always, if you have any questions don’t hesitate to comment below and especially don’t forget to post pictures of your finished products in the comments! ENJOY!
Awesome post with some great ideas. Thanks for the help.