

Farmhouse Dining Table
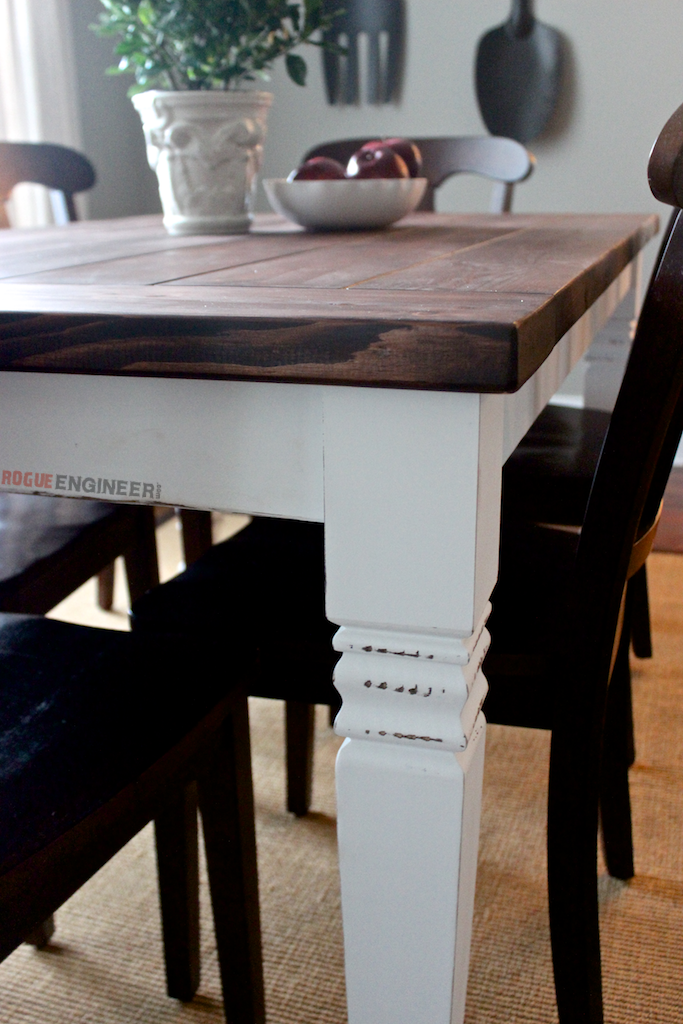
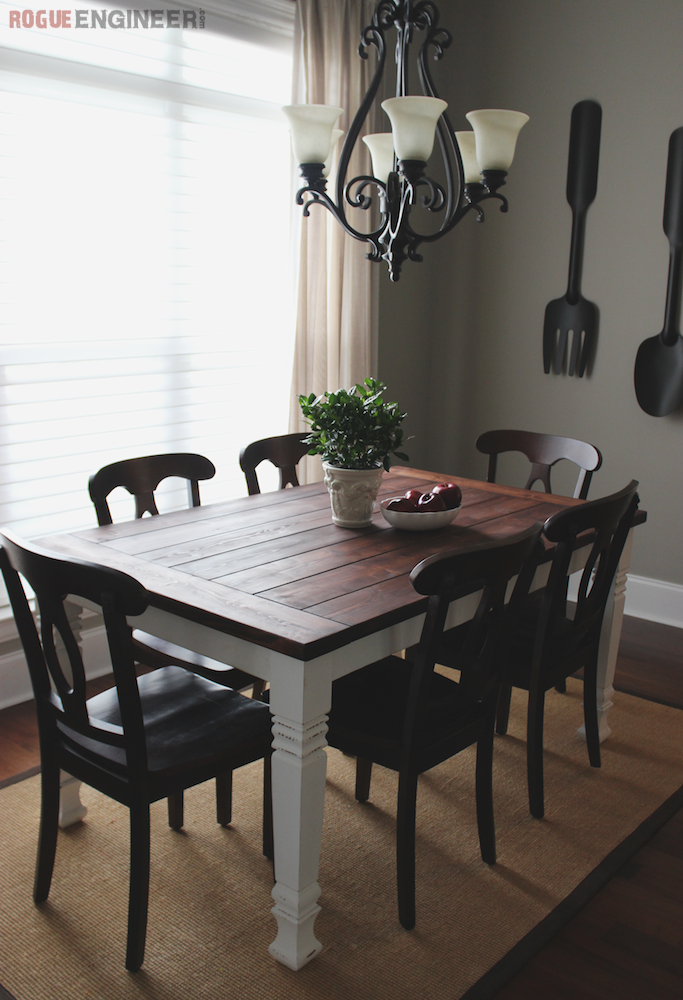
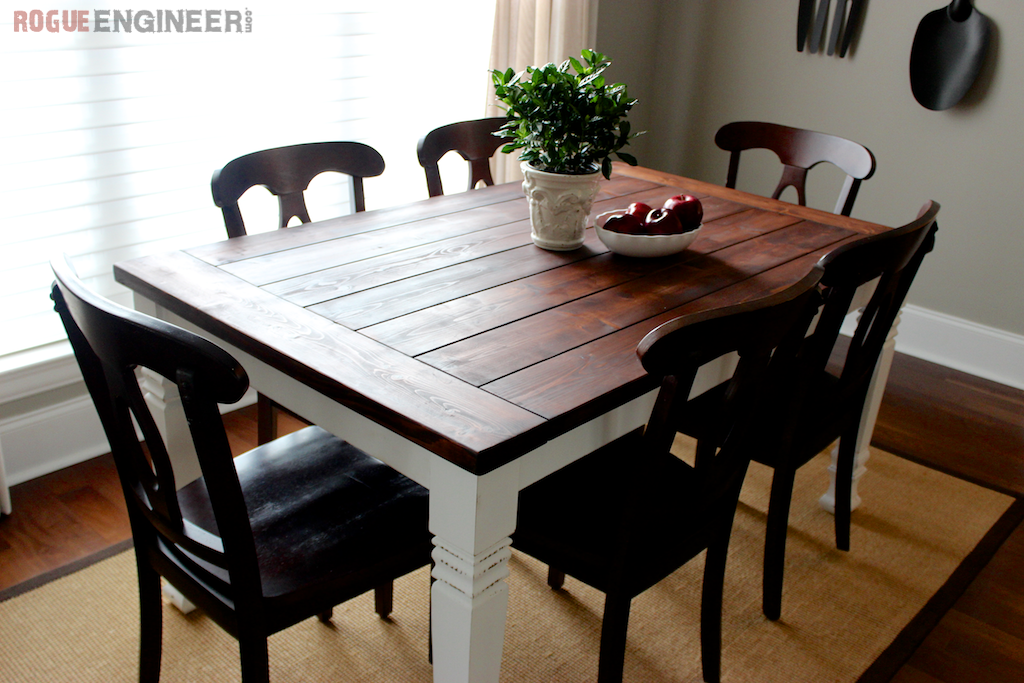
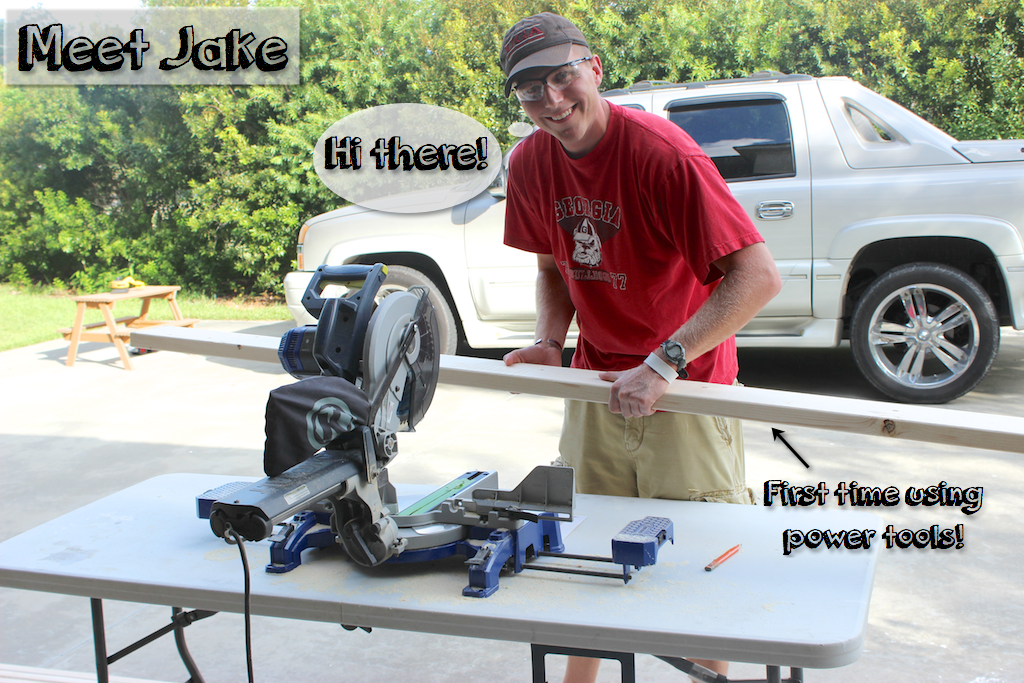
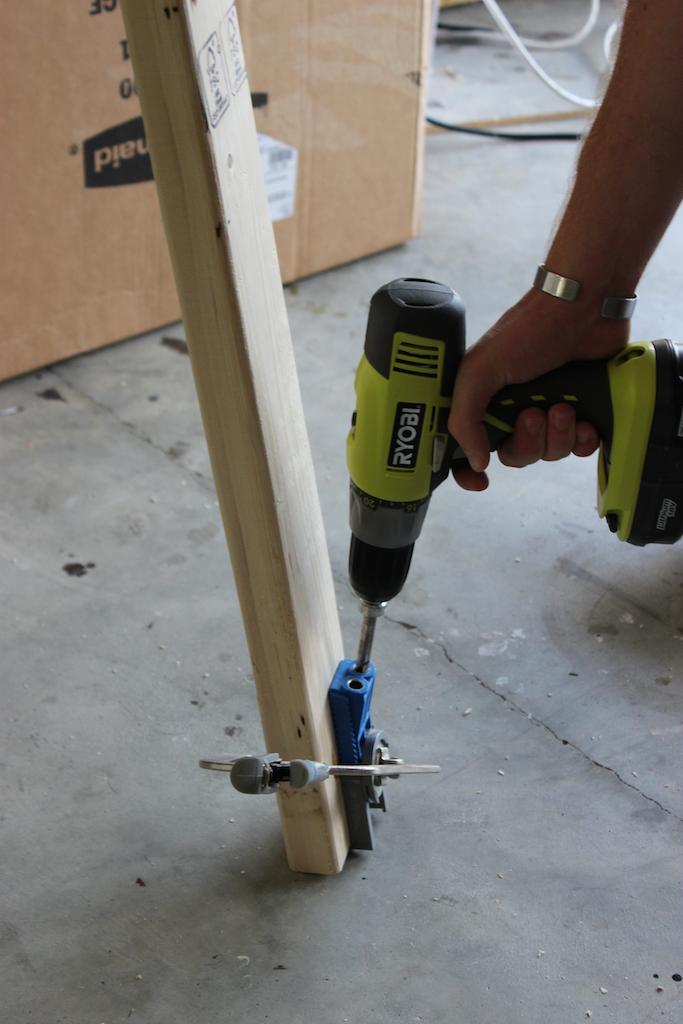
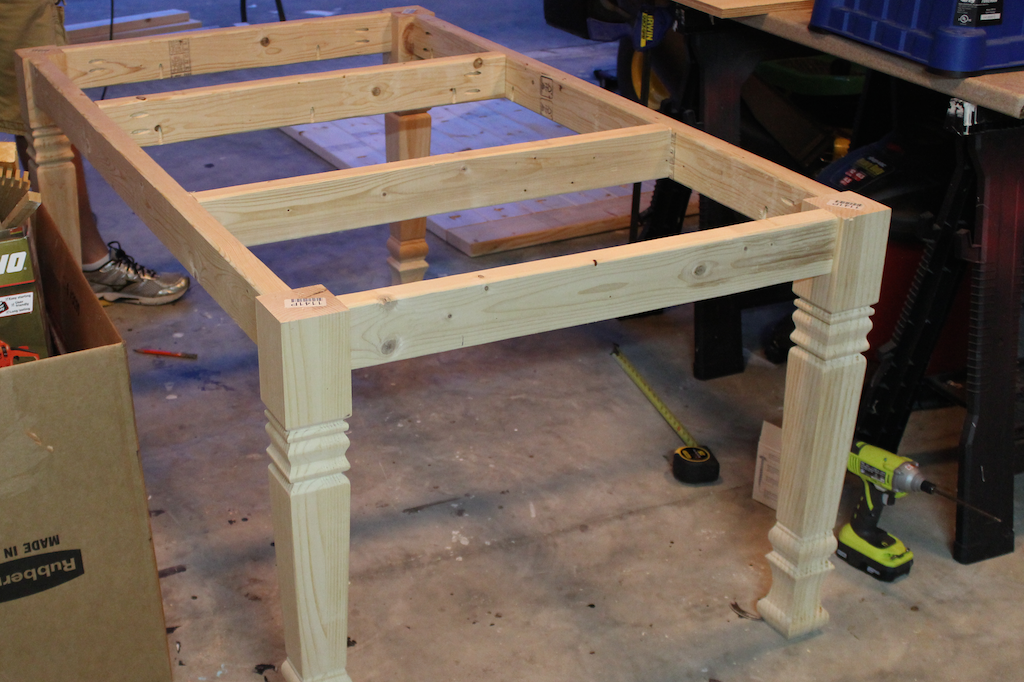
Some friends of ours have been wanting a DIY farmhouse table for some time now. After hearing about their shopping trip and the prices they were looking at spending on one I felt obligated to step in and make this one of my next DIY projects. My buddy Jake has no experience with power tools whatsoever, bless his heart. So, you’re in for a special treat with this one as you will get to see Jake build this table from scratch with no power tool experience! With a little guidance from me of course.

Disclosure: Some of the links provided are affiliate links. If you would like to support our site and help keep our content free come find out more about how we can make money with no extra cost to you.
Tools Required
Materials
- 7x 2x6x8′
- 3x 2x4x8′
- 4x Square Husky Farm Dining Table Leg
- Purchase Amplified Plans for 15% off Code
- Amazon Affiliate Link
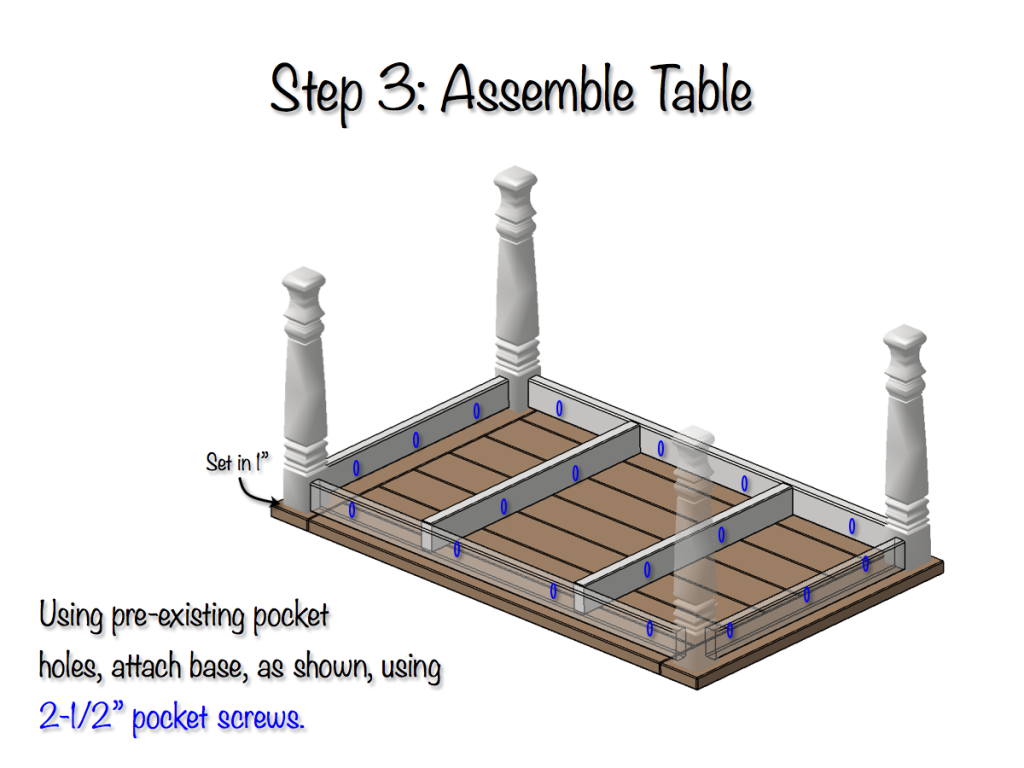
- 2-1/2″ Pocket Hole Screws
Dimensions
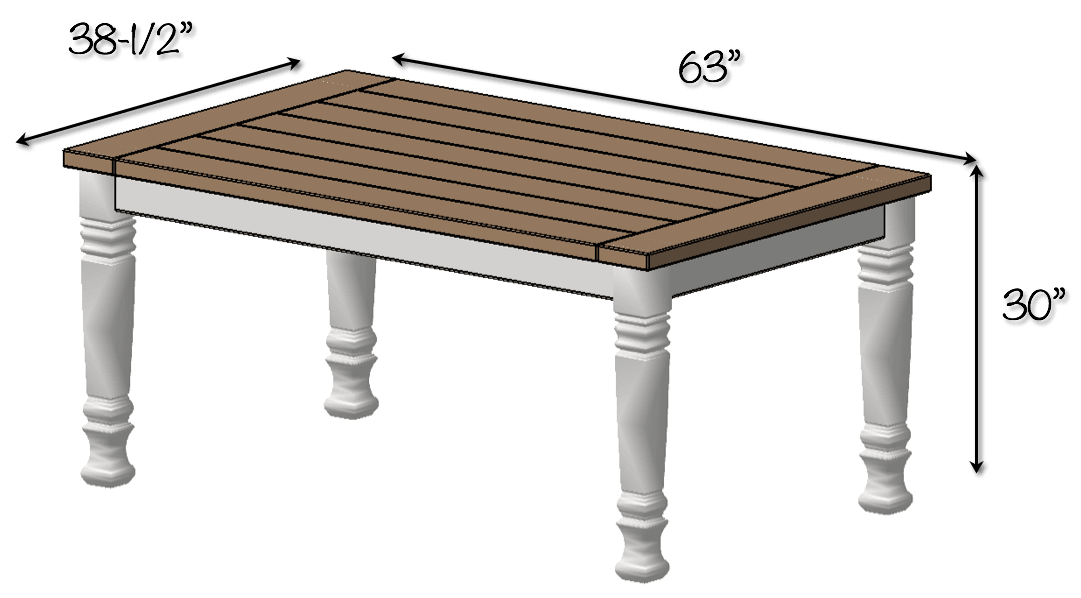
Farmhouse Table Plans
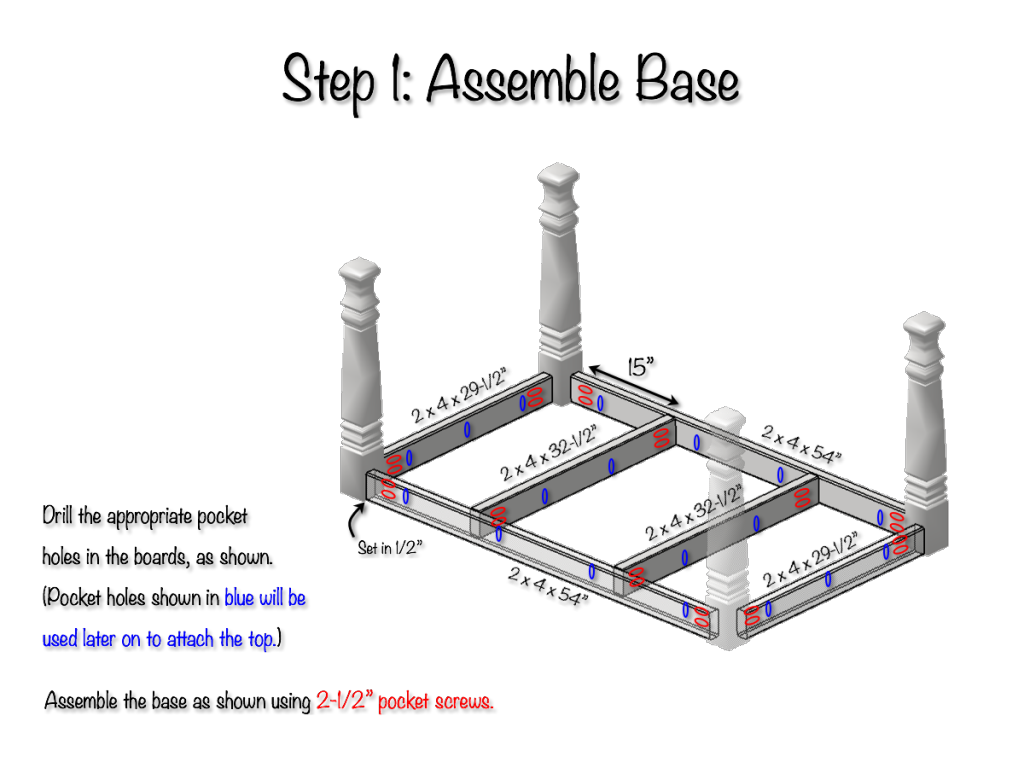
DIY Farmhouse Table Plans
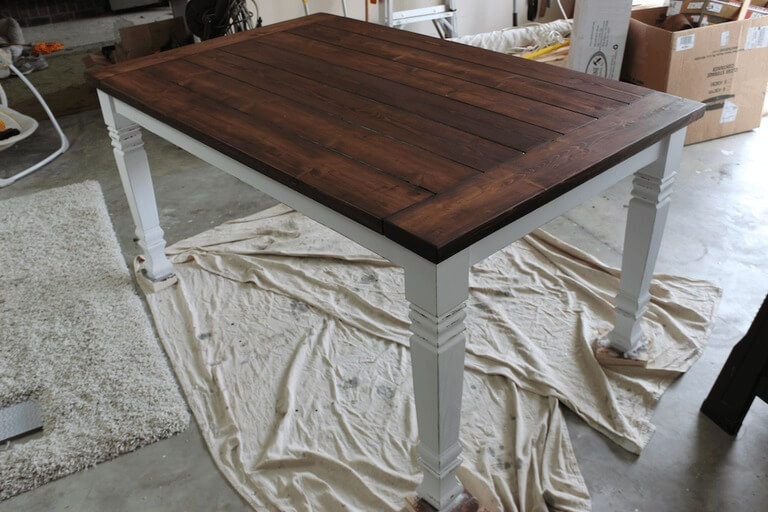
Finishing
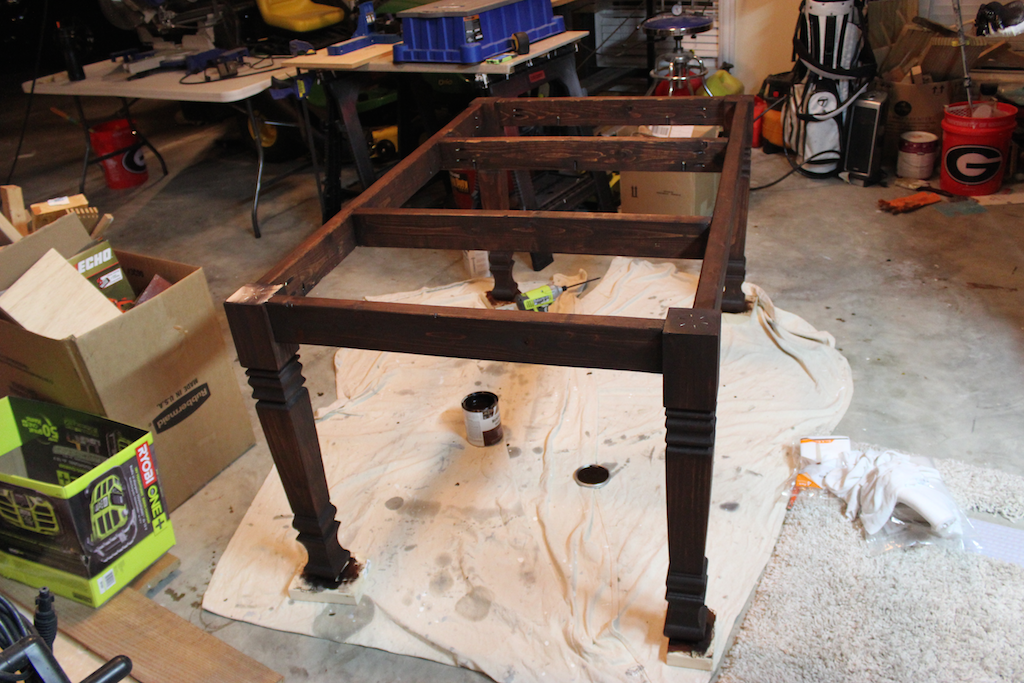
Top: Rustoleum Carrington Wood Stain
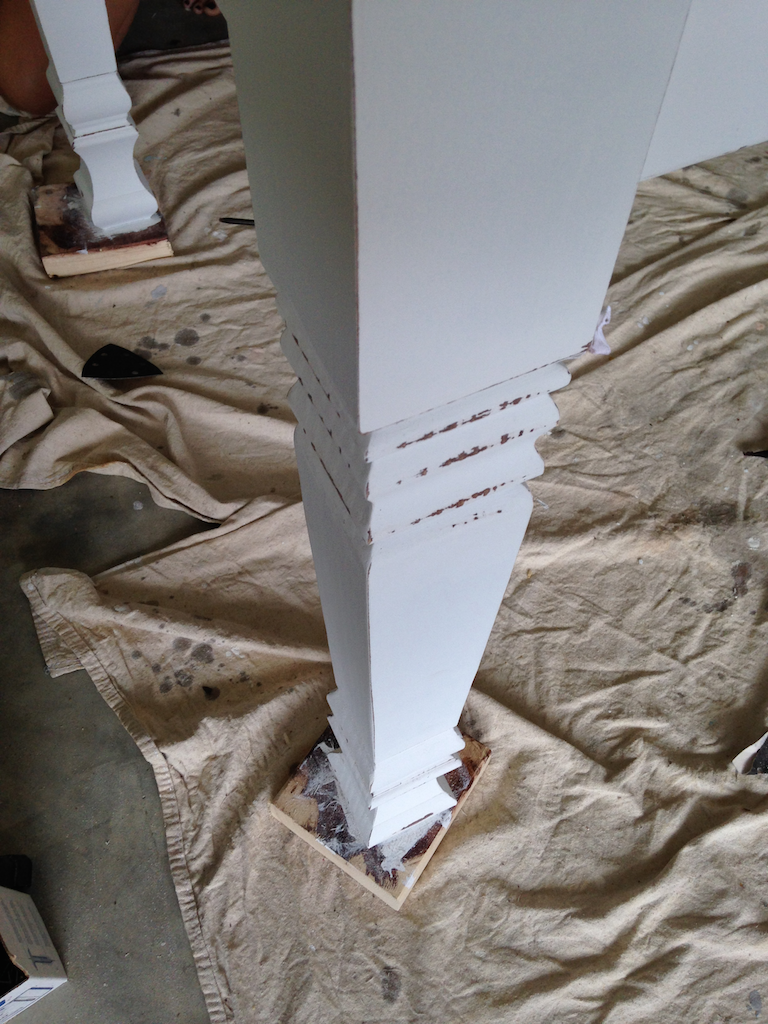
Base: Distressed Finish
Base color: Varathane Carrington Wood Stain
Top color: Flat White Paint (4 coats)
Questions? Comments?
As always, if you have any questions don’t hesitate to comment below and especially don’t forget to post pictures of your finished products in the comments! ENJOY!
I really like your layout that you use to present your cut lists, easy-to-follow instructions and pictures.
I also like your links to Amazon (huge fan of them) since I’m a Prime Member.
Thanks Stephen, I try my best to make it as user friendly and unintimidating as possible!
I agree with u.
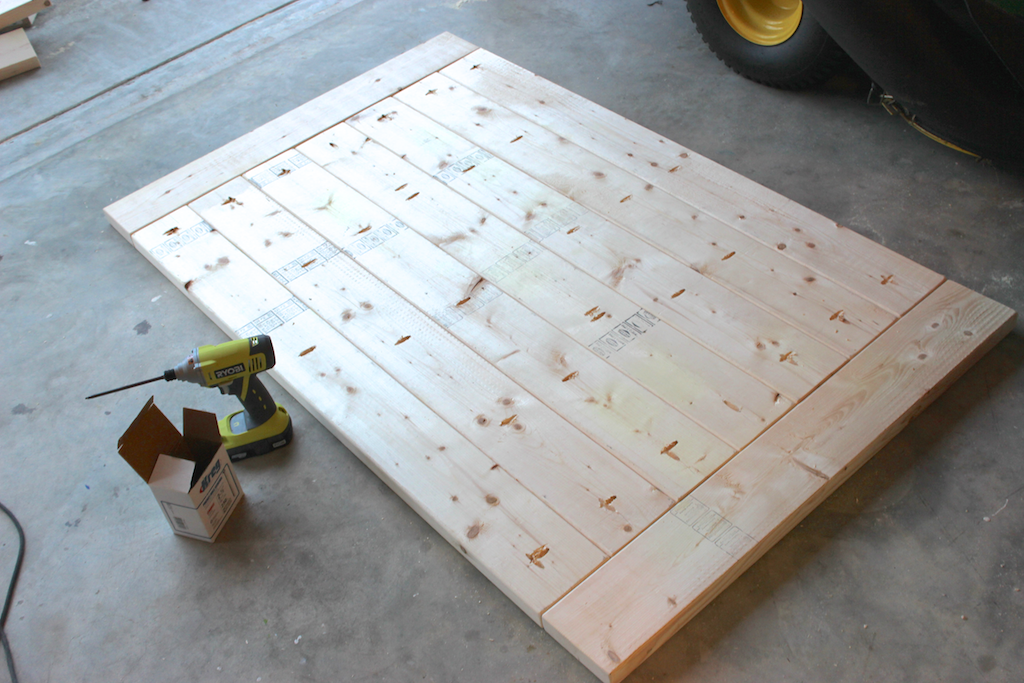
I’ve been building Farmhouse Tables for years and I often help people, across the country, when they want to build their own. There are over 100 pictures of them in my Gallery at http://www.finefinishfurniture.com. There is one problem with this design though. When purchasing lumber from your typical Home Improvement store the lumber isn’t always dried properly for furniture building. I’ve learned from experience that the wood top on a table needs to be able to expand and contract with the humidity changes. If you Kreg joint together the TOP boards like this there is a high probability that the table top is going to BREAK.
You’re much better off leaving out the Kreg screws from board to board, doubling up the screws into the Breadboard Ends and increasing the screws used from the Frame and Skirt up into the bottom of the table top. That way the table top has the ability to expand and contract with the changes in humidity or as it dries. Thanks and Keep on building!
Lovely table Kenny, and nice legs! 😉
That’s a great tip. For an outdoor table I would agree 100% (and I did this for mine) but hopefully there’s not to much change in humidity inside. Lucky me I guess but I’ve never had a problem with this yet. For me, I wanted to keep these seams as tight as reasonably possible and what I generally do to combat this issue is to go easy on the Kreg screws (just a couple per board) and then back the screw out about a 1/4 turn. This gives the boards a little room to expand and contract. Thanks again. I’m no expert so I love getting some advice from one whenever I can!
Reattaching photo that was removed:
Hello ! I know this forum post is really old, hopefully I’ll get an answer. I just built a table really similar to this one. We attached the table top all together with pocket holes screw (7 2×6). The thing is, like you mentioned, it wasn’t leveled at all! We are totally newbies to woodworking… so we thought maybe if we attached it to our base it would make it better, but really it only made our whole table rocky. Our base is super sturdy and leveled. Our plans didn’t have aprons across for support. I’ve heard of Z shaped clamps for fixing the table top… I would just need some pointers because we are a bit discouraged from having to redo the whole top ! Anyway, thank you for your time!
One of the most important parts of a good top is choosing the lumber. Select the straightest, cleanest boards you can. Then, get it home and let it dry out for a few days to a week so it can reach equilibrium. If the boards have shifted too much, return them and pick some new ones. Depending on where you live and the moisture content of the boards when you buy them, this may not be as big of a problem.
One of the most important parts of a good top is choosing the lumber. Select the straightest, cleanest boards you can. Then, get it home and let it dry out for a few days to a week so it can reach equilibrium. If the boards have shifted too much, return them and pick some new ones. Depending on where you live and the moisture content of the boards when you buy them, this may not be as big of a problem. Having clean, straight boards will help you get the straightest tabletop possible.
so how do you attach your top boards on the long edges? With nothing? Or at least glue? I would think if they were not joined together they might warp or bow? Do you use regular construction lumber for your tables? I just built one of these and am thinking of backing off the screws on the long sides and in the frame so that there is room for some movement. I read of someone doing that and he says he has never had an issue. Would love to hear how you put your boards together.
This table is beautiful. I think though I need a square table for my space. Do you have plans for a square table with this look to it that you would be willing to share? Thanks.
Judy
Judy, I currently don’t have any square table plans but this one could be easily modified to be square by just shortening the long boards to the appropriate length.
Great Table! I am so excited I found these plans. Two Questions: What type of wood did you use for the 2x6s and 2x4s? What type of wood did you order for the Table Legs from Osbornewood?
Thanks Scott, I just used pine 2 by’s (stud grade stuff from HD) and ordered knotty pine from Osborne. Hope that helps.
[…] Free detailed, step-by-step plans for a beautiful farmhouse dining table that will actually fit in your dining room! more… […]
Do you have directions for making the table legs?
The table legs are purchased from Osborne Wood. (Link in materials section)
I am planning on building farm table following you plans. How much roughly did you spend on materials: lumber and screws? How long does it take to built it (realistically for someone not too experienced), not including staining and finish?
Thanks
That’s awesome Galina!
Make sure to download the Amplified Plan at the top of the plans on this page. It has a cost breakdown and tons of great tips and info. Realistically I think you could get this done in a weekend with a few hours of work each day. Build and stain one day and paint and finish the next.
Best of luck! Post a pic when your done!
Would this table need any extra support to make it counter height? Thanks!
Hey Sheila,
No, I do not think it would. This would look great as a counter height table!
[…] DIY Farmhouse Dining Table | Free Plans | Rogue … – Free detailed, step-by-step plans for a beautiful farmhouse dining table that will actually fit in your dining room!… […]
This is great, although I would like to make this longer, possibly 81″ between the legs rather than 54″. Do you think there is enough support in the legs or would i need some bracing?
Thanks Matt! You would be plenty fine. The 2×4 aprons will more than support that span.
So did it take you 3 or 4 coats of stain? Did you do a polyurethane finish after that? Did you use a pre-stain sealer?
Only one coat of stain. I’ve notice Rustoleum’s wood stain is much richer and requires only 1 coat and no pre-stain conditioner vs Minwax which requires pre stain and multiple coats usually. And yes I finished up with a poly on the top.
I love your table. I am in the midst of building one. I’m wondering Did you use a water based or oil based poly?
Thanks Janet, I used a water based poly.
I’m going to give it a try–you recommend the Kreg 6″ Automaxx clamp, is that the face clamp or bench clamp?
Awesome Erik! I’d love to see how yours turns out. I recommend the 6″ face clamp to clamp the joints when screwing the top together. This helps keep the boards as even as possible and requires less sanding in the end.
I am going to be making this table very soon. I am adapting it into a 6′ square version because our dining room is square and I think it will help the composition of the room. What I did was just figure out the difference in your overall measurements and your cut measurements and applied that ratio to a 72″ overall measurement. Is that how you would go about doing it? I just want to make sure my 2×6 top will come out ok and I won’t have to rip a skinny board. That would kind of kill the look of the table. I also plan to miter 45’s into all the outside boards to create a kind of frame.
Hey Eric. That’s a great idea. Your table would end up being 71.5″ (13x 2×6’s @ 5.5″ wide each) the interior boards would be 60.5″ (71.5″-11″ for the two breadboards). So for the top you’d need:
4x- 2x6x71.5″ (45’d at both ends)
11x- 2x6x60.5″
Beyond that, make sure the supports run across the interior boards and I think it will work well.
I want to see a picture when it’s done!
I will definitely post a picture. I am having trouble figuring out what length to cut the 2×4 stretcher boards. 63″? I don’t think that is right.
I’m fairly sure the aprons would be 62.5″ and the interior supports 65.5″. Might want to double check that. That is assuming 1″ overhang of top and 4×4 legs (3.5″ square)
Hi, your table looks great and actually very similar to my own DIY farmhouse table. Similar use of osborne table legs, and pocket hole jig. Keep up the good work!
http://shirleyandchris.net/blog/2012/02/18/diy-farmhouse-table-and-bench/
Hey Chris! Great table and great site, thanks for sharing. Happy building!
Reattaching photo that was removed:
I’ve never built furniture, just framed in walls, windows, and doors. I just bought a pocket hole jig, and I’d like to build my first furniture project. I’d really like this dining table, but much larger for seating 12. I’m thinking 11″ long. Could you tell me how you might change the plans to accommodate such a long table?
Hey Susanne! That’s awesome and if you can do all that then building a farmhouse table like this will be no big deal. And nothing says “farmhouse table” like a massive 12′ table! My recommendation for a table with this span would be to add an additional set of legs in the middle. Other than that you can probably figure out the board lengths you would need for the additional length.
Make sure you post a picture of this thing when you get it done! I would love to see how it turns out!
Do you think cutting the middle section of one stringer to add a linen drawer would weaken the table too much?
I think that would be just fine Joe. That’s a good idea.
Hey,
Going to be starting this project on Saturday! Bought the Amplified Plan and looking forward to start assembling it! I will be sure to post a picture of it when it is done!!
Thanks for the plans!
Stephen
Awesome! I can’t wait to see how it turns out!
Here is our finished table! It turned out really well. We used White Ash for the top because we wanted a harder surface and only 1 inch thick so the table wouldn’t be extremely heavy. We are very happy with how it turned out! Thanks for the plans! Here is a photo: https://drive.google.com/file/d/1gSyMK3rVMA1p4b4960E-2xjakl3i_jwbAw/view?usp=sharing
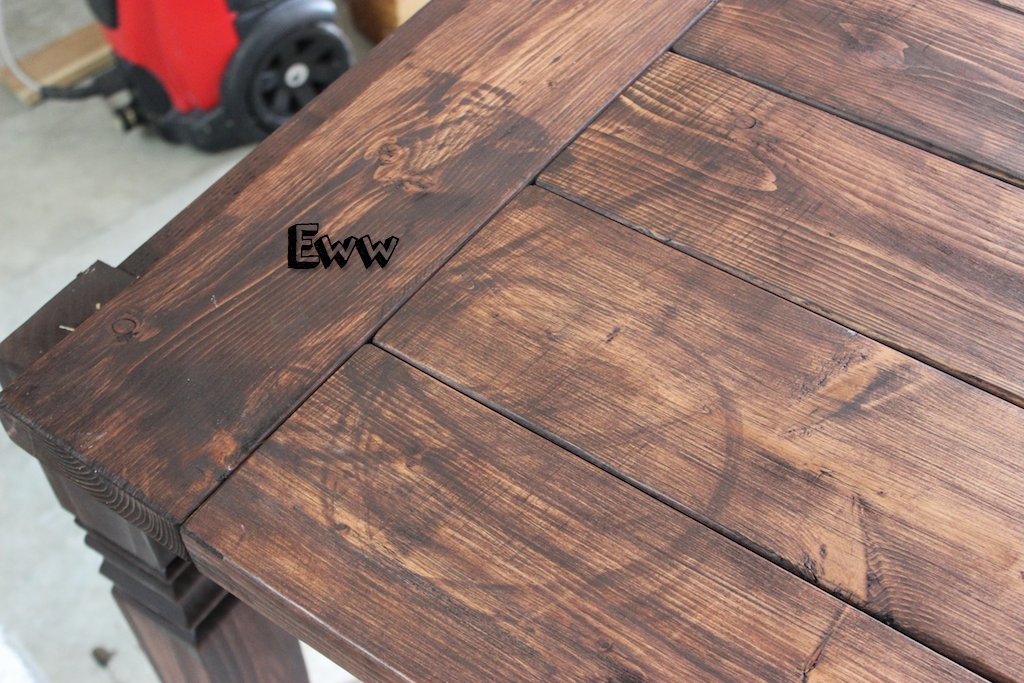
It looks like from the pictures and captions you had some battles staining. Any suggestions – grit sandpaper, I’ve heard start tough, work to a finer grit, stain, then do another touch up – in other words, not a clue. 🙂 Any suggestions as far as finishing/painting/staining? Thanks
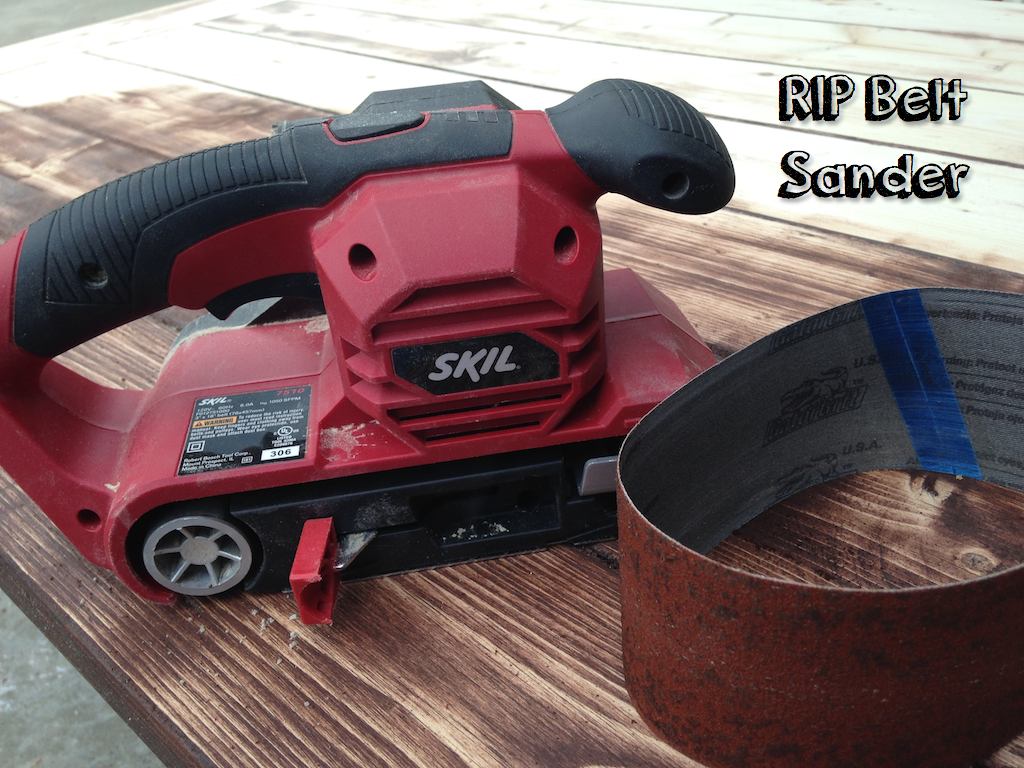
I would suggest starting with an 80 grit on a belt sander in the tougher areas. Then go to a 120 grit on an orbital sander all over, and really take your time to get it as smooth as possible. Finally come back with a 220 grit all over to get it ready for stain. Wipe it down with a wet cloth and stain then seal with a poly or equivalent.
We are using this plan for a table. My husband put it together and there is a tiny gap at the end of the long boards between the end board (does that make sense?) The other side doesn’t have a gap. Do you have any suggestions what to do? Do we remove that end piece and sand it down? or do we fill it with wood filler, epoxy, or polyurethane? I read that if you tape off the bottom and use an eye dropper the polyurethane would work best. Just wanted your input.
Thanks!
Hey Sarah, that can happen if the longer boards vary in length by just a little bit. You could take off the breadboard and sand down the longer board ends flat or even run a circular saw down a clamped board to assure a straight line. Wood filler would work as well. The polyurethane trick will probably end up cracking so I wouldn’t recommend that. Hope that helps!
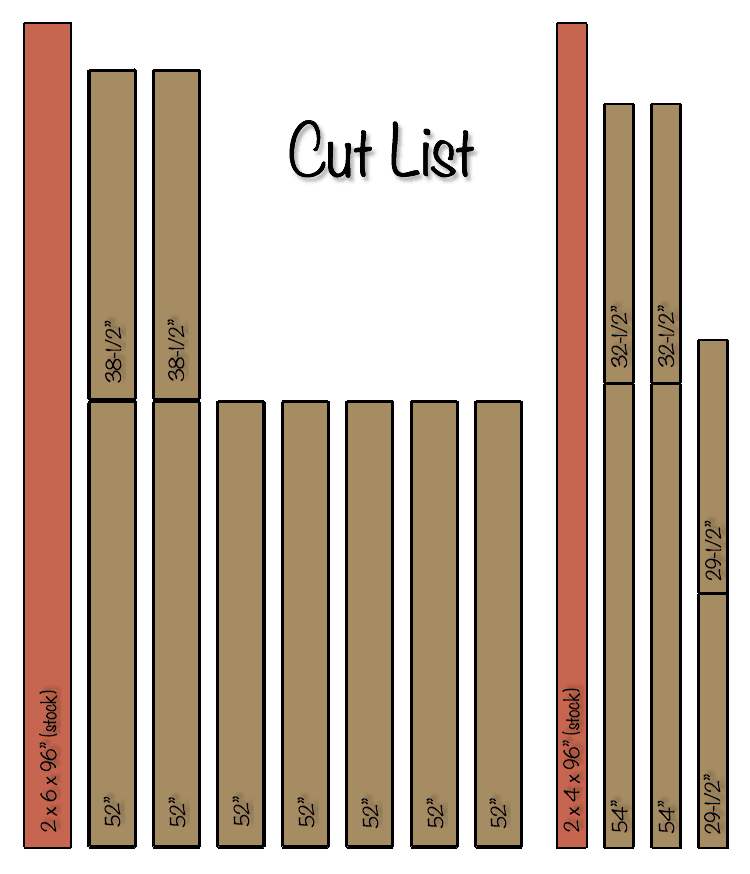
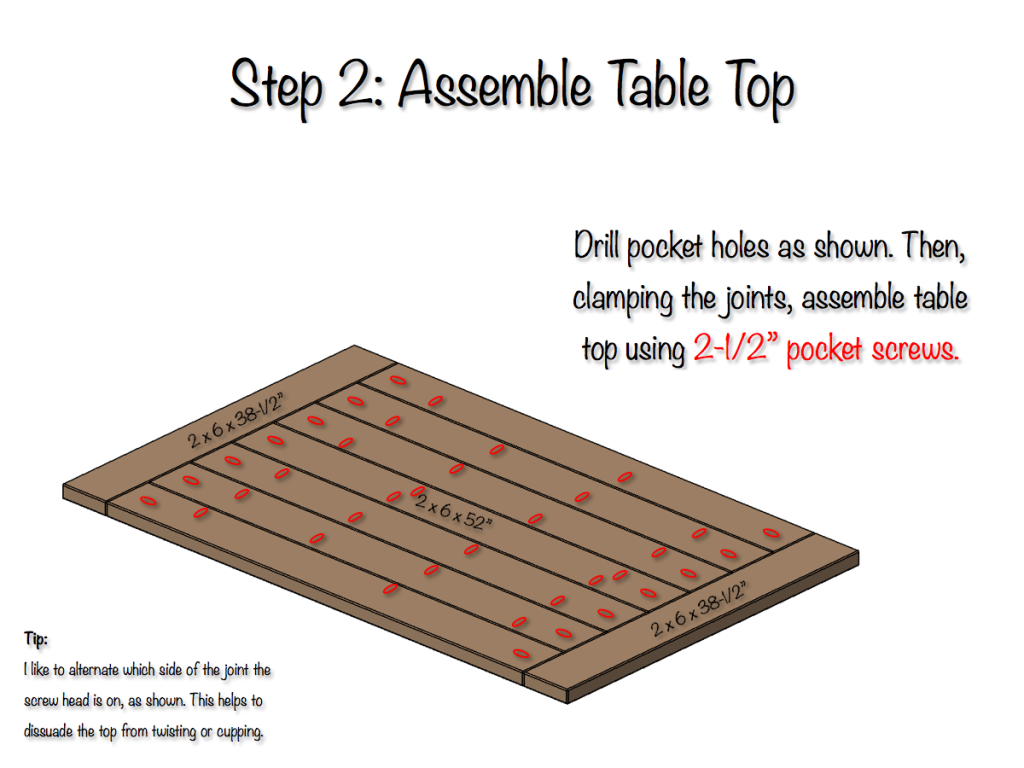
Hi there, thanks for these plans. I started working on my table this evening but decided to begin with the table top first. I made a slight change to make it accommodate 3 people per side, but other than that I’m following the amplified plans. One question though. The plans show that there are two end pieces that are 38.5″ long, but that doesn’t seem to be wide enough. The plans show seven 2x6s that are 52″ long, for a total width of 42″…wider than the two end pieces that are 38.5″ long. Am I missing something or have I made a mistake somewhere? As is I’m looking to cut my two end pieces to 42″ to be flush with the seven long boards. Thanks in advance for your reply!
Hey Scott, no mistake, 2×6 is actually what’s known as the nominal dimensions and these boards actually measure 1-1/2″ x 5-1/2″ so 5-1/2″ times 7 boards equals 38-1/2″. It should work out just fine. Sorry for the confusion. Happy building. Let me know if you have any other questions.
Could you elaborate on how you did the legs? Did you stain the whole leg or just the parts you were distressing? Thanks!
Andrea,
My wife is indecisive and OCD so she stained the entire leg. However, it’s only necessary to stain the areas you want to distress. You can see my post on distressed finishing here. Hope that helps!
I’m really wanting to build a table very similar to one you have shown here, but i have no idea what type of wood to use (construction grade, popluar, oak, maple). Any suggestions? Also for the table legs, which type of wood should i use? Should the type of wood for legs, apron, and top match? Is ok to use a soft wood? Your response will greatly be appreciated.
I used construction grade pine on this one and oak on another. It all comes down to how much money you want to spend. Pine is cheaper and works fine. If you plan on painting the legs like I did them the wood type shouldn’t matter too much. If it’s stained to match the top then you should match the wood type. Basically the choice is yours! Happy building!
[…] at this authoritative site, which is heavy on the wood. You’ll find plans for everything from farmhouse tables to cute baby […]
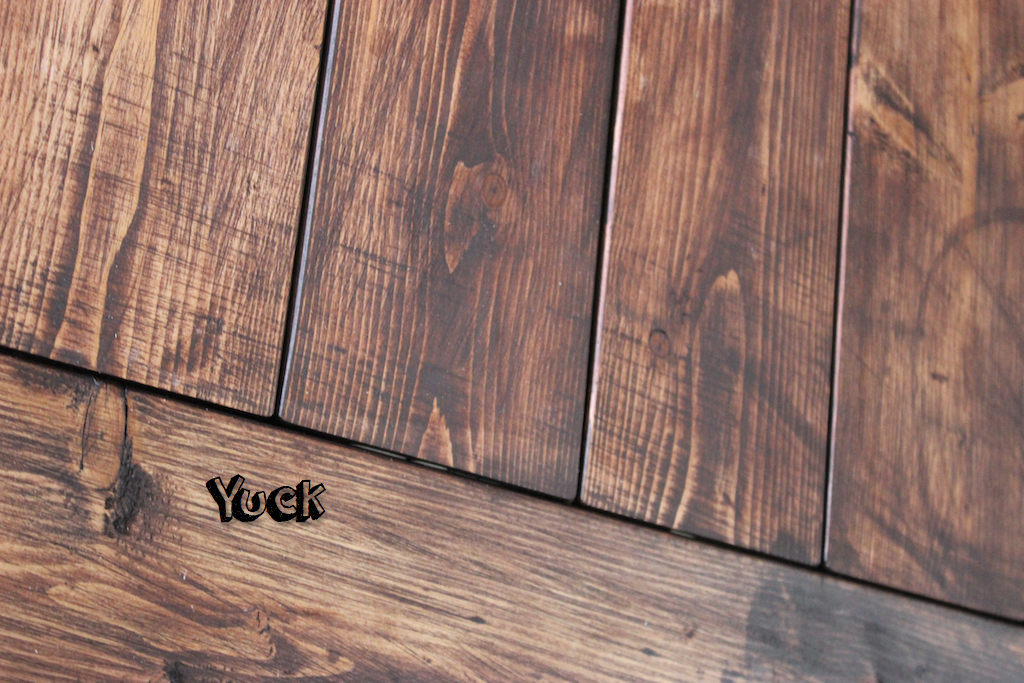
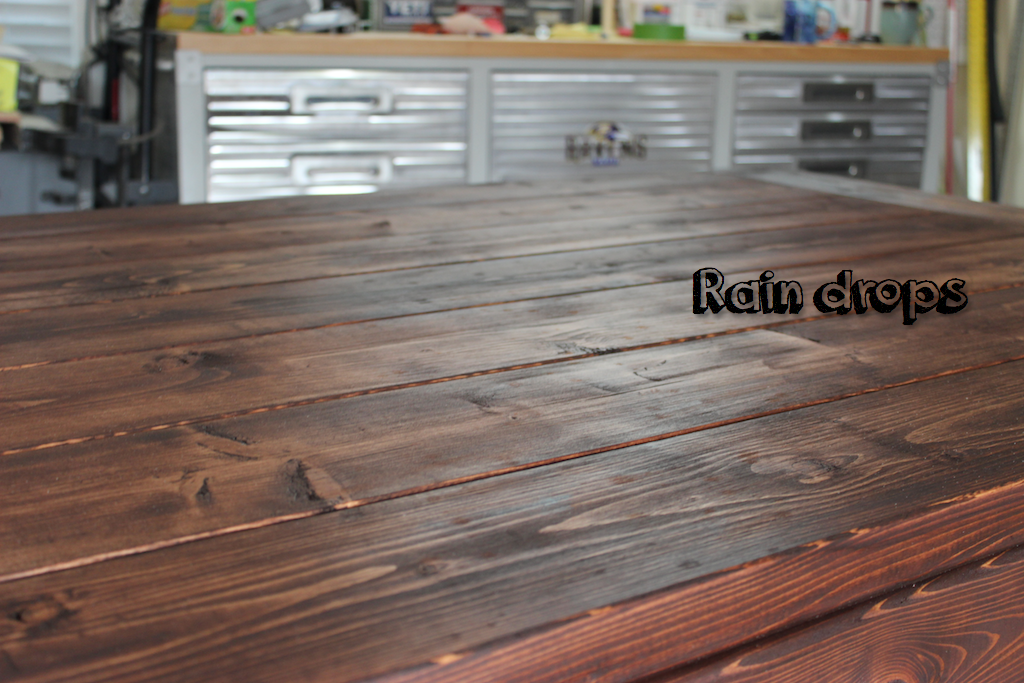
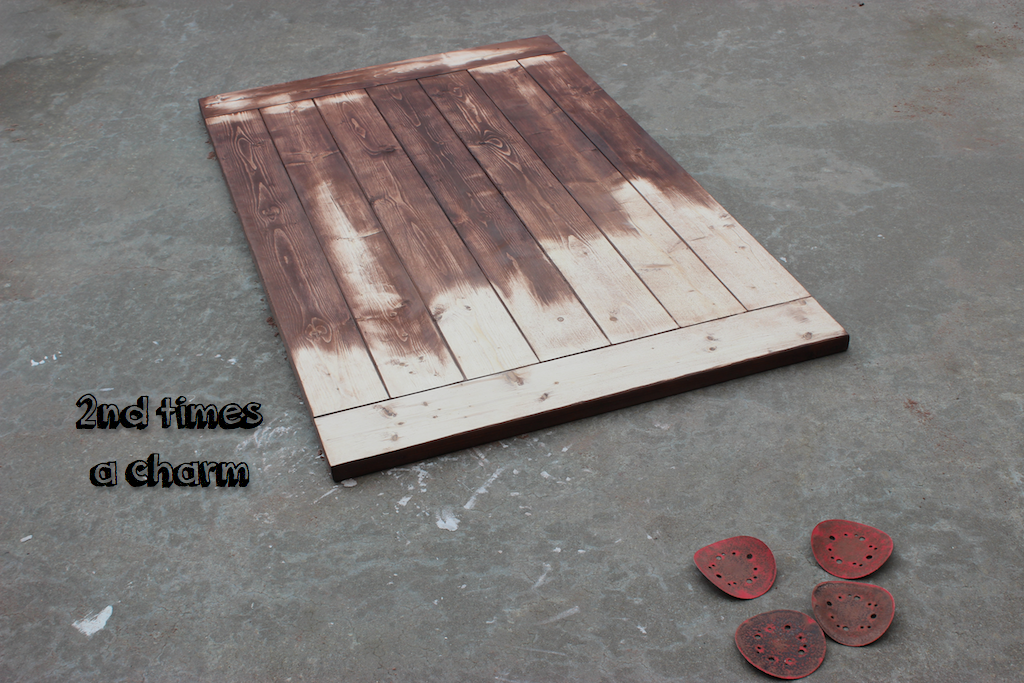
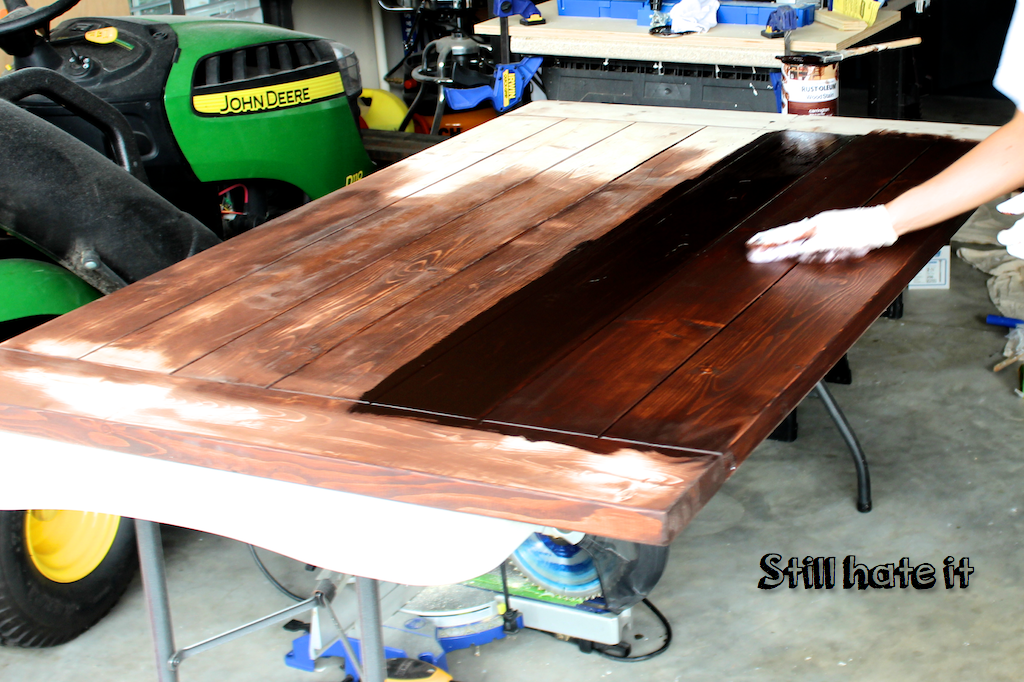
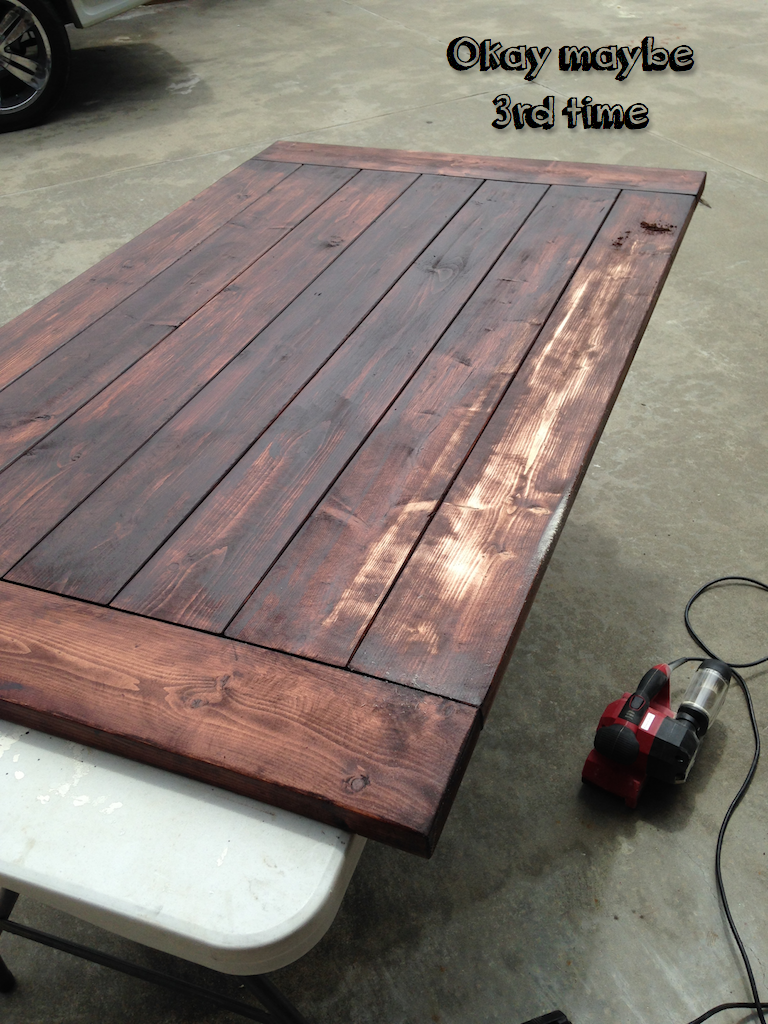
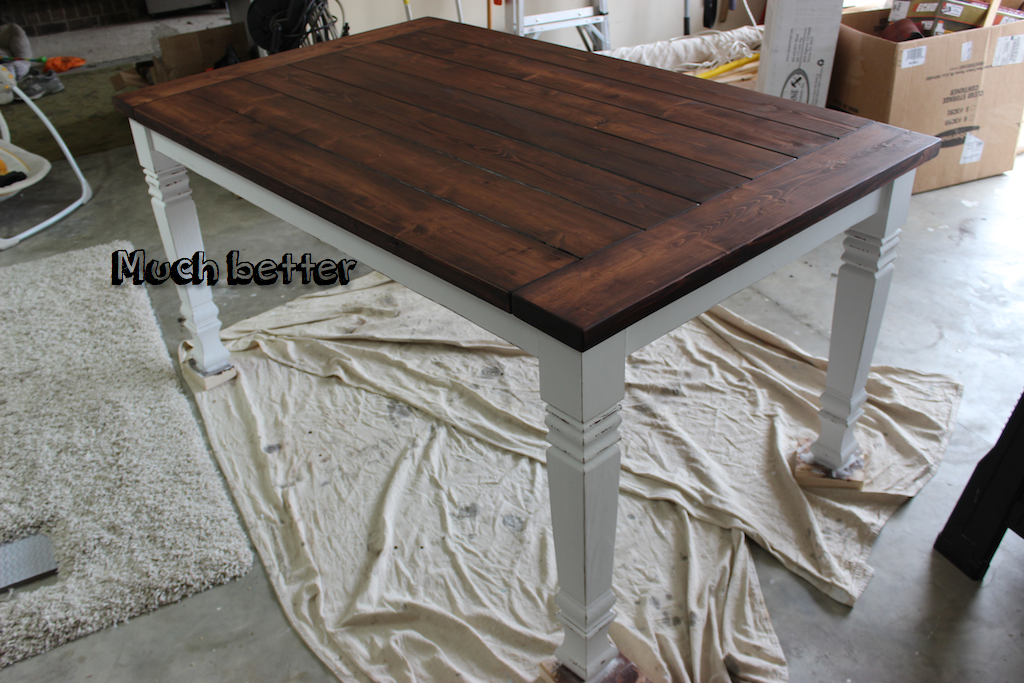
Thanks for the inspiration. We are in progress and ready to stain, but our test staining looks just like your first two yuck attempts. In your 3 attempts what changed for you and made it better? On your 3rd attempt, was it trying a different color of stain or was it a different way you applied the stain to the wood? Thanks for any help.
Sanding. Make sure the surface is sanded and prepped. I used a 220 grit sand paper for my final sanding before I applied my stain. I use a foam brush to apply my stain, let it sit for a minute, then wipe it off with a stain rag. Also, I’ve tried a few stains and highly recommend Rust-Oleum. I’ve noticed a more even cover and better color with their stains.
Hello there!
Love your amplified DIY table plans!
I have also read through the comments to glean any more details or answered questions. I just bought some construction grade pine in the sizes from your buy list.
I am new at this and noticed for the 2×6’s, the only option for Lumber at Home Depot & Lowe’s is “Douglas fir green wood”. I have heard you are never supposed to build with “wet” or “green” wood but I asked the store workers at both places and they say they only sell it in 2×6.
I know you built yours with construction grade pine, were you able to get yours kiln dried? I only saw the kiln dried as an option for the 2×4’s. I live in sunny California, if I wait a few days for my lumber to dry out will it be okay? I don’t want it warping and shrinking on me, I’m worried? I’d love your expert advice!
-Amy
I was able to find kiln dried 2x6s at my Home Depot. These should be fairly easy to find. Maybe try Lowe’s or another Home Depot. If by wet/green wood you mean pressure treated, I would say to try to avoid it if you can. You could let it dry out for a couple weeks if you can’t avoid it. Hope that helps.
I’m close to finishing the table. Built from reclaimed barn wood. Maple top and aprons and oak legs. My question is, do you think the pocket screws are strong enough to hold the aprons to the legs? The original thought was to mortise and tenon but I am liking th e ease of the pocket screws. Should I maybe add a corner brace?
Sorry I thought I replied to this. The pocket hole screws should be plenty strong enough. Brackets would only make it stronger. Sorry for the late reply.
[…] DIY Farmhouse Dining Table | Free Plans | Rogue Engineer I am going to follow these instructions to build a square 60.5" farmhouse table. Several friends have built a table using these plans but I don't want the slight gaps between the top 2x6s that are a magnet for crumbs. Any ideas on a way to fill the cracks? I thought about wood filler and then sand, stain, and poly. The wood filler I used to fill nail holes in a door threshold didn't stain the same color as the wood, so that has me worried. Thanks for any suggestions for this project! […]
I just built a square table using these plans. I couldn’t find any wide table legs so I just got 4x4s. I added 4 brackets to each table leg to make them a little stronger. There are slight imperfections and little gaps around a few edges but overall it looks great. It ended up 60.5 L x 59 W x 31 H, I cut the 2x6x8s in half to save a little money, although it isn’t perfectly square. I used Minwax English Chestnut and Satin Poly with Satin Black Magic Olympic One paint on the base. I just tried to match everything to our chairs and it matched perfectly. I had to make it a little higher than I wanted, but I am 6’8 and I had to get it high enough where my legs would fit under the sides. Thanks for sharing your plans, they worked great!
That looks awesome! I love the square design and the color combo. Great choices. Thanks for sharing.
Now my wife wants a matching kitchen island, with the same stain and black paint on the bottom. I will let you know how it turns out. Going to use the same concept, just try to make it look like this …
Sample …
I like it! I think that would look great. Can’t wait to see how it turns out!
It turned out great! It matches our kitchen table perfectly 🙂
Wow!!! That turned out great! Thank you so much for sharing. What a great idea.
Love Love this. What are the measurements?
32L 22W 36H
Reattaching photo that was removed:
My wife and I like the table so much we bought the amplified plans just to support you. I always end up having questions anyway so I figure that the plan will come in handy. Thanks again and God bless!!!
Thanks so much Beau, you guys are the best! Shoot me an email if you have any questions whatsoever! Happy Building!
Did you use a planer or joiner for this project or did you just try to find the straightest boards you could get at HD??
No joiner or planer. I just take my time and pick the best boards I can from the good ole Home Depot. I try to keep my plans as simple as possible for the everyday DIYer. However if you want to get a little more advanced running the boards through a joiner or planer wouldn’t be a bad idea.
Hi Jamison, great plans. This table was my first ever woodworking project and what fun it was! We needed to replace our glass kitchen table with a wood one with the birth of our son & we loved the design and farmhouse style. I modified the table dimensions to 53″ X 38.5″ to fit our kitchen and I was on my way. Some feedback:
We chose soft maple for the wood (in hindsight maybe I should have used something more common & easier to work with for my first woodworking project) & unfortunately, I couldn’t find any lumber yard in the Atlanta area that carried 2X6 boards… there were scrap pieces of various dimensions and quality but nothing that I could use. I ended up ordering the wood from a millworks company, the quality was great but expensive. But I didn’t build the table to save money!
I followed the instructions to cut the wood and assembled the base & top. Only deviation from the plans is that I used a random orbital sander for the final sanding. I found that the belt sander was good at smoothing the rough edges, but it was tricky to work with (esp. for a novice like me) and it left an occasional scratch mark. The orbital sander buffed out any marks left over from the belt sander and I thought it worked better for any sanding that needed a finer touch.
I used General Finish Antique Walnut gel stain from Woodcraft for the top and Amy Howard Linen paint for the base. I had a lot of trial and error to get the stain right (make sure to use the underside of the table top to practice!), but I found the system that worked best for me was to wipe the applicator pad and the wood with a touch of mineral spirits, apply the stain and wipe off immediately. I needed only one coat because my wife loved the color! I applied 4 coats of poly sealer to the top and 2 to the base and I was done! I’ve attached a pic of the final table.
Thanks again for the plans & thanks for getting me started in woodworking… I’ve already got several new project ideas from reading your site!
Tony
Tony,
The table turned out awesome! It is hard to believe this was your first woodworking project, you killed it! I also use lumber from Home Depot, but if you are willing to spend the extra getting good quality lumber is a great choice. We have done some projects using reclaimed lumber from a salvage lumber yard in downtown Savannah, its gorgeous stuff but extremely pricey!
We typically finish off with an orbital sander and 220 grit paper as well. It’s a great way to prep the surface and buff out any imperfections. I am so glad you enjoyed building your first project and I look forward to you sharing some more! As always if you run into any questions along the way be sure to shoot me a message. I am always happy to help my readers!
Thanks Jamison!
Reattaching photo that was removed:
Thanks for the next inspiration. Cherry top and matching bench with maple legs.
You got it Mike! Unfortunately your pictures didn’t come through but I would still love to see it. Shoot me an email at @Jamison Rantz.com">jamison@Jamison Rantz.com
Some pics
Hi! I just want to let you know that I love the website and that it’s what motivated me to get into wood working. I absolutely love this Farmhouse table and have been making them for my family. I’m proud to say that, after making her a table, I am now my mom’s favorite. Finally! Keep up the great work.
That’s awesome! I love how it turned out. Glad I was able to inspire you to get into woodworking and put you in the lead for favorite child! ha. Happy Building!
Reattaching photo that was removed
could i get the plans for this table please
Beautiful table!! I’m also in love with those chairs! Any info on where your friends got the chairs from??
Thanks Rachel, Those are from World Market.
I love this table. Can’t wait to build it (hopefully this weekend)! I really like the chairs too. Where did you get them? Were they finished or did you finish them? I’m having a hard time finding unfinished chairs since I would like to stain them the same color as the top of the table. Thanks!
I got the chairs from World Market, they were finished. The color on the chairs isn’t the same as the color on the table, but it is close enough that you can’t tell.
I Love this table and plan on making it in the next two weeks. I am going to order the plan and then the legs so i can get the code for the discount. I just need some help on the dimensions for the cuts. We are a family of 9. I need a 37″ table wide and 8ft long. How do i need to adjust the cuts? If you could help me with this, i would appreciate it. Thanks. .
Awesome! Glad you are going to build this table. I am sure you are going to love it. So the only issue is the width, right now the table is 38 1/2″ wide, and since we are using 2×6’s, which are 5 1/2″ wide, so you can take out a board in the middle but that will bring you down to 33″ wide. 1 1/2″ isn’t too far off of what you want, so hopefully that will still work for you. And to get the 8 foot table, cut the center 2×6’s to 85″ instead of 52″ and for the apron cut to 87″ instead of the 54″. If you have anymore questions feel free to shoot me a message and I will help you the best I can!
Thank you Jamison! I can’t wait to get started. I’ll let you know if i have anymore questions. Hopefully the more detail plan will answer anymore questions. thanks again.
[…] DIY Farmhouse Dining Table | Free Plans | Rogue Engineer. Sep 8, 2014 – Free detailed, step-by-step plans for a beautiful farmhouse dining table … DIY Furniture Plans … Base color: Rustoleum Carrington Wood Stain. […]
[…] DIY Farmhouse Dining Table | Free Plans | Rogue Engineer. Sep 8, 2014 – Free detailed, step-by-step plans for a beautiful farmhouse dining table that will actually fit in your dining room! […]
Hi Jami: I am new to wood working, but have been reading up on this for at least a 2 years. I have most of the tools necessary for the projects I want to complete. My 24 year old daughter requested that I make a desk for her from another website (shanty2chic). Do you have any recommendations for a grad school desk that requires style to the fullest to put into my daughter’s home? Thanks for this site and everything you do for the peeps out here like me who want to get into woodworking but lack time and talent.
Thanks Lori! Check out the link below for desk plans:
https://rogueengineer.com/category/diy-furniture-plans/home-office/
[…] DIY Farmhouse Dining Table | Free Plans | Rogue Engineer. Sep 8, 2014 – Free detailed, step-by-step plans for a beautiful farmhouse dining table that will actually fit in your dining room! […]
[…] DIY Farmhouse Dining Table | Free Plans | Rogue Engineer. Sep 8, 2014 – Free detailed, step-by-step plans for a beautiful farmhouse dining table that will actually fit in your dining room! […]
[…] DIY Farmhouse Dining Table | Free Plans | Rogue Engineer. Sep 8, 2014 – Free detailed, step-by-step plans for a beautiful farmhouse dining table … DIY Furniture Plans … Base color: Rustoleum Carrington Wood Stain. […]
[…] DIY Farmhouse Dining Table | Free Plans | Rogue Engineer. Sep 8, 2014 – I've included the option to purchase the amplified plan for $19.99. …. Hi, your table looks great and actually very similar to my own DIY … […]
I am building this table now. I would like to make bench seating with a back to go with it. I can’t seem to find any plans for that. Got any ideas?
I currently don’t have any plans for a bench with a back. However, if you search on Ana-White.com, she has a lot of bench plans and some with backs that you could modify to fit your needs. Hope that helps.
I currently don’t have any plans for a bench with a back. However, if you search on Ana-White.com, she has a lot of bench plans and some with backs that you could modify to fit your needs. Hope that helps.
[…] DIY Farmhouse Dining Table | Free Plans | Rogue Engineer. Sep 8, 2014 – Free detailed, step-by-step plans for a beautiful farmhouse dining table that will actually fit in your dining room! […]
See what you started?
Now my daughter wants one, but 10 feet long. Would two legs in the middle be sufficient?
Haha. My bad man. I even think you might be able to get away with no support in the middle. But yes 2 additional legs in the middle would be plenty.
What type of wood did you use for the table top?
I used pine for the table top
How has the pine table top lasted? Is there a harder wood you would recommend for the table top?
It still looks like the day I finished it. Besides the mess my kids make every night. If you want a harder wood you could go with oak, ash or hickory.
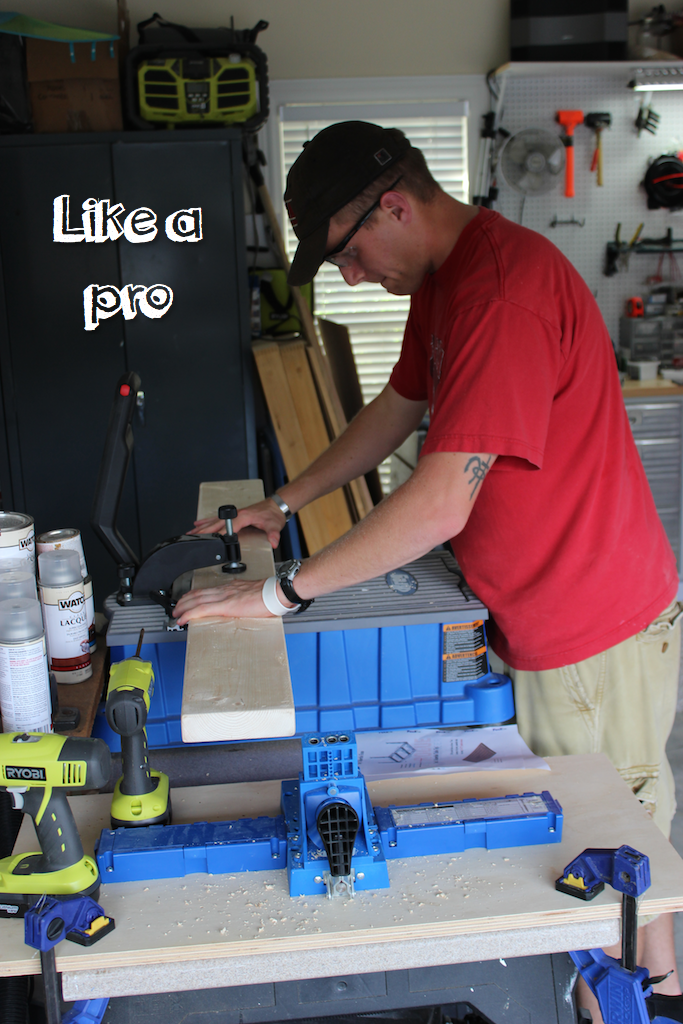
I see you using a lot of pocket screws on various projects. What are your thoughts on using biscuits for assembling the table top?
It requires a little extra work and the tool but I think its a great idea.
After looking high and low for a new kitchen table, my husband convinced me he could build us one based on your plans. This was his first big project and he did an awesome job! We edited the plans so the table is pub height and a bit wider by adding 2×4’s along the sides of the top. Thanks so much for the plans…. We are building your coffee table with storage next!! 🙂
Here is a photo
Reattaching photo that was removed:
That’s awesome Karen! Thanks so much for sharing.