
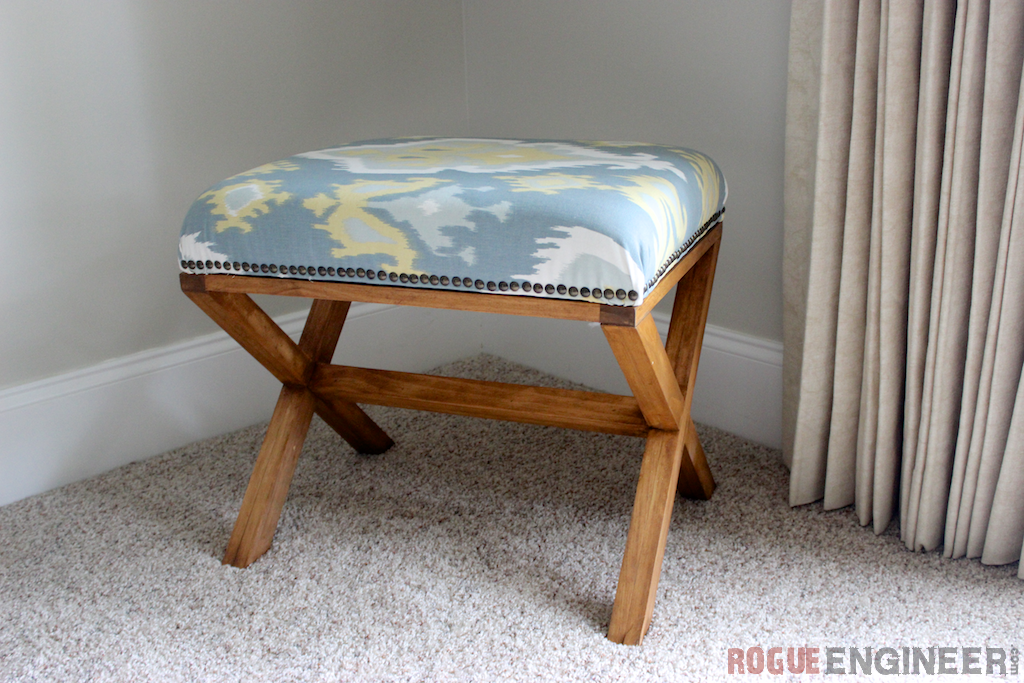
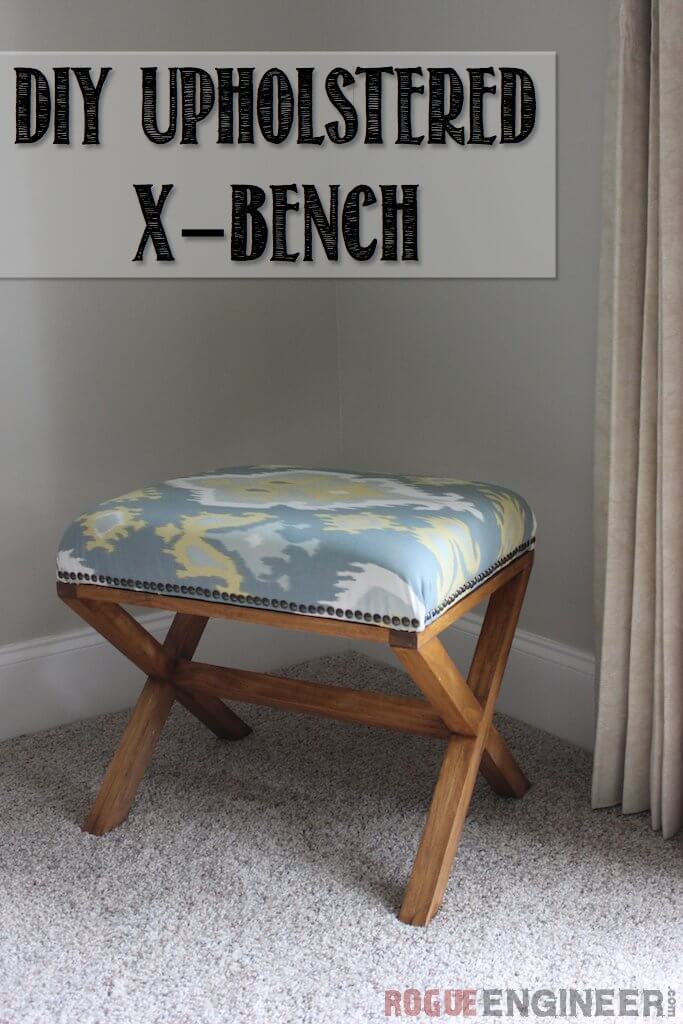
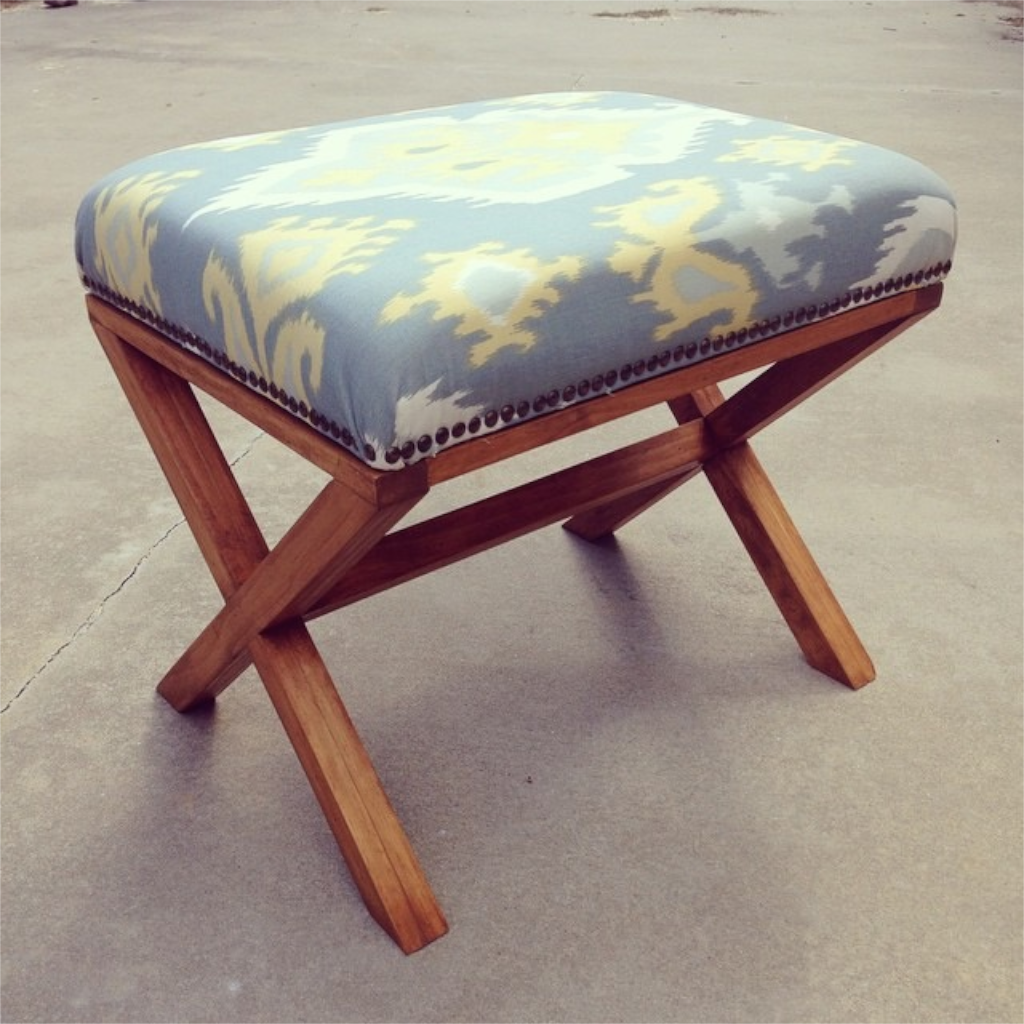
Upholstered X Bench
It’s the ladies turn on this upholstered X bench! Besides my Chicken wire Bulletin Board I have ZERO experience building. Yes, I watch my husband build, however, by no means does that make me anymore experienced than the average Joe, or shall I say Jane. So following some pretty awesome girls, hint hint Shanty2Chic, motto “Build like a Girl” I decided to give it a go. I picked out my design, had this AMAZING aerospace engineer I know draw up the plans and voilà! This upholstered X bench was built entirely by me with NO experience and NO help from my builder of a husband… though he did sit back and laugh at me a few times. Oh and by the way, this thing is built to last, its crazy sturdy and will take a ton of weight and abuse (which it has too in order to last around our house). Well, anyway, here’s a pictorial of my very first SOLO furniture build! Go me!
Disclosure: The links provided in the “materials” and “required tools” sections are affiliate links. If you would like to support our site and help keep our content free come find out more about how we can make money with no extra cost to you.
Tools Required
- Pocket Hole Jig
- Drill
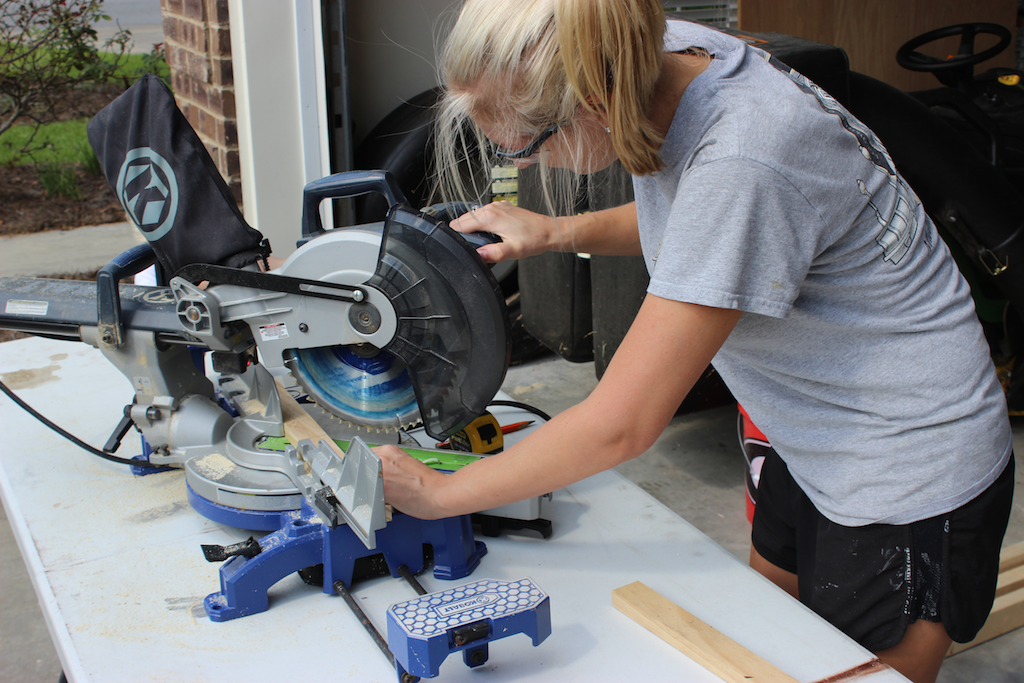
- Miter Saw
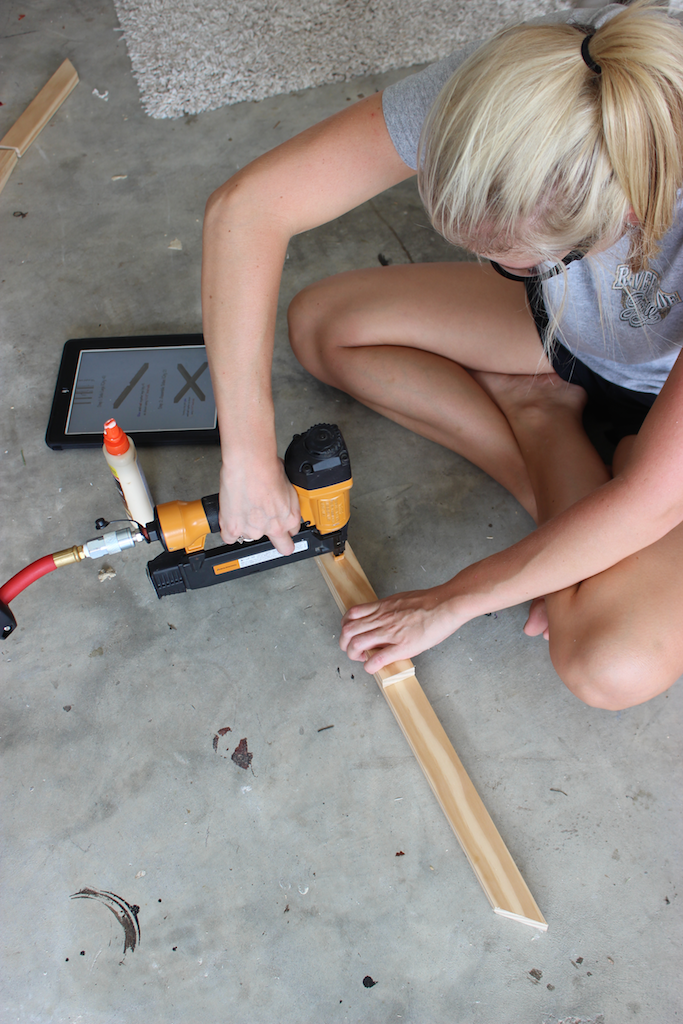
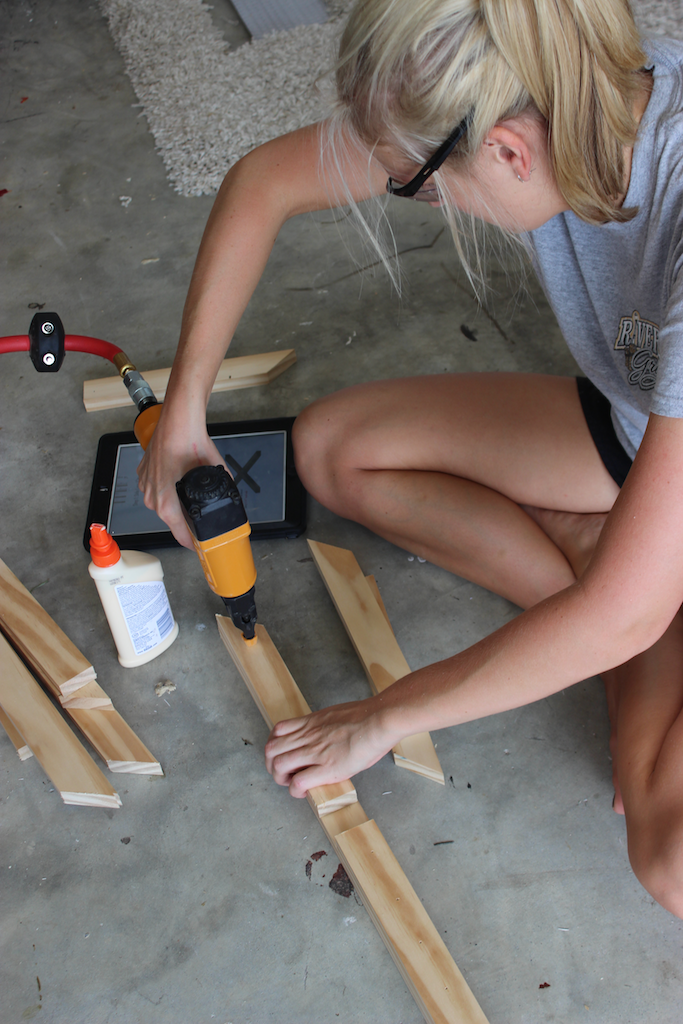
- Brad Nailer
- Magnetic Tack Hammer
- Utility Razor Knife
- Staple Gun & Staples
- Scissors
- Ruler
- Fine Point Sharpie
- Tape Measure
- Pencil
- Safety Glasses
- Hearing Protection
Materials
- 1x 1 x 2 x 48″
- 3x 1 x 2 x 96″
- 1x 3/4″ x 17″ x 22″ Plywood (I used scrap)
- 3″ Foam Padding (17″x22″ required)
- Batting
- Fabric
- Spray Adhesive
- 1-1/4″ Brad Nails (18-Gauge)
- 1-1/4″ Wood Screws
- Wood Glue
- 2x Upholstery Tacks (Pack of 100)
Cut List
3/4″ plywood for base of seat should be cut to 17″ x 22″. I used scrap plywood I had laying around. This doesn’t have to be any particular kind of plywood.

Dimensions

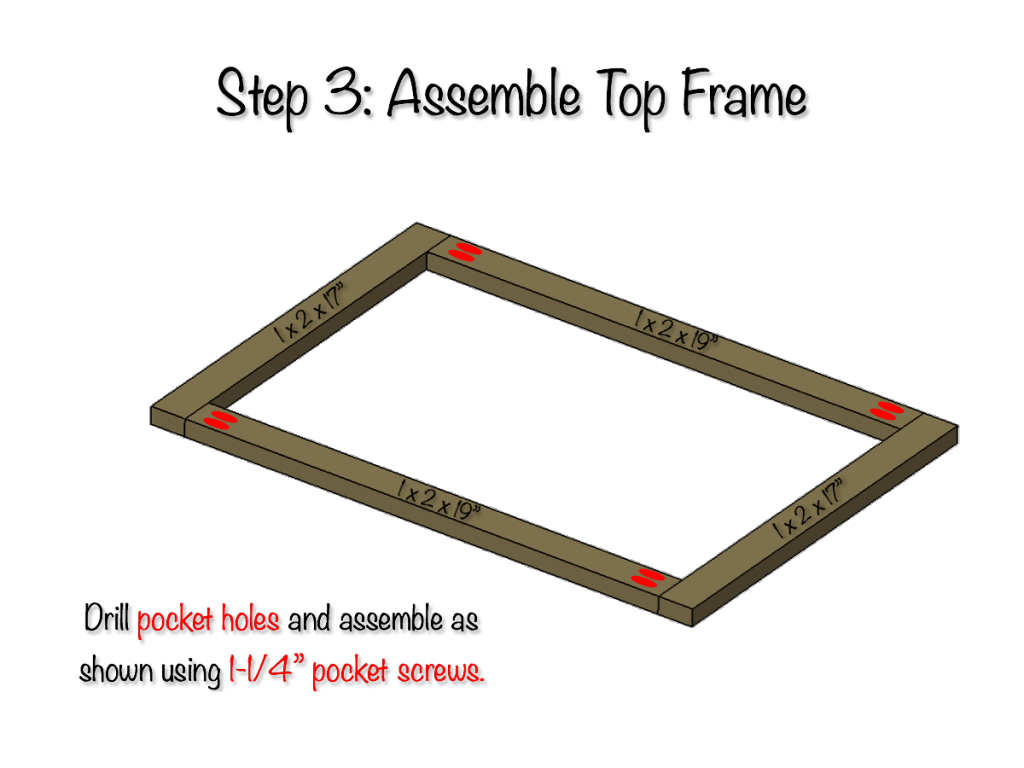
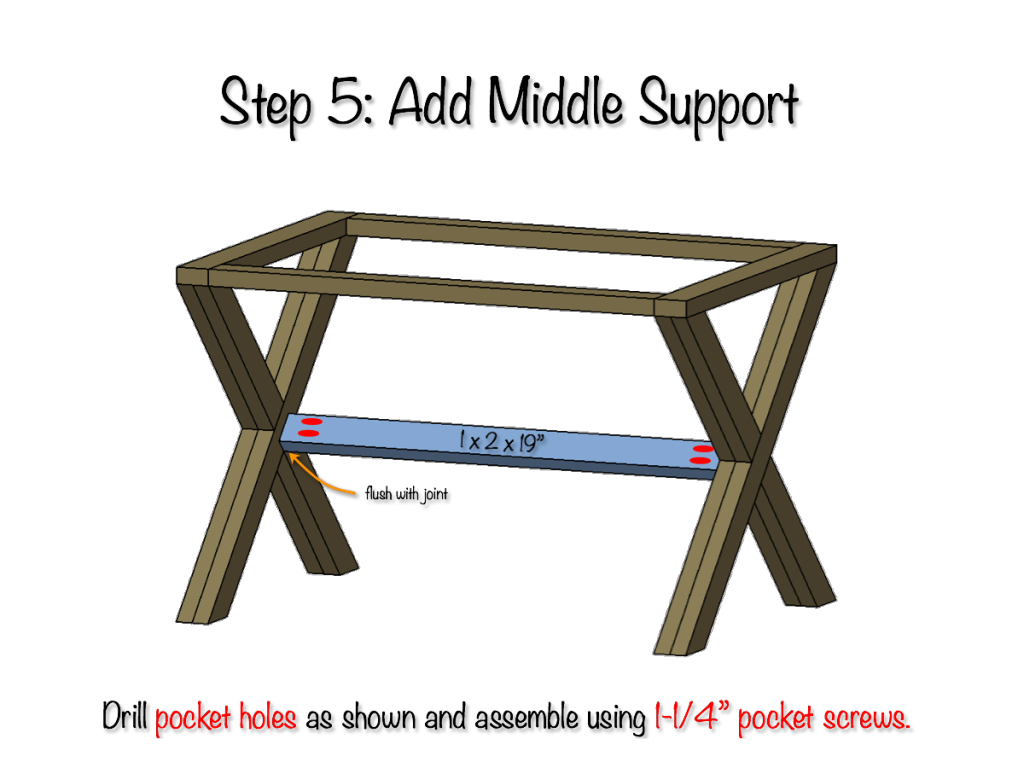
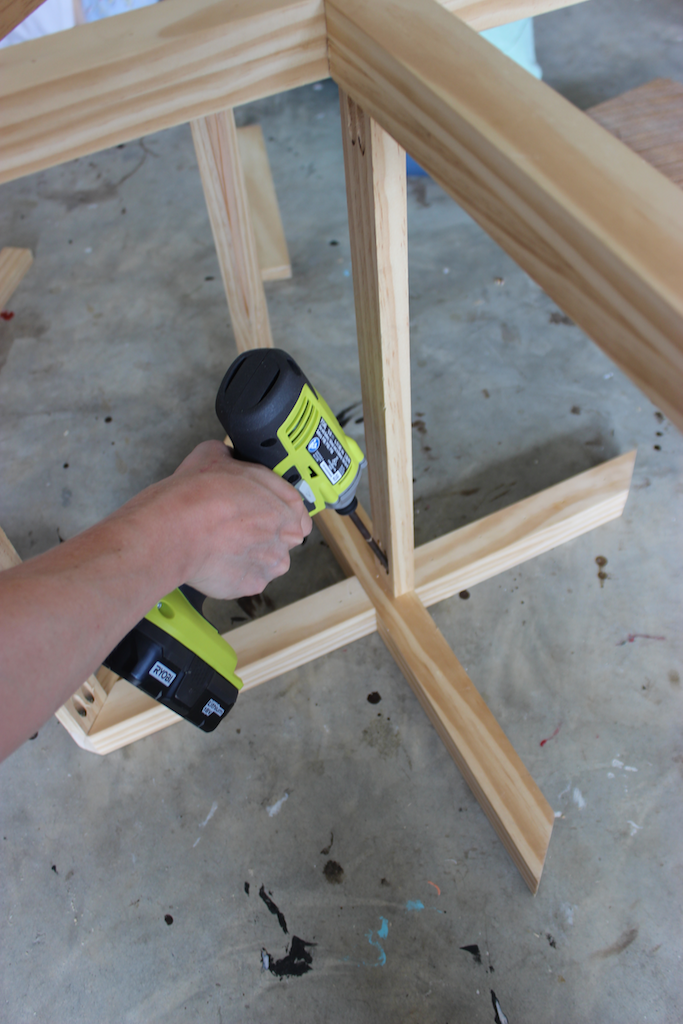
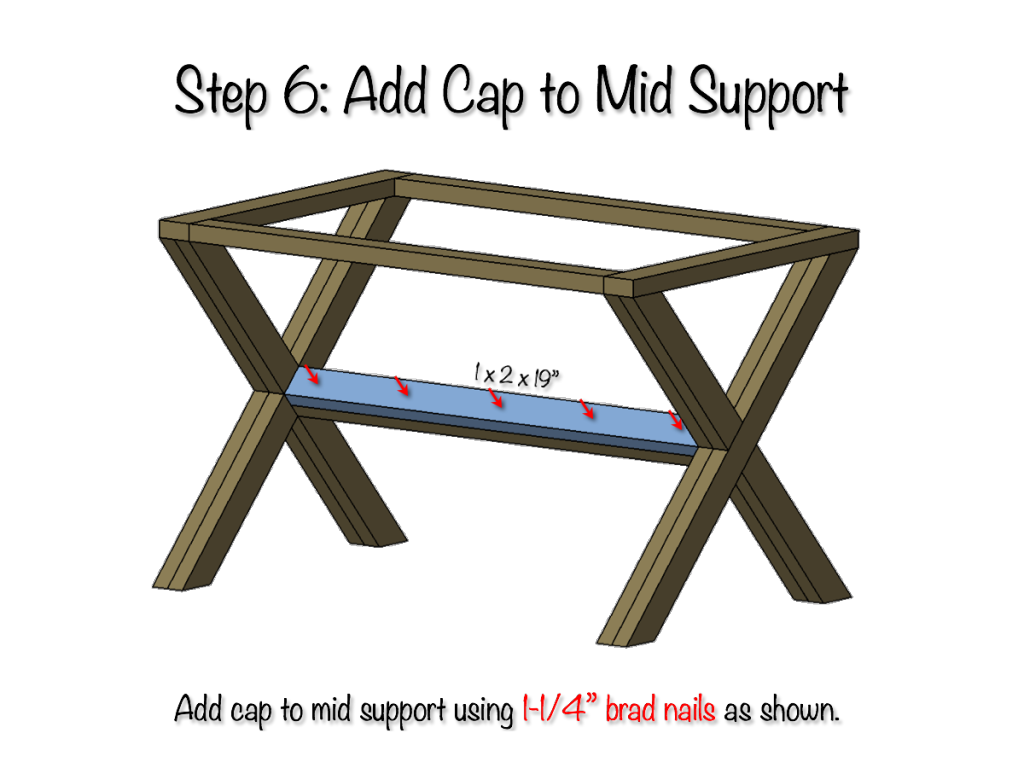
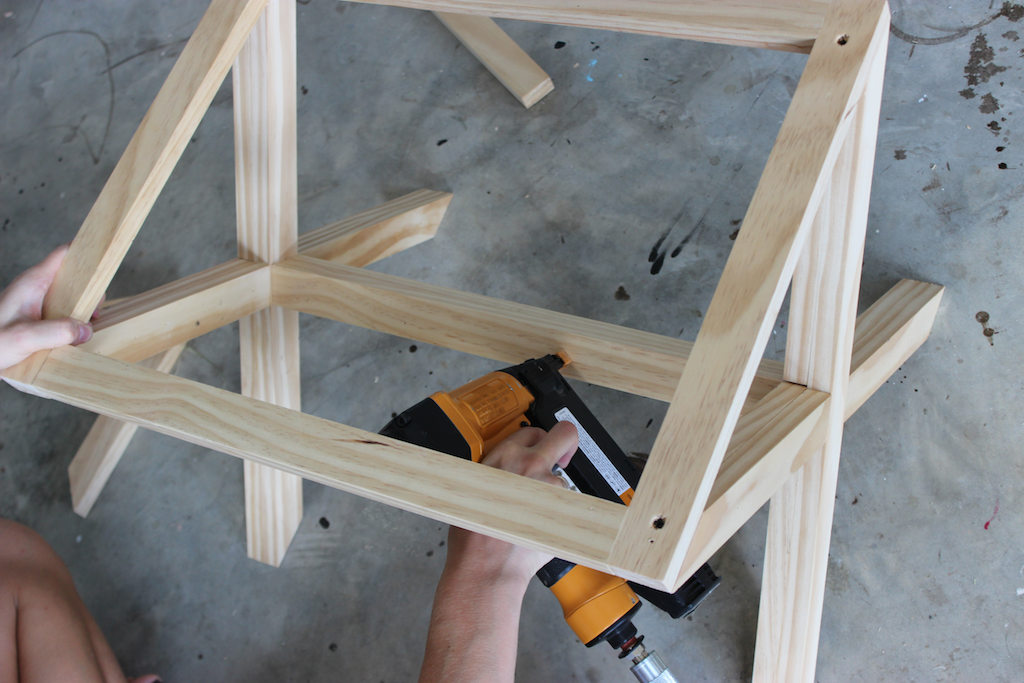
Upholstered X Bench Plans
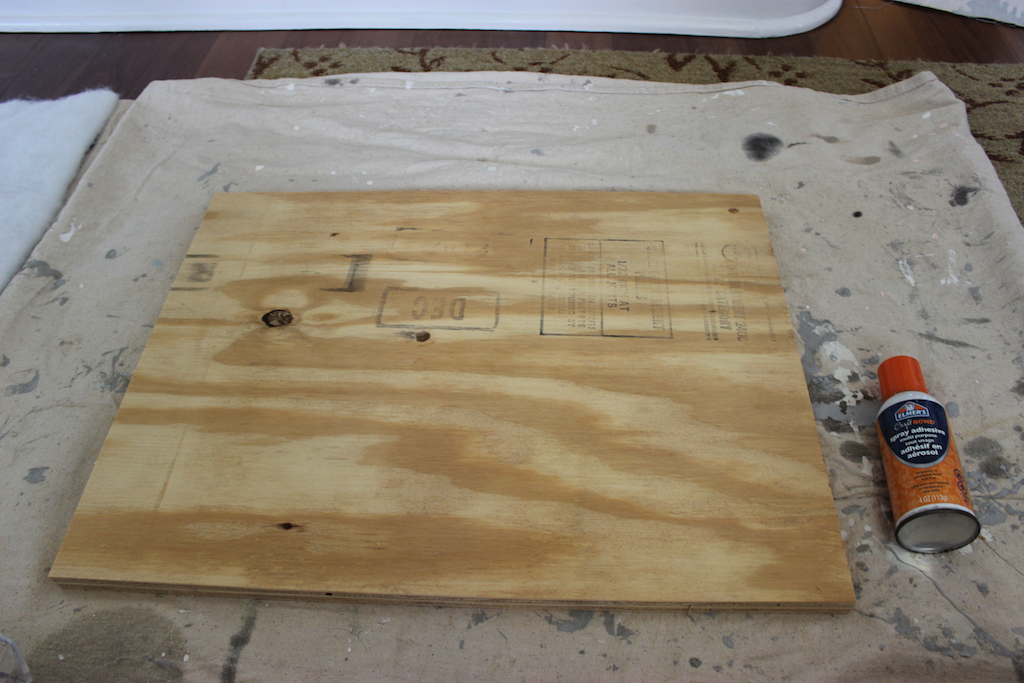
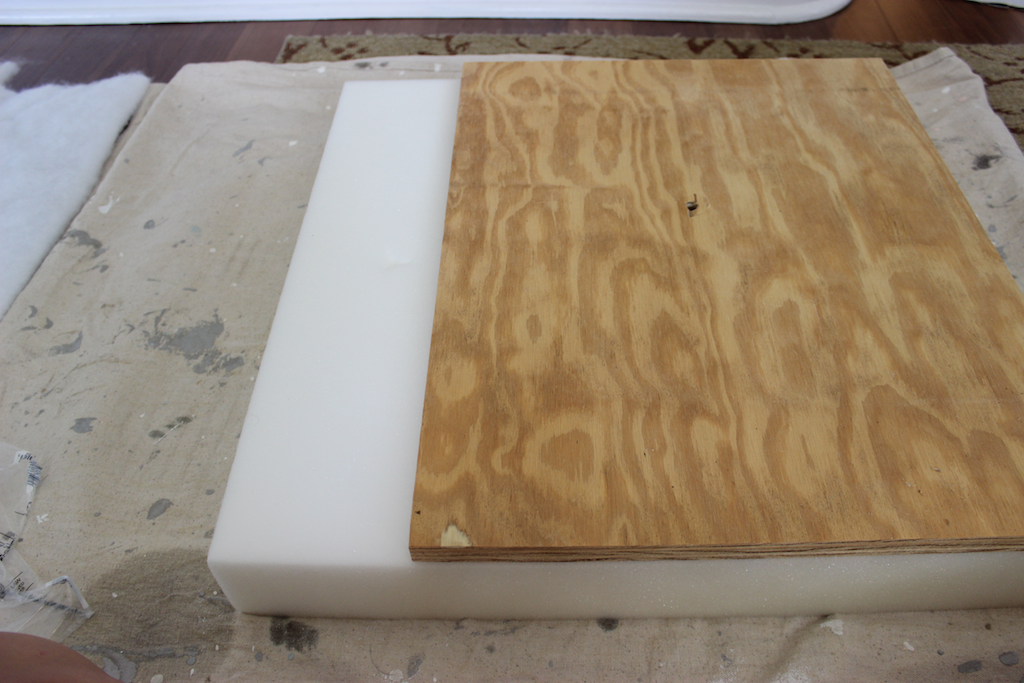
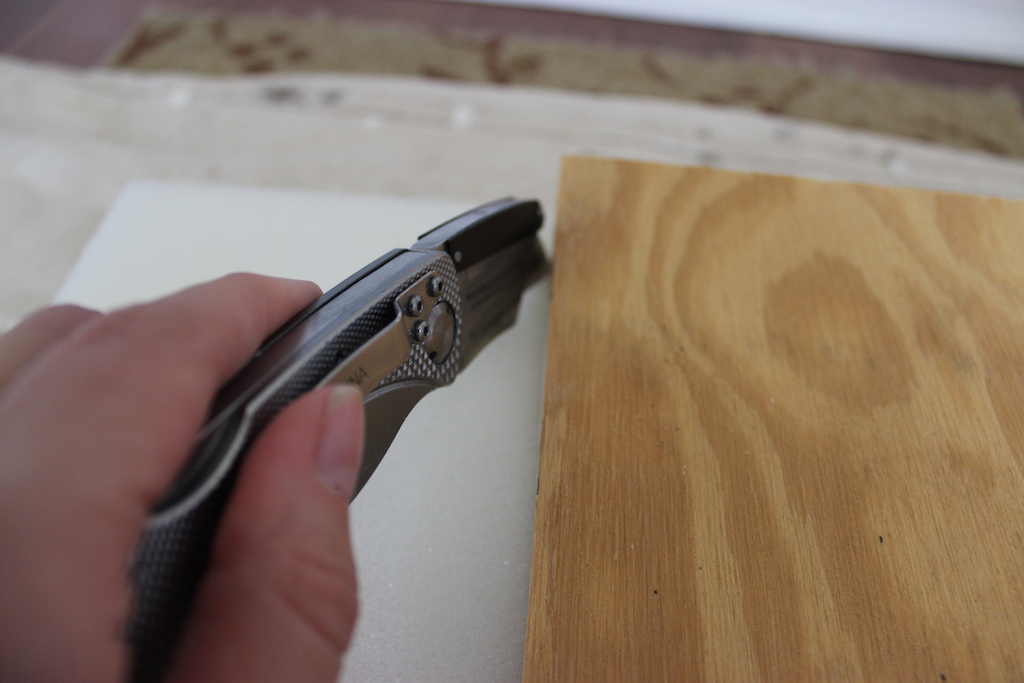
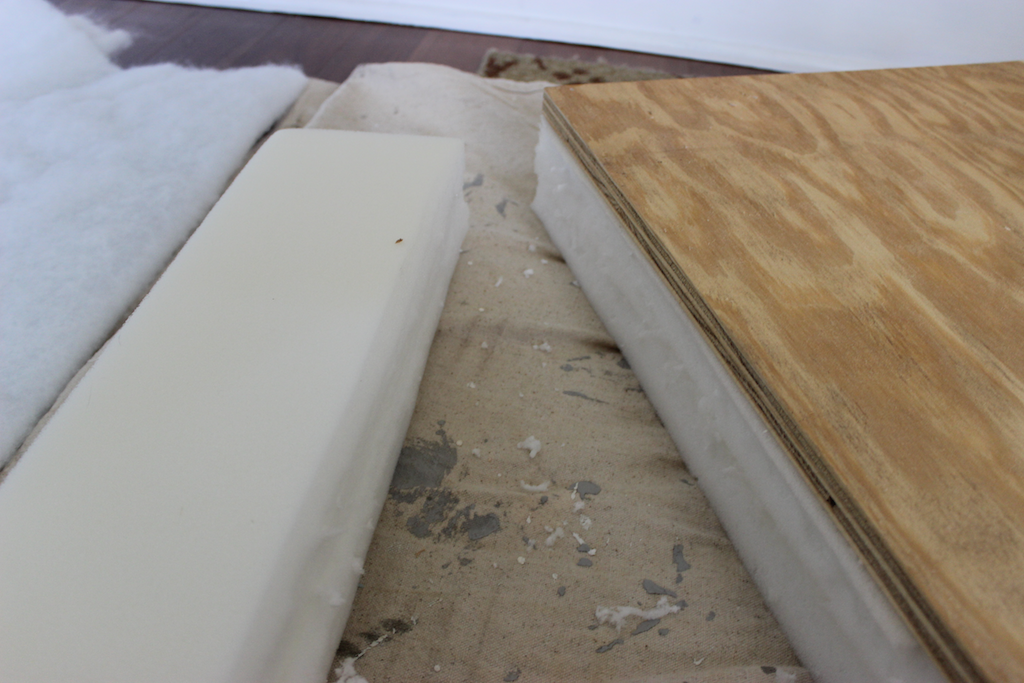
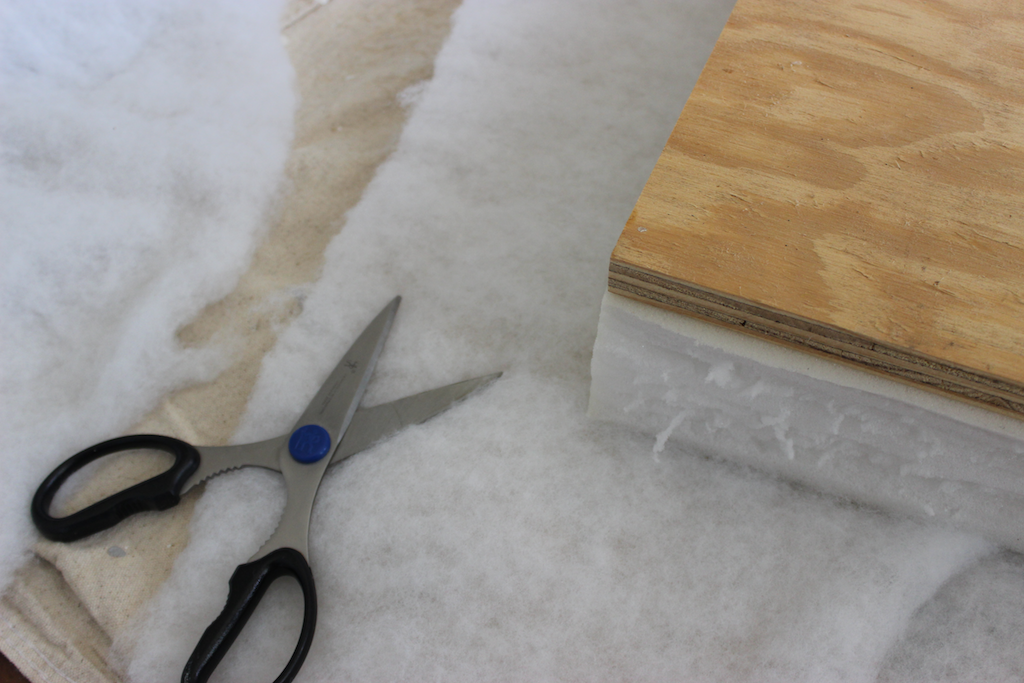
Step 7: Adhere Foam to Plywood
With your plywood cut to 17″ x 22″ spray one side with spray adhesive. Then set the board on the foam and cut the foam to size with a utility knife.
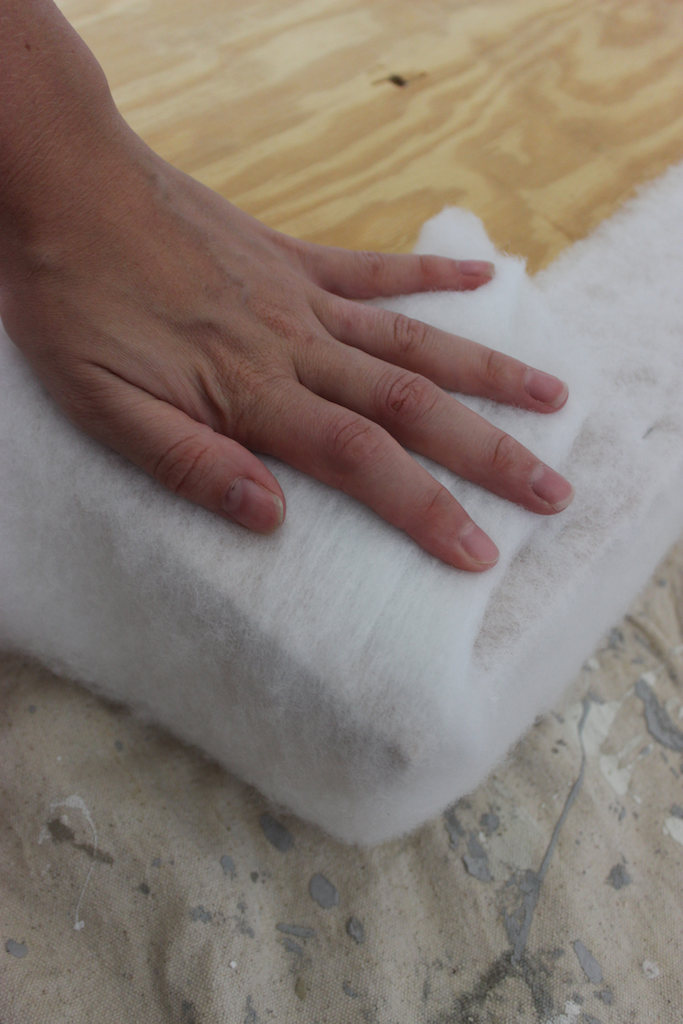
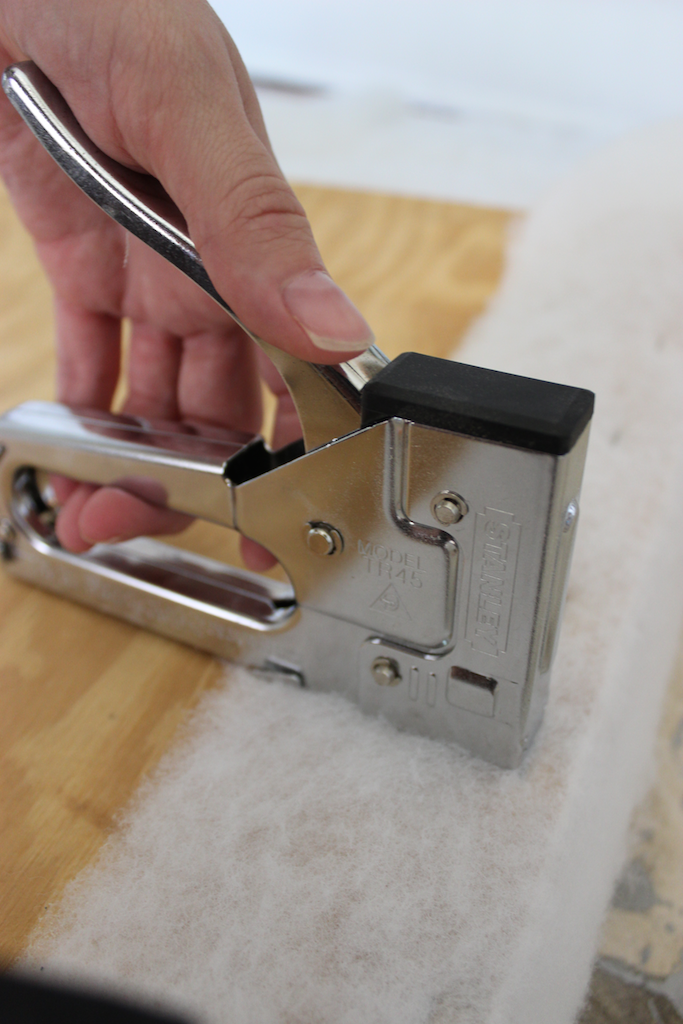
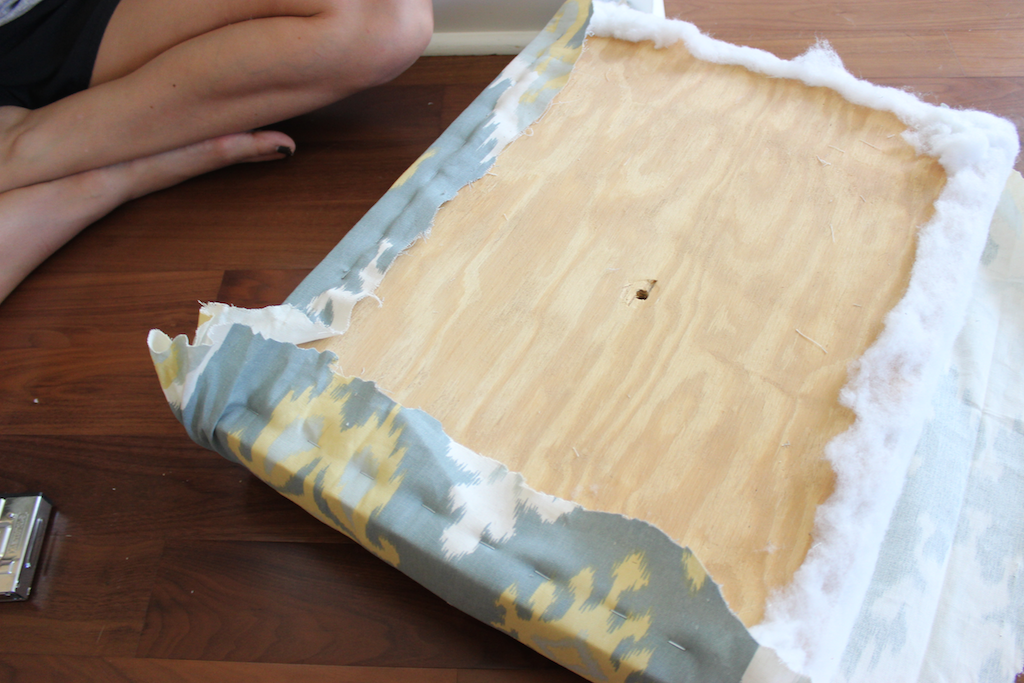
Step 8: Wrap with Batting
Lay your batting out and once you’ve determined how much you’ll ned to wrap the seat with, cut it to size. Then, staple the batting to the back of the board, as shown, and trim the excess.

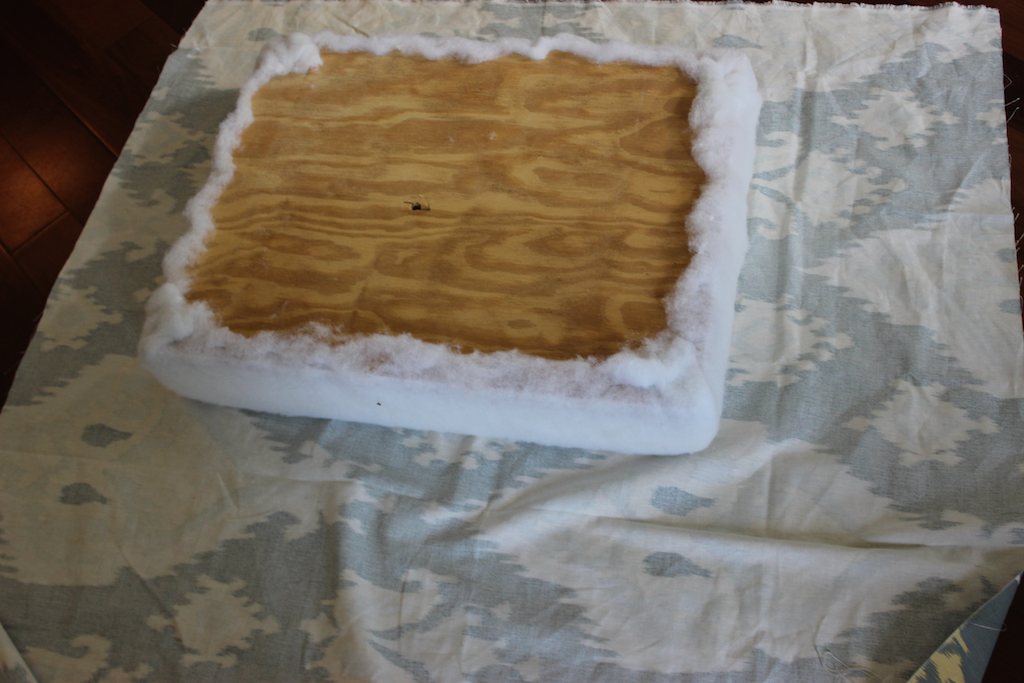
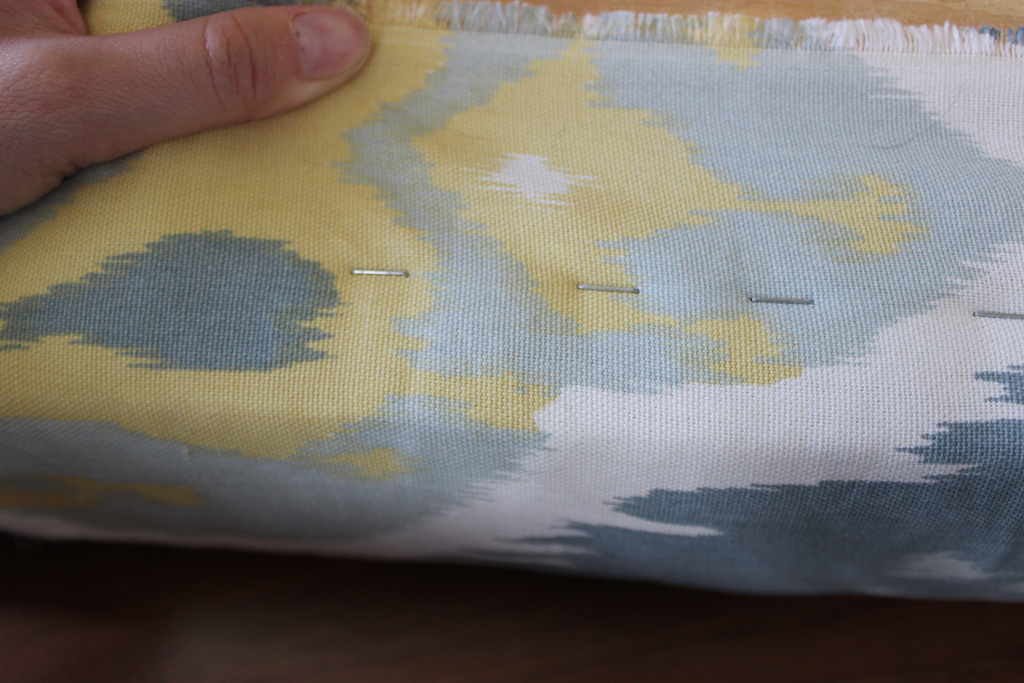
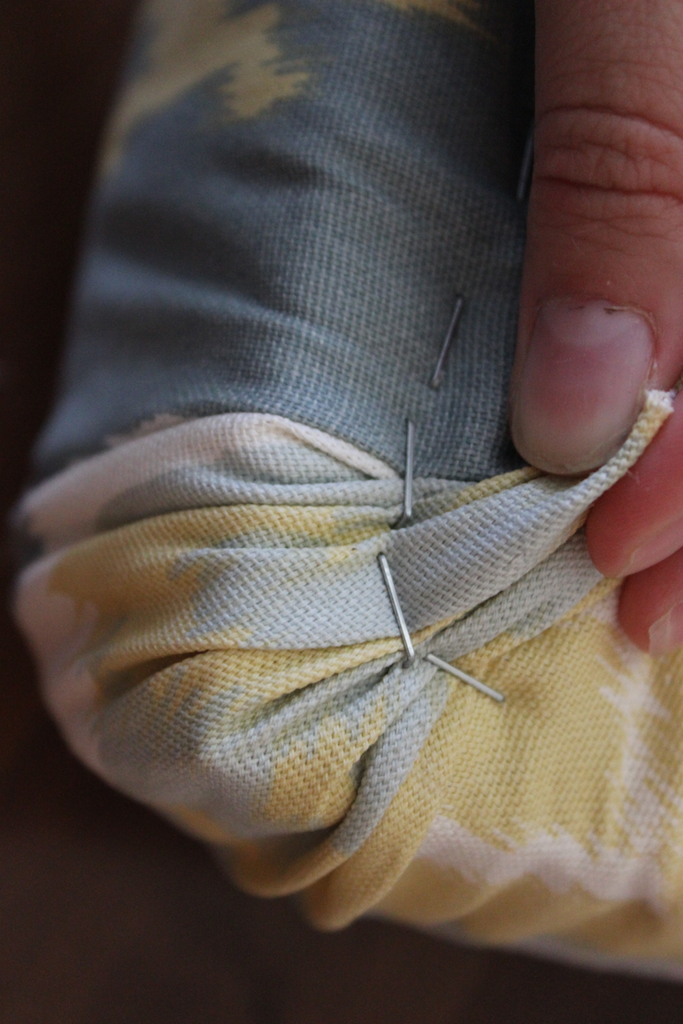
Step 9: Wrap with Fabric
Now, do the same but with your fabric. Be sure to align the pattern (if you have one) as you would like to see it on the top. Also, we found that the corners looked best if we bunched them up as tight as possible and stapled them in place. But you can play around with the corners and see what you like best. To be honest, this was our first upholstered project so we’re no experts at all.
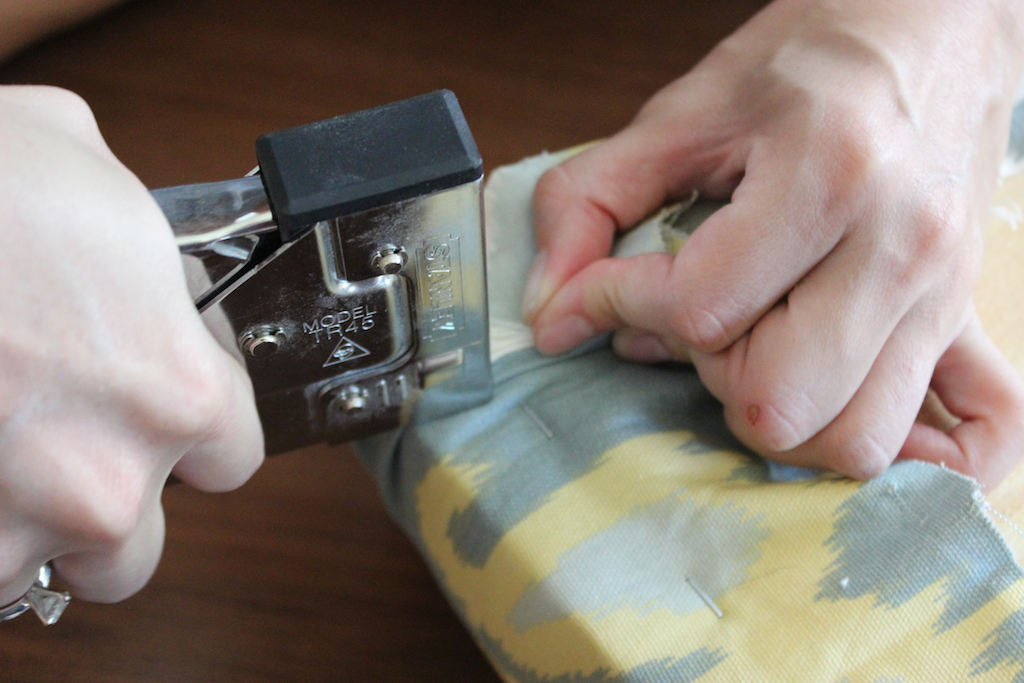
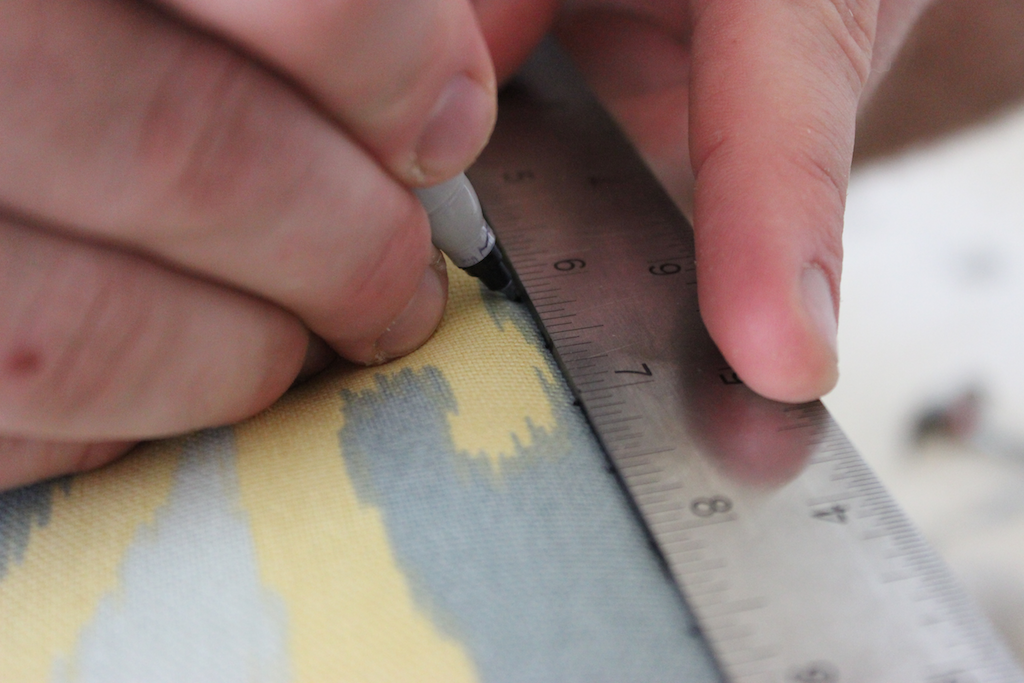
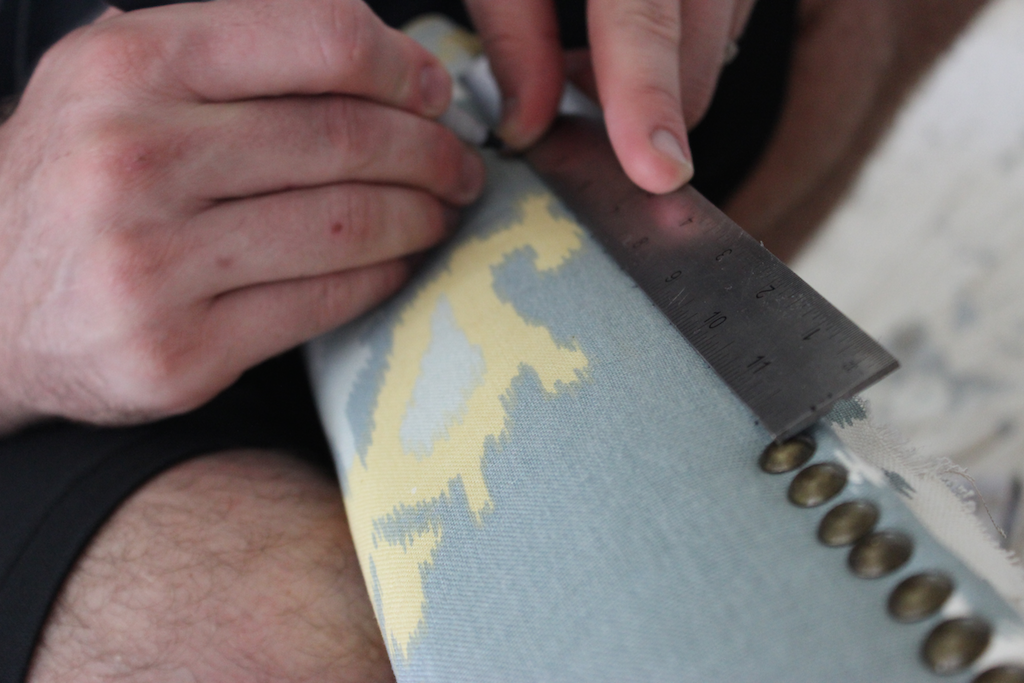
Step 10: Add Upholstery Nails
Now here comes the painstakingly tedious part. This was so frustrating in the beginning, trying to get them in a straight line and equally spaced. Then, when Jamison heard me almost having a breakdown he came up with the idea of marking them out with a ruler and fine tipped sharpie. We spaced them 1/2″ apart and I like how that turned out. Much easier.

Finishing
The base was stained with a Wheat stain from Rust-Oleum and sealed with a satin lacquer spray from Watco
Questions? Comments?
As always, if you have any questions don’t hesitate to comment below and especially don’t forget to post pictures of your finished products in the comments! ENJOY!
Hey Jaime, sorry if I missed it, but how did you connect the cushioned top to the frame ? Nails, Screws ? Beautiful job too ! Thanks for the great ideas !
Thanks Renee! And wow, I can’t believe I left that out. I attached it with 1-1/4″ wood screws through the top frame. Thanks again!
Would furring strips be strong enough for this?
Hey Zoe, it will definitely be weaker but the current design is very strong so it may be sufficient for lighter loads. What I would be worried about as well is the fact that the furring strips have a slightly rounded factory edge so when putting them together the seam will show unlike the seamless look when using the S4S (select) wood.
It’s not perfect, the nail head is for someone with more patience than I. This was the best, easy to follow diy furniture plan I have ever followed! Thanks
Thanks Zoe! And I totally agree about the nail heads .. Those will definitely test you patience!
It’s not posting my picture…… sorry
Bummer! I’d love to see how it turned out so if you want to email me at [email protected] that’d be awesome!
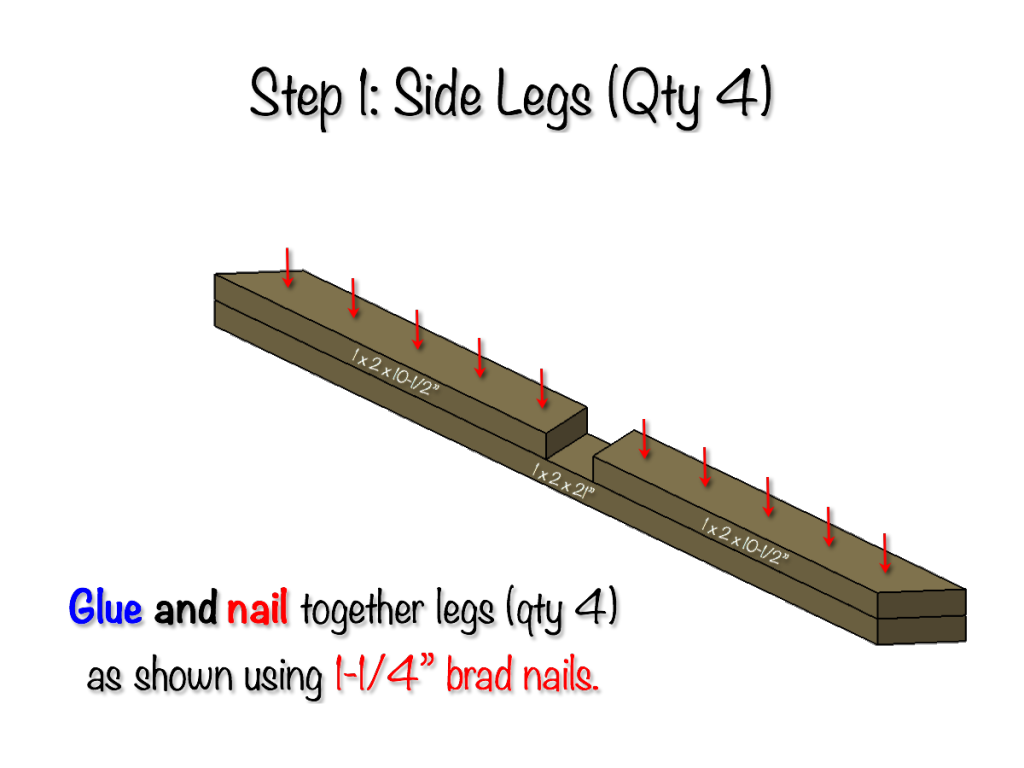
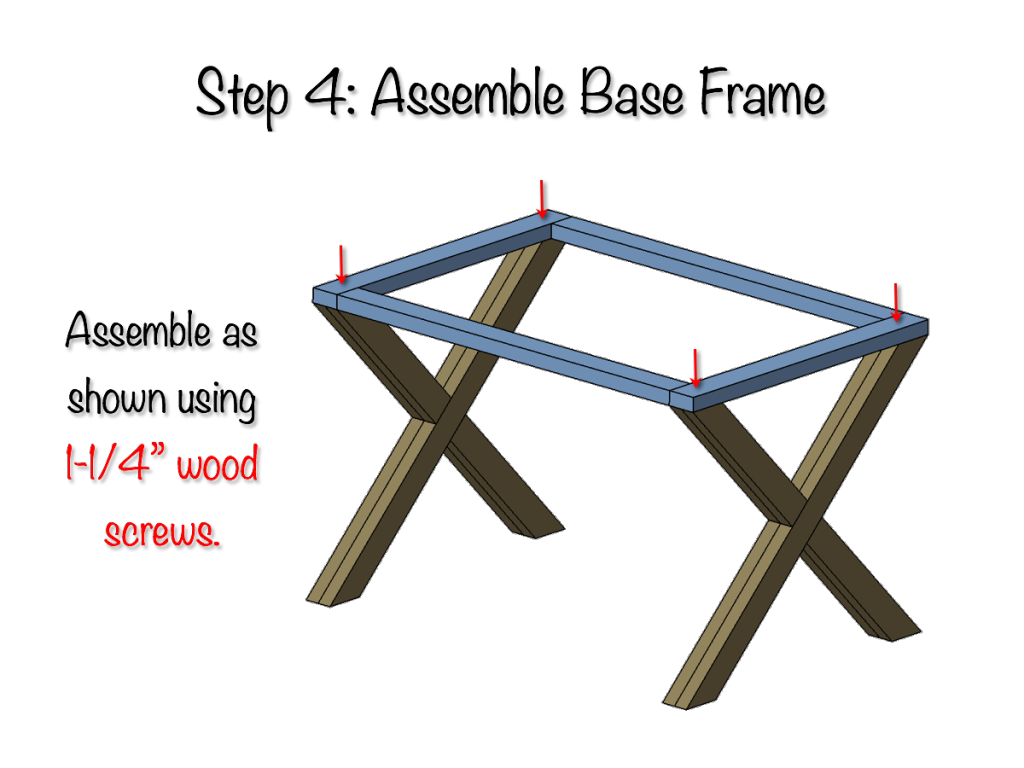
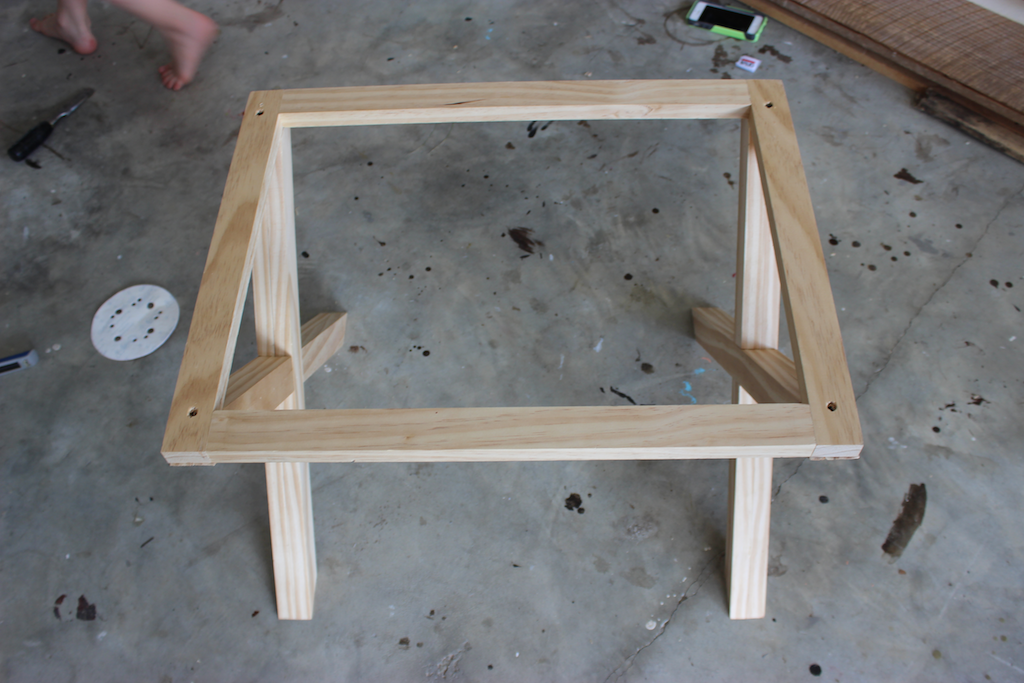
I’m hosting a bench building party, and one of the gals said that she wants to build this bench. As I’m going to be pre-cutting a lot of the wood I wanted to make sure that we actually need four 1x2s at 9″ (one edge cut at 45*) and four 1x2s at 10 1/2″ (one edge cut at 45*)? It’s not making much sense to me, I’m sorry. Just not sure why it’s not eight 1x2s at 10 1/2″ (as we’ll be building four identical legs)? Does my confusion make sense? LOL!
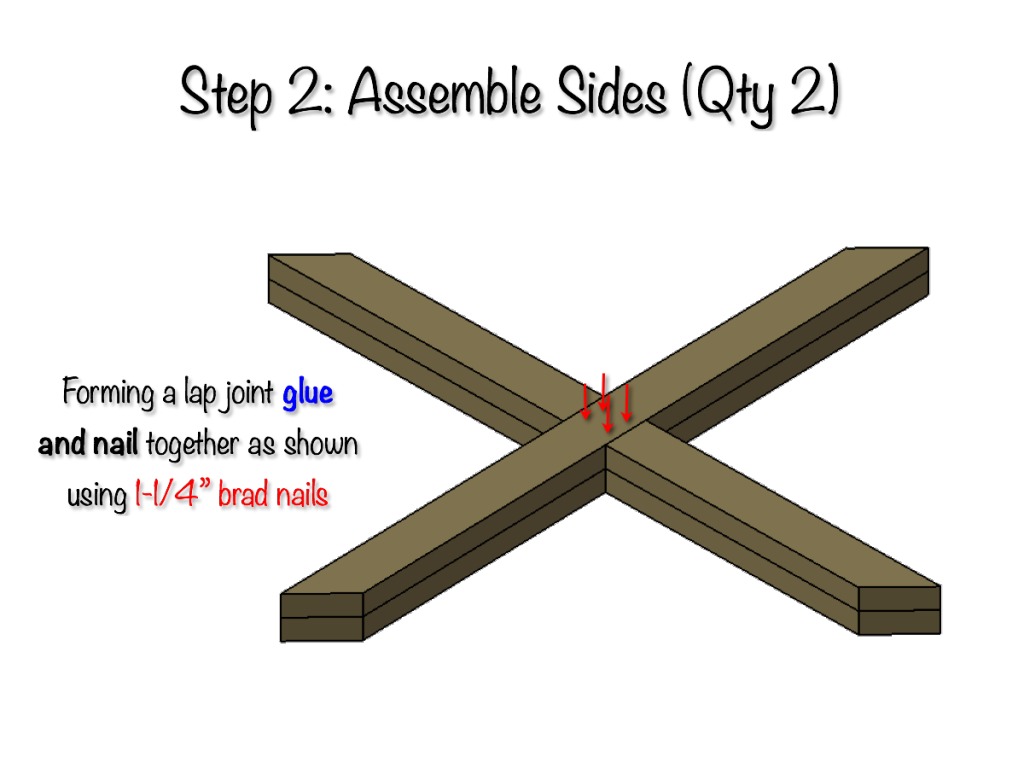
You know, the more I look at this plan, the more I Get confused? In step one, it has two 10 1/2″ pieces with a 1 1/2″ gap atop a 21″ piece. But two 10 1/2″ pieces would fully cover a 21″ piece? And where does the 9″ piece come into play?
Oh no @gina I’m so sorry it’s confusing. The pieces you are referring too are all 10-1/2″ long On the long side. The 9″ measurement is the short side and is only included in the cut list for ease of cutting. I hope this makes sense.
Okay! Turns out I was way overthinking this! The bench was built and everything worked out just fine (sorry for questioning it! LOL!!). Will share pictures when I get a blog post done. THANKS FOR SHARING THE PLANS, JAMIE!
Awesome Gina! I’m glad it worked out and I can’t wait to see it!
Hello again! Sorry I didn’t report back sooner – here’s a link to my blog post, where one of my wonderful ladies built your bench. Again, thank you for sharing the plans!!
http://www.ladygoats.com/2015/04/bench-building-workshop.html
That’s awesome @gina! Thanks so much for sharing. What a great idea!
This is amazing – we’re just working on building one now. but ours will be about 6′ in length as we wanted to save time building. Ideally I had wanted two of these, but the husband thought it would save a ton of time to just build one bigger one. I’m also saving time by getting nail head string, basically they’re all connected so you just nail them on. Yours looks absolutely stunning.
http://www.theruggedrooster.com/blog
That’s awesome! I looked for the nail heads on a string and couldn’t find them. That would be a lot easier. Can’t wait to see how yours turns out!
I was wondering how much fabric it takes to cover the top of the x-bench?
One yard of fabric should be more than enough
Just finished your upholstered X bench. Love how it turned out.
That looks awesome! Nice choice of fabric. Thanks for sharing.
Novice here, attempting to build what I’ve seen on my girlfriend’s Pinterest. Went to purchase the materials today at Lowe’s and ended up leaving because I couldn’t convince myself that the 1×2’s on the shelf were what I actually needed. They weren’t even the width of your average ruler. Is it just the angle of the photo, or am I trying to buy the wrong thing? I just don’t see how a 1×2 could possible be sturdy enough.