

Bathroom Remodel w/ Steam Shower
This bathroom at my brother and sister in-law’s house was in dire need of a complete makeover. The outdated tile and vanity needed to go and the drop ceiling is out as well. The fiberglass shower insert… come on, we can do better than that. How about a steam shower with body sprayers.. and maybe some speakers and a bidet. Let’s give this thing a spa like makeover. Luckily there are some sweet Kohler products at Home Depot that will do the trick. Check out the video below to see the process from start to finish and read on to get all the details on what products we went with for this amazing transformation.
Project Video
Before
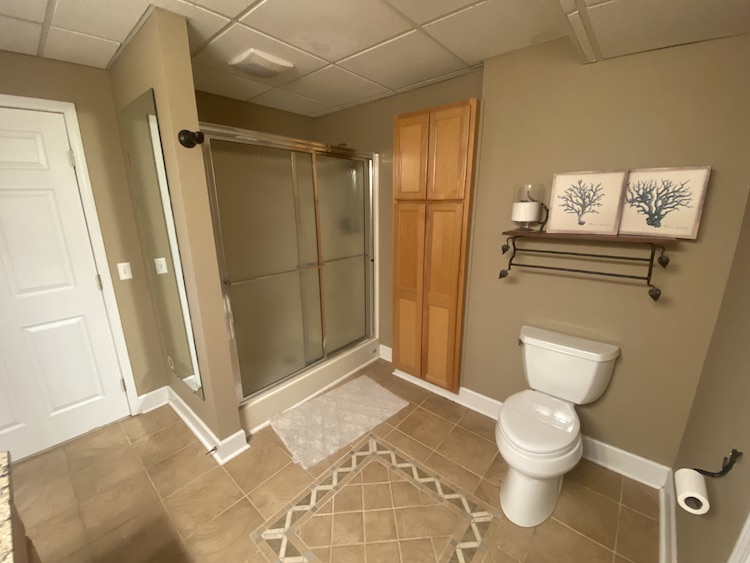
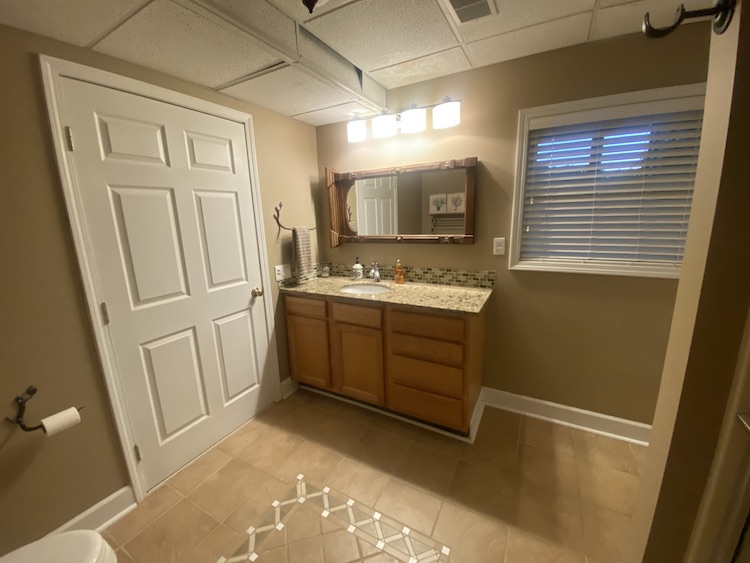
Bathroom Renovation
Demo Day
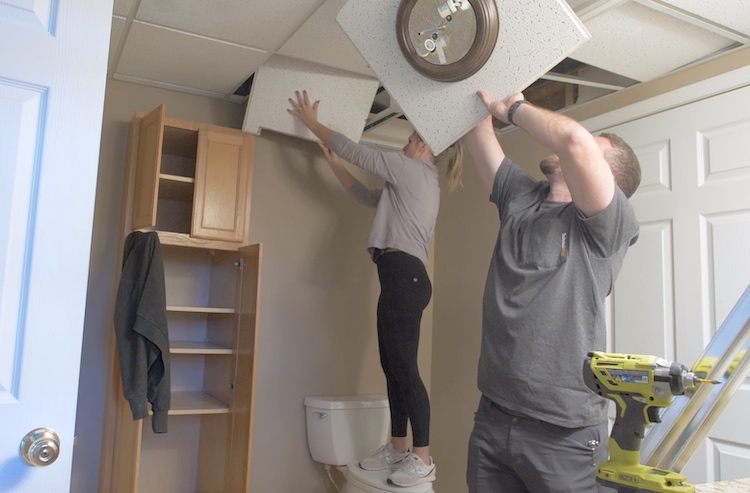
We started by removing the drop ceiling.
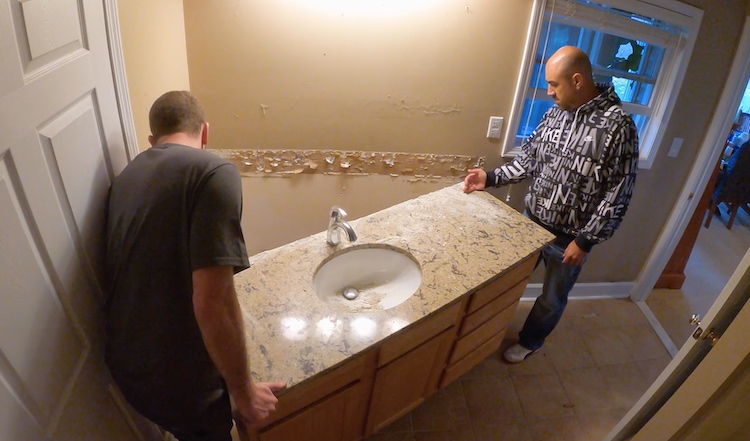
We also needed to remove the vanity and a built in cabinet.
The most challenging part was removing the fiberglass shower insert. This required removing the drywall around the nailing flange and cutting it into pieces to get it out.
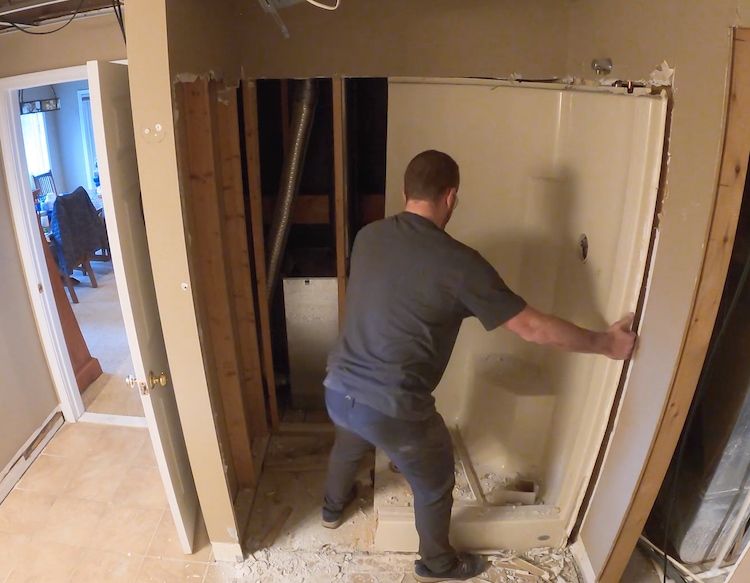
I also cut down the wall to the left of the shower which will become a half wall to make the shower feel more open.
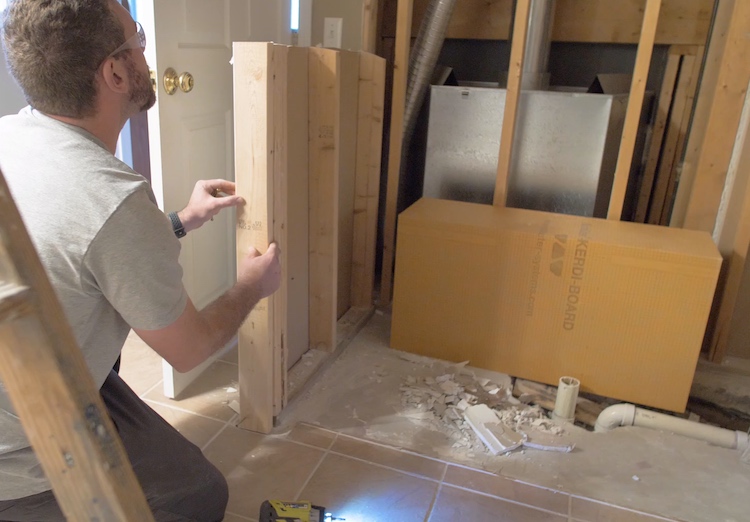
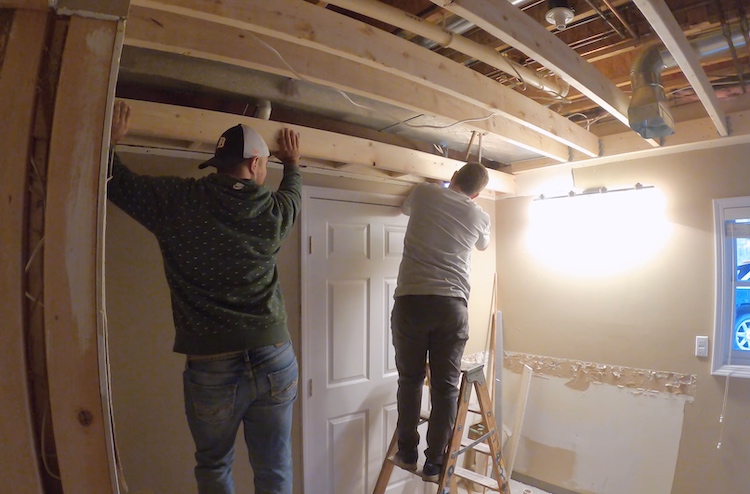
Ceiling Framing
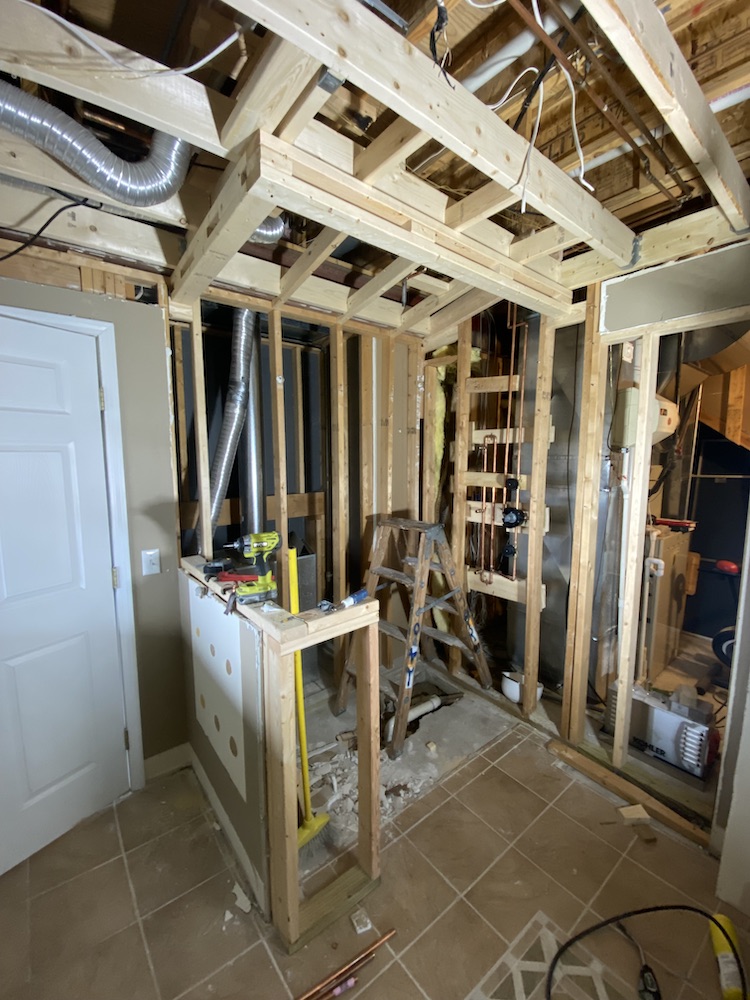
With the drop ceiling gone we needed to add framing to support the new drywalled ceiling. For this I used 2x6s and joist hangers to meet code.
Rough Plumbing
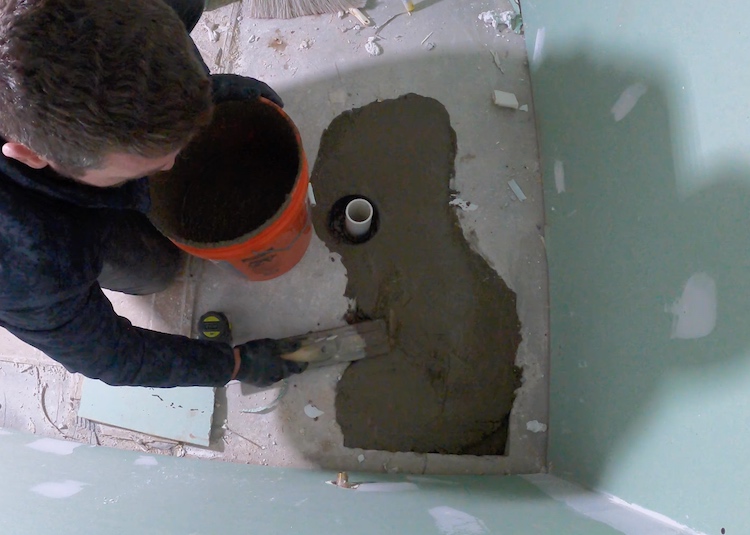
The shower drain needed to be relocated since the new shower will have a bench, thus offsetting the floor.
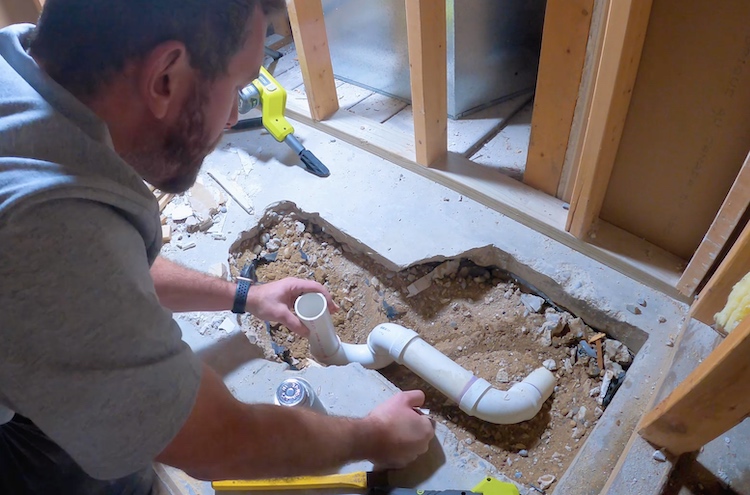
After getting the drained moved I filled in the hole with concrete. I used a plastic sleeve to leave space around the drain.
Then we removed the old plumbing and ran all new plumbing for the shower diverter, on/off valves, body sprayers, rain shower head and the Kohler steam generator and port. I also ran the included cable to the wall beside the bench for the steam generator controller.
Drywall
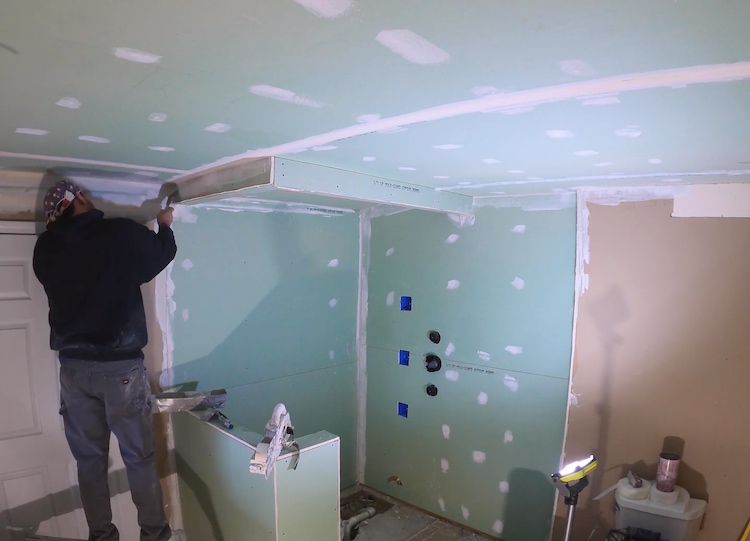
This was one of the jobs I hired out because, well, I hate drywalling.
Can Lighting
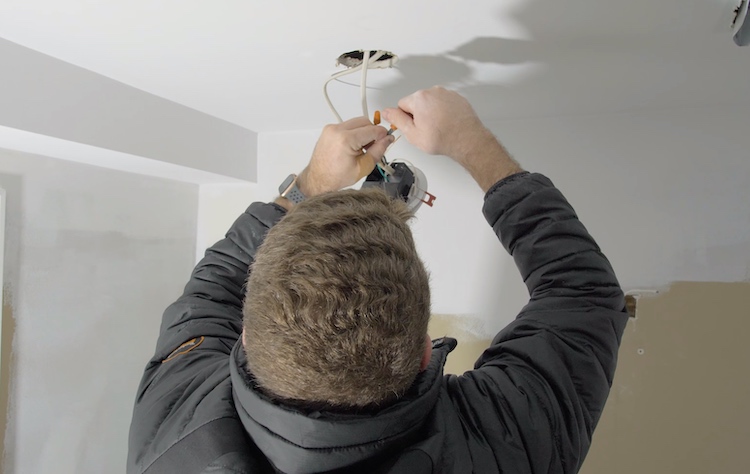
Before drywall, I used the existing ceiling light wiring, relocated it and added two more runs for a total of 3 can lights. After the drywall was up, I cut the holes, pulled the wiring down to connect the lights and installed the wafer lights.
Shower Waterproofing
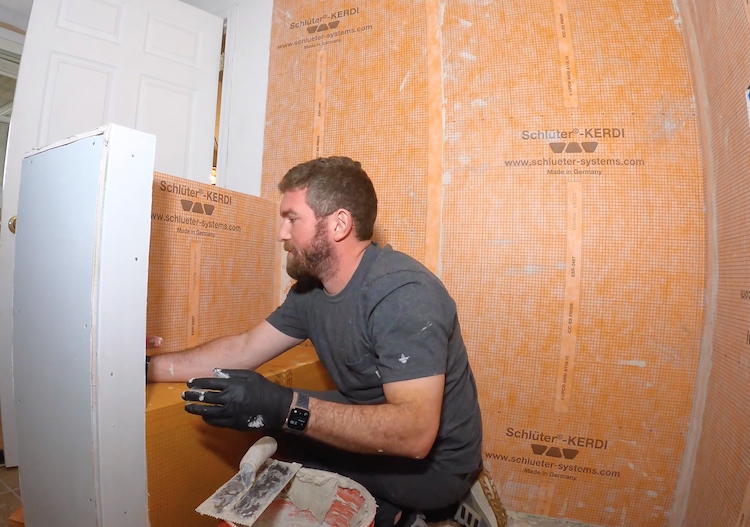
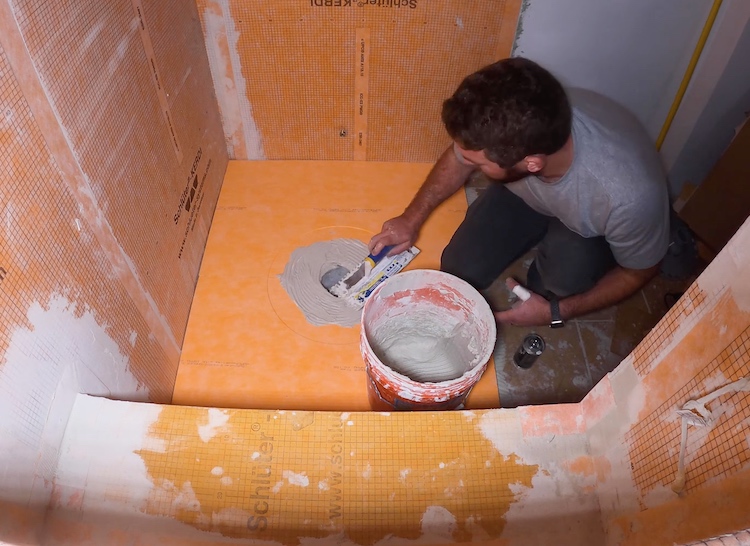
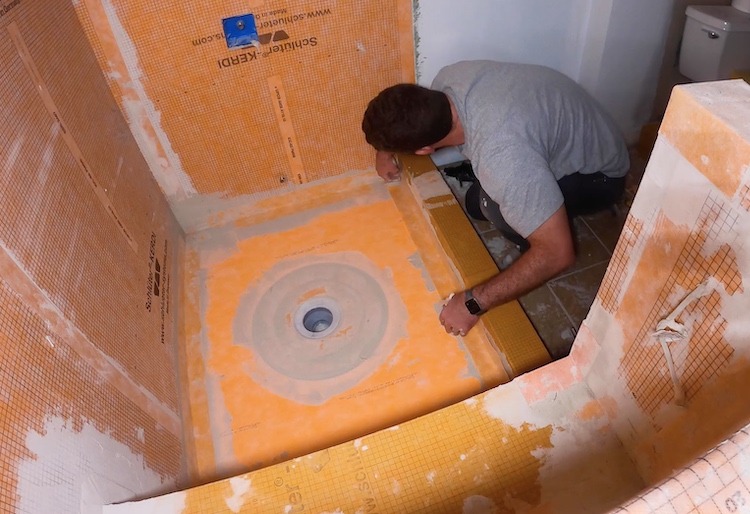
For this we used the Schluter-Kerdi shower waterproofing kit.
Installing Tile
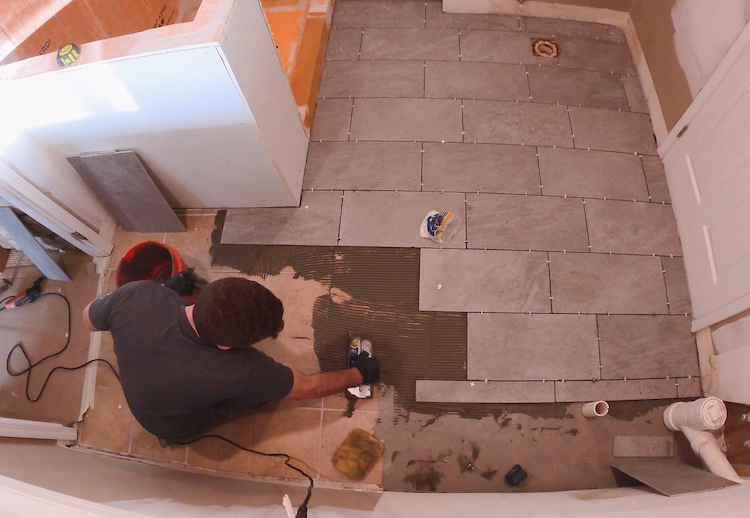
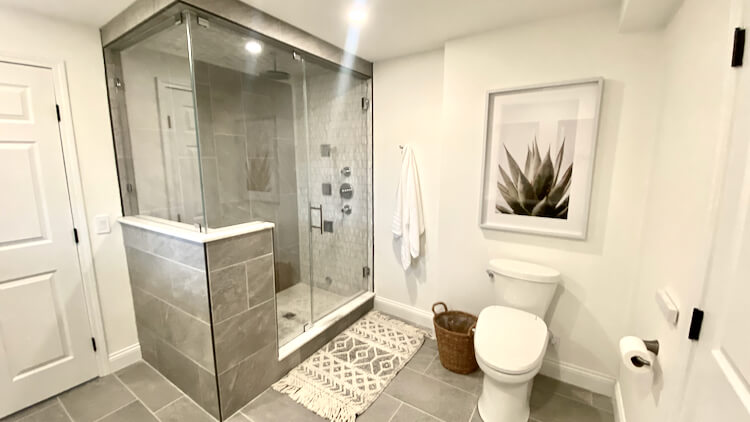
For the floor tile we went with a 12×24 porcelain tile and since the existing floor tile was in good shape we could go right over that.
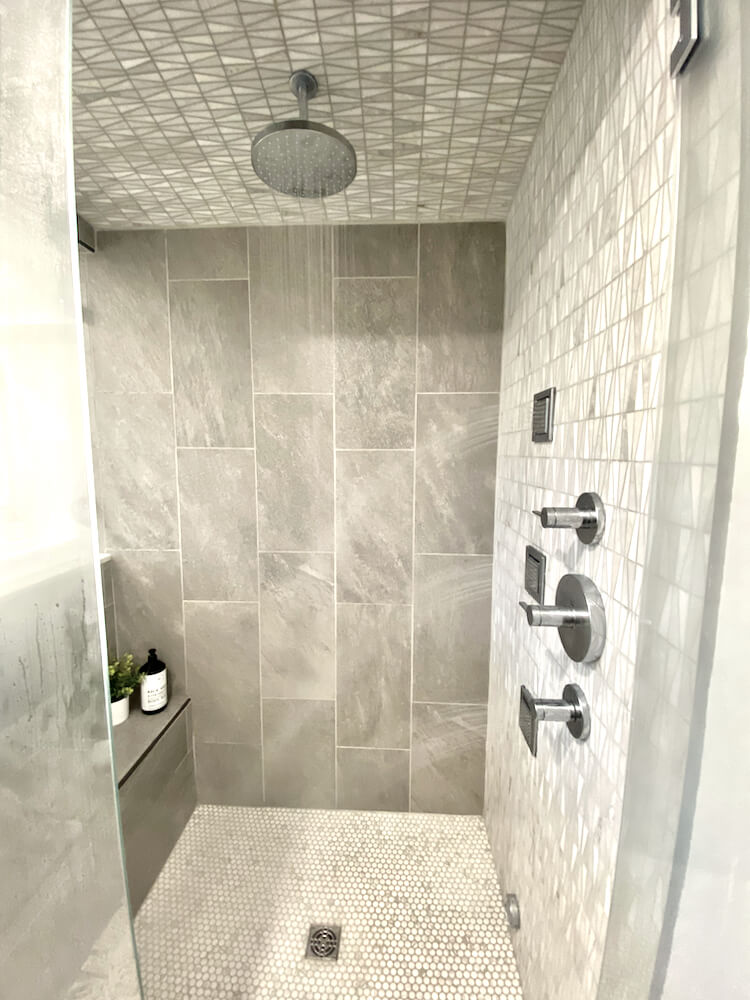
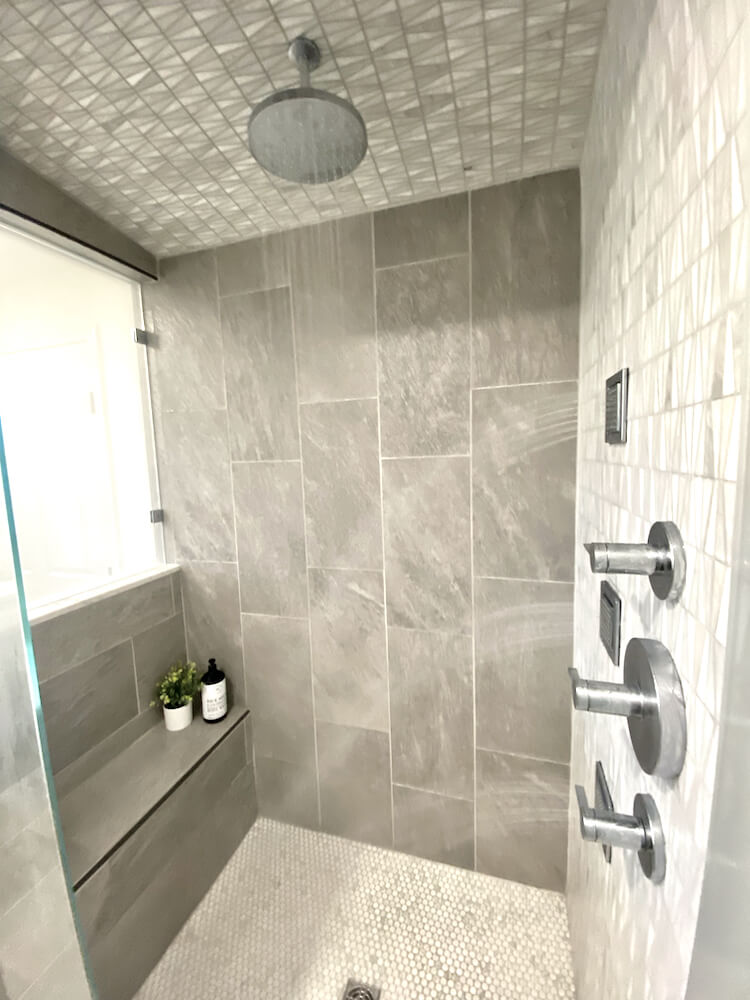
For the shower we used a marble mosaic on the feature wall and ceiling.
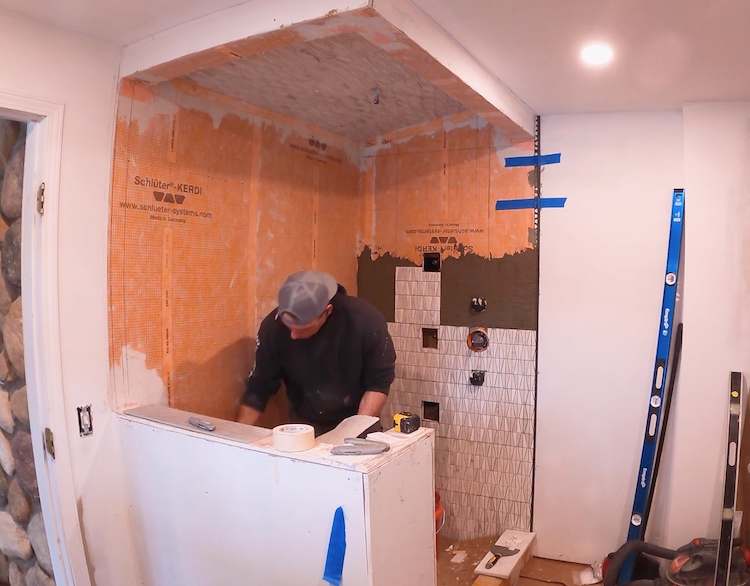
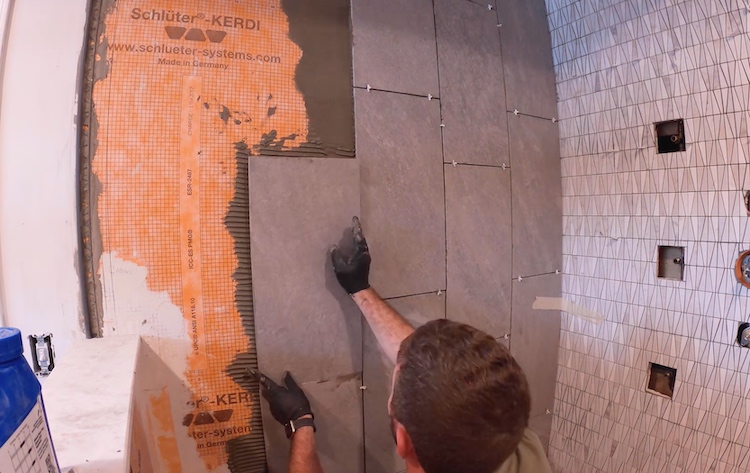
On the back wall, half wall and bench we used the same tile we used on the bathroom floor. While the shower floor got a penny tile with a marble look to match the mosaic.
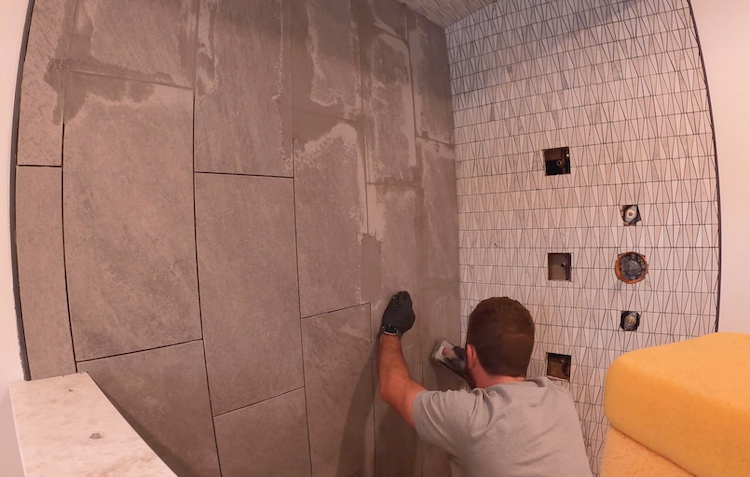
After the thinset fully cured we grouted all the tile with an epoxy grout to resist any staining.
Installing the Vanity
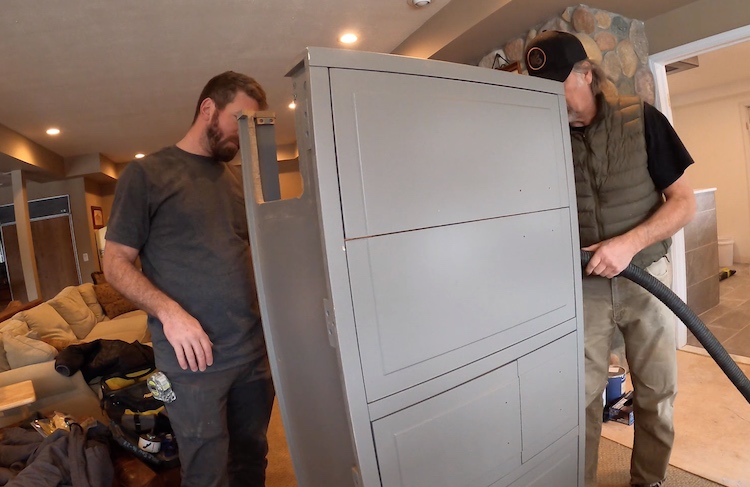
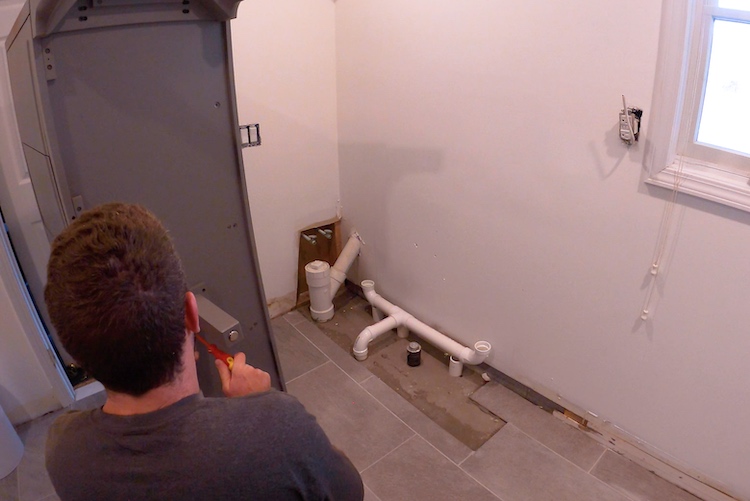
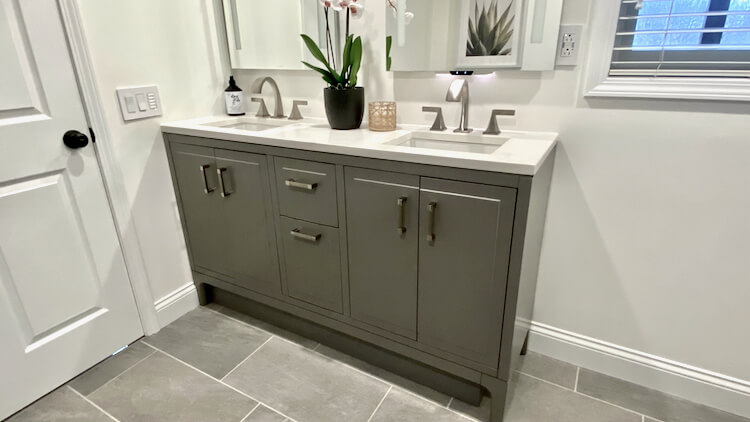
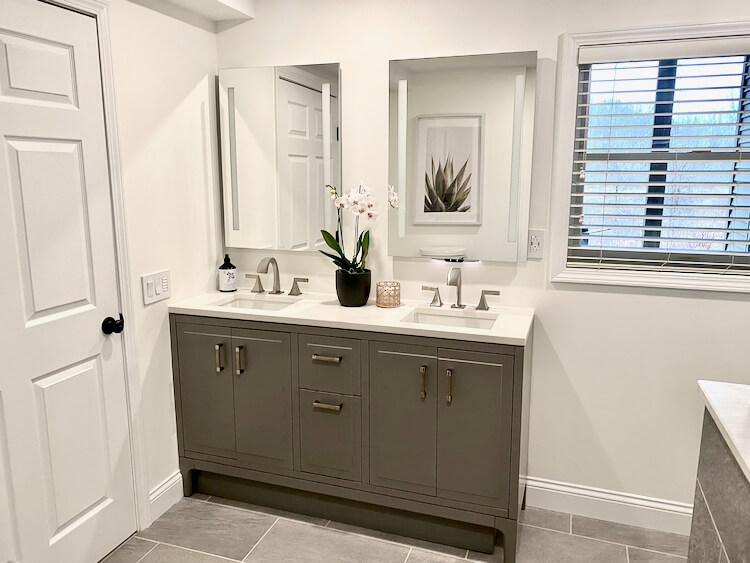
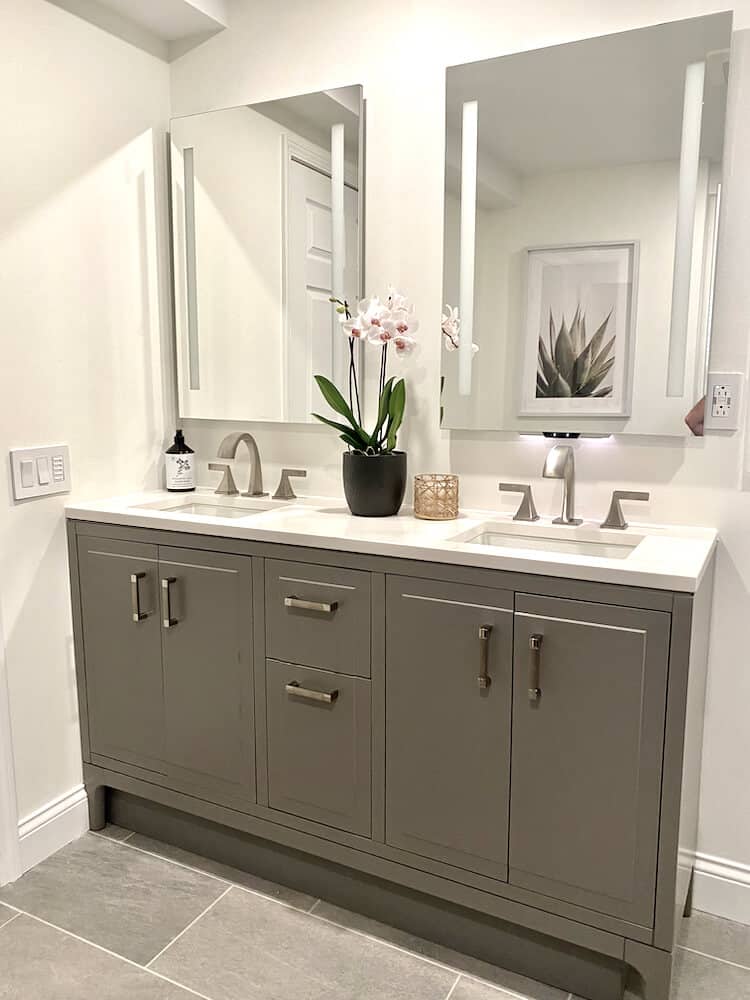
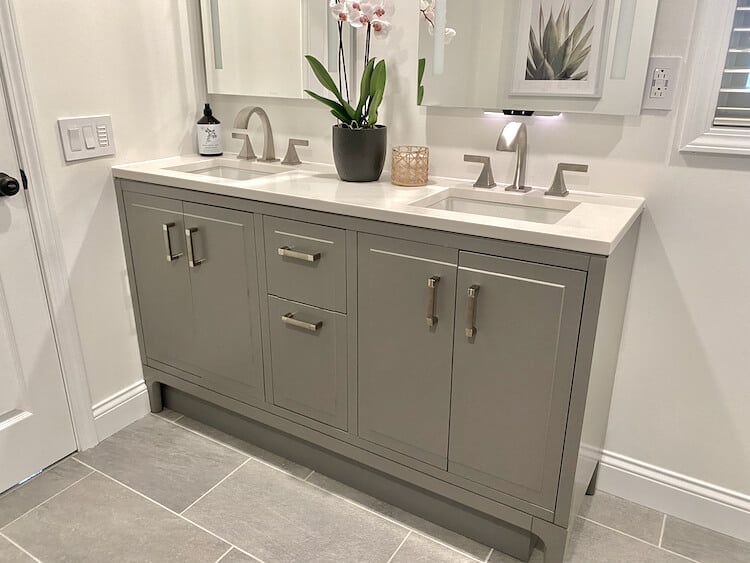
With some existing plumbing in the way I knew we would need to modify the new Kohler Seer Bathroom Vanity in Mohair Grey to fit around it. After taking some measurements I cut the vanity such that it would allow for that plumbing.
The existing plumbing was for one sink so I added a tee and ran two new drain lines to each sink.
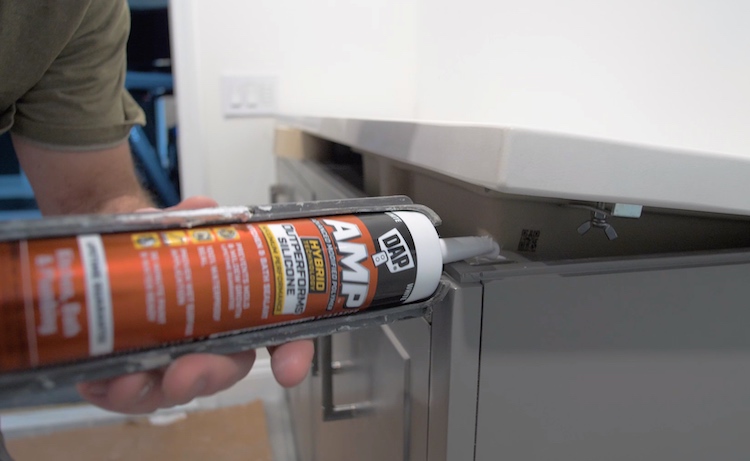
After securing the vanity to the wall studs I then installed the countertop using DAP’s new AMP sealant which is great because it actually outperforms silicone, is 100% waterproof and prevents mold and mildew. I applied this below the countertop and caulked the countertop into the wall with it.
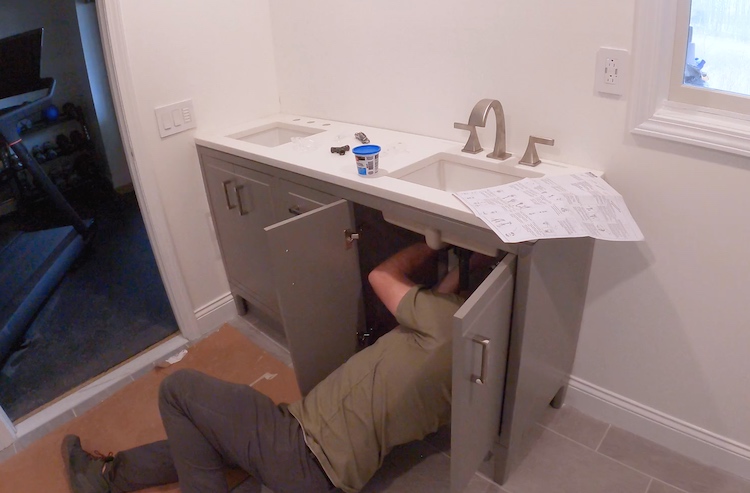
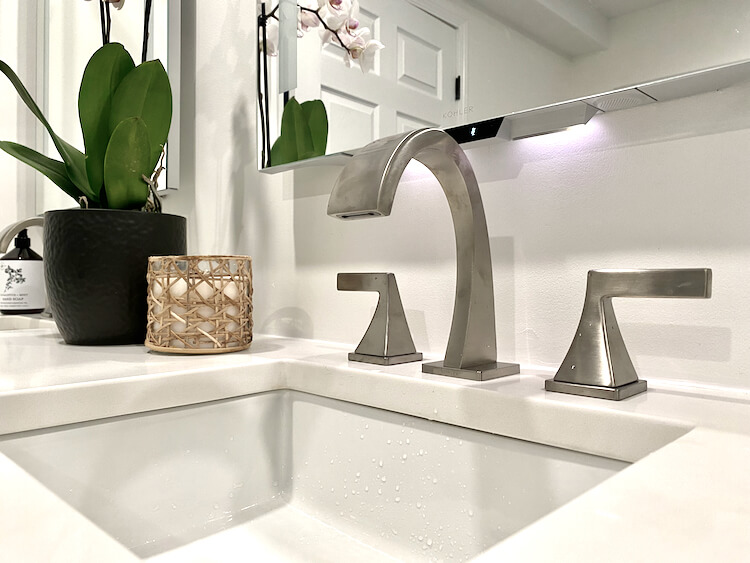
For the faucets we went with two Kohler Katun widespread faucets in satin nickel.
Installing Trim
Before I could install the toilet I needed to install the trim. This simply gets cut and installed with 18g brad nails into the wall studs.
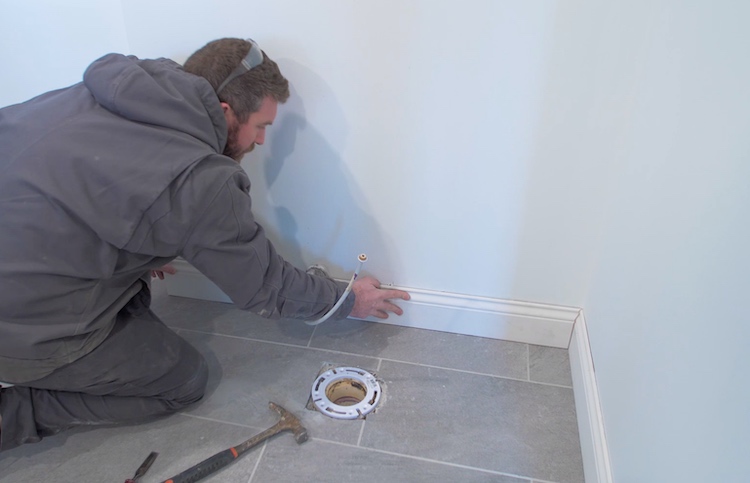
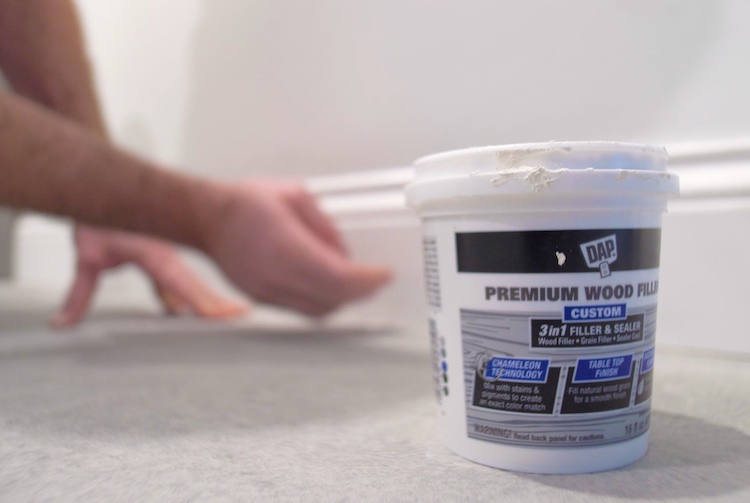
The nail holes get filled with DAP’s Premium Wood filler and sanded down.
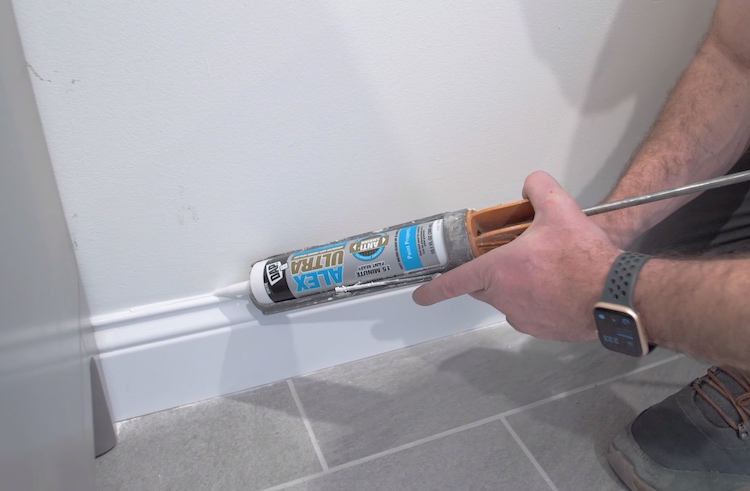
Before painting we caulk the trim into the wall with DAP’s Alex Ultra which is great because it is designed to shrink less and is paintable in 15 mins.
Installing the Toilet
Since the new floor is slightly higher than the old we needed to add a 1/2″ toilet flange spacer. To make sure this was 100% waterproof I applied DAP AMP sealant to the existing flange and the back of the new flange.
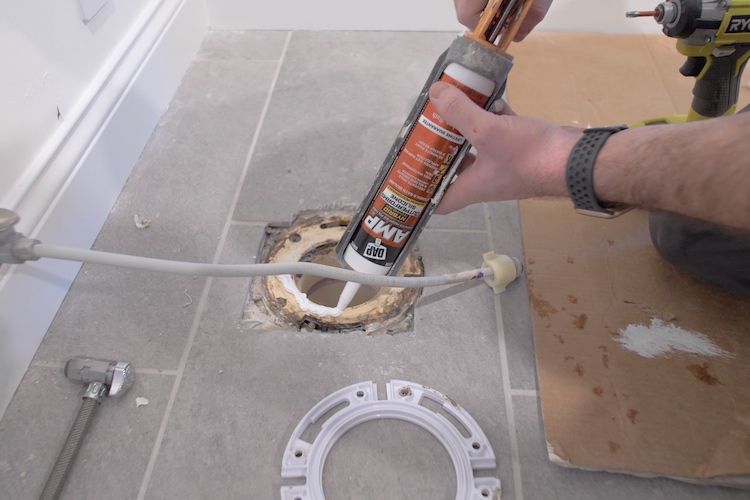
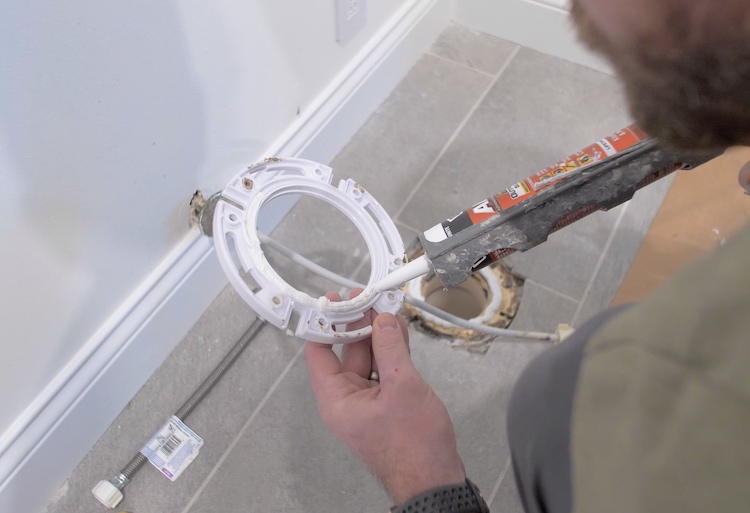
New anchor holes were drilled and the spacer was secured with 4 Tapcon concrete anchors.
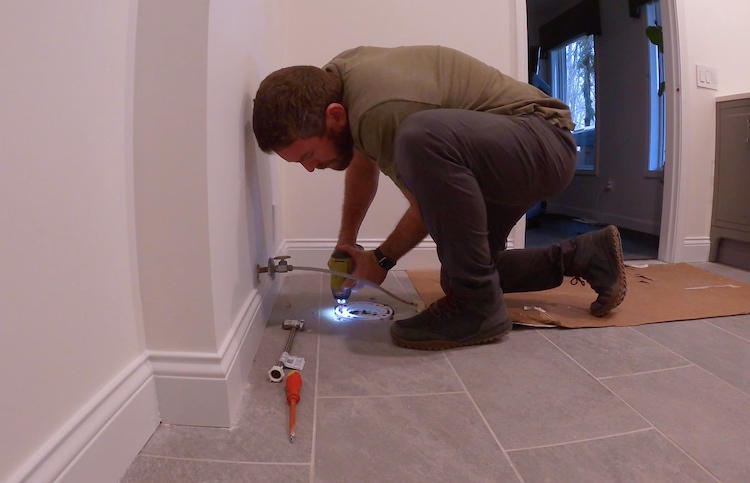
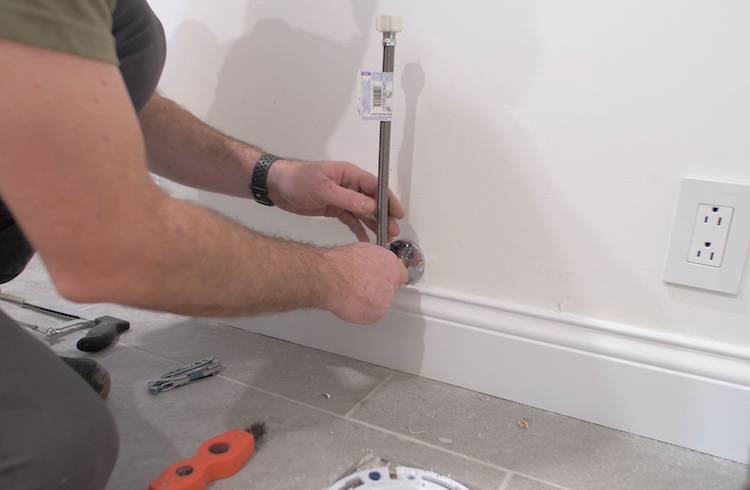
Since the existing supply line was pretty rough looking I decided to replace it with a new braided line.
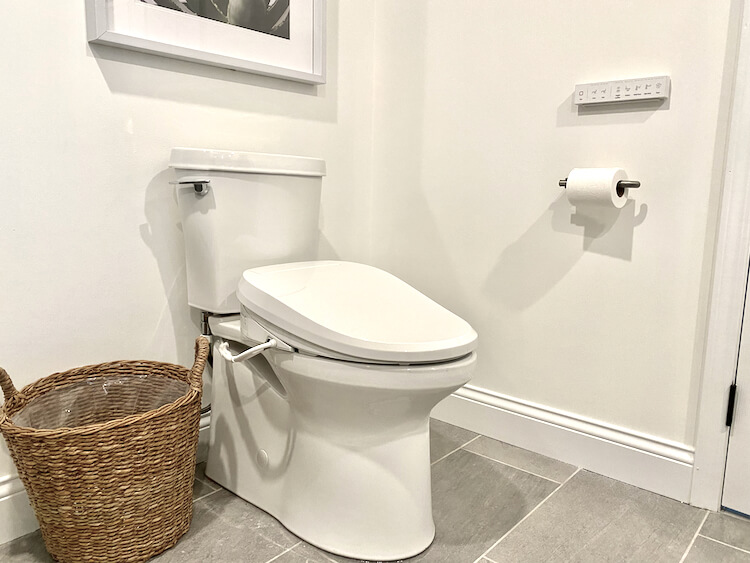
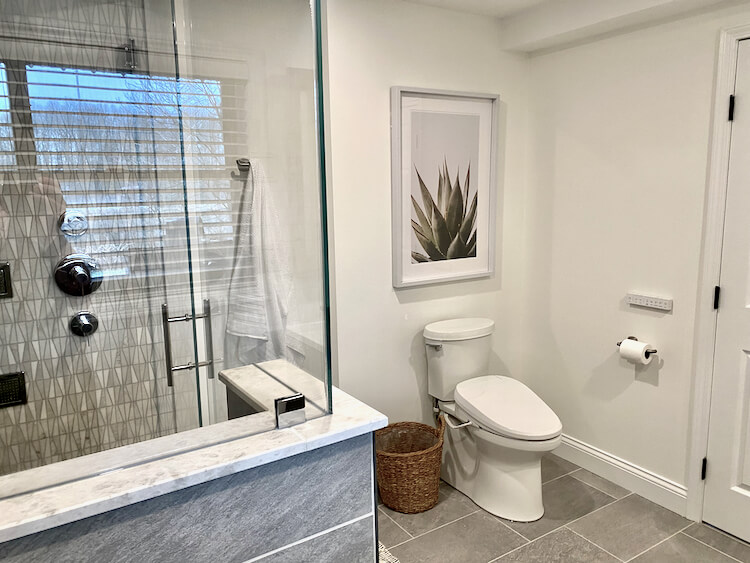
For the toilet we went with the Kohler Betello 2-piece which is a skirted toilet and has a slightly different installation process.
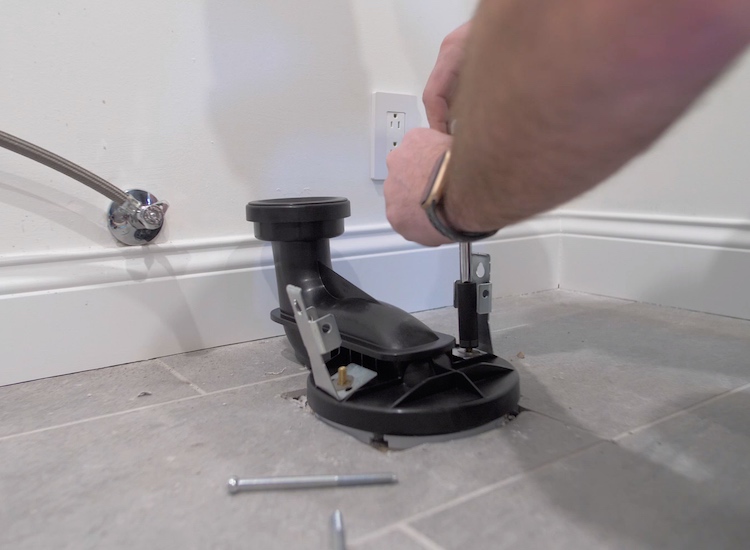
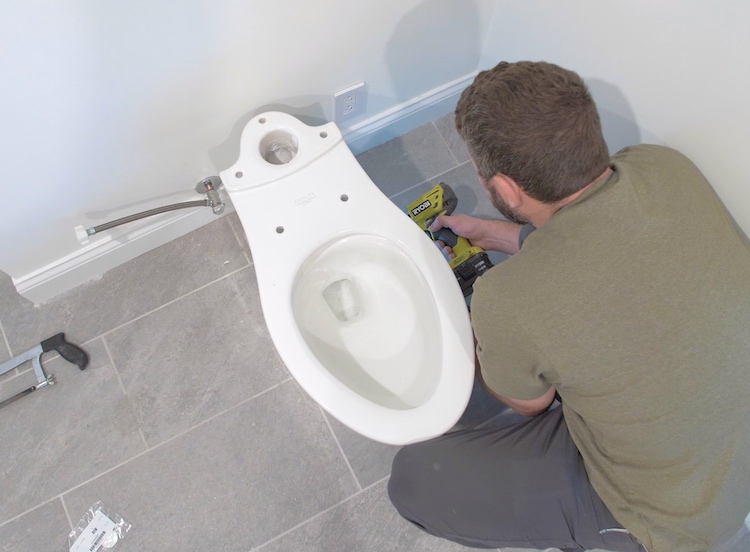
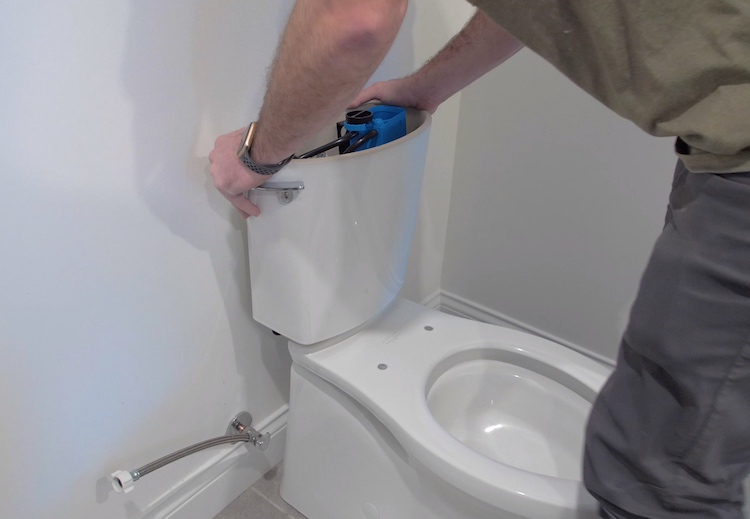
After getting the toilet bowl and tank installed we then added the Kohler cleansing bidet which is life changing.
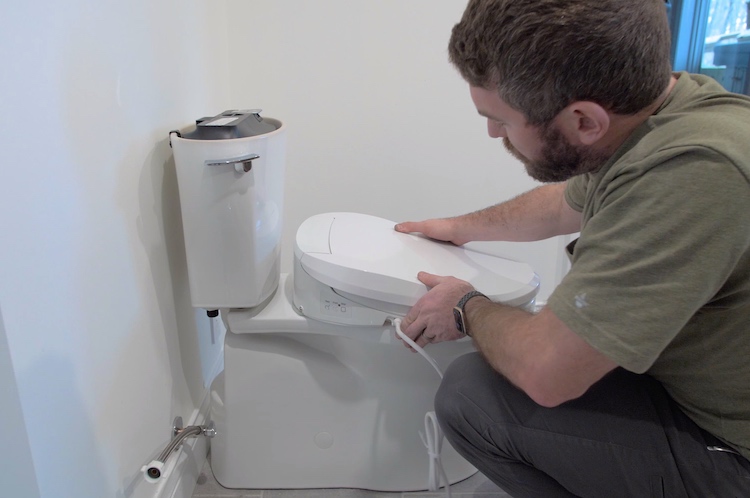
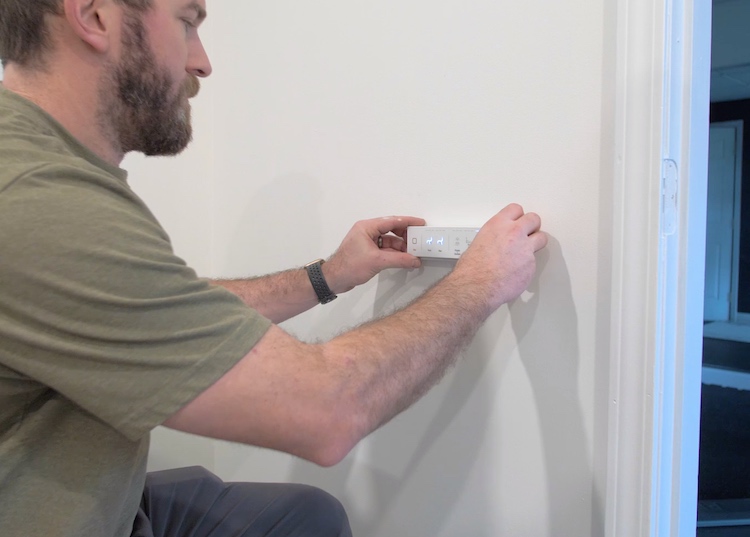
A wireless remote gets attached to the wall for controlling all the functions of the seat.
Finish Shower Plumbing
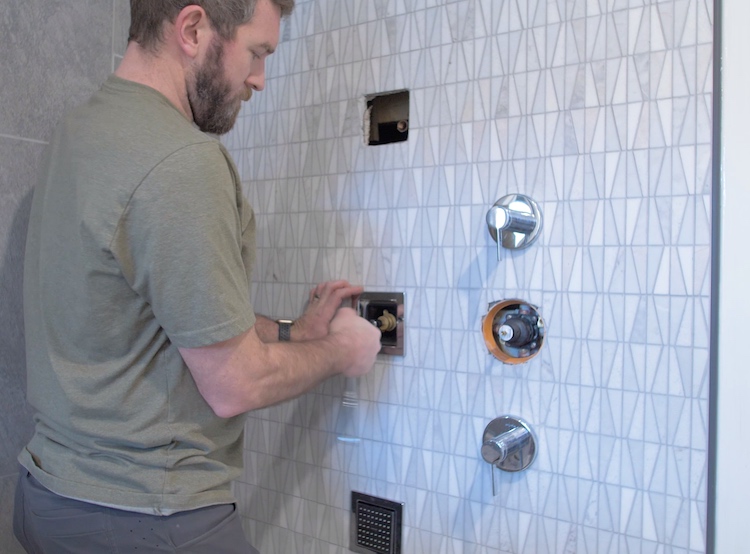
To finish off the shower plumbing I installed the temperature controller, volume control valves for the shower head and body sprays, and then the body sprayers and shower head themselves.
Installing the Bath Fan
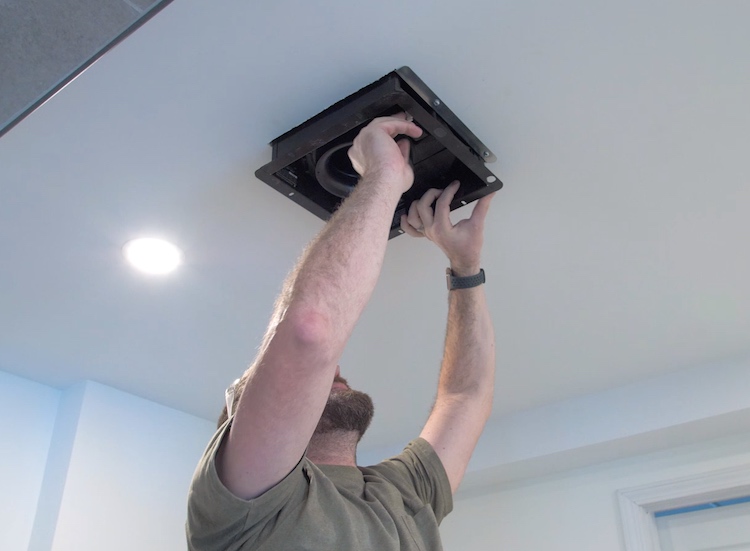
To make sure we get any moisture evacuated, I installed a Panasonic bath fan which will move a ton of air and still be super quiet.
Installing the Mirrors
Rather than installing lights above the mirrors we opted for Kohler’s Verdera lighted mirror.
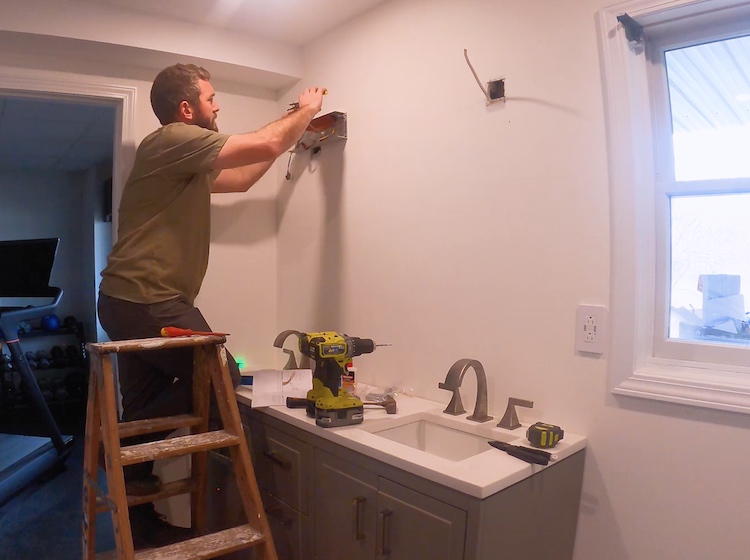

The mirror on the right looks exactly the same BUT the mirror has Amazon Alexa built into it with speakers!
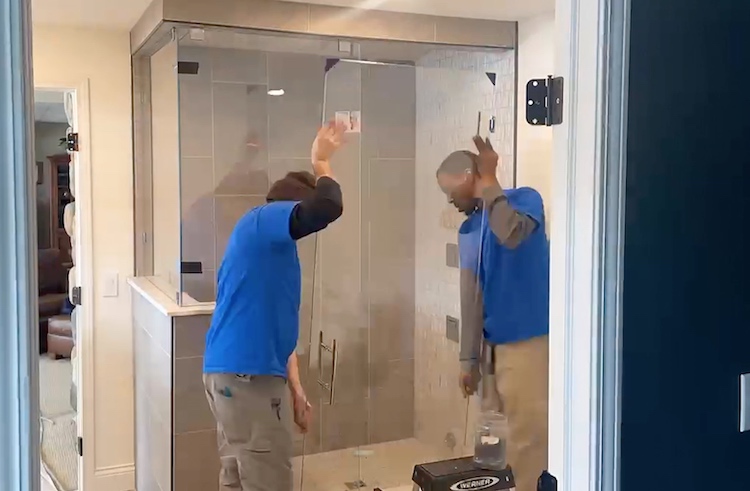
Shower Glass
We had a glass company come it to measure and install the glass which ended up taking the longest. About 5 weeks in all, but it was worth the wait!
After
Wow this is an amazing project! What steam generator did you guys use? Do you need special glass for steam showers? How does the steam not escape from the top of the door?