

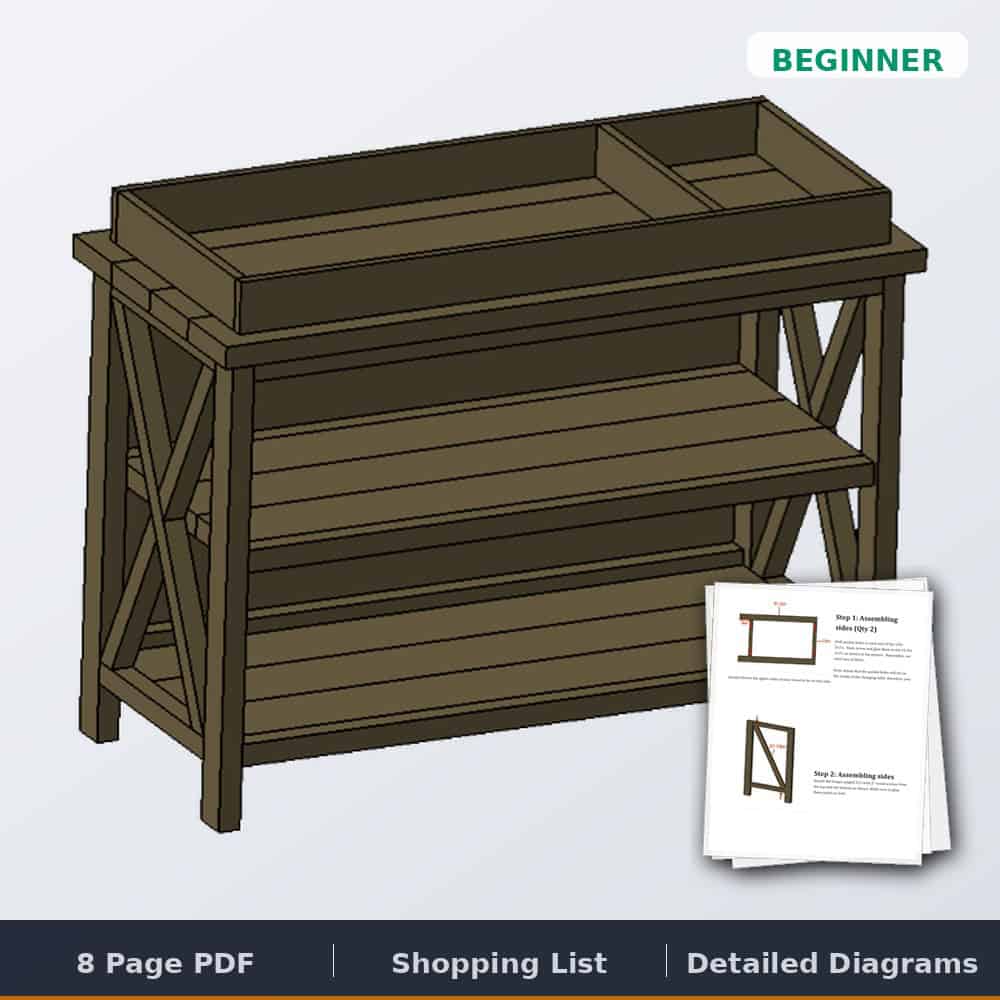
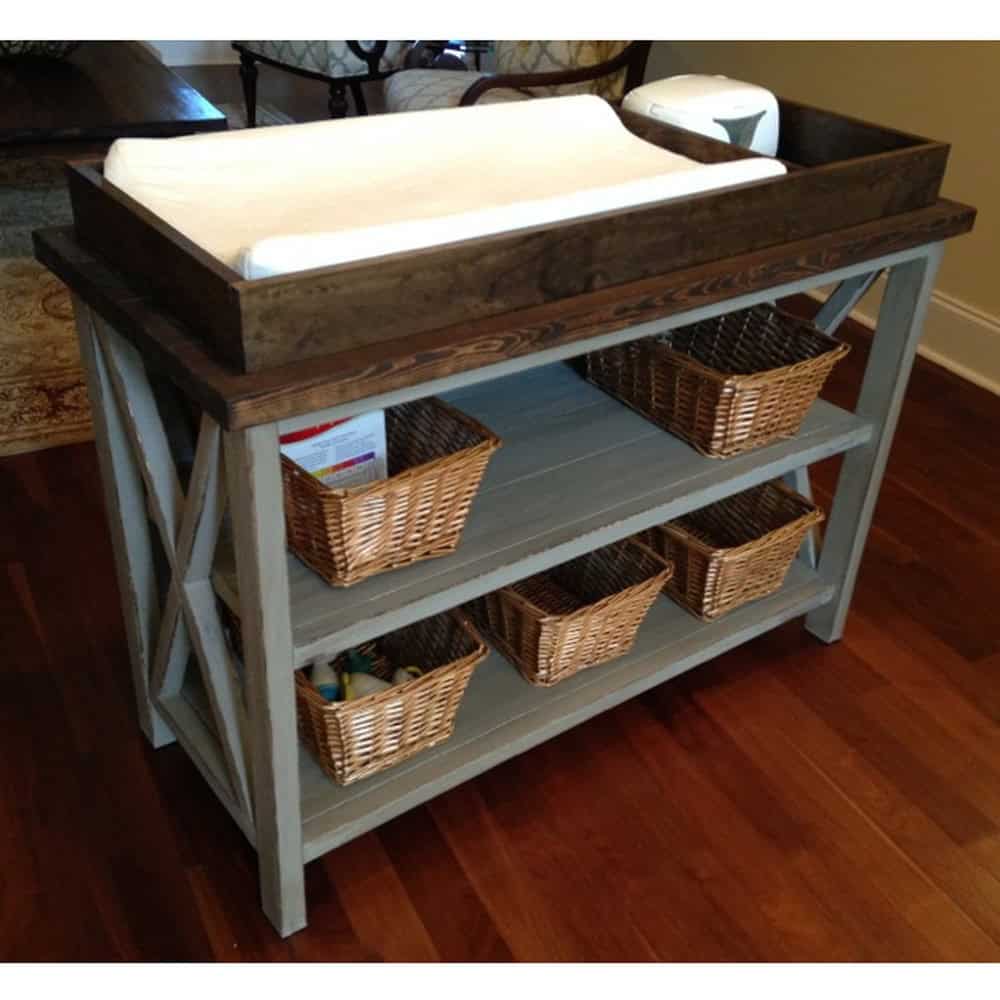
Rustic X Changing Table
$0.00
Printable plans for a rustic farmhouse changing table with X-brace sides, a solid 2×6 top, two open shelves and a 1×4 topper. Built from 2x6s, 2x3s, 2x2s and 1x4s with pocket screws. Includes the cut list, angled cuts, 13 illustrated steps and our finish schedule.
Free plan — we'll email your download link, along with weekly build ideas and new free plans. Unsubscribe anytime.
✓ Instant download · Personal use license · Secure checkout via Stripe
Description
Rustic changing table plans with X-brace sides and two open shelves
A changing table was at the top of the project list when our first baby was on the way, and this is the one we built. It’s a farmhouse-style piece inspired by the Pottery Barn Belmont buffet: X-braced 2×2 and 2×3 side frames, a solid 2×6 top, two open 2×6 shelves, a 1/4″ plywood back and a 1×4 topper on the top. Everything goes together with pocket screws and glue. Jamie finished it so it could live anywhere in the house after the diaper years, not just in the nursery.
What you get
- Printable PDF plan, instant download
- Cut list showing every board, plus the angled cuts for the X braces
- 13 illustrated steps, from the side frames to the topper
- Finish schedule for the stained top and painted base
Specs
- Top: three 49″ 2x6s, pocket-screwed into one solid panel
- Shelves: 2, each three 44″ 2x6s
- Back panel: 1/4″ plywood cut to 24″ x 45-1/2″
- Joinery: pocket screws and glue, with the holes on the inside faces
Lumber you’ll need
- 5 boards, 2x6x8′ (top and shelves)
- 3 boards, 2x3x8′ (side frames and rails)
- 4 boards, 2x2x8′ (side frames and X braces)
- 1 board, 1x4x8′ and 1 board, 1x4x6′ (topper)
- 1 panel, 1/4″ x 24″ x 48″ plywood (back)
Hardware and supplies
- 2-1/2″, 2″ and 1-1/4″ #8 coarse pocket hole screws
- 2″ wood screws
- Wood glue
- 1-1/4″ brad nails or screws for the back panel
- Our finish: Minwax pre-stain wood conditioner, Dark Walnut stain, water-based Polycrylic on the top, paint and finishing wax on the base
Tools you’ll need
- Kreg pocket hole jig
- Drill
- Circular saw
- Square and level
- Clamps for gluing up the top and shelves
- Finish nailer (optional, screws work for the back)
- Tape measure and pencil
- Safety glasses and hearing protection
Common questions
What changing pad fits it? We used a Summer Infant 4-sided changing pad, which is the one I recommend in the post.
Will the pocket holes show? Hardly. The side frame holes face the inside of the table, and the plan shows where to put the topper holes so they stay hidden. Put the uglier face of each board on the pocket hole side.
Any tips before I start? Cut every board at once, then sand everything before assembly. It’s much easier than sanding the tight corners of the X once it’s built. If you’re staining the top, stain the top and topper before you install the topper.
Want to see it first? The full build is on the blog: Rustic X DIY changing table. Prefer clean lines? See my modern changing table.
Quick answers
Reviews
There are no reviews yet.