DIY Patio Furniture: Build a Modern 5-Piece Outdoor Set from 2x4s and 2x6s
Quick build: This is a full five-piece DIY patio furniture set (couch, loveseat, chair, coffee table, side table) built from nothing but 2x4s and 2x6s, pocket screws, and 2-1/2″ wood screws. The frames cost me $265 in pressure-treated lumber and took a weekend. With cushions the whole set landed around $750. The Pottery Barn set it’s modeled on was $6,195 for the frames and over $2,000 more for the cushions. Documented by Jamison Rantz, September 2026.
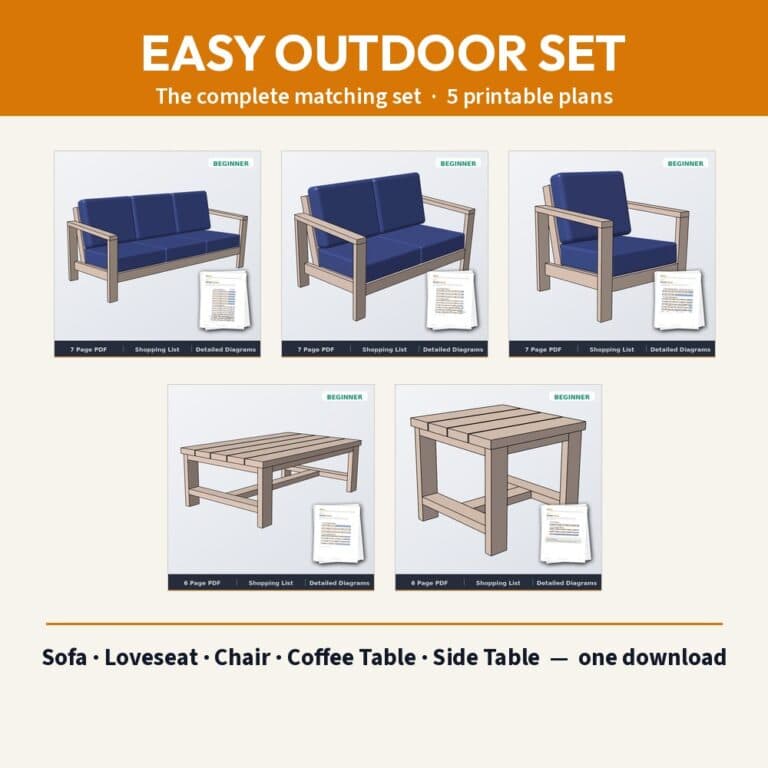
Want all five plans in one printable PDF bundle?
Couch, loveseat, chair, coffee table and side table: cut lists, cut diagrams, dimensioned drawings for every step, imperial and metric. $30 for the set, or grab any piece on its own.
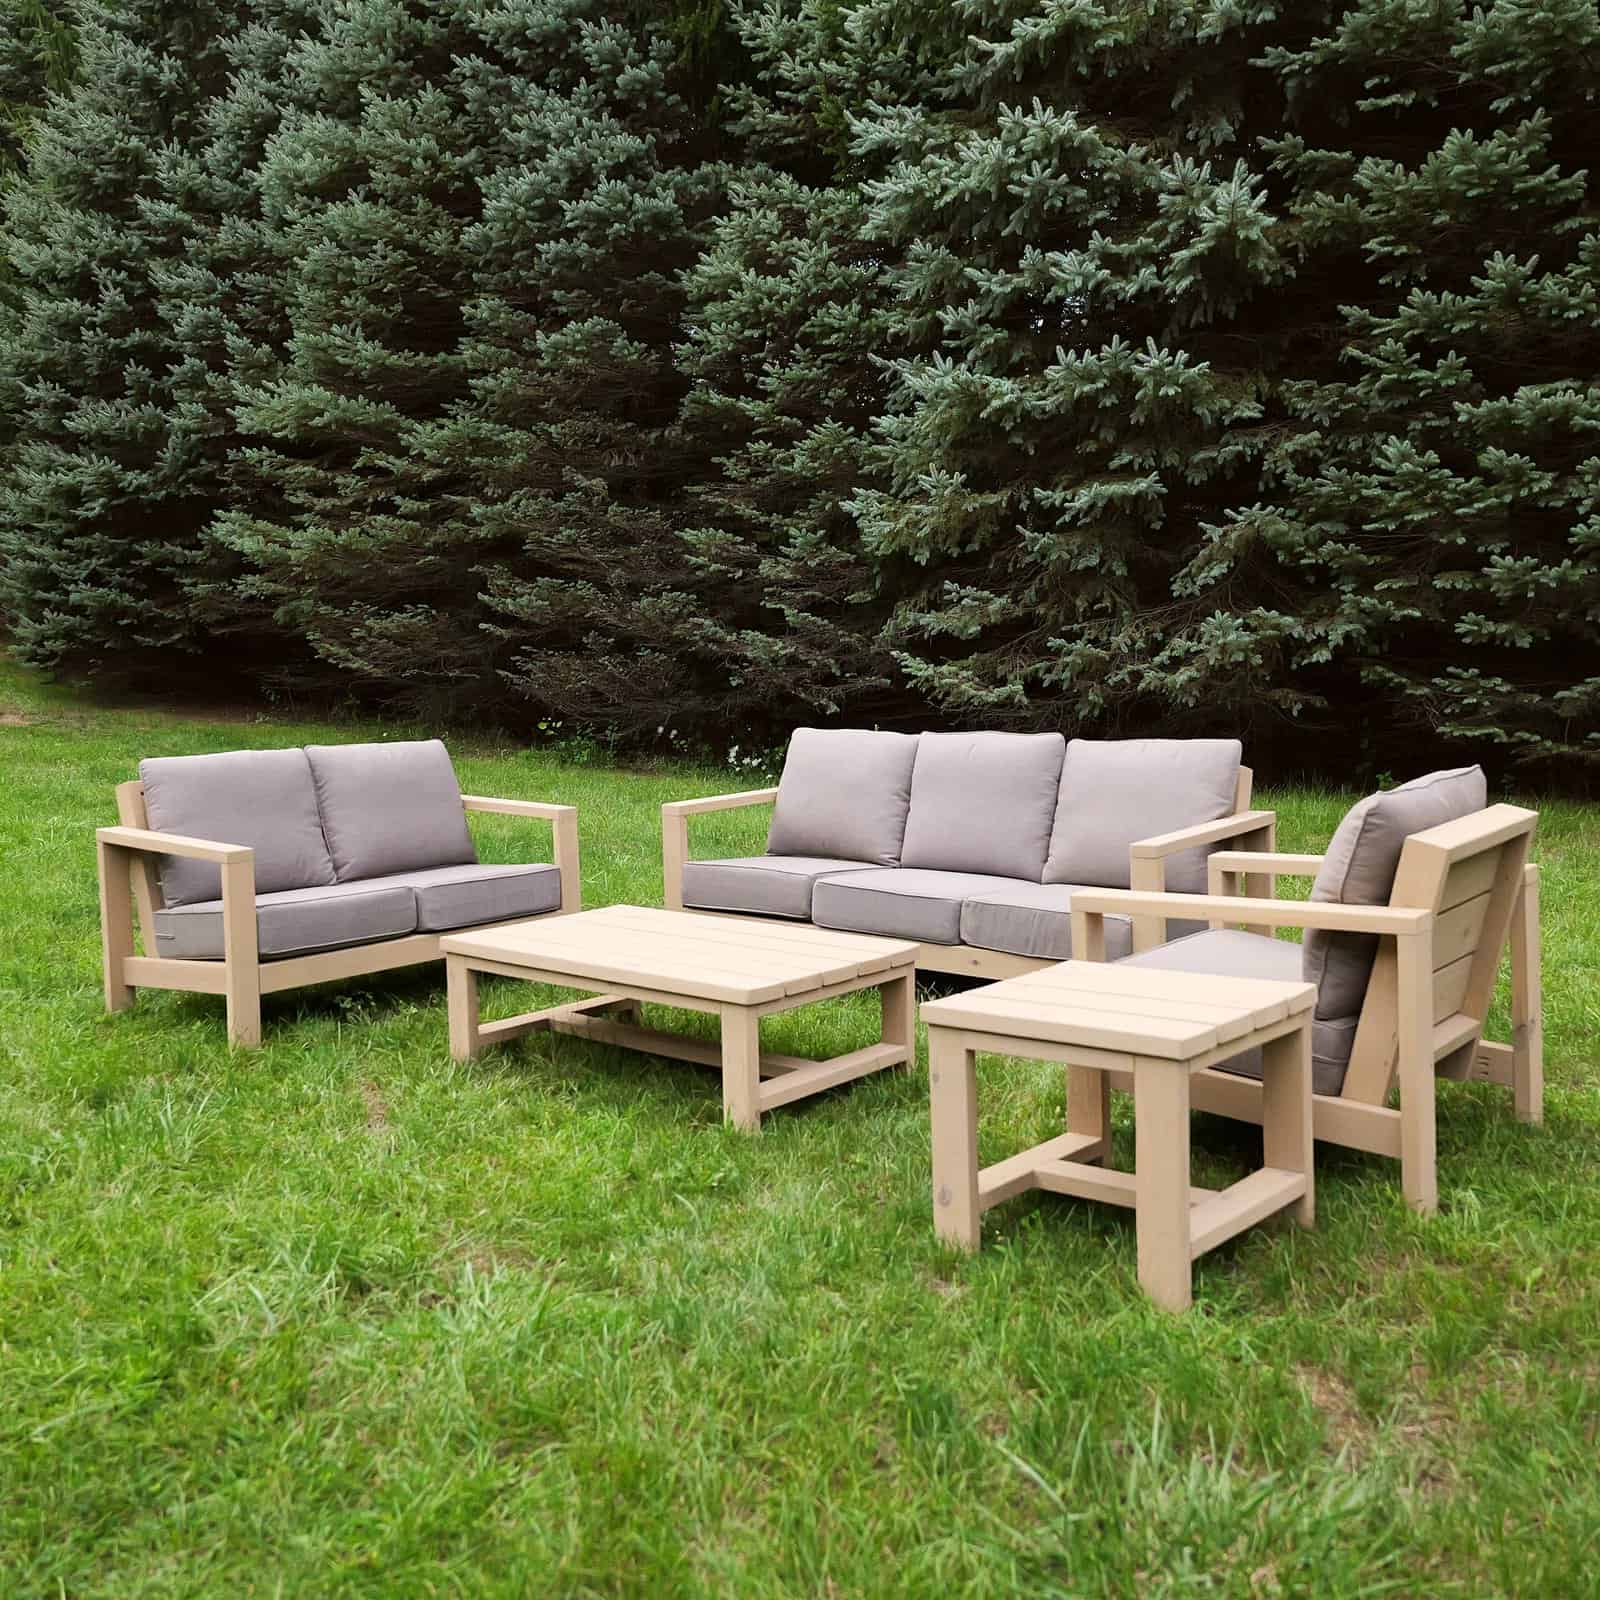
We’ve wanted real outdoor furniture for years. Not the folding chairs, not the hand-me-down glider. An actual set you could put a drink down on and sit in for a whole evening. So I did what most people do and started pricing it out, and that’s where it fell apart. The Pottery Barn set we liked was $6,195. For the frames. Their cushions were another $2,000 and change, so you’re past $8,000 before it shows up.
So I built it instead. Five pieces, all from 2x4s and 2x6s off the rack at the home center, $265 in lumber, and about a weekend in the garage. I think we nailed it.
Here’s the whole build, piece by piece, plus the cushion sizing and the finish we ended up with. If you only want one piece, the chair section is the one to read, because every seat in this set is built the exact same way. And if you’d rather have the cut lists and diagrams on paper, the printable patio furniture set plans cover all five pieces in imperial and metric.
Why Build Your Own Patio Furniture Instead of Buying It
The honest answer is money. DIY patio furniture is the biggest gap between retail price and material cost of anything I build, because outdoor furniture is one of the biggest markups in the furniture business, and the frames are the simplest part. A pocket-hole jig and a miter saw get you the same look for a fraction of the price.
The other reason is durability. Pressure-treated lumber will outlast most of what you can buy, and once it dries out you can stain it any color you want. This set is heavy, it doesn’t blow over, and if a board ever does go bad it costs a few dollars to replace.
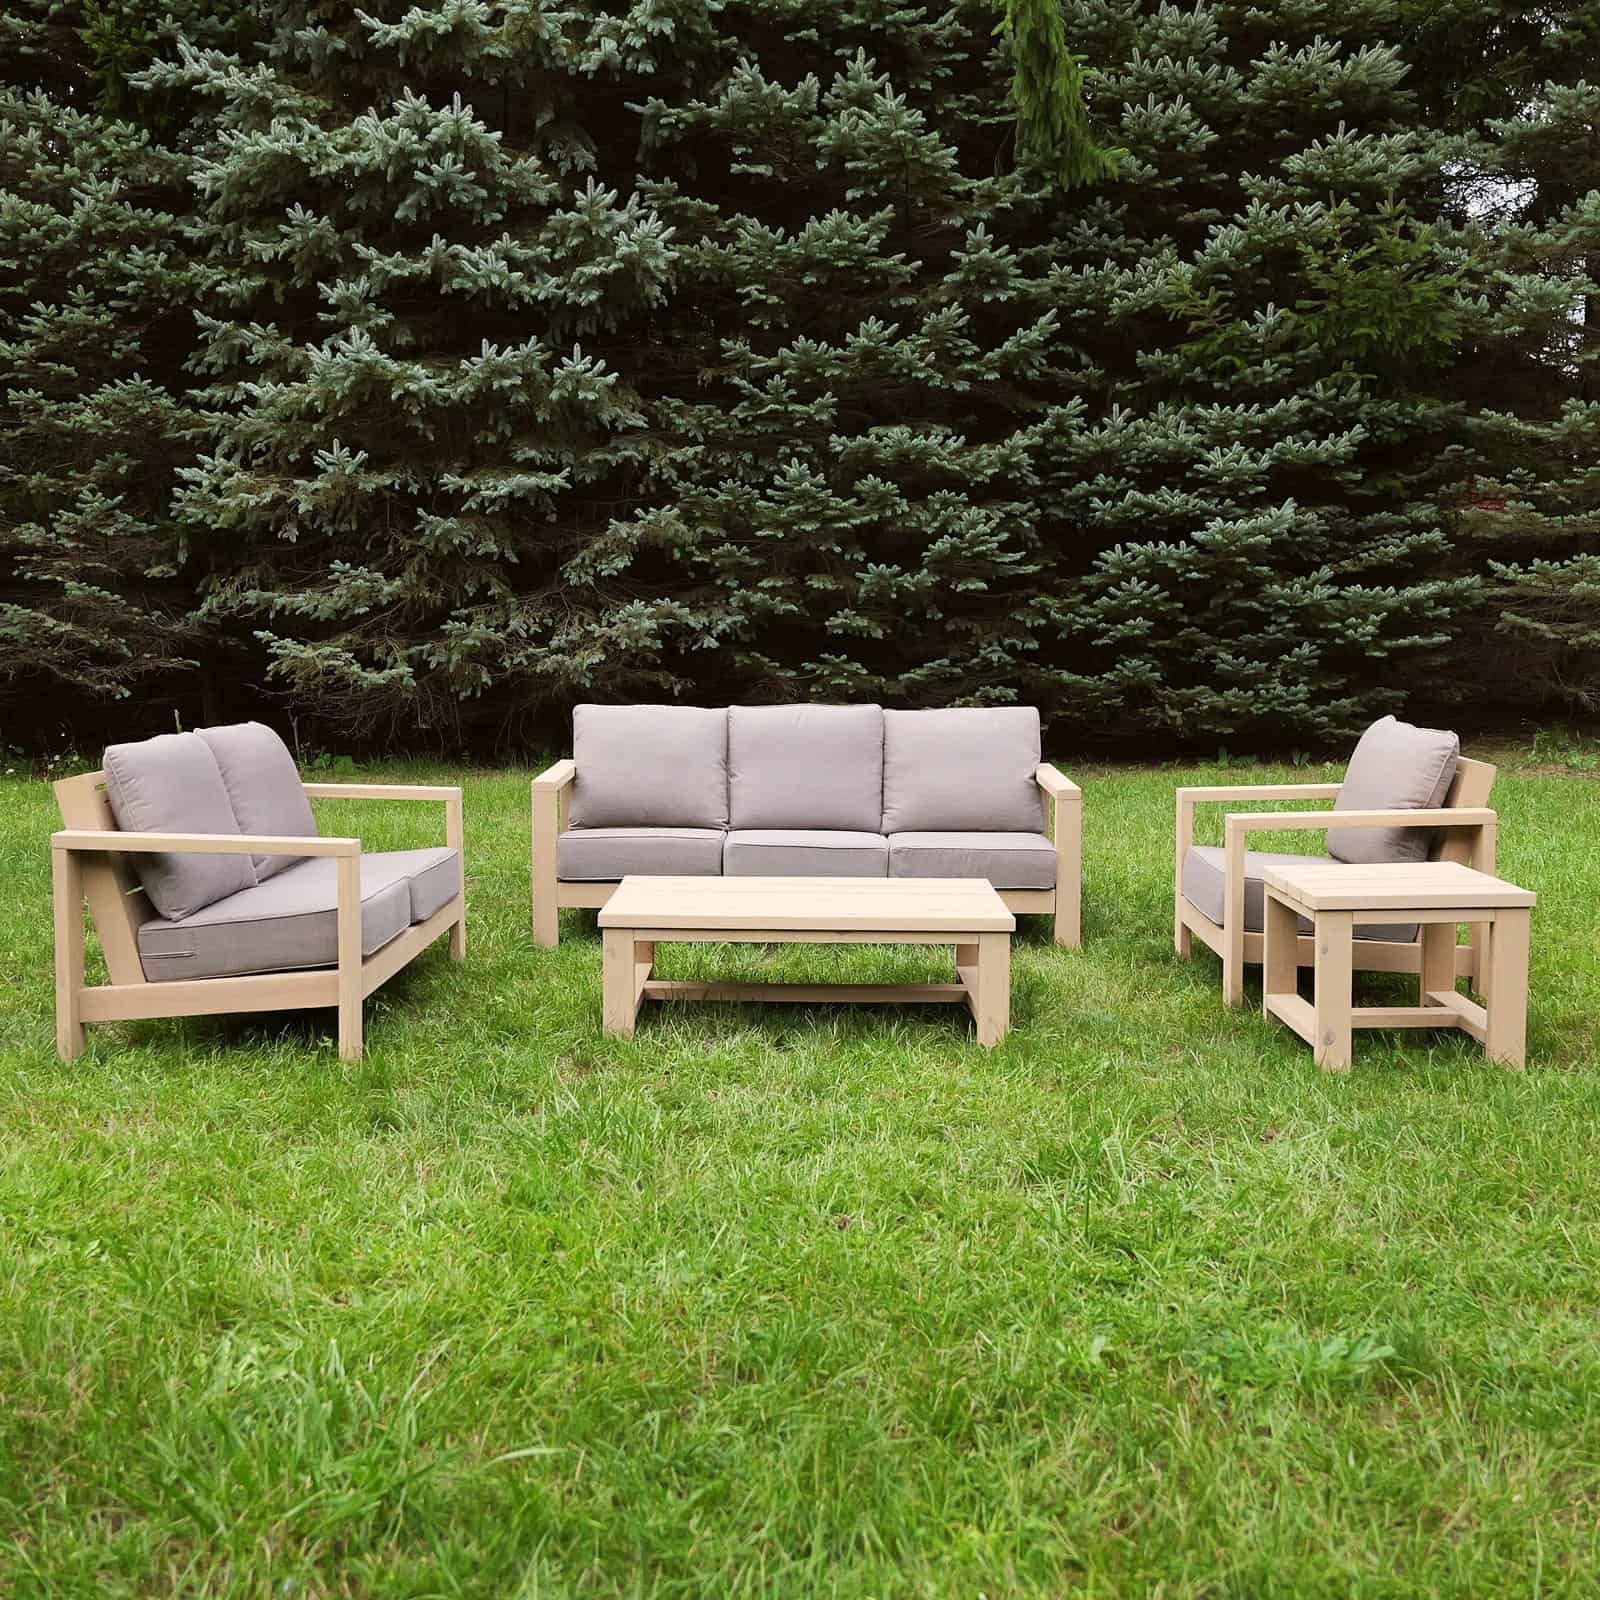
What You’re Building (and What Fits)
All three seats share one design: a back frame, a seat frame, and two mirrored arm-and-leg frames, built flat on the bench and stacked together. The seat tips back 5 degrees and the back reclines another 5 on top of that, which in my experience is the recipe for a seat you can actually sit in for a while. The tables are two end frames tied together with rails and a 2×6 slat top.
| Piece | Size | Cushions | Lumber | Lumber cost |
|---|---|---|---|---|
| Outdoor chair | 31″ wide | 1 | 5 2x4s, 2 2x6s (or couch offcuts) | ~$50 |
| Outdoor loveseat | 55″ wide | 2 | 6 2x4s, 3 2x6s | ~$65 |
| Outdoor couch | 79″ wide | 3 | 8 2x4s, 6 2x6s | ~$110 |
| Coffee table | 47″ x 28-1/2″ | none | 4 2x4s, 3 2x6s | ~$55 |
| Side table | 22-3/4″ square | none | 3 2x4s, 1 2×6 | ~$30 |
Every seat pocket is 24″ deep and comes in 24″ multiples wide, so standard 24″ x 24″ deep-seating cushions drop straight in. I designed the seat height around a 6″ thick cushion. Ours came from Amazon, six seat-and-back sets for under $500, and they fit like they were made for it.
Update, September 2026: the same six-cushion set is $372 as I write this, which puts the whole build closer to $640.
Tools & Materials
Pick your legs and armrests from the cleanest boards in the pile. Those are the parts you’ll look at every day. The ugly stuff can go in the seat frames, where the legs and cushions cover it.
Save the scrolling
All five cut lists, cut diagrams and step drawings in one print-ready PDF for the shop wall. Imperial and metric included.
How to Build the Outdoor Chair (This Is the Pattern for All Three Seats)
I built the chair first because it’s the smallest, and if you can get the chair down, the loveseat and couch are the same thing with longer rails. Five 2x4s and two 2x6s. If you’re building the couch too, skip the chair’s 2x6s entirely: each of the couch’s six 2×6 boards leaves a 27″ offcut, and the chair’s slats are 21″.
Cut everything and drill the pocket holes
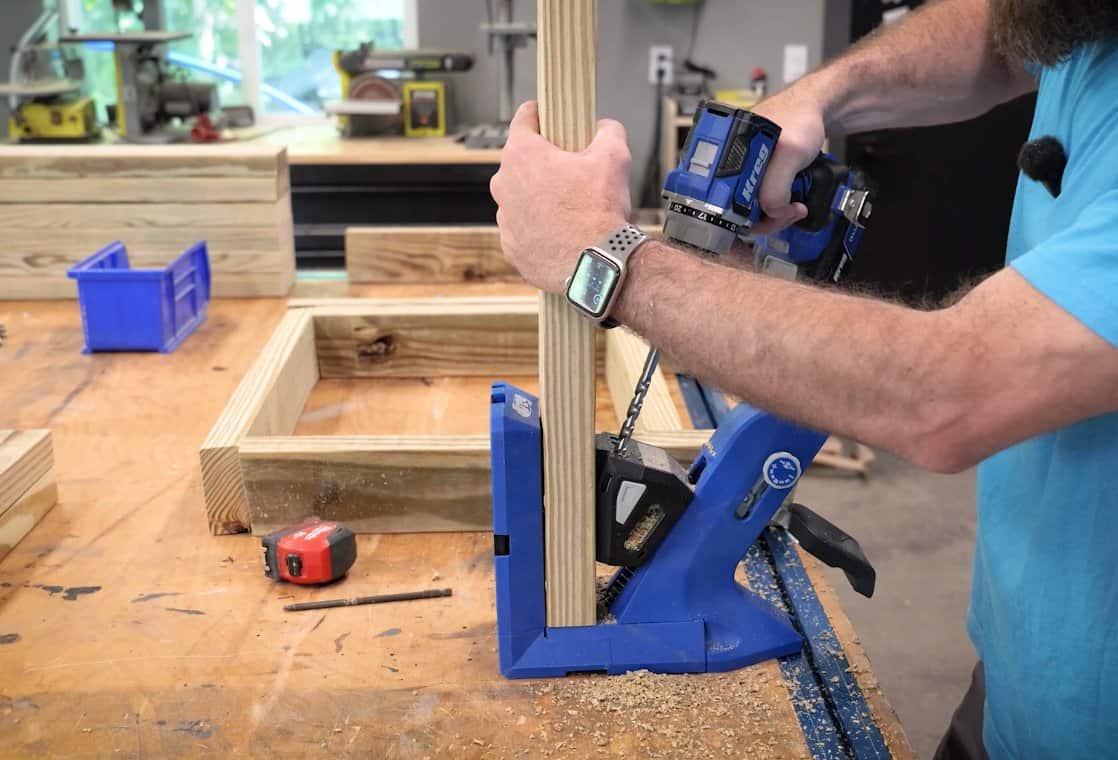
Cut the whole chair before you assemble anything. The only cuts that aren’t square are a few 5 and 10 degree miters, and it’s worth labeling the angled offcuts because several parts look identical until they meet the frame. Then drill two pocket holes at each end of every rail, on the face that will end up hidden.
One thing to watch: on the arm-and-leg frames the pocket holes need to face the inside, where the seat frame will cover them. Get that wrong and you’ll be staring at them from the chair next to it.
Build the back frame and seat frame
The back frame is two 27″ uprights with a 10 degree cut on one end, joined by two 21″ rails. Points up. The seat frame is two 22″ side rails cut at 5 degrees on the front and 10 degrees on the back, joined by a 24″ front rail and a 21″ back rail.
That mismatch is the whole trick. The 5 degree end tips the seat back once it’s standing on the legs, and the 10 degree end matches the back frame so the two meet flat. Glue, then 2-1/2″ exterior pocket screws, two per joint.
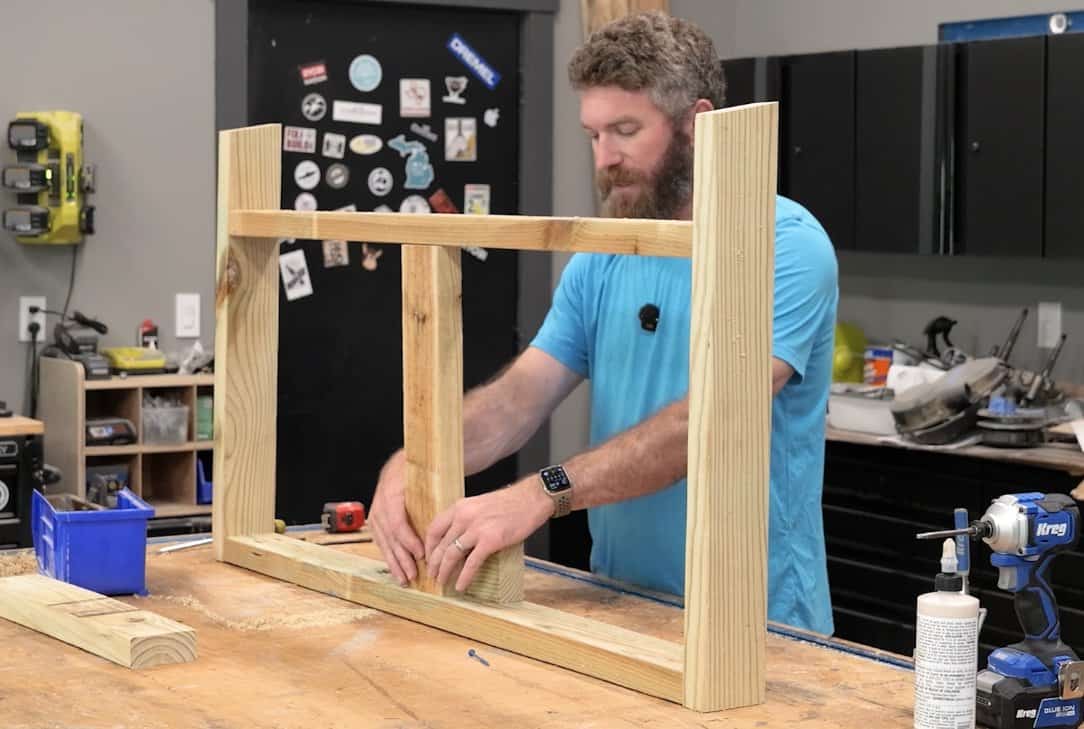
Build two mirrored arm-and-leg frames
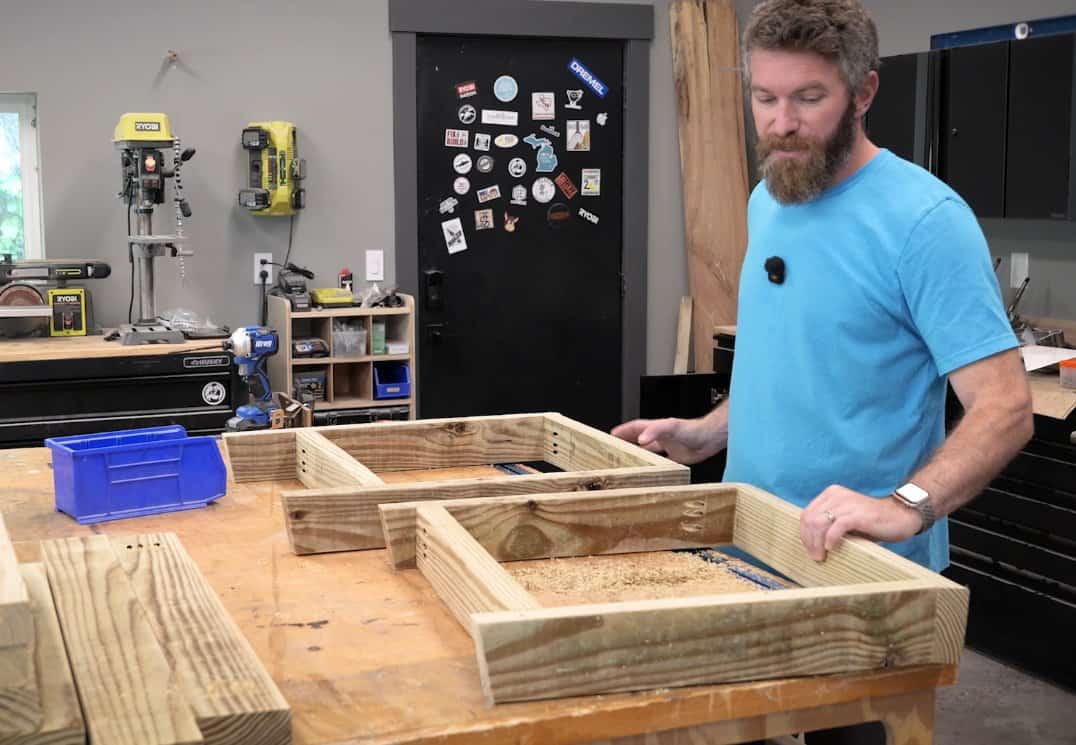
Each side is two 24″ legs, a 28-5/8″ side rail with 5 degree ends, and a 31-1/2″ armrest across the top. The rail sits 7-3/8″ up from the bottom of the front leg and 4-7/8″ up on the back leg. Mark both, put an X on the waste side, and clamp the back leg to the bench so the rail can’t walk while you drive the pocket screws.
Build the second one mirrored. A left and a right, not two of the same. I say this because it’s the mistake I’d make.
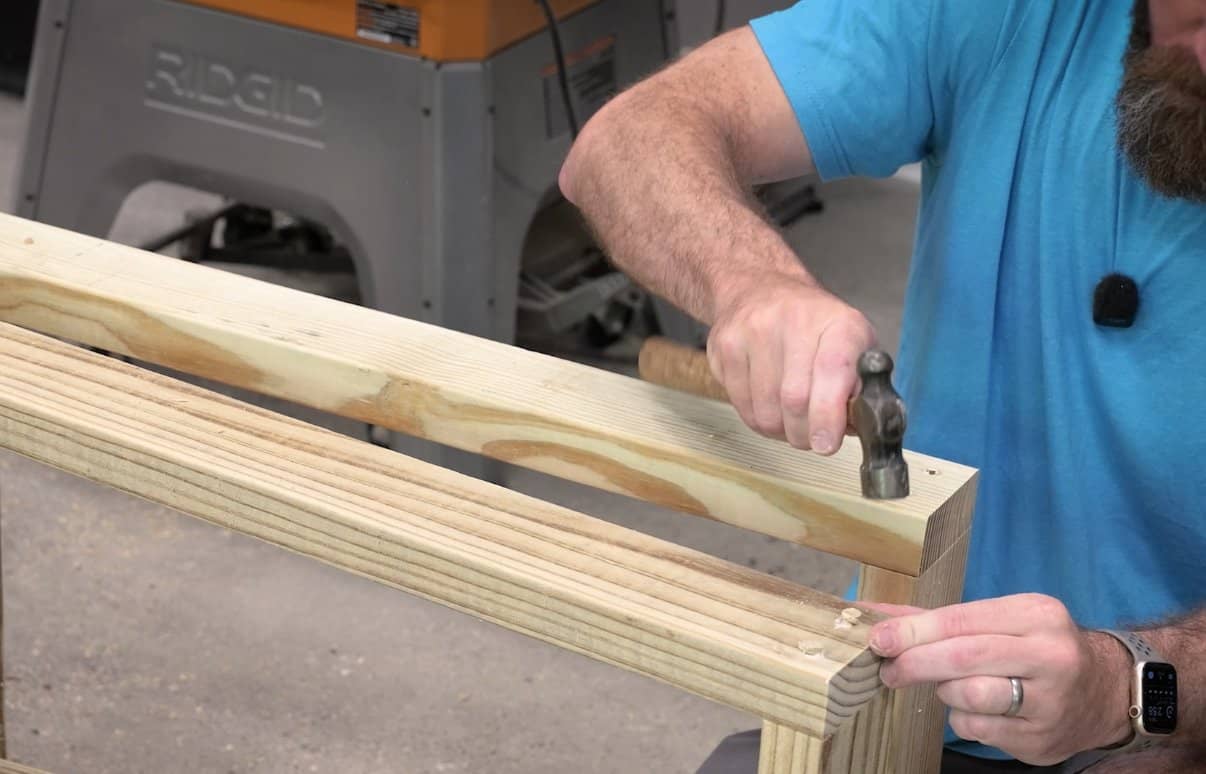
For the armrest I didn’t want pocket holes on the underside or screw heads on top, so I counterbored the holes with a countersink and plug set, drove 2-1/2″ wood screws down through the arm, and glued in plugs cut from a scrap. Sand them flush and once there’s finish on it you’d never know.
Stack the frames
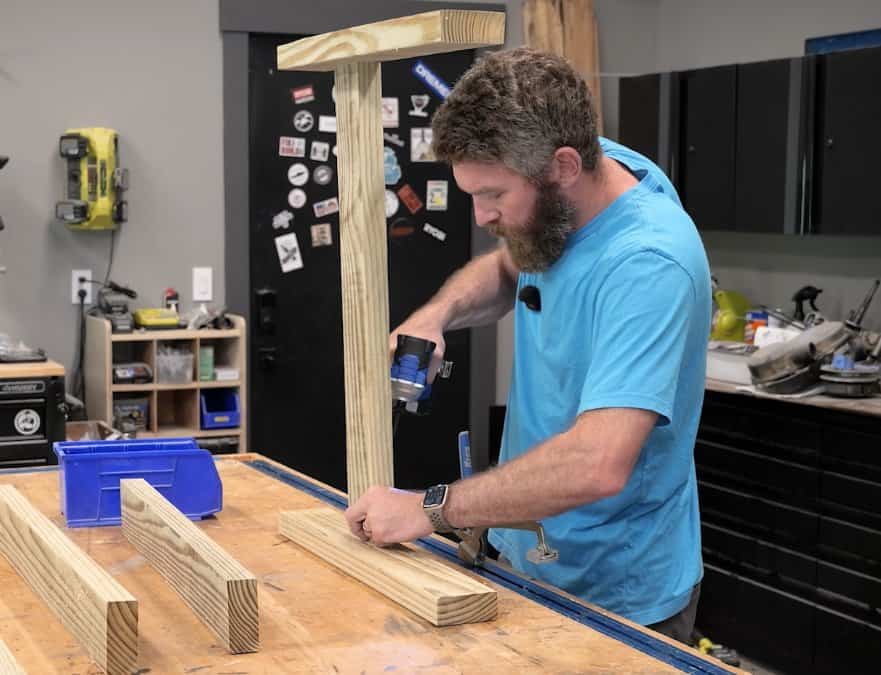
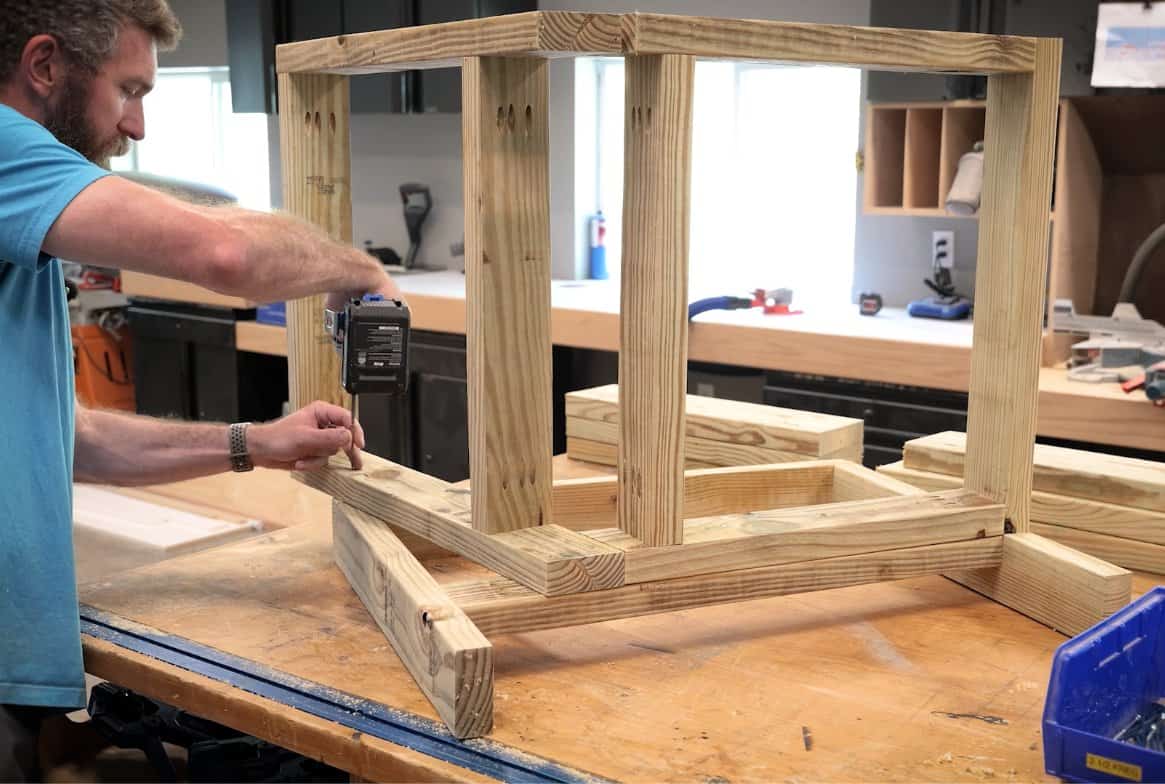
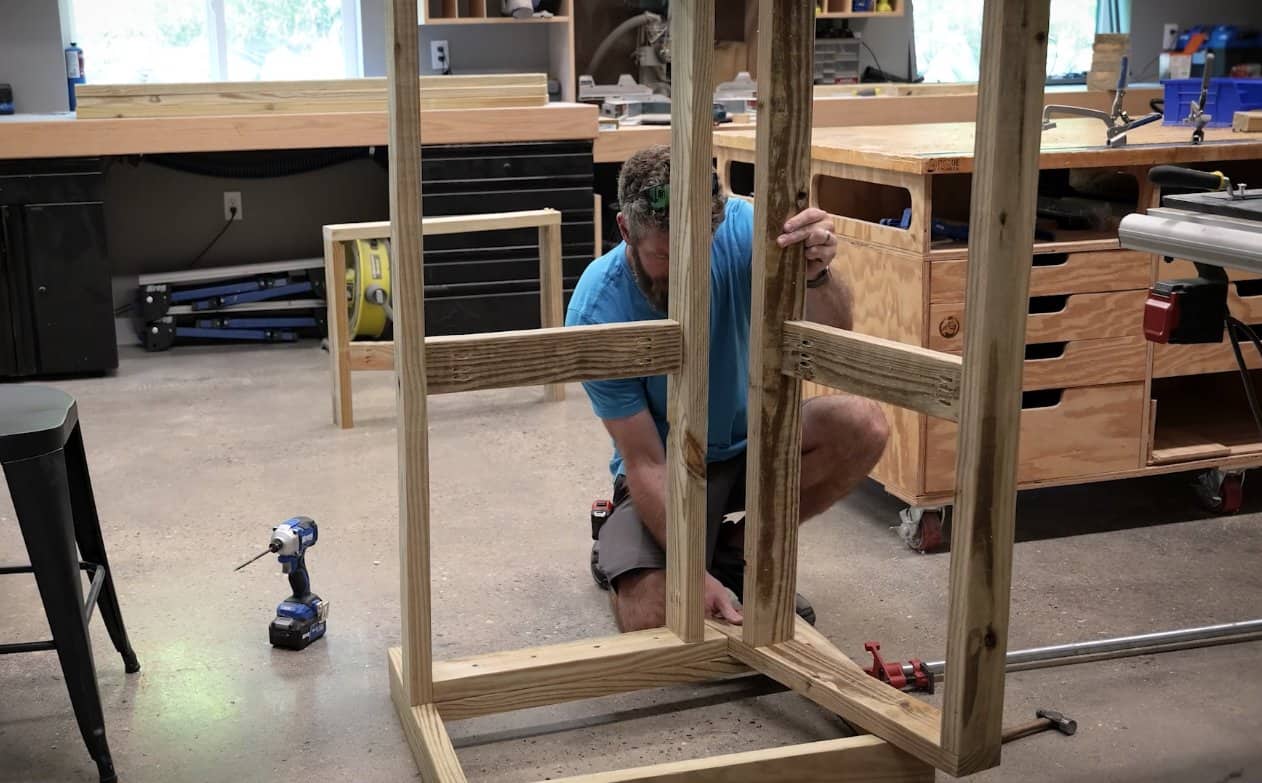
Lay one arm-and-leg frame flat, arm down. Stand the seat frame on its rail with the front flush to the front leg and secure it with 2-1/2″ wood screws. Lean the back frame against the seat frame’s rear rail so the angled ends sit flat on the side rail, then screw it to the rail and up into the arm. The back should pass right through the point at the top of the arm.
Flip the whole thing over onto the second frame, line the front up flush again, and repeat. Stand it up and rock it corner to corner. Any wobble now is a screw that isn’t seated.
Install the 2×6 slats
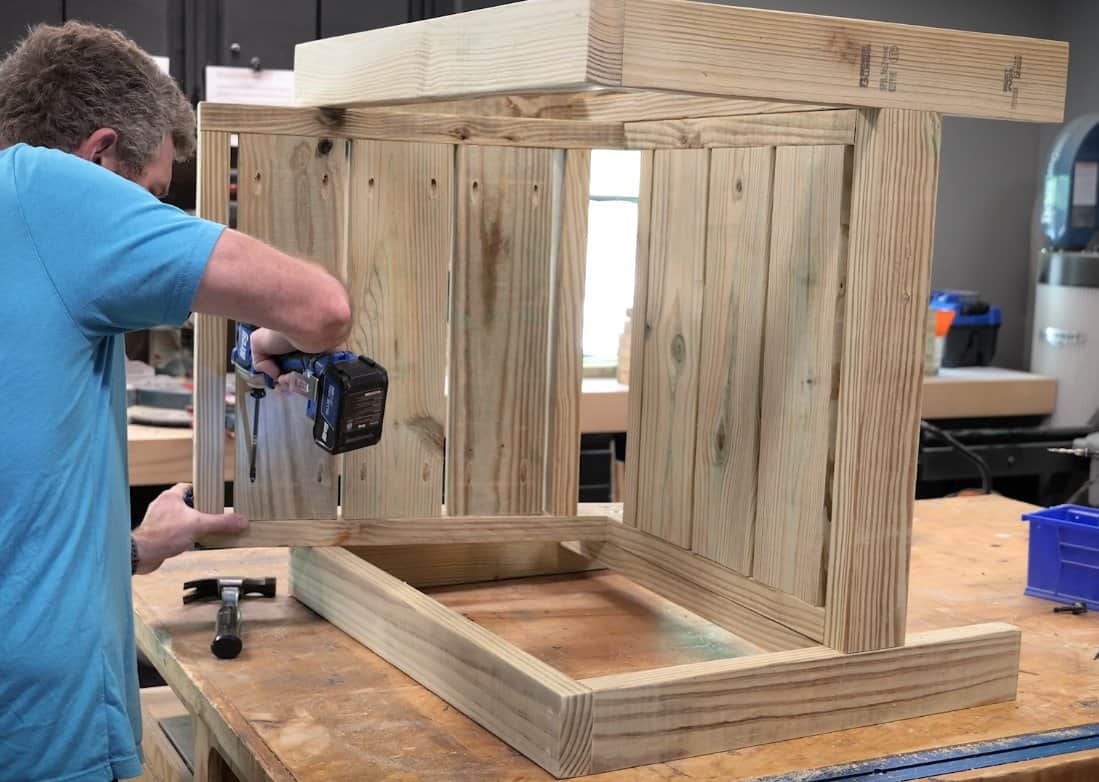
Three 21″ slats across the seat, three up the back, spaced about 1/2″ apart, all flush with the front of the frame. Pocket holes go on the underside of the seat slats. On the back slats I put them facing forward, which throws people, but the cushions on this set never come off, so nobody will ever see them. If your chair sits against a wall and the cushions come and go, flip that and put them on the back.
That’s the chair. Not a light chair. But it doesn’t rock, and it’s comfortable before the cushion even goes on.
How to Build the Outdoor Loveseat
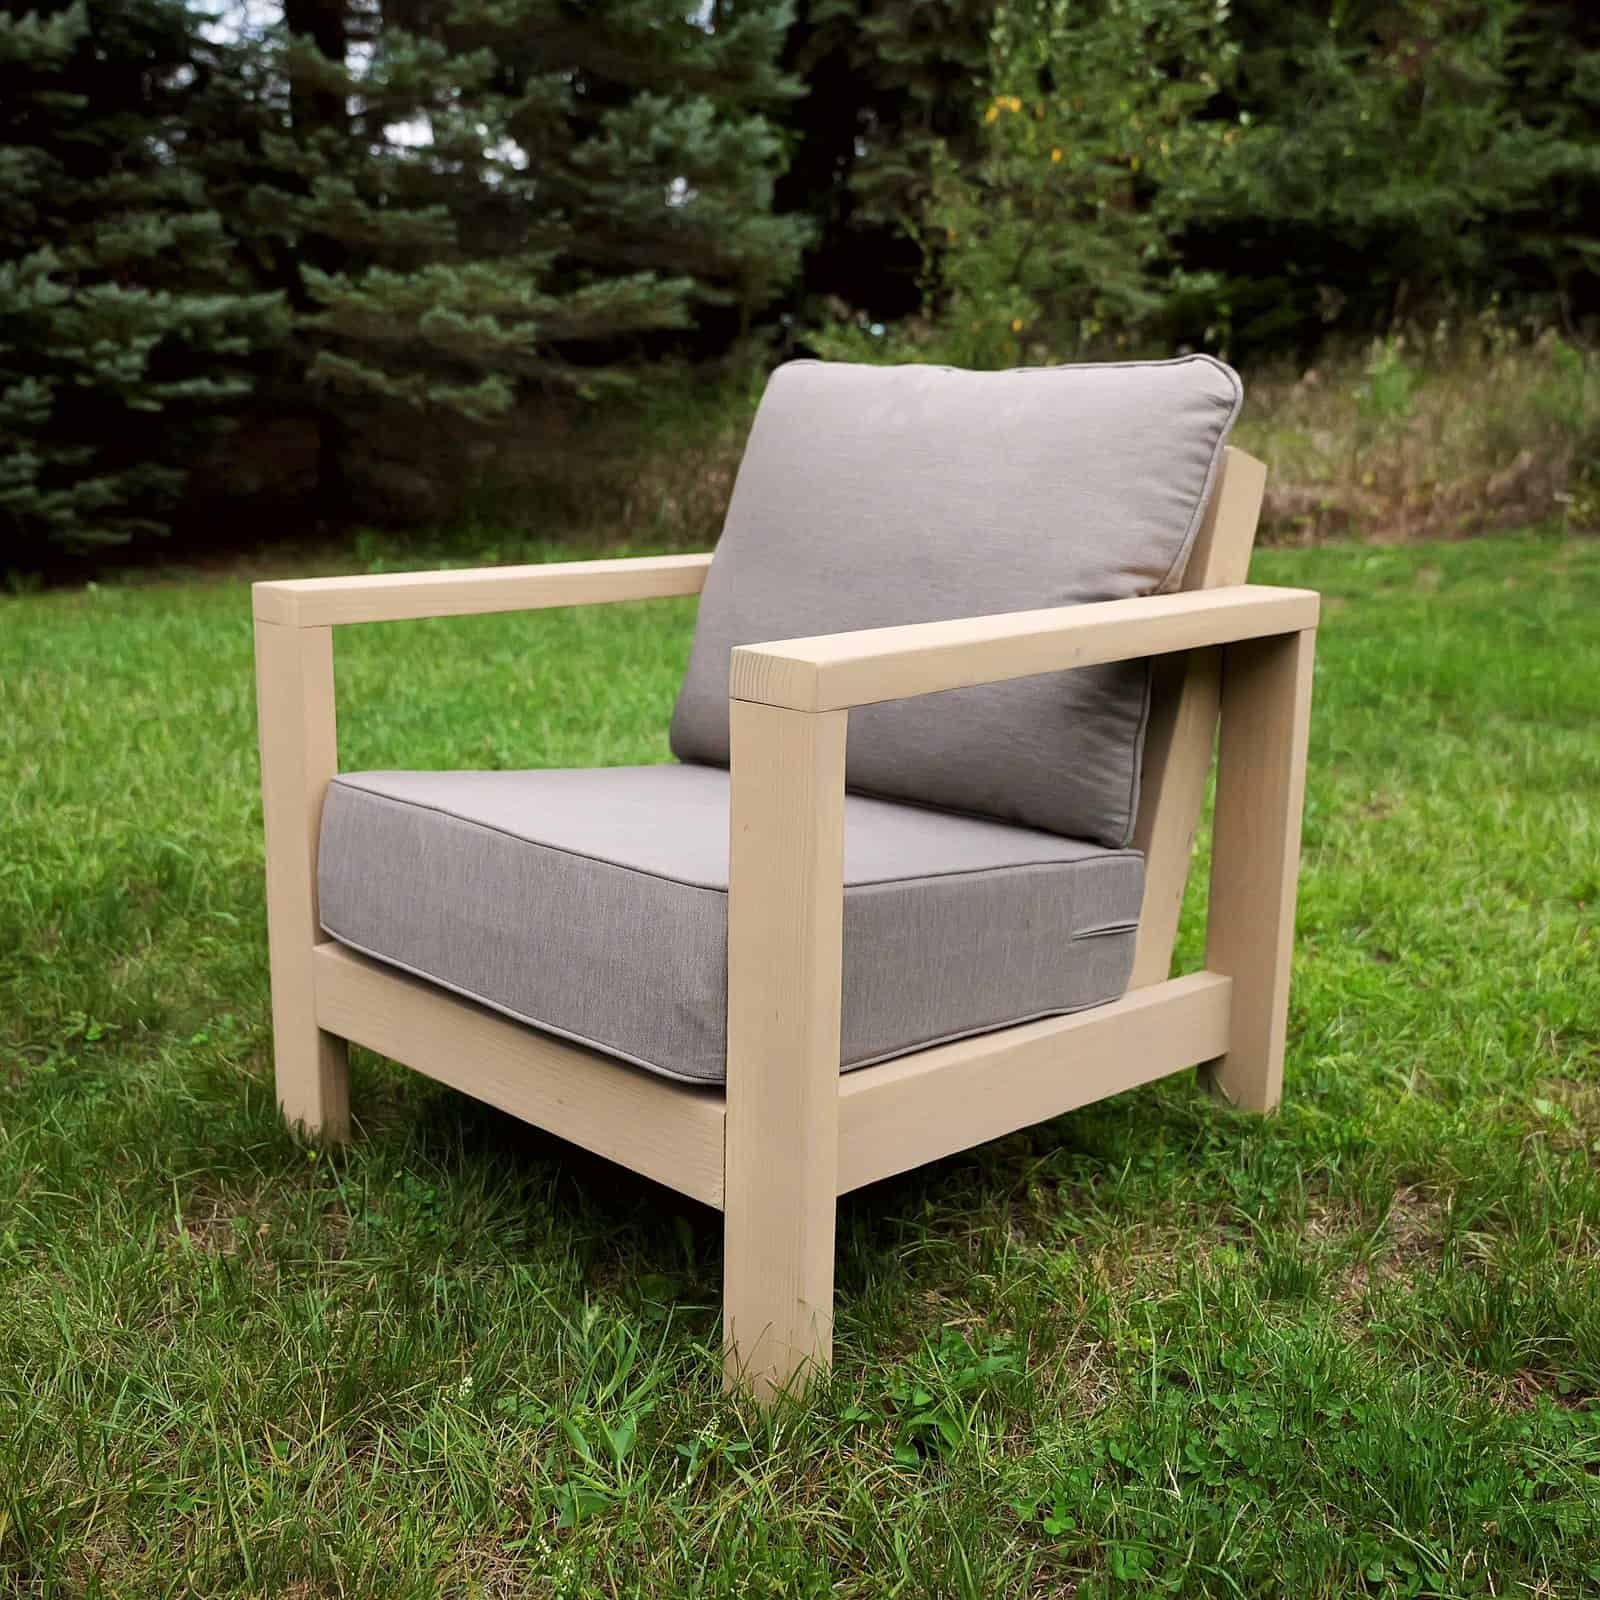
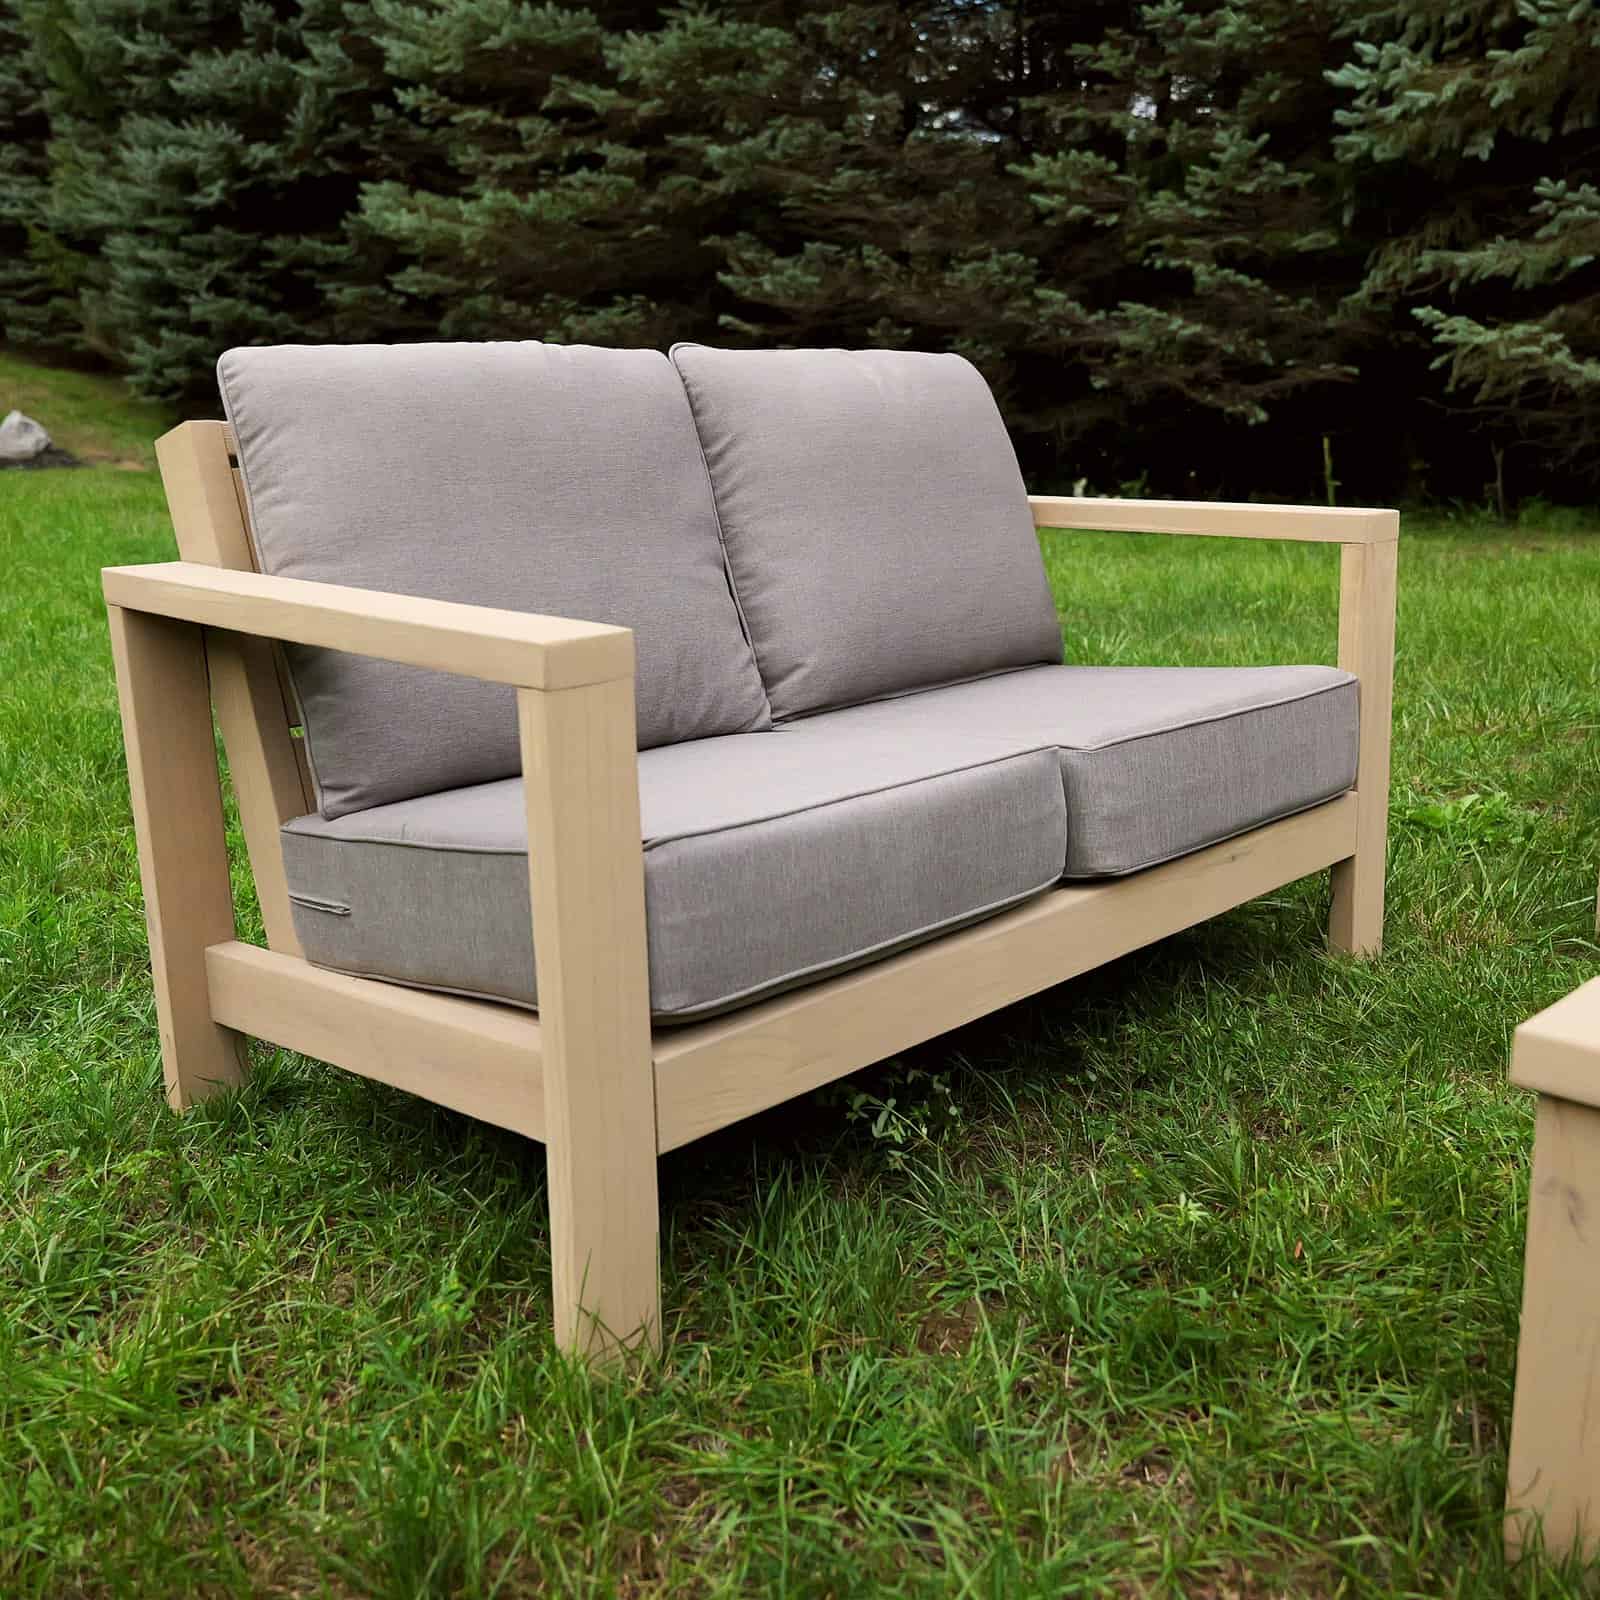
The loveseat is the chair with a 48″ seat and back instead of 24″. Same angles, same frames, same order. The one thing that’s new is a center support in both the seat frame and the back frame, because a 45″ 2×6 needs something under it in the middle.
Add the center supports
The support goes 20-3/4″ in from the side rail and sits 1-1/2″ below the face of the frame at both ends, so the slats land flush with the front. Don’t measure that. Cut a spacer block from an offcut and let it set the depth. The seat support gets a 5 degree end to match the slope of the front rail.
Keep the pocket holes on the side the slats will cover. Then it’s the same stacking and the same slats, plus one 2-1/2″ wood screw through the middle of each slat into the support. That keeps the boards in line as they move through the seasons.
The loveseat is where this set clicked for me. The armrest height is right, the recline is right, and two people fit without touching elbows.
How to Build the Outdoor Couch
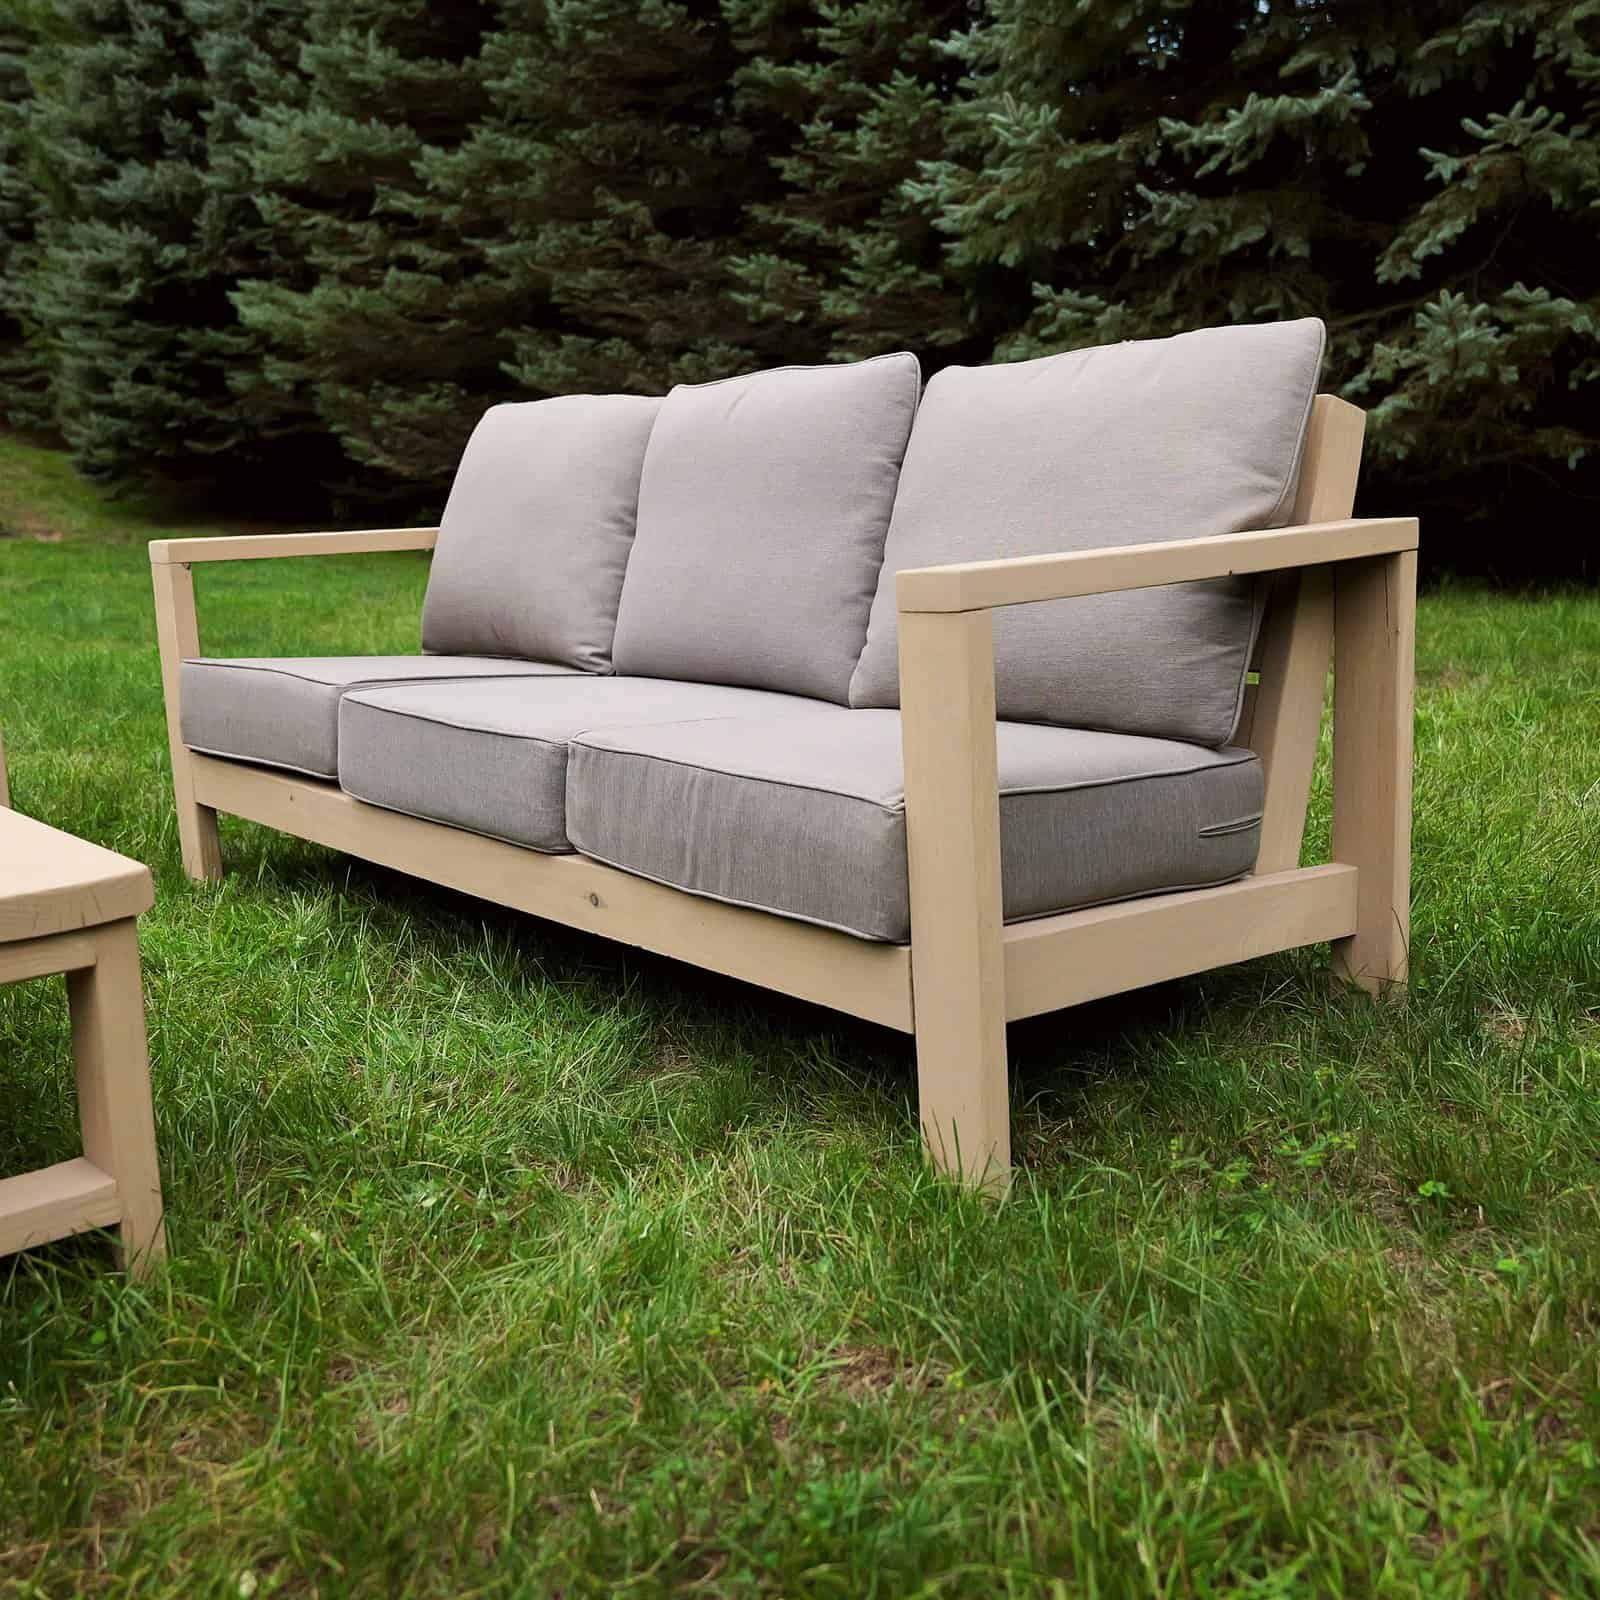
The couch is the loveseat plus 24″. A 72″ seat and back, three cushions, and two center supports in each frame instead of one. Fourteen boards. If you’ve built the other two, this one is a montage. It’s also heavy, so build it close to where it’s going to live or grab a second set of hands.
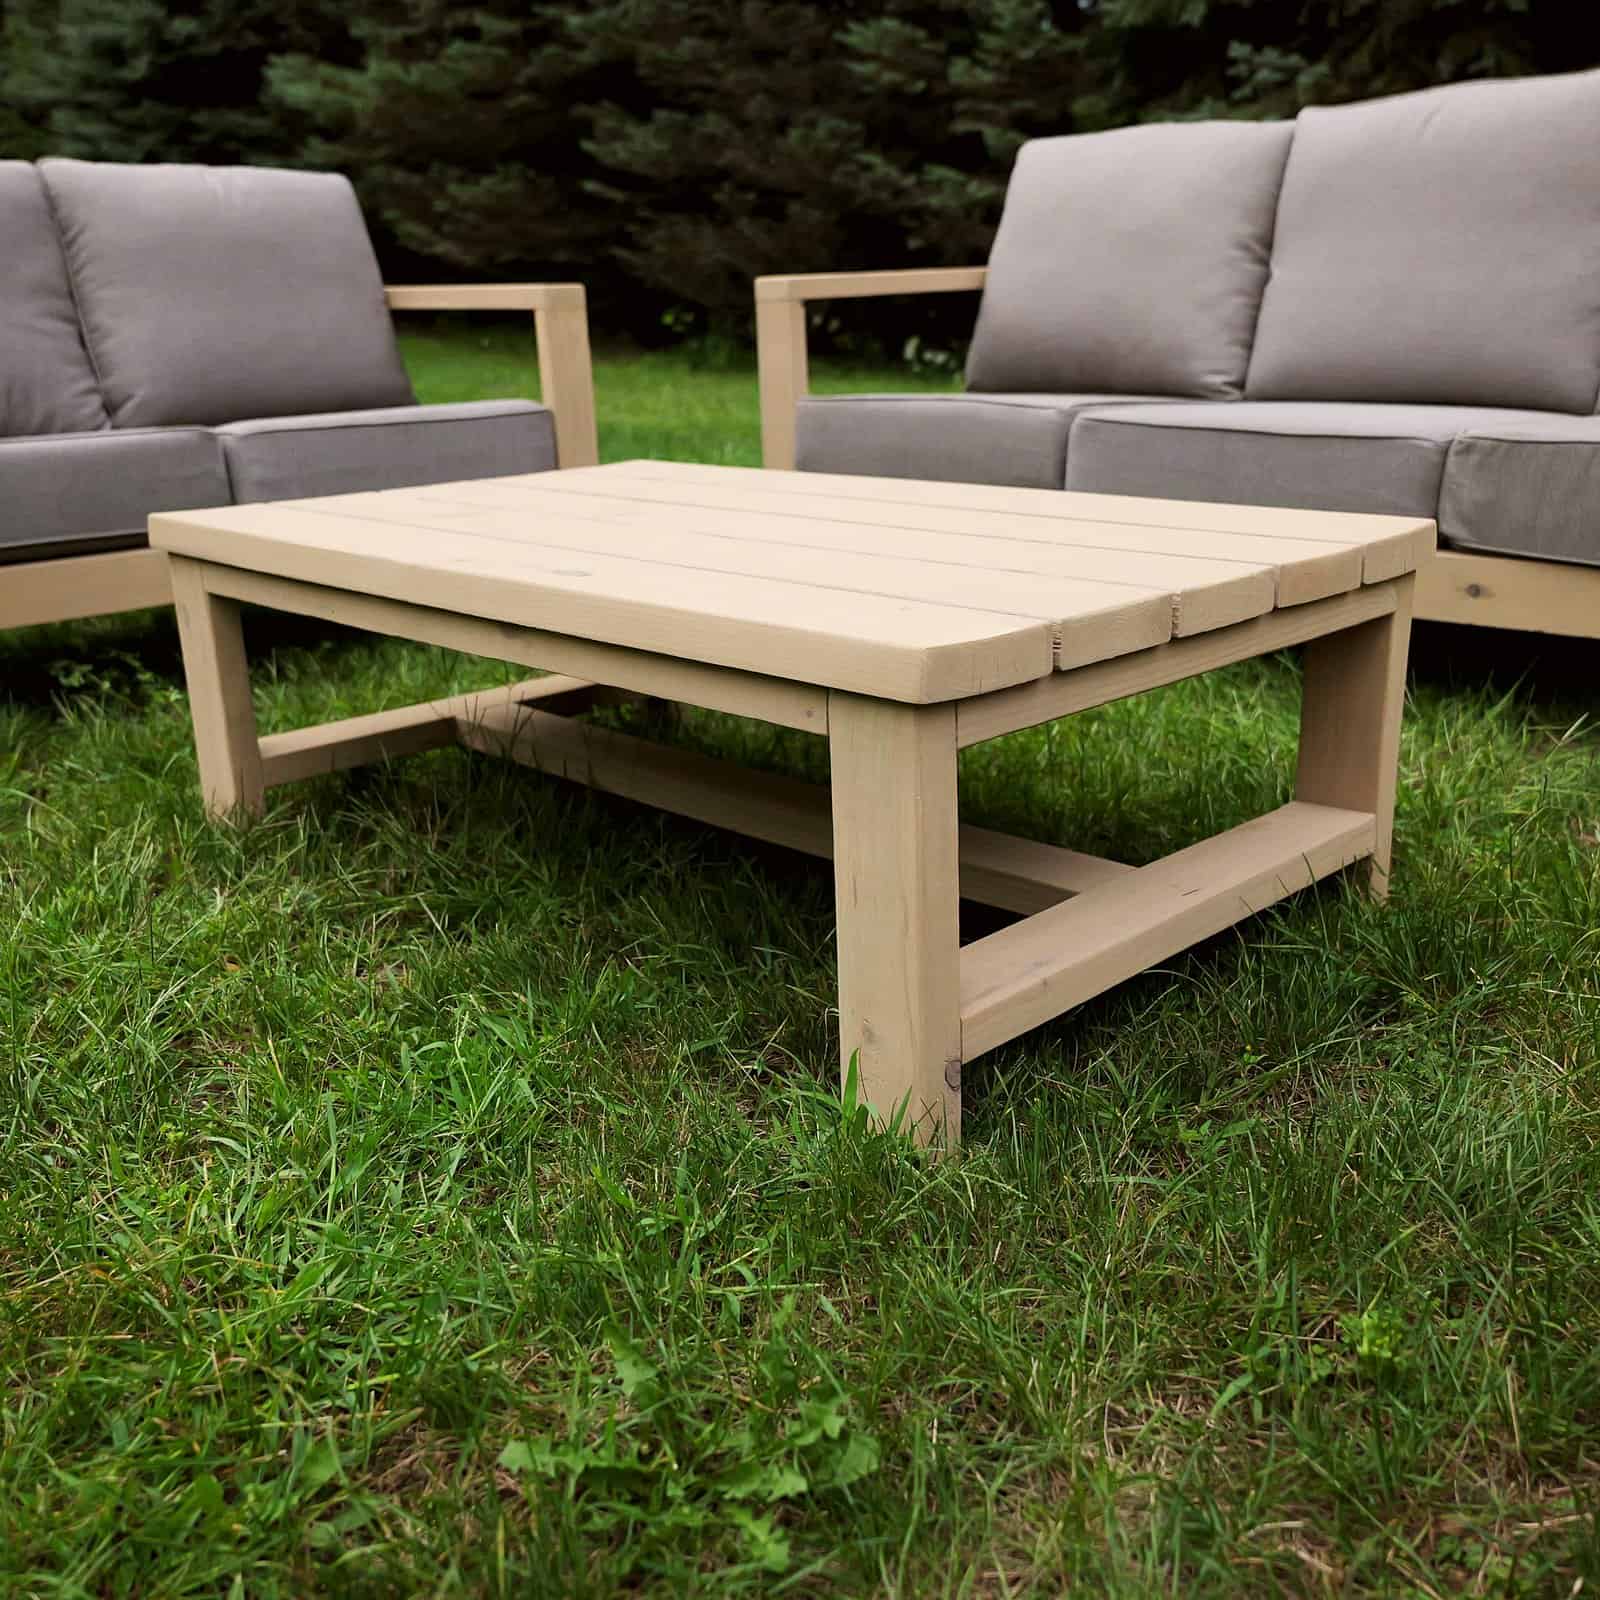
How to Build the Outdoor Coffee Table
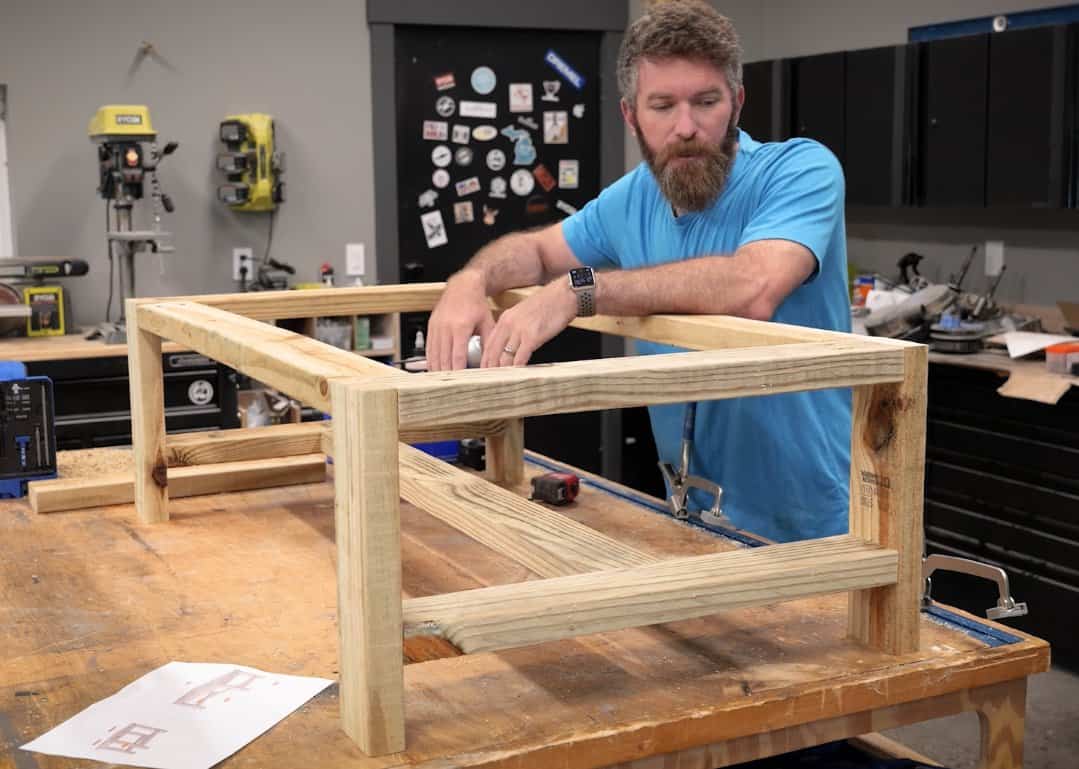
Two end frames, four rails, five slats. I cut and pocket-holed everything for both tables in one go.
Build the two end frames and join them
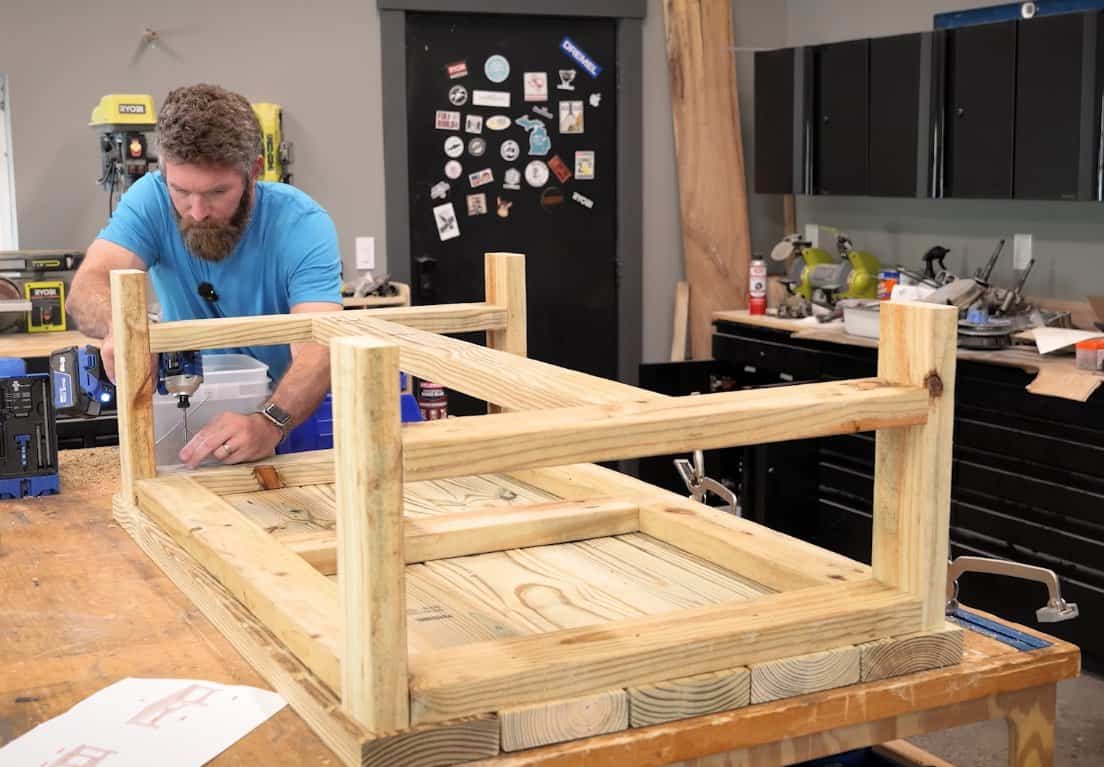
Each end frame is two 14-1/2″ legs and two 24-1/2″ rails, top rail flush with the top of the legs and bottom rail 3-1/2″ up. A scrap 2×4 on edge spaces that bottom rail perfectly. Make two, then connect them with three 39″ rails set 10-1/2″ in from the legs and a 20-1/2″ cross support centered between them. Pocket holes down. Check the diagonals before the glue sets.
Attach the top upside down
Lay the five 47″ 2×6 slats pretty side down. I picked through each board and put the knots facing up (which is down once it’s flipped), then set the base upside down on top with a 1/2″ reveal all the way around and screwed through the rails and cross support with 2-1/2″ wood screws.
Here’s where I’ll be honest. My lumber was still wet, and wet 2x6s aren’t 5-1/2″ wide. Mine were 5-5/8″ and change, so the 1/4″ gaps I’d planned mostly weren’t there. Set the outside boards to the reveal first, space the middle ones as evenly as you can, and let the wood take care of the rest. As it dries it shrinks, the gaps open up, and the top drains like it should.
How to Build the Outdoor Side Table
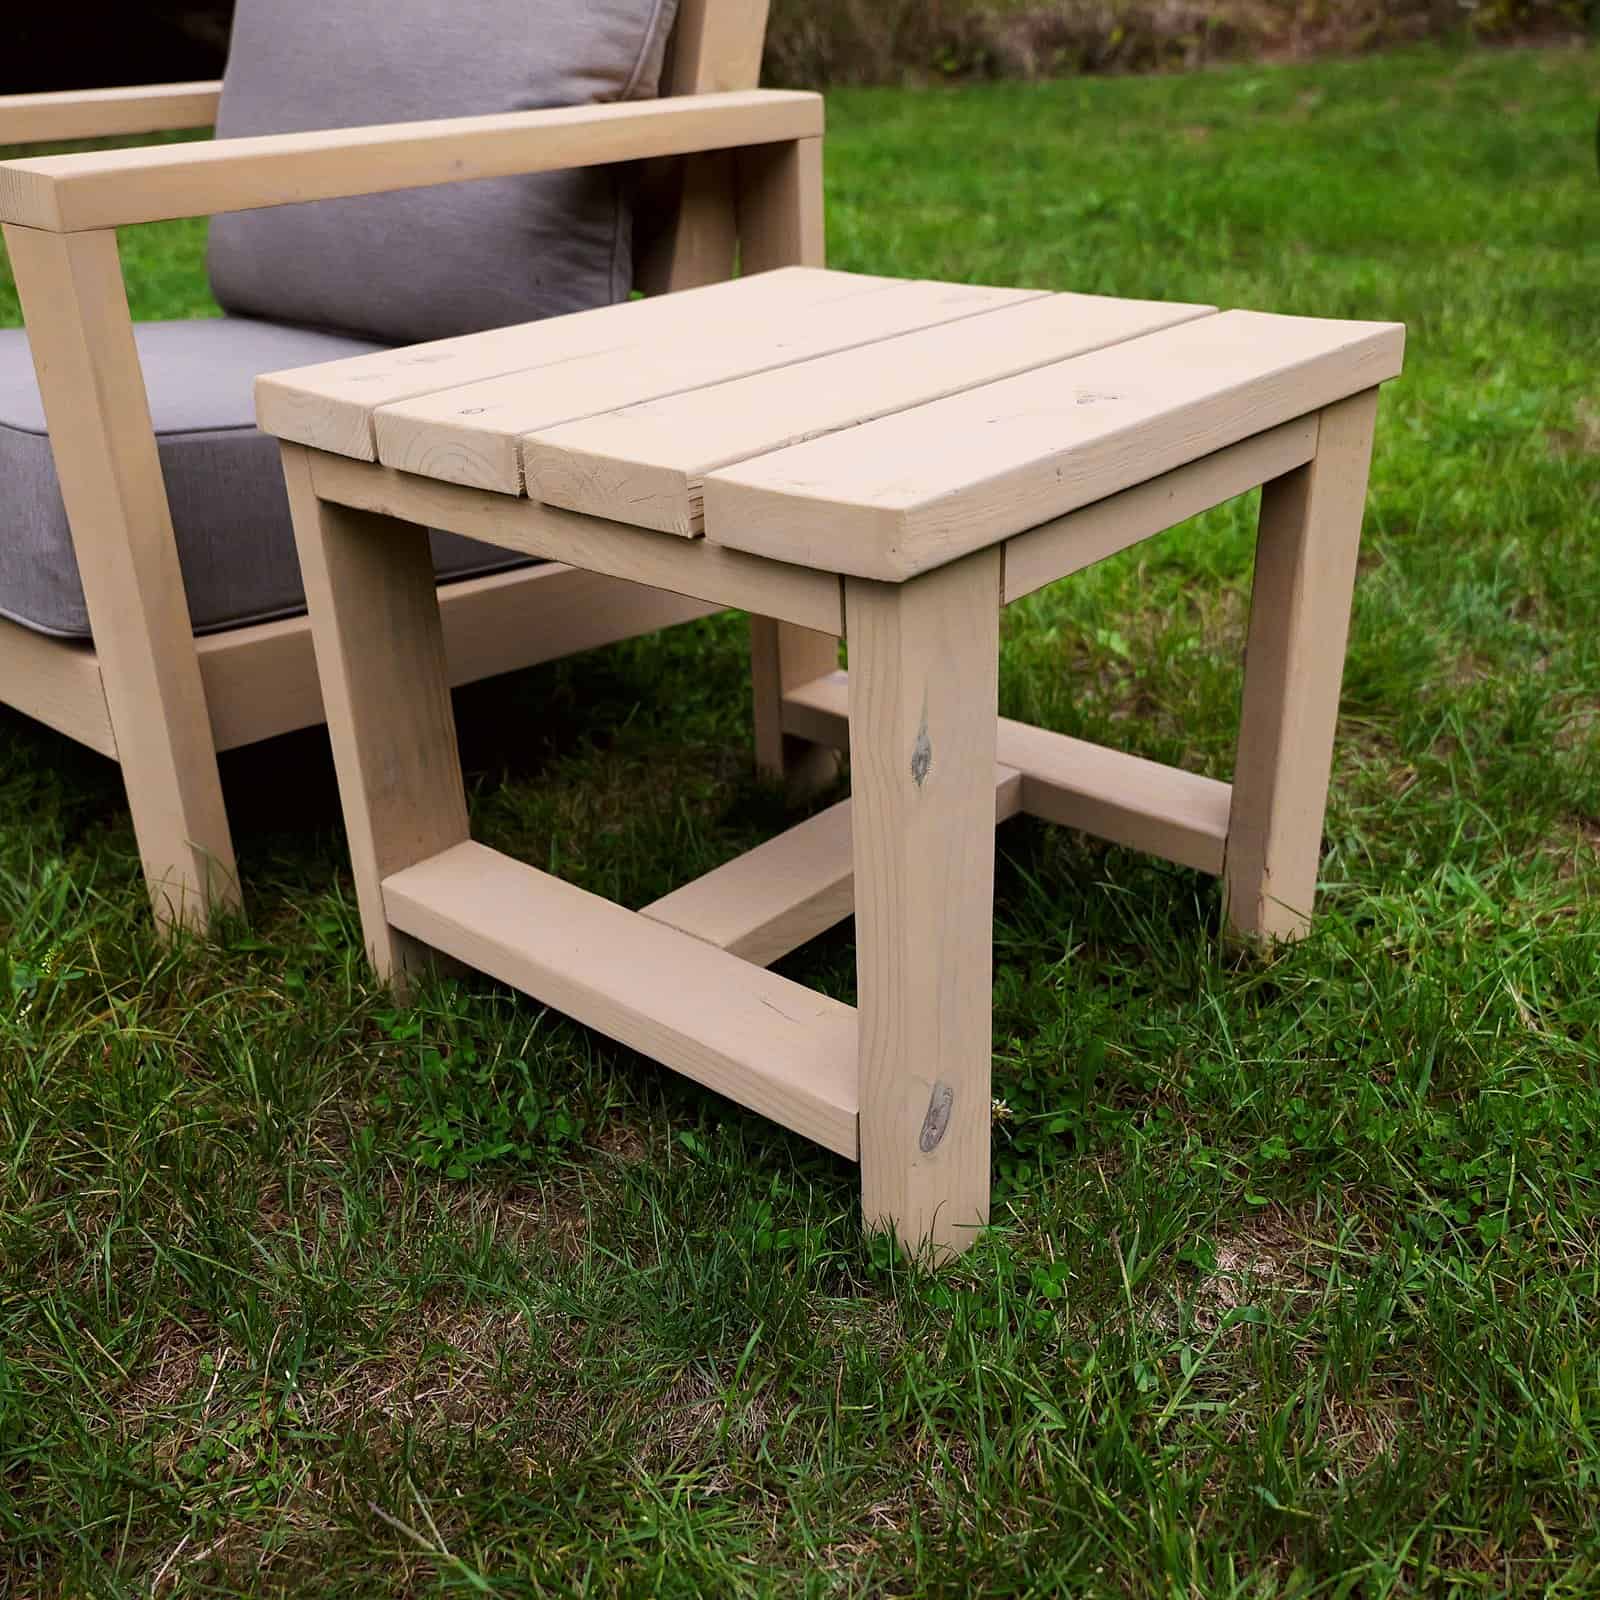
Same rules as the coffee table, a little smaller and a little taller: two 18-1/2″ legs and two 18-3/4″ rails per side frame, three 14-3/4″ stretchers, and four 22-3/4″ slats on top with the same 1/2″ reveal. Three 2x4s and one 2×6, an hour of work. It’s framed like a little workbench, so it’ll take a cooler or a kid standing on it without complaining.
Finishing: Let It Dry First
I didn’t sand or finish anything the weekend I built it. Fresh pressure-treated lumber comes home wet, and if you stain it wet you’ll be doing it again next year. We ended up out of town for a couple of weeks right after assembly, which turned out to be perfect. The set sat in the sun and dried, and when we got back we sanded the whole thing (80, 120, then 220 on anything skin touches) and stained it.
For the color we went with Cabot semi-transparent exterior stain in Acorn. Semi-transparent hides a lot of the construction-lumber ugliness without hiding the grain, and it lets you pick a color instead of living with green-brown treated pine. The Acorn came out warmer than I expected and I like it more every time I walk past it.
If you build this from cedar, skip the stain and use a penetrating exterior oil. If you use plain whitewood, prime and paint it or use a solid stain, because bare whitewood doesn’t last outside.
Arranging It as a Sectional or Conversation Set
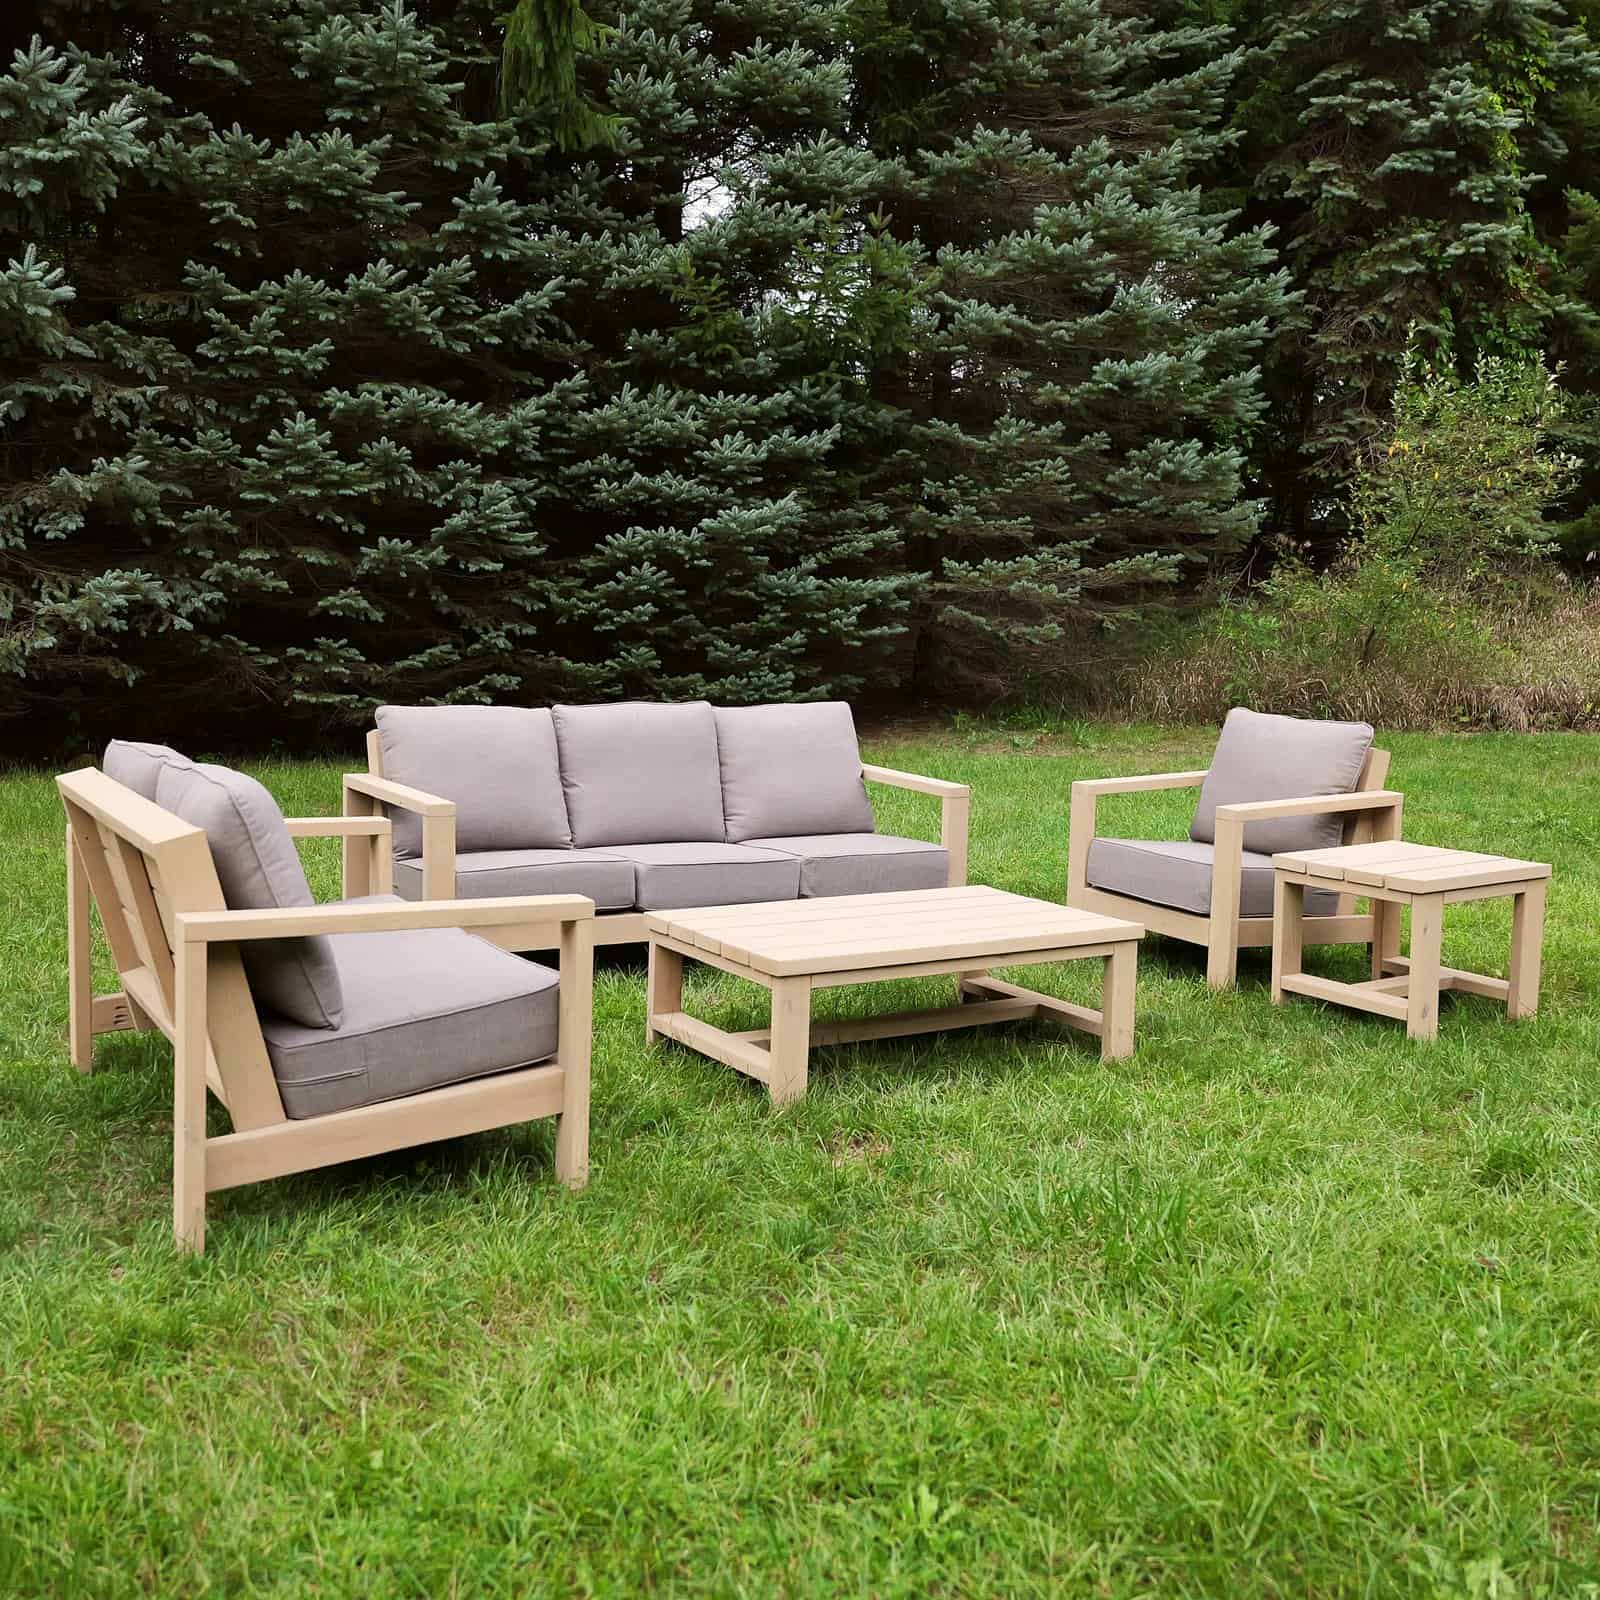
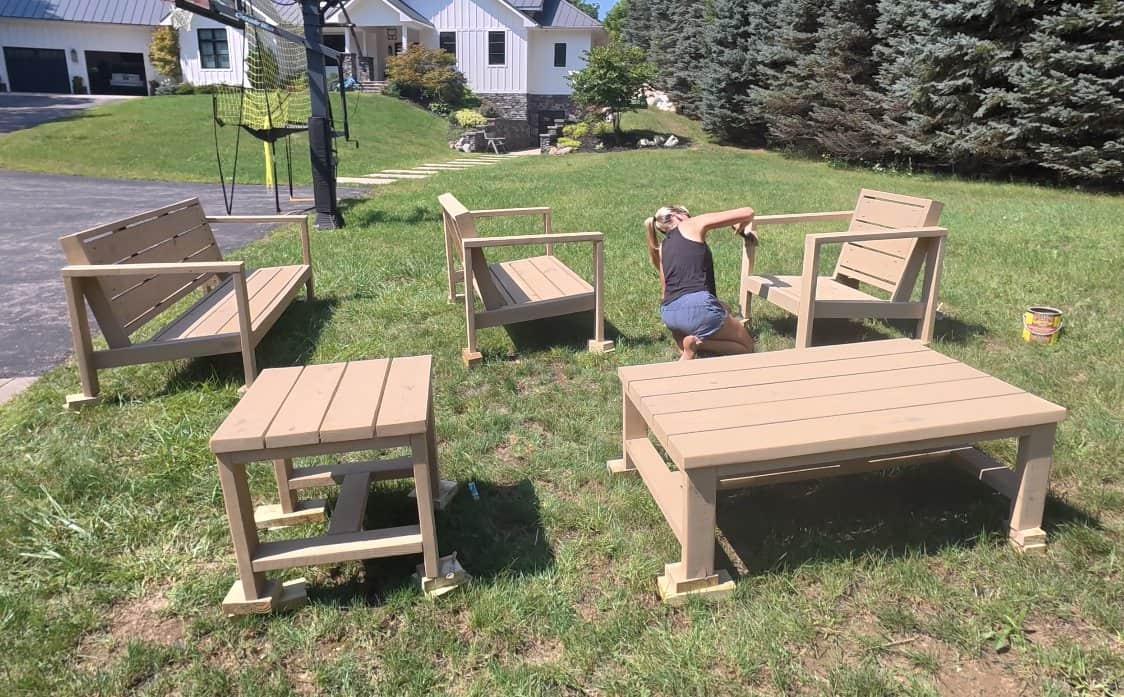
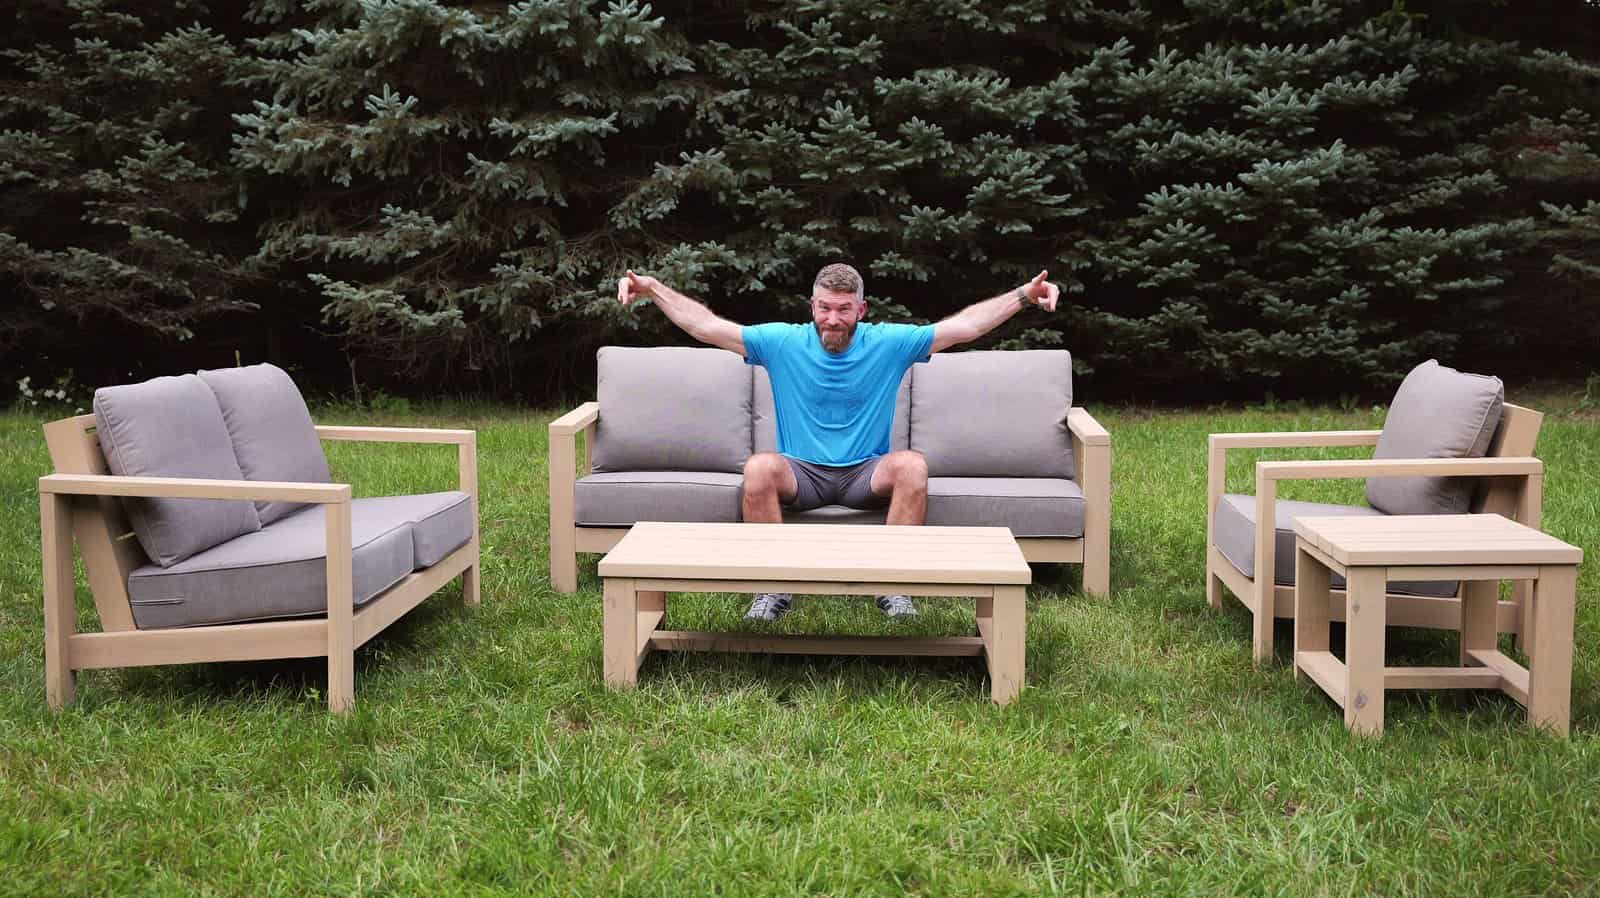
Because all three seats are the same depth and height, they line up. Push the couch and loveseat into an L with the side table in the corner and you’ve got a sectional. Face the loveseat and chair across the coffee table and it’s a conversation set. And because every piece is 2×4 legs and 2×6 slats, nothing here tips over or blows across the yard.
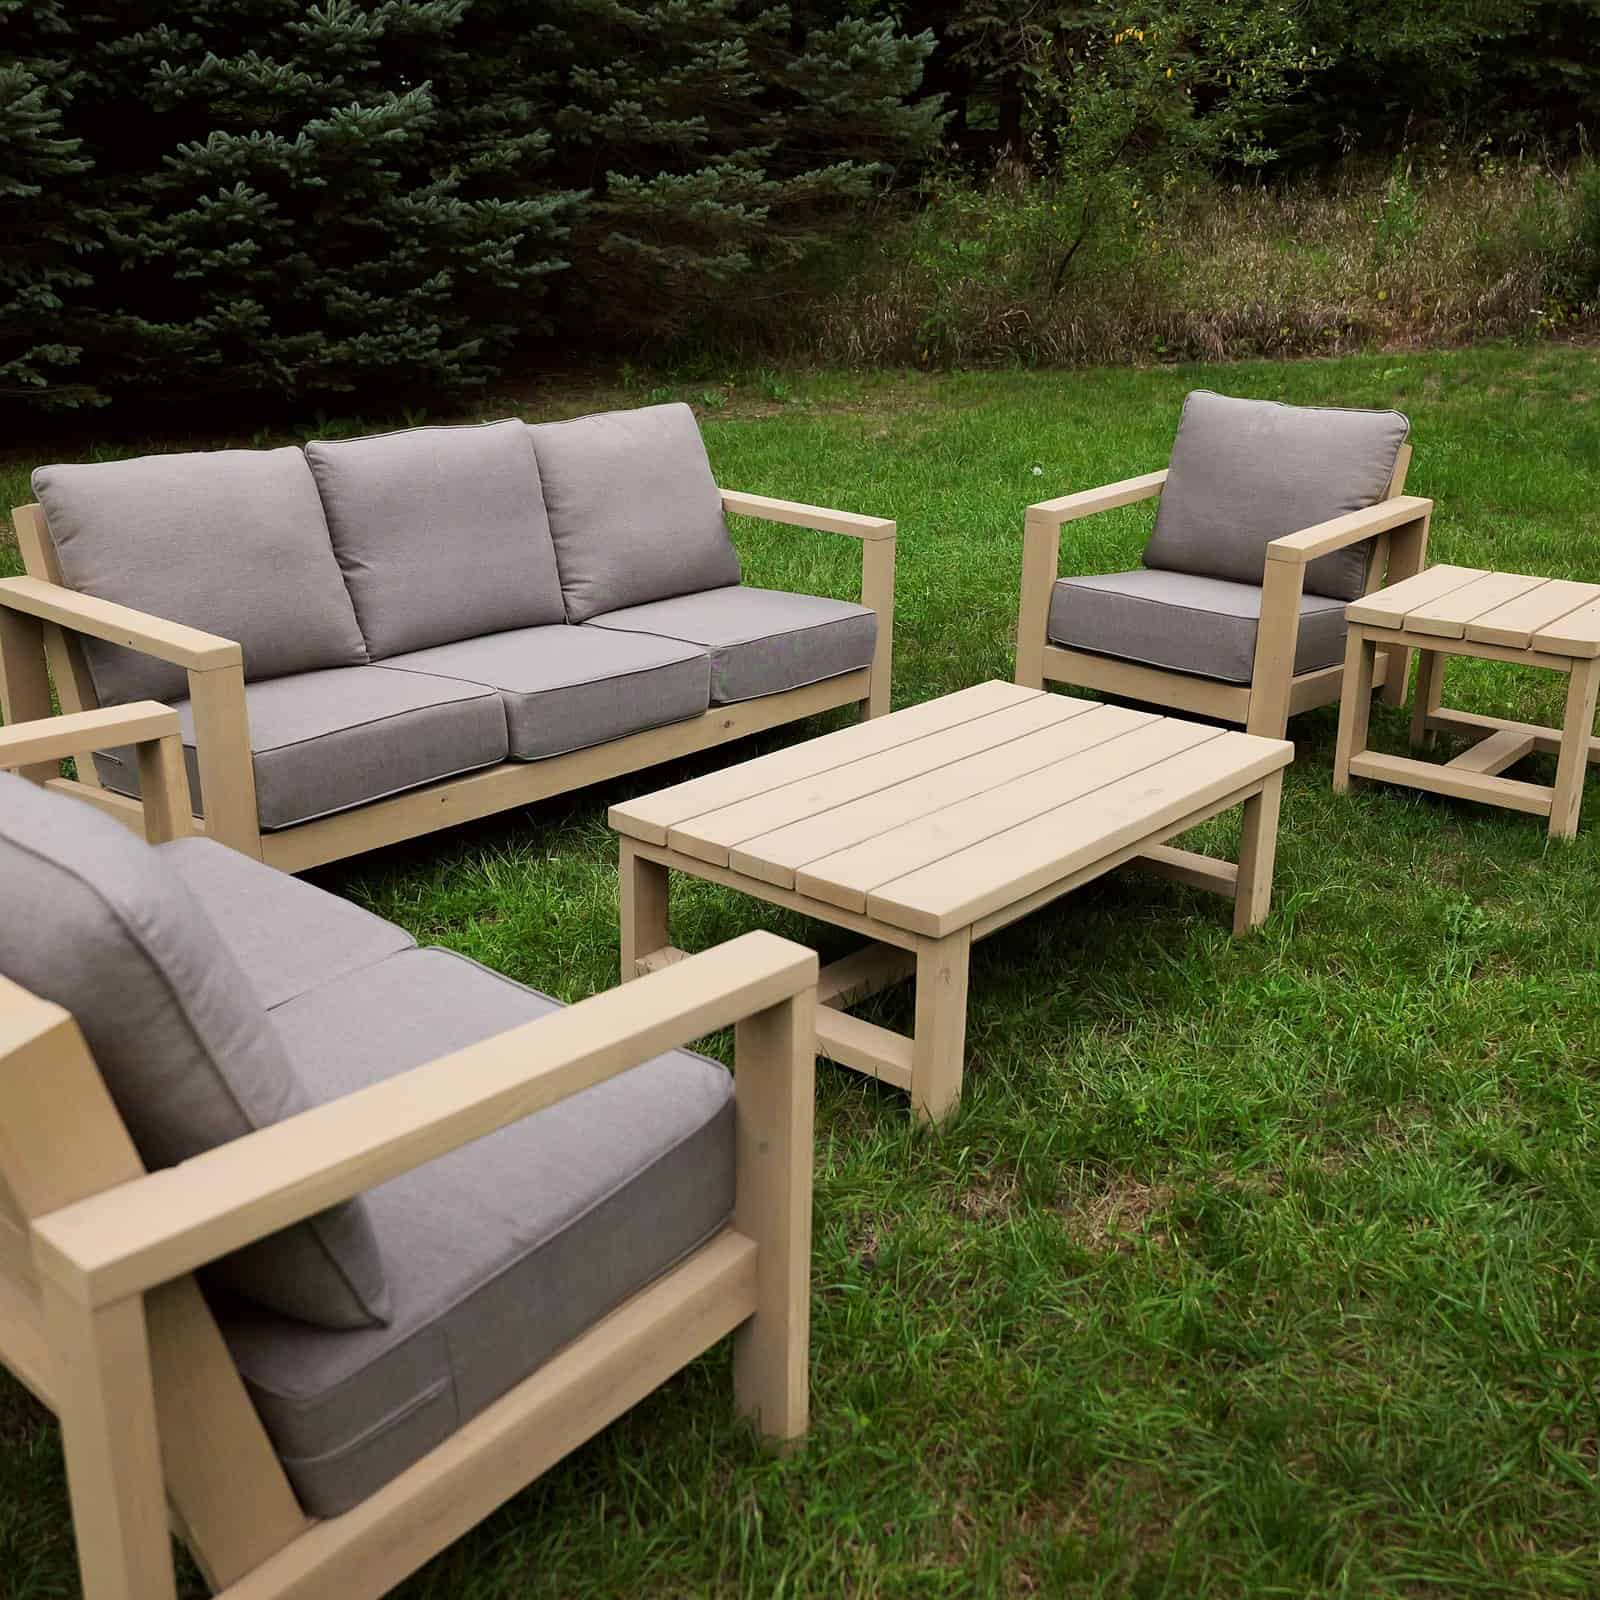
The Final Result
Five pieces, $265 in lumber, one weekend, and an $8,000 look on the lawn. I’ve built a lot of outdoor furniture over the years, and this is the set that’s staying in our backyard.

Patio Furniture FAQ
Is it cheaper to build your own outdoor furniture?
By a lot. DIY patio furniture is about the best return on a weekend in the garage you’ll find. This five-piece set cost $265 in pressure-treated lumber and about $750 with cushions. The Pottery Barn set it’s modeled on was $6,195 for the frames alone. Even a single flat-pack bench at a big-box store runs $150, and you can build the matching chair here for about $50.
What kind of wood should I use for DIY patio furniture?
Pressure-treated pine is the cheapest and the most weather-ready, and it’s what I used. Let it dry a couple of weeks before you finish it. Cedar costs more but stays flat and can be left natural with a penetrating oil. Plain whitewood or SPF works if you prime and paint it, but it won’t survive outside bare.
What size cushions fit this set?
Standard 24″ x 24″ deep-seating cushions. The chair takes one, the loveseat two, the couch three. I designed the seat height around 6″ thick cushions. Ours were six seat-and-back sets from Amazon for under $500 total.
Do I need a pocket-hole jig?
No. Every joint in this set could be face-screwed with 2-1/2″ exterior screws. But a pocket-hole jig is the difference between “deck” and “furniture,” because every fastener ends up hidden inside the frame. It’s the one tool I’d buy for this build.
How long does this take to build?
I built all five pieces in a weekend. The chair is about 2 hours, the tables about an hour each, and the loveseat and couch are half a day apiece. Plan on a couple of weeks of drying time before sanding and stain if you use treated lumber.
Can I build just the couch?
Yes. Each piece has its own plan. The outdoor couch plans stand alone, and if you build the couch first its 2×6 offcuts give you every slat for the chair for free.
Your Move
If you’ve been pricing outdoor furniture and closing the tab every time, this is your weekend project. Start with the chair. Once that one’s standing you’ll know exactly how the other two go together, and you’ll have a hard time stopping. If you’d rather see it than read it, watch the full build on YouTube. The five-piece patio furniture set plans have the cut diagrams, the cut lists, and dimensioned drawings for every step, in imperial and metric, or you can grab any single piece on its own.
Want a video on how I finish outdoor furniture and which stain holds up best? Tell me in the comments. And as always, post pictures of your finished set. I want to see the colors you pick.
Be safe and happy building,
Jamison
Build the whole set this month
Five plans, one download, $30. Or start with just the couch or chair for $10.