DIY Wood Bed Frame
Quick build: You can build this DIY wood bed frame from two plywood panels with a 1×3 face frame on the front, 3×3 legs glued up from 2x4s and 2×12 side rails on bed rail brackets. It all goes together with pocket holes and a brad nailer. Our king cost about $220 in lumber and took a weekend, and the printable DIY bed frame plans cover twin through cal king. Documented by Jamison Rantz.
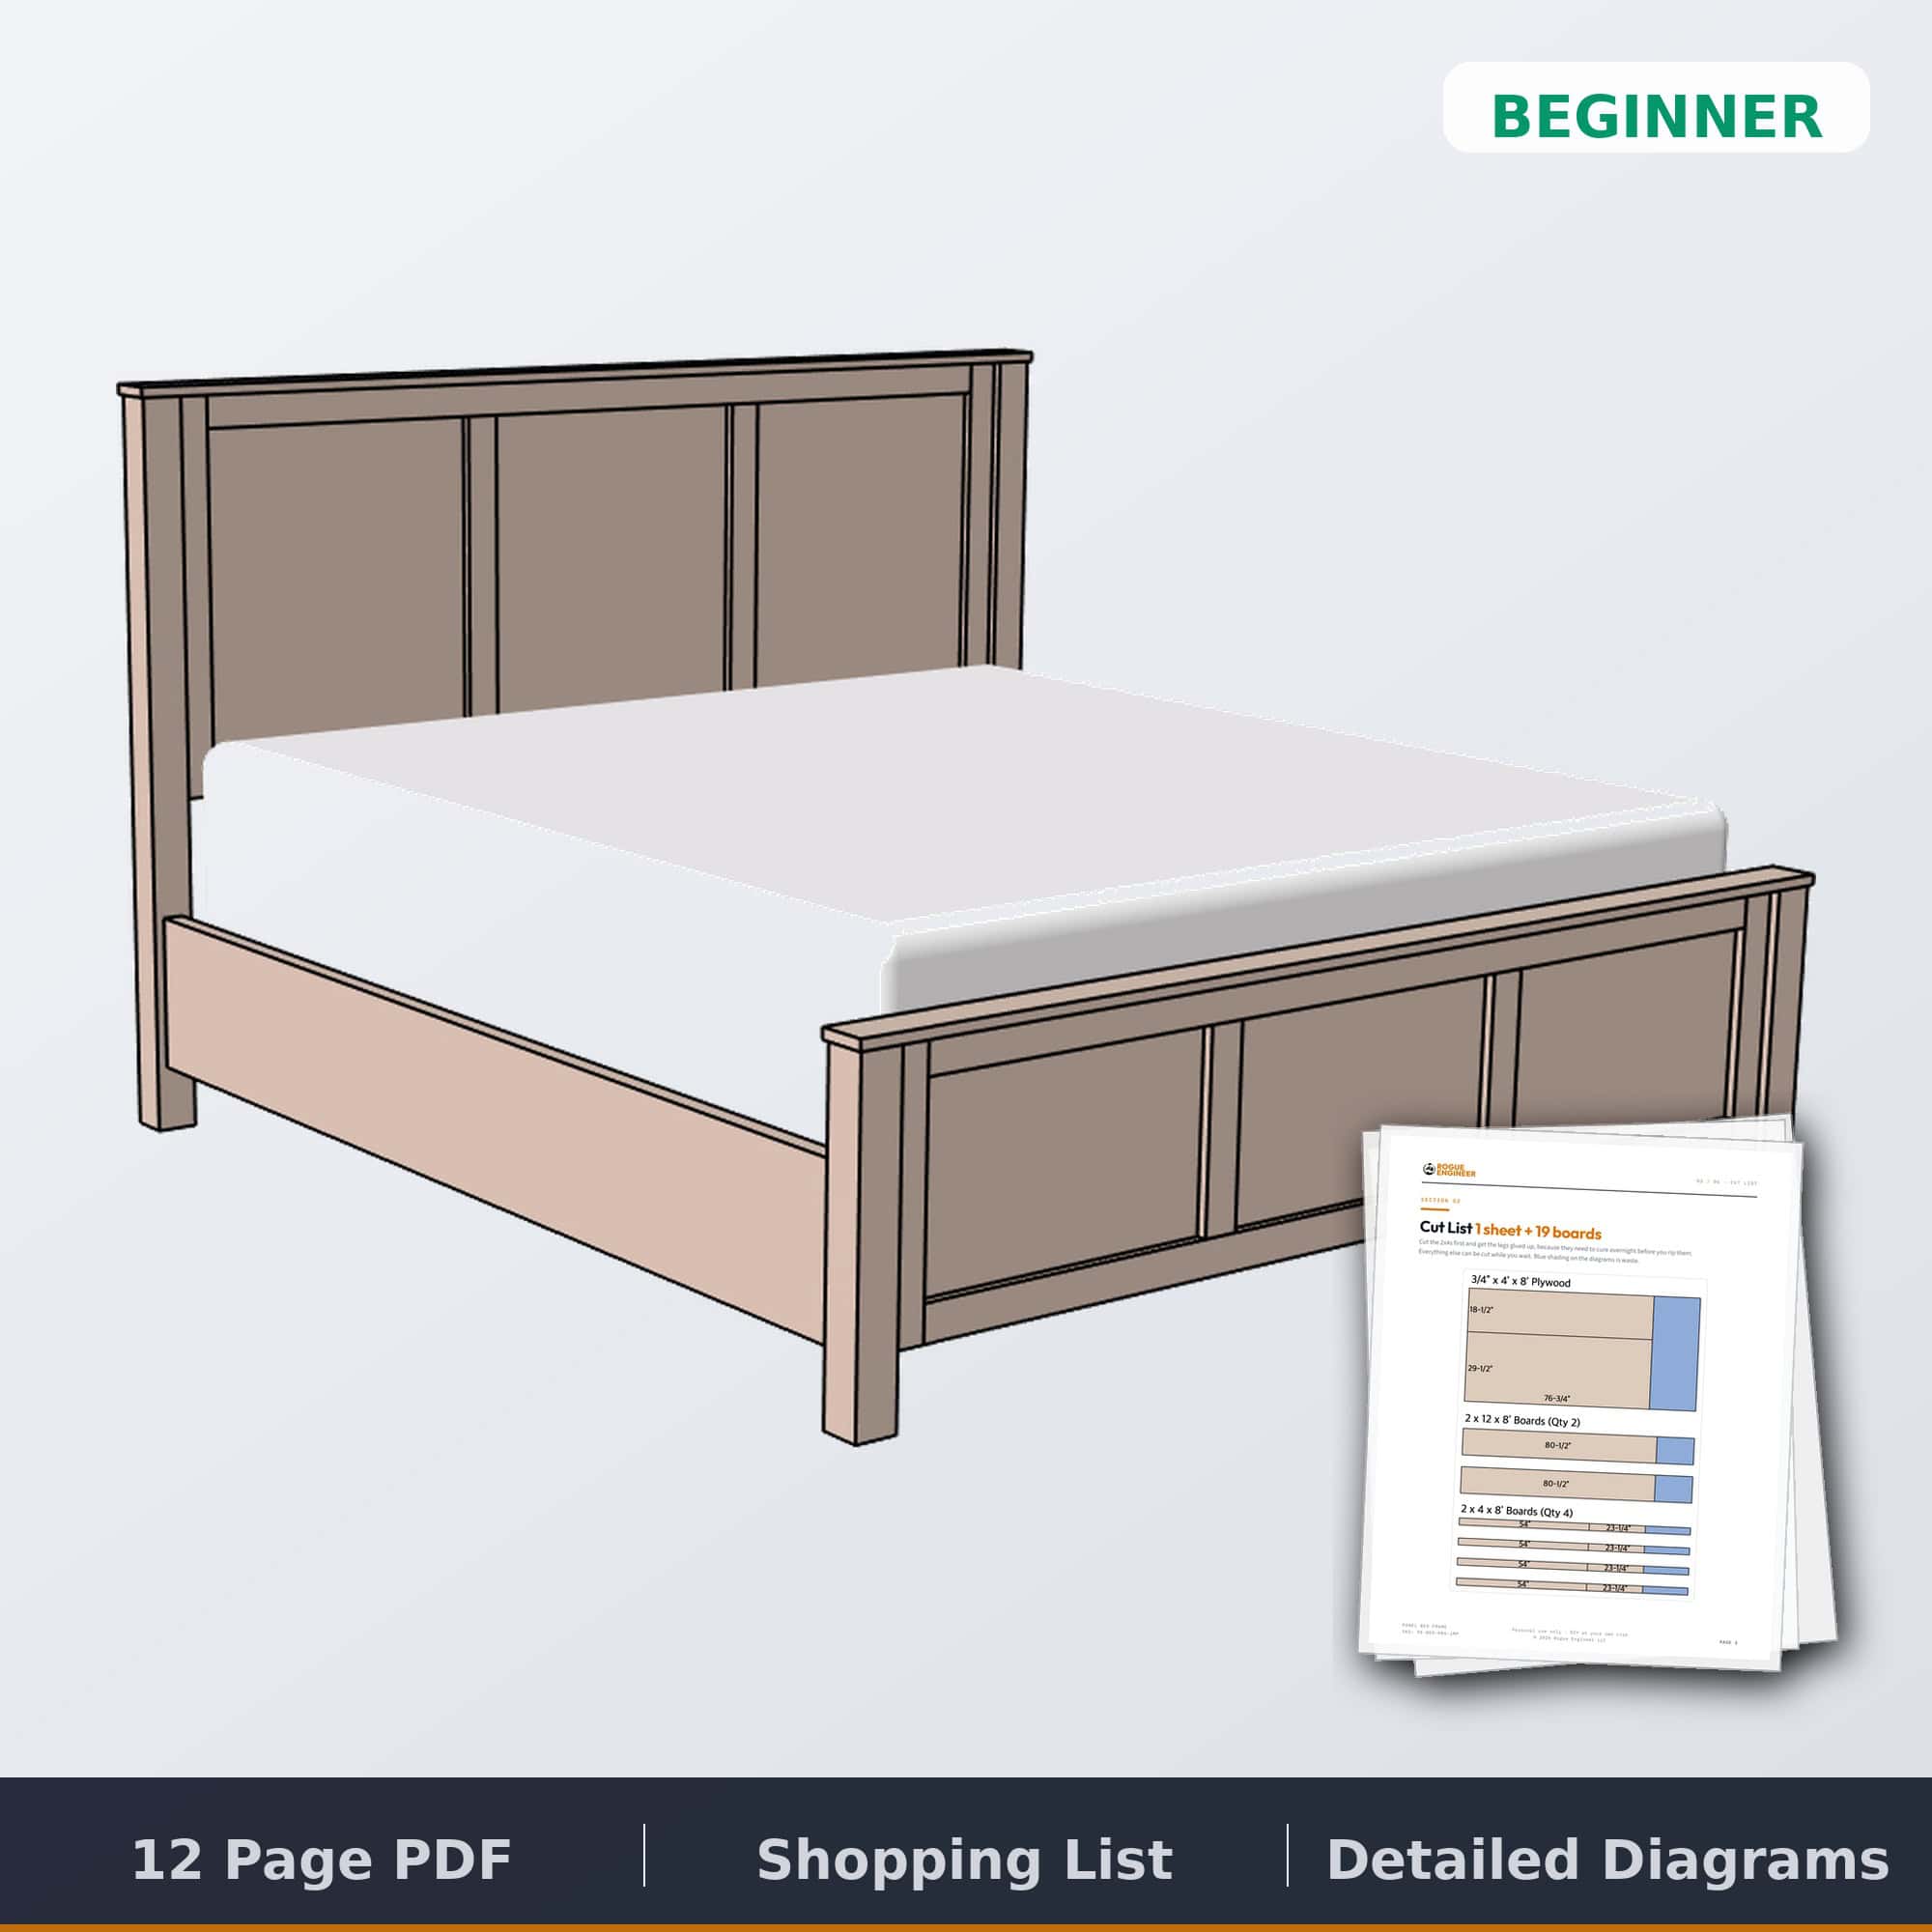
DIY Bed Frame Plans: $15
Cut lists, shopping list and step-by-step diagrams for every size, with or without a box spring, in imperial or metric. Includes 3D model files for SketchUp, Fusion 360 or FreeCAD.
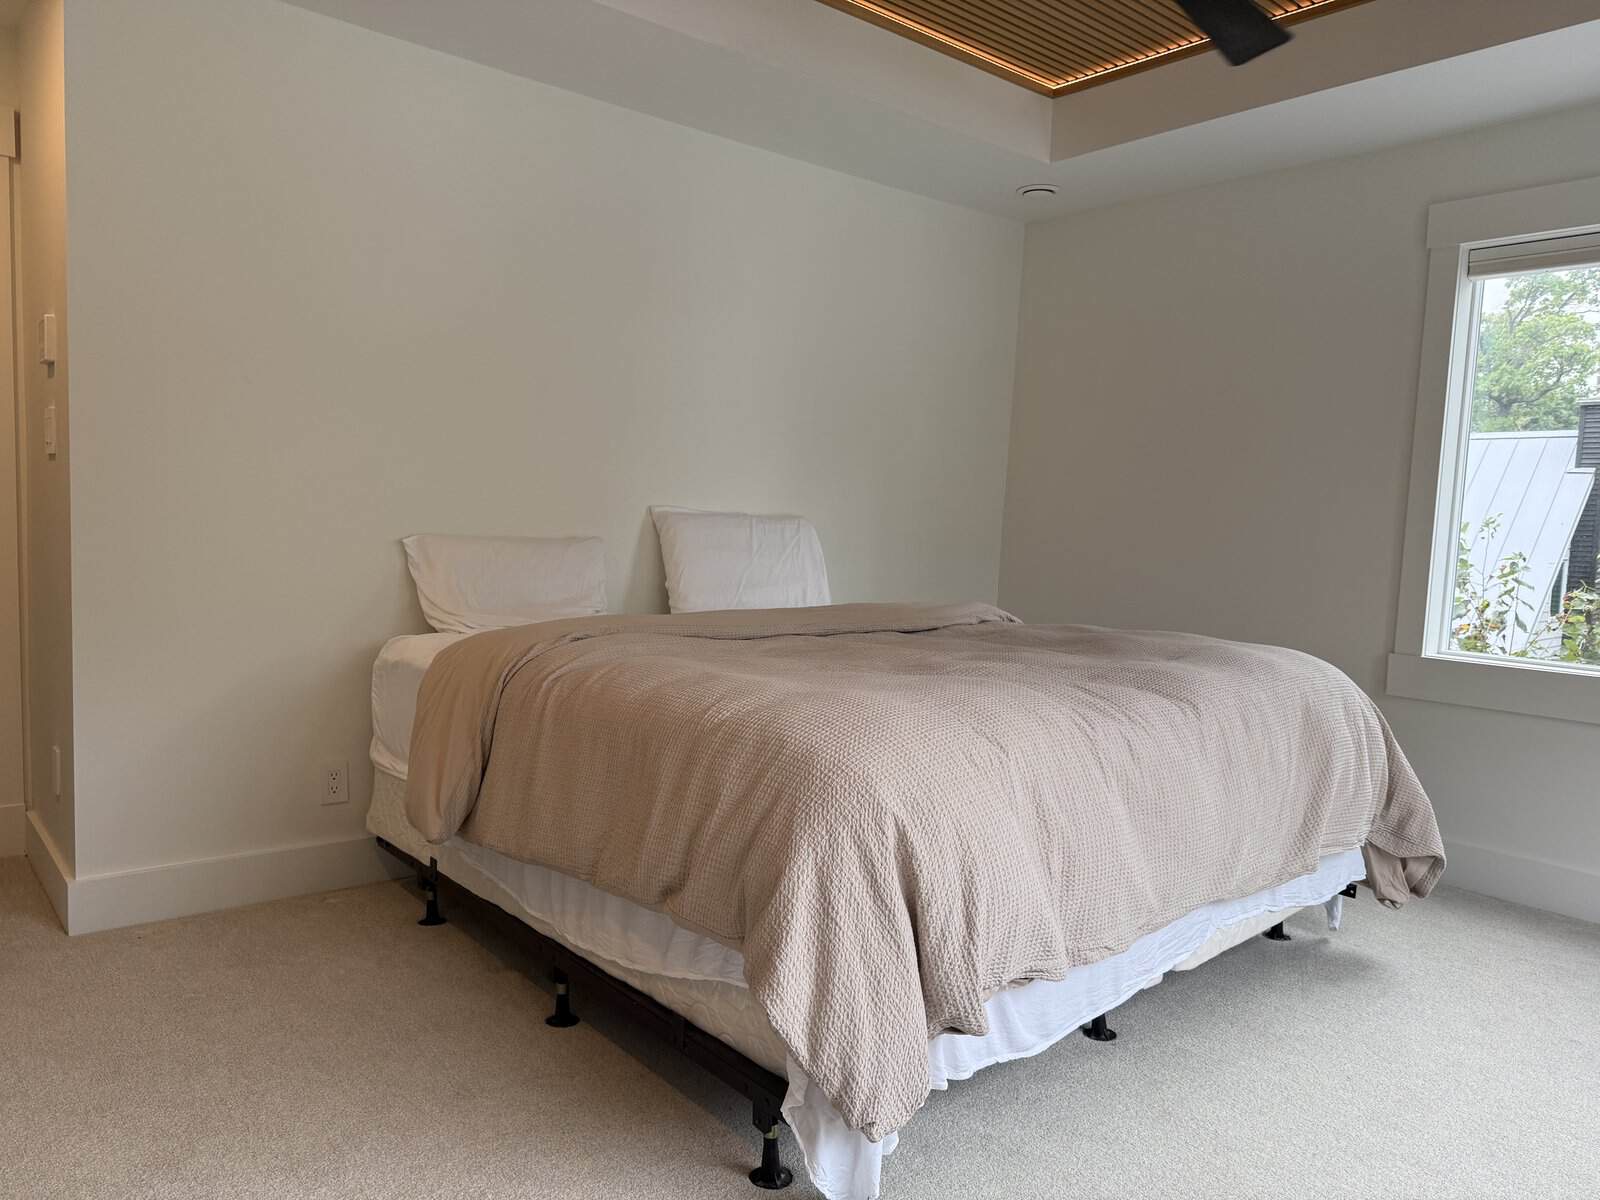
Get the Plans →For over a year, our bed was a mattress and a box spring on one of those metal frames. It worked. It also looked like we’d just moved in, and it reminded me a little too much of my college days. So we finally decided it was time to look like grown-ups and build a real bed.
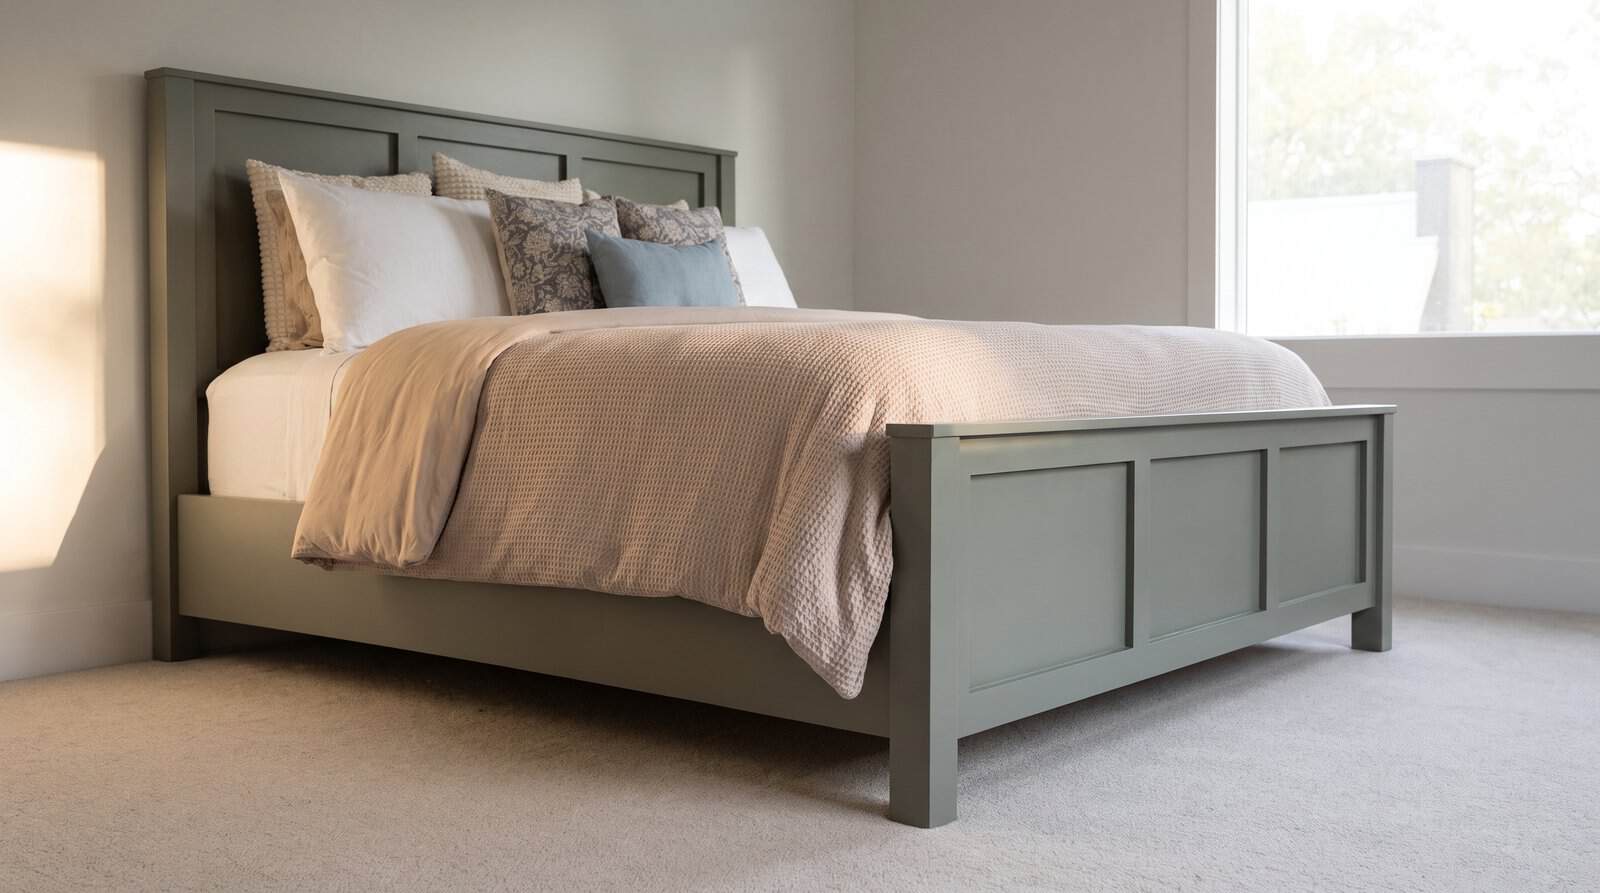
This DIY bed frame is a classic wood bed frame with a matching headboard and footboard, built in king size with three recessed panels on each end. It’s plywood panels, simple face frames and 3×3 legs, all put together with pocket holes, so there’s no fancy joinery anywhere. I built the king, but I drew up plans for twin, full, queen, king and cal king (plus twin XL), for a box spring or mattress only.
Why build a wood bed frame instead of buying one
The panel beds we kept coming back to online were a couple thousand dollars. The one we liked most was the Pottery Barn Farmhouse Bed, which is $1,999 for a king ($1,798 on sale). Look at how it’s made, though, and it’s plywood panels, some trim and four posts. That’s a weekend build.
That’s roughly $1,780 saved on the king, and you get to pick the color. Paint was about $31 on top of that.
What wood to use for a bed frame
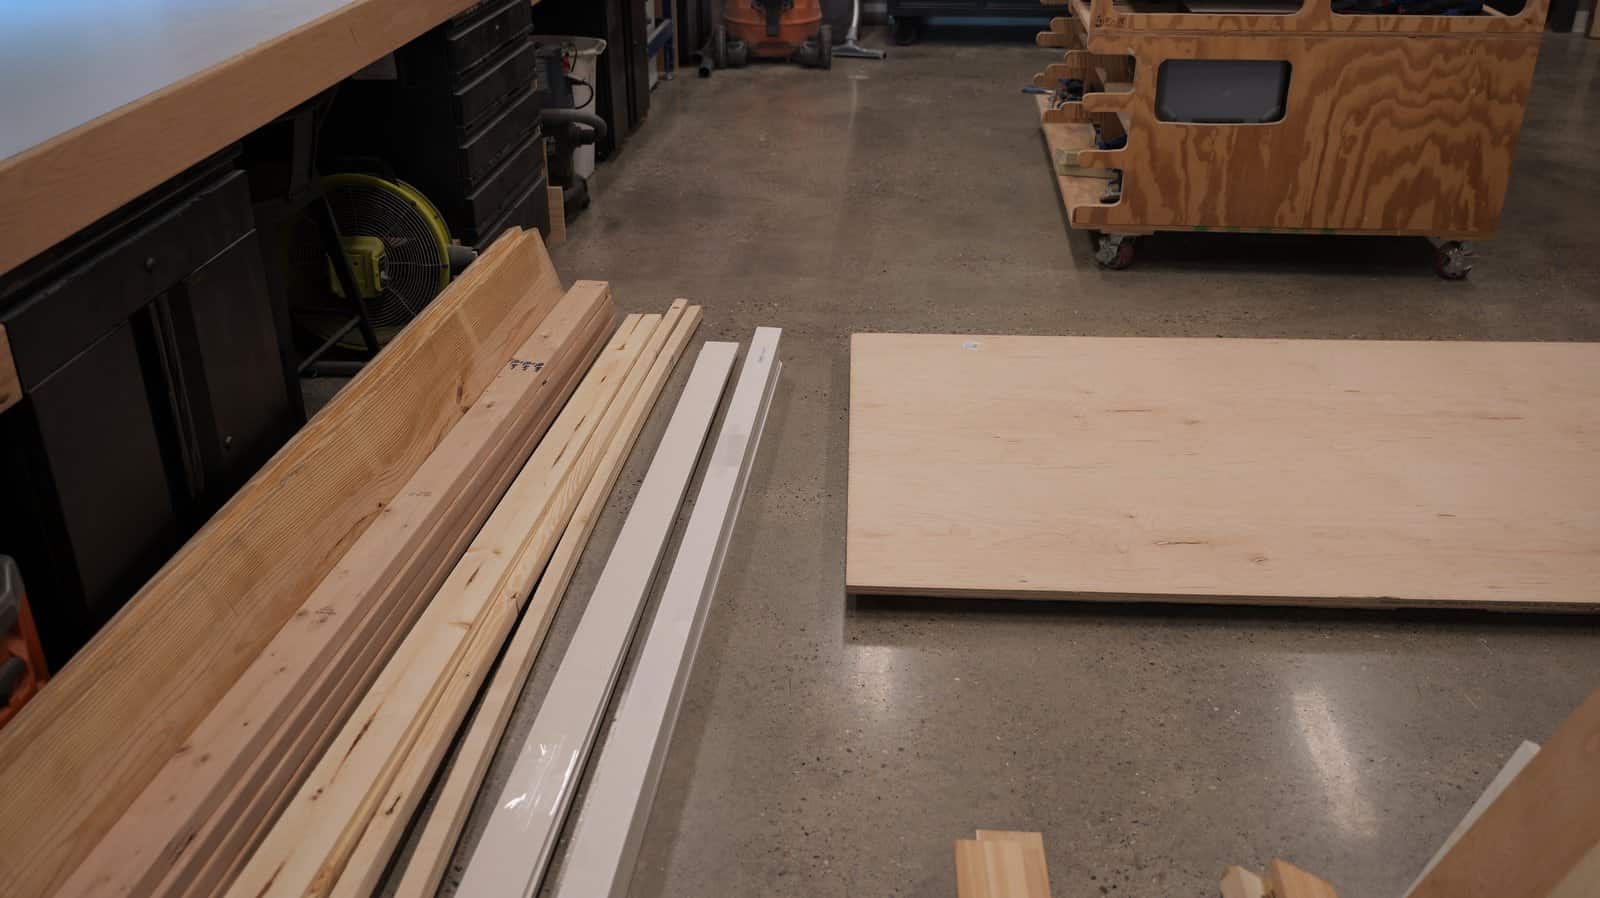
I used a mix, and each piece is picked for its job:
- Plywood for the panels. One sheet of 3/4″ plywood makes both the headboard and footboard panels. It’s flat, stable, and it won’t cup like a glued-up board panel can.
- Nicer trim boards for the parts you see. The 1×3 face frames and the 1×4 caps are what everyone looks at, so buy select pine or trim boards for those: straight, smooth and free of knots.
- 2x4s for the legs. Two 2x4s glued face to face and ripped square make a solid 3×3 leg for a few dollars.
- 2x12s for the side rails. They’re deep enough to span the length of the bed without sagging.
- Common boards for the supports. The 1×4 slats and 2×2 cleats hide under the box spring, so common boards are fine there.
Tools and materials
The full cut list for every size is in the DIY bed frame plans.
DIY Bed Frame Plans: $15
Skip the math: every size is already cut-listed, with or without a box spring, imperial or metric.
Get the Plans →How to build a wood bed frame
Cut the lumber and glue up the legs
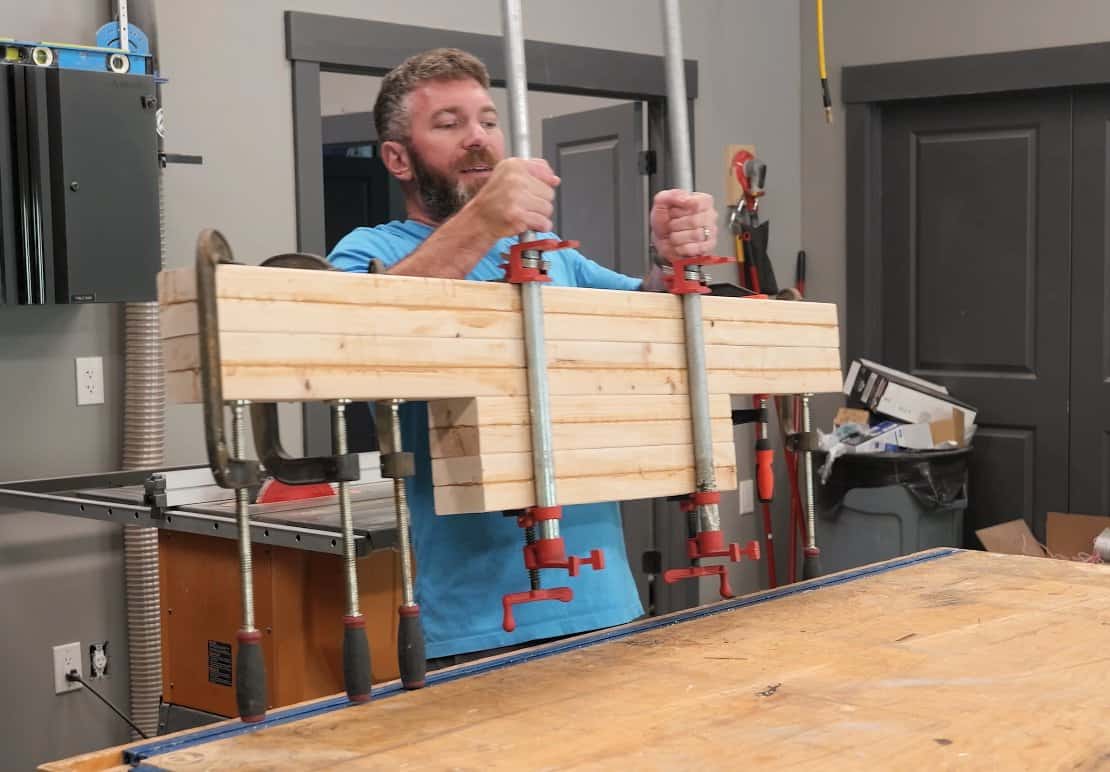
Start with the 2x4s, because the legs need to cure overnight. Cut four boards at 54″ for the headboard legs and four at 23-1/4″ for the footboard legs, then glue them face to face in pairs and clamp them. Pick your straightest boards for the tall legs. A little bow disappears in a short leg, but not in a 54″ post standing next to your headboard.
While those cure, break down everything else. Rip the headboard panel first (29-1/2″ x 76-3/4″ on the king). The footboard panel is what’s left of the sheet.
Build the face frames
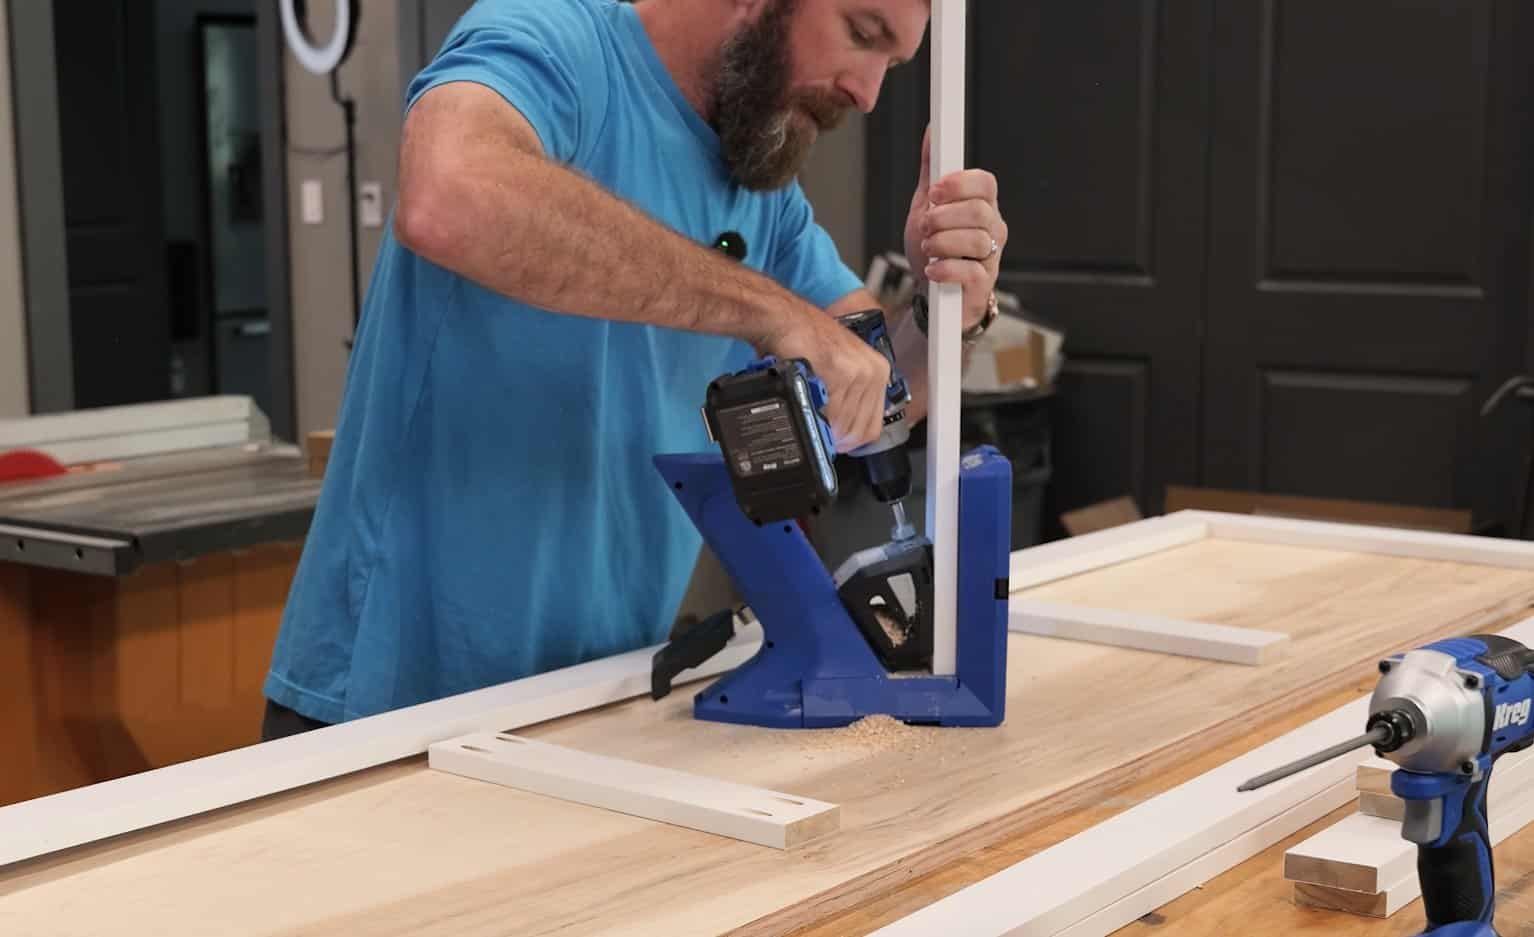
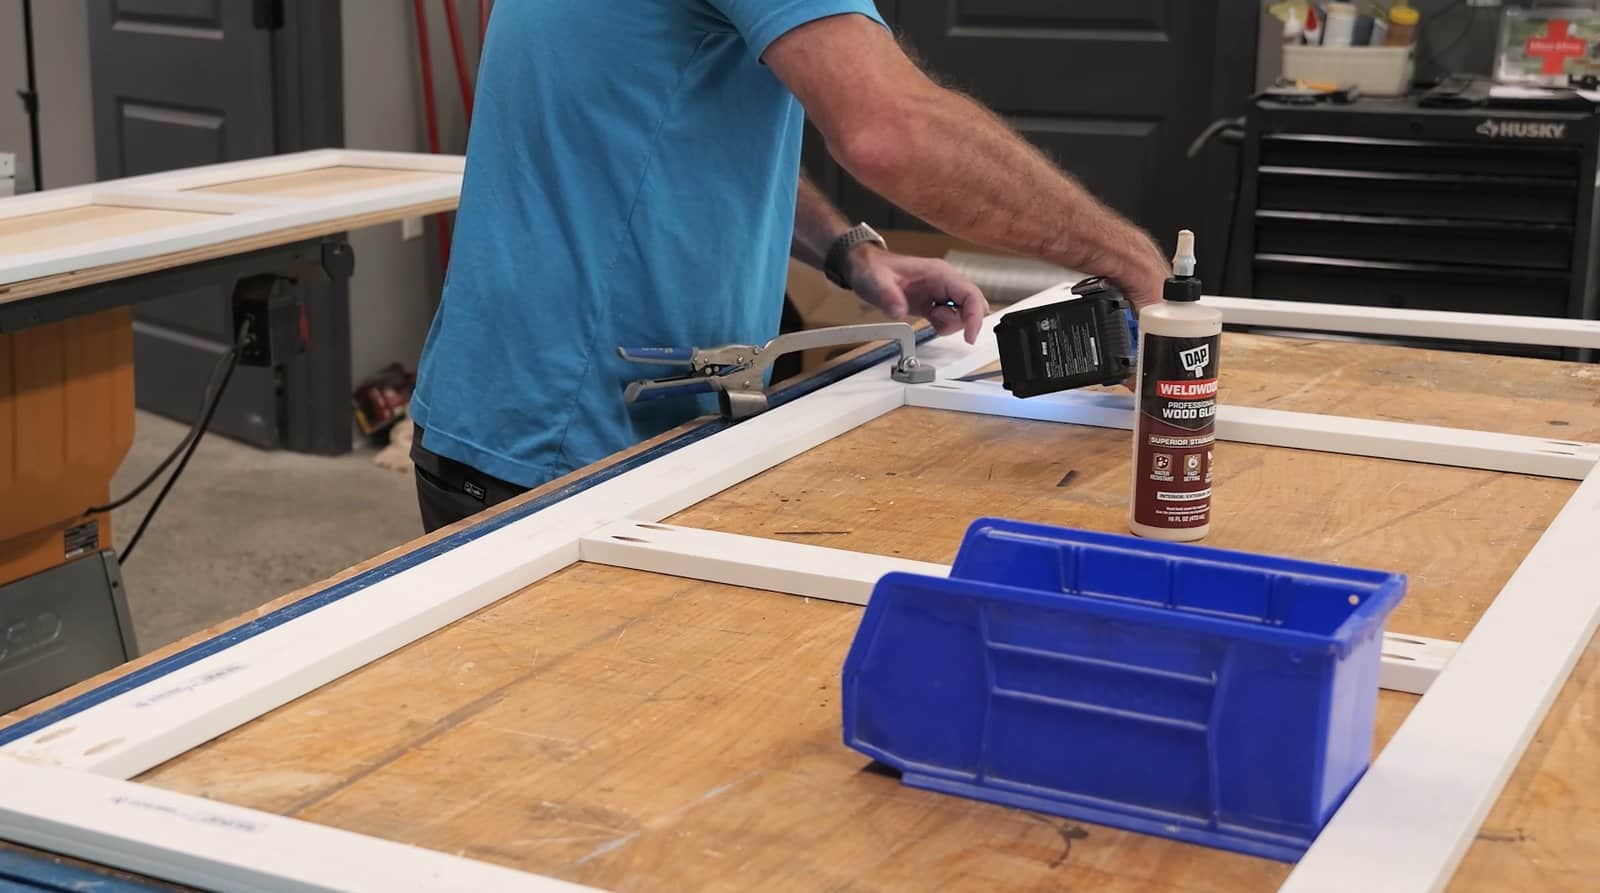
Each face frame is two long rails, two stiles and two mullions made from 1×3 trim. Drill pocket holes in both ends of the rails and the mullions, then assemble with glue and 1-1/4″ pocket screws. Space the mullions so all three openings are equal (22-1/4″ on the king). Build it on a flat surface so it lies flat on the panel.
I cut the mullions last and fit them between the rails. A face frame that matches the panel beats one that matches the number on paper.
Attach the face frame to the headboard
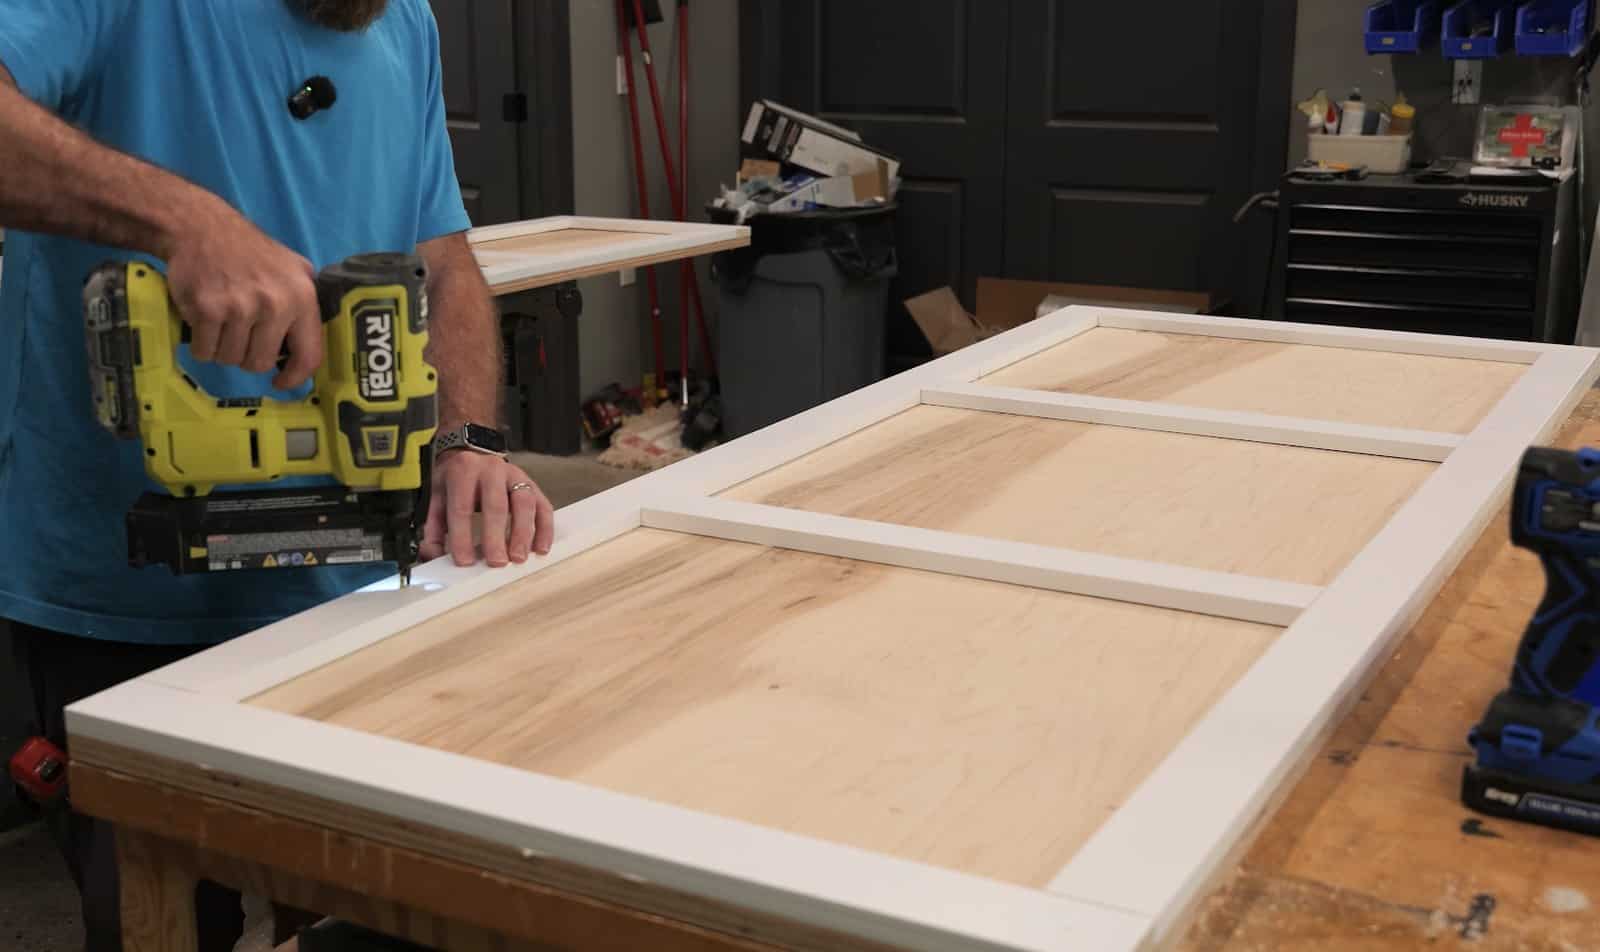
Spread glue on the back of the face frame, set it on the headboard panel and nail it down with 1-1/4″ 18 gauge brad nails. Fill the nail holes before paint.
I didn’t do this to the footboard yet, on purpose. More on that in step 6.
Mill the legs to 3×3
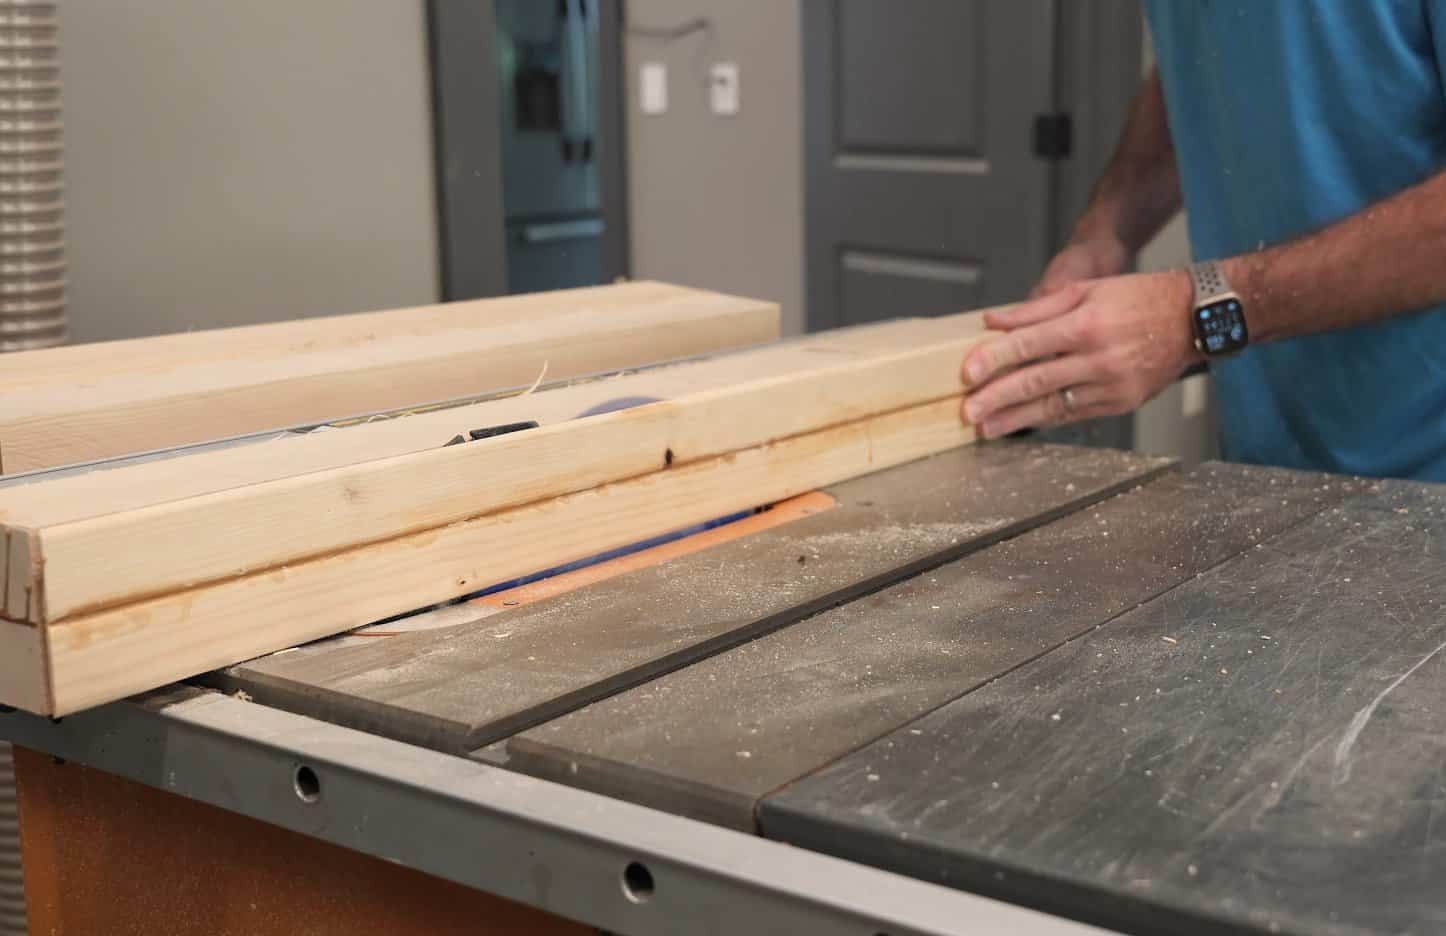
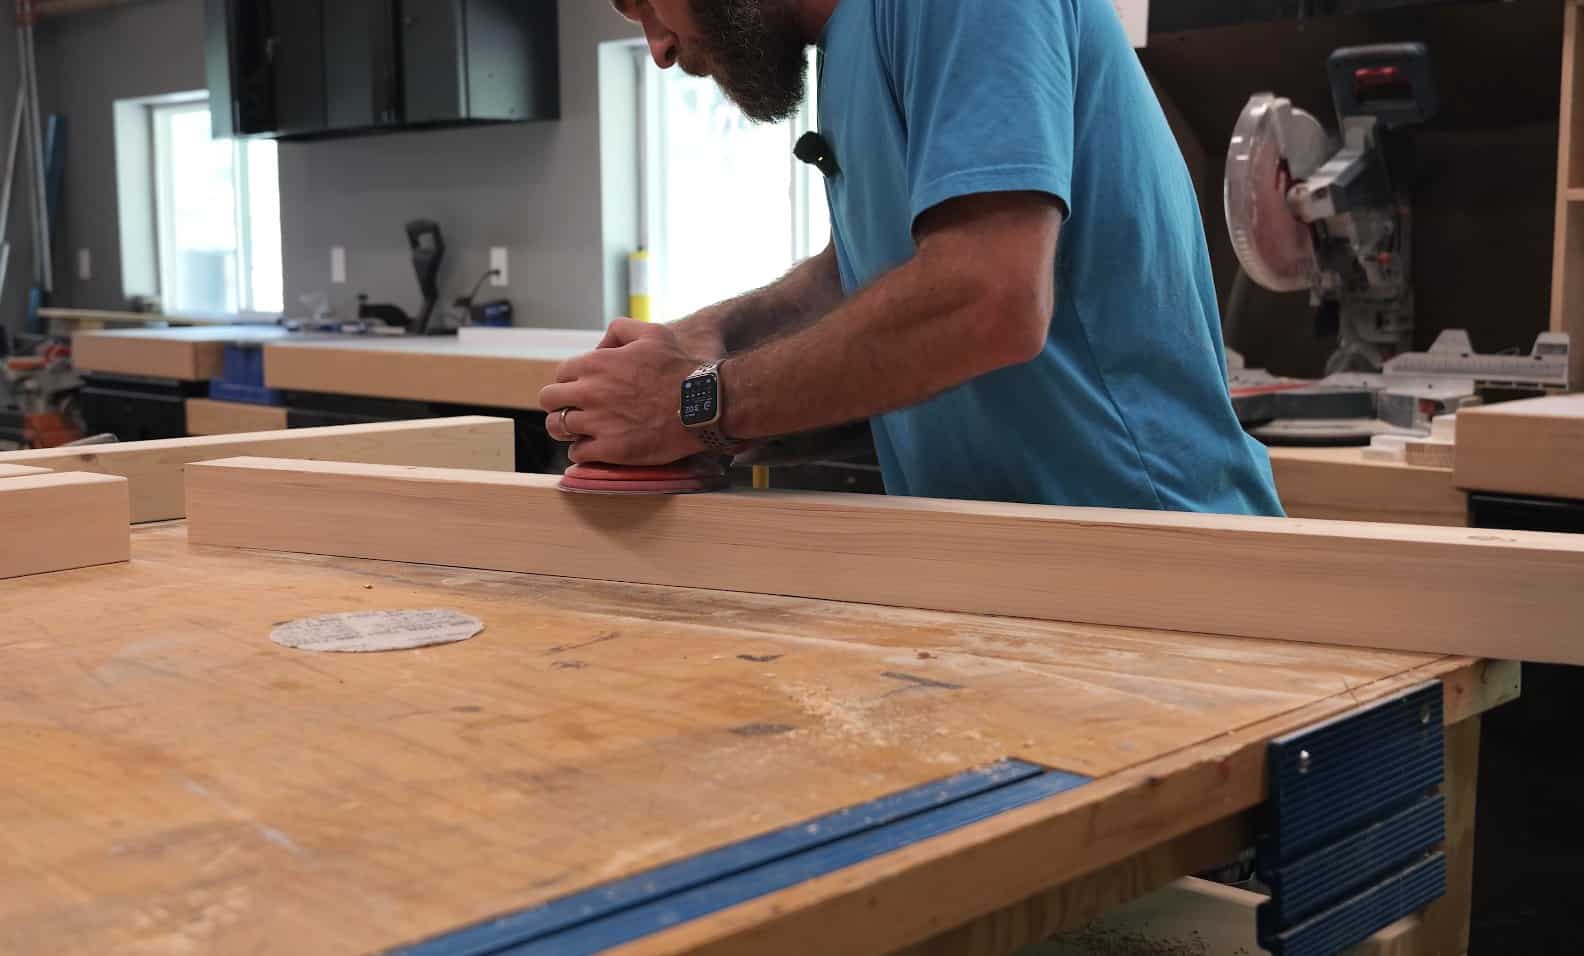
Once the glue is fully cured, take the legs to the table saw. Two 2x4s glued together are already 3″ thick, so you only need to rip about 1/4″ off each edge. That takes off the rounded factory edges and the squeeze-out, and leaves you with a clean 3″ x 3″ leg. Sand all four faces and ease the edges.
Assemble the headboard
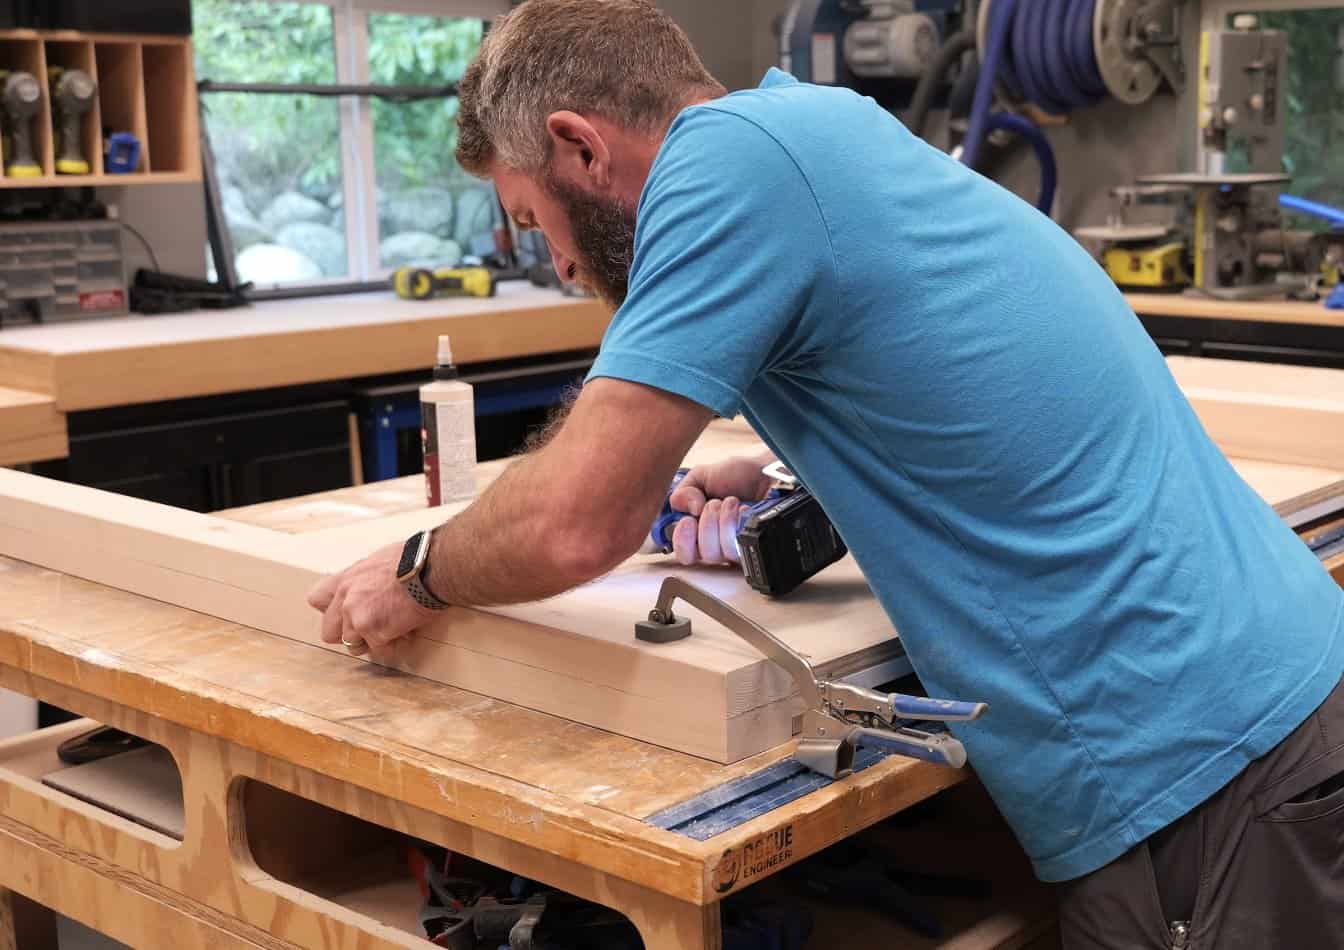
Drill pocket holes on the back of the headboard panel, down both ends and along the top edge. Lay the tall legs down, set the panel between them with the top flush, and set the back of the panel 1-1/2″ in from the back of the legs (a scrap 2×4 laid flat underneath is exactly that). Glue it and drive 2-1/2″ pocket screws into the legs. The longer screws matter here because the legs are thick.
Finish it with a 1×4 cap, centered with a 1/4″ overhang on all sides and screwed on from underneath with 1-1/4″ pocket screws through the holes along the top.
Assemble the footboard
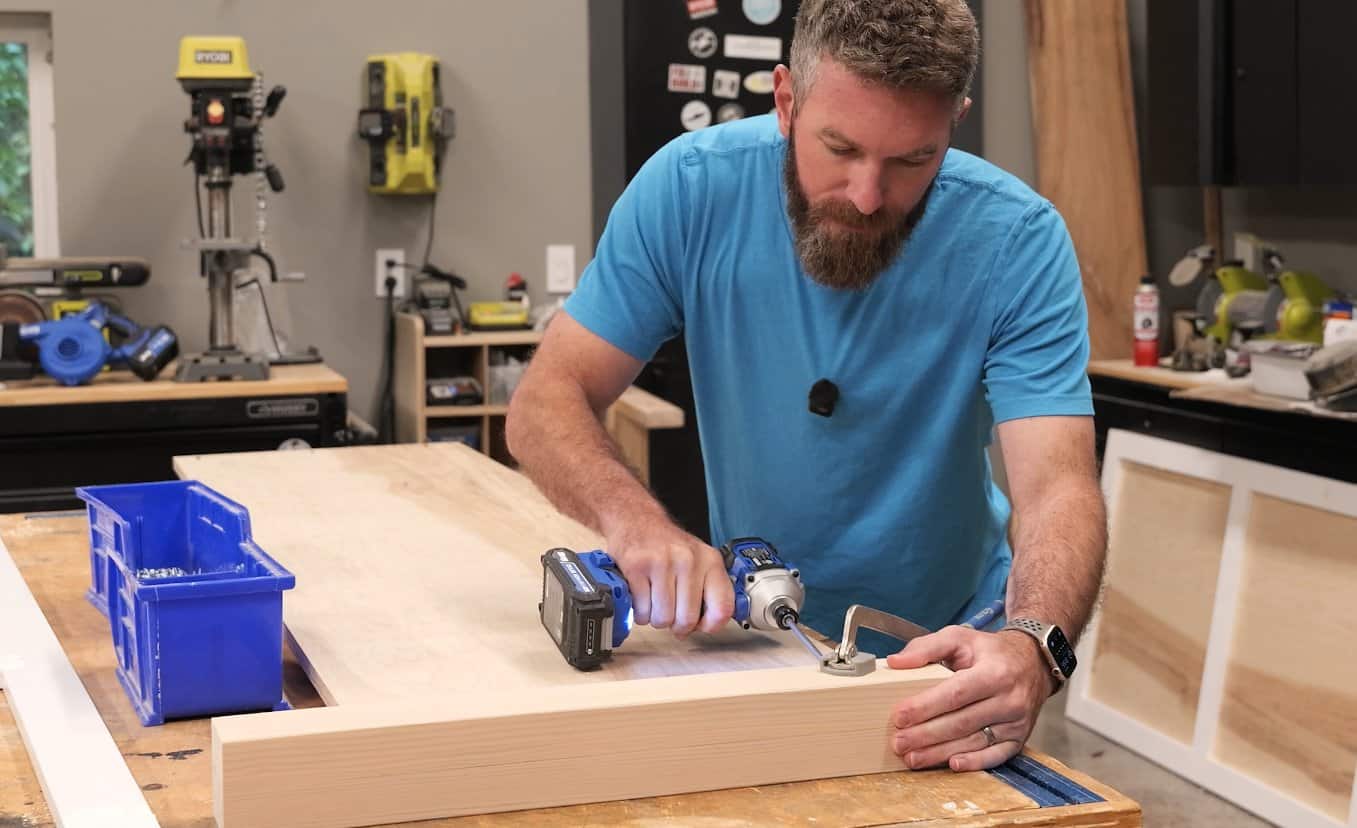
Here’s the reason I held off on the footboard’s face frame. On the footboard, drill the pocket holes on the front of the panel, then set it between the short legs on a 3/4″ spacer so it sits back from the front of the legs. Drive 2-1/2″ pocket screws into the legs.
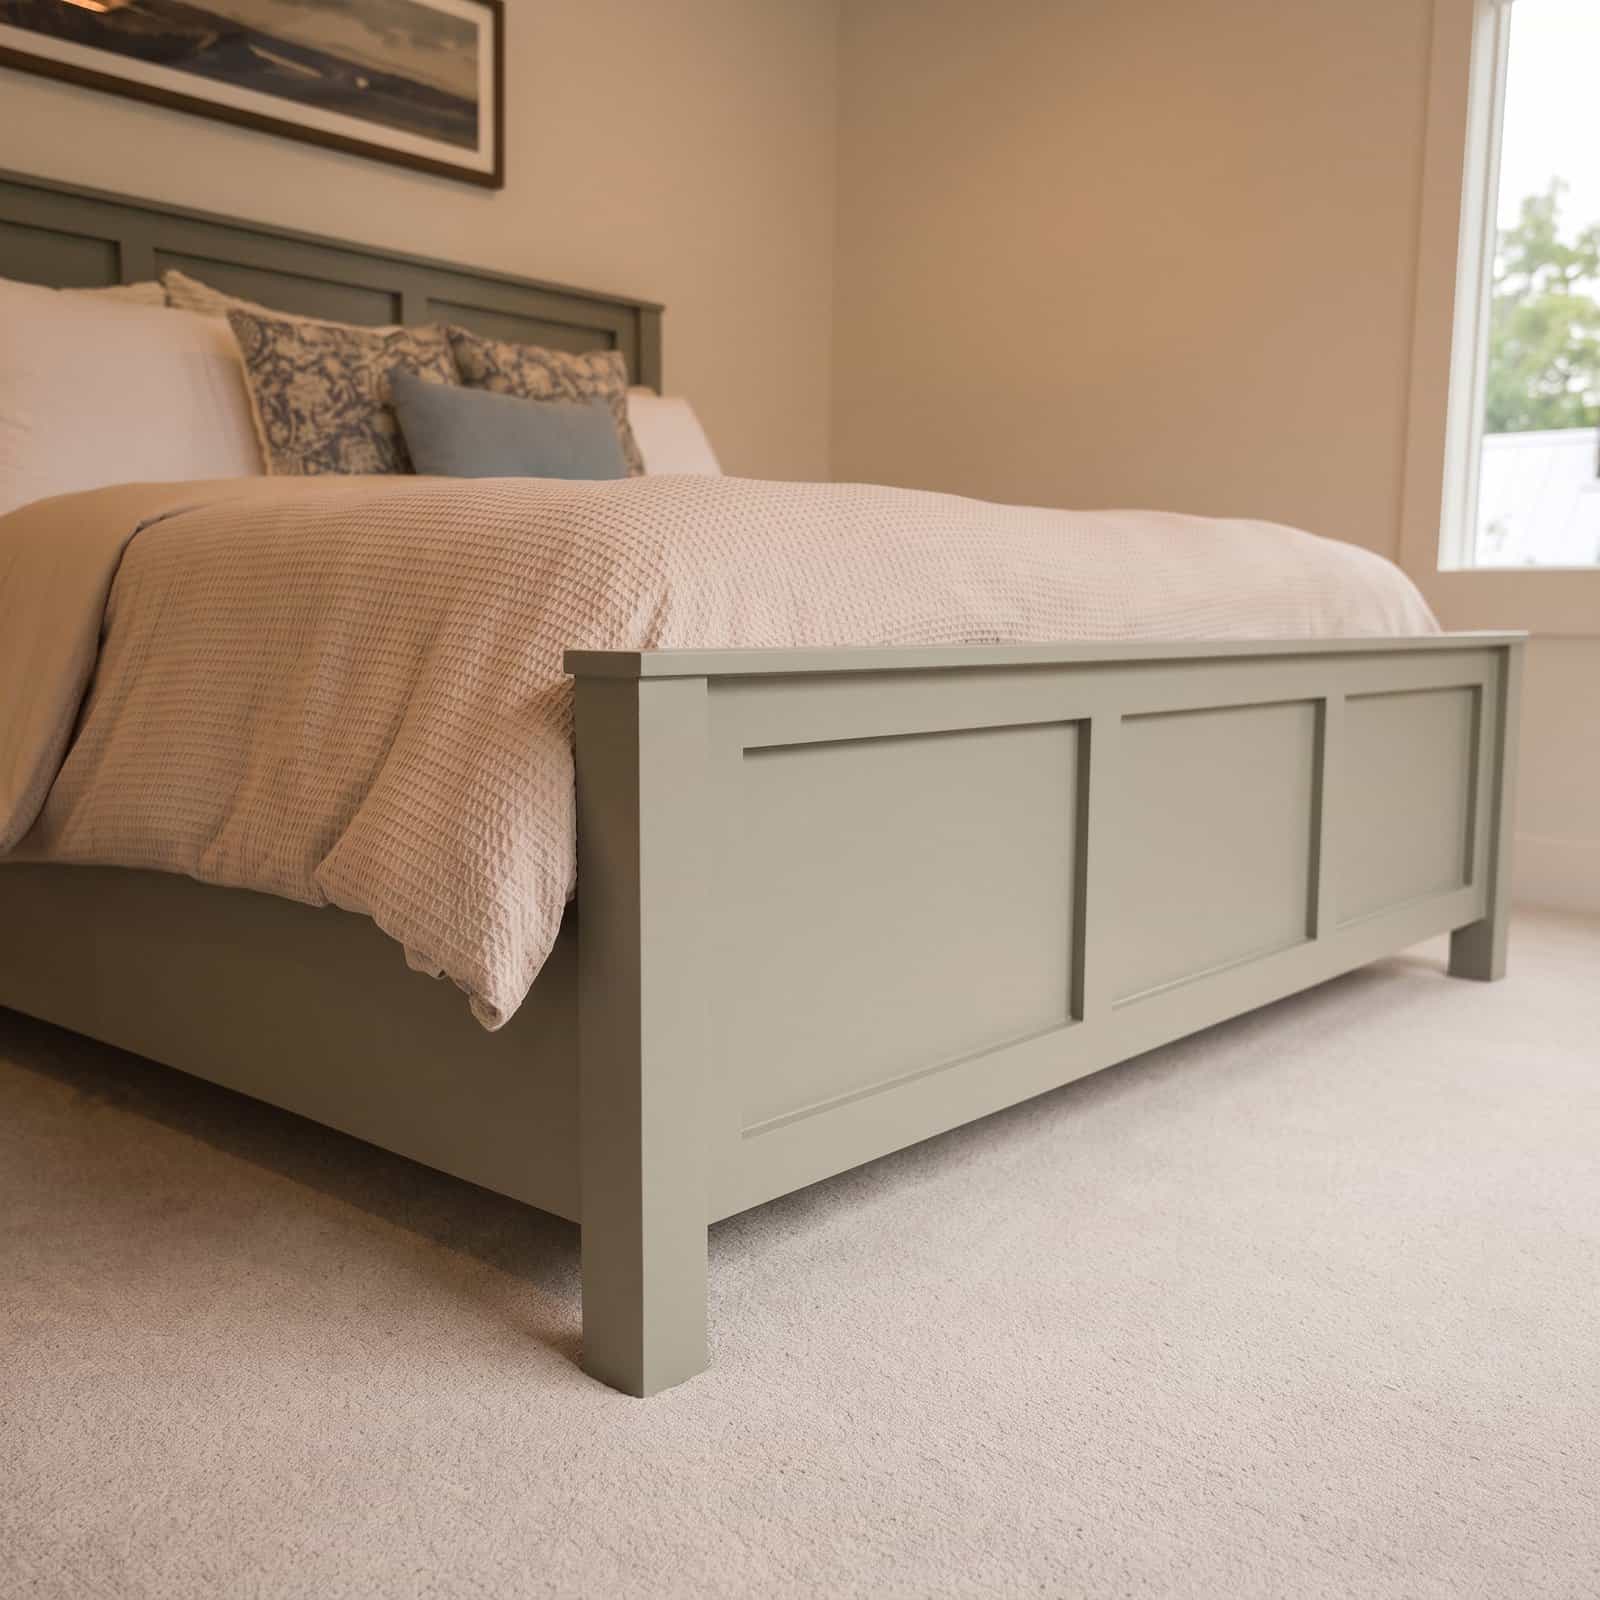
When the 1×3 face frame goes on, it covers every one of those pocket holes and leaves a clean 3/4″ reveal. Glue and nail it on, then add the 1×4 cap the same way as the headboard.
Fill, prime, caulk and paint
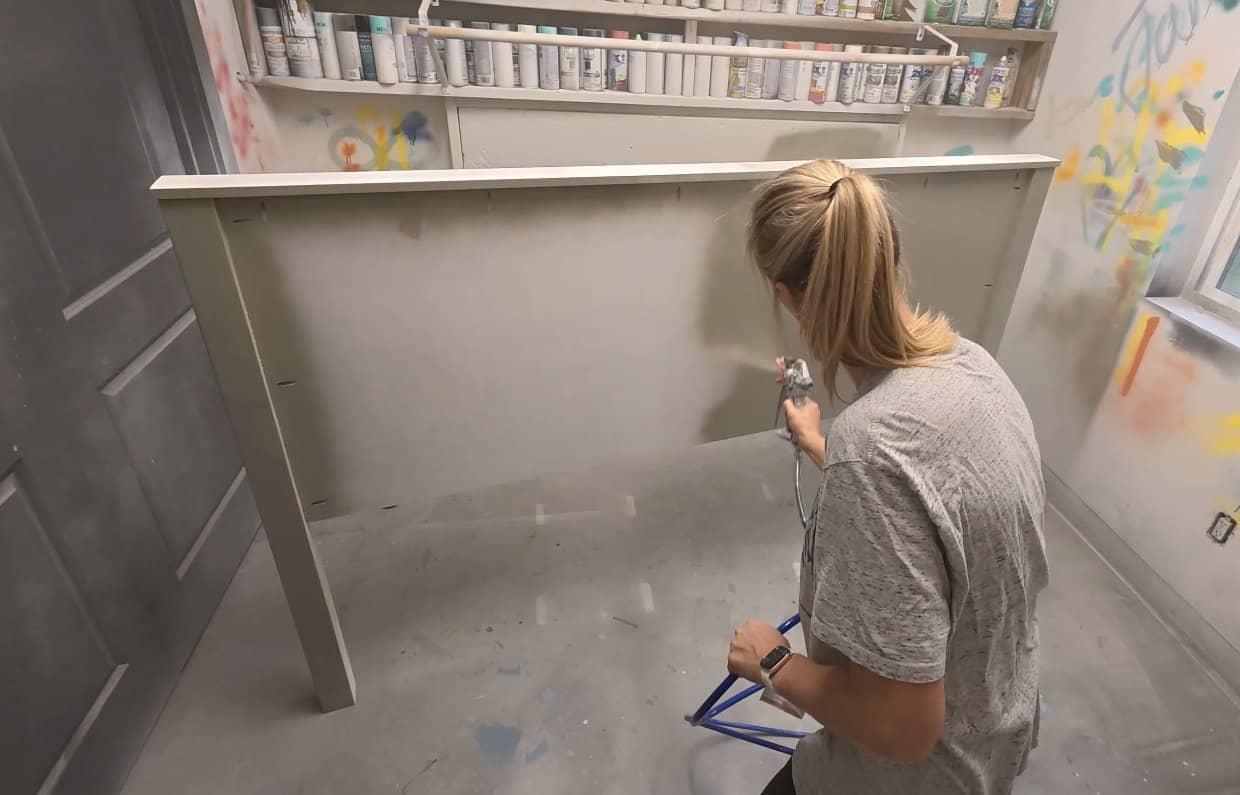
Fill every brad hole and any gaps in the leg seams, then sand it smooth and break the sharp edges, especially on the caps. Prime next. Then caulk every joint, anywhere a face frame meets a panel, a panel meets a leg, or a cap sits on top. The primer makes every gap easy to spot, and the caulk is what makes it read as one solid piece of furniture instead of a bunch of boards once the paint goes on.
Then paint. We used Benjamin Moore Scuff-X in a matte sheen, color Antique Pewter, and the side rails get the same treatment once they’re built. Let it cure before the bedding goes on, or the sheets will stick to it.
Build the side rails
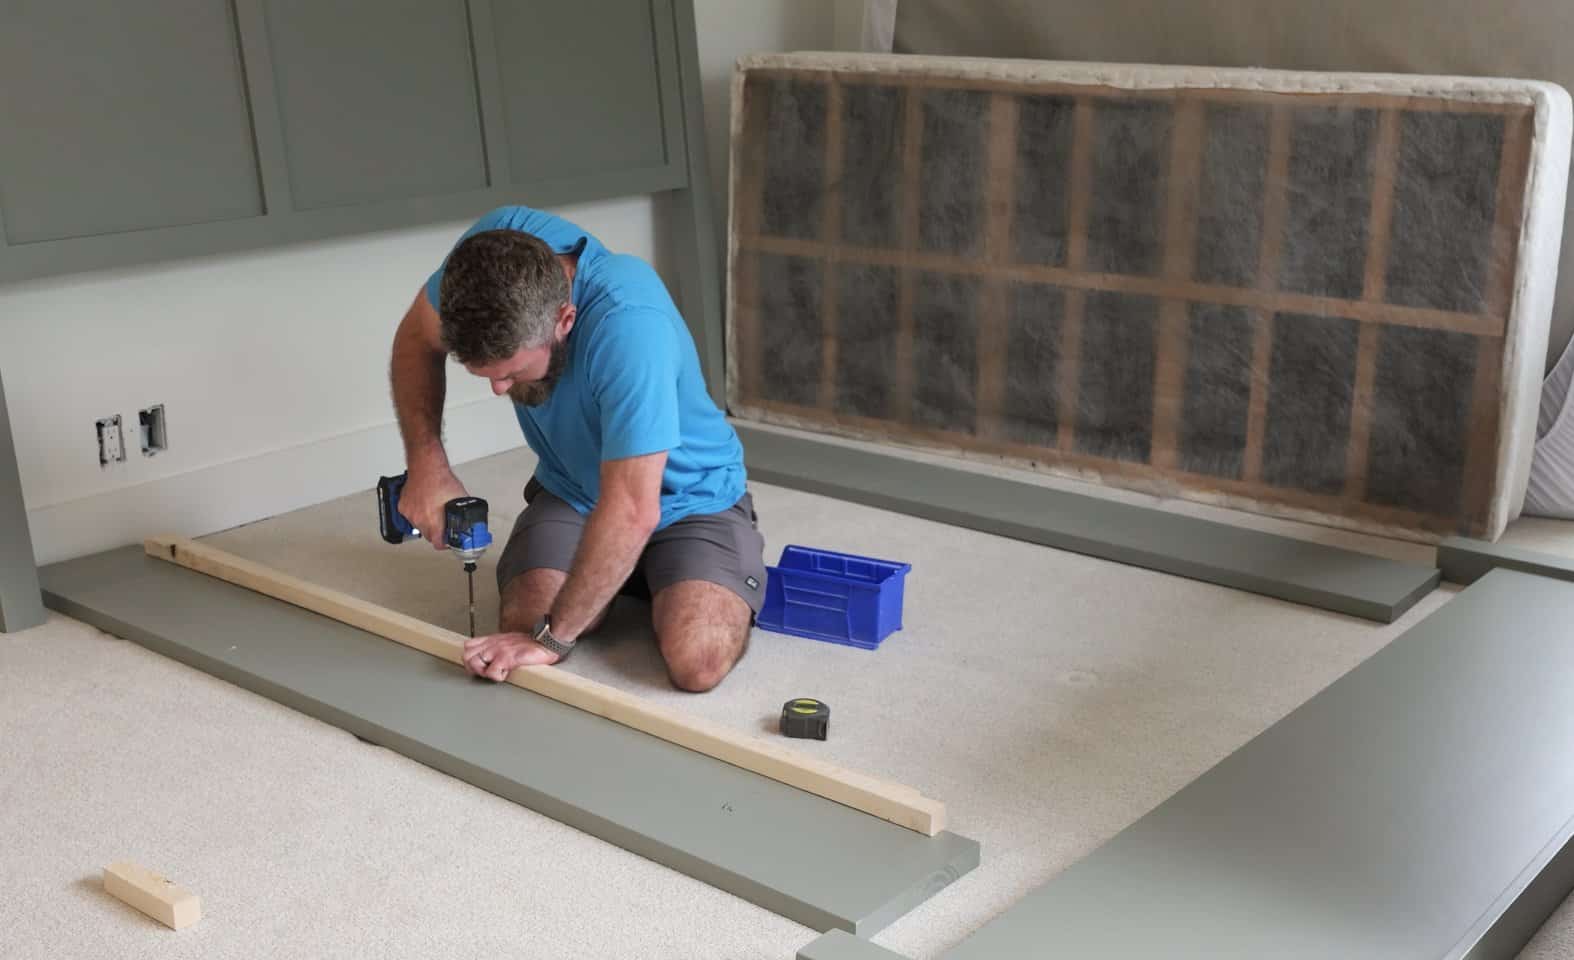
Each rail is a 2×12. On the inside face, glue and screw a 2×2 cleat with 2-1/2″ wood screws. For a box spring, keep the cleat flush with the bottom edge of the rail. Build two, as mirror images.
Install the bed rail brackets
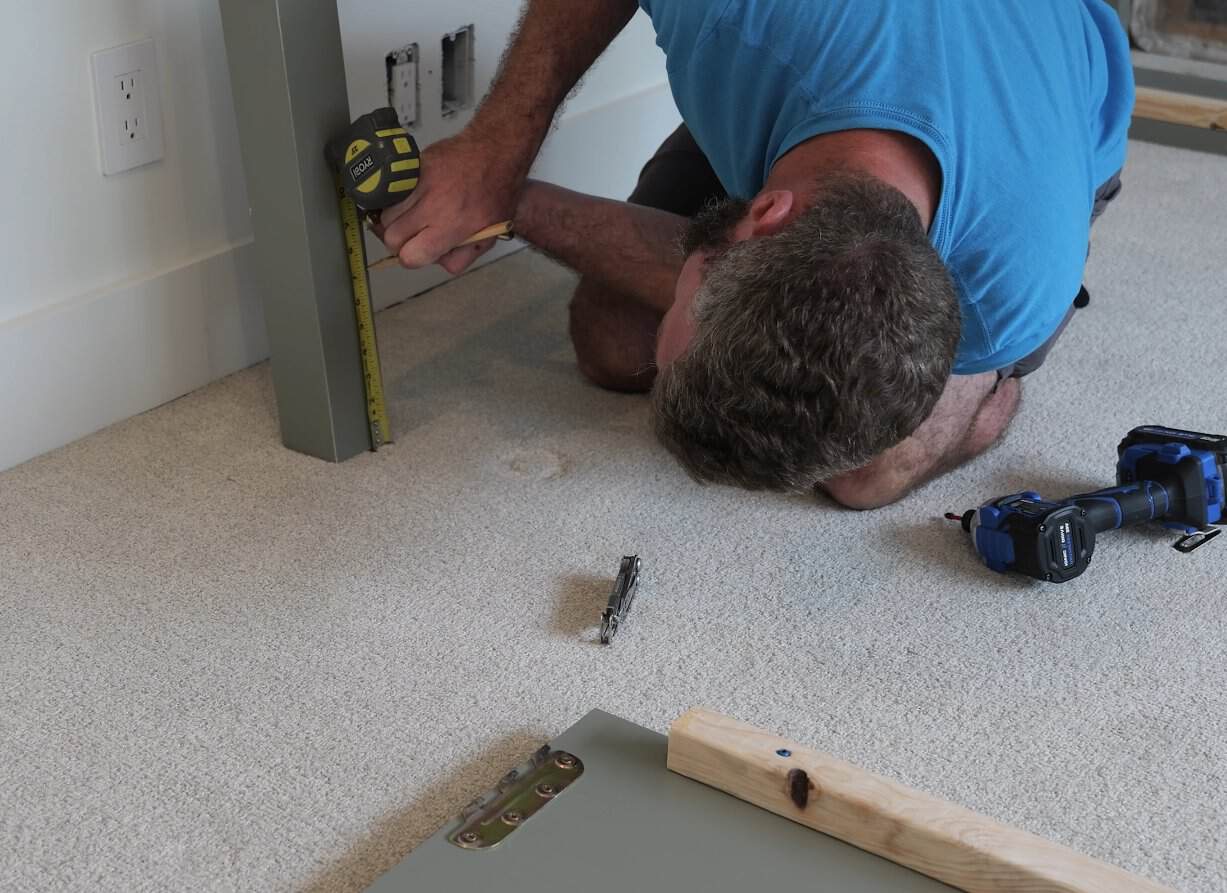
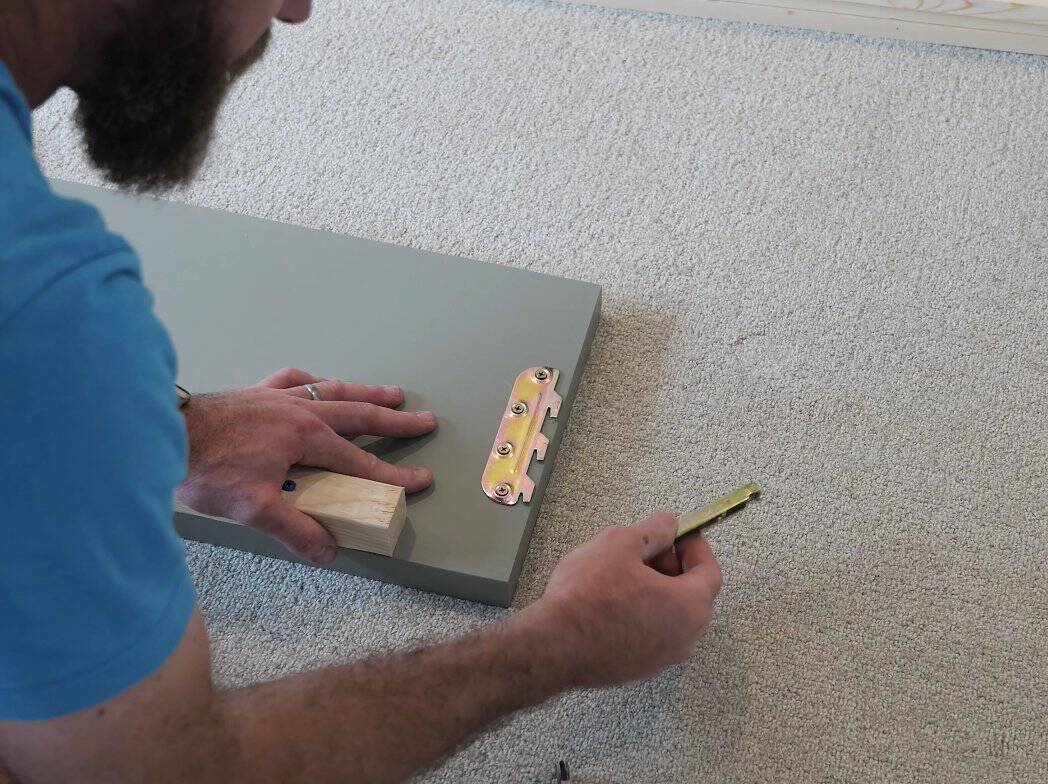
This is where you want to go slow. The bottom of each rail should line up with the bottom of the footboard, and the rails sit 3/4″ in from the outside of the legs. On mine that meant setting one bracket half 7″ up from the bottom of the leg and the other at 7-1/8″. That 1/8″ gets the rail bottom to line up with the footboard and puts the supports at the right height for the box spring.
Two tips. Hook a bracket together first to see exactly where each half needs to sit. And the brackets are really tight once they’re screwed down, so I pried the teeth out a little with my multi-tool (any flathead works) so they’d slide together easier. I also used longer screws than the ones in the box to get more bite. Watch the bracket install in the video.
If you’d rather skip brackets, 2-1/2″ pocket screws hold the rails fine. The brackets just make the bed easy to take apart and move.
Add the box spring supports
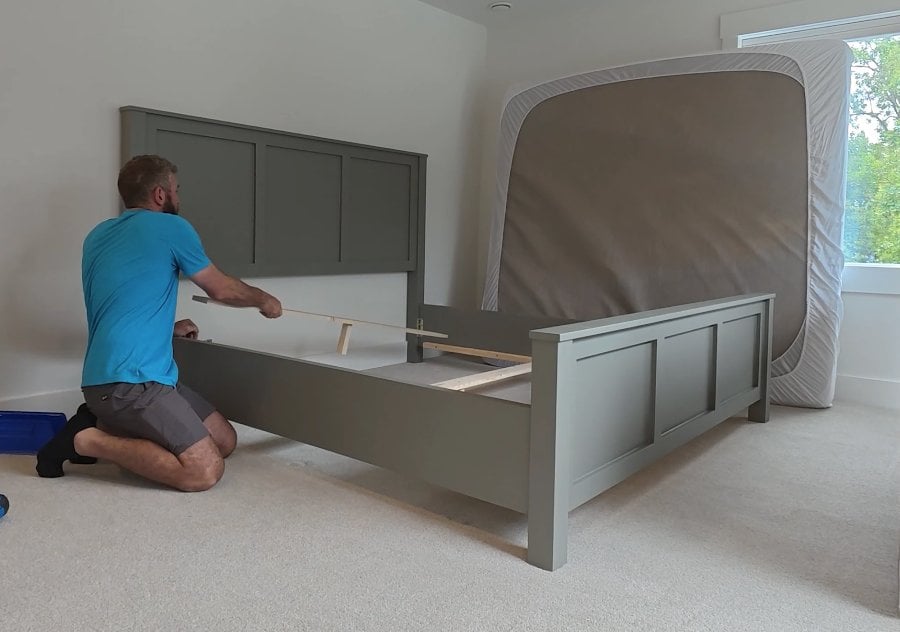
With the frame standing, drop the slats onto the cleats and screw each end down with 1-1/4″ wood screws. On the king, each slat gets a short 2×2 leg in the middle, because king box springs usually come as two pieces and need support down the center.
If you’re skipping the box spring, the mattress-only version raises the cleats and uses more slats, spaced 3-1/2″ apart, with a center support beam on full size and up. The plans cover both.
Carry the headboard, footboard, rails and slats in separately and put it together in the bedroom.
The king size build
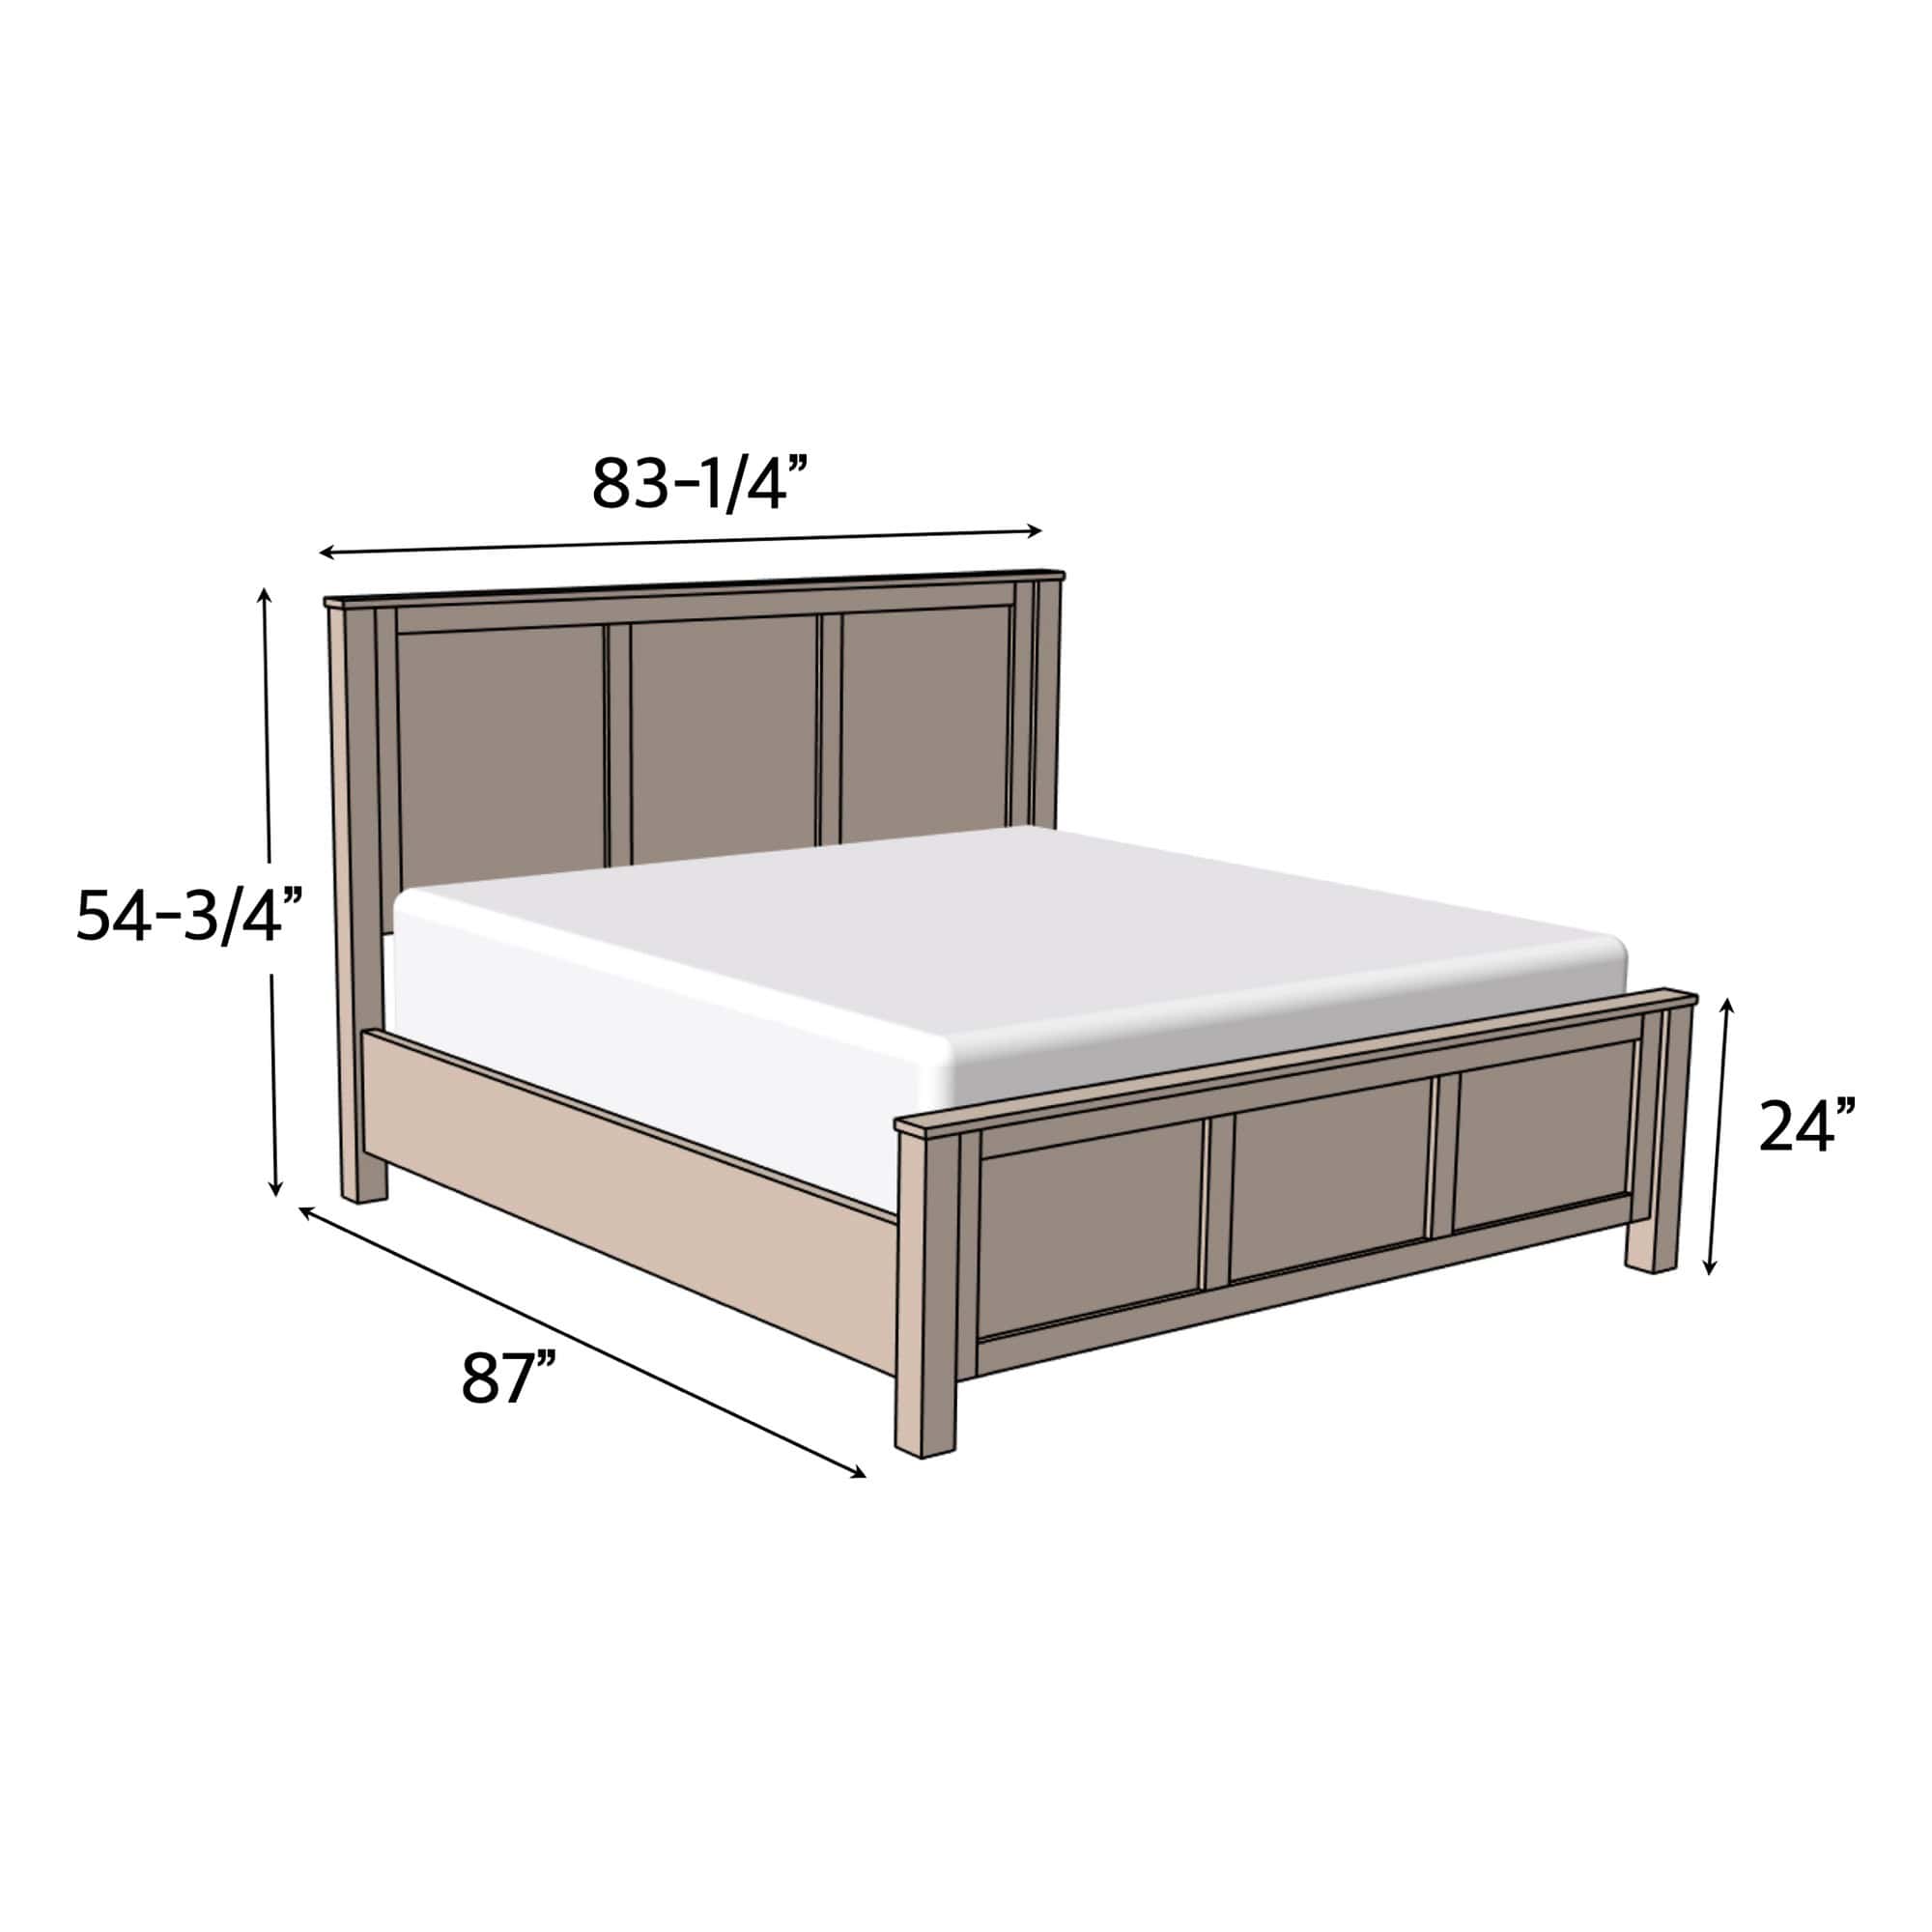
If you’re here for a DIY king bed frame, these are the numbers. The king is 83-1/4″ wide and 87″ long, with a 54-3/4″ tall headboard and a 24″ tall footboard. It’s built for a standard 76″ x 80″ king mattress and box spring, with three equal panels on each end.
Sizing the frame for twin, full, queen, king and cal king
I drew the plans for every standard size, so the same set works as queen bed frame plans, king size bed frame plans or anything in between. Twin and twin XL use a single panel, since three panels would look crowded on a narrow headboard. Everything else gets three.
Costs are lumber and hardware at our local prices, before paint. The headboard is 54-3/4″ tall and the footboard is 24″ on every size.
Want nightstands to match? The simple square bedside table and the lattice bedside table both pair well with it. If you want something lower and simpler, there’s the queen bed I built a while back, and for a taller four-poster look there’s the king bed with tall posts. You can see all of them in the DIY bed plans category.
The finished bed
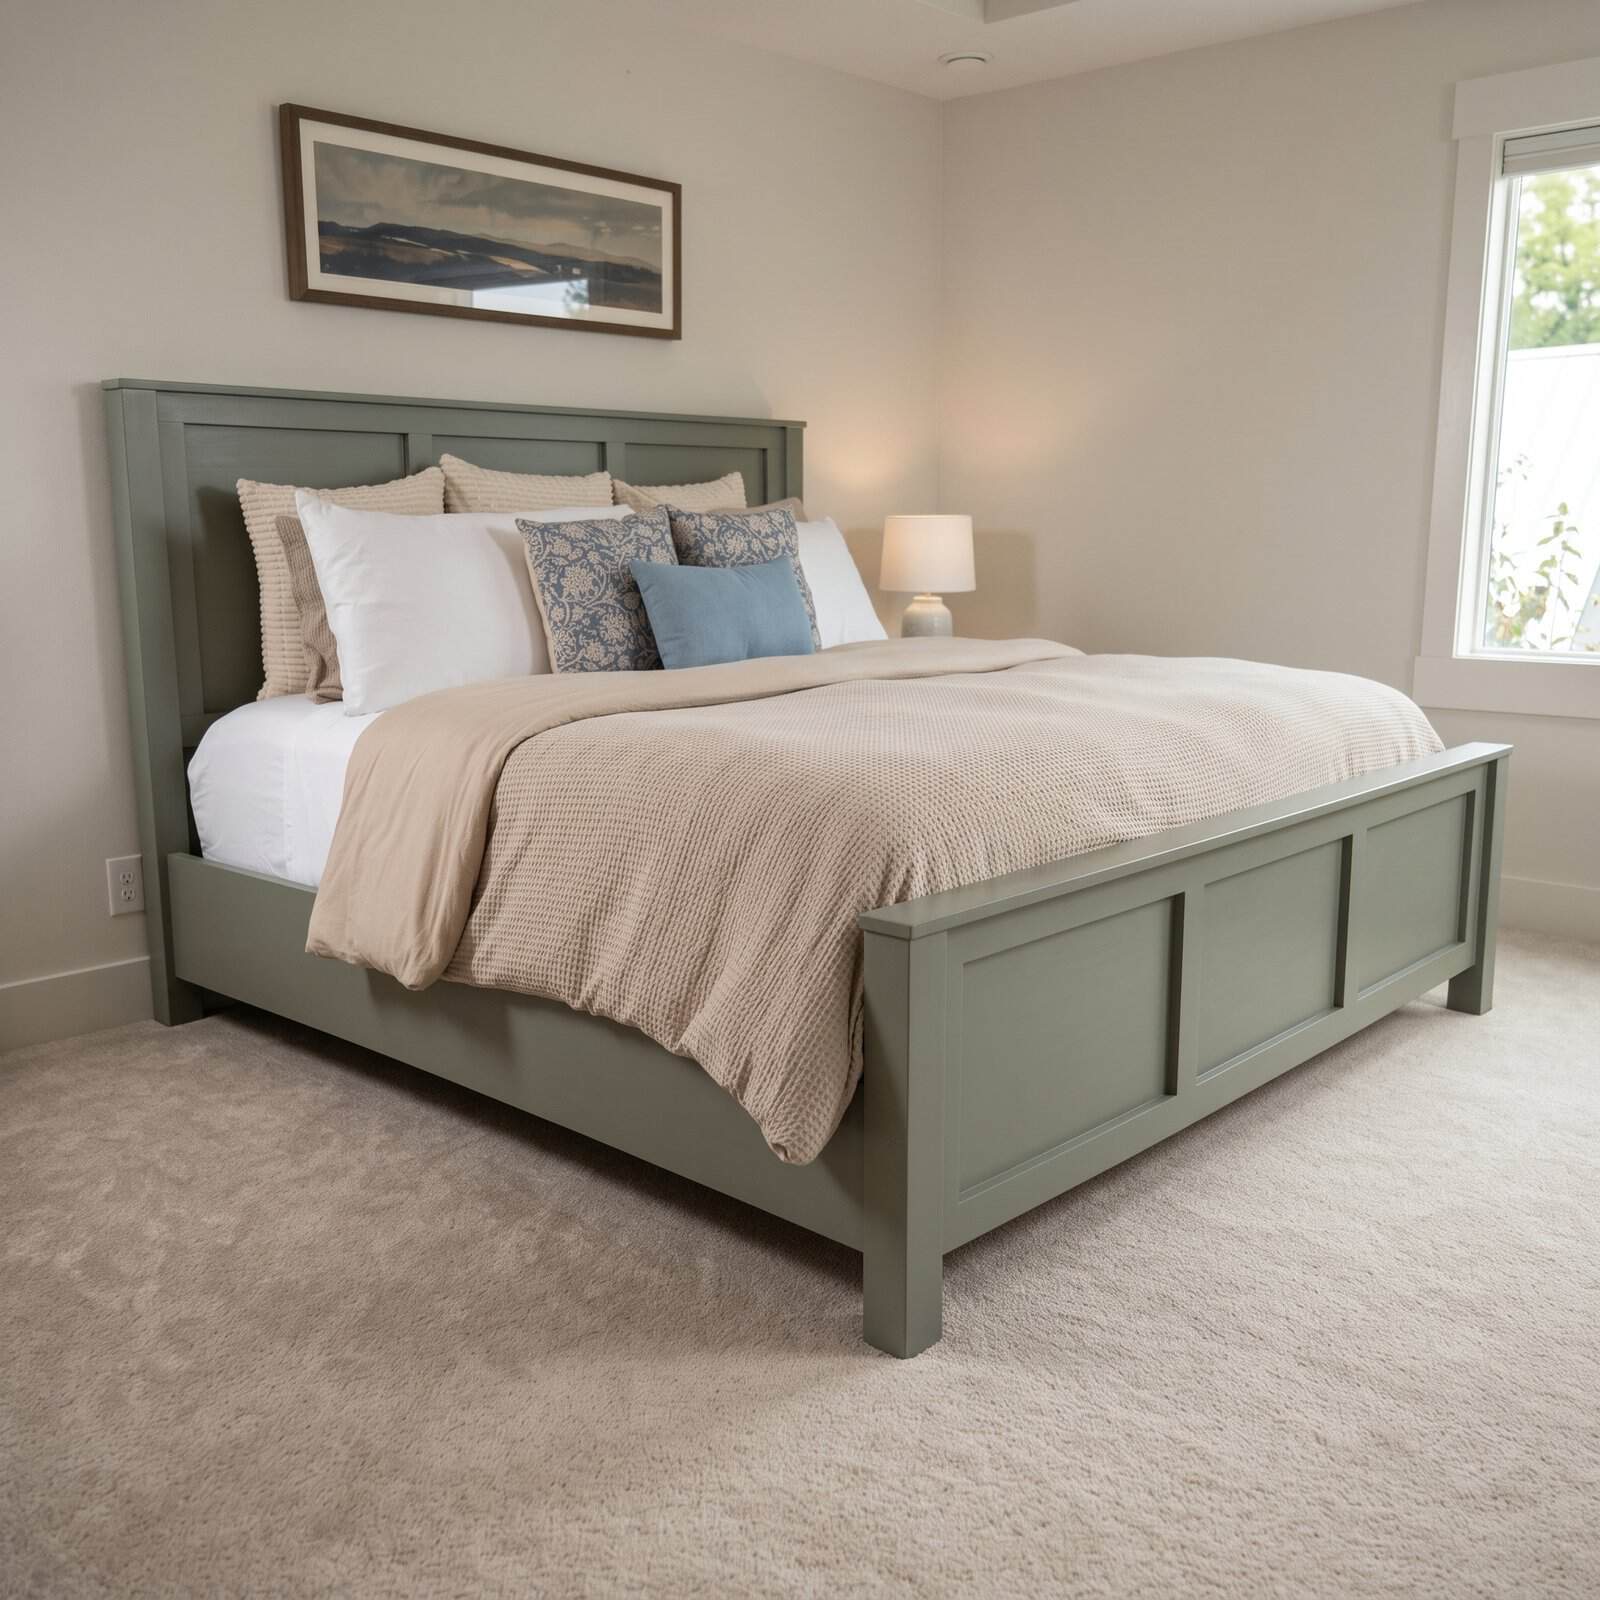
So here it is. After more than a year on a metal frame, we finally have an adult bed, and the best part is that it doesn’t look like a DIY project. It looks like something we bought. I think we nailed it.
Frequently asked questions
Is it cheaper to build your own bed frame?
Yes, by a lot for a bed like this. Our king cost about $220 in lumber and hardware, where the Pottery Barn Farmhouse Bed it’s modeled on is $1,999 for a king. Even a twin in this style comes in around $135.
What wood is best for a DIY bed frame?
Use plywood for large flat panels, straight trim boards for anything you see (face frames and caps), and construction lumber for the hidden structure. That mix keeps the cost down without the bed looking cheap.
Is 2×4 strong enough for a bed frame?
Yes, used in the right places. On this bed each leg is two 2x4s glued together into a solid 3×3, and the long side rails are 2x12s, so the 2x4s hold up the corners and the 2x12s carry the span between the headboard and footboard.
Does this bed frame need a box spring?
No. The one in the video is a DIY bed frame with box spring support, but the plans include a mattress-only version for every size. It raises the cleats, adds more 1×4 slats spaced 3-1/2″ apart and adds a center support on full size and up.
Is it hard to make your own bed frame?
Not this one. If you can drill pocket holes and use a brad nailer, you can build it. The only table saw work is ripping the legs square. The trickiest part is getting the bed rail brackets at the right height, and the plans give you those numbers.
How do you attach a headboard to a bed frame?
Here the headboard and footboard connect to the side rails with bed rail brackets, one half screwed to the leg and the other to the rail end. They hook together and pull tight, so the bed comes apart for moving. You can also use 2-1/2″ pocket screws for a permanent connection.
Your move
If you’ve been sleeping on a metal frame like we were, this is a good weekend to fix that. Pick your size and setup, grab the cut list and build it.
Printable plans are available for every size, with or without a box spring, in imperial or metric, and they come with 3D model files for SketchUp, Fusion 360 or FreeCAD: get the DIY bed frame plans. And if you build one, post a picture in the comments. What are we going to build next?
Be safe and happy building,
Jamison
DIY Bed Frame Plans: $15
Get the printable DIY bed frame plans: every size from twin to cal king, box spring or mattress only, imperial or metric, plus 3D model files.
Get the Plans →