

Simpson Strong-Tie® Nightstand
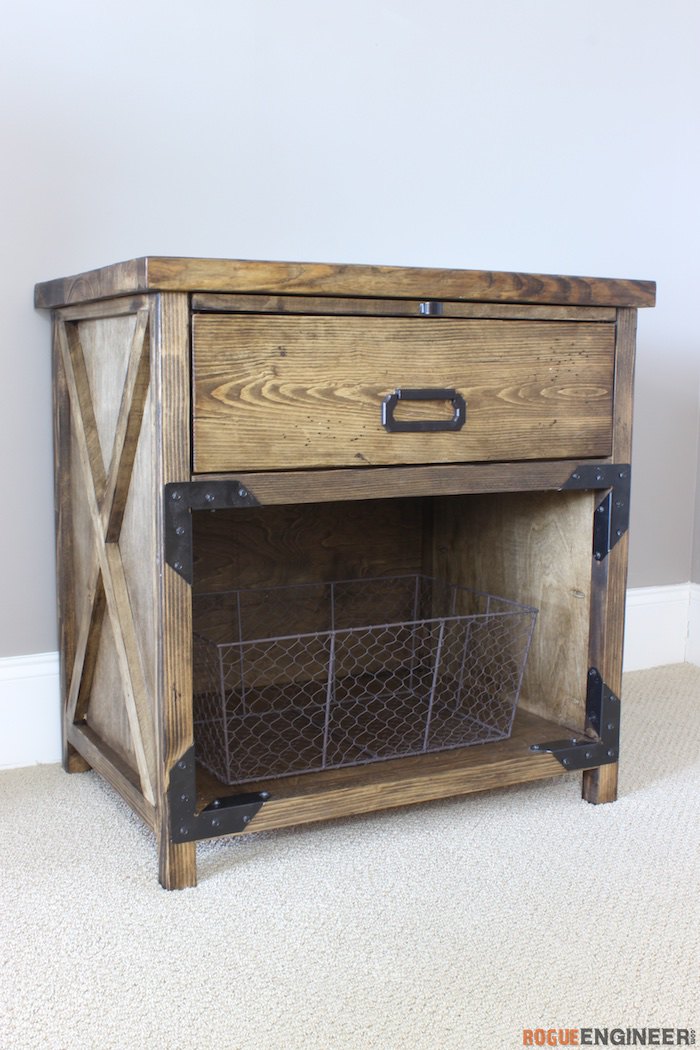
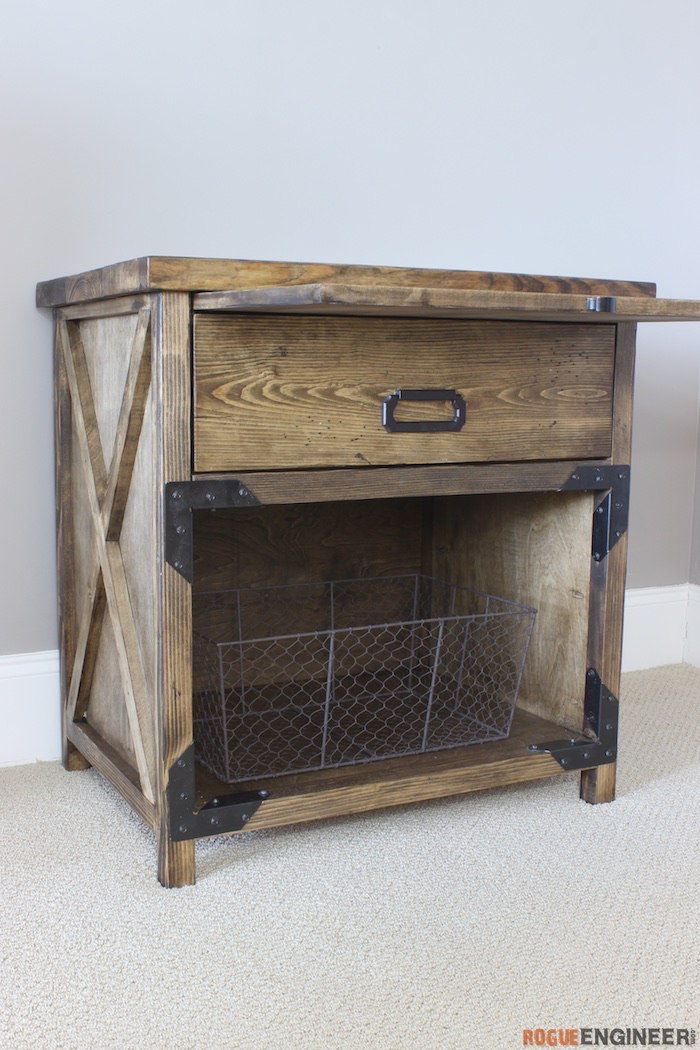
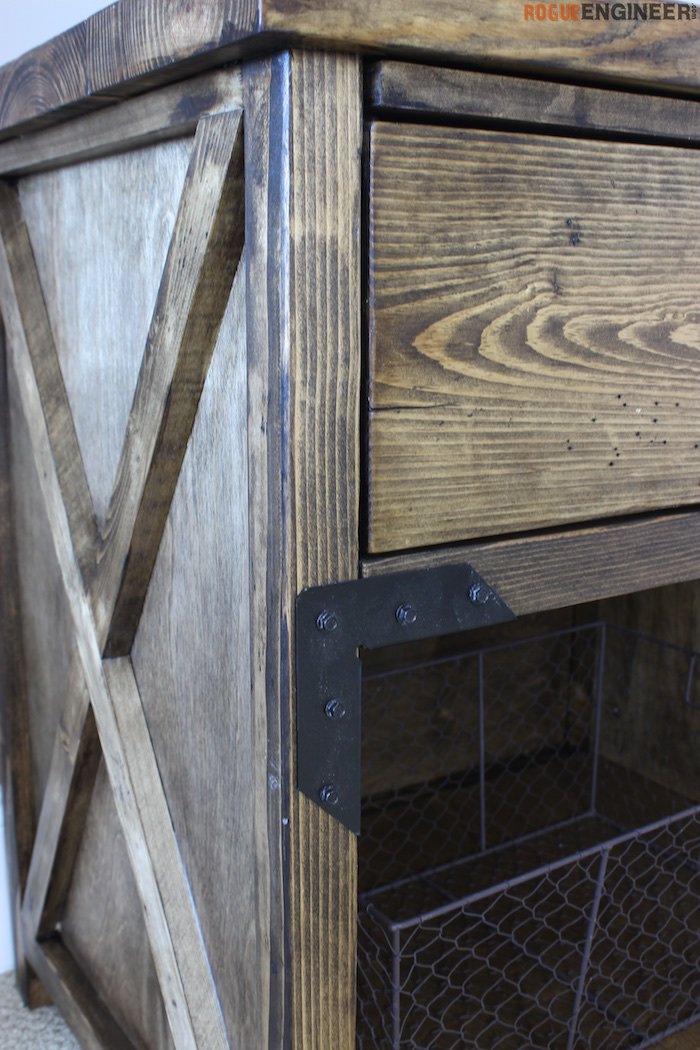
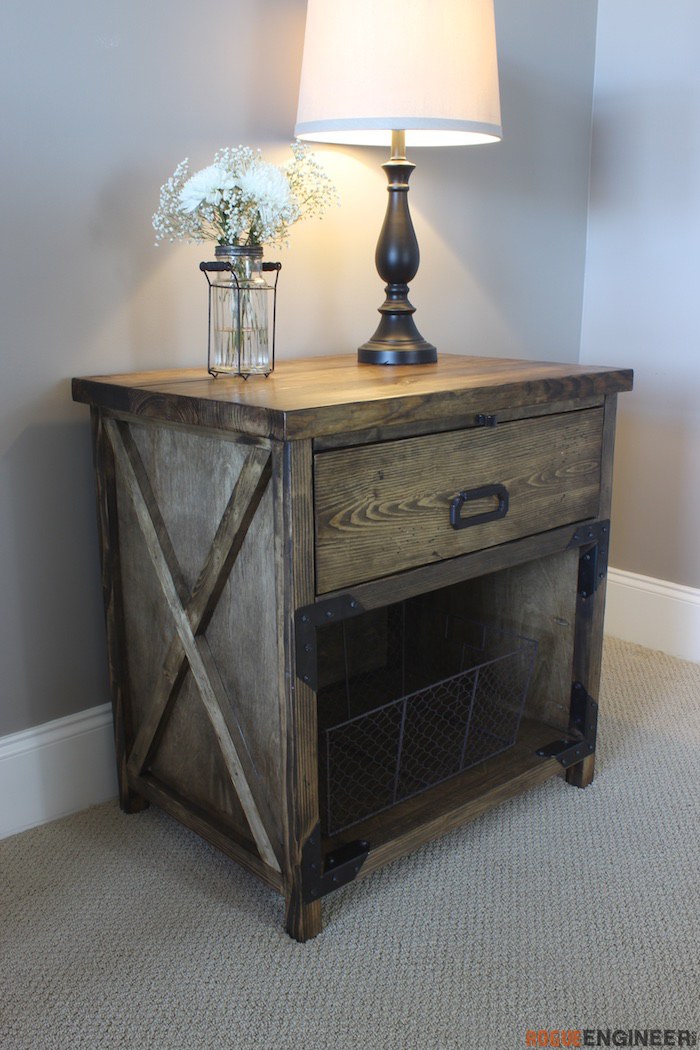
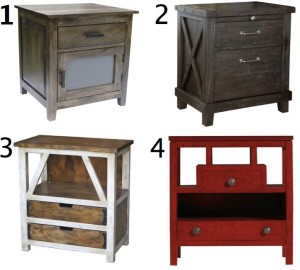
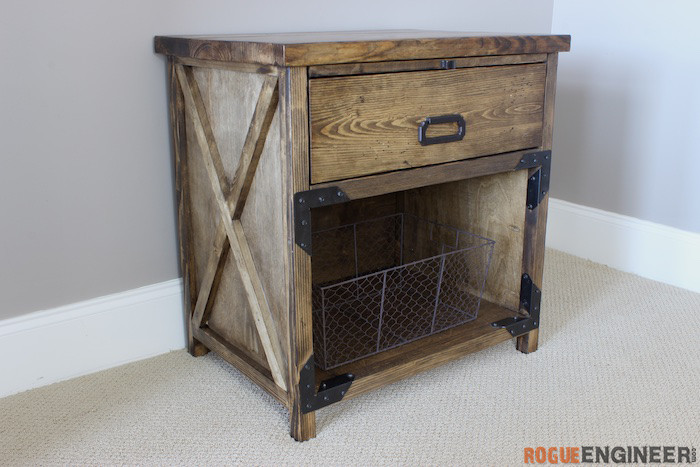
A while back we asked our Facebook friends to vote on the next DIY nightstand plans. Out of the 4 nightstands we posted, #2 was our winner! If you don’t already follow us on Facebook you definitely should. We love to hear input from readers and vote on upcoming projects. Like this awesome nightstand! We made a few modifications, such as eliminating the bottom drawer and adding some hardware to give the nightstand a more rustic feel. So wee teamed up with our friends over at Simpson Strong-Tie, painted our connectors, and BAM we bring you these awesome plans for our Simpson Nightstand.
For sneak peeks of our upcoming projects be sure to follow me on Facebook and Instagram. Also, follow me on Pinterest to get tons of projects plans from all around the web!

Required Tools
Materials
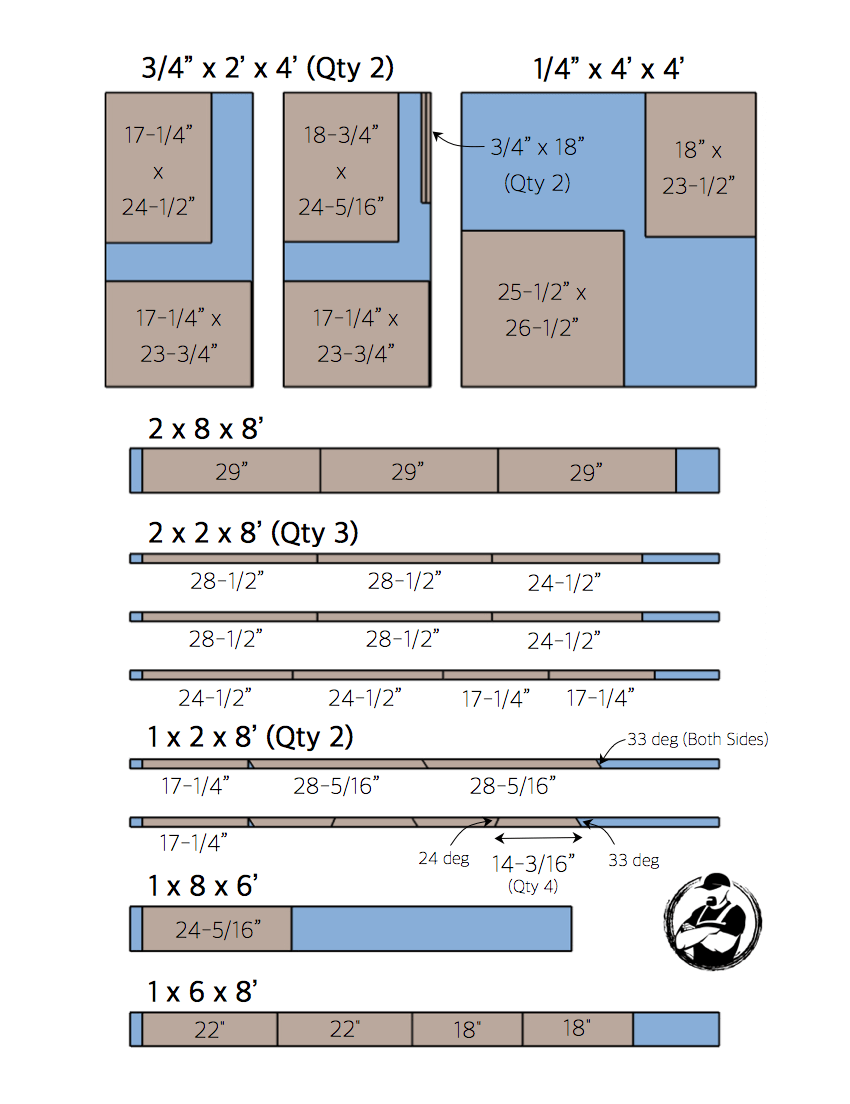
- Qty 2 – 3/4″ x 24″ x 48″ Plywood
- Qty 1 – 1/4″ x 48″ x 48″ Underlayment
- Qty 1 – 2 x 8 x 8′ Untreated Kiln Dried Lumber
- Qty 3 – 2 x 2 x 8′
- Qty 1 – 1 x 8 x 6′
- Qty 1 – 1 x 6 x 8′
- Qty 2 – 1 x 2 x 8′
- 18″ Drawer Slides
- 2-1/2″ Kreg Pocket Hole Screws (Coarse)
- 1-1/4″ Kreg Pocket Hole Screws (Coarse)
- 1-1/4″ Brad Nails
- #10 x 2-1/2” Deck-Drive™ DSV Wood Screws
- #8 x 1-1/4” Deck-Drive™ DSV Wood Screws
- #9 x 1-1/2” Strong-Drive® SD Connector Screws
- Qty 4 – RTA2Z Rigid Tie™ Connectors
- Wood Glue
Disclosure: The links provided in the “materials” and “required tools” sections are affiliate links. If you would like to support our site and help keep our content free come find out more about how we can make money with no extra cost to you.
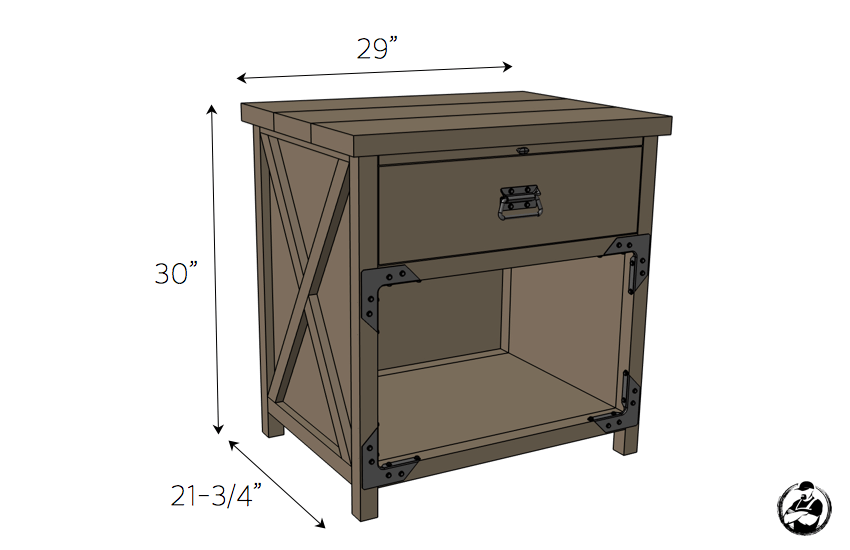
Dimensions
Cut List
DIY Nightstand Plans
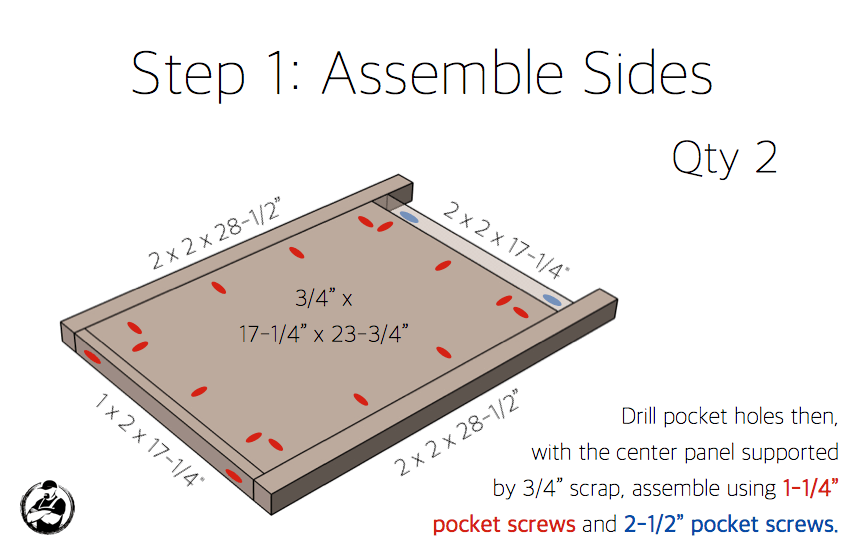
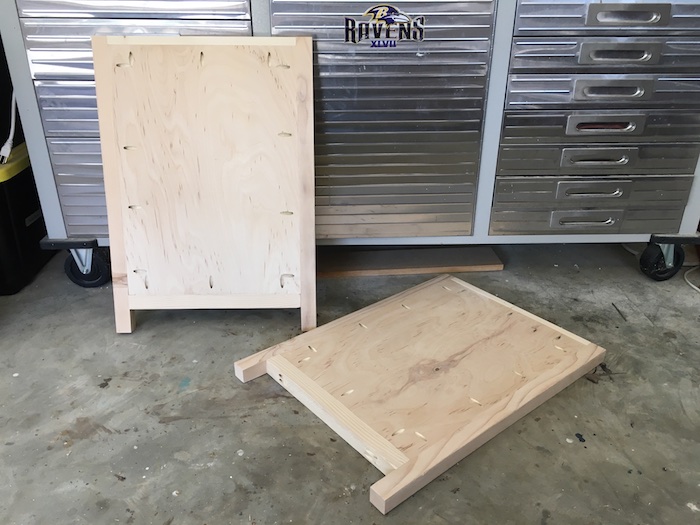
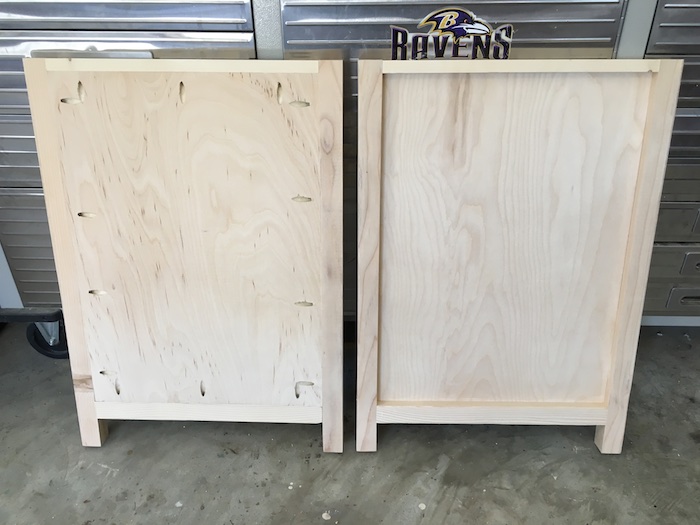
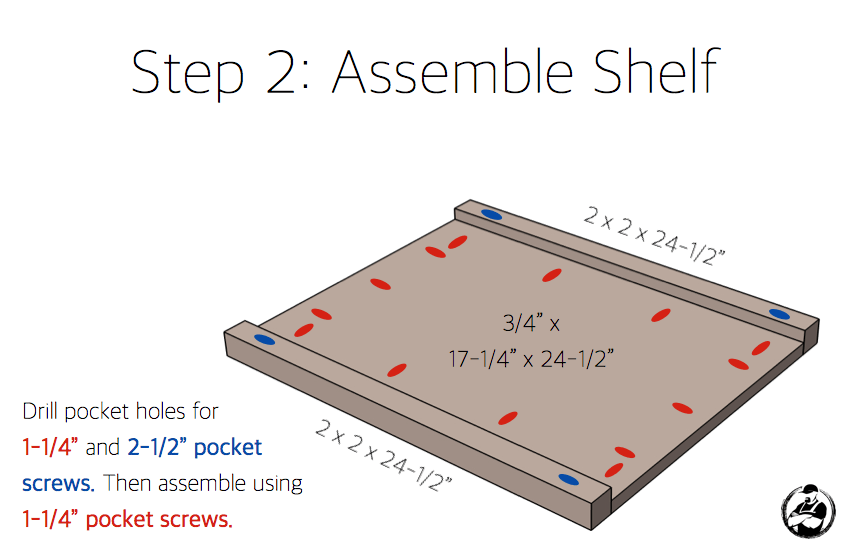
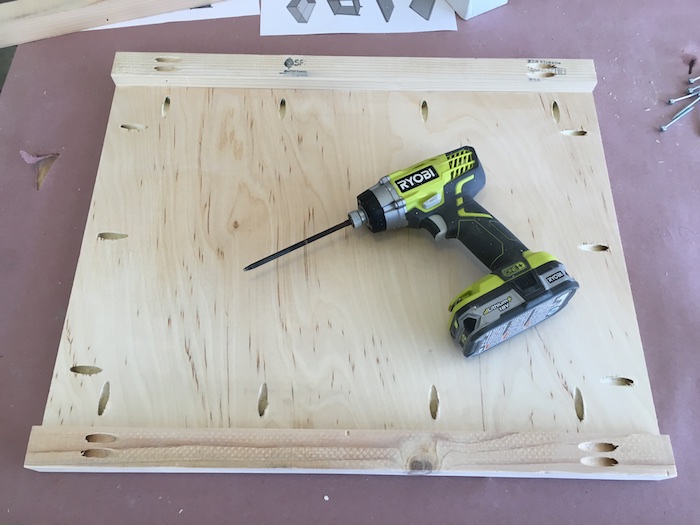
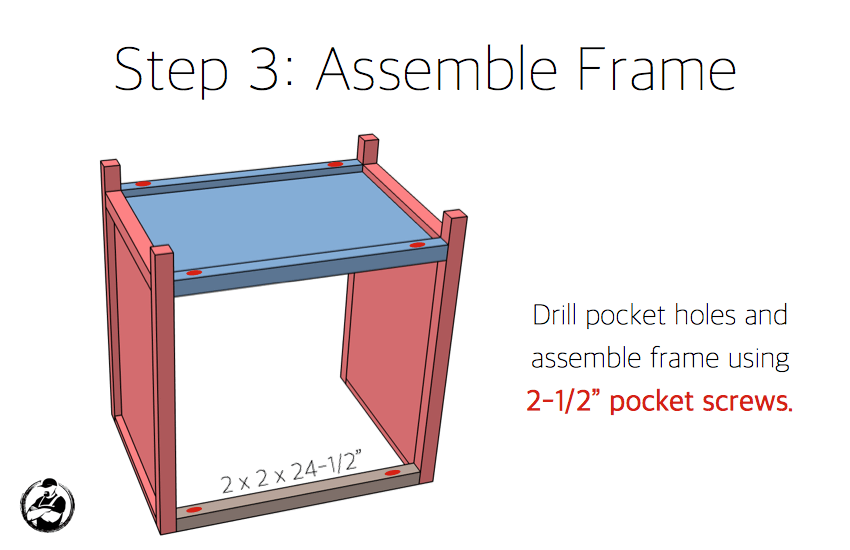
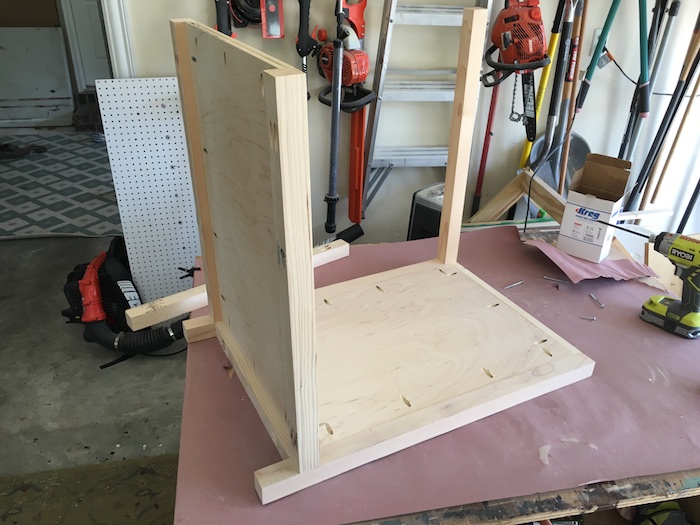
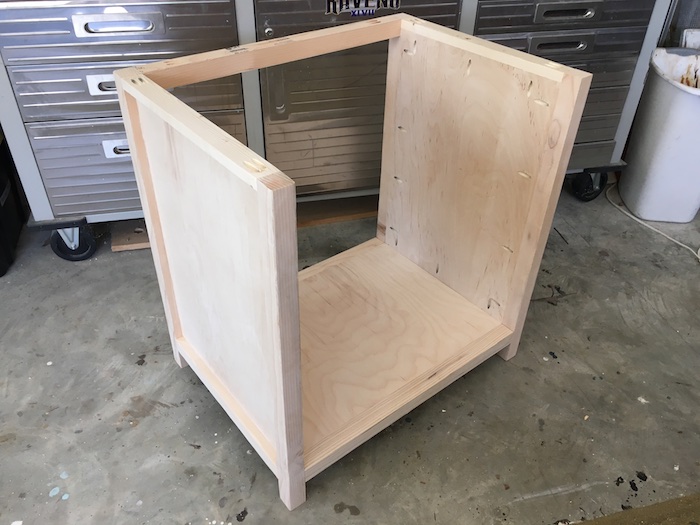
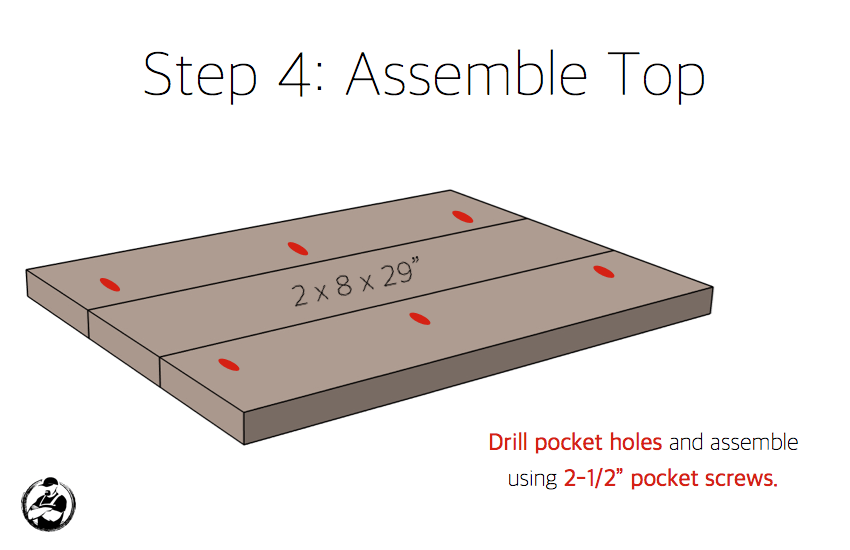
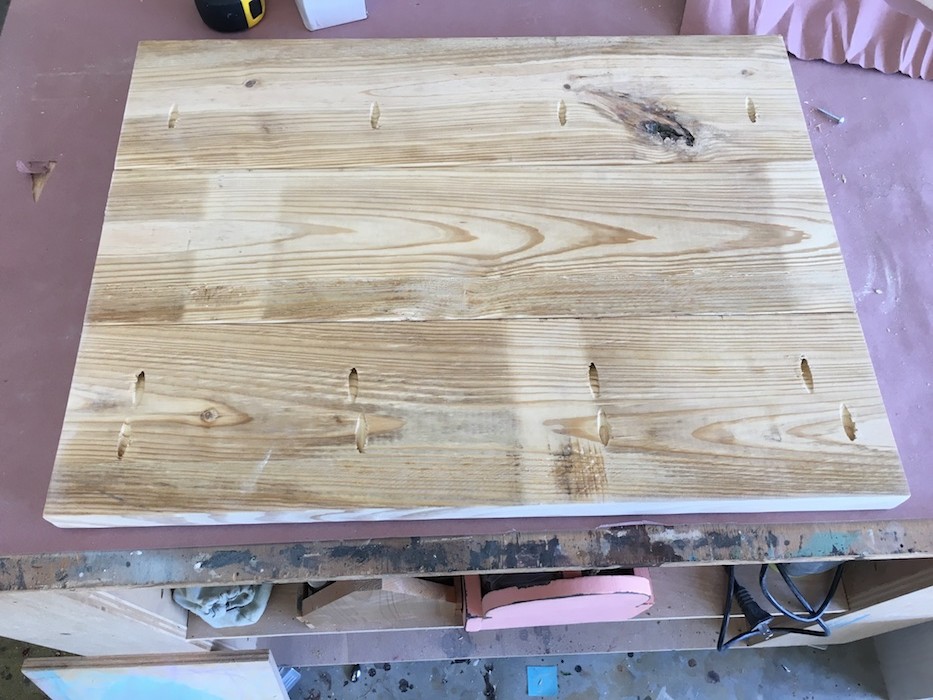
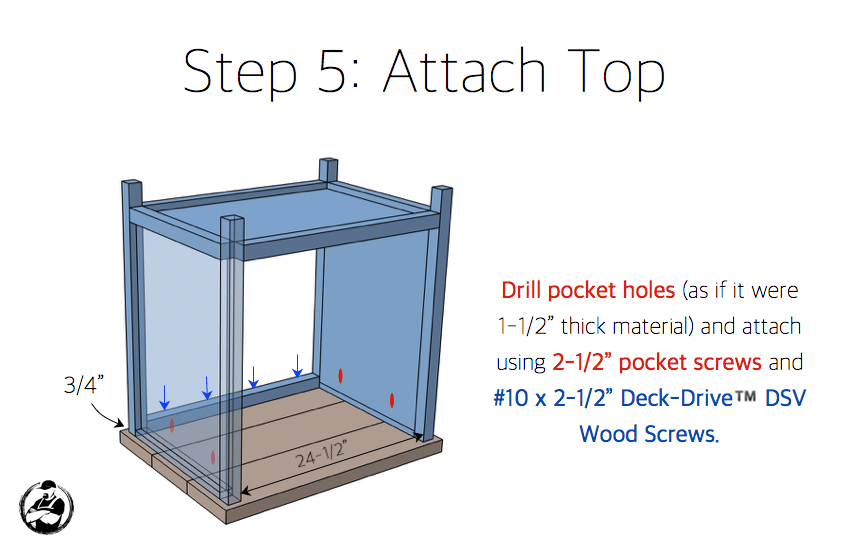
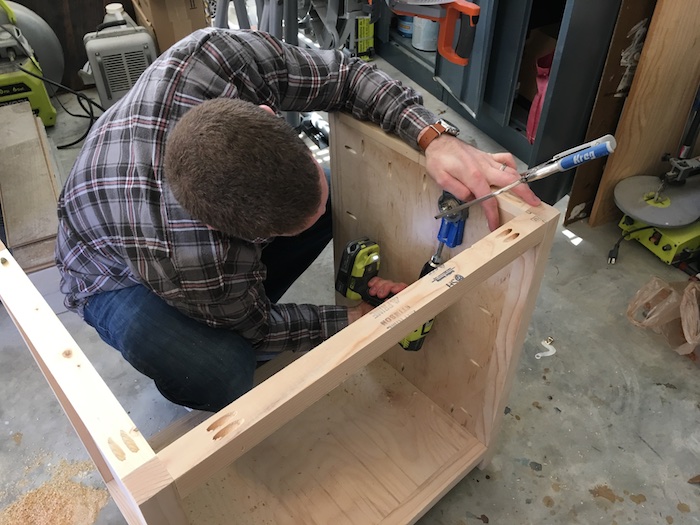
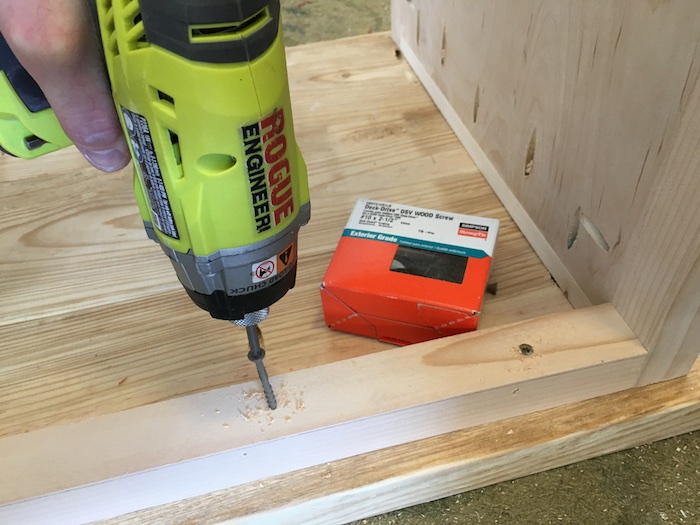
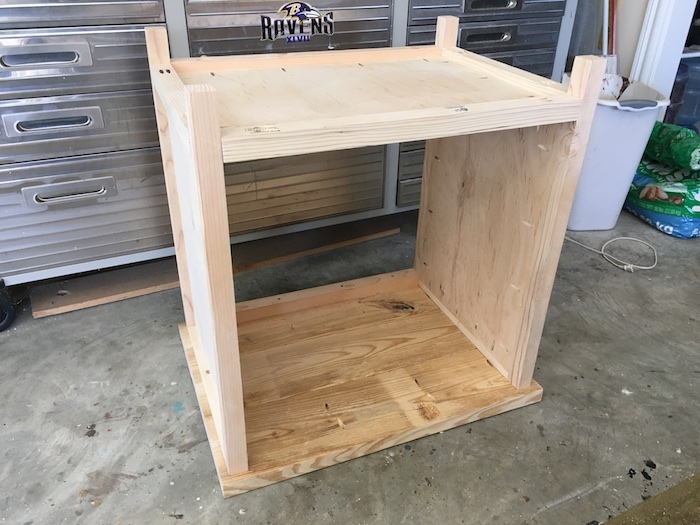
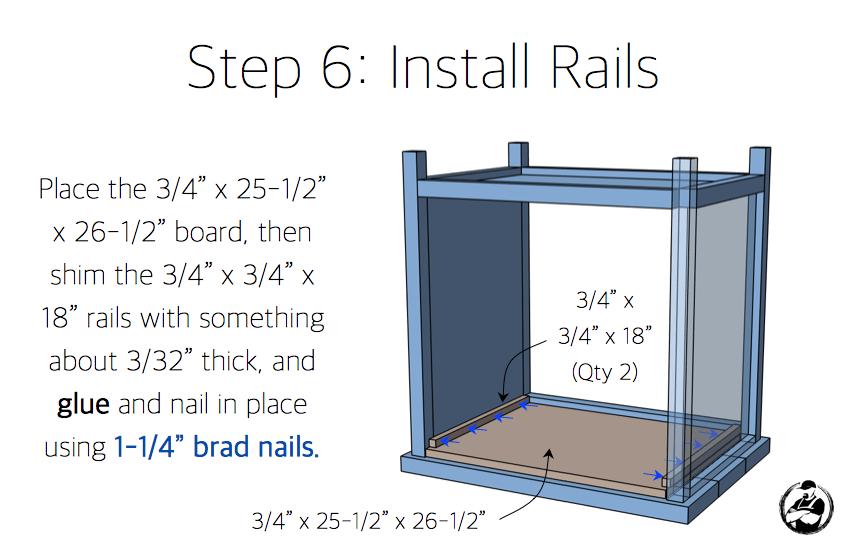
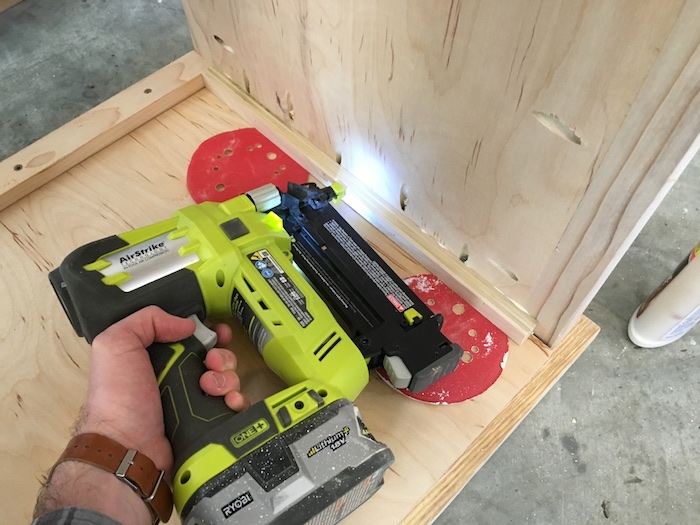
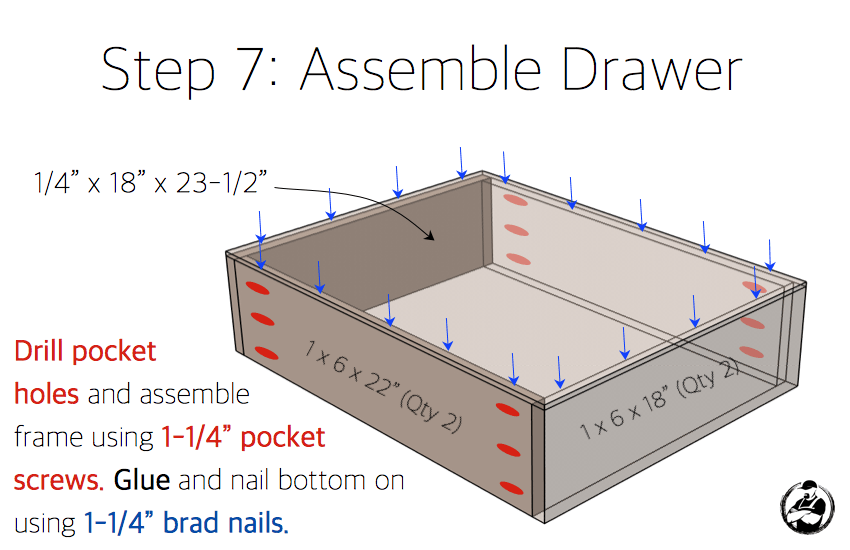
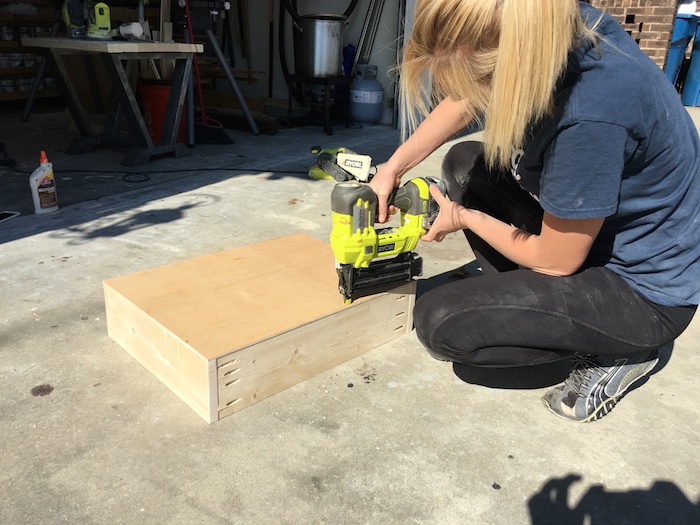
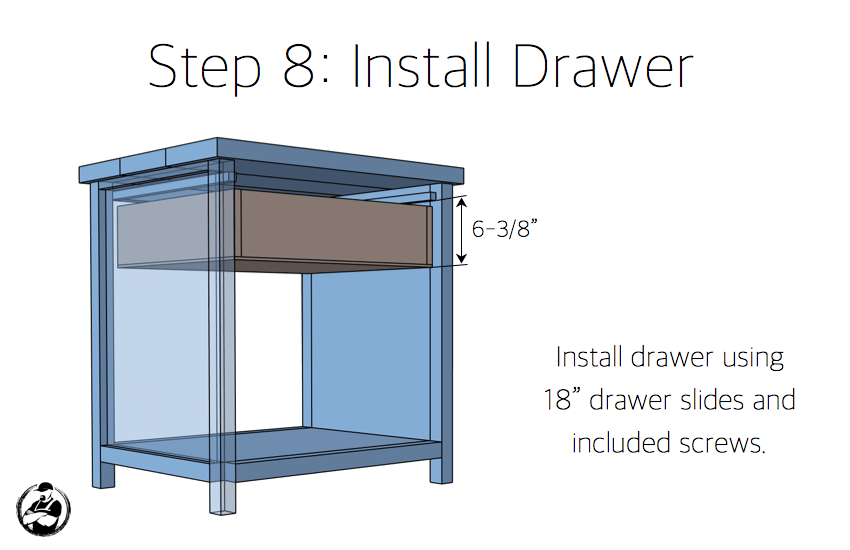
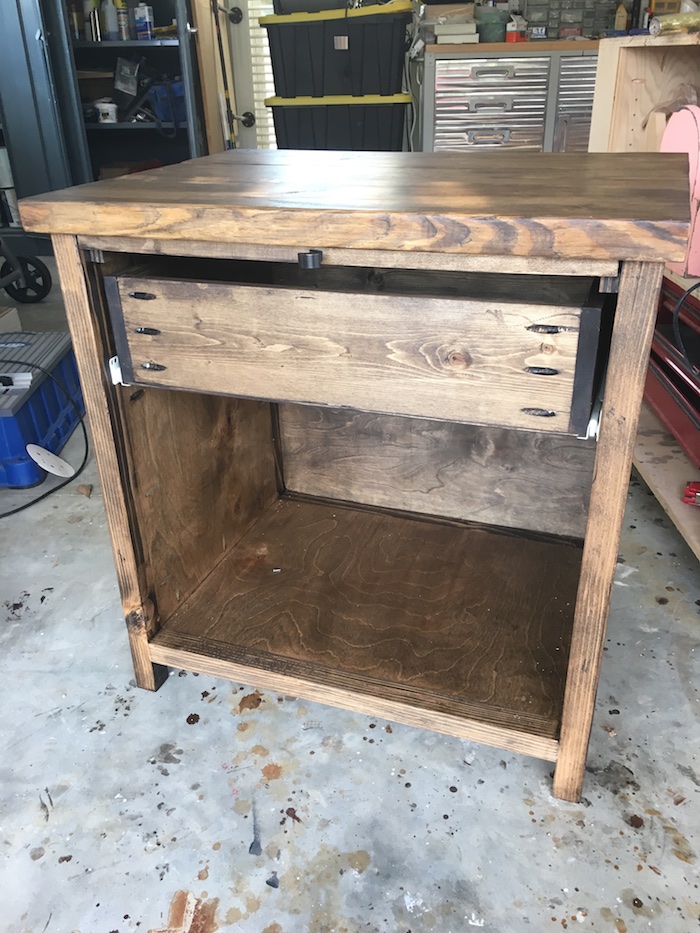
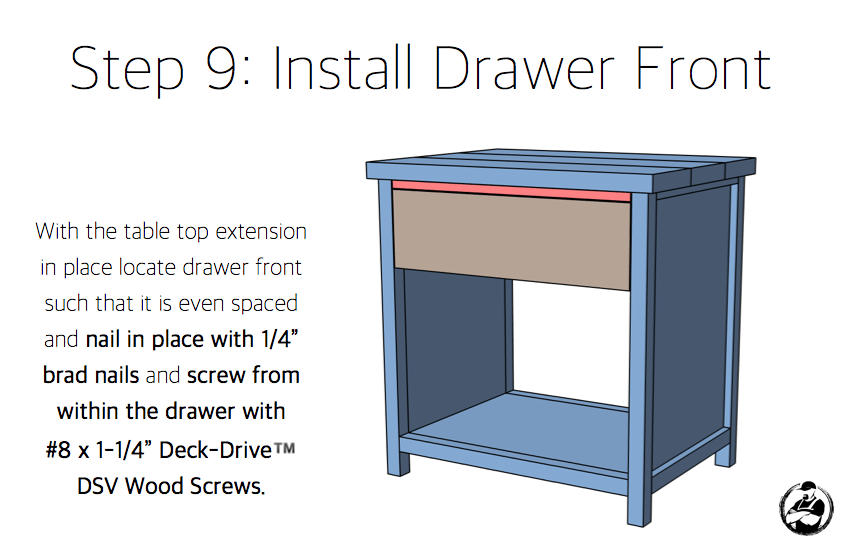
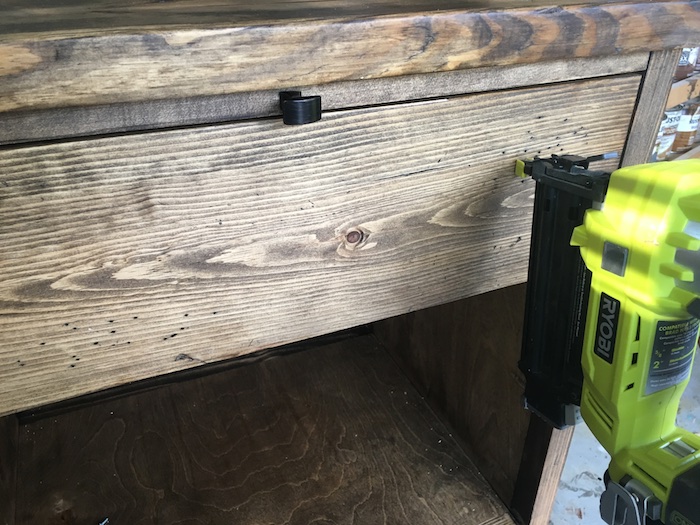
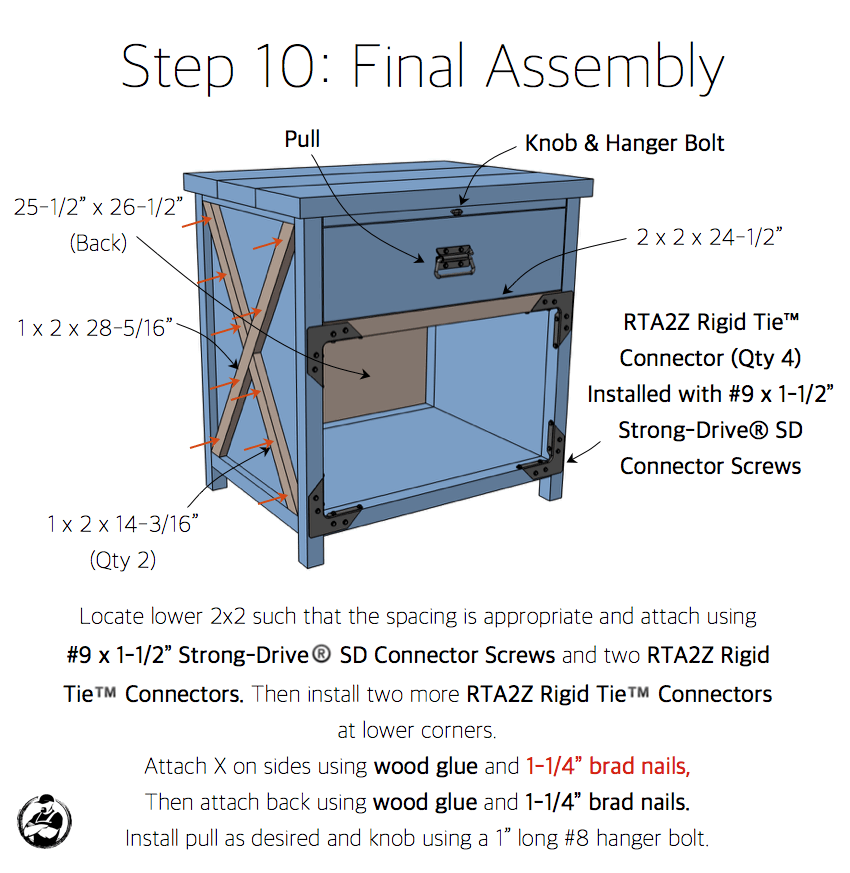
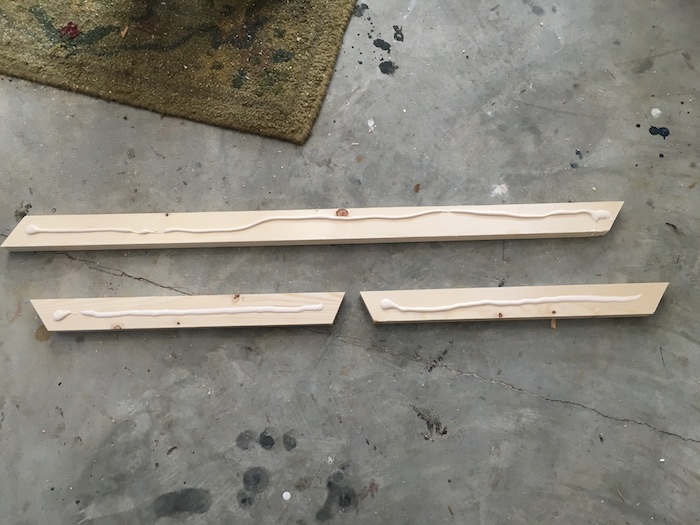
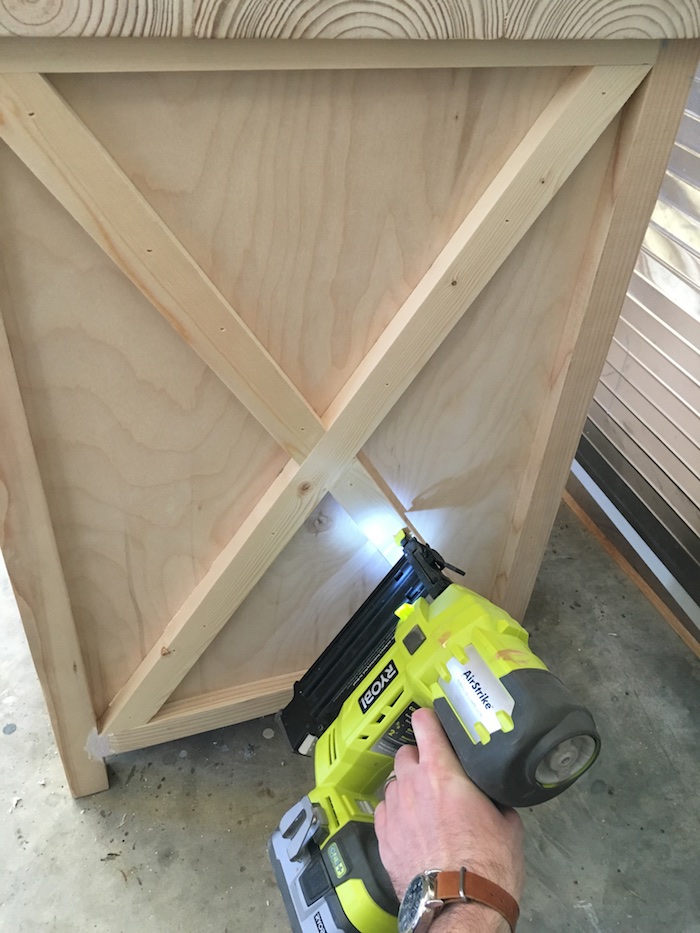
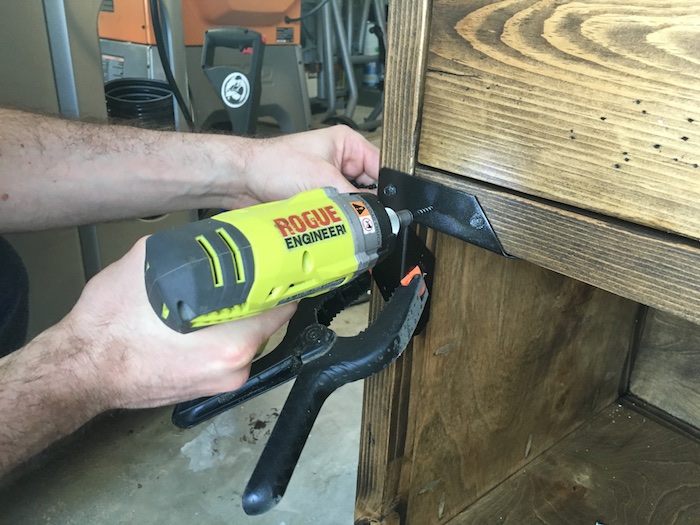
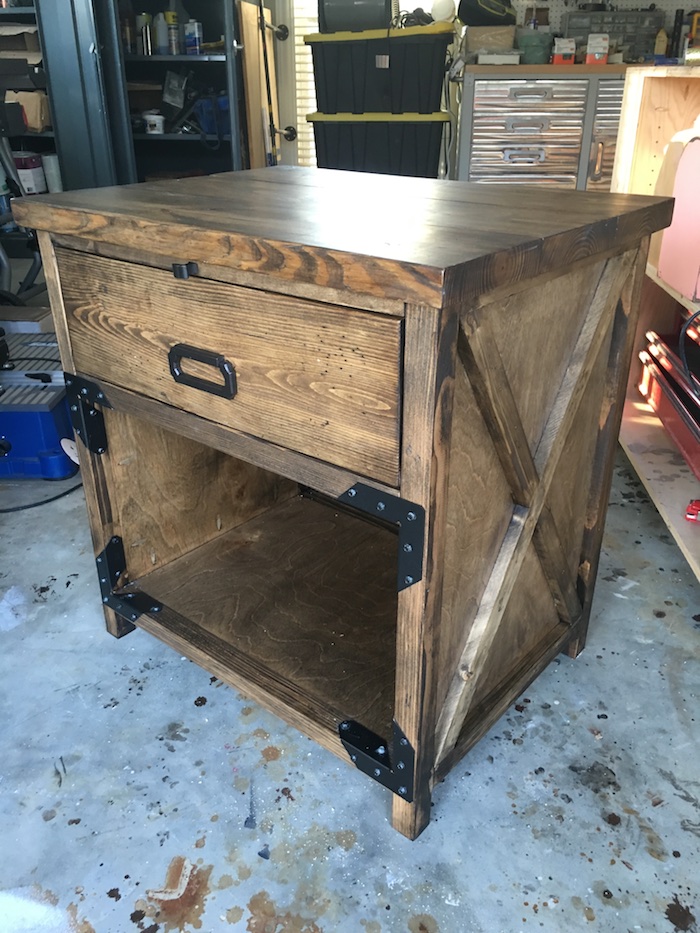
(Notice the garage floor… clearly my wife isn’t a messy stainer)
Finishing
We stained the entire nightstand with Ash wood stain from Varathane.
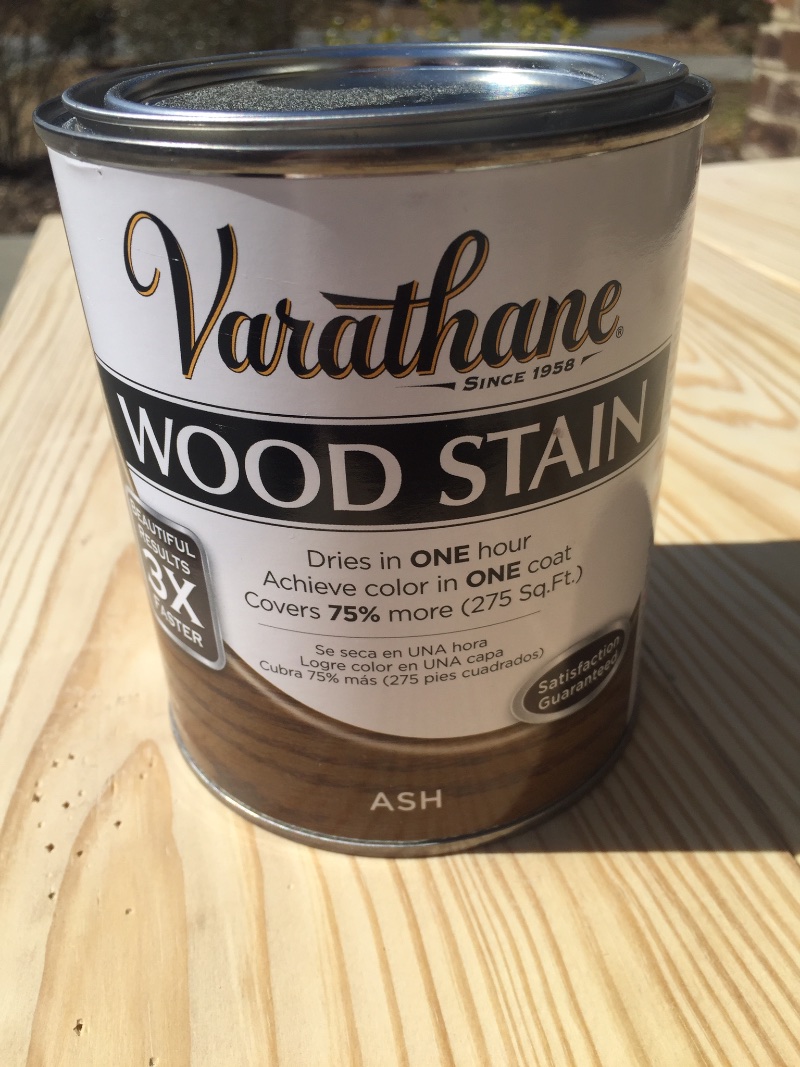
The connectors and screws were painted with oil rubbed bronze spray paint from Rustoleum.
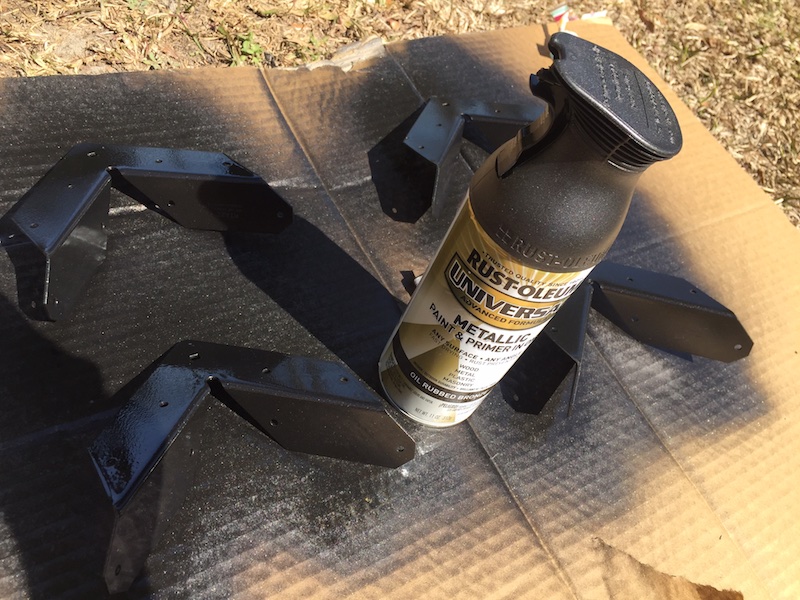
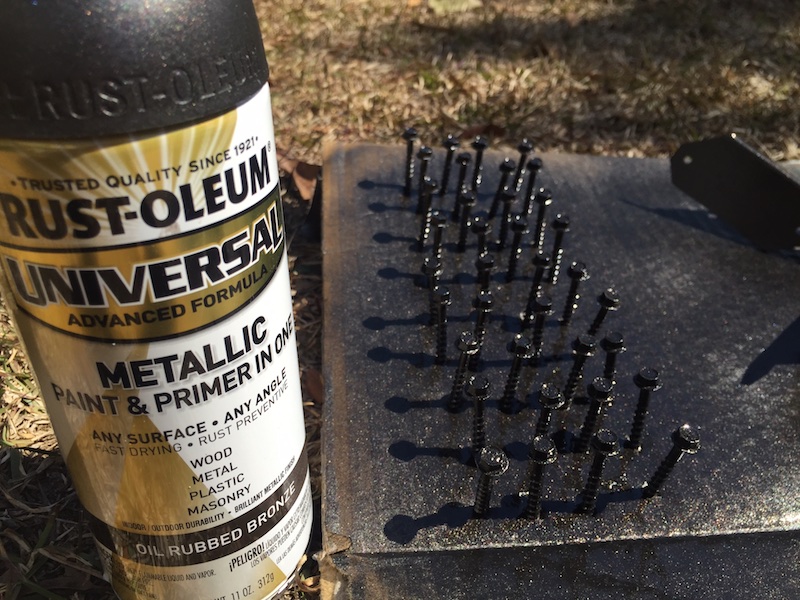
Once you attach the screws, you may need to go back and do some touch up on them. Using a small paint brush, I sprayed some paint out and did some minor touch up to the screw heads.
Questions? Comments?
As always, if you have any questions don’t hesitate to comment below and especially don’t forget to post pictures of your finished products in the comments! ENJOY!
Thank you! I finally found the perfect nightstand to build, and one that my husband actually likes. Could you tell me where you got the flower vase? I’m decor challenged, not good at finding stuff like that. It looks great!
Hey Jenna, Jamie actually got that from a local boutique shop. Unfortunately, I wouldn’t know where to find another like this.
Looks great! I love getting your new plans each week…but I don’t know how I feel about you being a Ravens fan…Go Steelers! 🙂 Keep up the great work!!!
Haha thanks Michael! My dad is a Steelers fan to so I’m use to it.
Do you know about how much the materials would cost to build a pair of these?
I would say about $75-100 each.
Am I missing the steps for the construction and installation of the sliding shelf?
I think it’s in step 6.
It isn’t very clear to me how you measure from the top to the sliding shelf and then from the sliding shelf to the drawer slides.
The sliding shelf is just laid in place in step 6, then the rails are shimmed (to allow the slide out to slide) and glued and nailed in place. The dimensions from the bottom of the drawer slides to the bottom of the rails is 6-3/8″ as called out in step 8.
Yea sorry that isn’t very clear Joe. The slide out is shown in step 6 but should have been called out again in step 9. I’ll get that fixed.
Love love love this!!
Thanks Linda!
Do you have the plans for #1 in your contest? I prefer that one and want to build it.
No but you could use these plans as a starting point and remove the Xs from the sides and add a door to the bottom.
I am part of your mailing list but I still can’t get a PDF copy of the
plans. I was looking forward to working on this over the holiday.
That’s not good Jennifer. Sorry about the delay in getting back to you, I have been moving over the weekend. Sometimes these PDFs get caught in your spam filter. Try checking your junk mail and if it’s not in there shoot me an email and I’ll get it over to you.
What do you use for your 2 x 2’s? I have a hard time finding 2 x 2’s at the big box stores other than furring strips or treated lumber. The rest looks like pine, right, even the plywood?
We usually rip down a 2×4 to make our own 2×2
Thanks. Is the plywood just plain sanded plywood, or do you use the oak or birch plywood?
We used the birch plywood.
I might be really confused but does the cut list call for (1)25 1/2 x 26 1/2 but the plans have two? The slide extension and the backing?
Did you ever get an answer on this? I had the same question
I just found this and it looks great, but step 6 has a mistake, it says ‘3/4″ x 25-1/2″x26-1/2″‘ but this is the wrong piece it should say ‘3/4″ x 18-3/4” x 24-5/16”’, caused me a it of confusion when I was reading through the insturcions.
What did you use for the clear-coat?
I am part of the mailing list but I didn’t get the PDF copy; I looked in my spam and junk and it’s not in either of them. I need the plan asap because I am building this in a school class. Can anyone help me?
Am I missing the steps for the construction and installation of the sliding shelf? At least it seems to me the dimensions are wrong.
Could you post a link to the drawer pulls and knob for the table top that you used? I am having a hard time finding a knob that will work that is small enough. Thanks for the plans!!
https://uploads.disquscdn.c… just built this and then rebuilt it after i cut the dimensions down. It is huge. I also used biscuits in the spots where the pocket holes are visible and omitted the slide out. all in all was a good fun project.
I’m working on a dresser the the x-brace design on the side. What’s the best way to determine the angles and dimensions for these pieces. I tried aligning a piece and marking but because of the back panel I can’t really get my pencil behind the piece to mark. Any tips?
Where does the 1x8x6 come into play in this build. I must be going crazy because I don’t see it on the plans.
The drawer face
How did you attach the knob for the pull out exactly
I myself used a hanger bolt. 10-24 threads. Drilled a hole and screwed the knob on to the machine threads and then screwed the whole lag into the edge
Since the ash stain is discontinued anyone hoping to get the same stain color I mixed weathered oak and provincial in a 2:1 mix and it’s pretty close
When I click to download the PDF, I get an error message :/ I’ve even tried switching browsers!
I would like to build this night stand but I cannot download the and whenever I click on download it comes up an error message. Please can I have the plans