

Truss Console Table
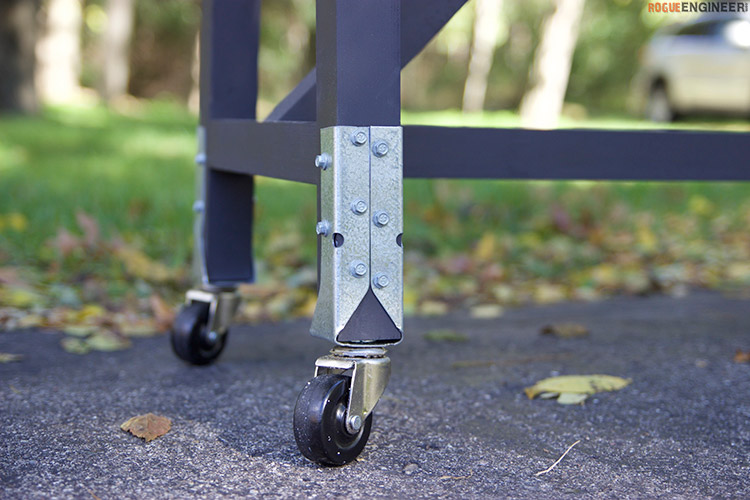
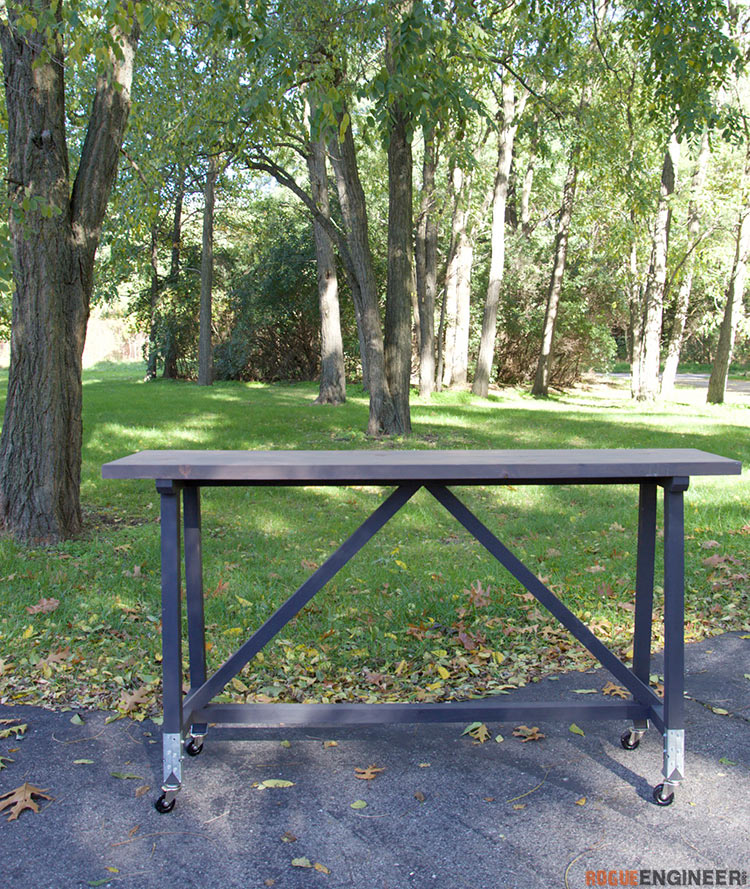
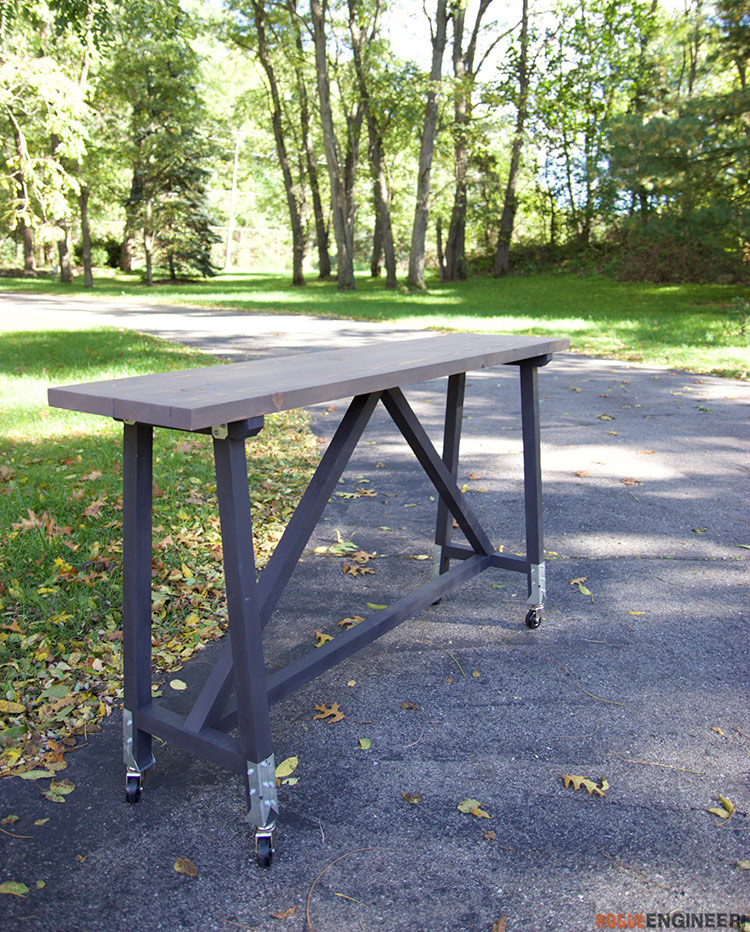
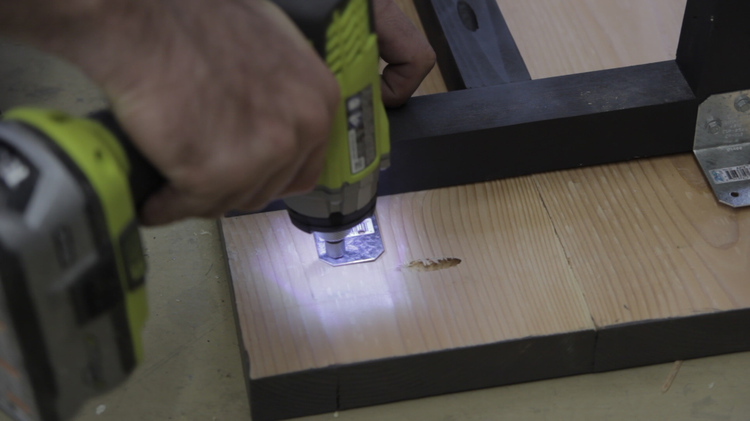
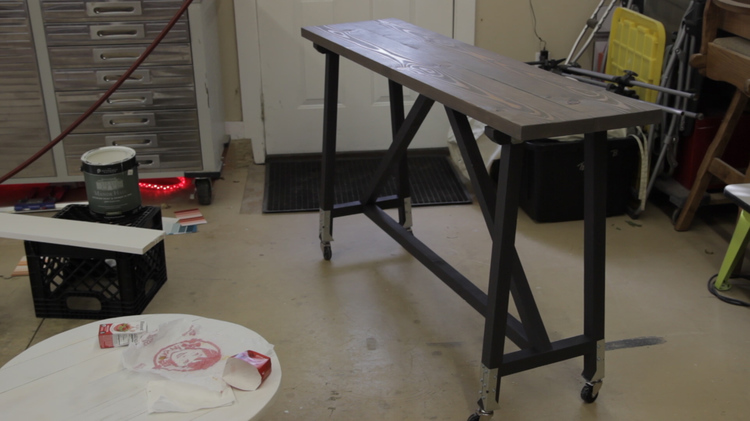
Console tables are our weakness. I wanted to create a more of an industrial looking console table this time though and I’ve always like the idea of adding casters to something like this. I got the idea of adding the concealed joist hangers from the industrial tripod fan by our friends Katie and Jeremy from the Bower Power blog. The casters, galvanized trim, subtle angles of the legs and the truss-like angled supports in the middle are really attractive to me. Since we were going for an industrial look we opted for the matte black base and gray top along. Can you believe that we built this table, casters and all, for about $40!?! I hope you like it as much as we do and if you have a different style in mind for this table I’d love to see it. Dress it up, dress it down, either way, I think this is a console that is going to stick around. Whoa, I’m a poet and I didn’t even know it. Cheers!
For sneak peeks of our upcoming projects be sure to follow me on Facebook and Instagram. Also, follow me on Pinterest to get tons of projects plans from all around the web!

Required Tools
Materials
- Qty 1 – 2 x 8 x 10′
- Qty 4 – 2 x 2 x 8′
- 2-1/2″ Kreg Pocket Hole Screws (Coarse)
- 2-1/2″ Wood Screws
- Wood Glue
- Qty 4 – Simpson Strong-Tie® LUC26Z Hangers
- Qty 4 – Simpson Strong-Tie® A21 Angles
- Simpson Strong-Tie® #9 x 1-1/2” Strong-Drive® CONNECTOR Screws
- Qty 2 – 2” Treaded Stem Casters (2 Pack) (Home Depot)
- Qty 1 – 5/16” Tee Nuts (4 Pack)
Disclosure: The links provided in the “materials” and “required tools” sections are affiliate links. If you would like to support our site and help keep our content free come find out more about how we can make money with no extra cost to you.
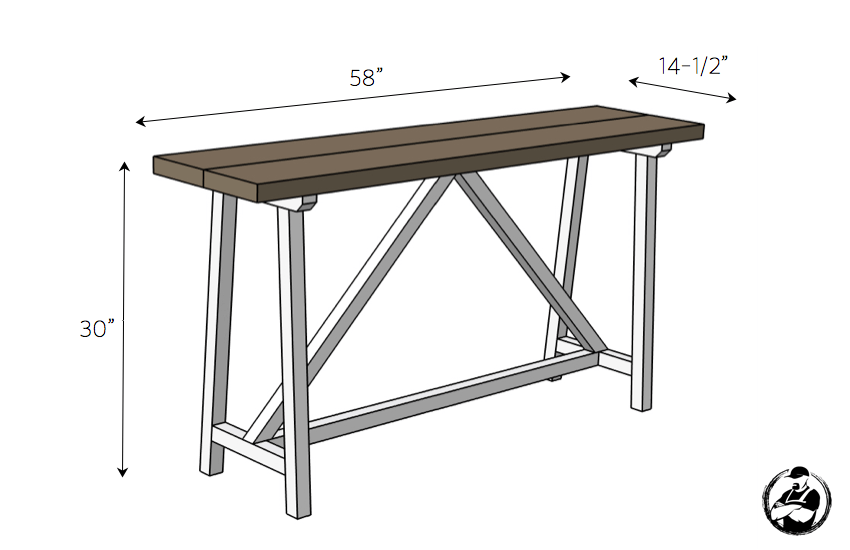
Dimensions
Cut List

How to build a Console Table
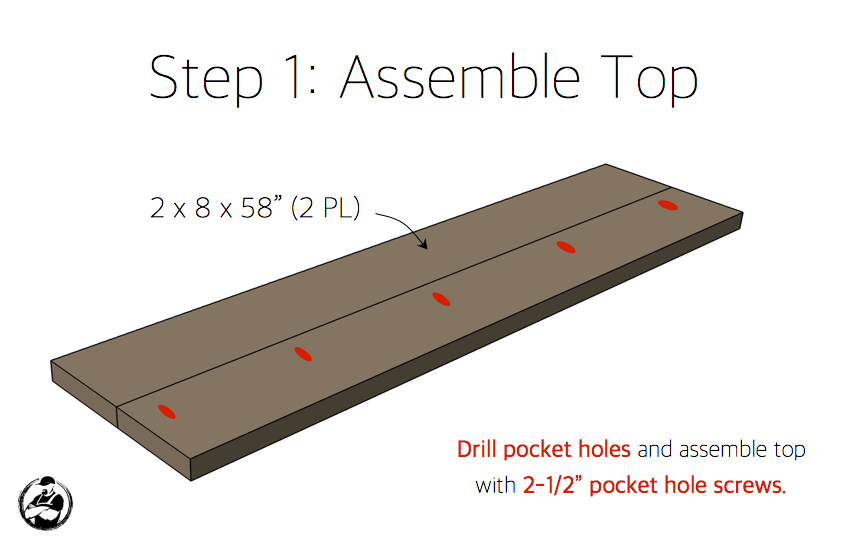
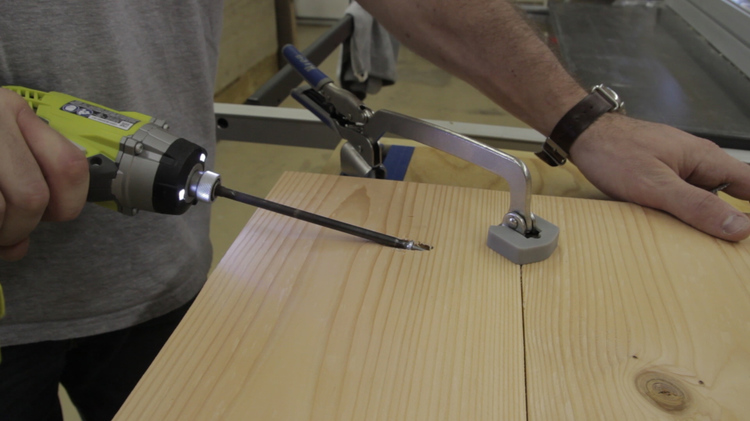
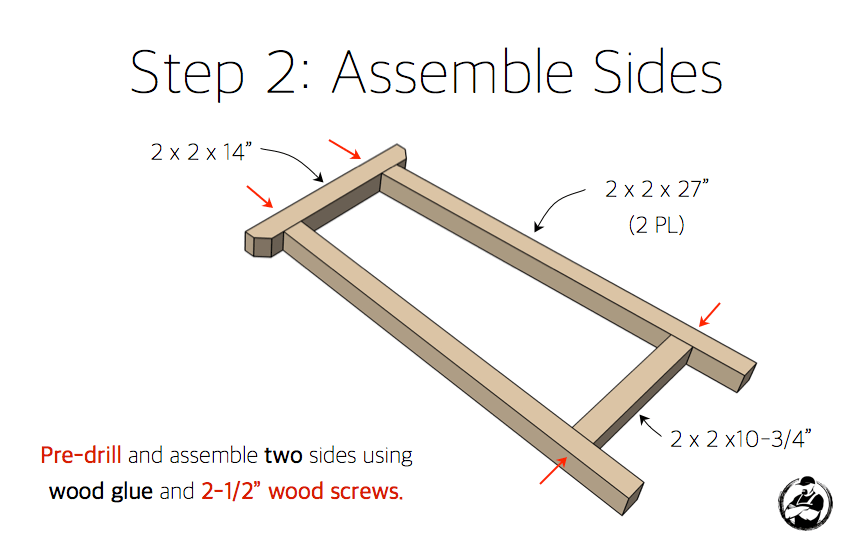
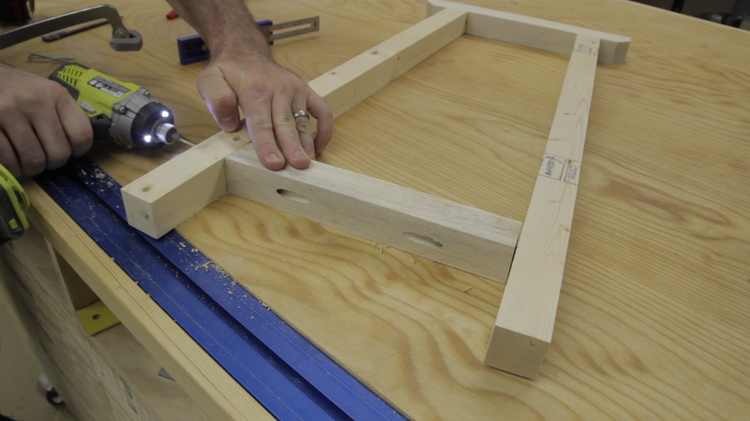
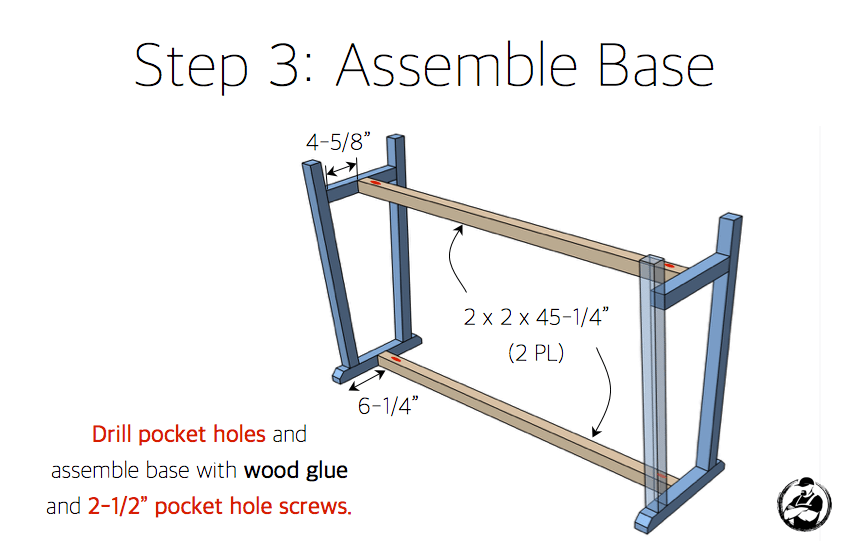
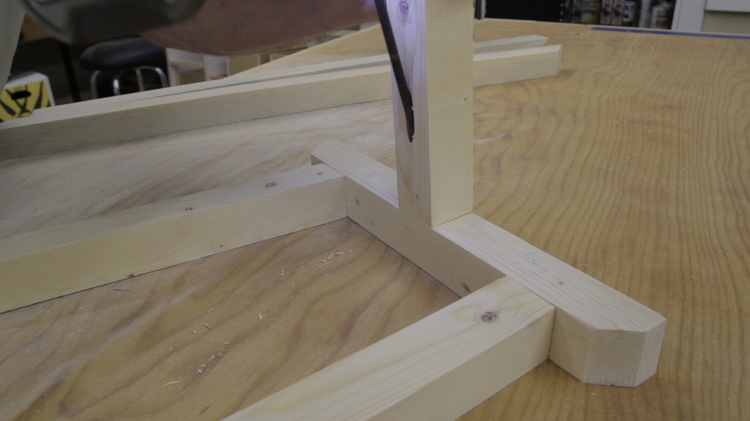
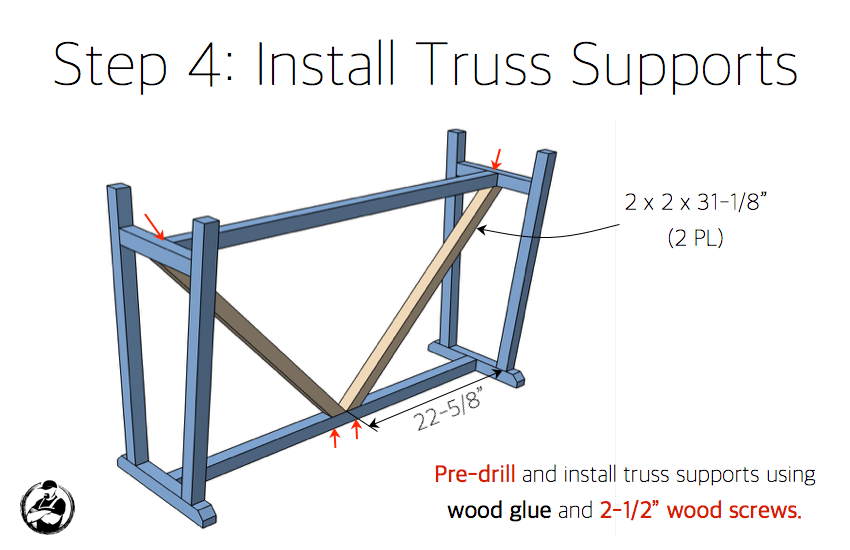
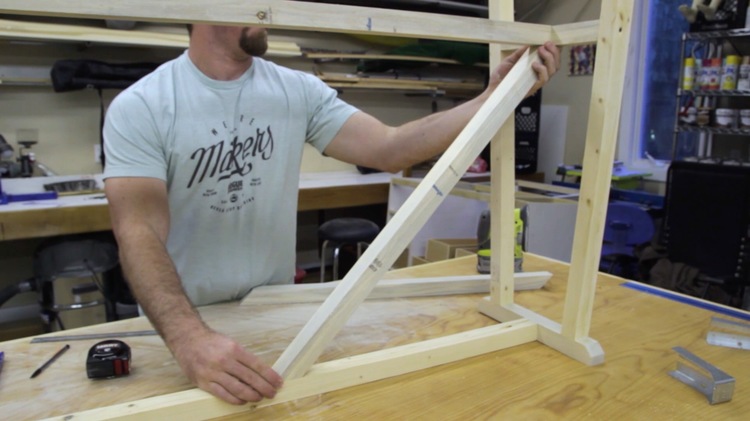
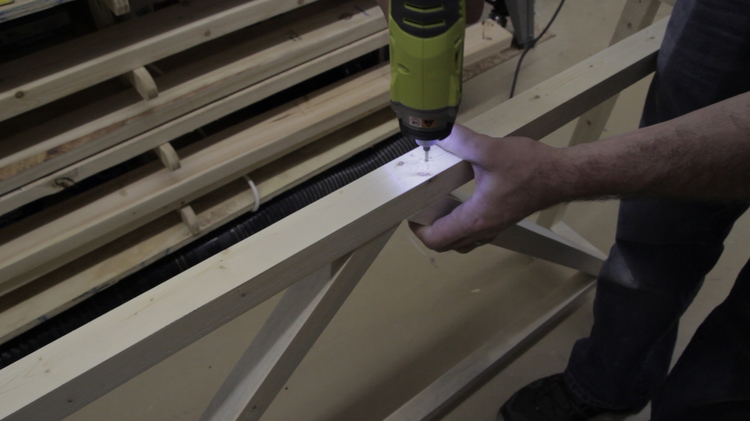
Finishing
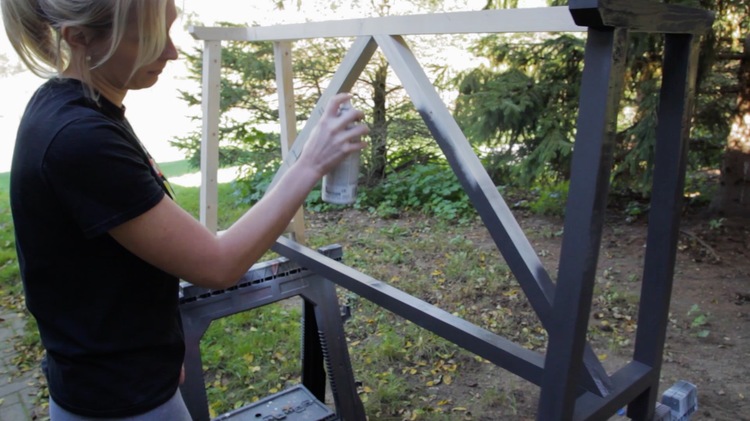
If you plan on going with a two tone look like we did, it is best to finish the top and base separately prior to final assembly. We went with Rustoleum’s Chalked Paint in charcoal for the base and Varathane’s Briarsmoke wood stain for the top. Then we sealed the top with 3 coats of matte polyurethane.
Questions? Comments?
As always, if you have any questions don’t hesitate to comment below and especially don’t forget to post pictures of your finished products in the comments! ENJOY!
Jamison,
Two things.
(1) I don’t know if you remember me writing you when I built Ana White’s rustic coffee table and I, like you, thickness planed the boards for the top and after assembly the top warped. Did you encounter thay problem when you planed the to of this table, or did you find something to keep th warping from occurring?
(2) How do you find 2X2’s that are straight. I go to Lowe’s and Home Depot and al,ost all of the stock 2X2’s are severely warped, twisted or poor quality. The ones you used looked straight and good quality. Any secrets?
Ray
Hi Ray,
I’ll chime in here with my .02 about 2’s. I’ve been buying a lot of 2×2’s and 1×2’s here lately, and if I ever wanted to build actual furniture with this size of wood, I’d make my own, because these 2 sizes of lumber in particular are definitely the worst when you’re choosing from a box store. I’m not going to pay for the ‘select’ 2×2 when I can easily get a 2×4 and make it a 2×2 – true 2×2, too! – on the table saw.
If you do have to get it from a box store, maybe you have a Menards close, or a mom and pop lumber yard? I’ve found Menards lumber to be better than the other 2.
Again, my .02.
Drew,
Thanks for your .02. I do have Menards close, and I hadn’t considered ripping my own 2×2’s from 2×4’s. I’ll have to give that a try.
Hey Ray, like Drew, I too rip my 2x2s down from a 2×4 as shown in the video. I’ve been doing this for quite some time now. It’s easy and makes a good square 2×2. As far as the warping, I haven’t had any trouble. I think the key is to make sure the lumber is as close to equilibrium as possible. Meaning that the moisture content is neither lowering or raising. That way the amount of movement you should see is relatively and just related to humidity swings. Yours may have been a little wet and when you exposed the insides after planing, it would have caused it to move even more.
Jamison,
I love this design. If I wanted the table top to be 24″ instead of 16 would I need to do anything other than extend the length of the support arms?
Thanks
What does “PL” stand for in the plans?
Places. It’s short for how many places an item is used.
Thank you so much for your site and all the wonderful content. I am opening a small food shop and have been searching for a diy design for two counter height bar tables. I have decided to adjust this design by bringing the table up to 45″ while leaving the other dimensions the same. Just reaching out to see if you see any problems with this change, my main concern is stability; I planned on using furniture anchors as well as added security to diners.
Jamison,
Two things.
(1) I don’t know if you remember me writing you when I built Ana White’s rustic coffee table and I, like you, thickness planed the boards for the top and after assembly the top warped. Did you encounter that problem when you planed the top of this table, or did you find something to keep th warping from occurring?
(2) How do you find 2X2’s that are straight. I go to Lowe’s and Home Depot and almost all of the stock 2X2’s are severely warped, twisted or poor quality. The ones you used looked straight and good quality. Any secrets?
Ray