

Bar Top Console Table
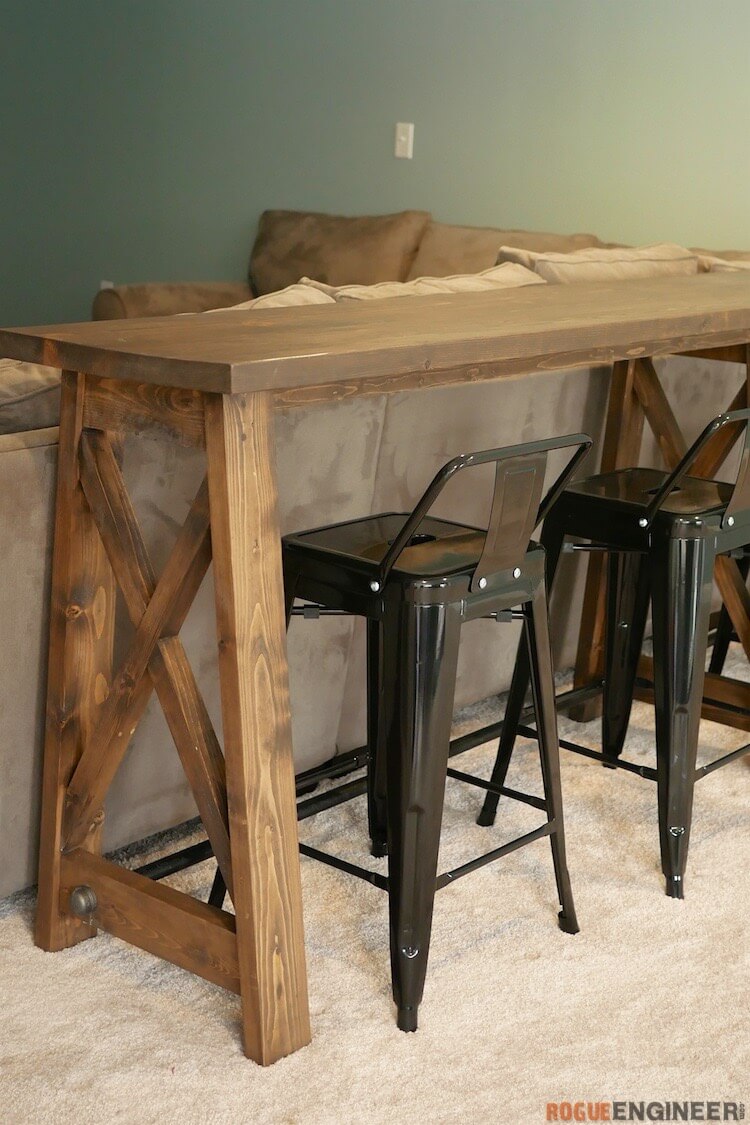
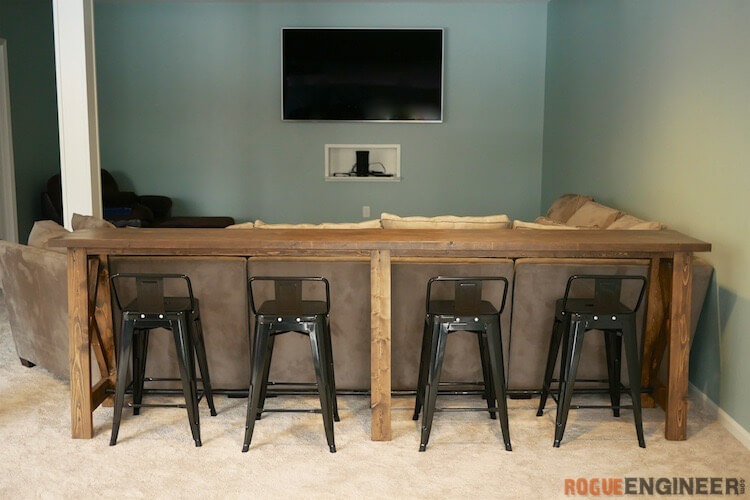
Recently some good friends of our had their basement finished and bought a new flat screen and sectional sofa. After having a few gathering there we realized that the sectional by itself just wasn’t enough seating. To add some more seating we came up with the idea of building a long counter height console table to go behind the sectional and act as a bar.
Nevertheless, I couldn’t be happier with how it turned out and what’s even better is the price tag of only about $50 in materials. Plus if you want to build one for a smaller sofa or loveseat it can be easily adjusted to do so. Oh and if you are looking for bar stools to go with it, check out this awesome deal on Amazon.
Don’t forget to subscribe on YouTube and for sneak peeks of our upcoming projects be sure to check out Our DIY Life on YouTube, follow us on Facebook and Instagram. Also, follow me on Pinterest to get tons of projects plans from all around the web!
Required Tools
Materials
Disclosure: Some links provided are affiliate links. If you would like to support our site and help keep our content free come find out more about how we can make money with no extra cost to you.
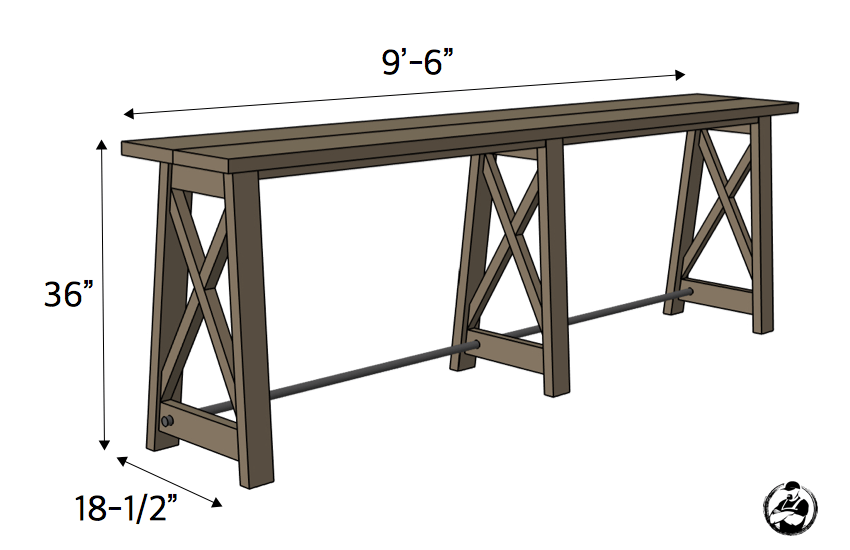
Dimensions
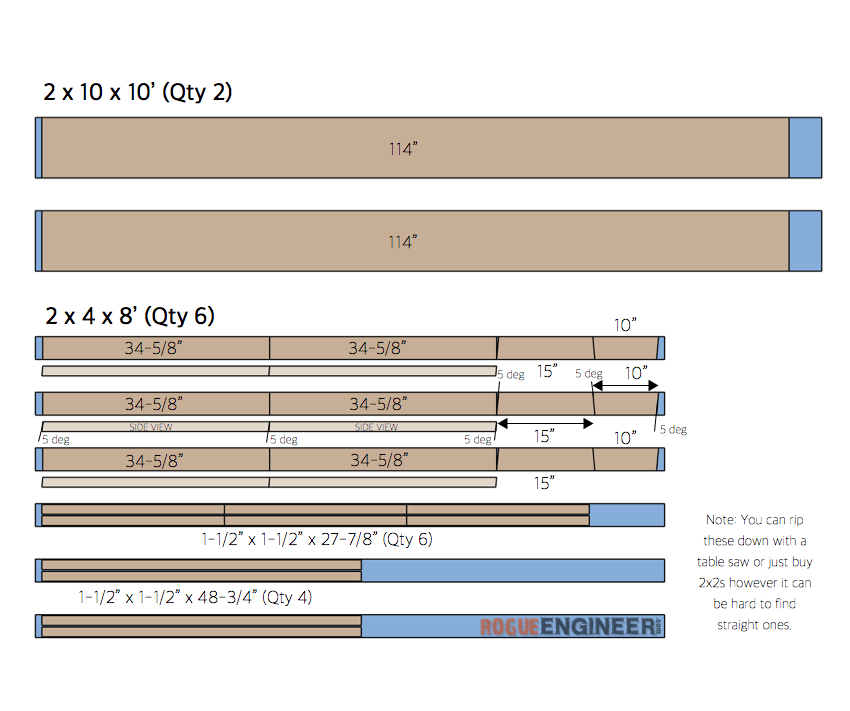
Cut List
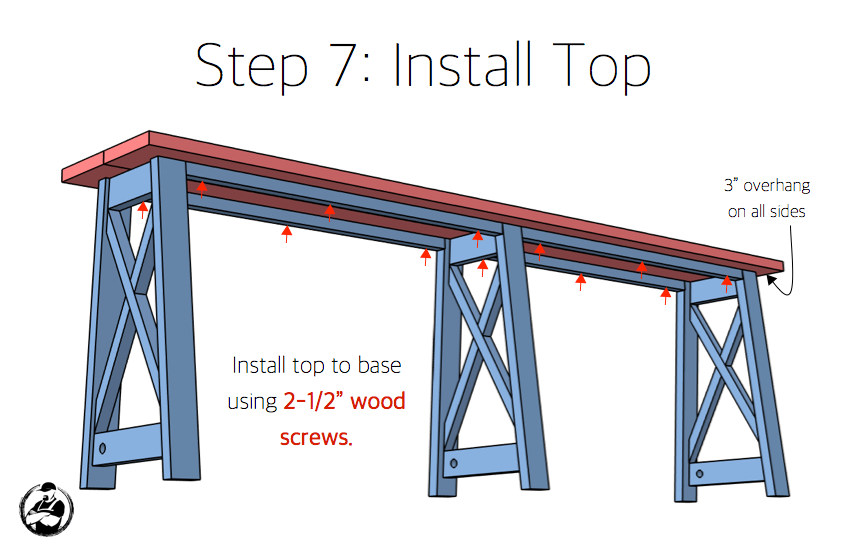
How to build a Bar Top Console Table
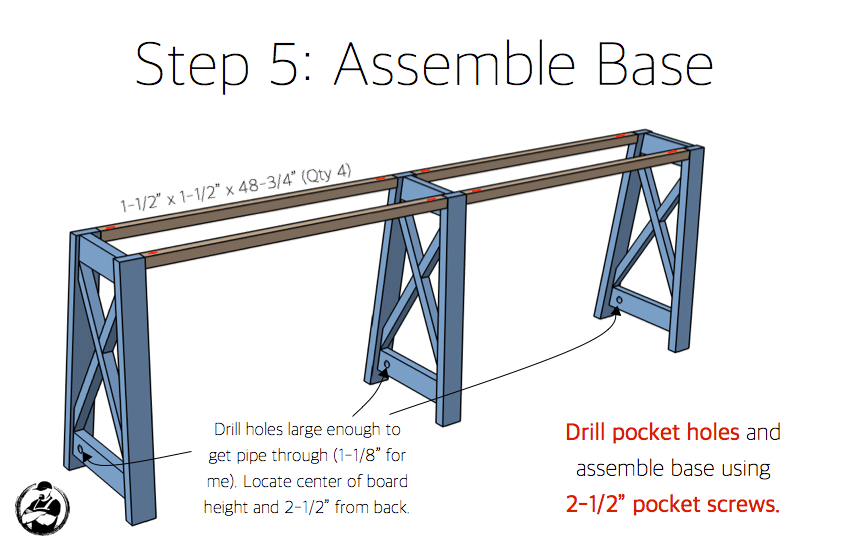
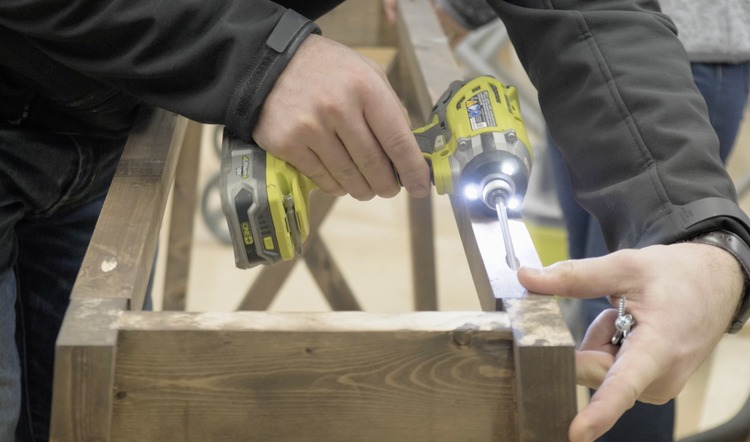
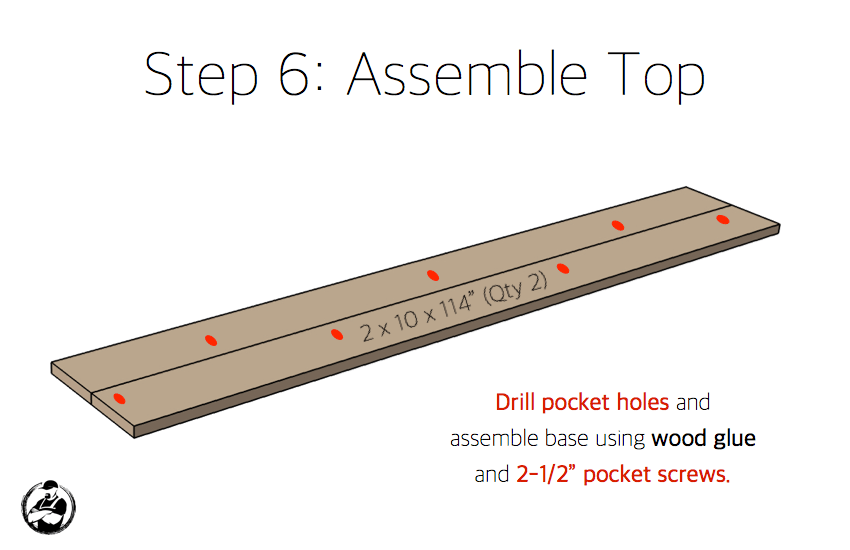
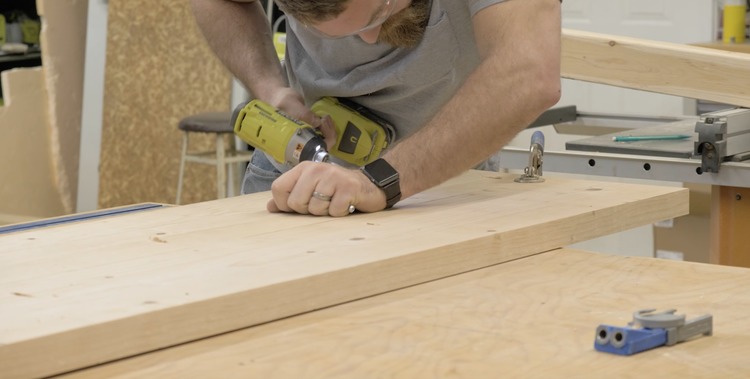
Questions? Comments?
As always, if you have any questions don’t hesitate to comment below and especially don’t forget to post pictures of your finished products in the comments! ENJOY!
Looks good. It also looks super cold. Have you used bar top epoxy before for a top like this? I’ve used it a couple times and always love the results. It’s not difficult but definitely more work than just polyurethane.
Thanks and yes it is super cold. I’ve used bar coat one time a long time ago and it did turn out nice. We were looking for a matte finish on this one though.
Awesome…
Thanks Steven!
Great idea, with not too much trouble you could adjust the length and height of it to match the application.
Thanks Jeff!
At the risk of sounding like an overly fussy nerd with too much time on my hands… it should be “their basement”, not “there”. I wouldn’t normally say anything but I thought it might matter to you to make the correction. BTW, love your blog & emails, and am always impressed with your plans that are both easy to follow and sturdy enough to trust. I have a few on my To-Do list for the next rainy day!
Haha good catch. Correction made! And thanks for the kind words.
If I wanted to use this leg for a vanity, would I need the stretcher bar? Since the top will be attached to the wall wobbling won’t be an issue. Also which style of joint do you prefer for the “X”.
That would probably be a good idea. As for the X, I like the half lap joint.
What program do you use to create your project plans? I’m still doing all mine by hand with graph paper–need something speedier!
Thx
two good free options are sketchup and fusion 360. Not sure they are speedier but maybe once you get the hang of it.
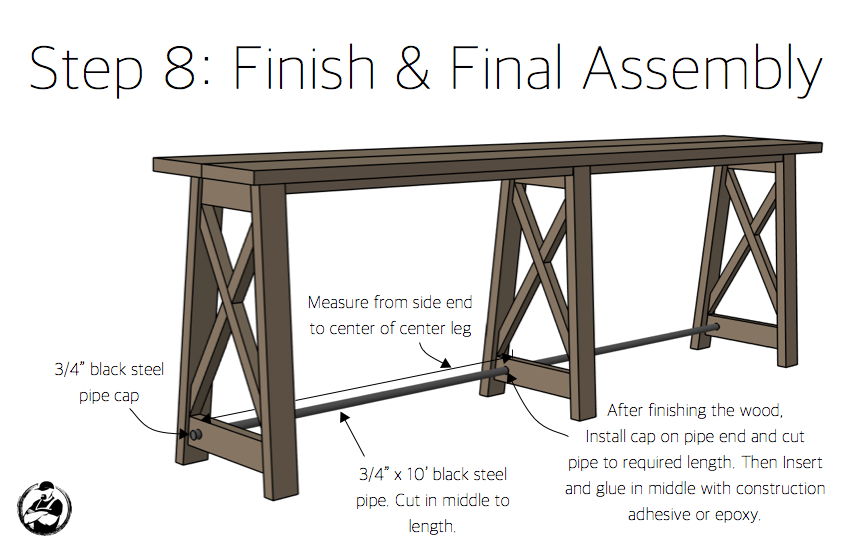
May I ask why we’re cutting the pipe and then gluing it? It seems that you could run it from one end through the middle leg and cap both ends. I’m a newbie builder…so… this is the only part I’m not clearly understanding.
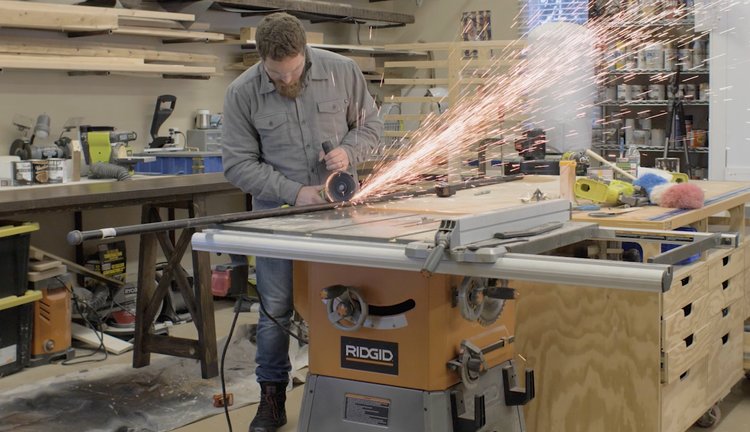
The pipe that we used is a 10′ black steel pipe with threaded ends. The table however, is not that long, so we cut out about 6″ from the middle of the pipe, leaving the threaded ends for the caps to thread on to. If you have a hardware store in your area that could cut to length and thread the pipe for you, this is another option.
Perfect. Thank so very much!
So totally not a builder at all, but trying to figure out what supplies i need if i only want a 6′ table instead of 9′. Could the middle leg be omitted if it is only 6′?
Did you just use construction lumber for this?
Hi Christian,
I like to know details of the finishing process,
Also, same Question Greg made
Are this construction lumber ?
Thanks in regards.
This is exactly what I have been looking for! Now if I can just talk my father in law into helping me build it!
i only want a 6′ table instead of 9′. Could the middle leg be omitted?
I am curious about this as well, 6′ would be perfect for my application.
I’ve made 2 of these now and love them both. A few tweaks I would make for the more novice woodworker:
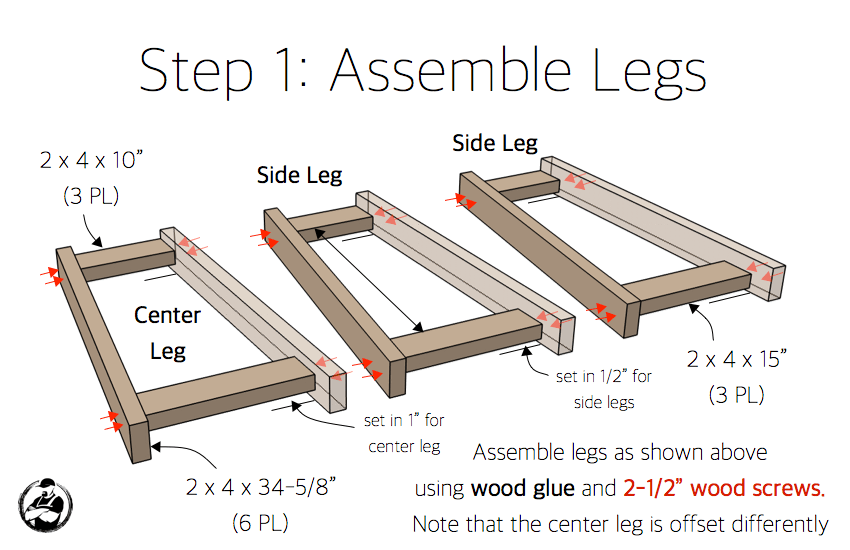
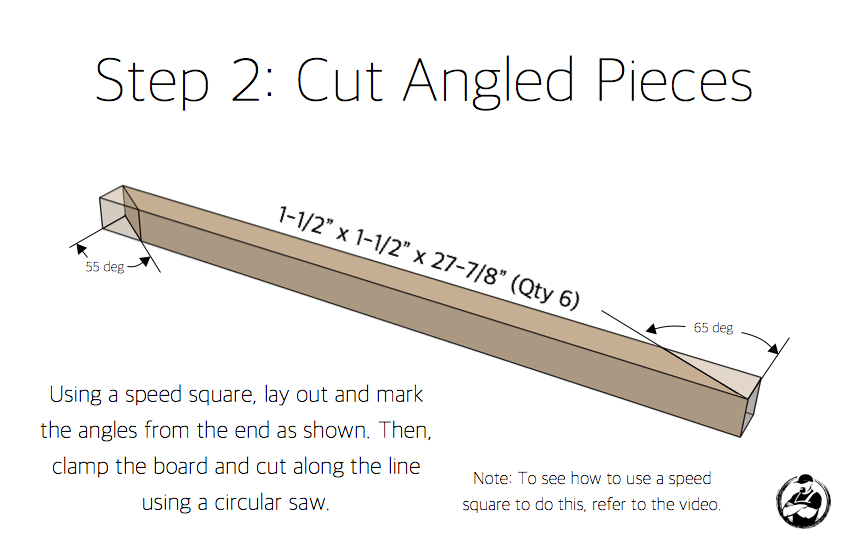
On the 2×4 cut list, make the cuts 35″, 35″, 15.5″ and 10.5″. This way when you go back and add the 5 degree miter on both ends you end up at the right length.
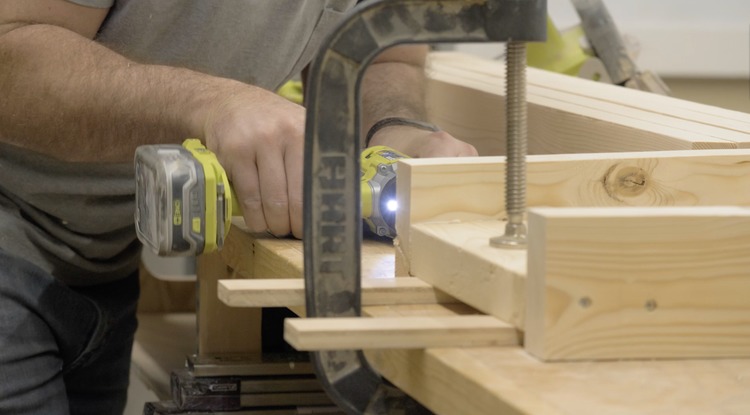
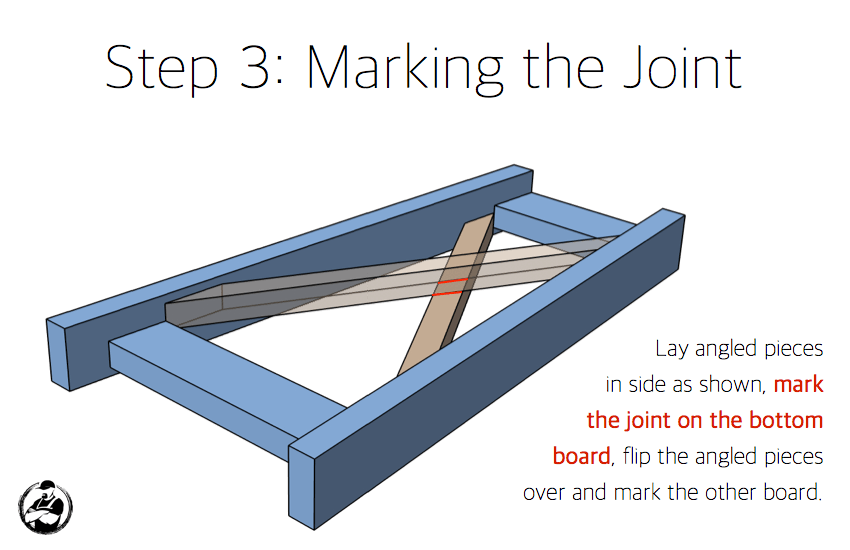
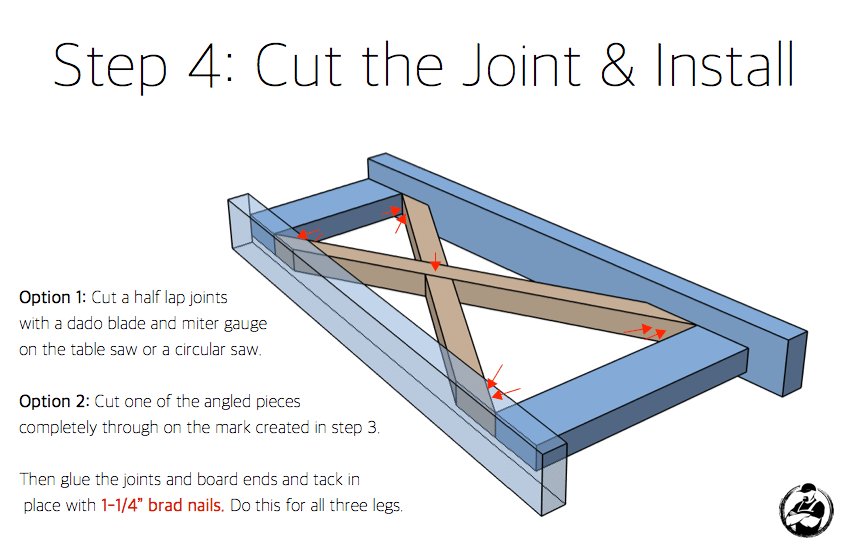
In Step 1, don’t secure the bottom cross member just yet. wait until Step 4 so the angled pieces fit perfect
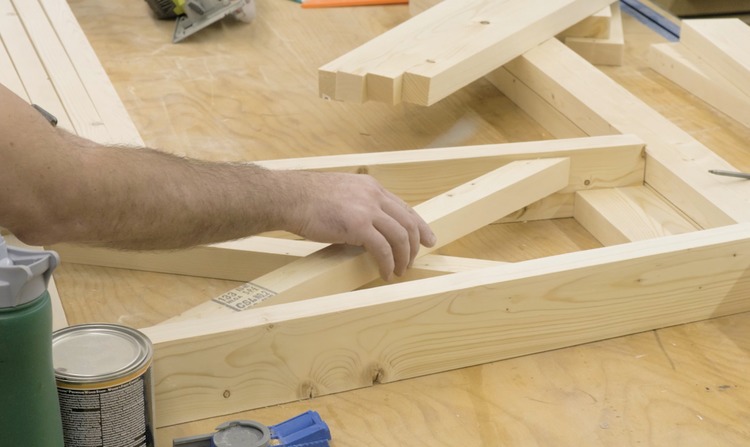
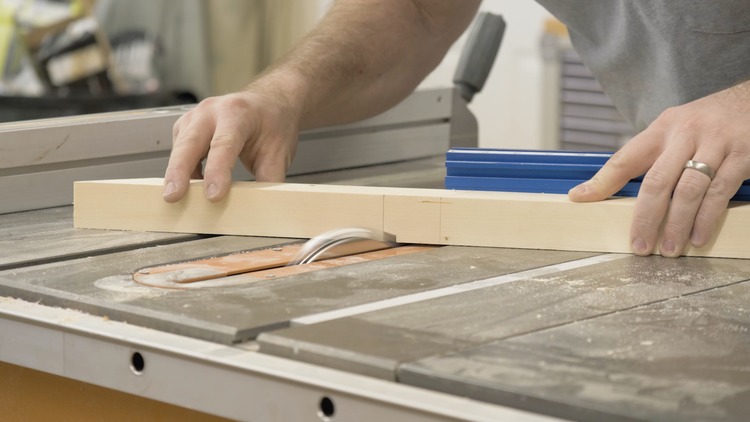
In Step 4, after marking the joint in step 3, use a circular saw at 3/4″ depth and make several passes in the area to be removed. use a wood chisel to get the big pieces out then use a router to clean out the half lap joint. Glue and tack the boards in place then secure the bottom cross member with the wood screws.
Step 4.5, Before you assemble the base it is easier to apply stain and poly when the unit is still separated.
Step 5, Assemble Top
Step 5.5 transport all pieces to final location
Eric quick question, are the 6 legs supposed to have the 5 degree angle cuts on both ends as well? I was confused on this part.
Yes, each end of the 6 legs should be cut at 5 degrees.
What stain did you use? Looks like it was a blend of two kinds?
I used this concept to make my 7ft Huddle Table at my office. I did omit the middle leg. I also substituted 2×4 for the 2x2s. They were just a little too small for the wider base.https://uploads.disquscdn.c…
THANKS!
I made this bar top console table about a year and a half ago and I love it. I made a little modification to the one I built in particular, shortened it to fit the length of my existing couch, and took out the middle leg support. But other than that, love how I added stadium seating and table space to my living room. Thanks Rogue Engineer!https://uploads.disquscdn.c… https://uploads.disquscdn.c…