Coastal Dock Renovation
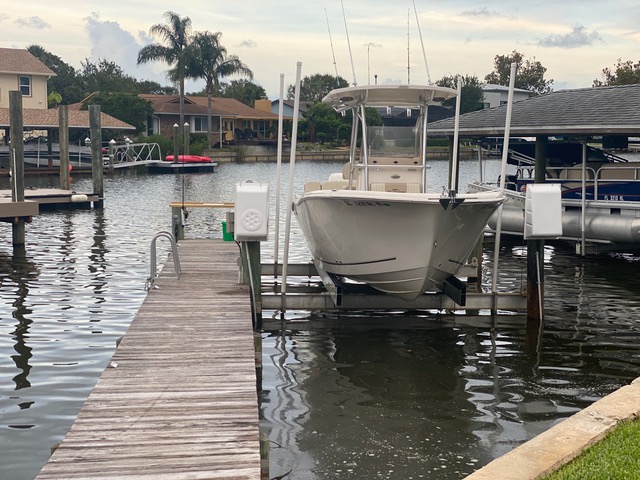
My parents recently bought a home on the water in Florida and having access to the water from their backyard has been huge! Unfortunately, the existing dock has been there since the 90’s and was in need of a makeover. The existing dock has pressure treated deck boards that are splintering and unsafe for bare feet. The layout is essentially a narrow pier positioned a few feet from the boat, making it difficult to fish from, with multiple people, as well as board the boat for less mobile people. Another thing I noticed is that the piles are covered in oysters and barnacles so the integrity was unknown.
In this article we go over how we were able to replace the existing structure and expand the decked area to allow for a much more enjoyable space to hangout, fish, and have my parents safely board the boat.
Full Project Video
Complete Coastal Dock Renovation
Design
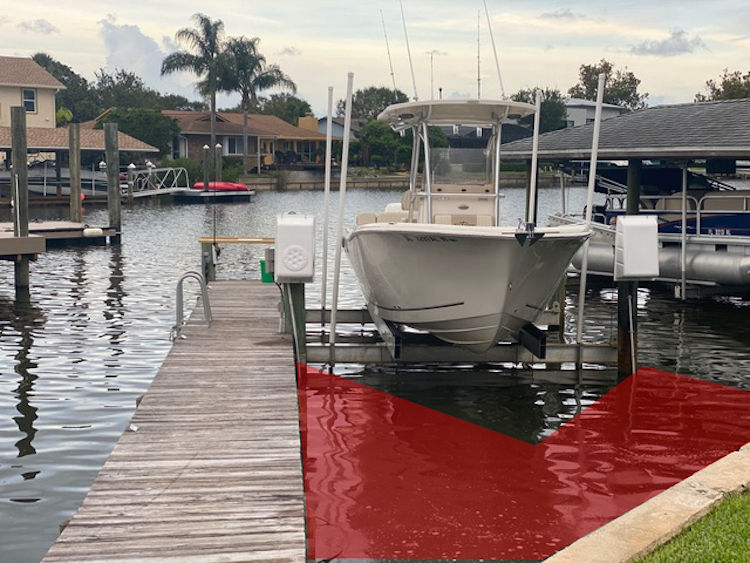
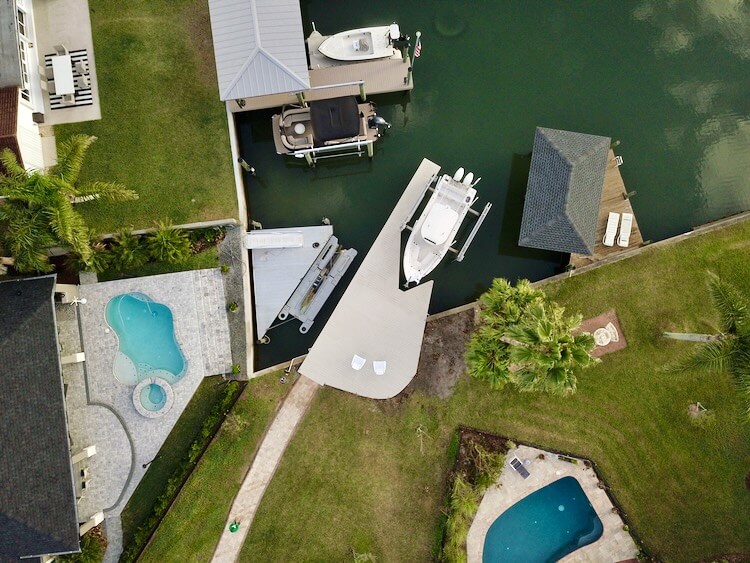
The goal with this dock renovation was to create a safe entry to the boat and expand the decked area for more usable space. My design was to add a few more piles that would create a V-shape around the front of the boat and put taller piles where the lift is currently so we can access the side of the boat. The constraints were that the are 10ft set backs from the extension of the property lines, into the canal. We did this by keeping the existing line on the left and expanding into the red shaded area on the right, up to the 10ft setback.
Permitting
This was the step that took the longest. For our location we needed to submit a checklist to the Environmental Management Department to ensure the manatees were not effected. Then, we had to submit a survey and plans to the Florida Department of Environmental Protection to assure the new dock met all the Florida statutes. Then, we submitted the survey and plans to the Army Corp of Engineers to get there approval. With all that in hand and the plans stamped by a licensed engineer, we could submit them to the city for review and issue of the permit.
Demolition
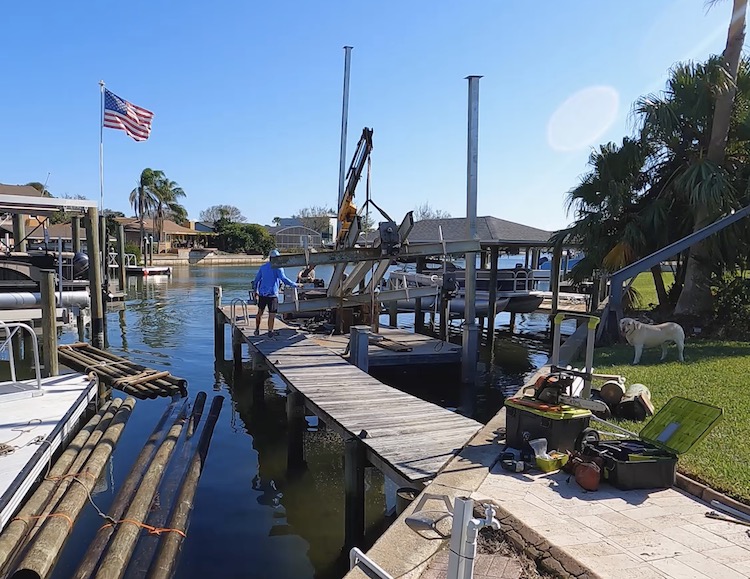
I was debating taking on this project myself, but without the right equipment it was going to take forever. So I ended up contacting a local dock builder, Titan Constructors, and they were able to fit me in.
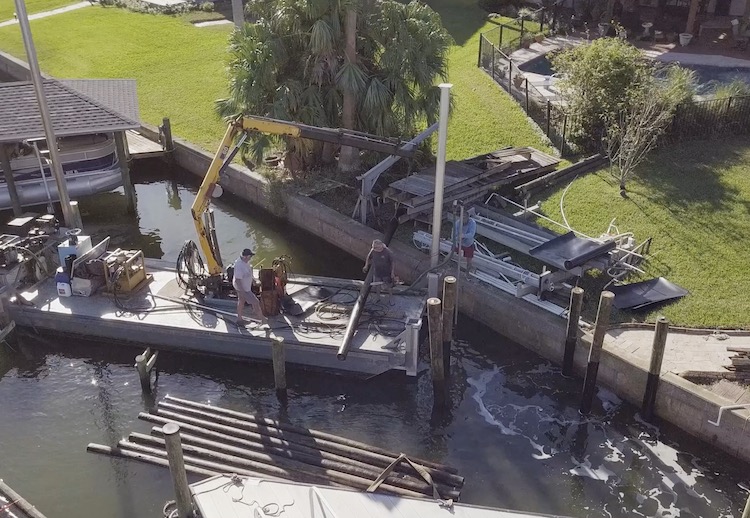
They rolled up with a barge and small crane and began by removing the old boat lift and setting it to the side.
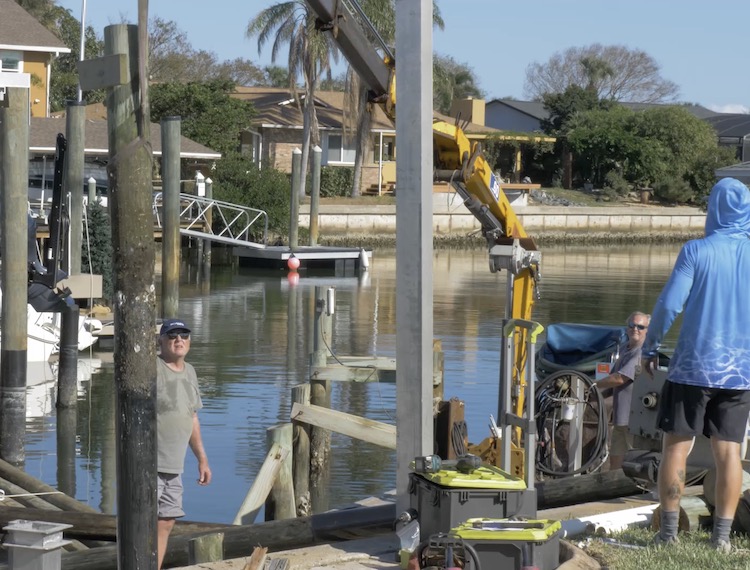
Then they cut up and pulled off the old decking and joists with their crane.
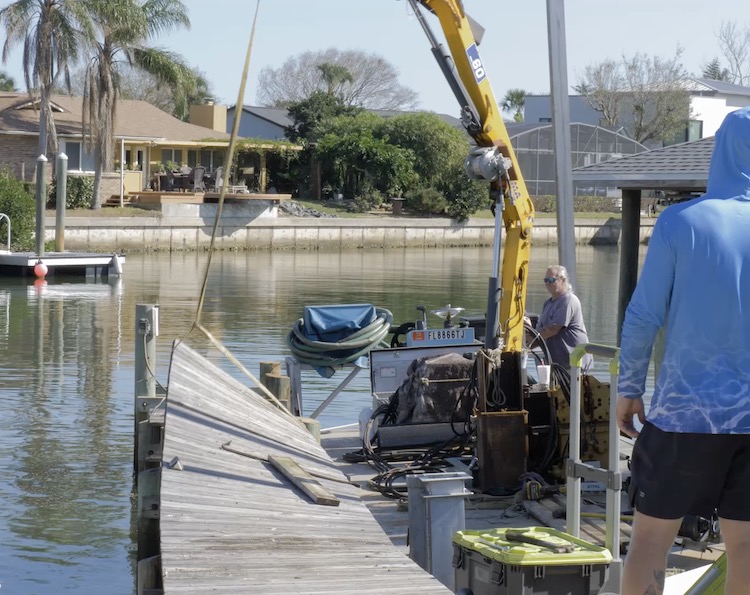
Finally, they started pulling the old piles, and while they were still in decent shape, I didn’t want to have to do this again anytime soon, so we just went ahead and replaced them all.
Setting New Piles
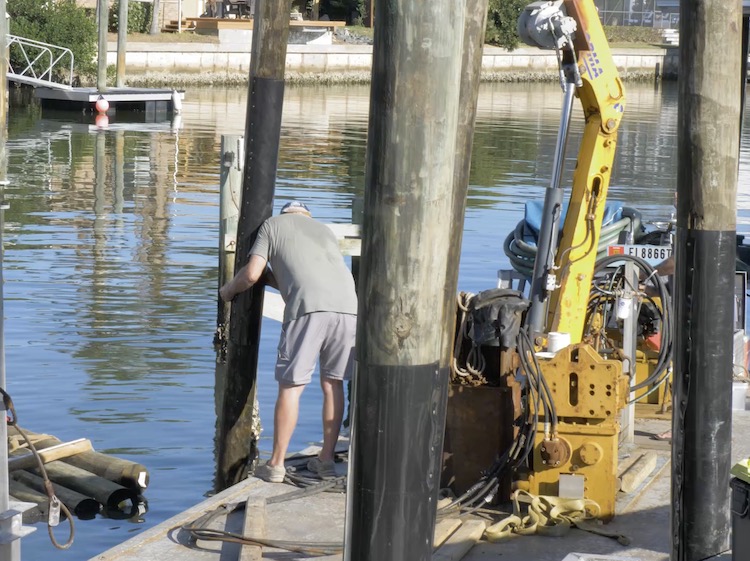
To set the piles they start by using a big water pump connected to a long pipe with a nozzle on the end. This is used to jet a shallow hole into the bottom of the canal right where they want the pile to go.
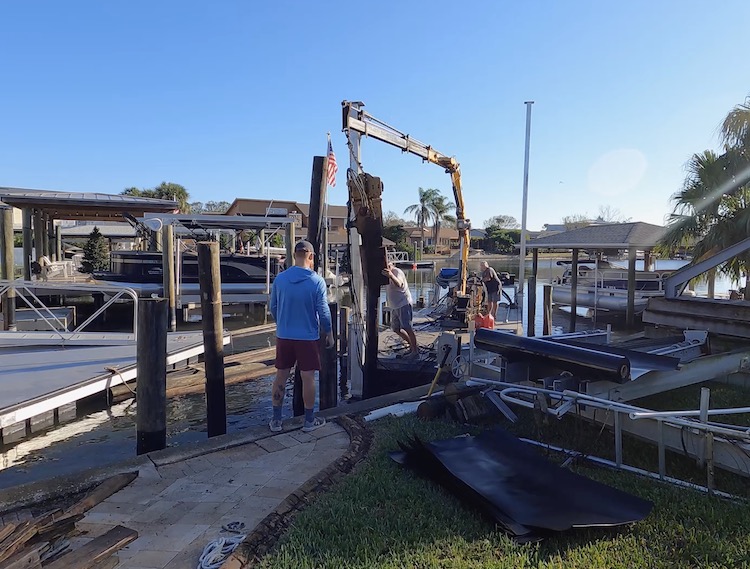
Then, they wrap the pile with a slick plastic material so the barnacles and oysters wont penetrate the wood below the water line. Using the crane and a strap they lower the pile into that shallow hole to start the driving process.
Using an APE Vibratory Hammer they then vibrate the pile a minimum of 10ft into the ground. Most piles were driven further than that, until the pile hits rejection and cannot be driven any further.
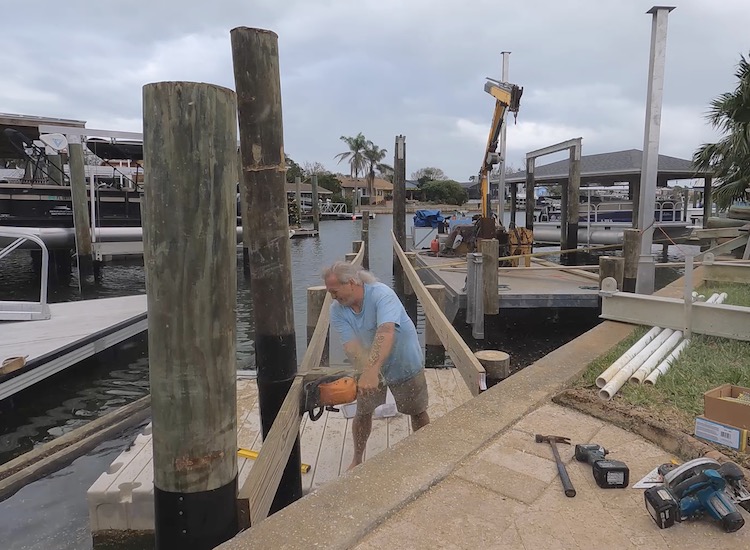
After driving the piles, a level line is marked for the top of the joists and the piles are cut flush to that point.
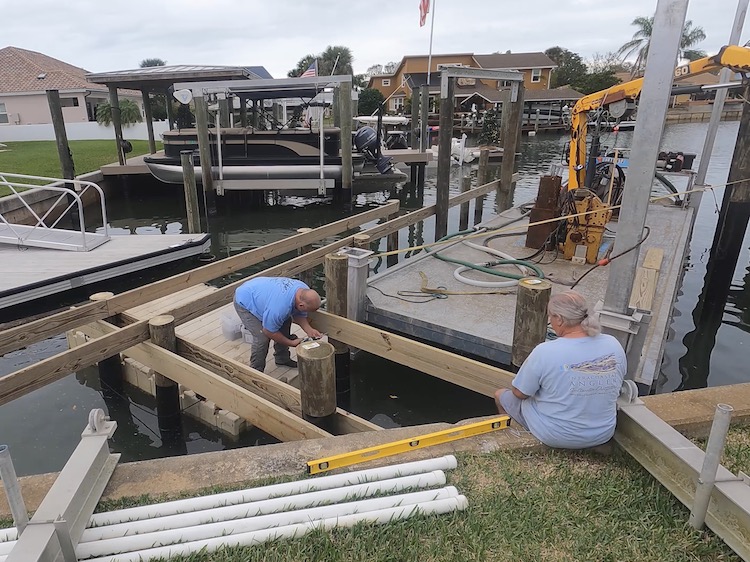
Installing the Beams
The 2×10 beams are then installed to the piles. Typically these are through bolted on both sides of the pile with 1/2″ all-thread. This process requires drilling multiple holes through the beams and each pile. The center of the pile is very hard and this can be difficult and time consuming.
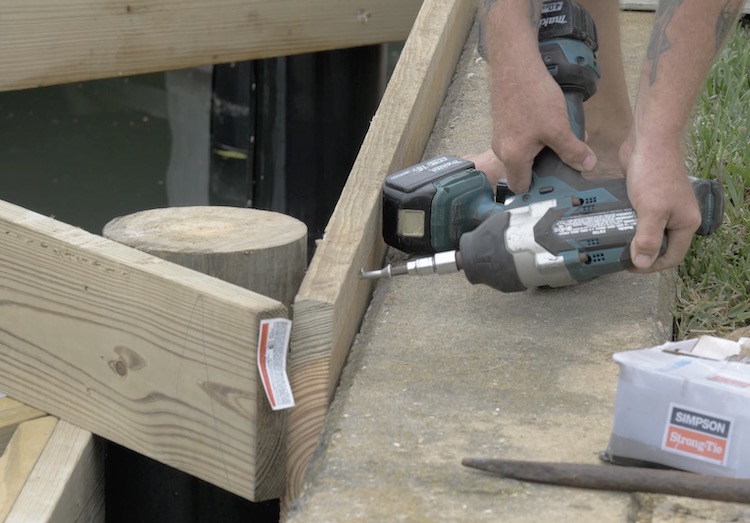
Luckily, Simpson StrongTie offers a stainless steel Timber Screw that is a 1:1 replacement for 1/2” diameter lag or 2:1 replacement for a 5/8” thru-bolt. These do not require pre-drilling which saves time and money and avoids the use costly auger bits.
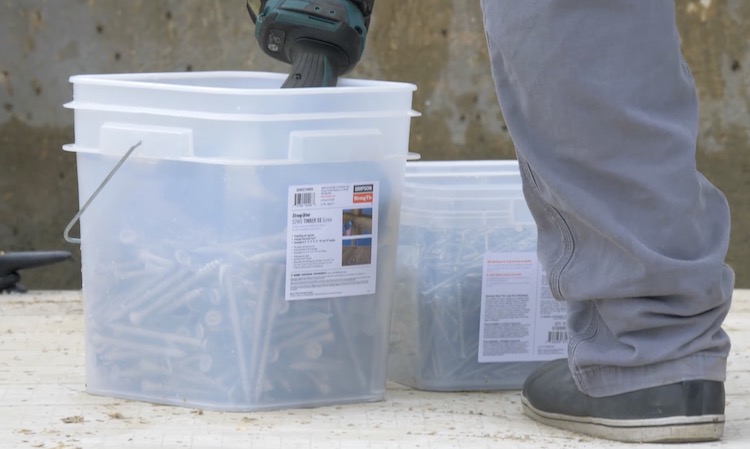
Using these timber screws definitely sped up the process and are more than adequate.
Installing the Ledger Board
Since the area that we are decking over has a lot of angles, we opted to install a ledger board to the concrete bulkhead. To do so we used the Simpson StrongTie Titan HD Heavy Duty Screw Anchors. These anchors are incredibly strong and perfect for corrosive environments like saltwater.

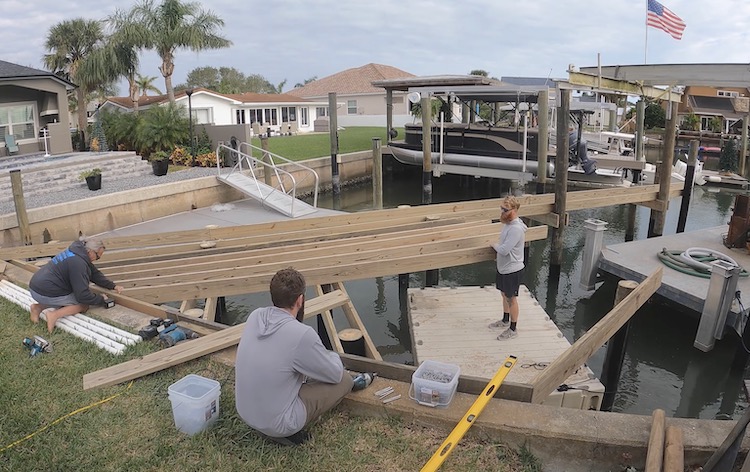
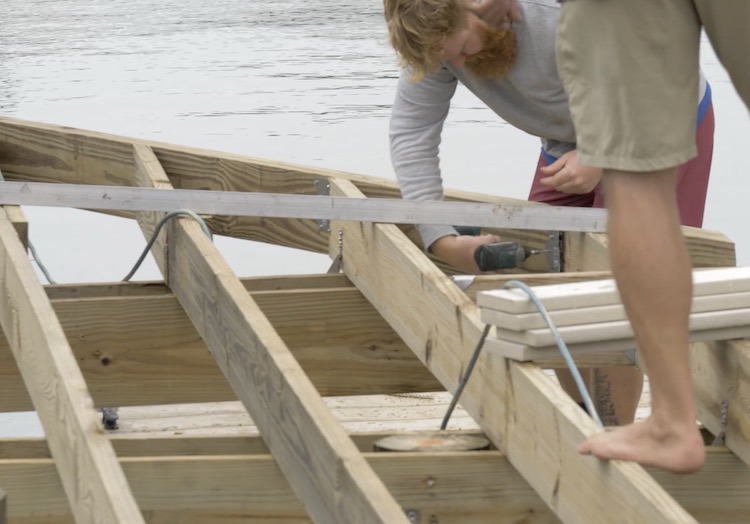
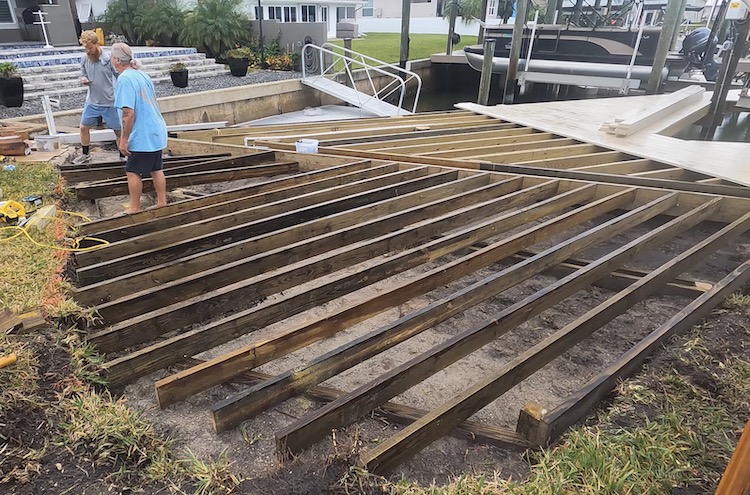
Installing the Joists
With all the beams and ledger installed, it was time to start laying out the joists. For this we went with 2×8 treated lumber, spaced 16 inches apart. For now these joists get temporarily installed and cut to length before capping them with a rim board.
Installing the Hardware
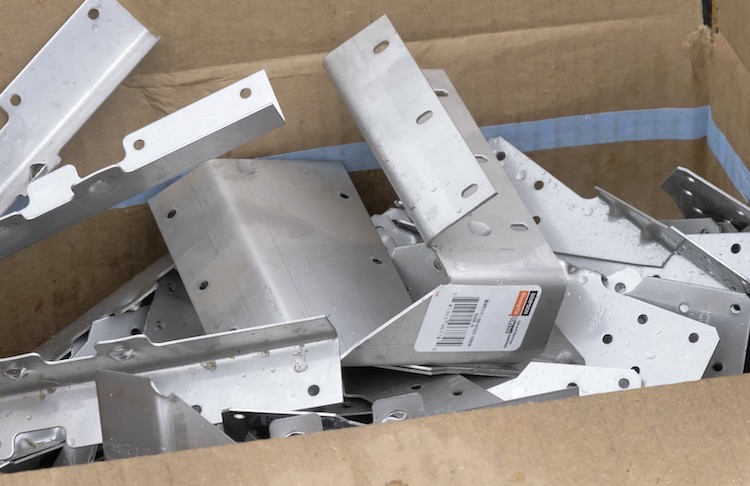
With all the joists and the rim boards in place we could finish up by installing the hardware. This is where the real long-term strength comes into play. With all the angles we had to use some skewed brackets which, come to find out, even if they don’t stock them, Simpson StrongTie will custom make brackets for your application. In our case, we needed them in stainless steel so they were able to have those made for us.
We also needed to install hurricane ties to assure the dock stays together in high winds and storm surges.
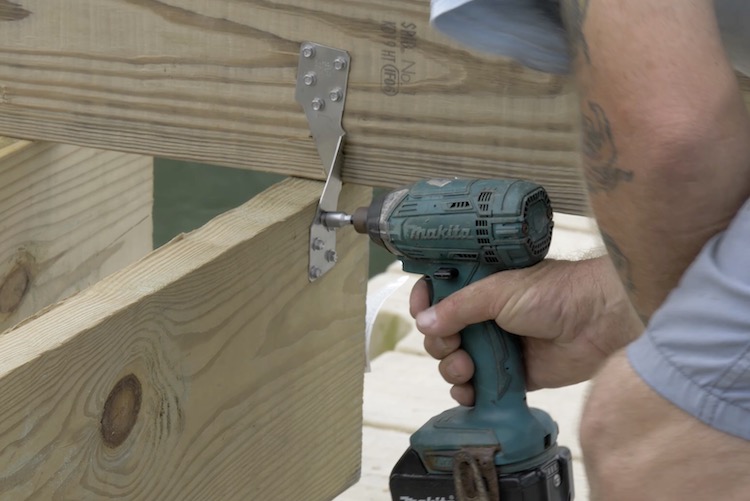
Then we finished off the joists to rim board connections with stainless steel skewable angles.
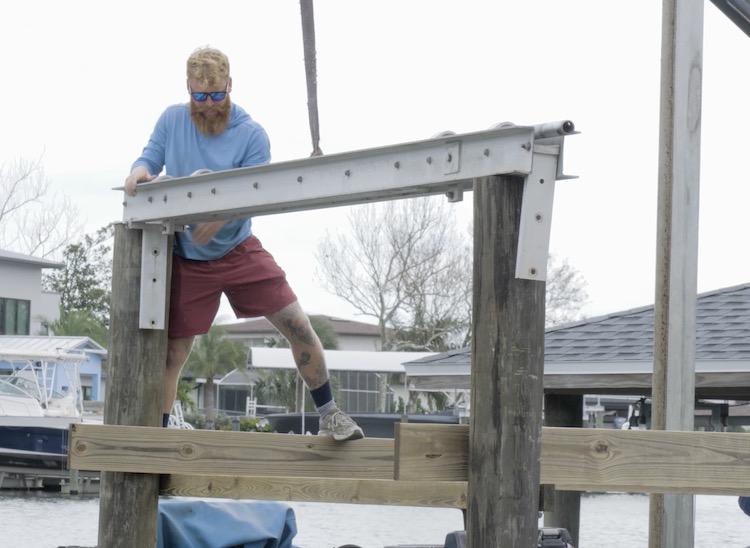
Installing the Boat Lift
With the new longer piles in place it was time to get the boat lift back up and running. The beams get mounted to the top of those and new direct drive motors were installed.
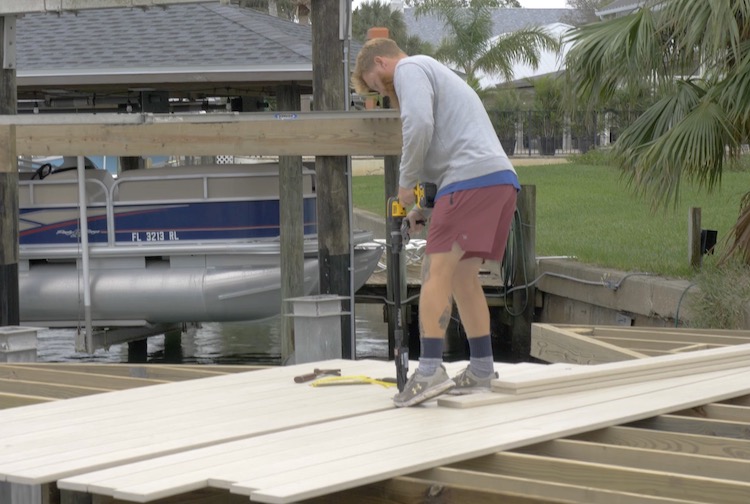
Decking
For the decking we went with WearDeck in the color Barefoot Sand which is perfect for harsh environments like saltwater docks. Not only does it retain less heat than typical composite decking but it also has a structural quality to it that will increase the strength and rigidity of the dock itself.
The deck boards get screwed down with stainless steel deck screws using the Simpson StrongTie Quik Drive Cordless Decking System. This system uses collated screws and gives you the ability to fasten the deck boards from a standing position which will not only save your back but it will save you a ton of time with the autofeed attachment.
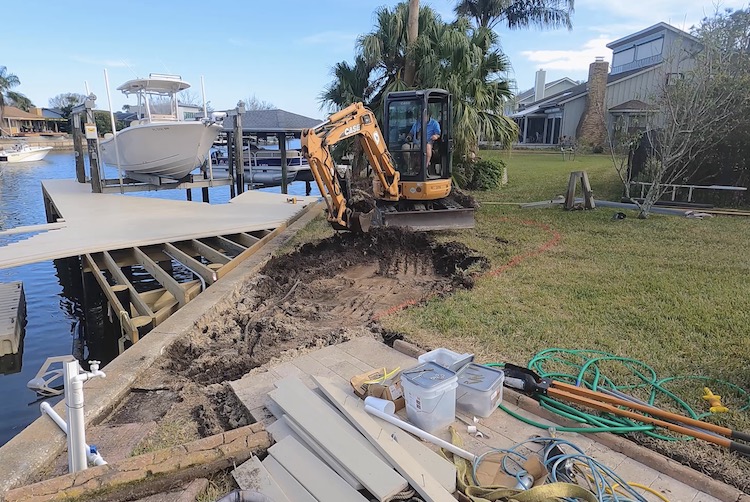
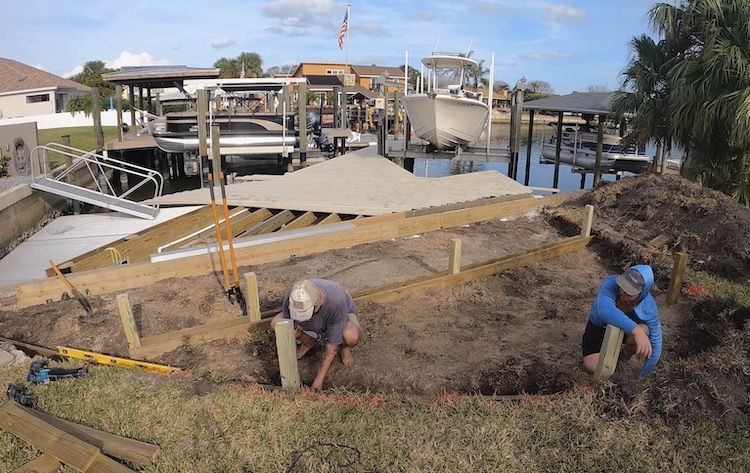
Expanding the Deck
We did end up making a rather last minute change to extend the decked area into the yard. This gave us the opportunity to have more space to relax and entertain, as well as match up the height of the paver walkway with the deck to rid any tripping hazards.
They started by removing the top soil with a mini excavator and digging down enough to allow for the structure to be installed below the decking.
Posts were installed about 3 feet deep on a footing and beams were added to carry the joists.
The joists were then installed in the same manner as the dock.
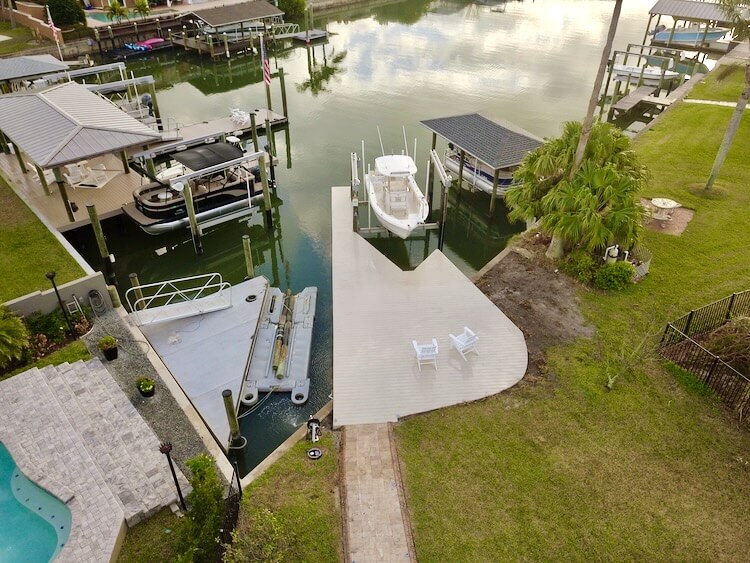
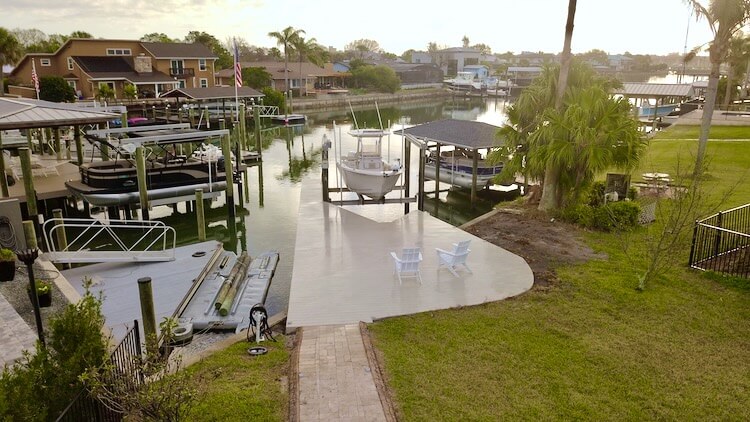
Finally the decking and fascia boards were installed to complete the dock.
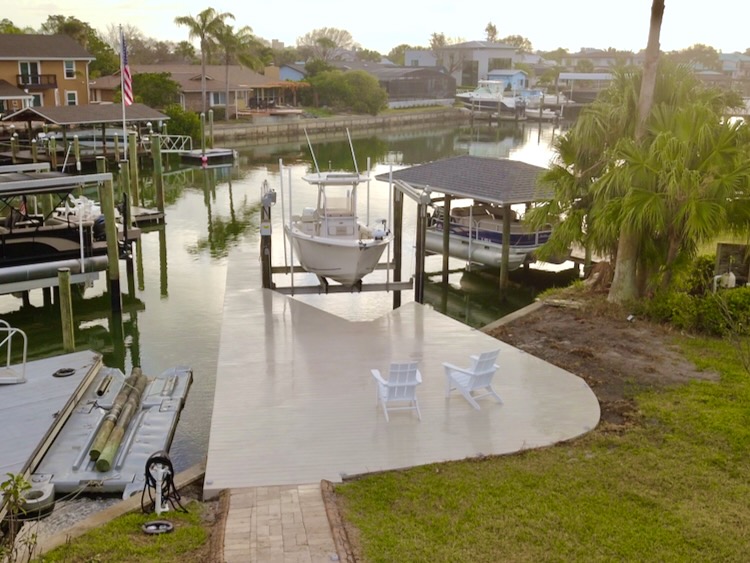
We couldn’t be happier with how it turned out. This renovation not only provides us with a safe dock to get on and off the boat, but it gives us so much more room to relax and enjoy the water.
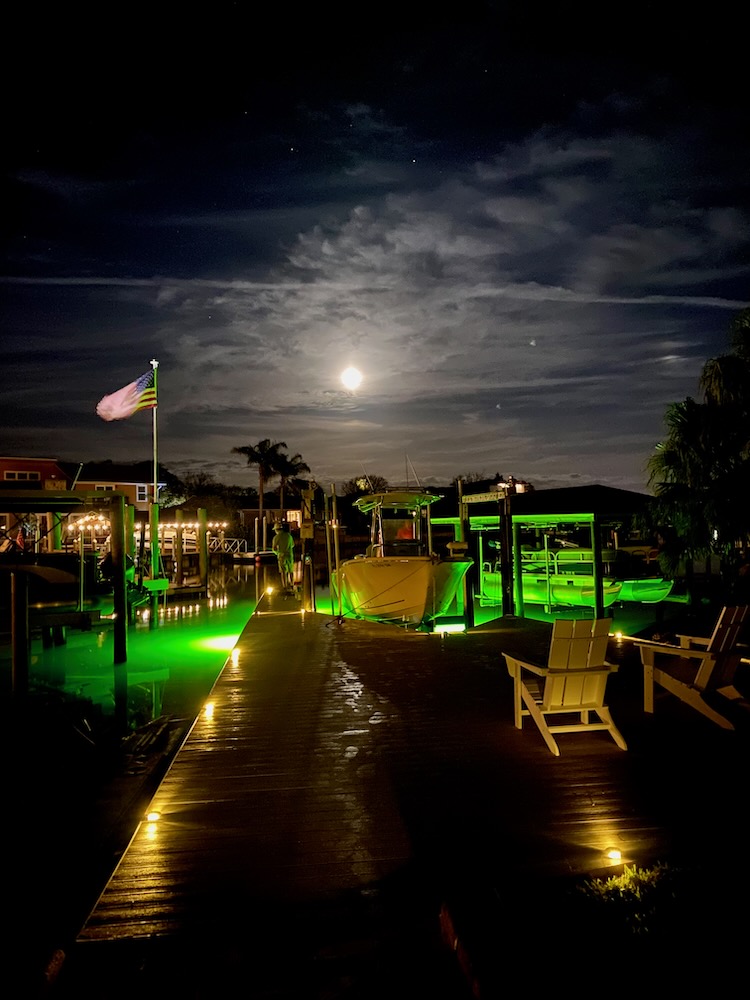
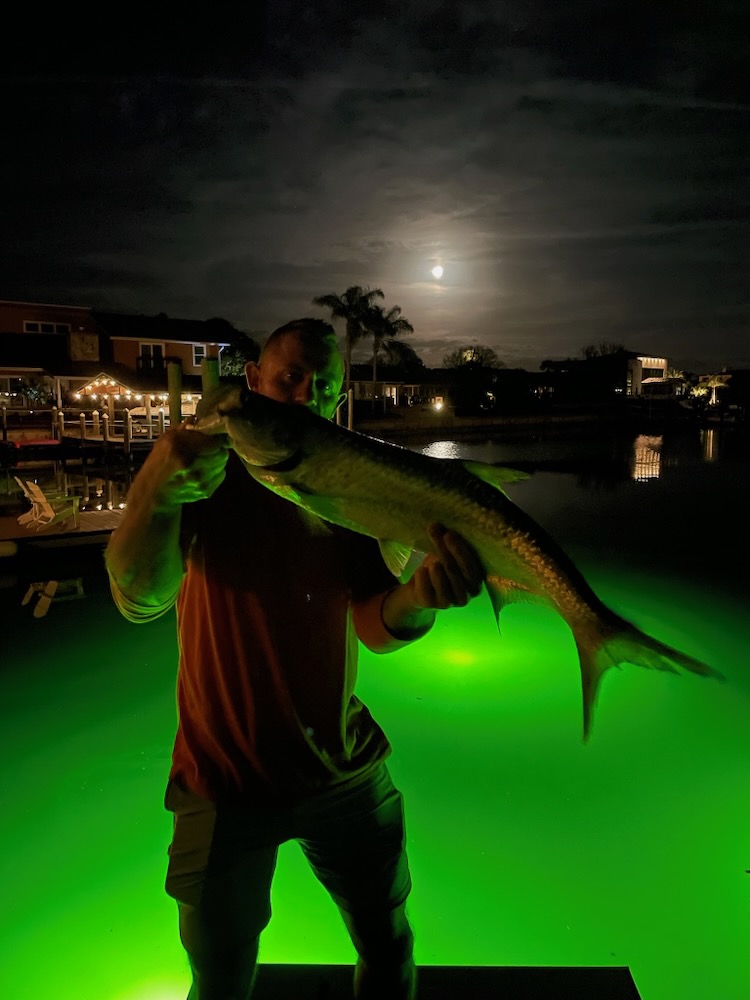
With the addition of some dock lights and underwater fishing lights, this thing really looks great after sunset. And even better with a big ol’ fish on the line!