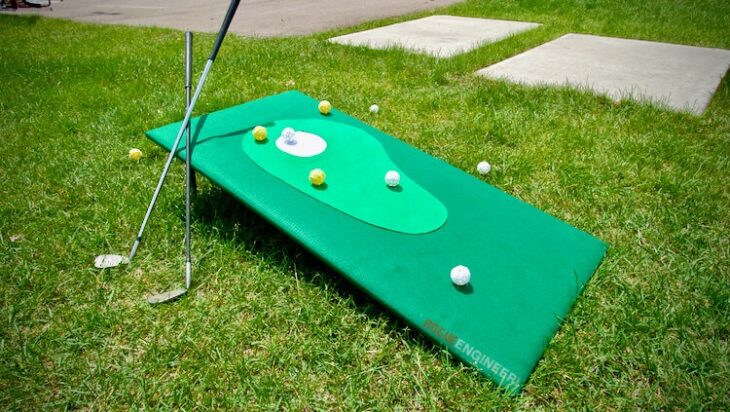
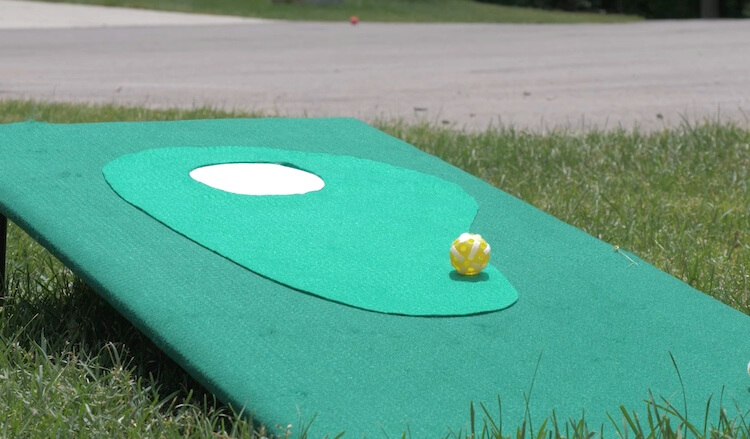
I have been envisioning this backyard golf game for a couple years now but never got around to making it until now. I have seen other backyard chipping games but most required you to chip into some sort of cup or basket, which I can’t imagine would be easy with most close shots ultimately ricocheting off the hard board. My idea was to use a hook and loop (Velcro) style board and a wiffle ball that would stick to the board and not bounce around. Rather than covering the entire board in Velcro, I used felt which works great! Read on to see how we made this awesome game.
Time to Complete
1 Day
Estimated Cost
$100-150
Skill Level
Beginner
If you love this stuff as much as we do, you might want to consider following us on Instagram where we post sneak peeks and behind the scenes stuff in our stories. Also, did you know you can get tons of projects plans from all around the web when you follow us on Facebook and Pinterest!
Materials
- (2) 1/2” x 2’ x 4’ Plywood
- 2 Yds Dark Green Felt
- 1 Yd Light Green Felt
- White Felt Squares
- Hot Glue Sticks
- Batting
- Staples
- (4) 1/2″ Pipe Flange
- (4) 1/2″ x 6″ Pipe Nipples
- (4) 1/2″ Pipe Caps
- 3/4″ Wood Screws
- Wiffle Practice Balls (Yellow and White)
- Square Velcro Pads
Disclosure: The links provided in the “materials” and “required tools” sections are affiliate links. If you would like to support our site and help keep our content free come find out more about how we can make money with no extra cost to you.
These instructions will walk you through how to build a backyard golf chipping game.
- Batting
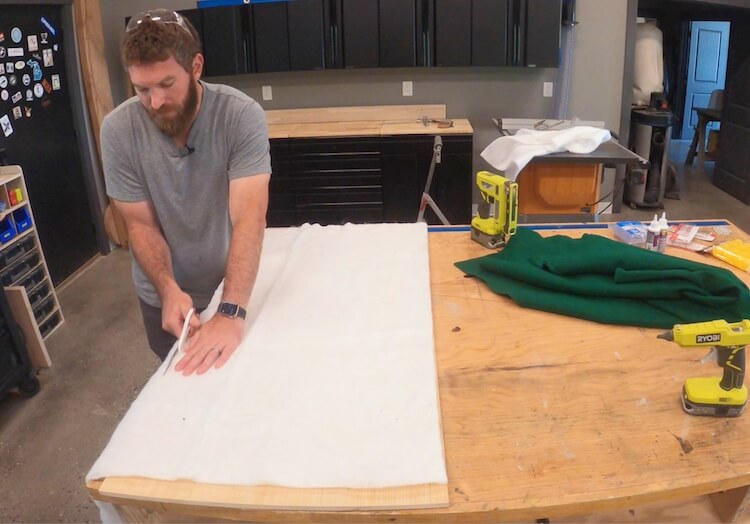
Cut the batting to the same size as the 1/2″ x 2′ x 4′ boards. This will go under the felt to give a little more cushion and help reduce the bounce. I went with a pretty thin batting but I think the thicker the better. - The Fairway
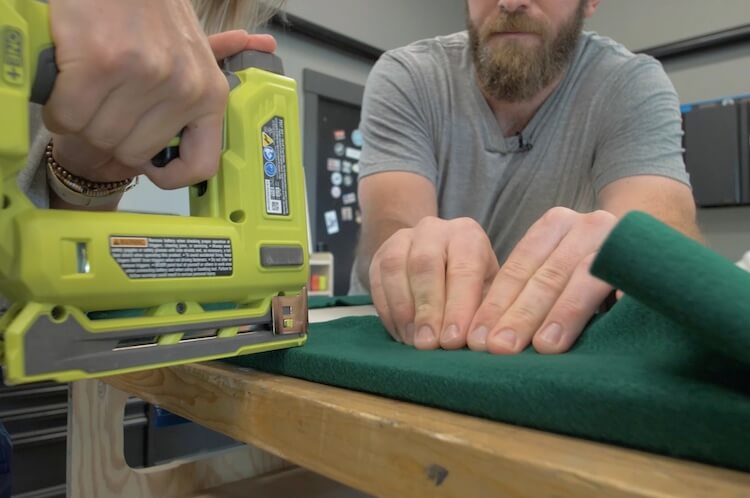
Wrap each of the boards with the dark green felt (batting underneath) and staple to the backside of the boards
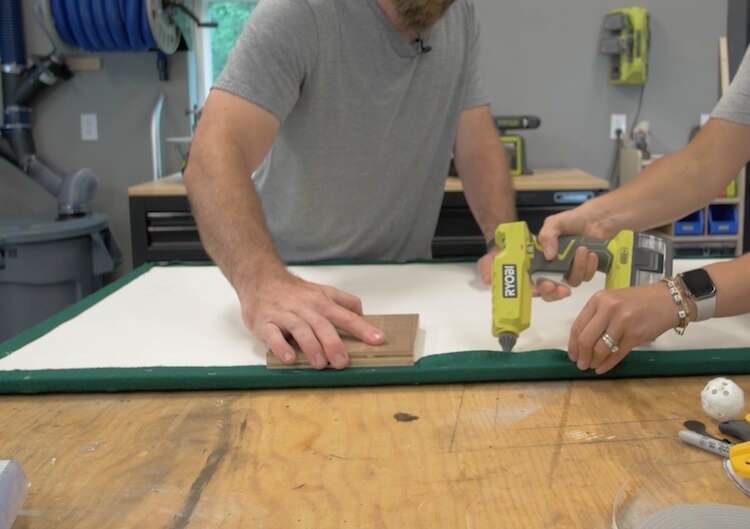
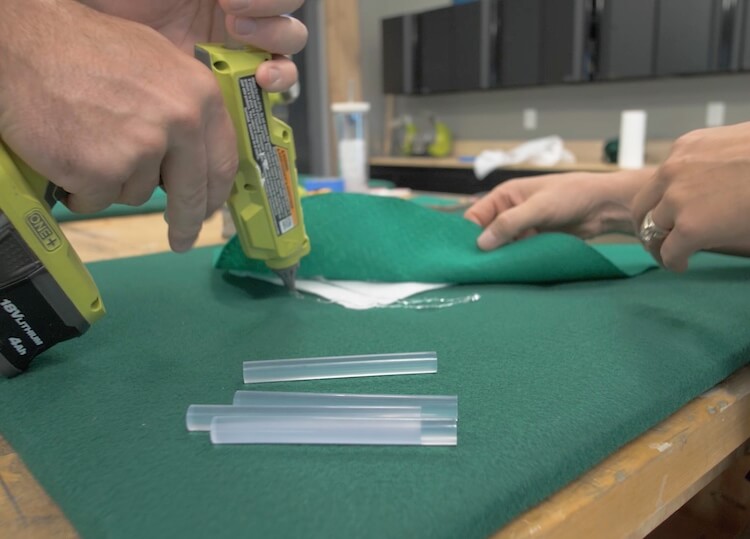
After trimming the excess we came back with hot glue to adhere the remaining felt to the board. We used a scrap piece of wood press the felt down which worked great. - Cutting the Green
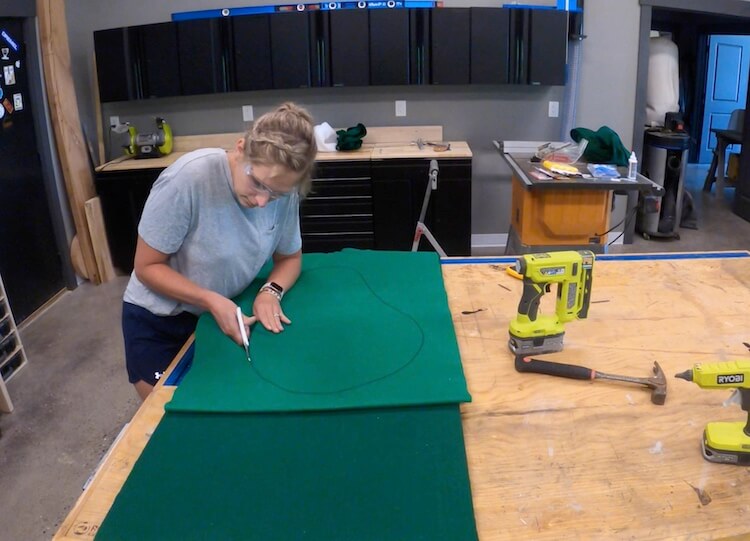
Fold the light green felt in half and draw a kidney shaped “green” with a sharpie. The exact profile doesn’t really matter. I left about 6″ on one side of the green, 3″ on the other and at the top. Cut both greens at the same time so they are identical.
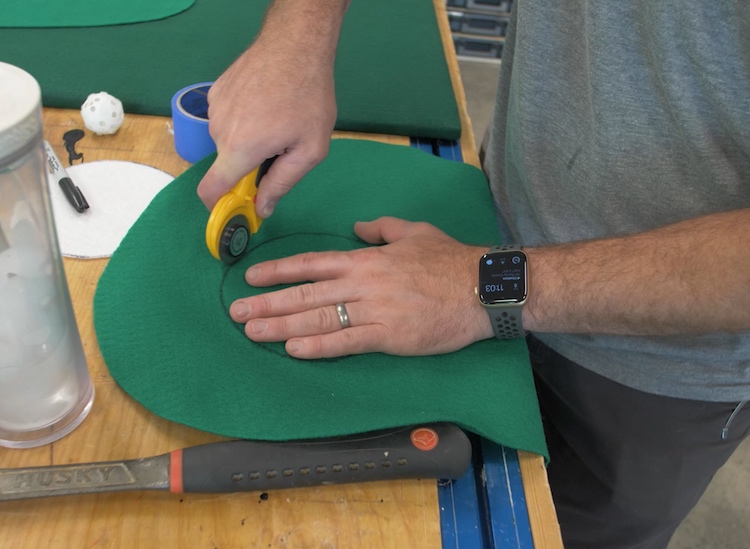
Then draw and cut the “cups”. I used a roll of tape that was about 6″ in diameter to help draw the circle. Cutting both together will make sure they are the same. - Installing the Green
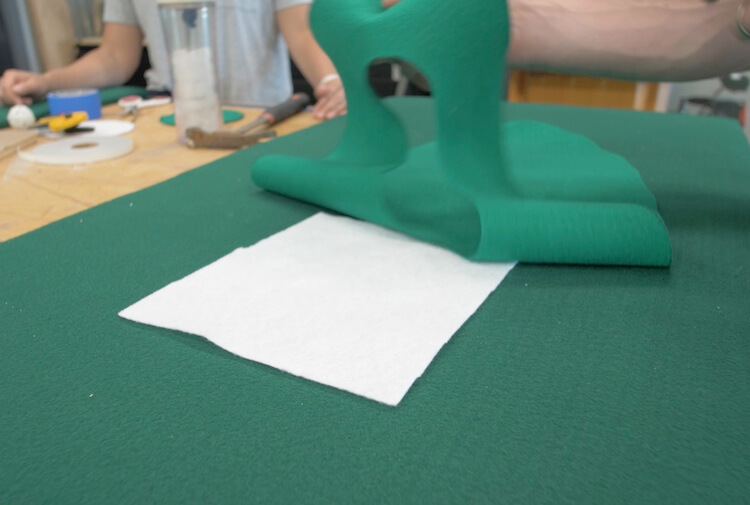
I cut a square of white felt, slightly larger than the hole in the green. This will be installed between the green and fairway felts.
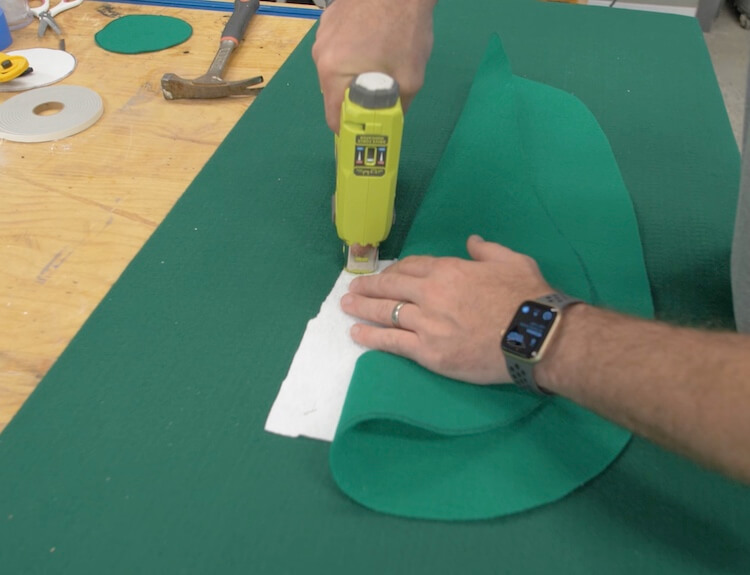
After getting the green located how I wanted I folded back the green and stapled the white square to the board.
Then, to install the green, I used a bunch of hot glue and a scrap piece of wood to press them together. - Attaching the Legs
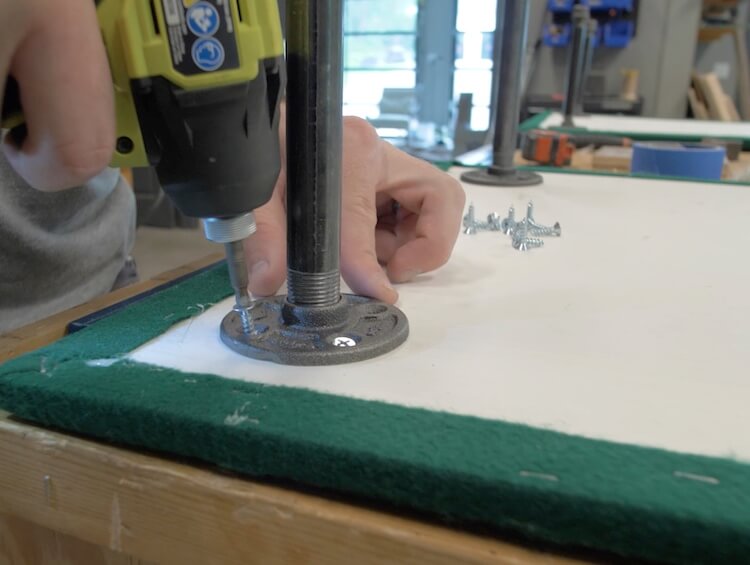
I ended up going with 6″ pipe nipples for the legs. To mount them we used a flange, 3/4″ screws, and added a cap on the end. These get installed about 2″ from the sides and back of the board. - Making the Balls
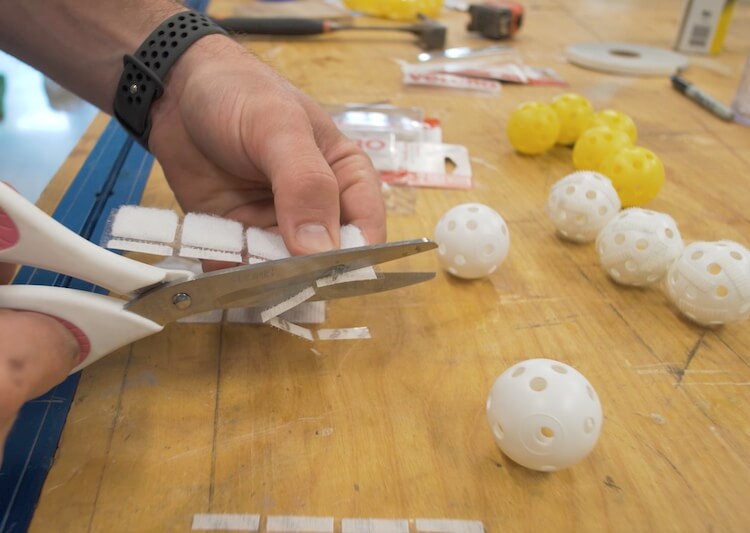
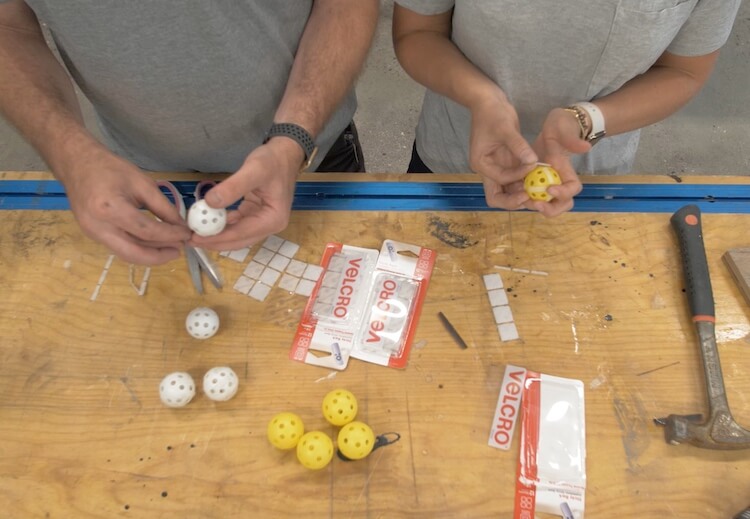
For the balls, I used the whiffle practice balls in white and yellow. Then I took square Velcro pads and cut each of the hook side (harder side) into 4 strips.
Now the tedious part of applying each of those strips to the balls. I was able to get 12 strips on each ball. I made 5 balls in each color. - Gameplay
This game is totally made up so feel free to make your own rules but this is what we have been playing.
– Game can be played with 2 or 4 people (teams of 2)
– Each player gets 5 shots, alternating shots and starting with the last player to score.
– Cup = 3pts ; Green = 2pts ; Fairway = 1pt
– Scoring is done like corn hole where the score cancels out. Example: Team 1 lands 5 points, Team 2 lands 3 points, Team 1 will then be awarded 2 points.
– First team to 21 wins
– Bounces count as long as the ball is stuck to the felt
I really enjoyed this project and I know it will be put to good use with friends. Let me know what you think in the comments and be sure to pose photos of your creations!

