
Board and Batten Wall
What better way to define a space and make an impact on a wall than with wainscoting. In this article I’ll show you how I installed an inexpensive board and batten style wainscoting out of 1/2″ MDF and 1/4″ masonite to help define our dining area. Not only does it look great but with the help of a few DAP products we can be assured that it will continue to look great for a long time to come.
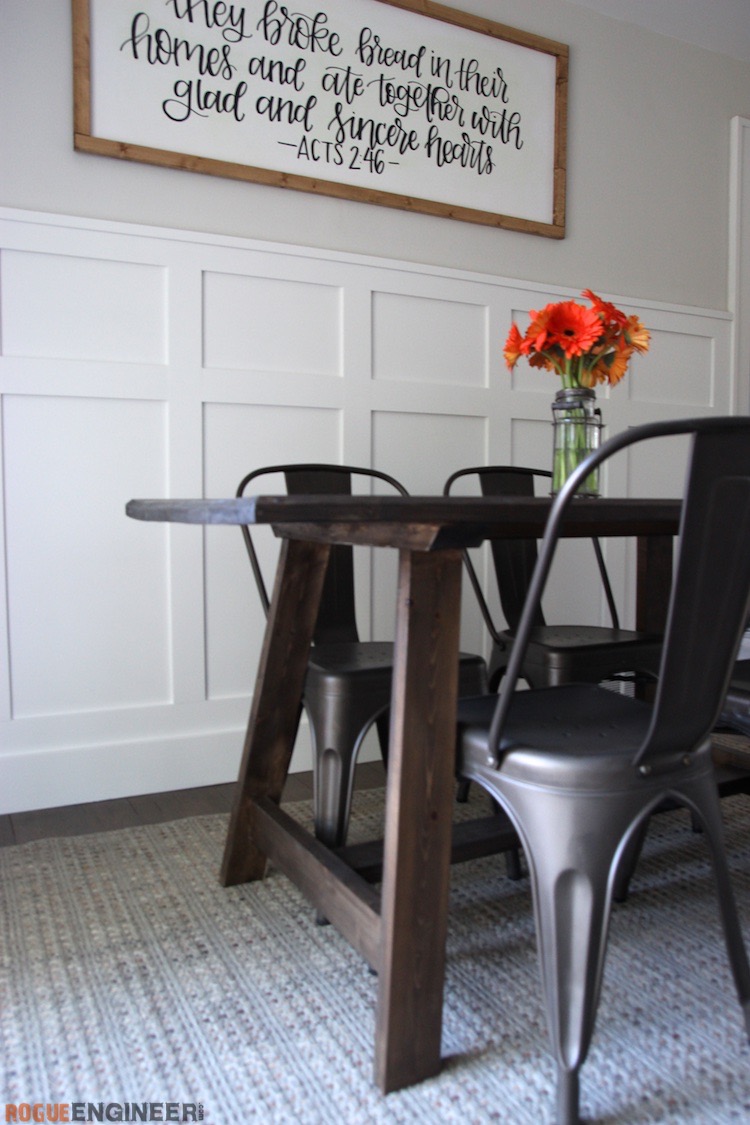
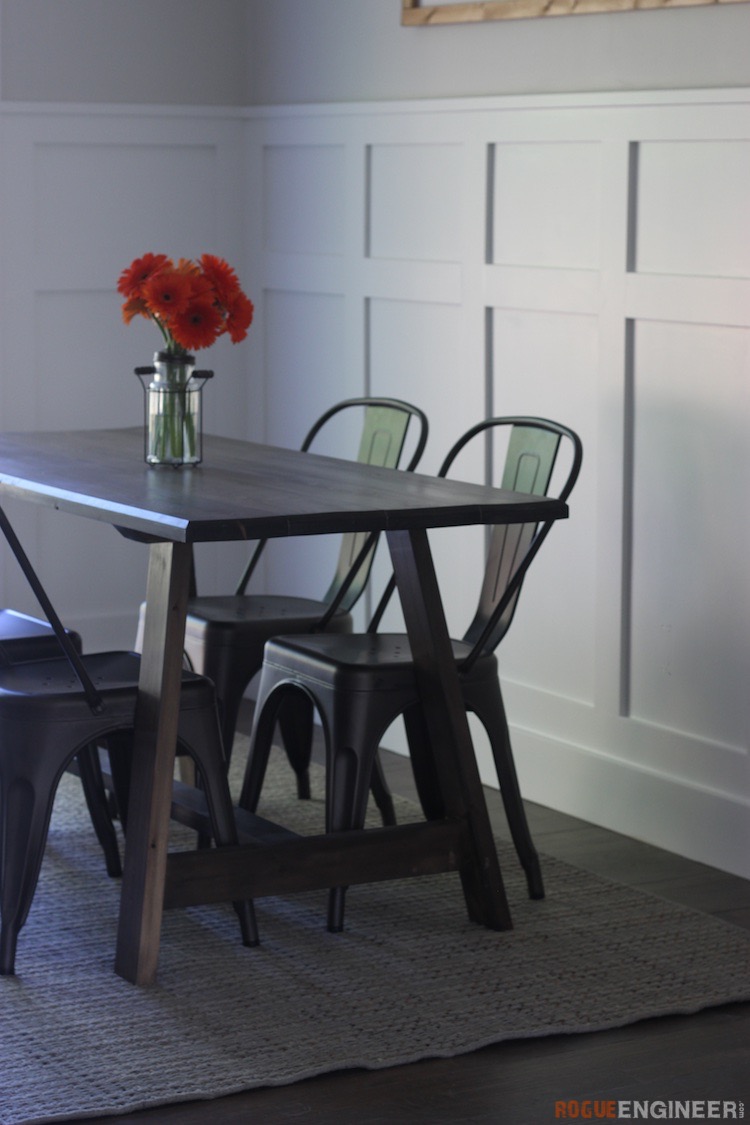
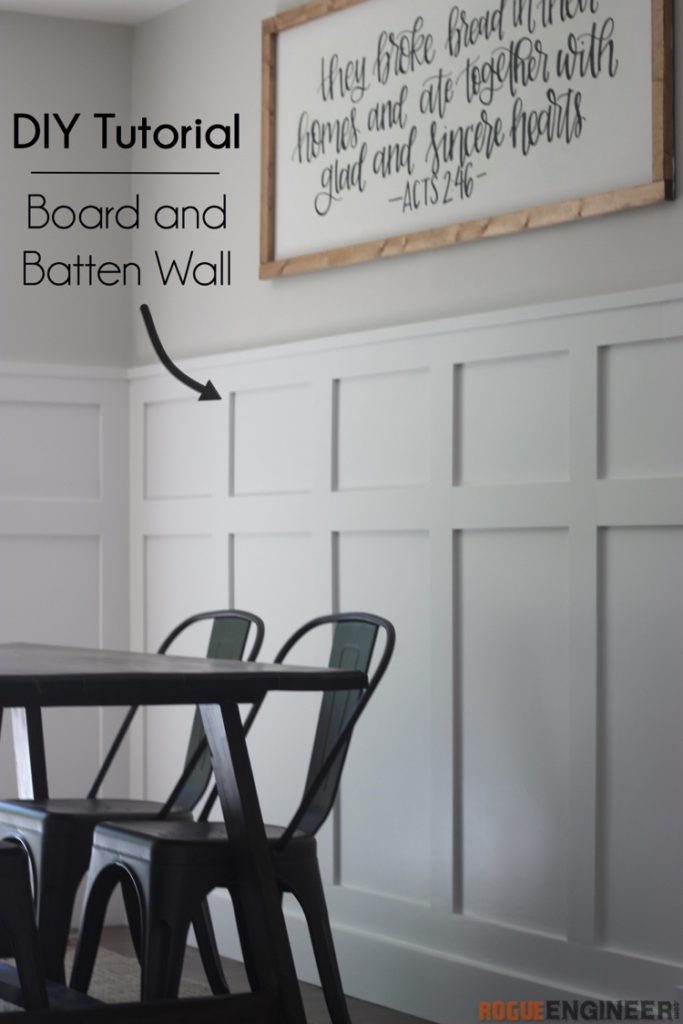
When we bought this house, this wall actually had blue wainscoting installed. It was cheap beadboard but rather than painting it we decided to tear it out and change it up a little bit. We opted for a taller (57″ total height) flat panel wainscoting with a smaller panel at the top. I’m not sure that the technical name for this style is board and batten but I couldn’t come up with anything better to call it. Despite the name, it turned out just as I had envisioned and we absolutely love the results.
For sneak peeks of our upcoming projects be sure to check out Our DIY Life on YouTube, follow us on Facebook and Instagram. Also, follow me on Pinterest to get tons of projects plans from all around the web!
Disclosure: This project was sponsored by DAP, a great brand that helps us continue to offer free content. Show your appreciation by simply clicking on this link to check them out.
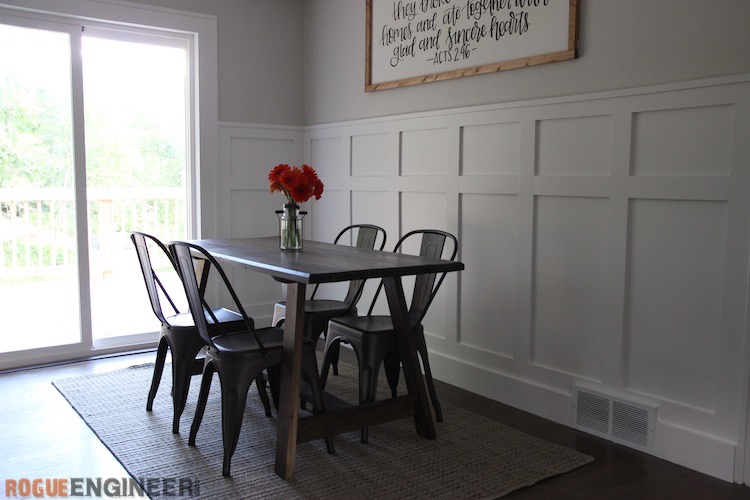


And if you are wondering about where the sign came from, you can rest assure that neither of us have handwriting like that so we ended up buying this from an amazing Etsy store and good friend Brynna at Pop Fizz Klink Designs. So go put your custom orders in now!
Required Tools
Materials
- 1/4″ Masonite
- 1/2″ MDF
- Baseboard
- 3/4″ thick wood or MDF (to go behind baseboard)
- Trim Cap – Outside Corner
- Baseboard
- DynaGrip Heavy Duty Construction Adhesive
- RapidFuse Wood Adhesive
- Alex Plus Latex Caulk
- Primer
- Paint
Disclosure: The links provided in the “materials” and “required tools” sections are affiliate links. If you would like to support our site and help keep our content free come find out more about how we can make money with no extra cost to you.
How to Install Board and Batten Style Wainscoting
This tutorial will show you how we installed an inexpensive interior board and batten wall using MDF. This wall is about 4-1/2 feet tall and is used as a feature wall in the dining room.
Total Time: 2 days
Install Bottom Board
Rip a 3/4″ thick piece of wood or MDF down to the same width as your baseboard. Then, glue and nail it in place. This will make up for the thickness of the board and batten wall. We ended up just doubling up our baseboard since it was a 1×6 but this wouldn’t work if your baseboard had a detailed edge to it.
Installing the Faux Board
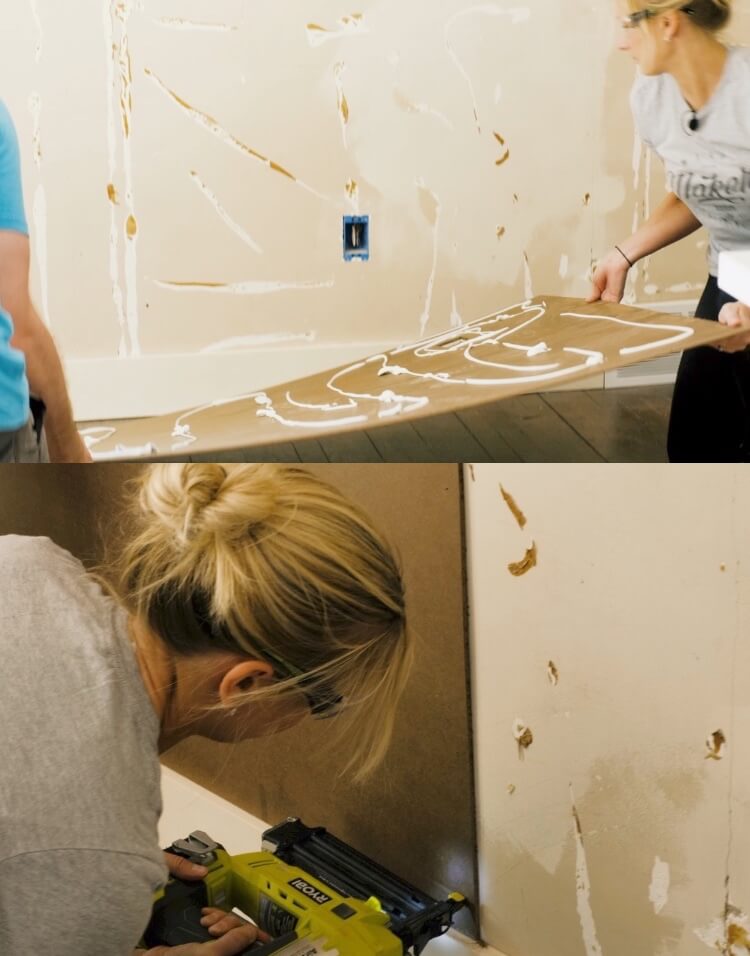
First, we did some calculations and drew out the vertical batten placement on the wall so they were evenly spaced and between around 12-16 inches apart. Then, using the full width of a 1/4″ x 4′ x 8′ sheet of masonite, we cut it down to length so that the seam would fall behind a vertical board.
Next, we measured and cut out any holes for outlets and vents using a drill and jigsaw. Now, using construction adhesive, check for level, then press and nail in place with a brad nailer and 1-1/4″ brad nails. Try to place the nails behind where your vertical battens and horizontal rails will go to reduce the amount of filling require later.
We used DynaGrip Heavy Duty construction adhesive but they also have project specific adhesives like the wood-panel-trim construction adhesive that would be a good option as well.
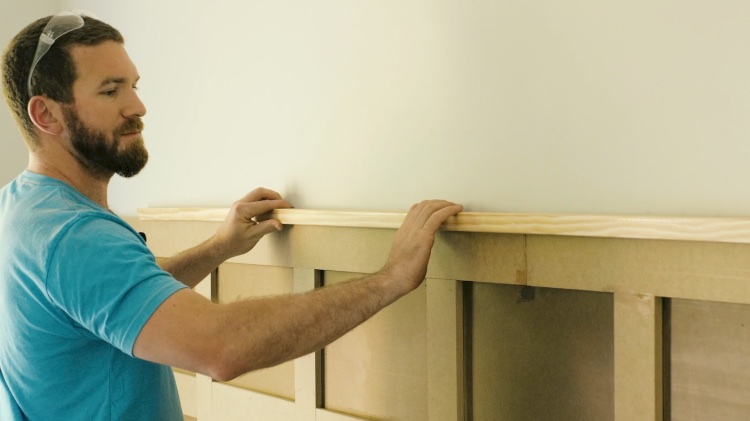
Installing the Top and Bottom Rails
I adhered 3″ wide scrap masonite above the installed masonite to bring the top rail up a little higher. Rather than using the table saw for all my cuts I used a 18V circular saw and the Kreg rip-cut saw guide which made it super easy.
1/2″ MDF will be used for the rails and vertical battens. I used the same cutting process to rip 3-1/2″ boards from a full sheet of MDF. Then, I adhered the top and bottom rail with DynaGrip Heavy Duty construction adhesive making sure to check for level.
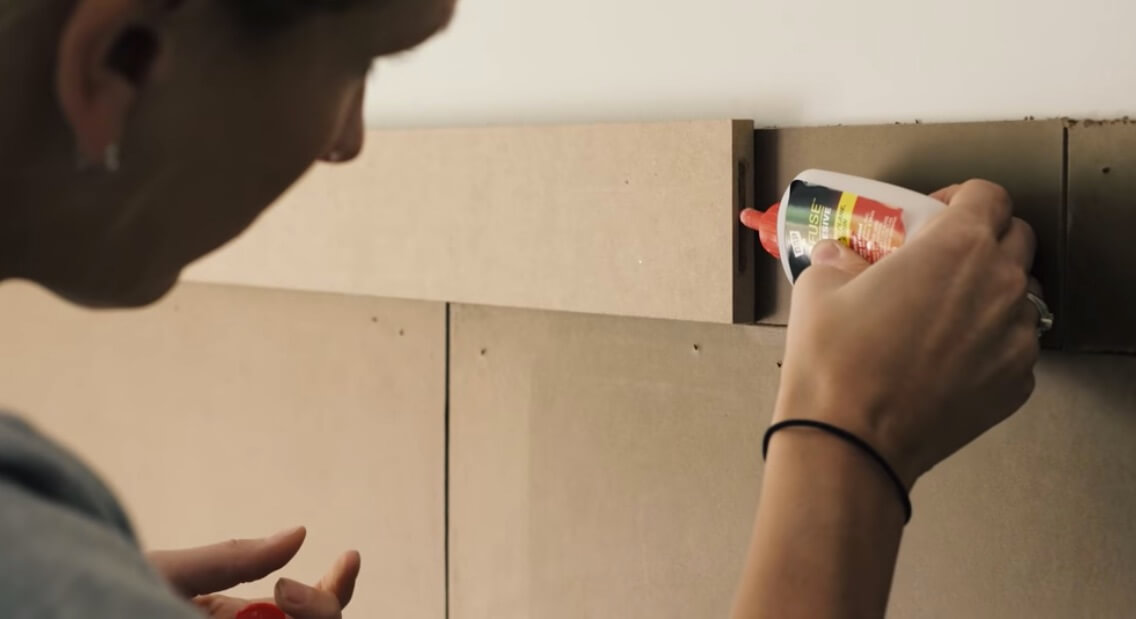
Our top rail was longer than 8′ so to help keep the seam flush I decided to add a biscuit to the joint and glue it using RapidFuse wood adhesive. Another option would be to miter the joint on a 45, glue and nail it.
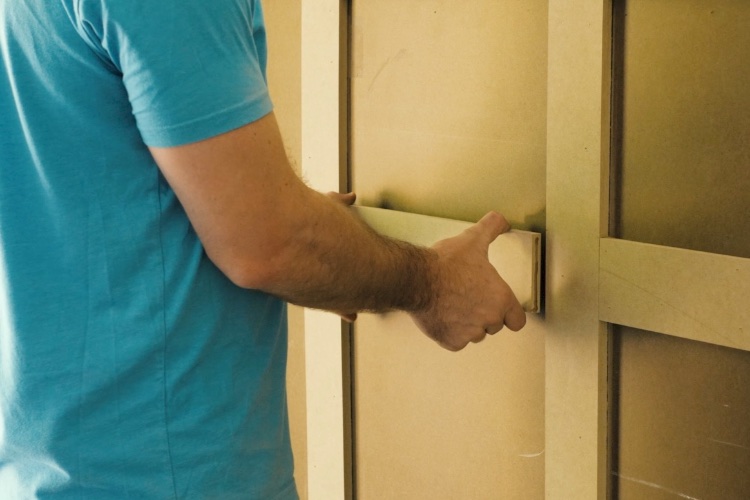
Installing the Vertical Battens
Now it is time to install the vertical battens. Layout where all of the battens will go and measure for each length. One might assume they are all the same length, and they should be in a perfect world, but I found a few of mine to be a 1/16″ different and I wanted to make sure my seams were as tight as possible.
Installing the Middle Rails
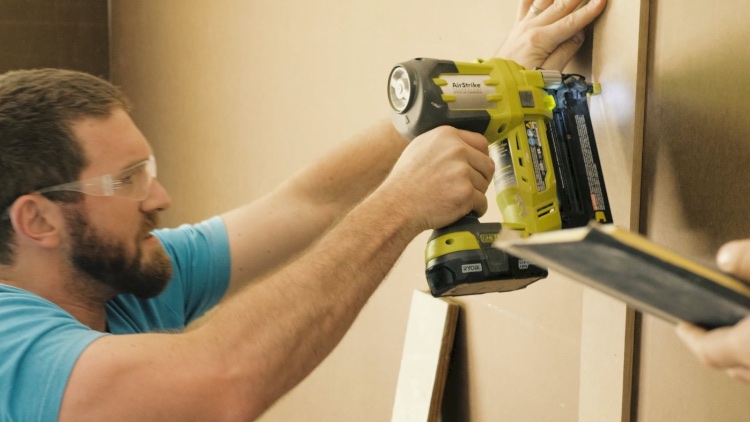
Determine an appropriate height for the middle rail, mark all the joints and adhere the board with construction adhesive on the back and RapidFuse on the joints. Then tack it in place with 1-1/4″ brad nails.
Installing the Cap
For the cap on our board and batten wall we decided to use outside corner moulding, adhered with construction adhesive and tacked in place with 1-1/4″ brad nails. The seams and corners were mitered and glued together with RapidFuse wood adhesive.
Prepping for Paint
To prepare for paint, start by using a punch to recess and protruding nail heads and Sand down any uneven joints. Now, using a wood filler like PlasticWood-X, fill the holes and any gaps or seams.
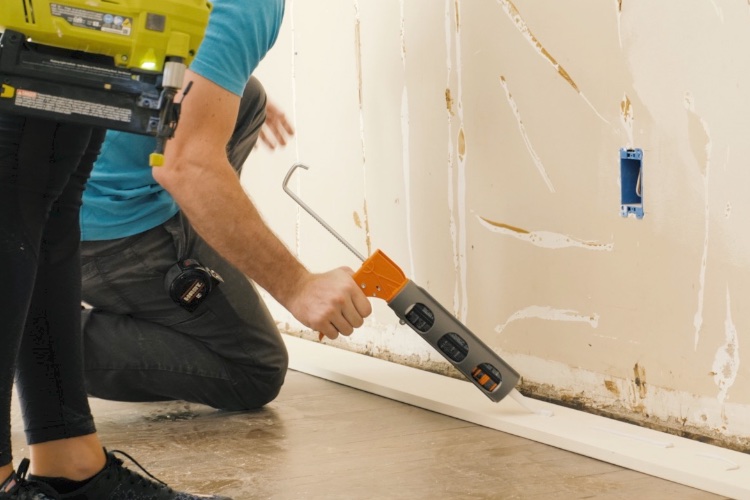
Once the wood filler is dry sand smooth with a fine grit sandpaper. Wipe down any dust to assure a clean surface. Then caulk all the inside corners with a paintable latex caulk like Alex Plus.
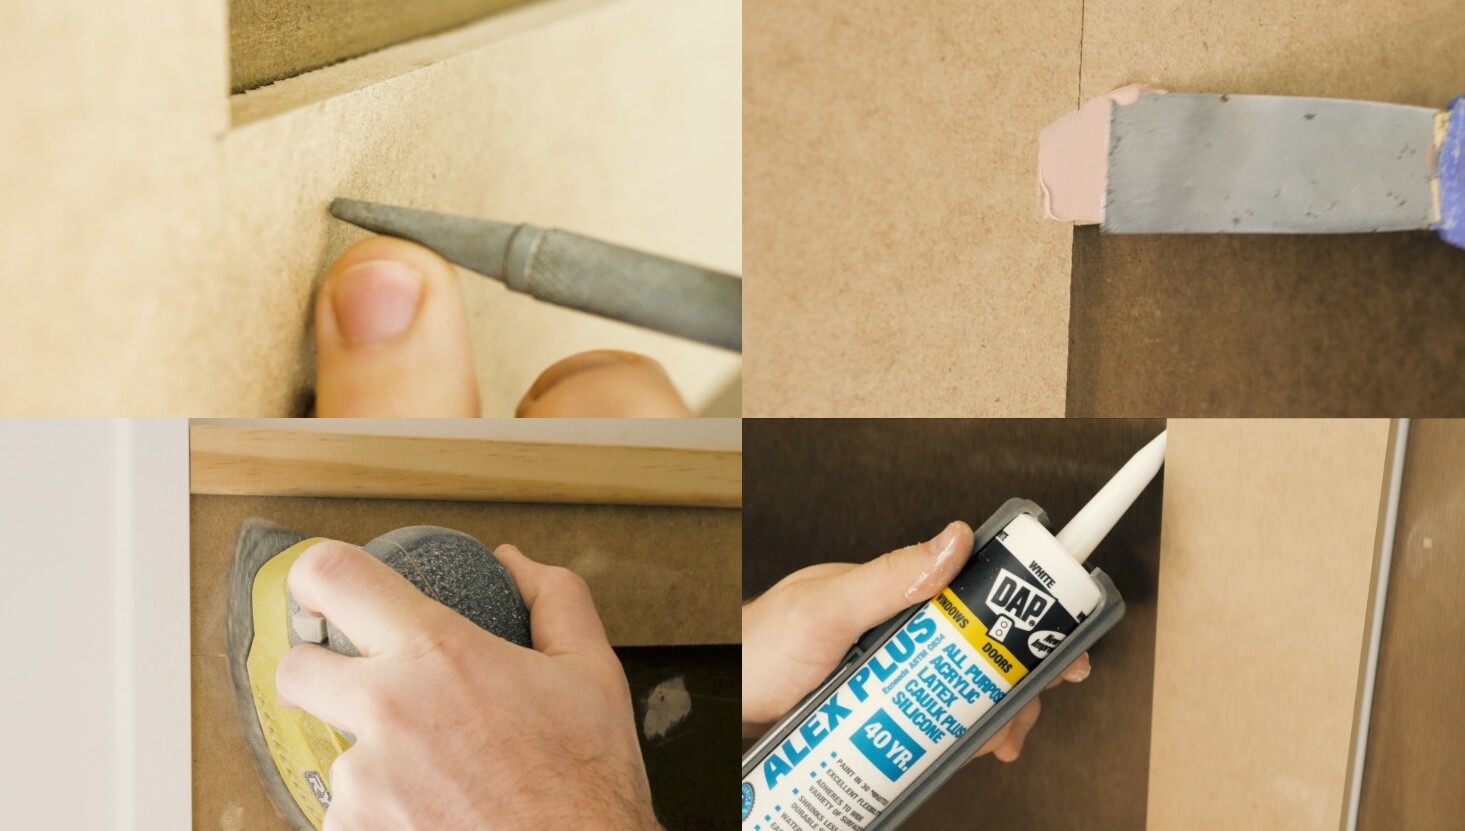
My tips for caulking are to get a dripless caulk gun and spend some time preparing the tip of the caulk tube. Cut the tip on a 45 leaving only a small opening (about 1/8″) then round over the point of the tip with sandpaper. This will help leave a nice caulk line as the tip drags over the caulk.
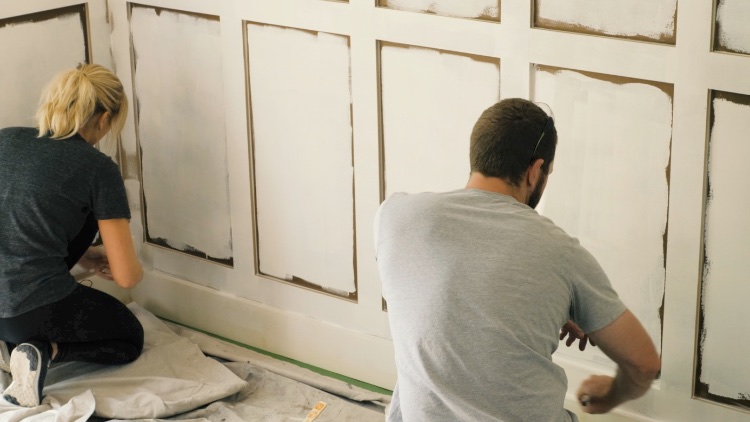
Priming the MDF
It is absolutely necessary to prime the MDF to make sure the paint adheres to the surface. Prime all surfaces and allow proper dry time before painting.
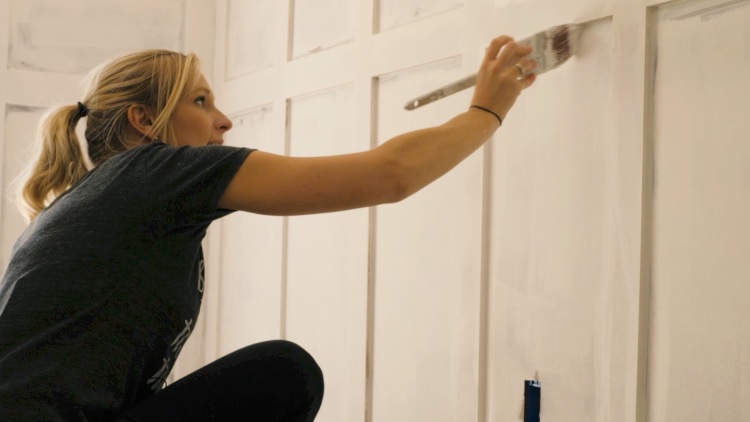
Painting
We decided to match the existing trim color which was White Moderne from Behr in a satin finish and we couldn’t be happier with how it turned out.
Questions? Comments?
As always, if you have any questions don’t hesitate to comment below and especially don’t forget to post pictures of your finished products in the comments! ENJOY!
This looks Amazing and thank you for the great tutorial!
Thanks Scott!
Can you talk about how you determined spacing for the stiles?
I took the total width, subtracted 3-1/2″ for the first stile and then divided by the number of stiles I wanted to get an appropriate spacing. The number I got from that (I think was around 19″) was the distance from the left side of one stile to the left side of the next stile.
Project looks great. Just wondering – did you have to sand the masonite before priming or did the primer have enough to grip onto? Thanks!
Thanks Delano! I didn’t sand the masonite and the primer seemed to grip just fine.
This looks lovely! I hope to do something similar in our dining room.
Thank you for the tutorial. I’m wondering how this would work, look, around a window.
I do have one question……….if you don’t mind……..how much did this project cost? I see you are sponsored, however, do you have an estimate of what something like this might cost? Thanks again!
I’m looking to start this same project!
Can you elaborate a bit on the baseboard? Did you add a piece behind the baseboard so there would be an edge where the top of the baseboard met the bottom rail?
I like the added dimension this gives your wall, I’ve seen others just take the stile all the way to the top of the baseboard, and I guess that looks nice too. Thanks for the tutorial!
I ended up doubling up the baseboard but any 3/4″ thick material would work. Or you could just extend the 1/4″ and 1/2″ material down to the floor behind the baseboard.
Another question, what kind of primer did you use. I’m reading I must use oil based to avoid the mdf from absorbing the water and swelling. Thanks again,