
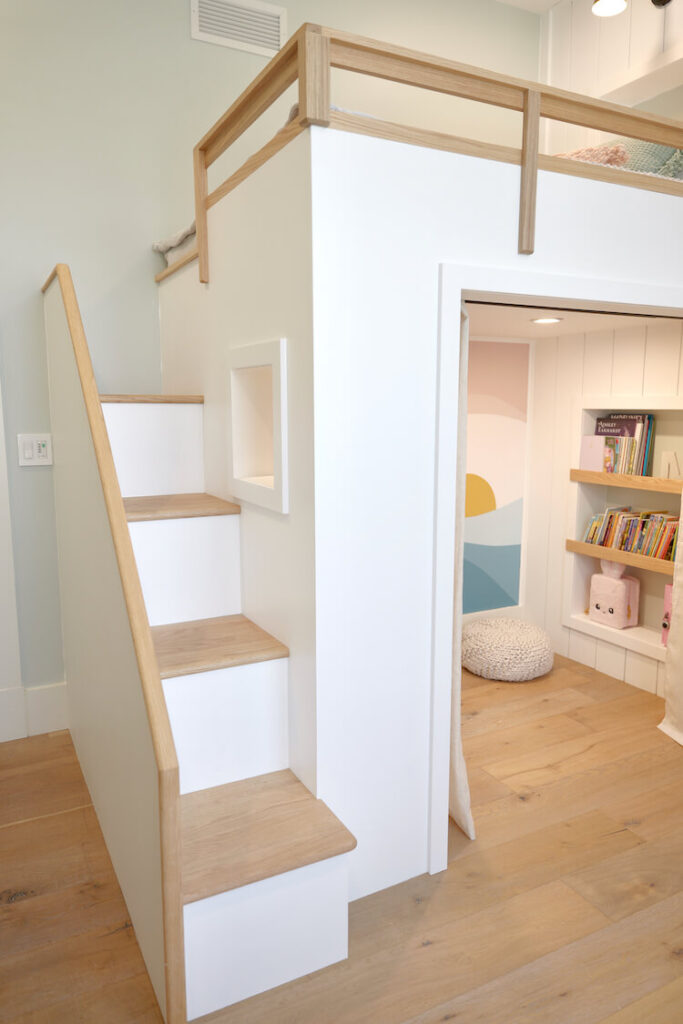
Built-In Loft Bed
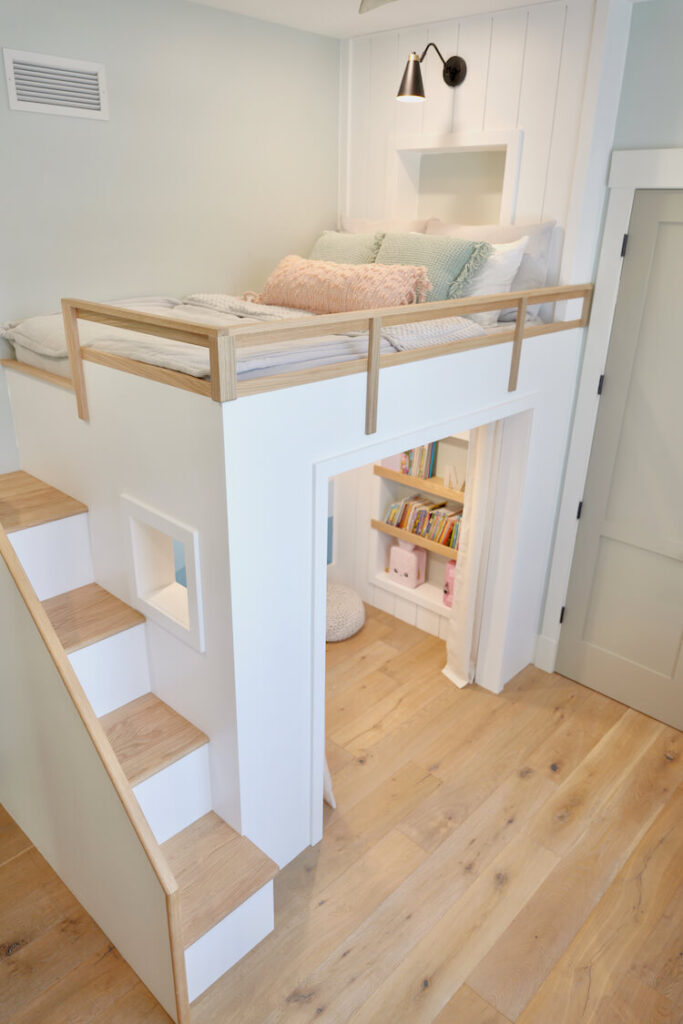
For my daughter’s 9th birthday, the only thing she wanted was a “beachy” loft bed. So you know I had to make it happen. But how do you make a loft bed “beachy”? We started by coming up with a design list of must-haves. Here’s what we came up with:
- “Beachy” / Coastal Theme
- Mature enough that she will get many years of use
- Not damaging to floor / existing trim
- Plenty of storage & play area
- Electrical for outlets and lights
As this list came together, I quickly realized that this wasn’t going to be a weekend project. Nevertheless, while this project took longer than expected and cost more than projected, I think we nailed it and I will say that it was well worth it!
Project Video
Time to Complete
2 Wks
Estimated Cost
~$800+
Skill Level
Advanced
Tools
- Kreg Pocket Hole Jig
- Drill/Driver
- Track Saw
- OR Circular Saw w/ Straight Edge
- Table Saw
- Framing Nailer (Optional)
- Miter Saw
- Track Saw
- Brad Nailer or Pin Nailer
- Tape Measure
- Pencil
- Safety Glasses
- Hearing Protection
Materials
- (4) 3/4” x 4’ x 8’ Plywood OR MDO
- (5) 2 x 6 x 10’ Lumber
- (2) 2 x 6 x 8’ Lumber
- (16) 2 x 4 x 8’ Lumber
- (3) 2 x 2 x 8’ Lumber
- (7) 1 x 8 x 8’ Common Boards
- Siding/Ceiling
- Trim (as required)
- (7) 1 x 2 x 8’ Boards for Hand Rails
- Step Treads
- 3” Framing Nails or Wood Screws
- 2-1/2” Wood Screws
- 1-1/4” Wood Screws
- 2-1/2” Pocket Screws
- 1-1/4” Pocket Screws
- 1-1/4” Brad Nails or Pin Nails
- DAP Premium Wood Filler
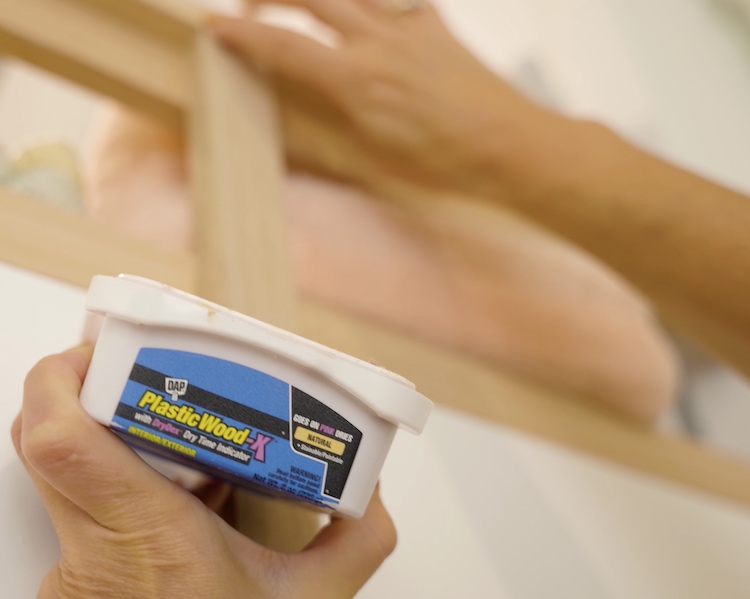
- DAP Plastic Wood-X
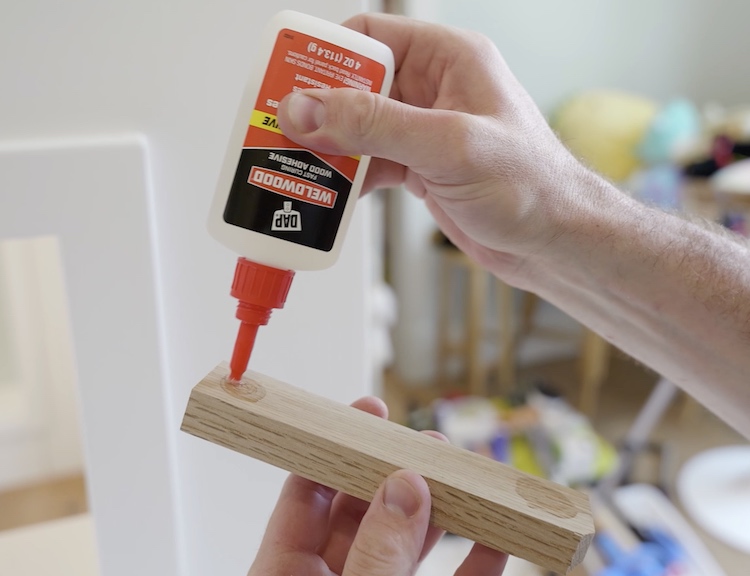
- WeldWood Instant Wood Adhesive
- DAP Extreme Stretch Caulk
- Primer & Paint
Disclosure: The links provided in the “materials” and “required tools” sections are affiliate links. If you would like to support our site and help keep our content free come find out more about how we can make money with no extra cost to you.
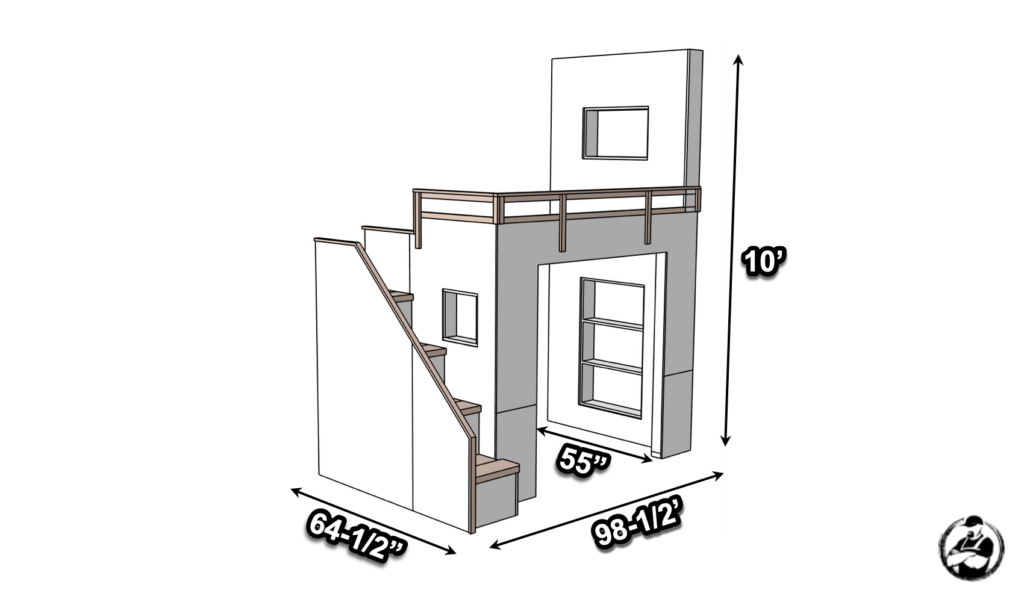
Dimensions
How to Build a Loft Bed
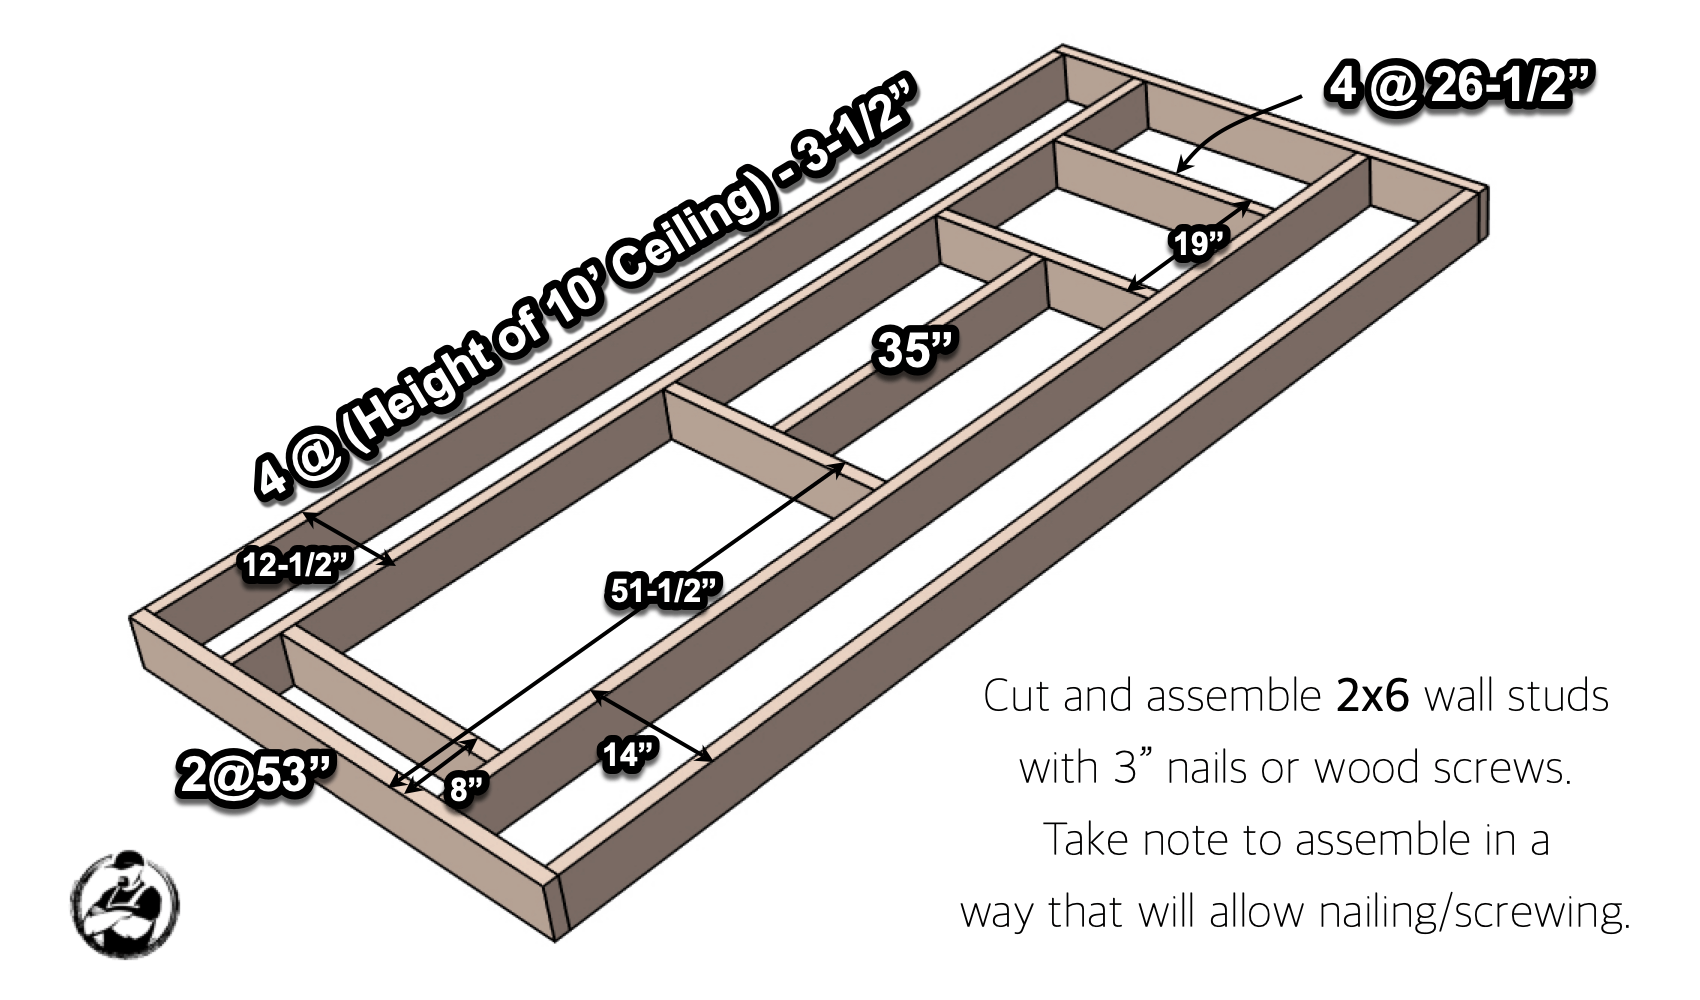
This set of DIY loft bed plans is designed for a full size mattress and a room with a 10ft ceiling. These plans are meant to serve as a guide or order of operations. A lot of the steps will need to be adapted to fit your space and style.
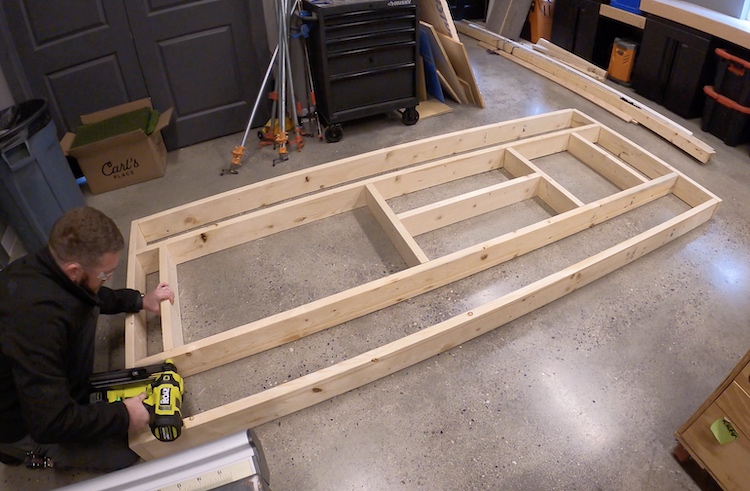
Exterior Wall Frame
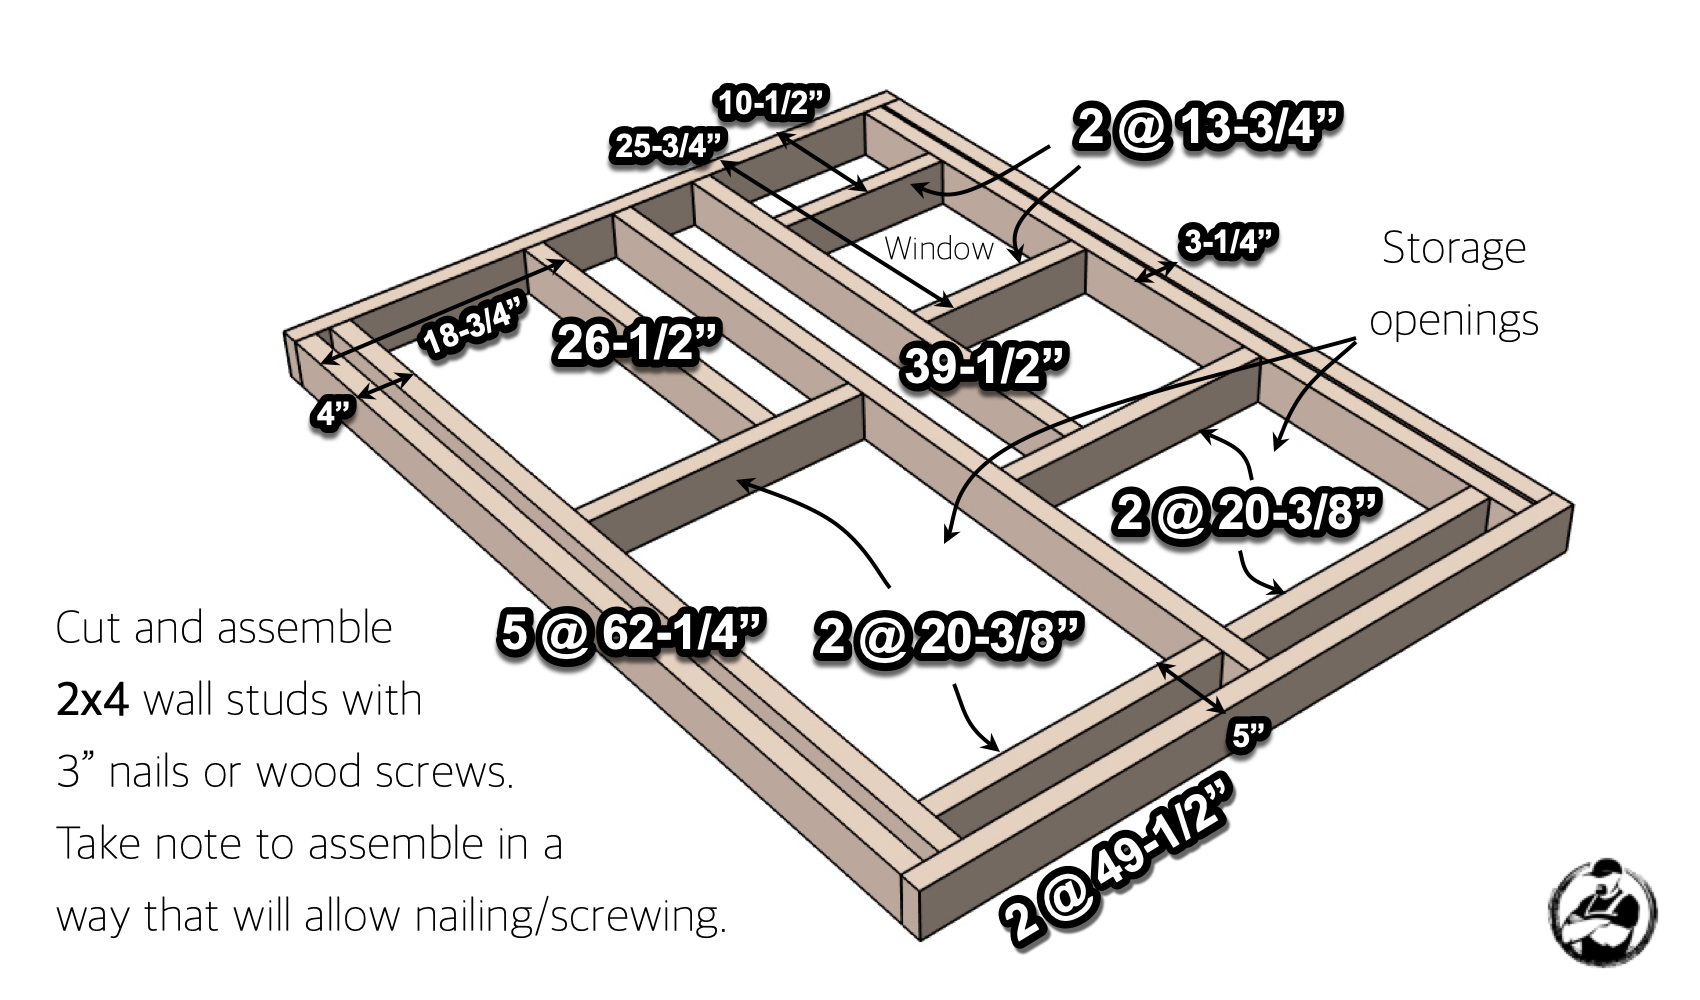
Headboard Wall Frame
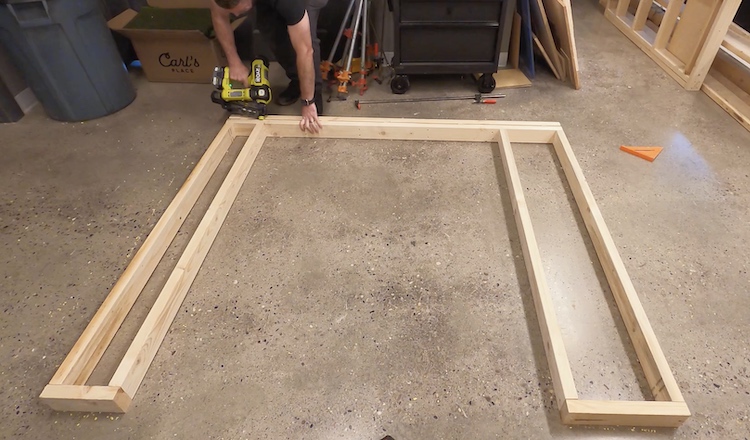
Door Wall Frame

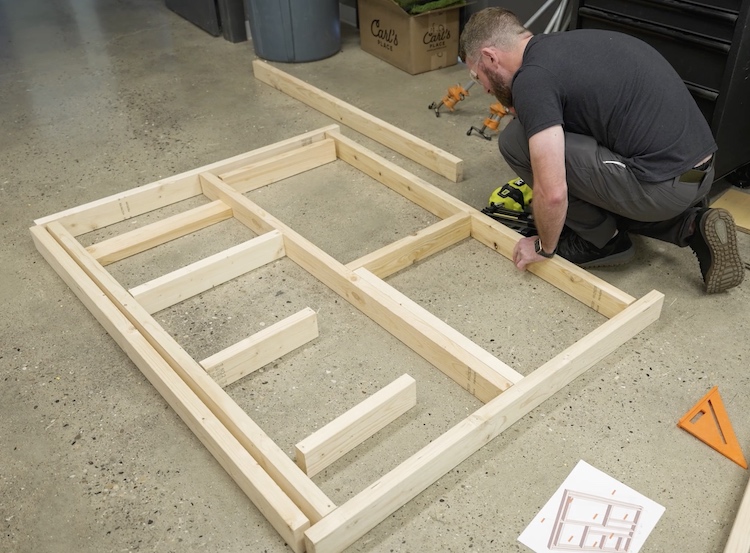
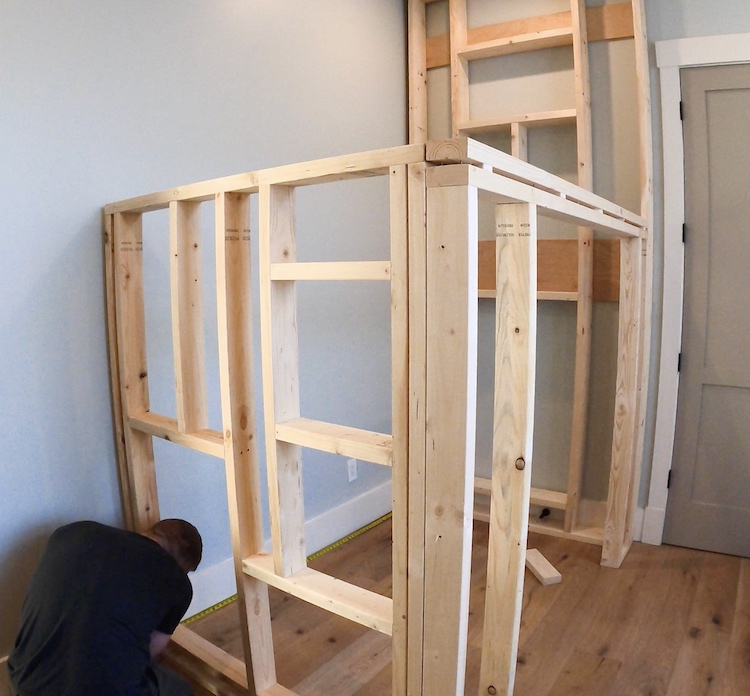
Frame Assembly and Install

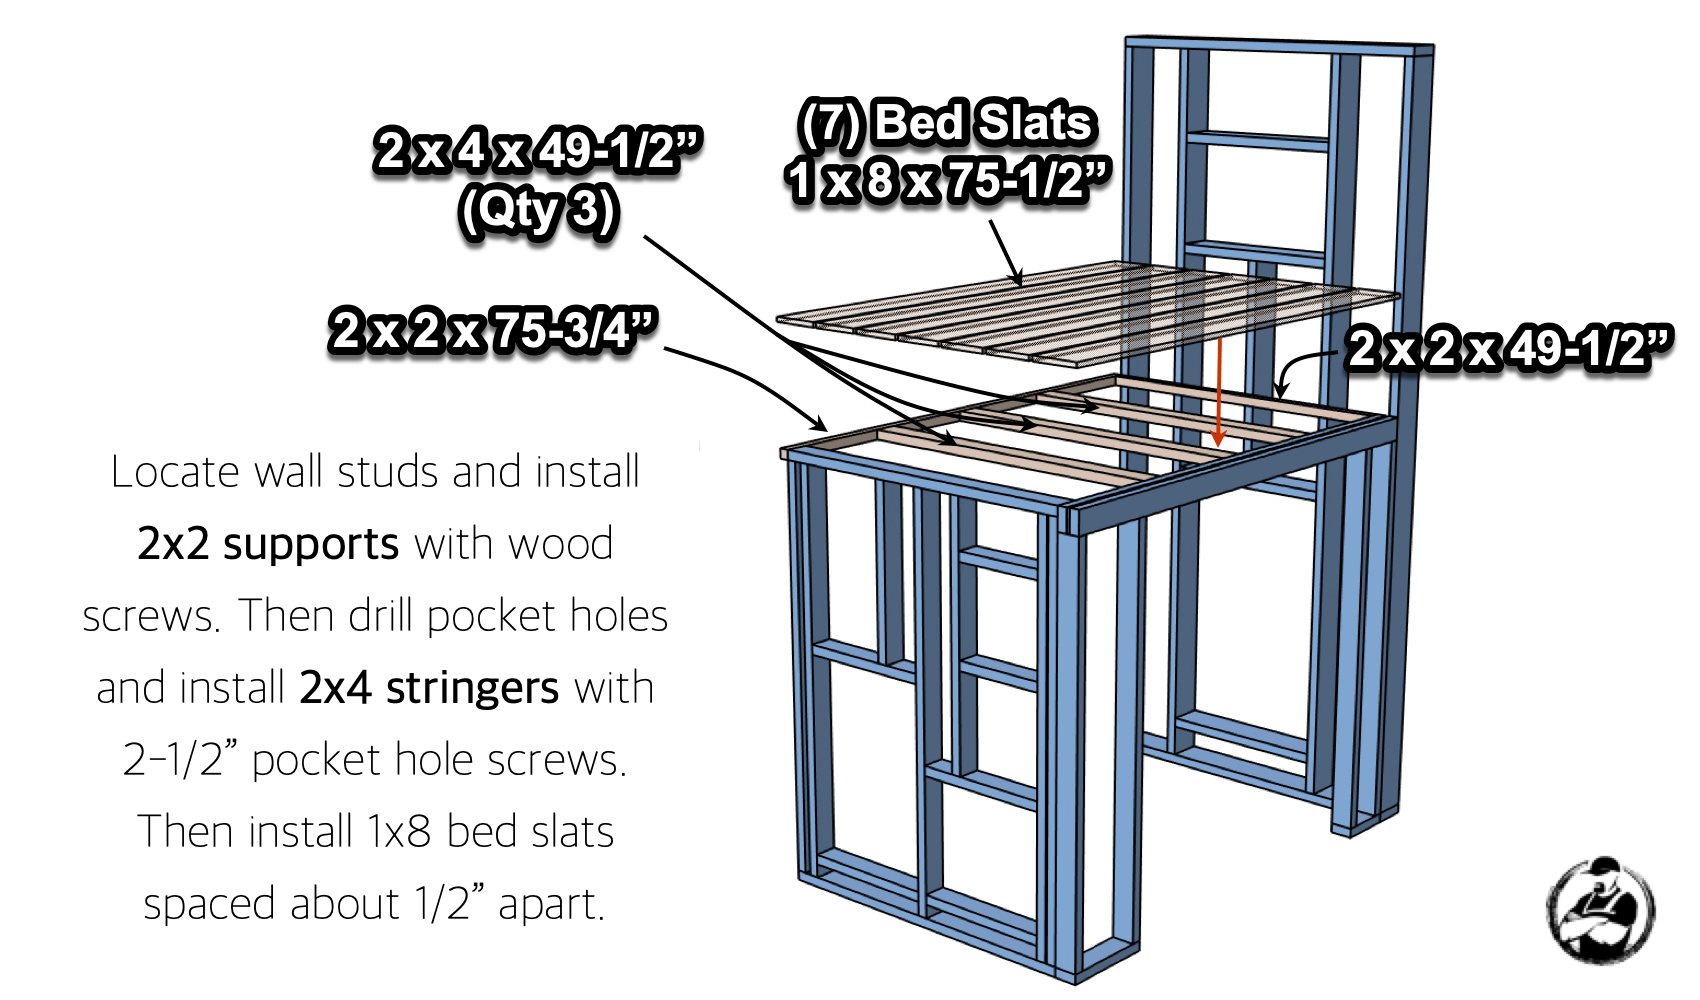
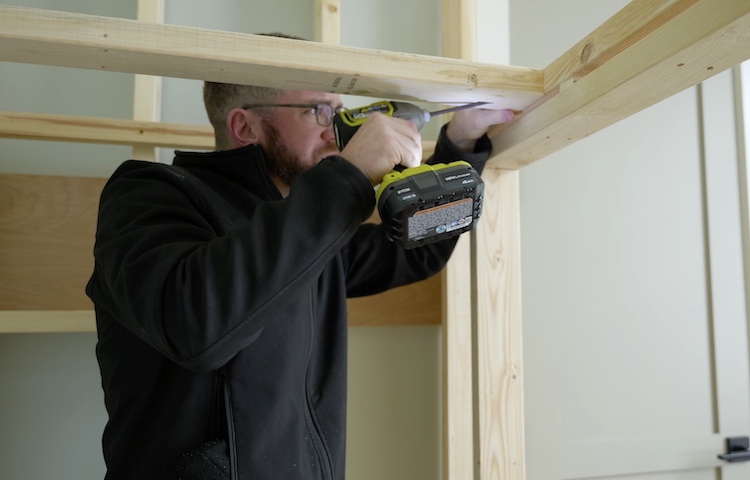
Bed Floor Install
Exterior Wall Install
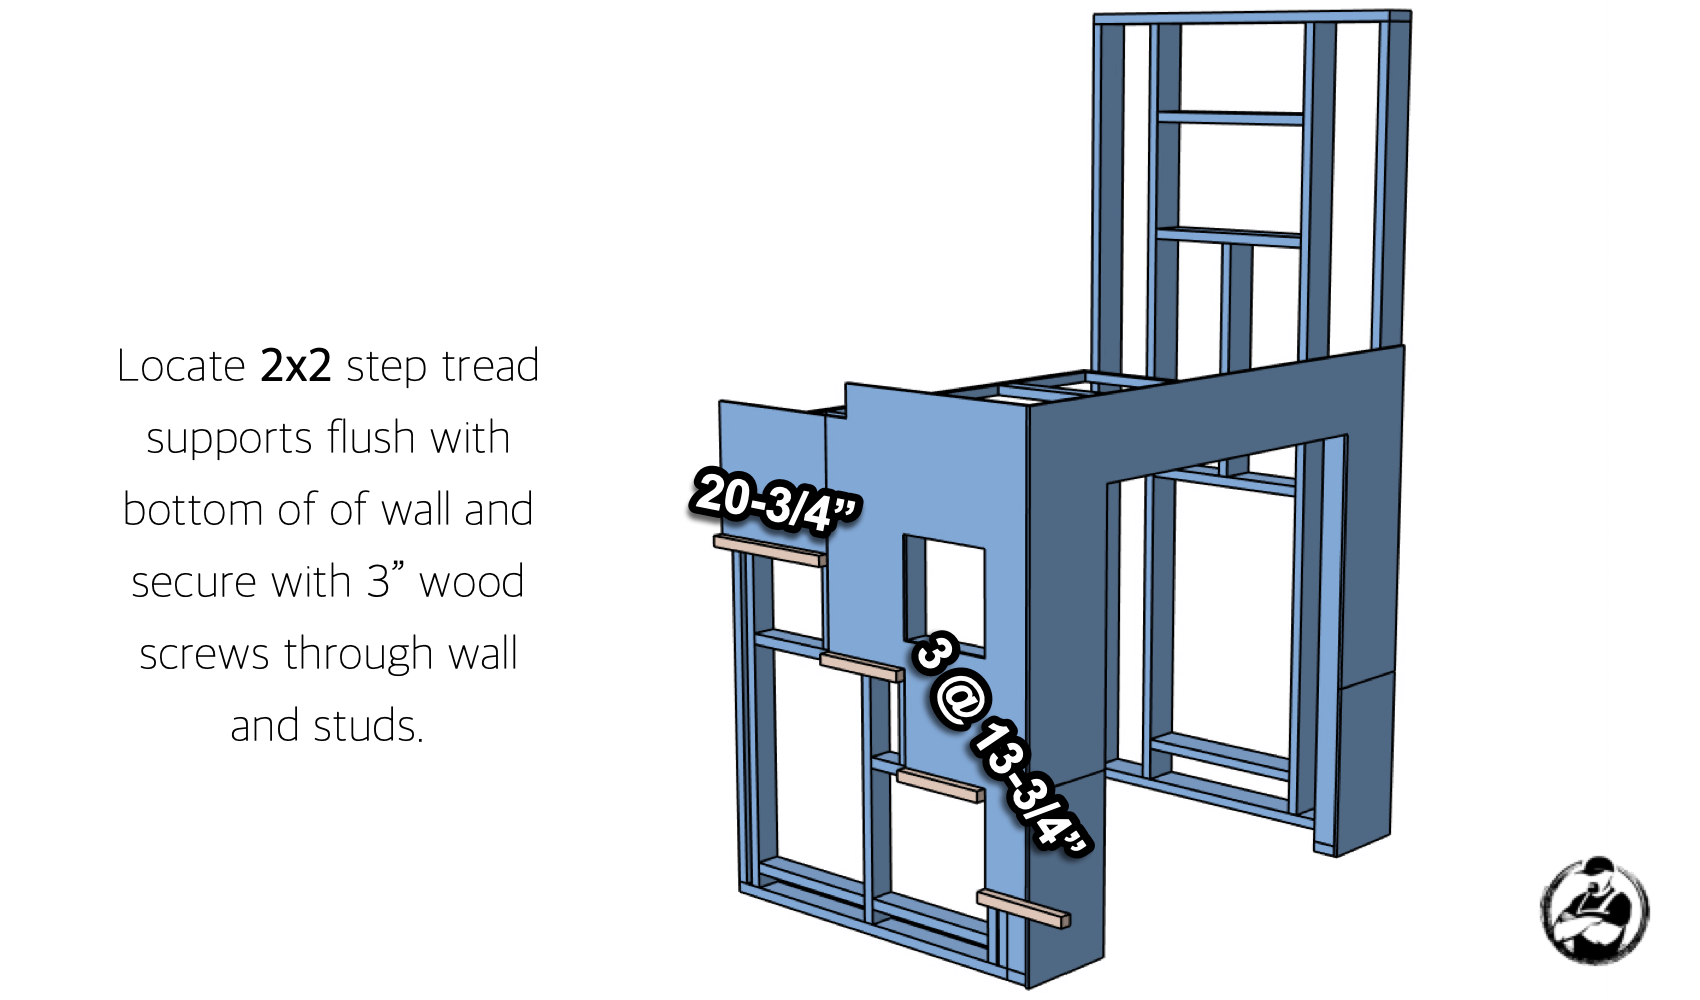
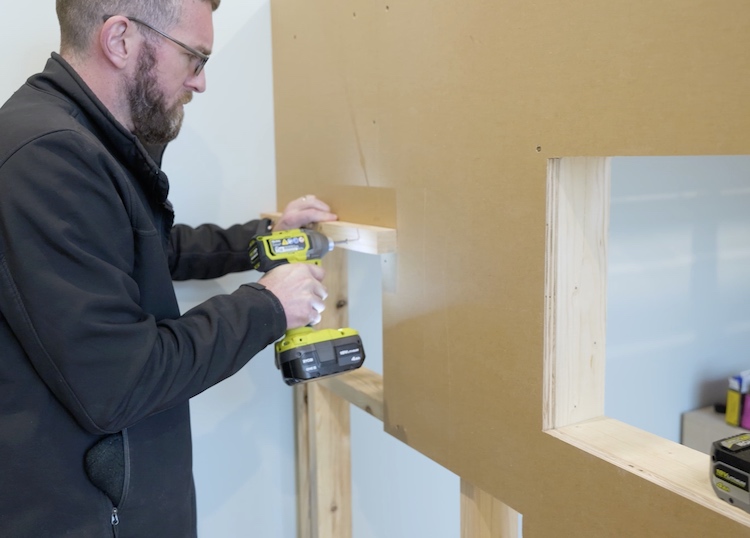
Step Supports
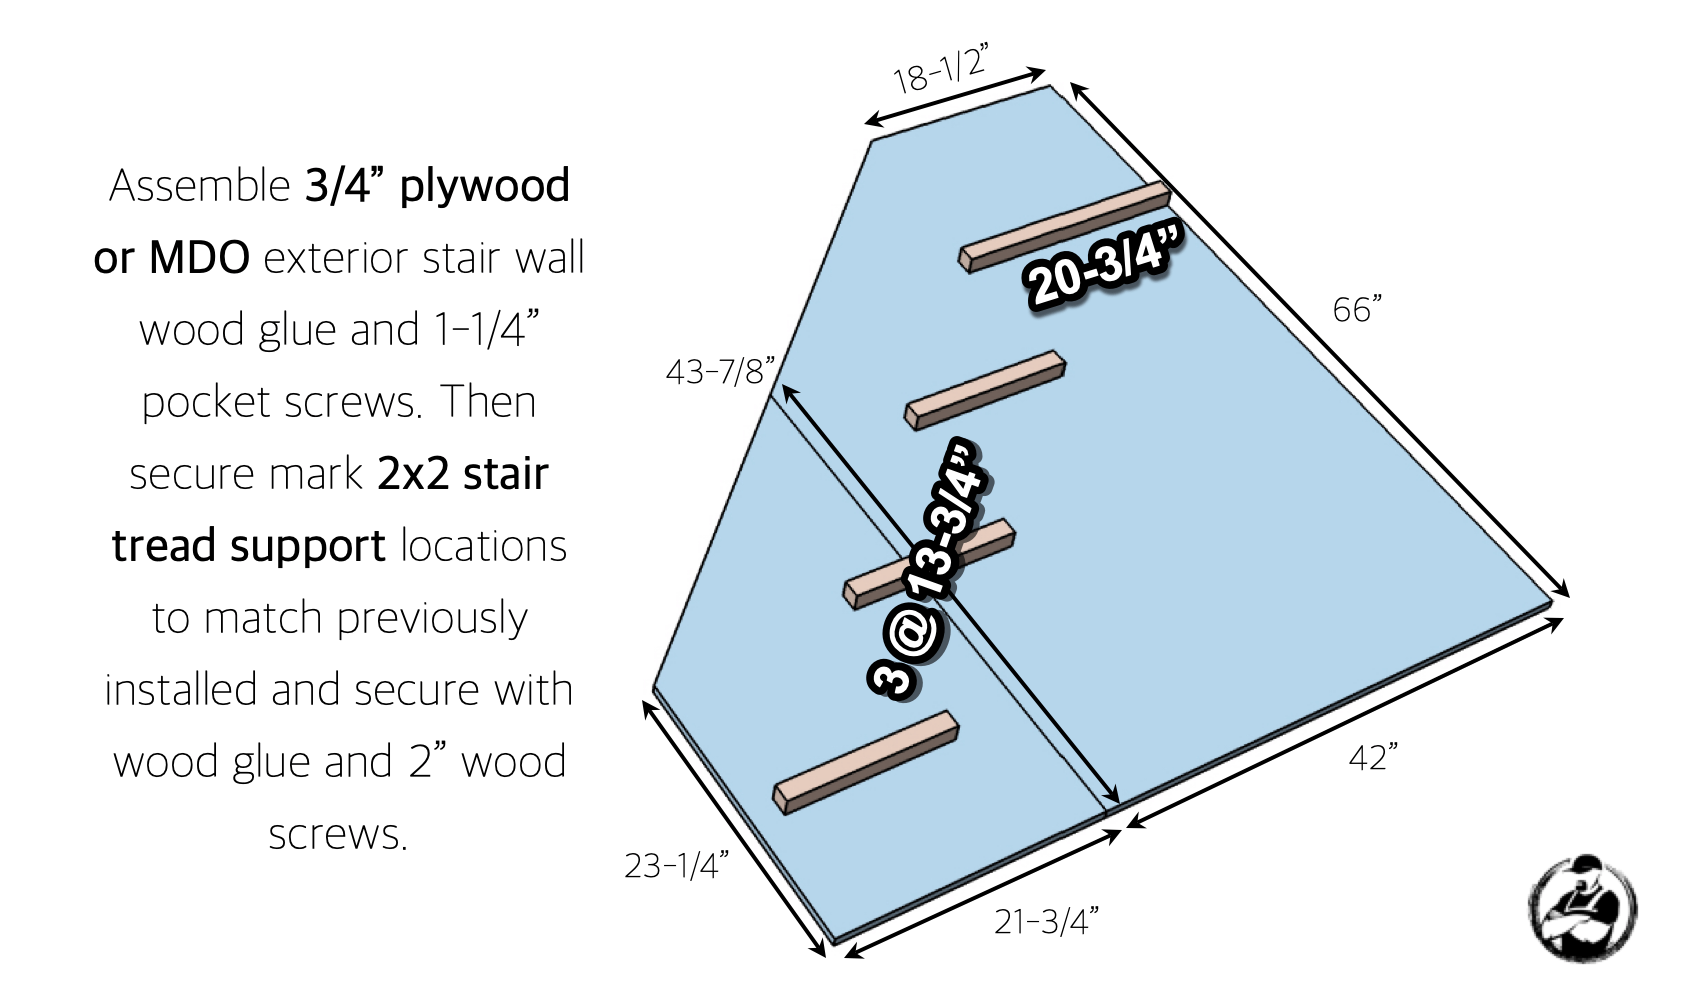
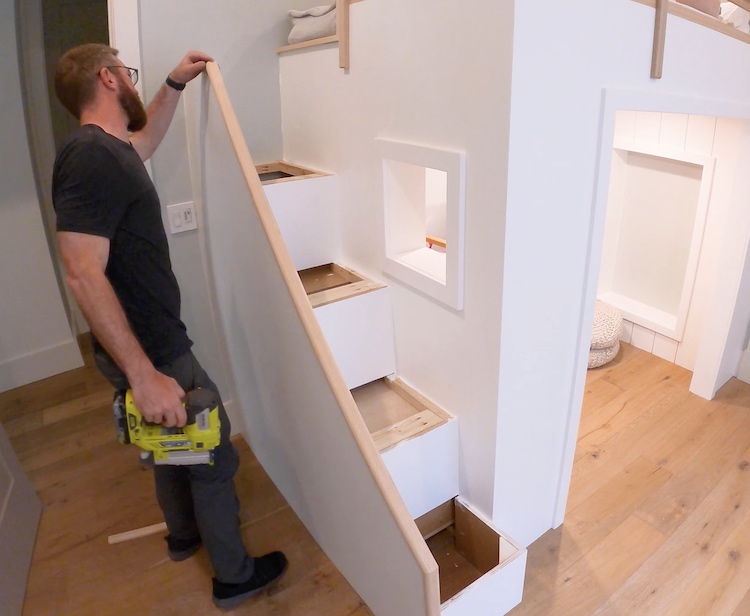
Stair Wall Assembly

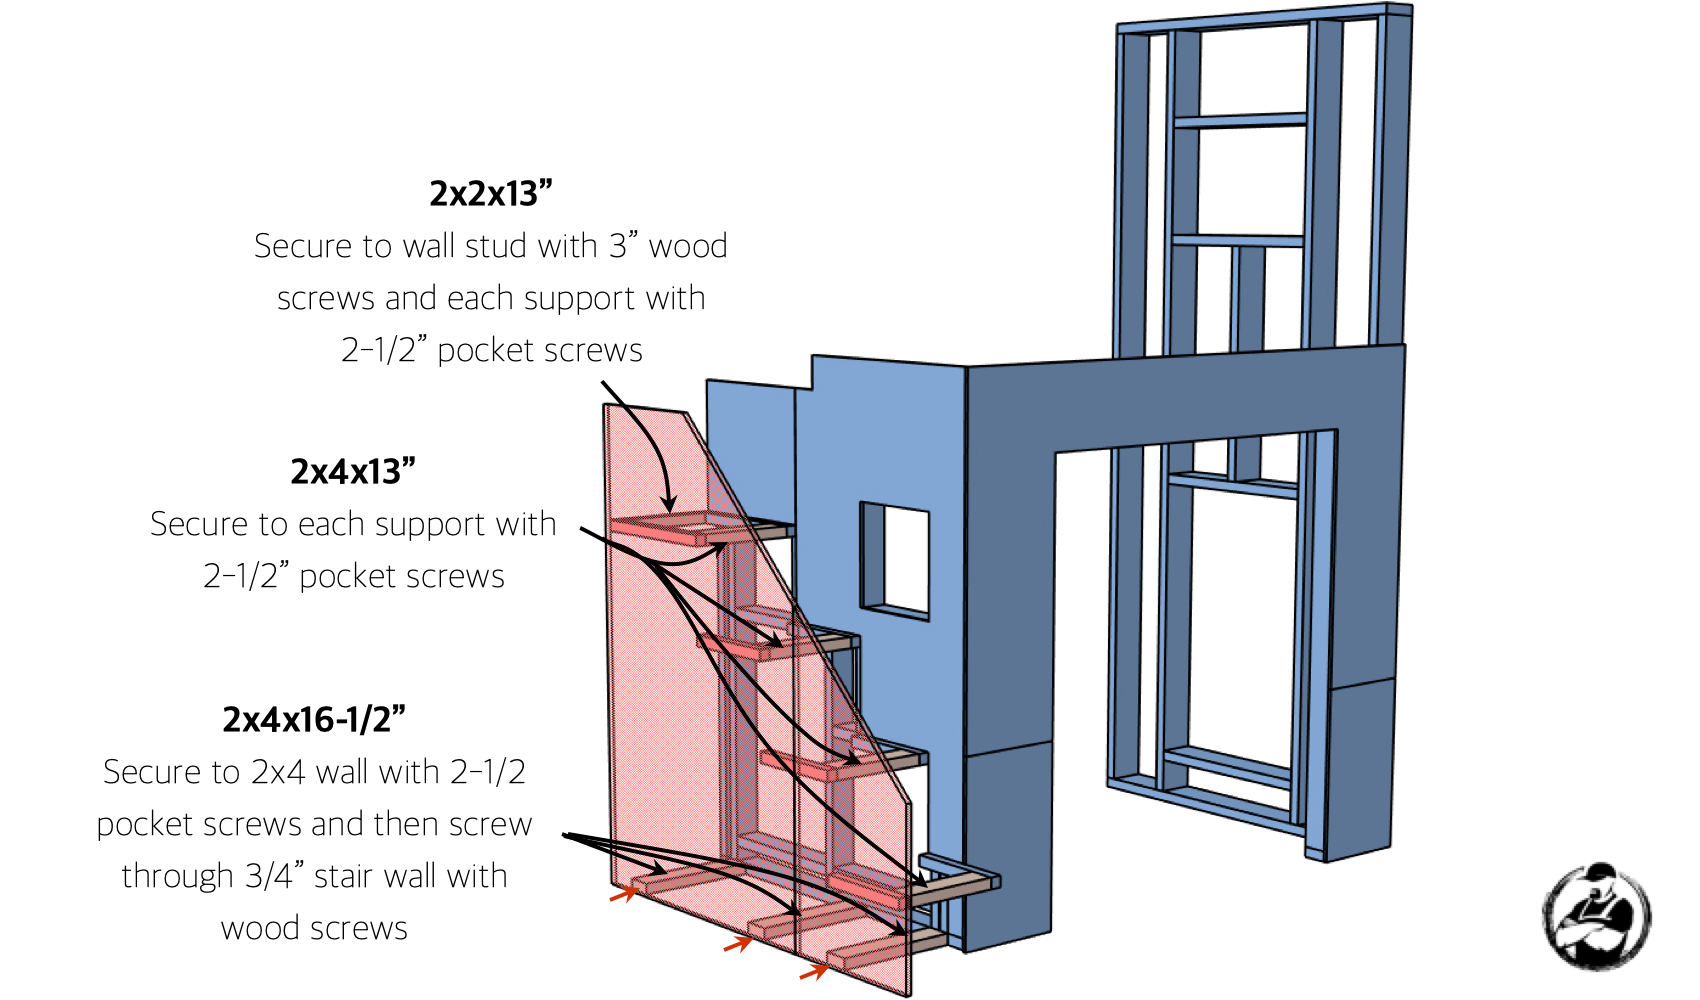
Stair Wall/Framing Install
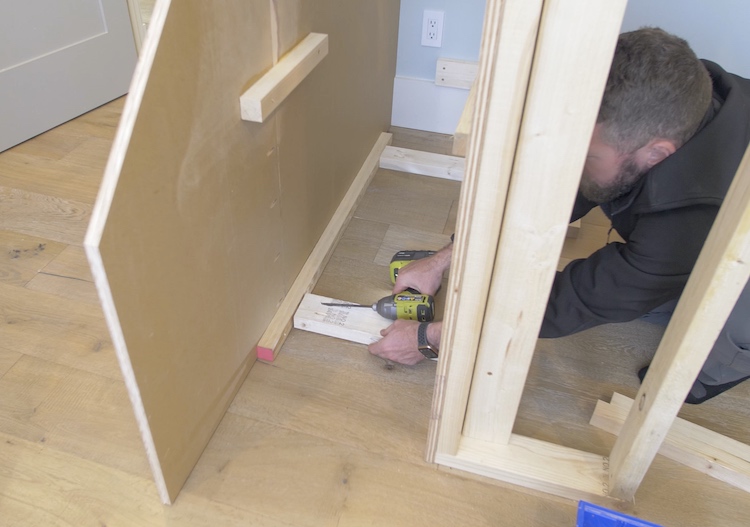
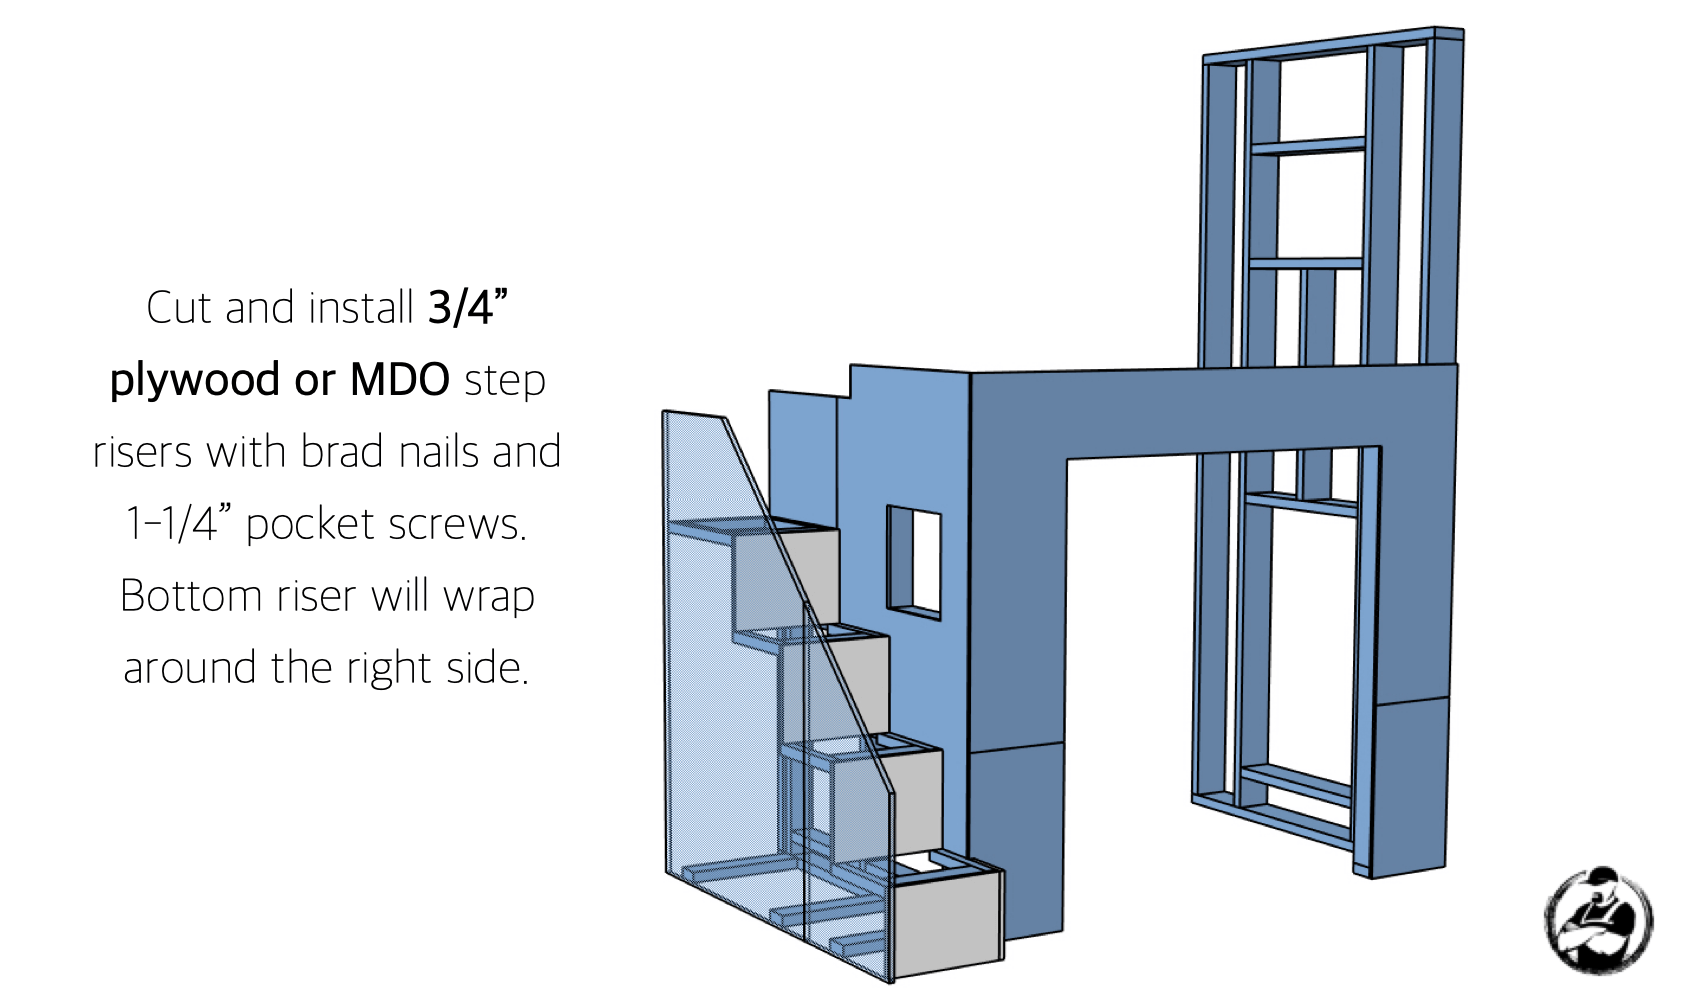
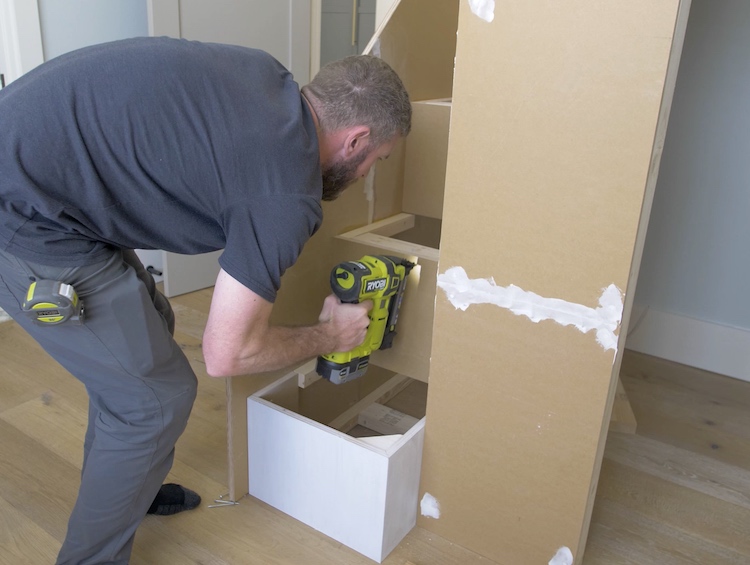
Step Riser Install
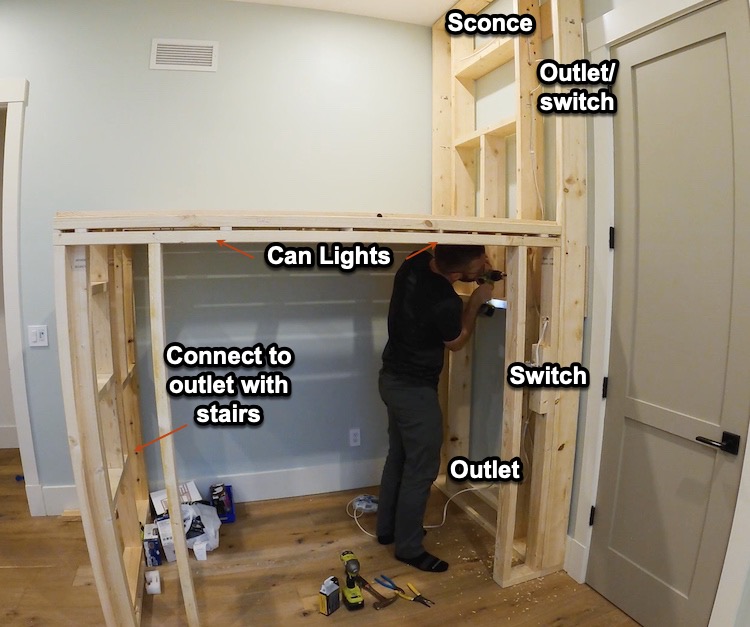
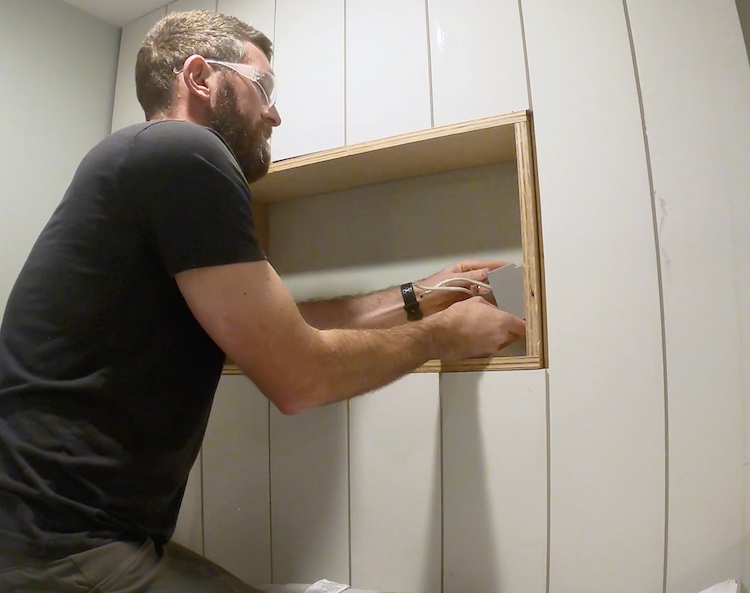
Electrical
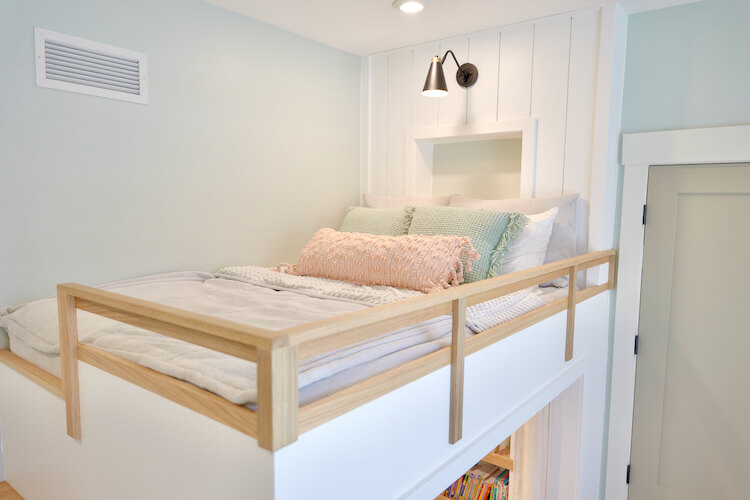
Some cool features I wanted to add were can lights below, outlets in the nooks and a sconce above the bed. With the framing exposed I went ahead and roughed in the romex for all of this. Since I got lucky with an outlet under the stairs, I will be able to put a plug on the end of the romex and simply plug it all in before closing it up.
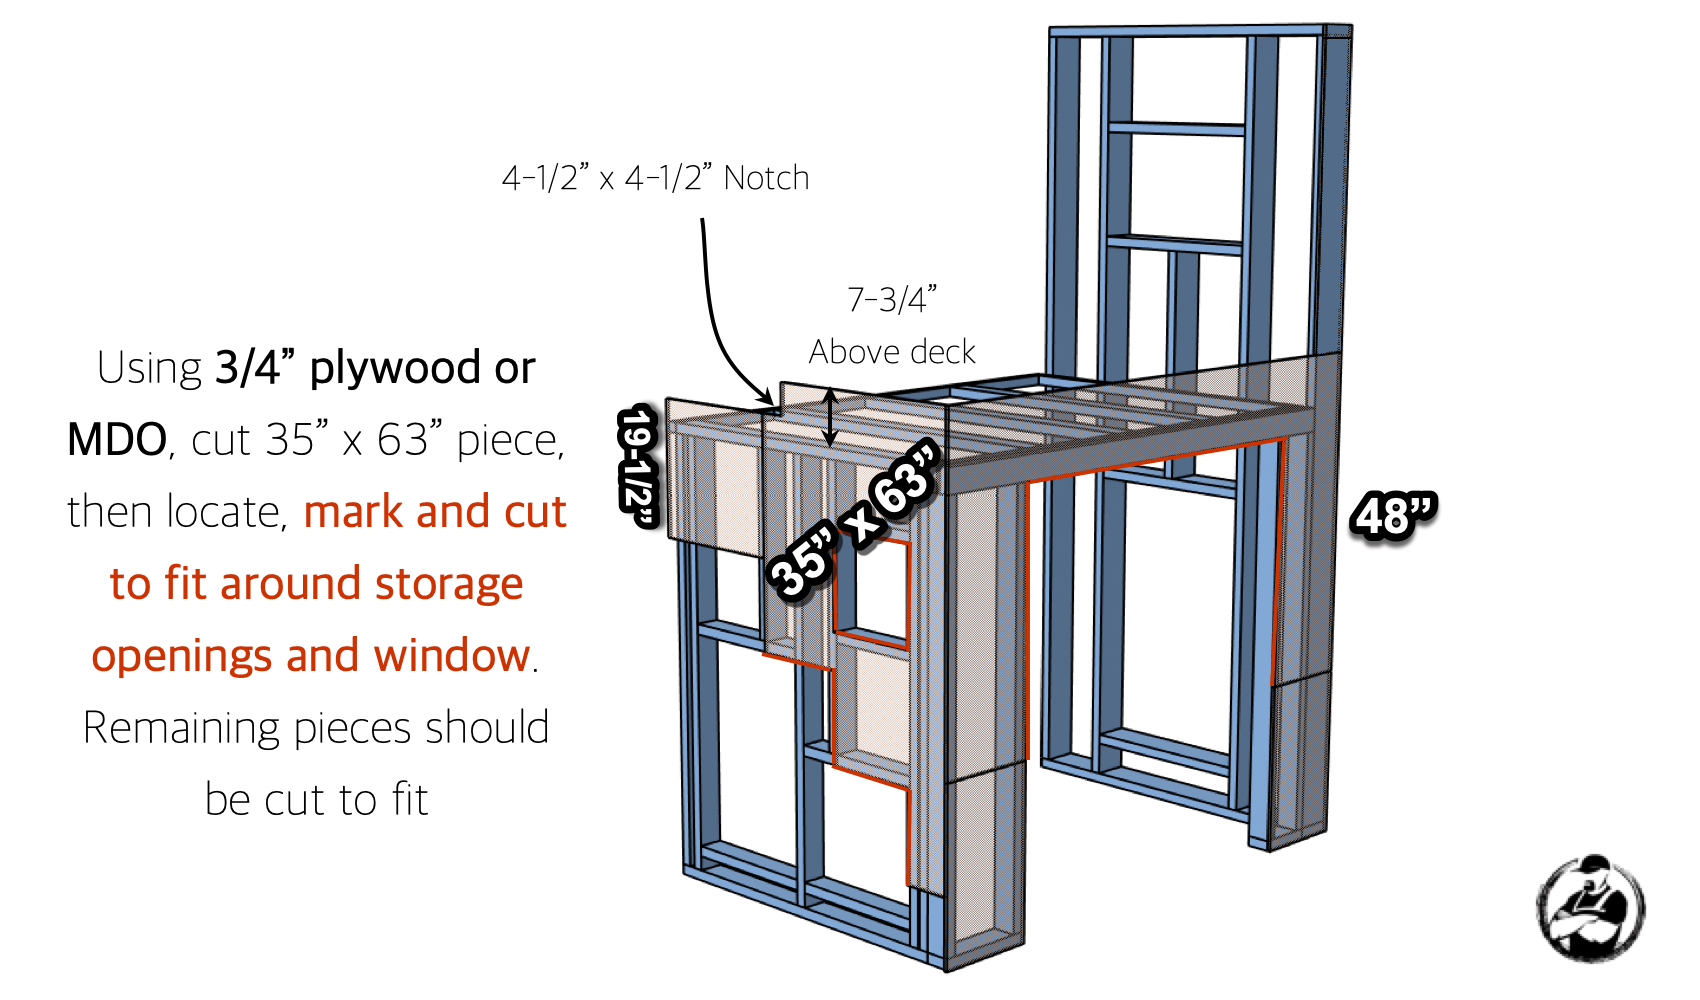
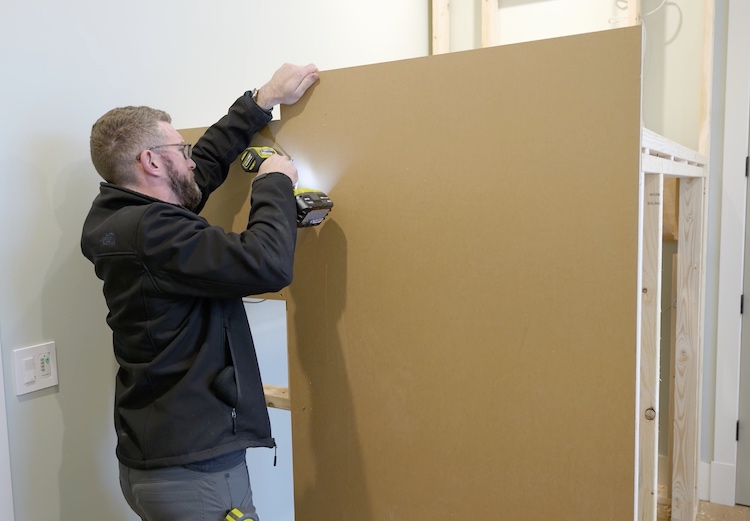
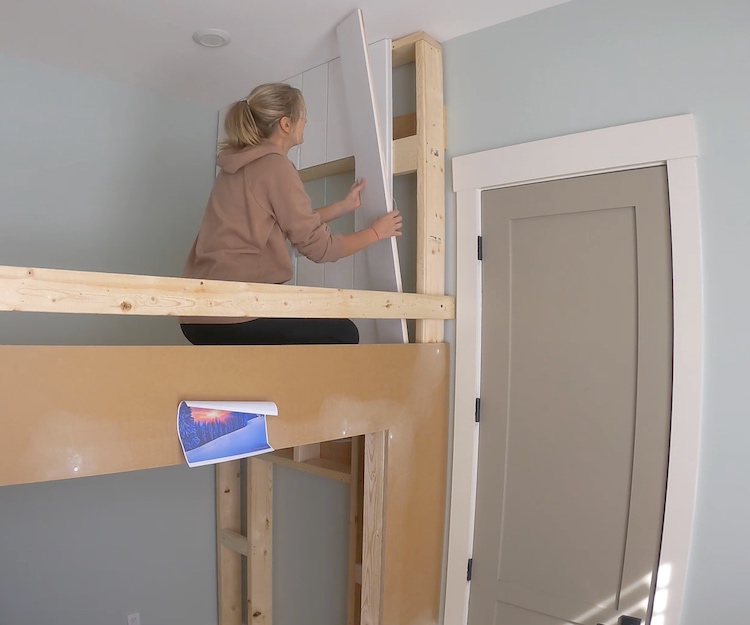
Siding
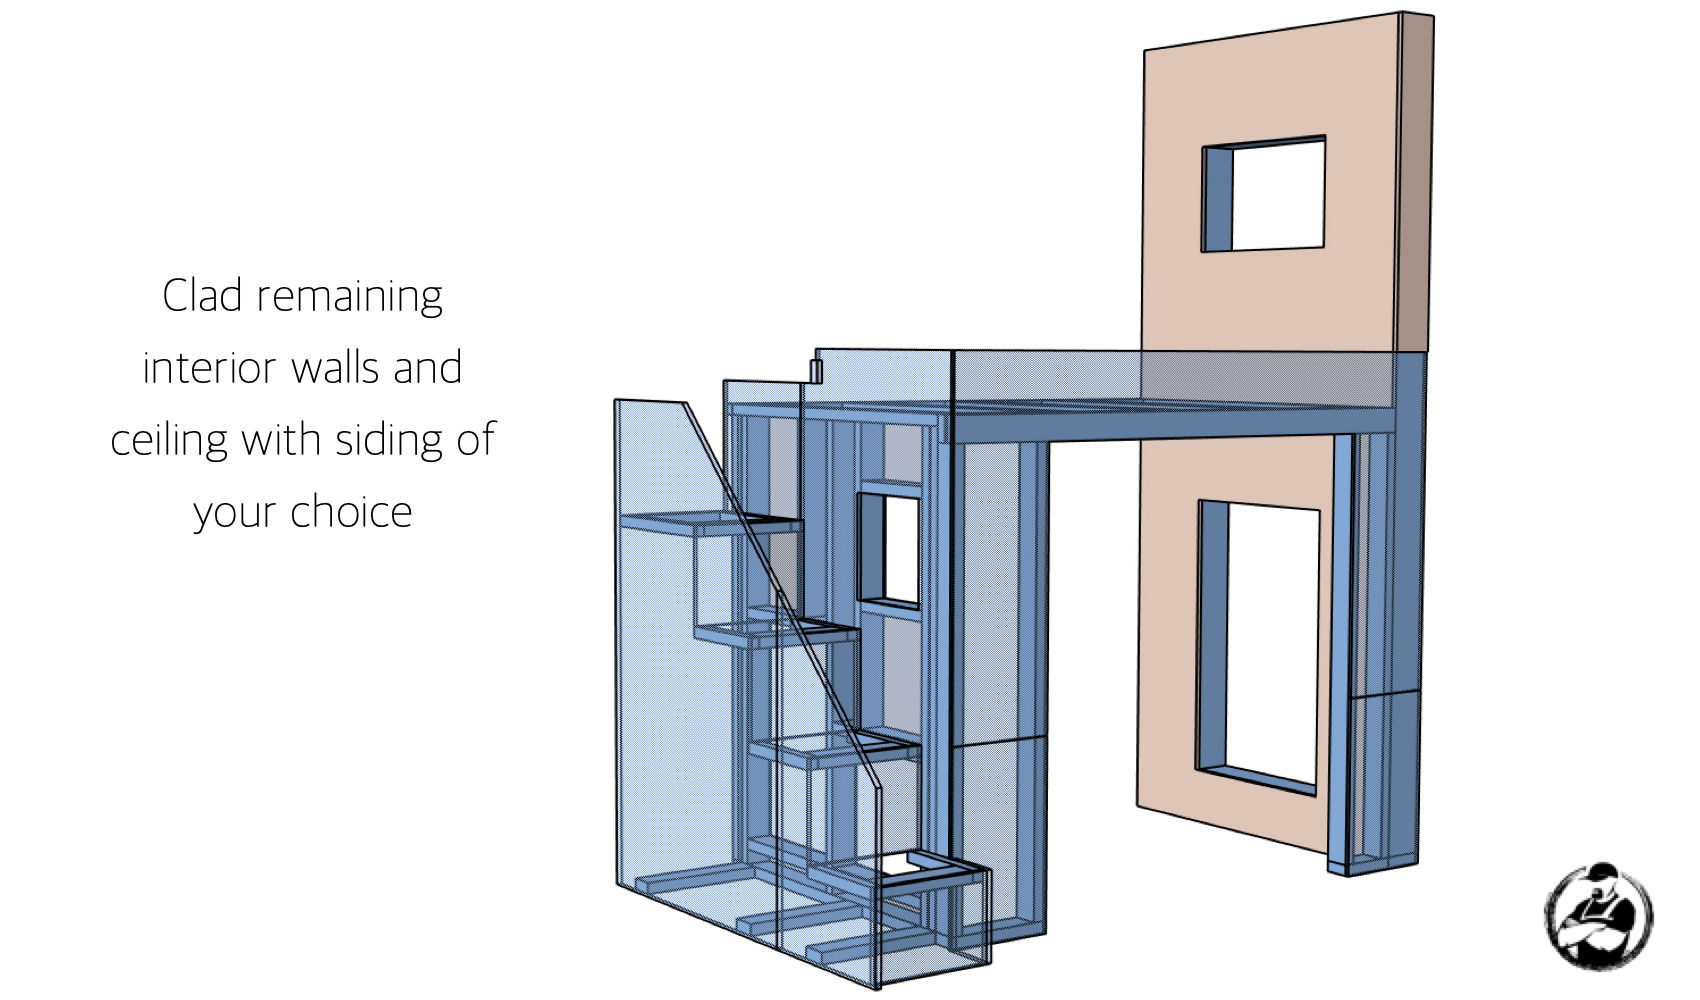
For this we went with 1×8 vertical shiplap on the walls and ceiling below. This was definitely and added expense and this could be covered with drywall or 1/4″ plywood but we both agreed that this would give it that coastal look we were going for.
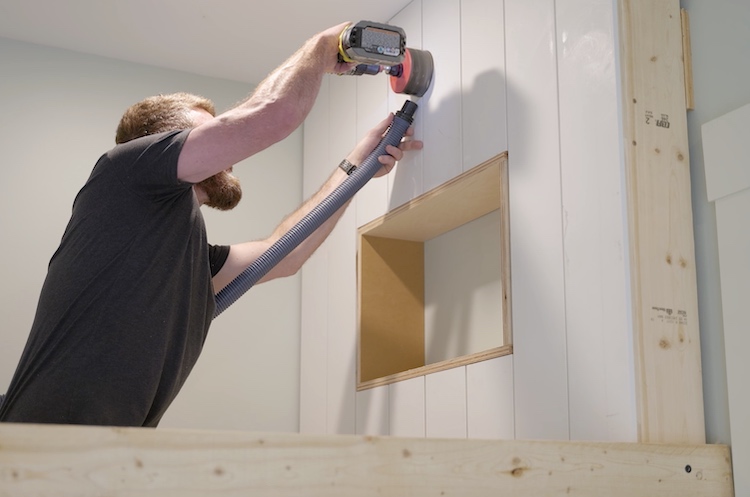
When installing the siding I went ahead and cut out the holes for the sconce and can lights with a 4″ hole saw. This way I could install a round old work box for the sconce to be mounted too and the cans will simply snap in place.
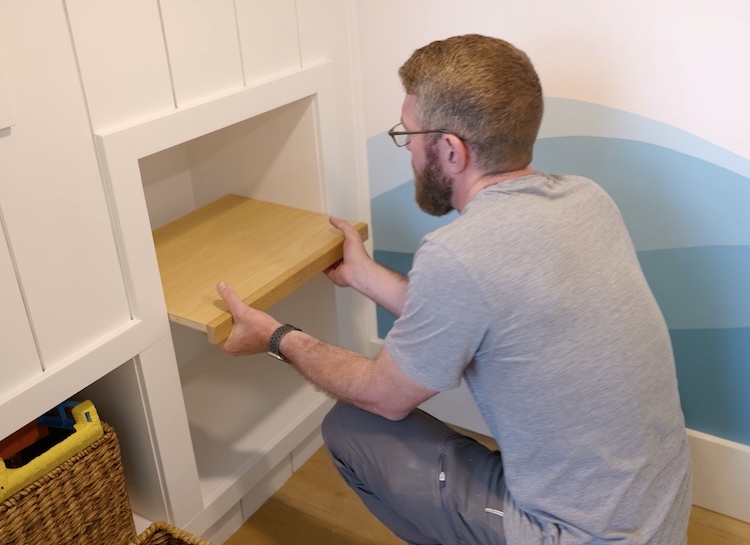
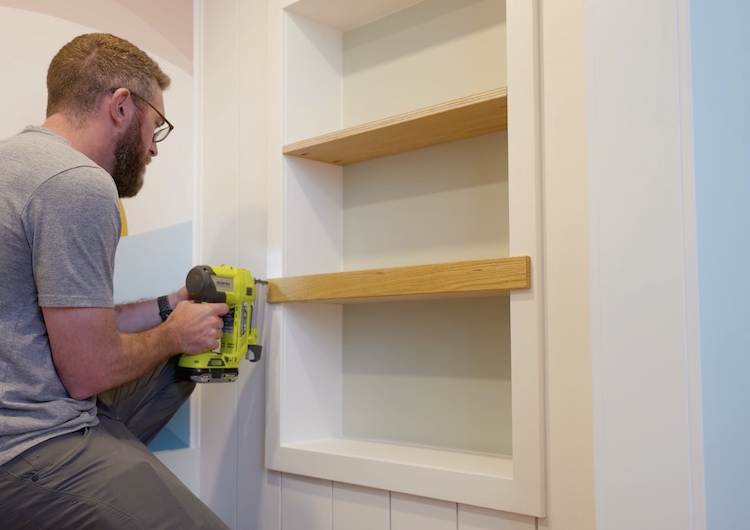
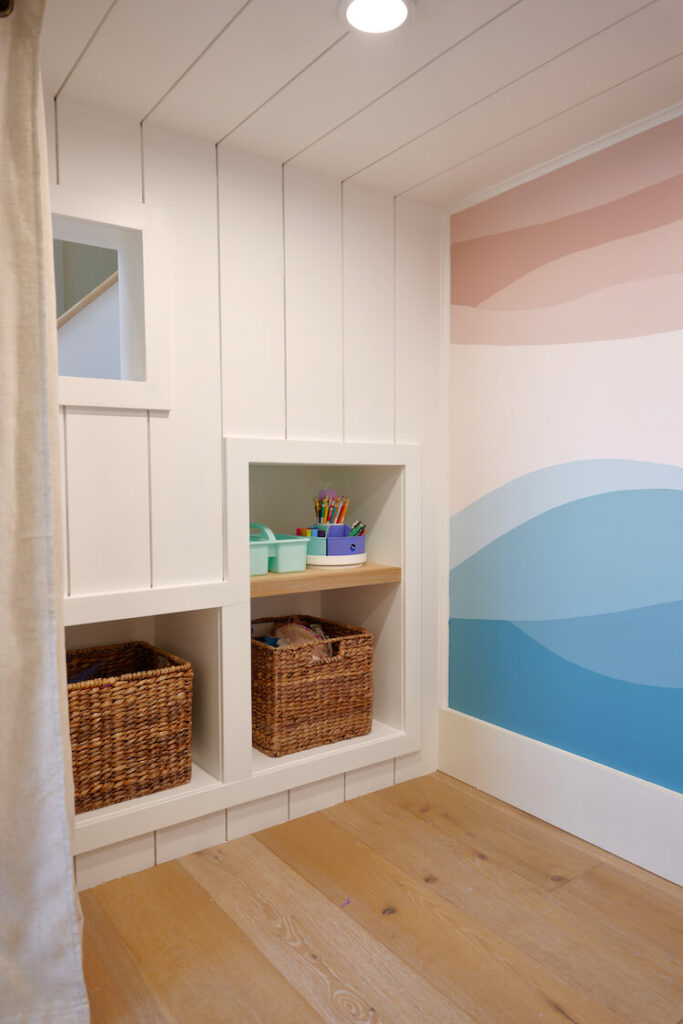
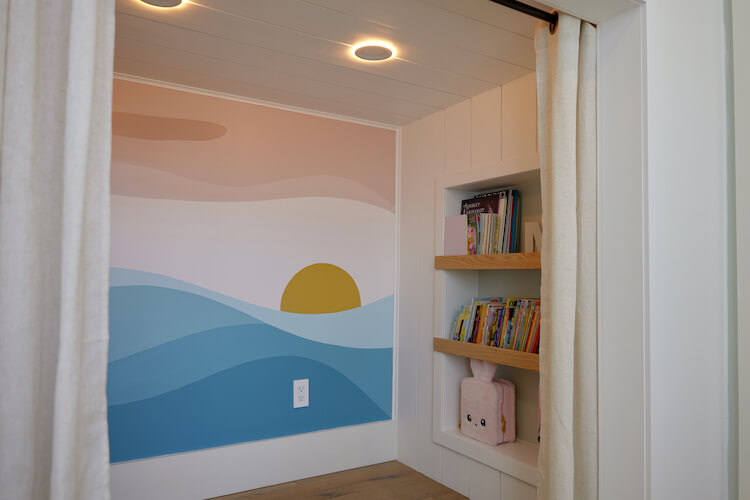
Storage Nooks
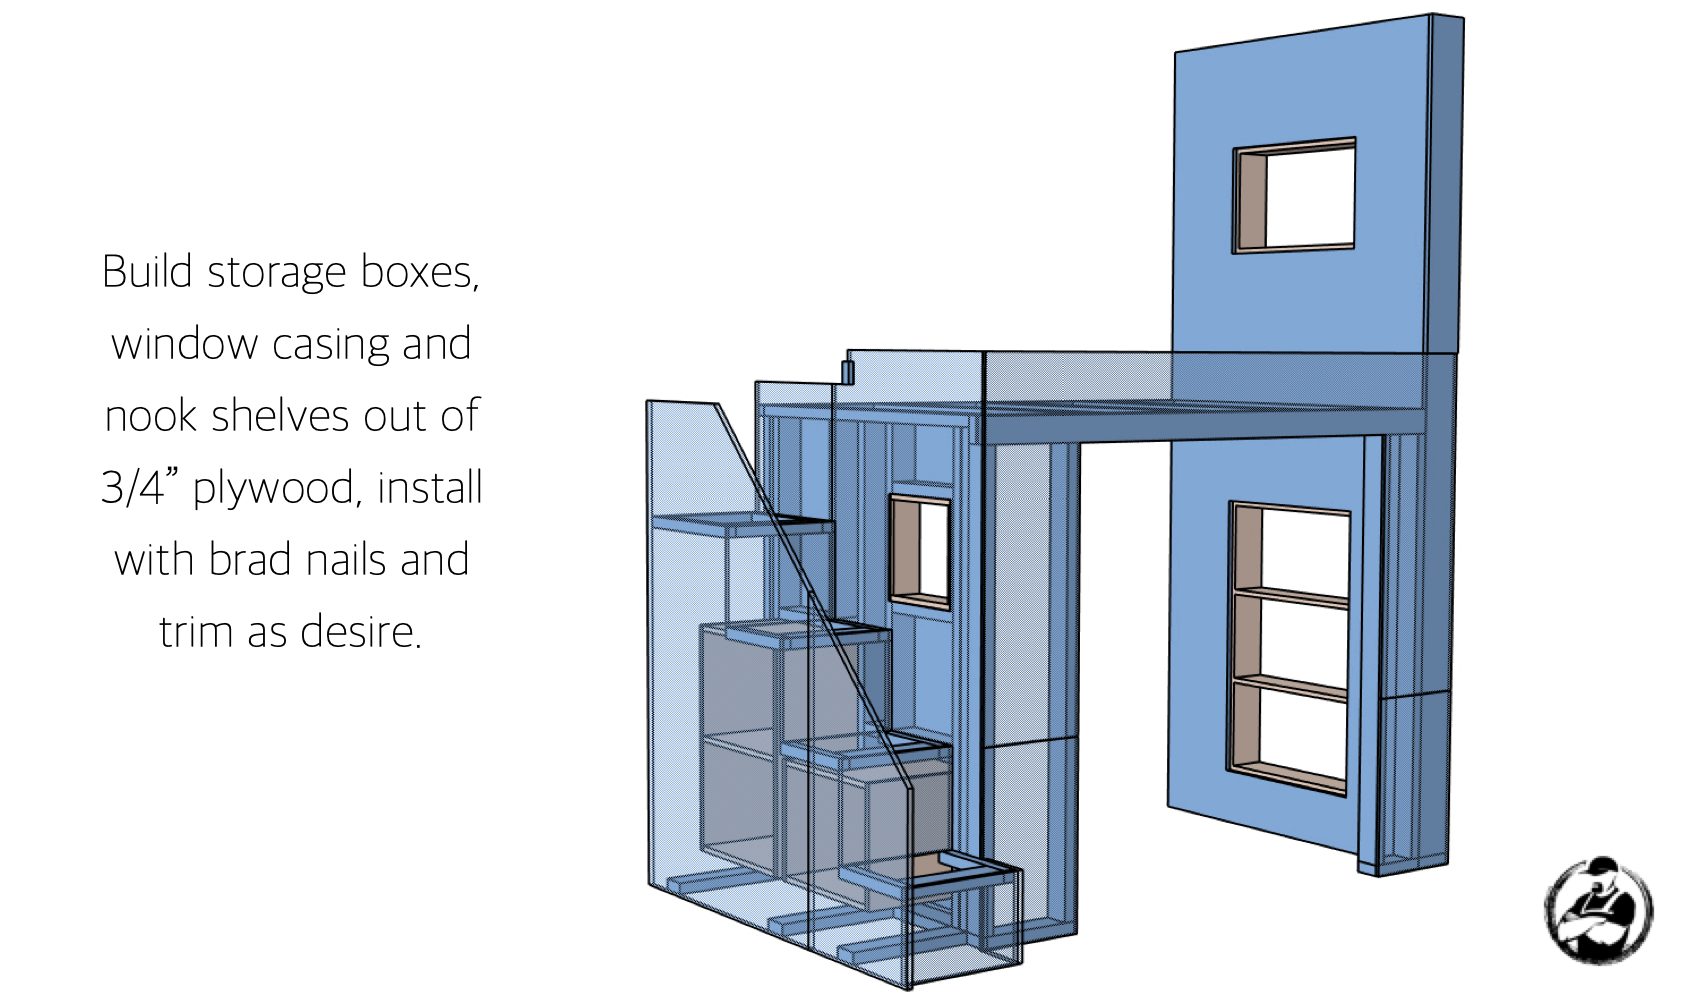
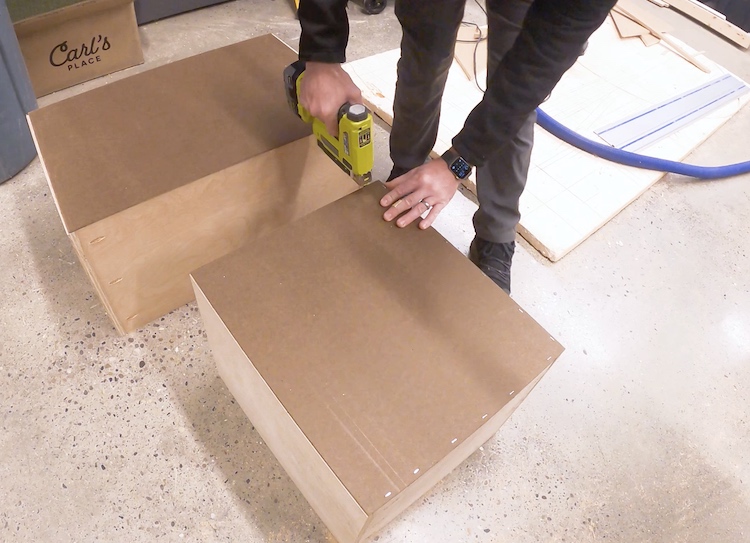
When building these units, I opted to leave out the shelves so that I could install those in oak plywood after painting.
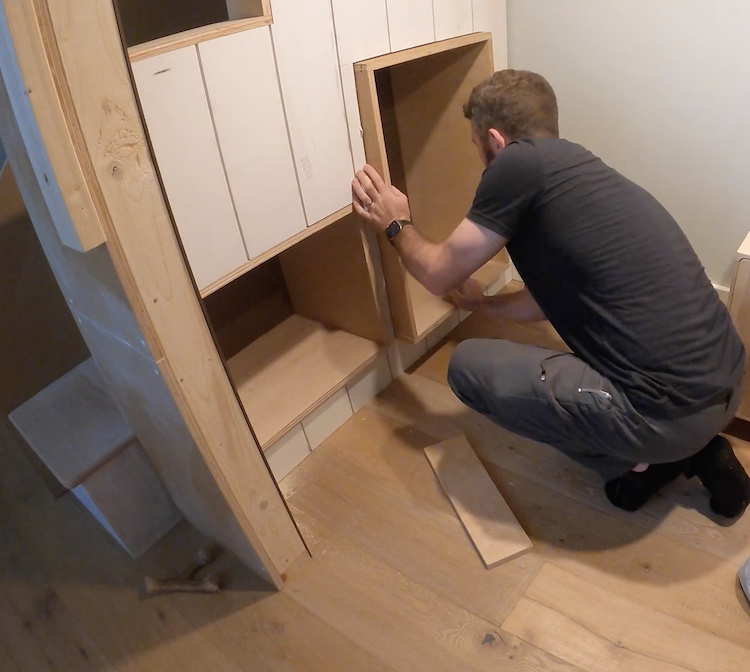
I also needed to cut out the spots for electrical outlets and install those boxes.
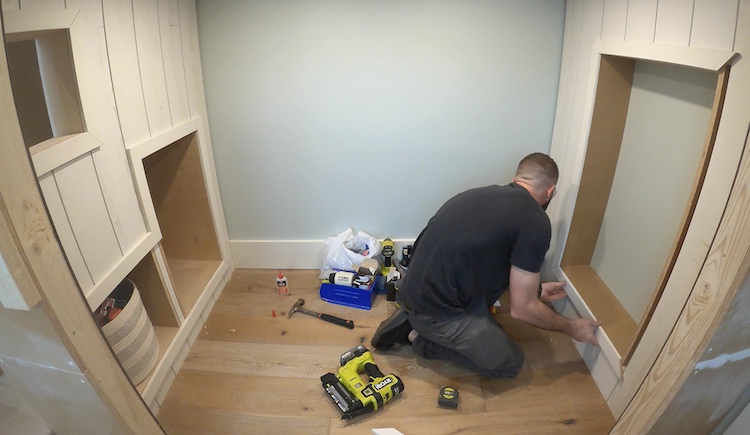
Installing Trim
For the trim I used 1×3 pre-primed boards and some cove moulding where needed. Trim gets installed with a brad nailer and WeldWood Instant Wood Adhesive at any joints.
Prep, Prime and Paint
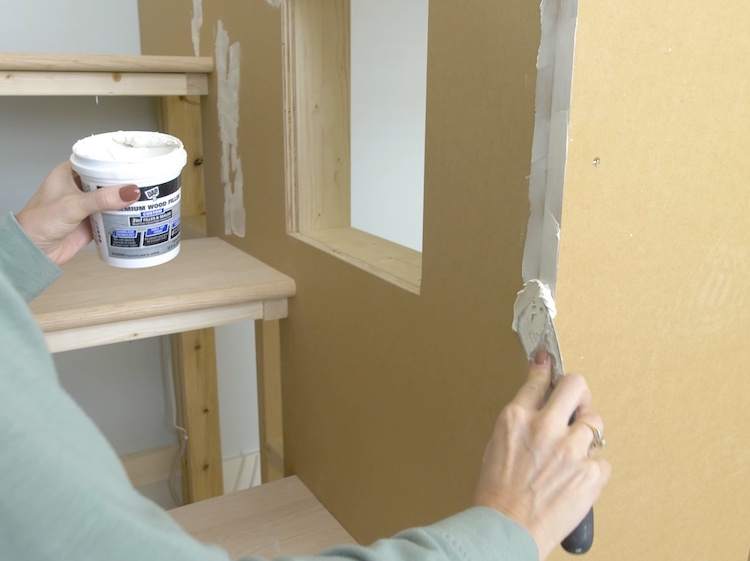
Before painting we needed to prep the areas. To do so, we filled any screw holes and smoothed out any joints with DAP’s Premium Wood Filler before sanding down to a seamless finish.
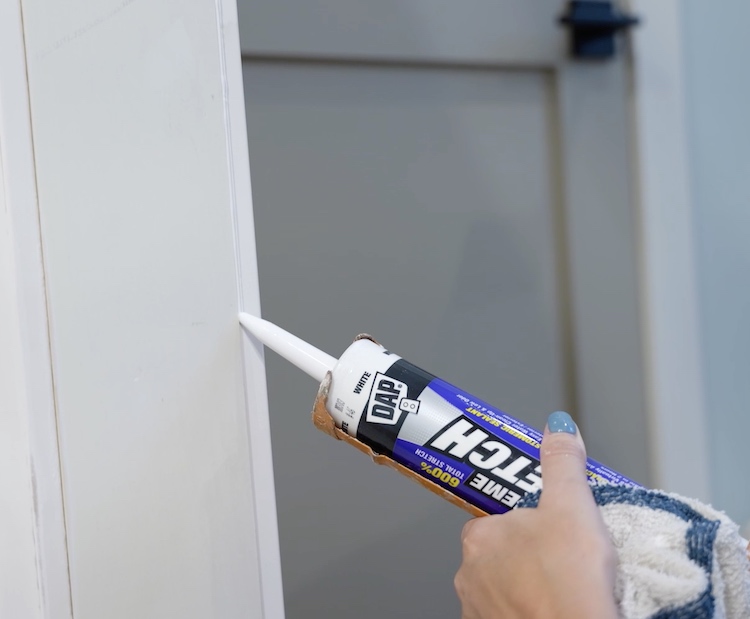
All of the joints get caulked in using DAP’s Extreme Stretch which will help resist any cracking as the bed flexes with people getting in and out.
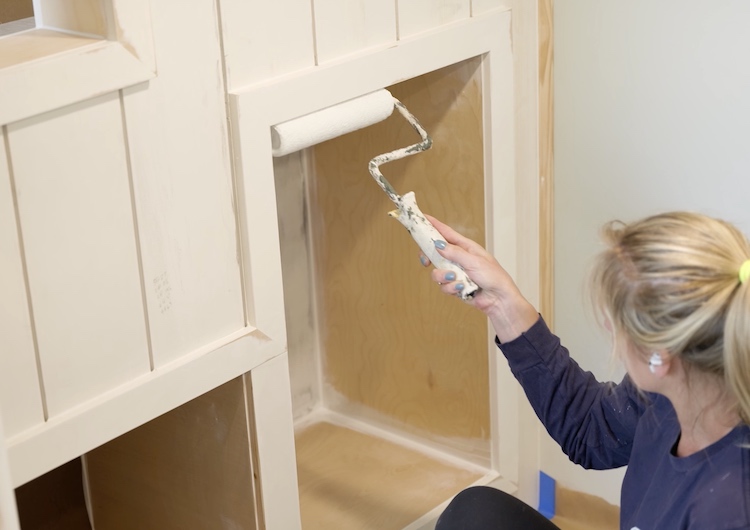
With all the prep done we could now move on to the primer, which needed to be applied to any bare plywood or MDO, before 2 final coats of scuff resistant white paint.
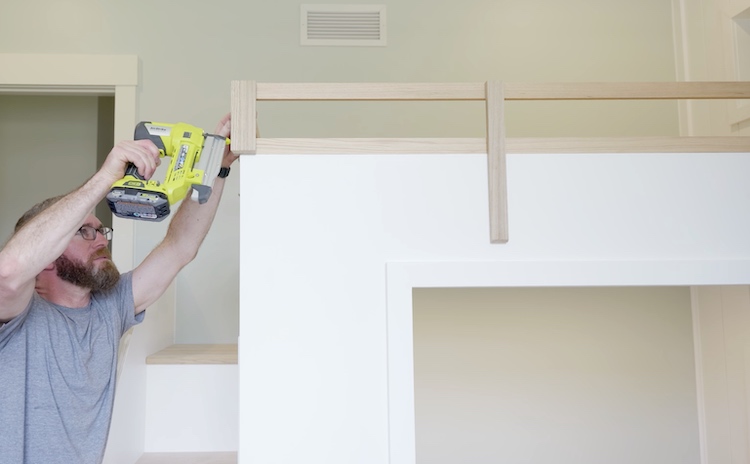
Railings and Step Treads

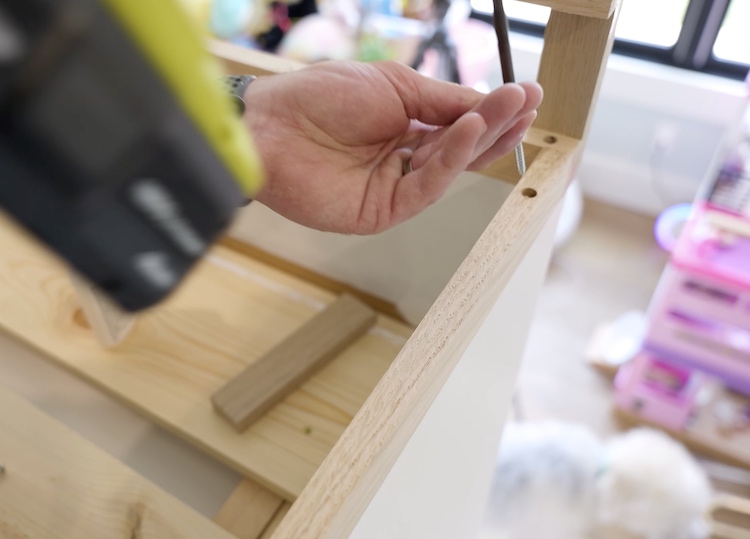
For all of my joints I used WeldWood instant wood adhesive and 1-1/4″ pin nails.
The longer vertical pieces of the railing get secured from the inside of the plywood with 1-1/4″ wood screws.
For the hand rail on the stairs I decided to add a roundover on the top which gave it a nice look and feel.
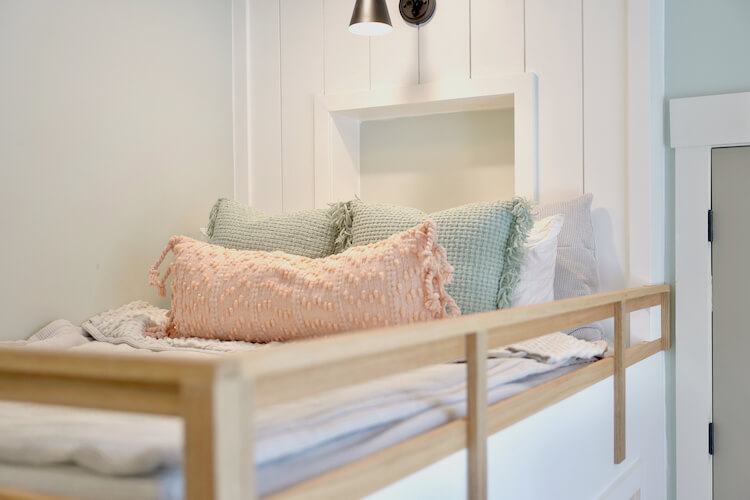
Finishing Wood Railings and Shelves
When it came to finish for the bare red oak railings, we decided to go with a wipe on poly. This allowed the natural wood to really pop as an accent to the white walls and trim. But before applying a finish I wanted to fill any visible pin holes with Plastic Wood-X. This will leave a natural wood finish and blend in nicely.
The shelf in the storage unit is made from 3/4″ oak plywood and capped with an oak 1×2. Finish was applied prior to install with pocket screws.
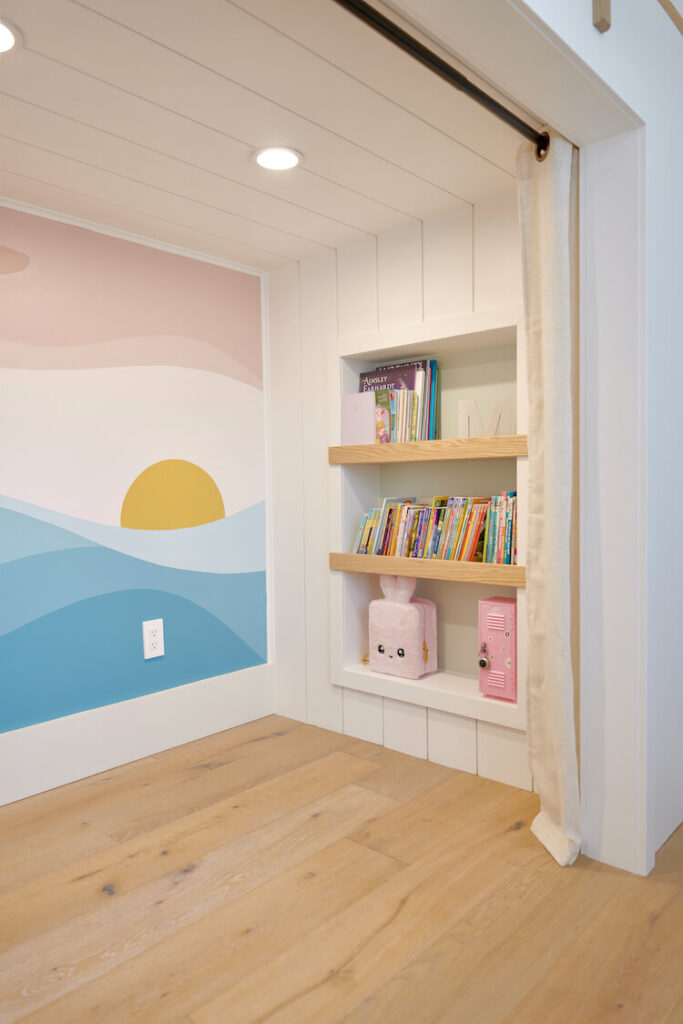
The shelves in the bookcase are made from 3/4″ oak plywood and capped with 1/2″x2 oak boards. All where pre-finished before install with pocket screws.
To protect the paint from the wipe on poly, I taped off the areas adjacent to the rails before applying several coats of poly.
The step treads get installed with construction adhesive and pin nails and followed up with clear Alex Plus caulk and white paint touch up.

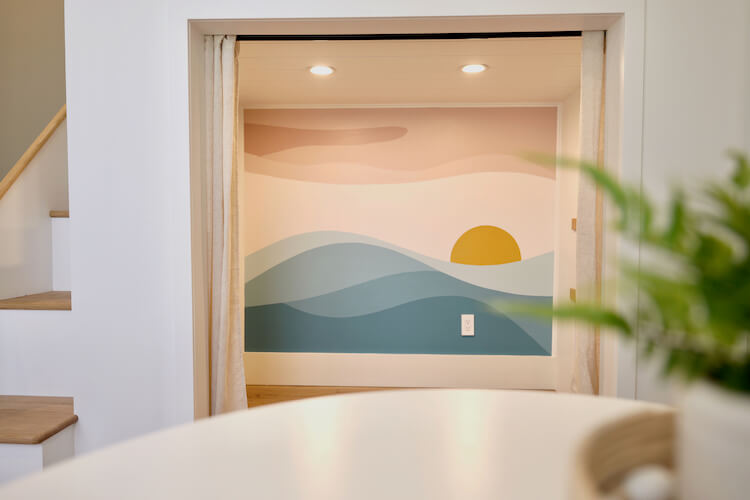
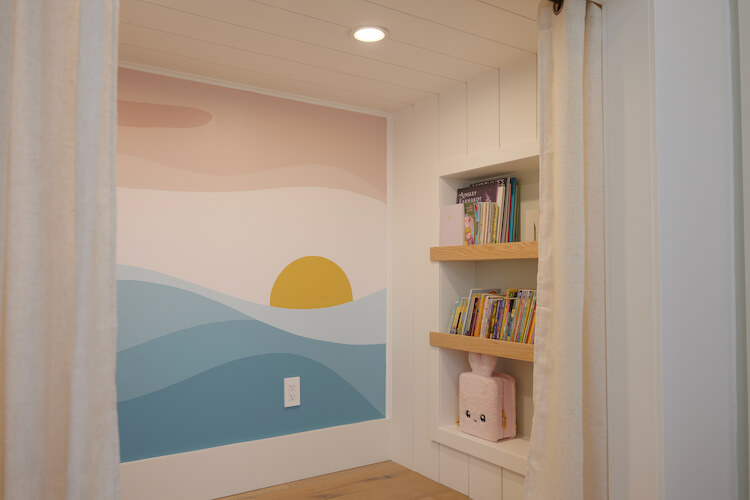
Sunset Mural
A last minute addition was this sunset mural. My wife came up with the idea and we found an inspirational photo on Pinterest to work from. I decided to get smooth lines we could use a flexible piece of trim to trace.
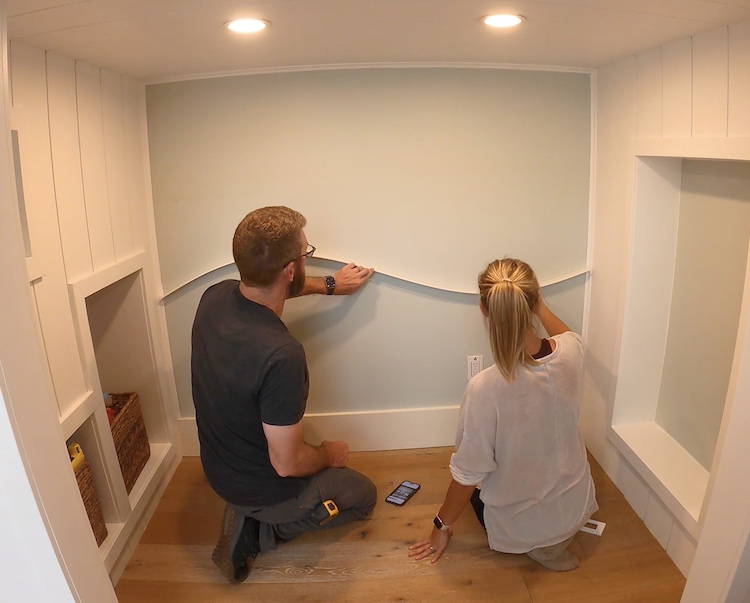
After laying out the design we went to Home Depot and had some paint samples made up in different strengths to give it the gradient look.
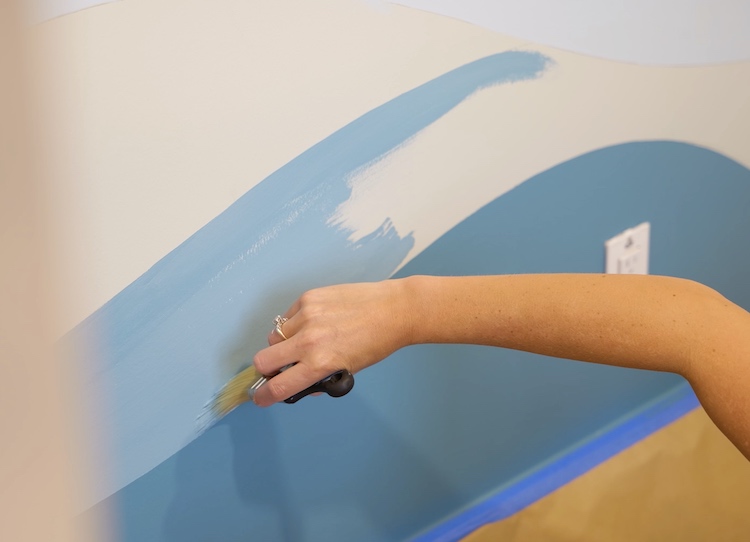
Below is an image that will show you the paint colors that we went with and the strengths I would suggest. I had to have several different versions mixed up to get the colors where I wanted but I think it turned out great!

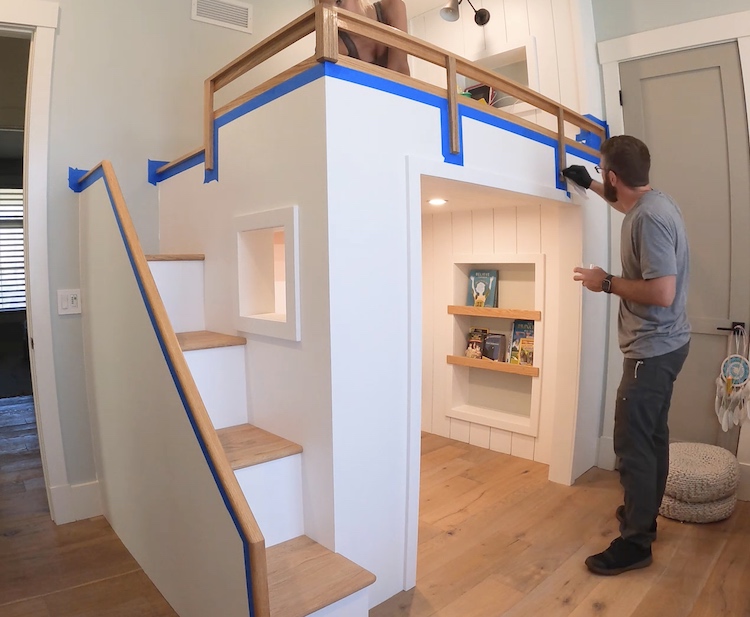
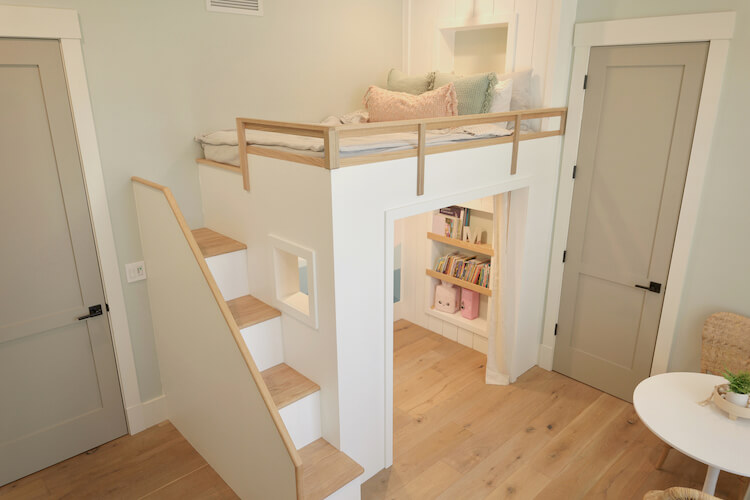
We couldn’t be happier with how this bed turned out! It is the perfect balance of fun and “beachy” vibes while still being mature enough that we will get years and years of enjoyment out of it. Initially the list looked daunting but with enough will power we got through it and I have to say the effort was well worth it.
The added featured like the sconce, outlets and can lights are a hit and I was even able to find can lights that have a night light feature which is perfect for our little girl. This bed allows her to have so much more space in her room to play and hang out. But not only that, the storage under the stairs and bookcase were much needed to keep things tidy.

With all the extra space we were even able to add a cafe table and chairs which is perfect for having a snack, playing with friends and doing homework!
If you decide to take on a project like this I would love to see how it turns out so please post pictures in the comments section!