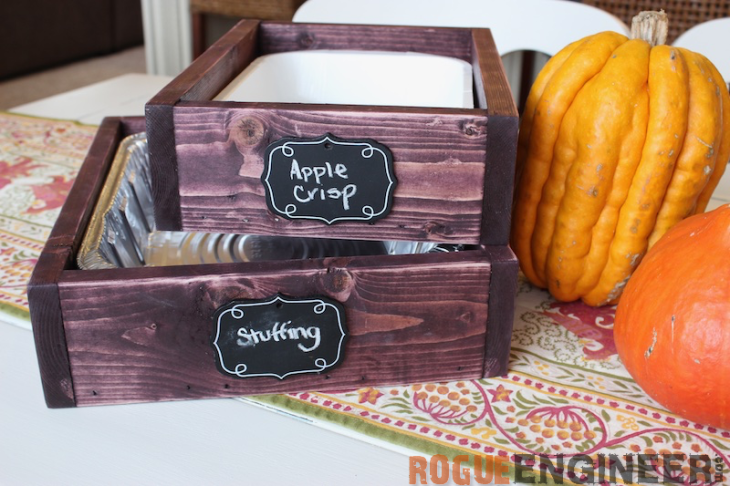
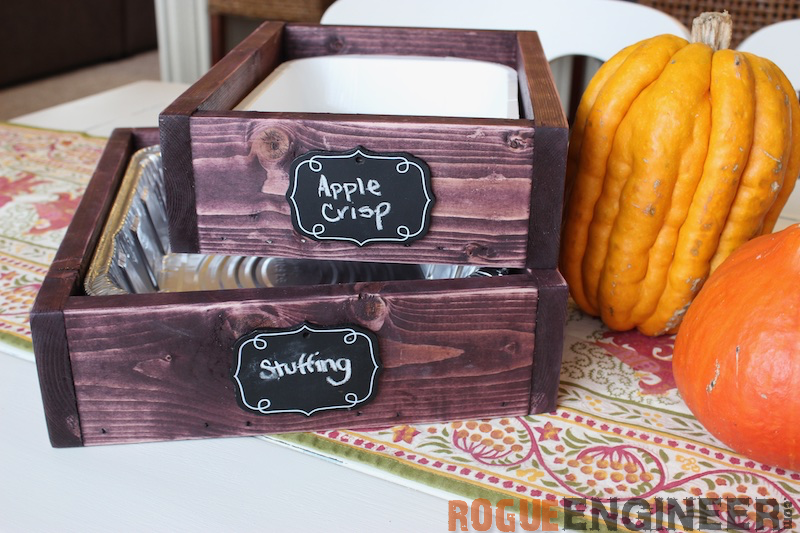
It’s holiday time, and as much as I love to cook, I HATE the clean up! And yes, I am one of those people who will always insist on eating on our fine china. However, when it comes to bakeware… I’m not opposed to a quick cleanup option. But why not make it cute?! See how I made these super easy and cute casserole trays to hide the disposable bakeware.
For sneak peeks of our upcoming projects be sure to follow me on Facebook and Instagram. Also, follow me on Pinterest to get tons of projects plans from all around the web!
Required Tools
Materials
Disclosure: The links provided in the “materials” and “required tools” sections are affiliate links. If you would like to support our site and help keep our content free come find out more about how we can make money with no extra cost to you.
How to build a Casserole Tray
Step 1: Cut Wood
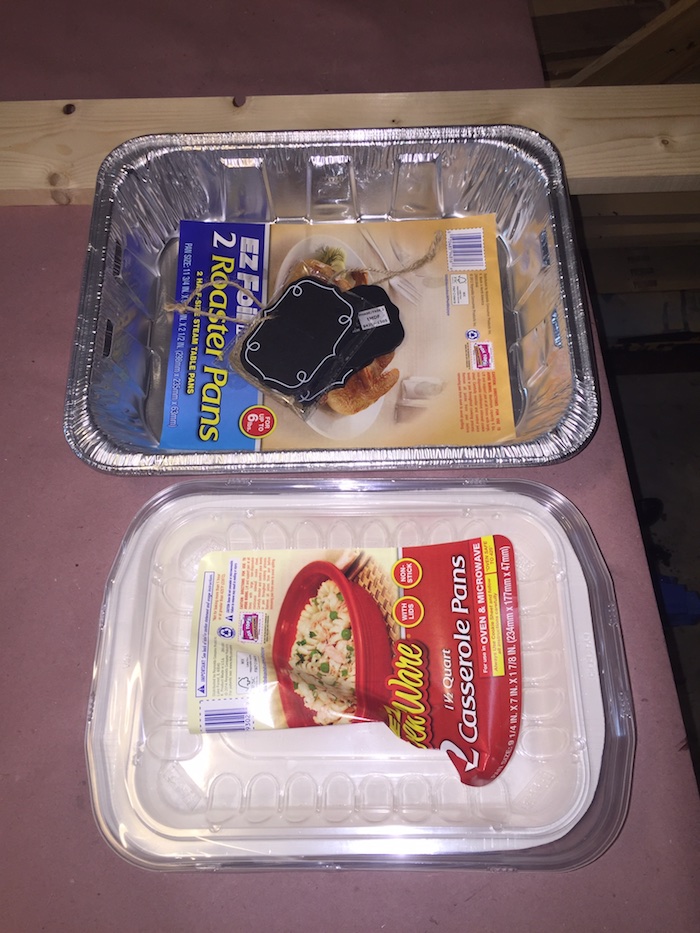
I used 2 different size pans to build my trays around. You can cut the wood according to the size pan you want to use. For the larger tray (Size: 11-3/4 Inch x 9-1/4) I cut 2 1×4’s at 14-1/2″, 2 1×4’s at 10-1/4″, and 3 1×4’s at 13″. For the smaller tray (Size: 9-1/4 Inch x 7 Inch) I cut 2 1×4’s at 12-1/2″, 2 1×4’s at 7-3/4″, and 2 1×4’s at 11″.
Step 2: Assemble Trays
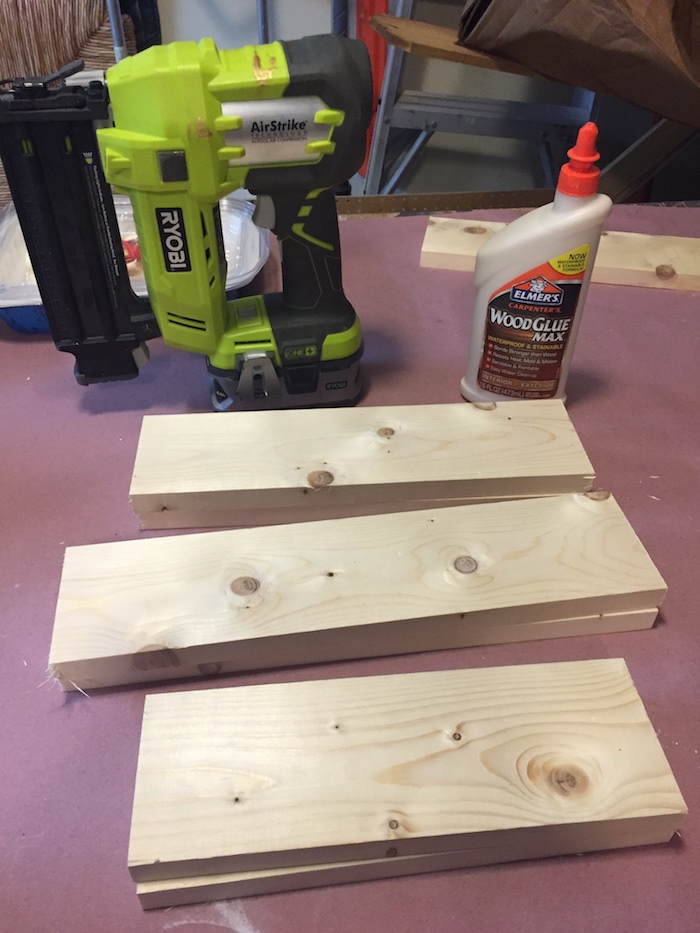
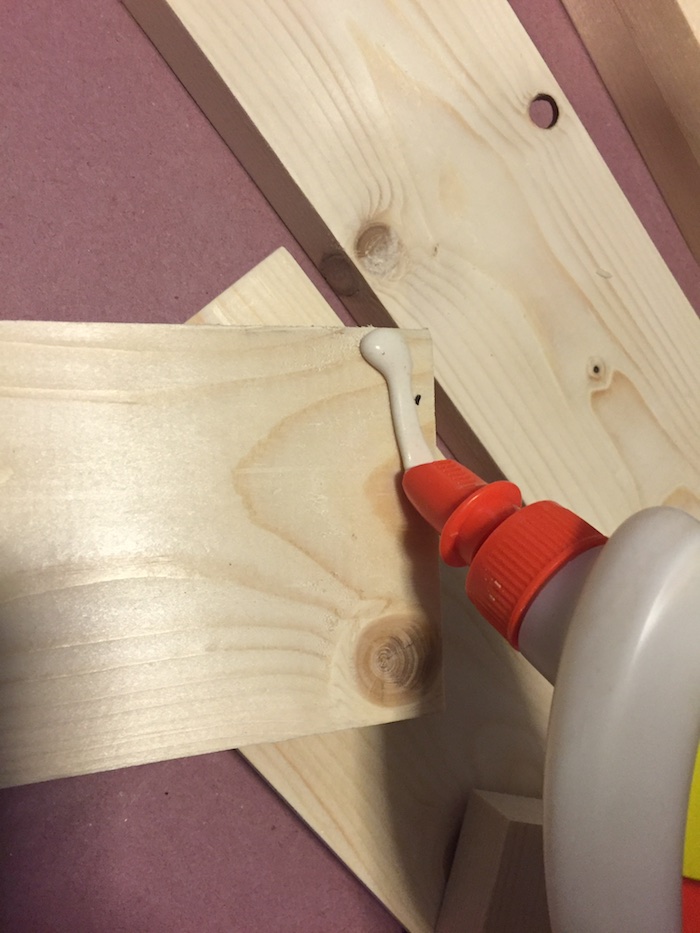
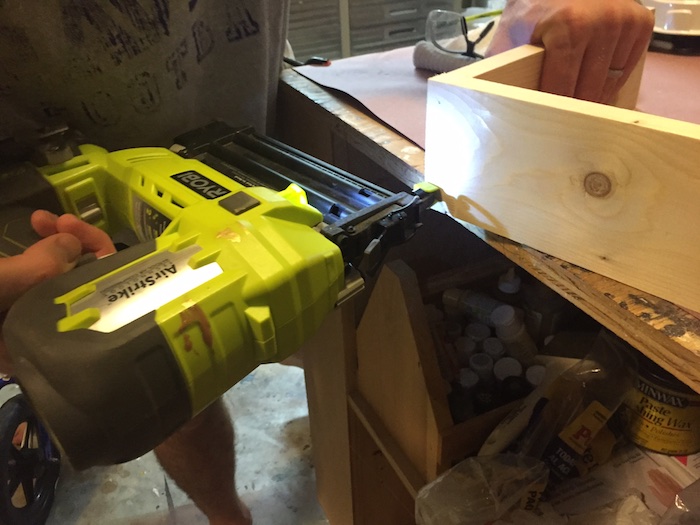
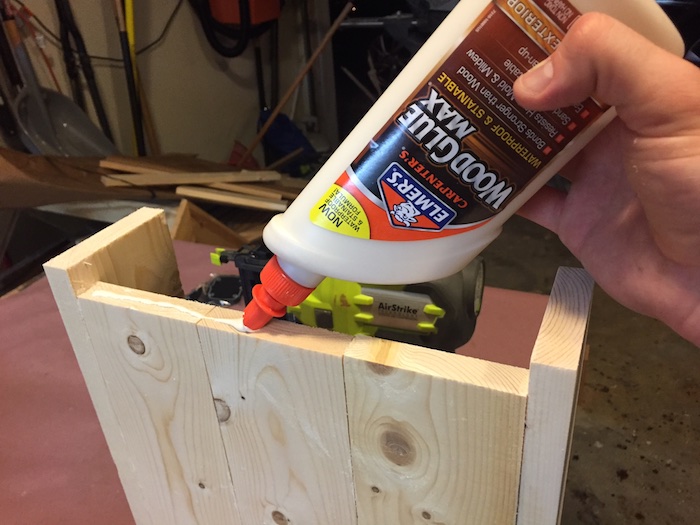
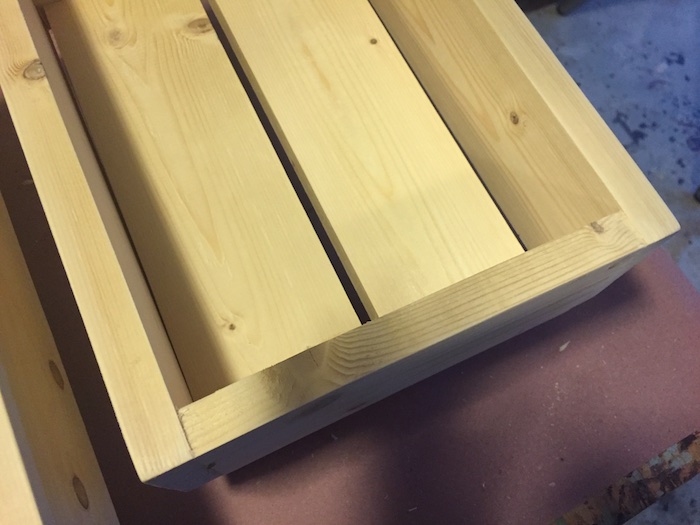
Being to assemble the frame of the tray using wood glue and brad nailer. Assemble 3 sides of the frame, then assemble and attach the base of the tray before adding the last frame piece.
For the smaller tray, I spaced the bottom boards to make them fit evenly in the frame.
Step 3: Sand and Finish
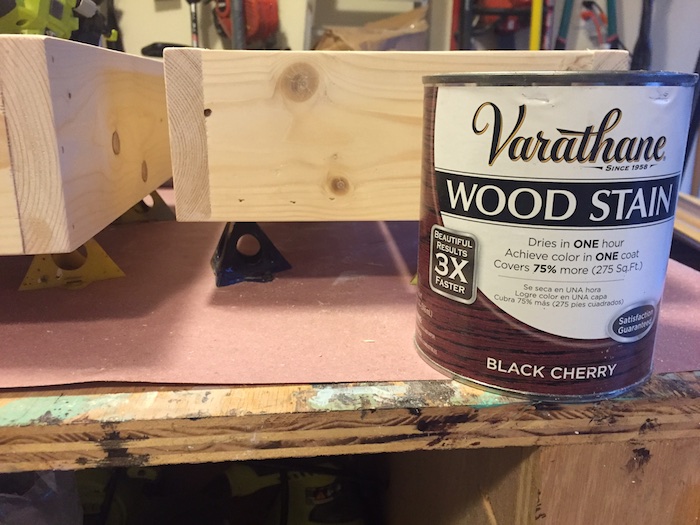
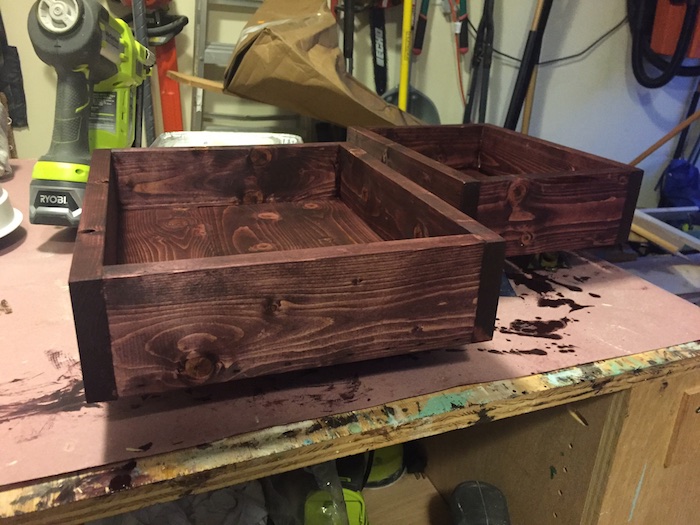
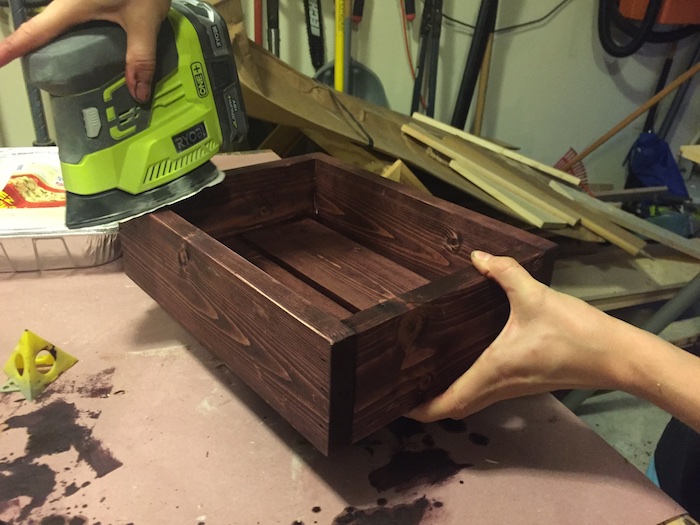
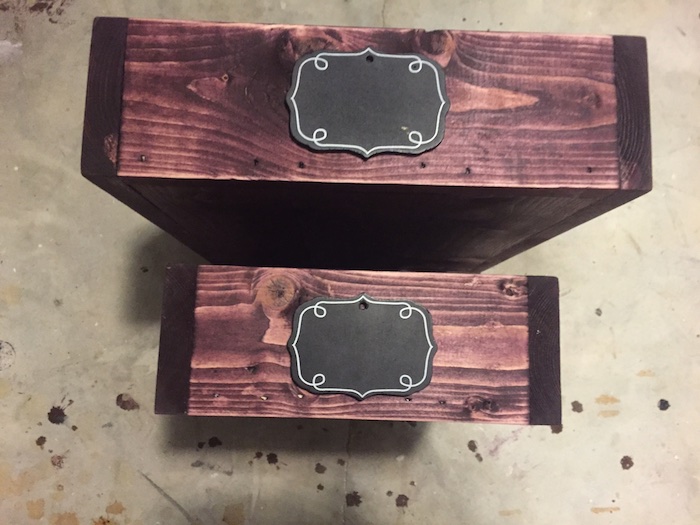
Sand and round edges using 220 grit sand paper. For this project I used Varathane Black Cherry. Apply with stain rag, allow to set for about 30 seconds and wipe clean. Once dry, I distressed the edges with 80 grit sand paper. Apply wood glue to back of chalkboard sign and stick on your tray!
Well there you have it! Make your holidays easier this year, but don’t slack on style. These are super cute and simple trays that can be used for many occasions to come. Enjoy!
Questions? Comments?
As always, if you have any questions don’t hesitate to comment below and especially don’t forget to post pictures of your finished products in the comments! ENJOY!

