Garage Floor Coating
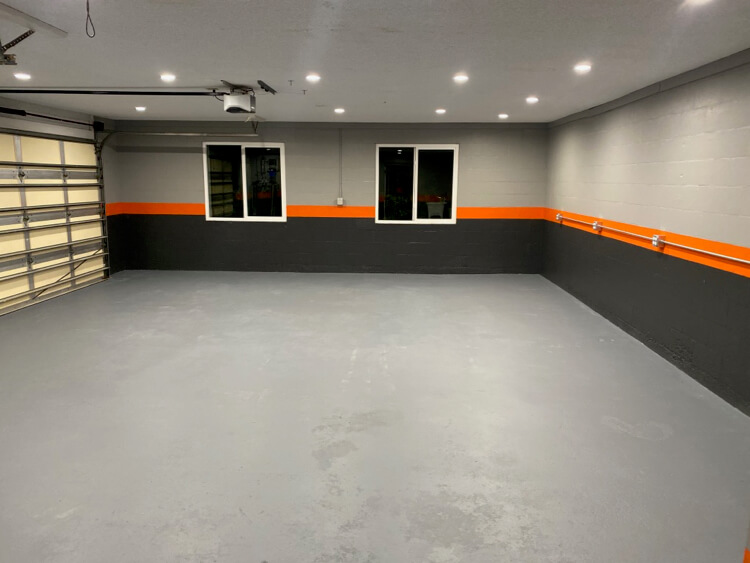
In a recent makeover of my parents garage, we took their garage floor that had an old, badly worn, epoxy coating and refinished it with Rust-Oleum’s RockSolid garage floor coating in dark gray. Since existing floor was in rough shape it took some prep work to make sure it would adhere properly. Check out the step by step process we took to achieve amazing results below.
If you love this stuff as much as we do, you might want to consider following us on Instagram where we post sneak peeks and behind the scenes stuff in our stories. Also, did you know you can get tons of projects plans from all around the web when you follow us on Facebook and Pinterest!
Disclosure: This post is sponsored by Rust-Oleum however if I had to do it all over I would do it the exact same way! If you like content like this please consider supporting brands that support content creators like us.
The following steps will show you how we applied the RockSolid Garage Floor Coating over an existing, badly worn, epoxy floor coating.
Removing any Debris
After clearing out the garage, make sure that any extra debris has been removed. You can do so with a vacuum, blower, or broom.

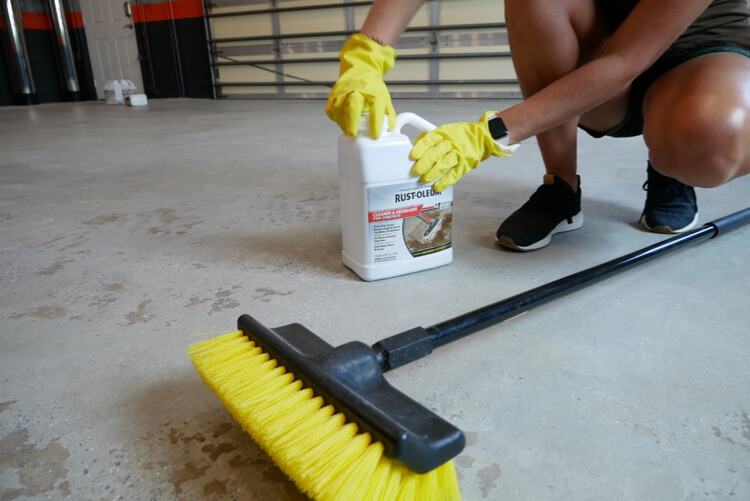
Cleaning and Degreasing
Now we needed to clean and degrease the floor. Rust-Oleum’s cleaner and degreaser gets applied to the floor to break down any oils and grease as well as loosen any of the existing floor coating that is not well adhered.
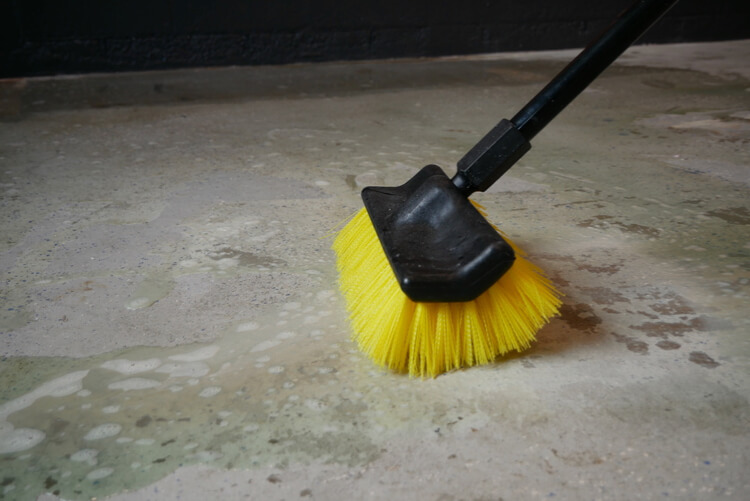
Working the product into the floor with a stiff bristle brush will make sure that the product works as intended.
After working the degreaser into the floor for at least 20 mins, Jamie pressure washed the floor to take off any of the loosened floor coating.
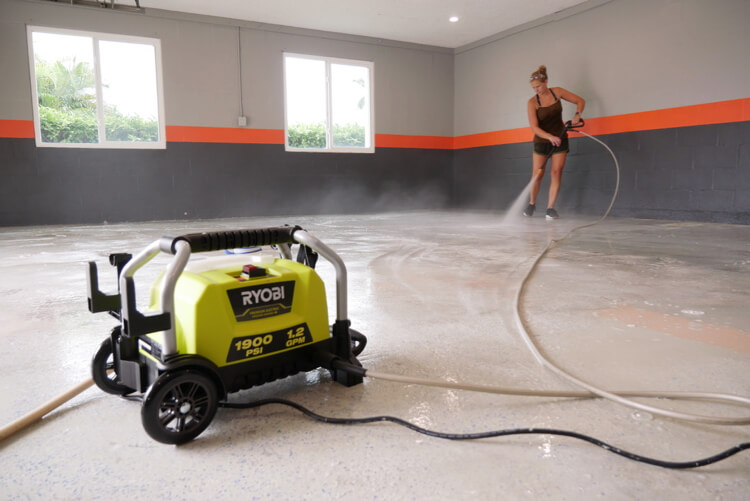
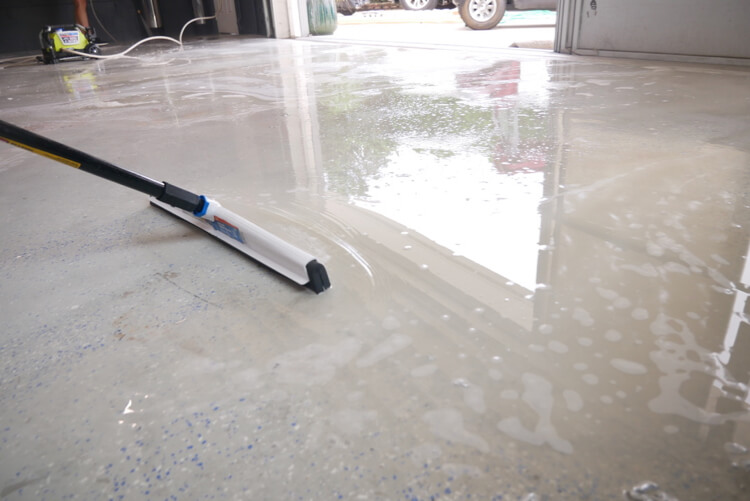
I then squeegeed the floor to remove the excess water and we allowed 24hrs of drying time before moving on.
Patching Cracks
Luckily we didn’t have any cracks but if you do then this is the time to patch those. To do so use, a concrete patch and repair kit.
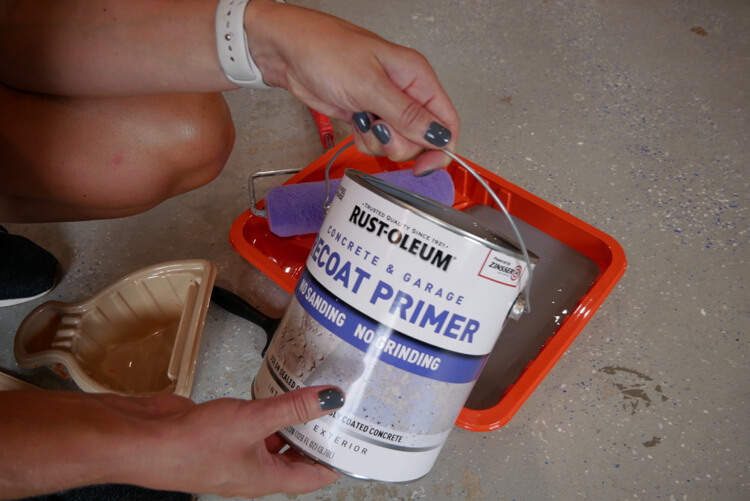
Priming the Floor
Typically when coating over a previously coated floor you’d have to grind the entire coating off and this requires renting a grinder and creates a huge mess. Rust-Oleum provides a revolutionary product, Concrete & Garage Recoat Primer that allows you to simply prime over an existing floor without sanding or grinding.
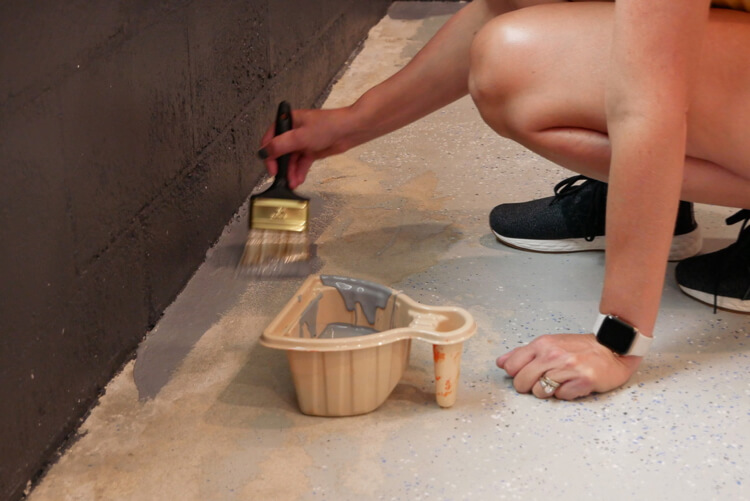
Before starting we made sure the floor was clear of any debris. Then, much like painting a wall, started by cutting in around the edges with a 3″ brush.
Then we rolled the remaining area with a paint roller and extension pole.
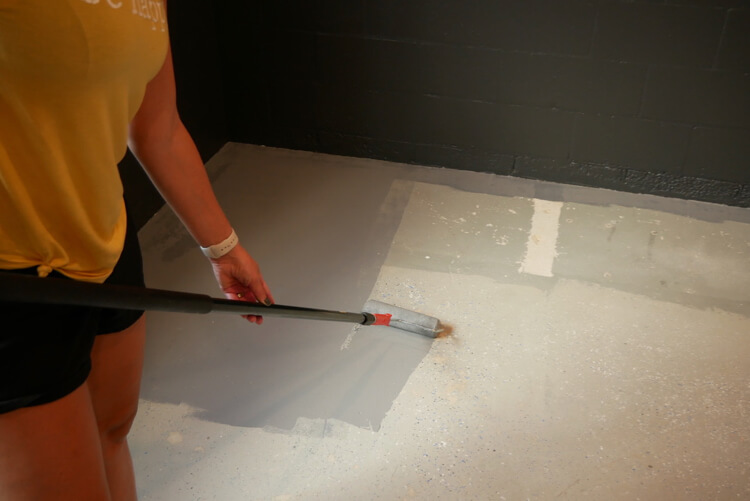
At this point, the garage is already looking way nicer. But the best part about it is that now we know we have a good surface for the floor coating to bond to.
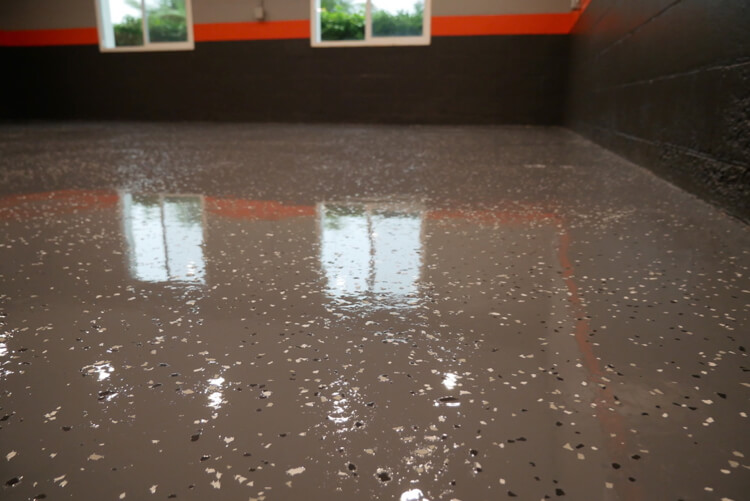
Applying the Epoxy Coating
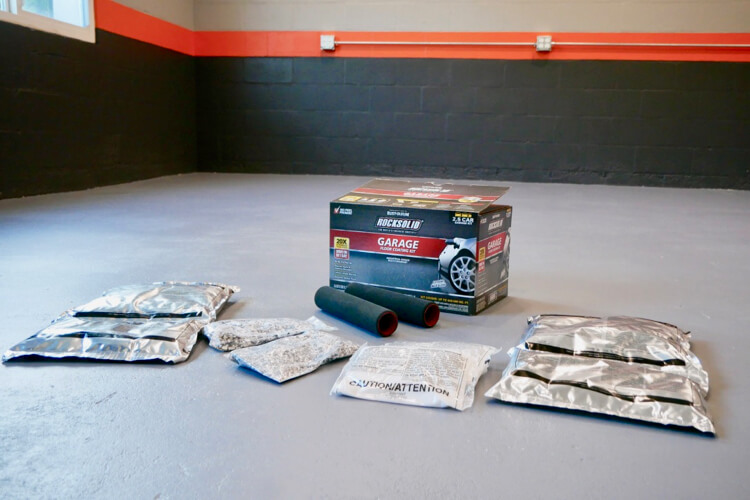
The RockSolid garage floor coating 2.5 car kit comes with two 2-part epoxy burst pouches, concrete etch, decorative chips and paint rollers.
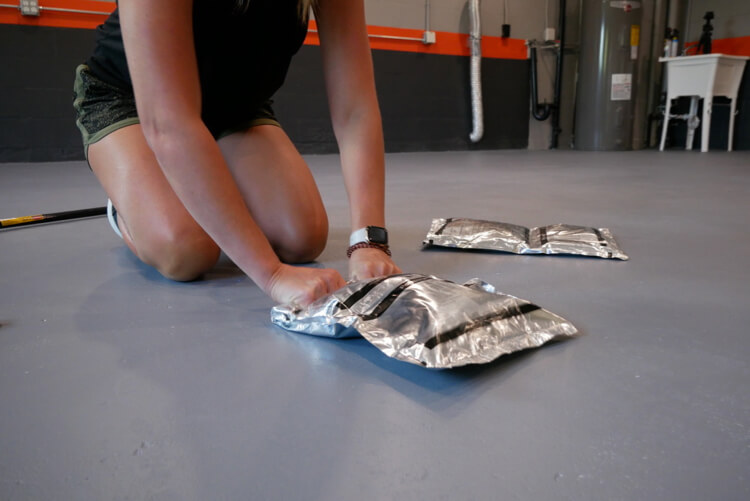
Since we primed the floor the concrete etch wasn’t a necessary step in this process. After making sure the floor was completely clean we began by bursting the first pouch. This can be done by simply rolling the bag up and applying pressure. Then mix the two parts for the time indicated on the instructions.
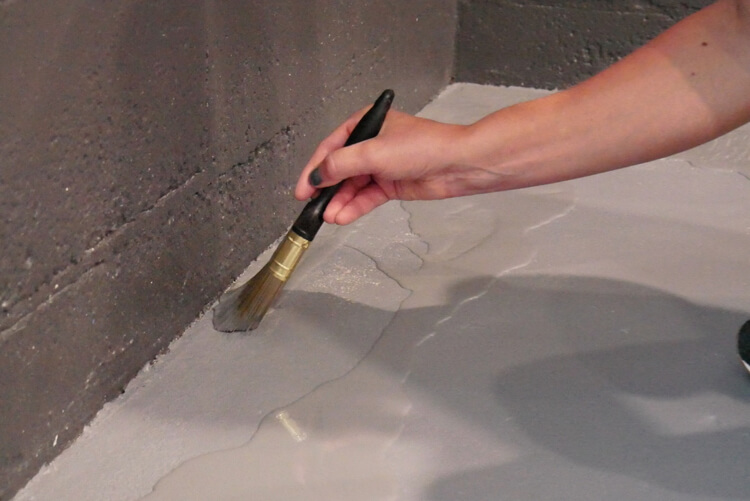
To start, I cut the corner off the bag and poured a thin ribbon a few inches off the wall. With a 3 inch brush we cut in around the wall.
Then following up with a roller with spread the coating over a roughly 4’x4′ area.
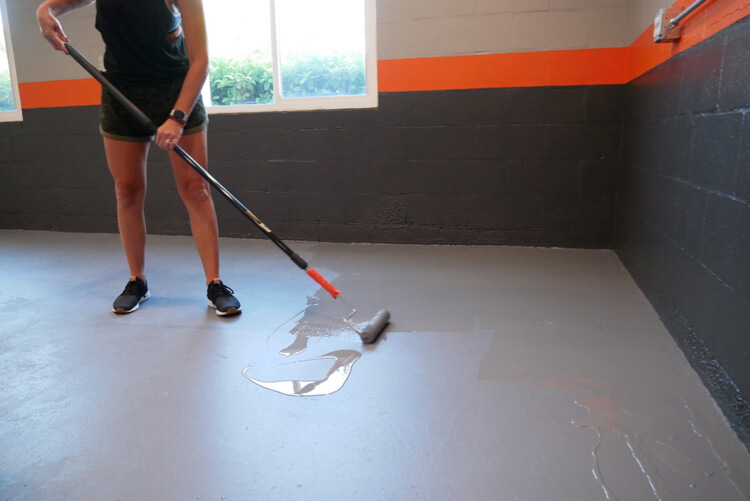
Finally, applying the decorative flakes by simply tossing them up in the air.
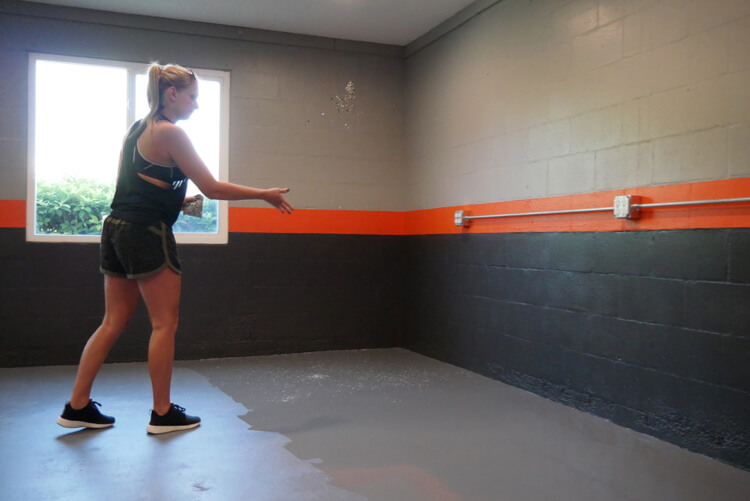
Then repeating this process in a pattern to maintain a wet line and work your way out of the room.
A few things to note are that we did our best to condition the garage by leaving the garage door closed as much as possible and opening the door to the house to allow the AC to cool and dehumidify the garage.
Another thing is that the coverage stated is “up to 500 square feet”. We had about 800 square feet of floor and we made it work with two kits. But you should know that, when trying to get that beautifully glossy finish you need to apply this product fairly thick which will result in reduction in coverage. That being said, if you think it is going to be close, grab an extra kit, worse case you can return it if unused.
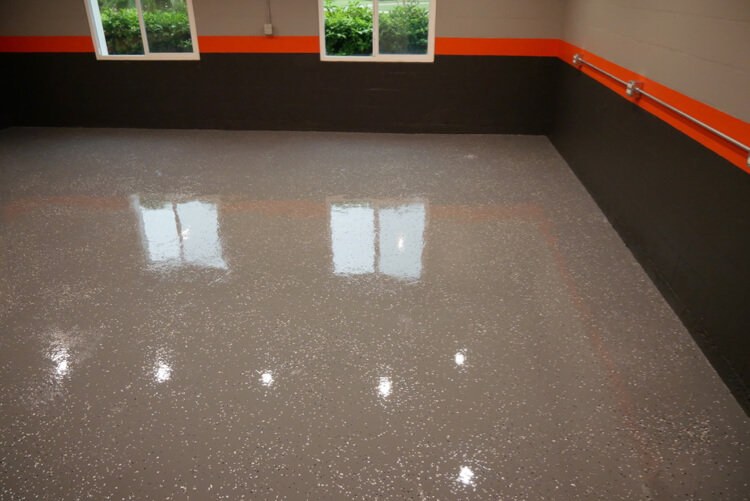
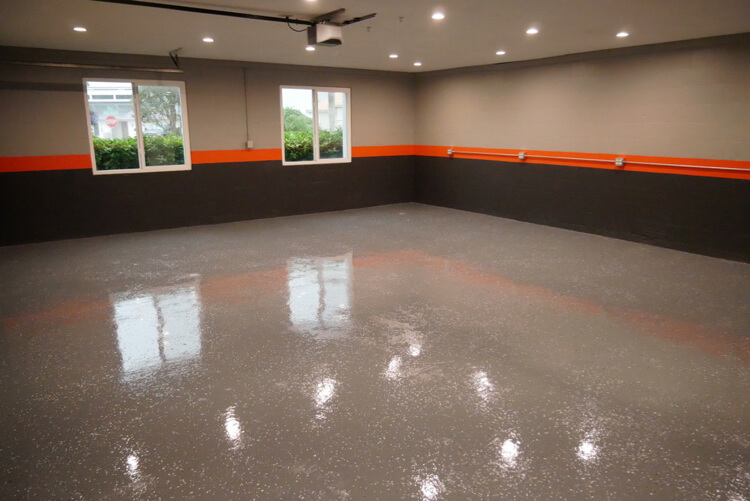
Overwall, the garage floor turned out amazing! We love the way it looks and that glossy, deep finish is exactly what we were looking for for my parent’s garage.