DIY Folding Mahjong Table: The $1,400 Look for $137 (Plans + Cut List)
Quick build: A 42″ square, 30″ tall DIY mahjong table built from half a sheet of 3/4″ plywood, six pine boards, and four locking folding leg brackets. It seats four, one per side, and the legs fold flat so it carries in one hand and stores in a closet. Lumber and hardware were $105, and paint brought it to $137. The Pottery Barn game table that inspired it is $1,399. Beginner build, 4 to 6 hours. Built and tested by Jamison Rantz, September 2026. Documented by Jamison Rantz, October 2026.
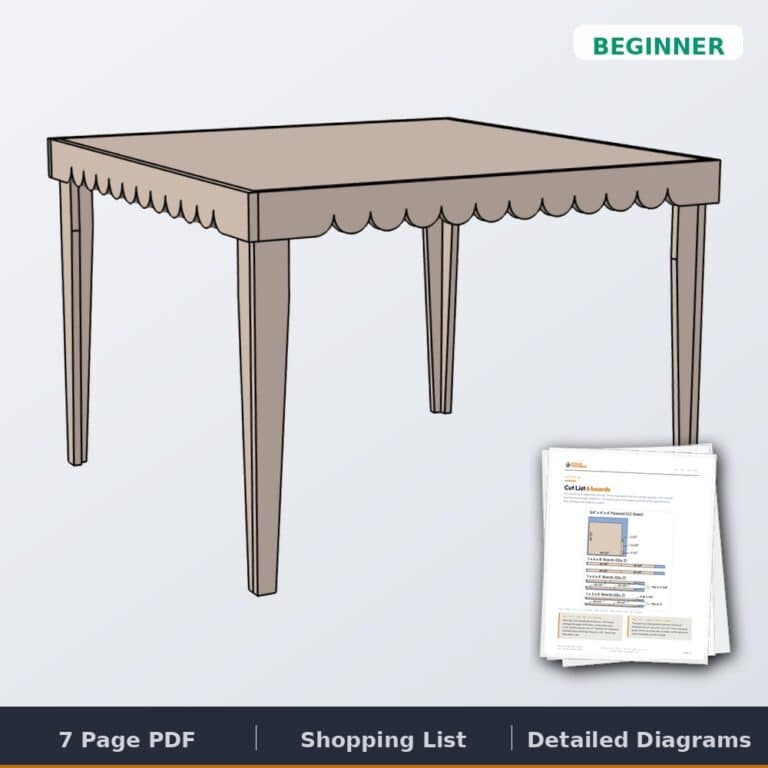
Want the printable folding mahjong table plan?
Cut list, shopping list and a diagram for every step in one print-ready PDF, with the corrected leg detail. Imperial or metric.
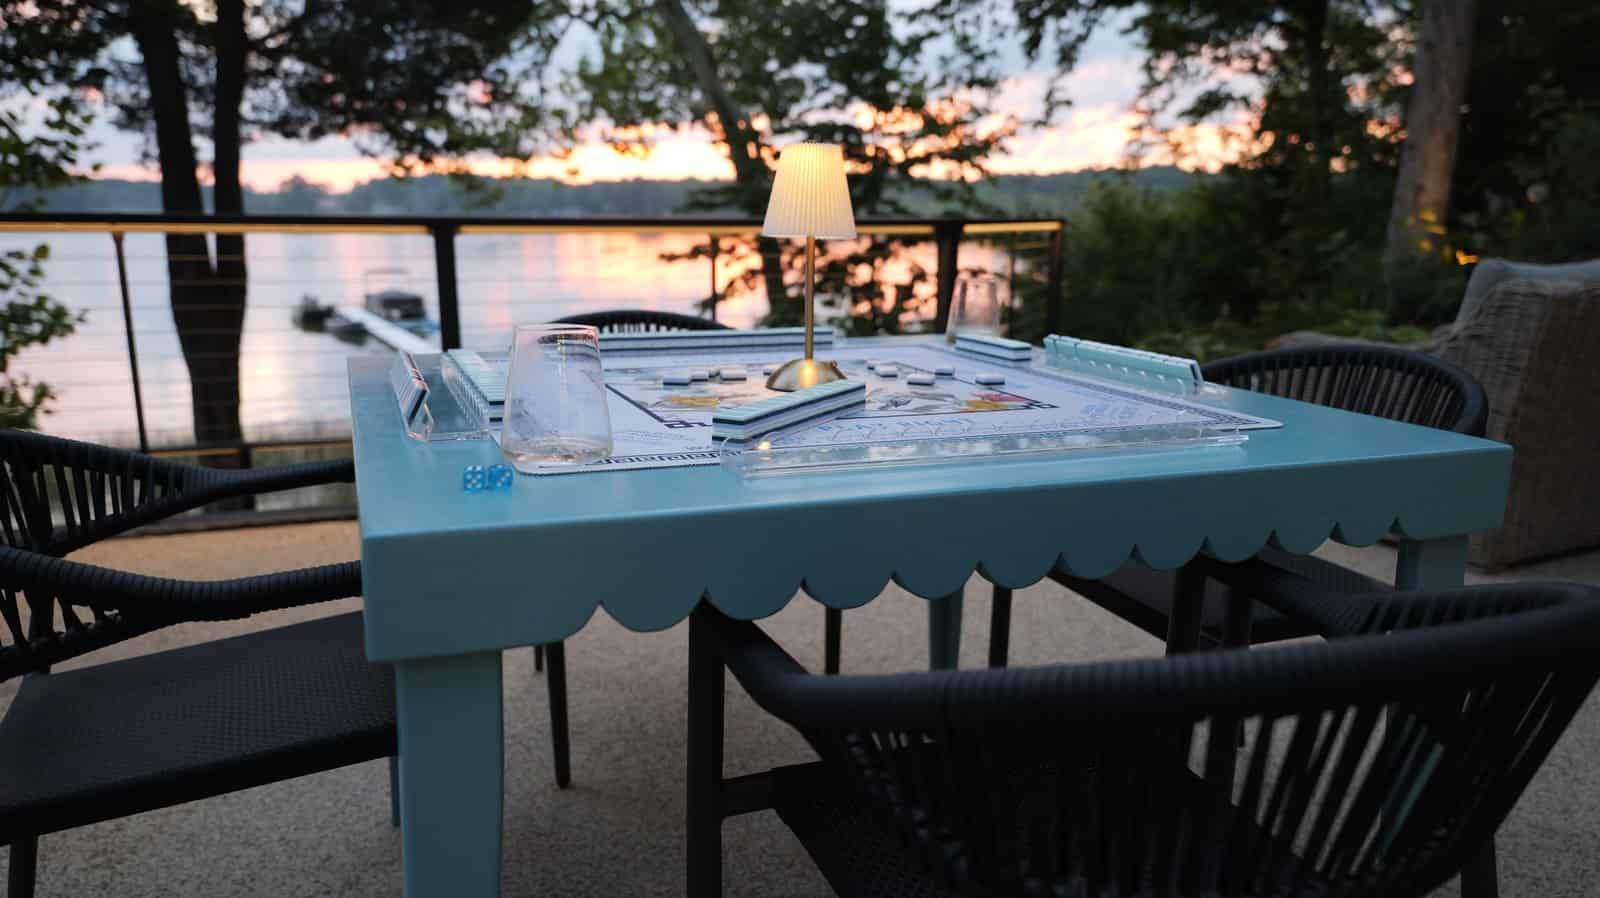
Mahjong night at our house happens on the long dining table. That means the mat sits crooked, two people end up at the corners, and somebody is always reaching.
So I went shopping for a real one, and it was rough. The nice ones are twelve to fifteen hundred dollars, and some of them are four grand and up. You can spend as much as you want on a mahjong table. And none of them fold up and put away.
Then there are the plastic ones. About a hundred bucks, they fold, they work. They’re also small, they’re ugly, and they were not going to score me any points with Jamie.
So I built my own DIY mahjong table. Half a sheet of plywood, a few 1x4s and 1x3s, and a set of folding leg brackets. It folds flat, there’s a handle on the underside so you carry it in one hand, and it lives in the closet until game night. I think we nailed it. If you’d rather work from paper, the printable folding mahjong table plans have the cut list and every step in imperial and metric.
Why Build a Mahjong Table Instead of Buying One
There are two kinds of mahjong tables for sale, and neither one is what most people want. The furniture ones look great and cost as much as a couch. The plastic folding ones are cheap and handy but look like a card table from a church basement. This DIY mahjong table splits the difference: it looks like furniture, and it folds like the plastic one.
So yes, mine came in about thirty bucks over the plastic one once I bought paint. Same fold, same closet, same one hand carry, and it looks like the fourteen hundred dollar table. For thirty bucks I’m calling that a win, but tell me what you think in the comments.
What You’re Building
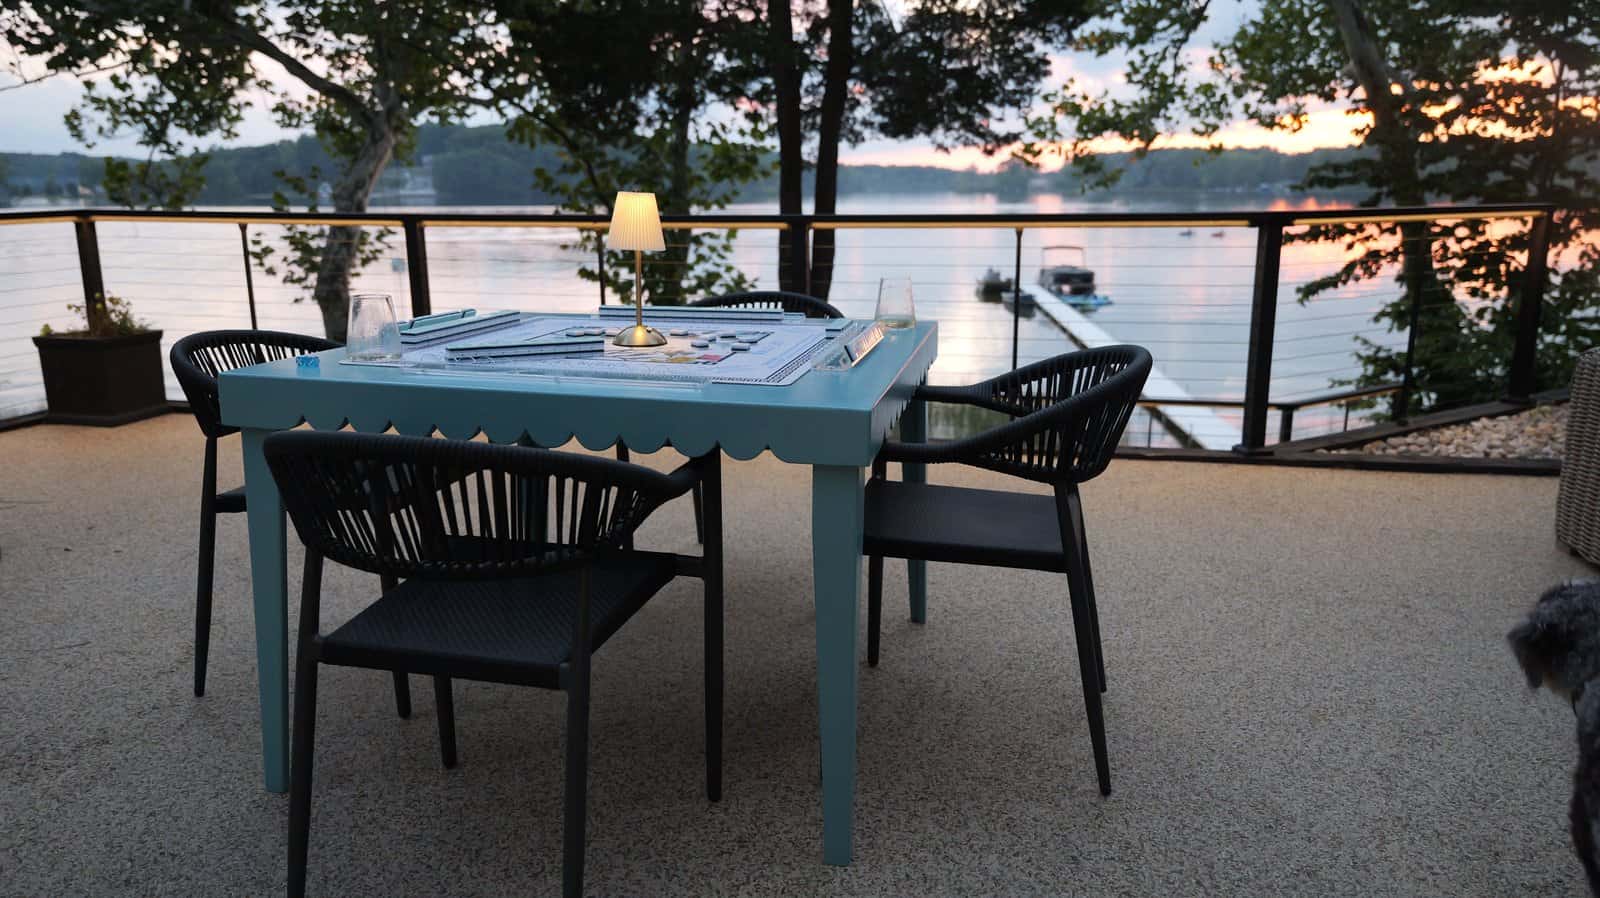
The top of this DIY mahjong table is a 40-1/2″ square of 3/4″ plywood wrapped in 1×4 aprons, which makes the finished table 42″ square. Most mahjong mats are 31″ to 32″ square, so 42″ leaves about 5″ of table on every side of the mat. That’s the comfortable part. Your racks and your drink sit on wood instead of on the mat, and nobody’s elbows end up in the wall. The plastic tables are 35″, which only leaves a couple of inches.
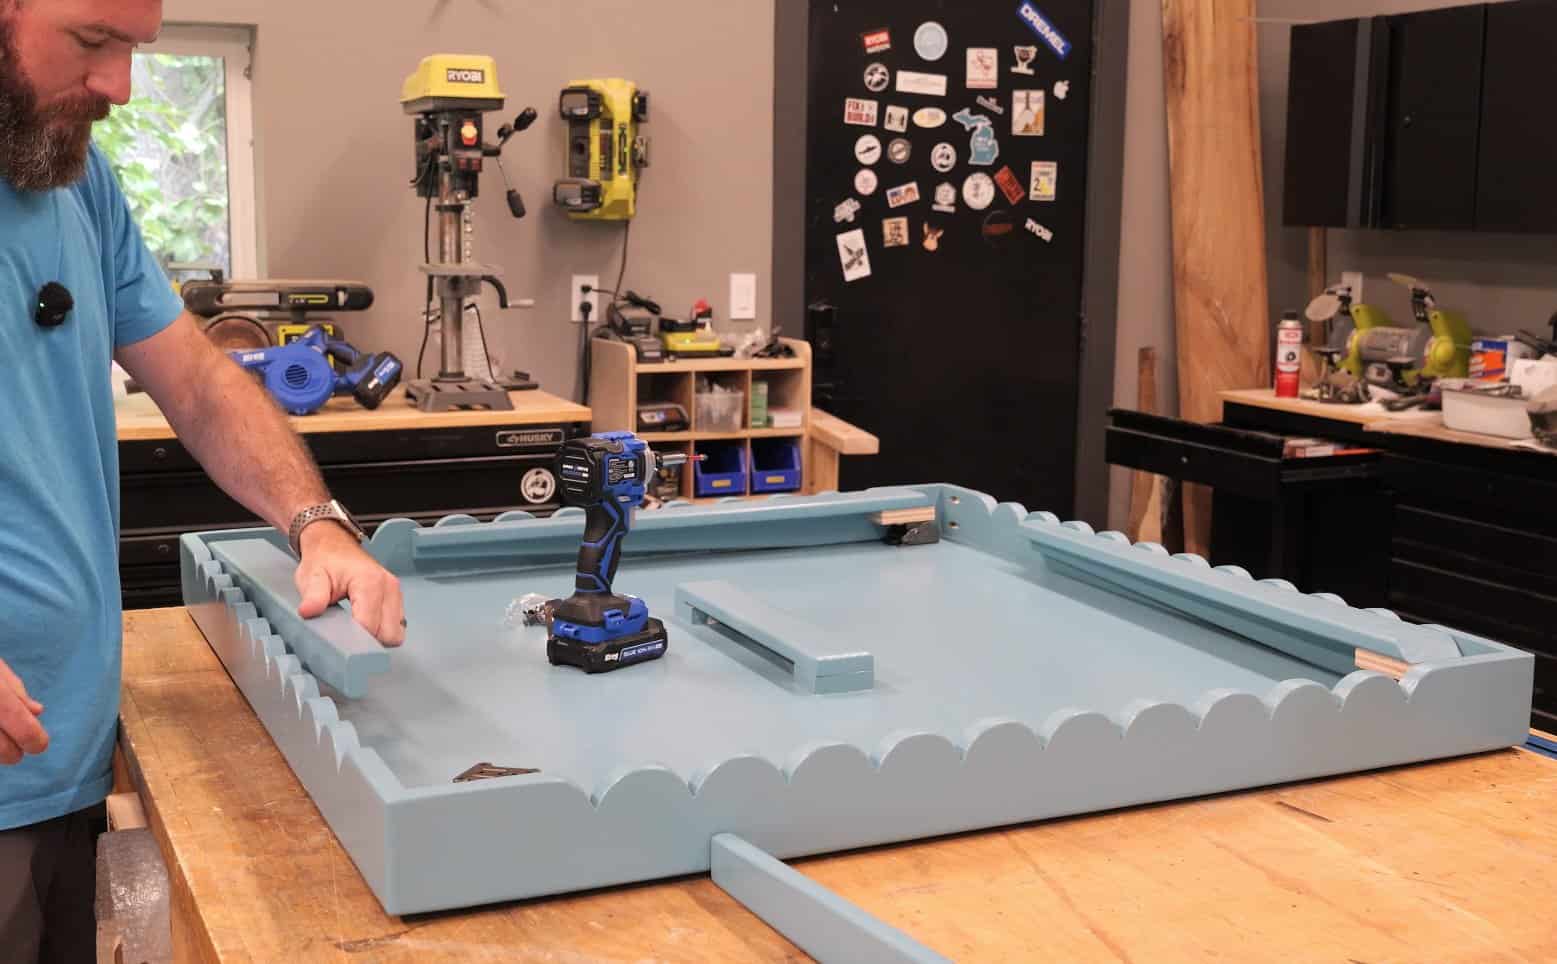
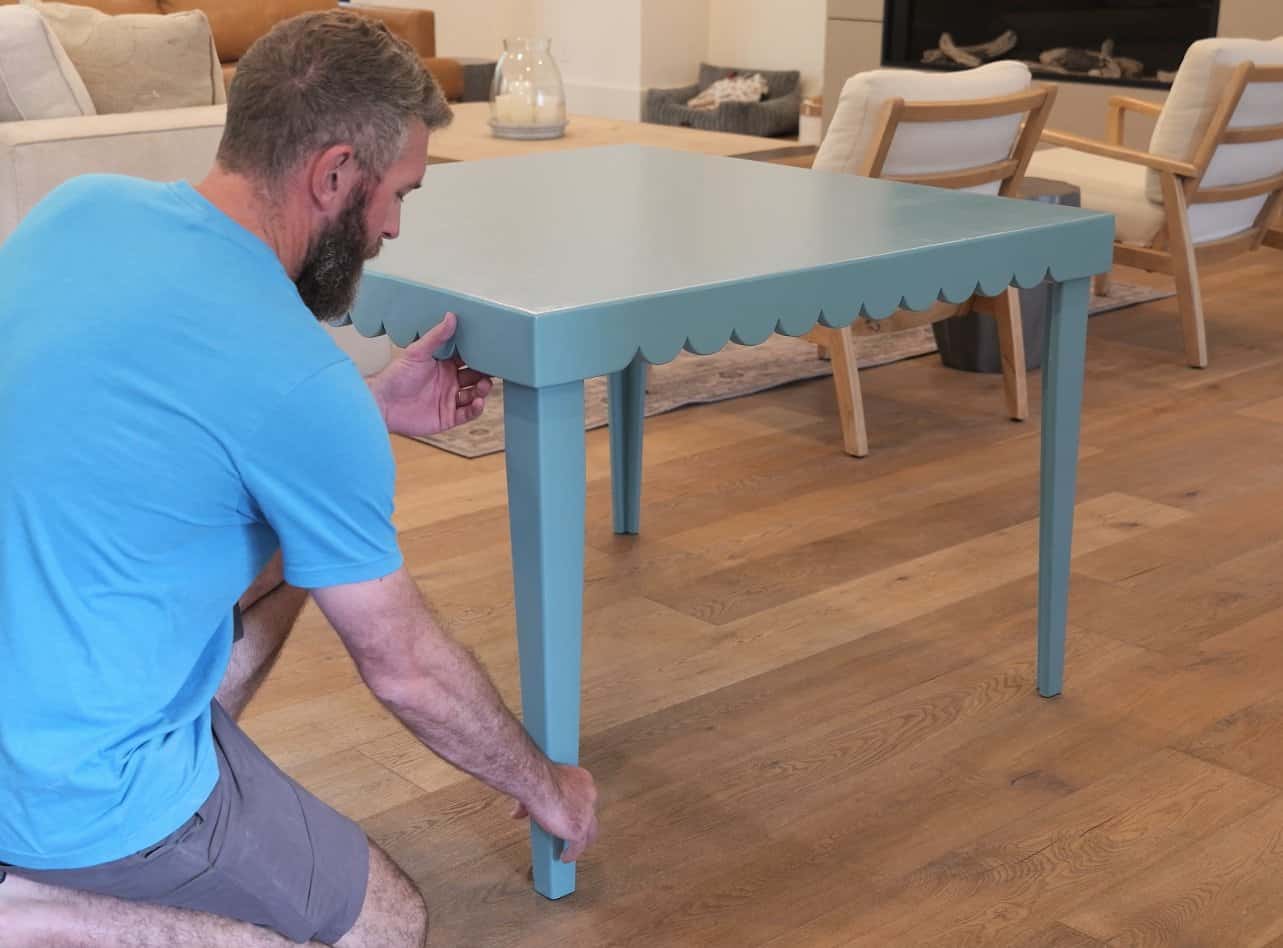
The aprons attach to the top, not to the legs. On a normal table the legs and aprons are one frame. Here the legs have to fold, so the top and aprons are one rigid box and the legs hang off it on brackets.
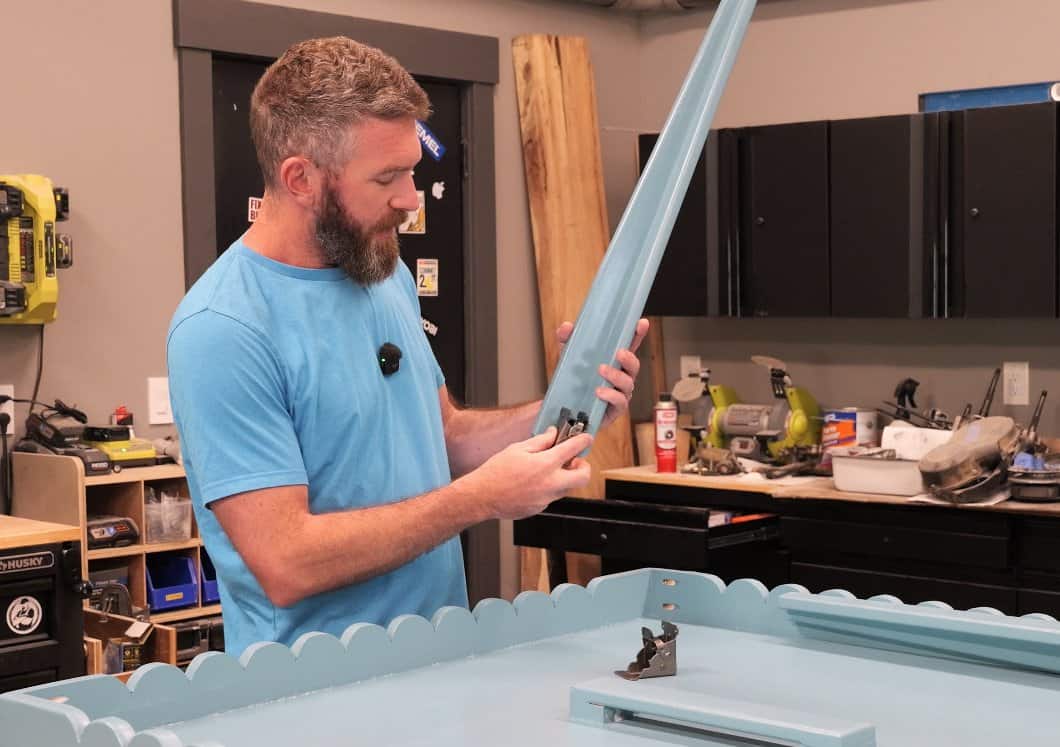
Each leg is two boards glued into an L, tapered on both outside faces. Each one folds down along its own apron, pinwheel style. A handle screwed to the center of the underside turns the folded table into a big briefcase.
One thing I forgot to mention in the video: you could skip building the legs and just buy tapered table legs. I’d still build them. Store-bought legs run anywhere from $25 to $100 apiece, so $100 to $400 for four. The two 1x4x6s and two 1x3x6s that make all four of mine cost about $30. And a store-bought leg isn’t shaped to tuck in against the apron, so it won’t nest in the table nearly as nicely when it’s folded.
Tools & Materials
Here’s what I actually paid:
| Item | Cost |
|---|---|
| 3/4″ plywood ($69 sheet, half used) | $34.50 |
| (2) 1x4x8 select pine | $23.16 |
| (2) 1x4x6 select pine | $17.36 |
| (2) 1x3x6 select pine | $13.08 |
| Folding leg hardware | $17.00 |
| **Lumber and hardware** | **$105** |
| Paint | $31.00 |
| **Total** | **$137** |
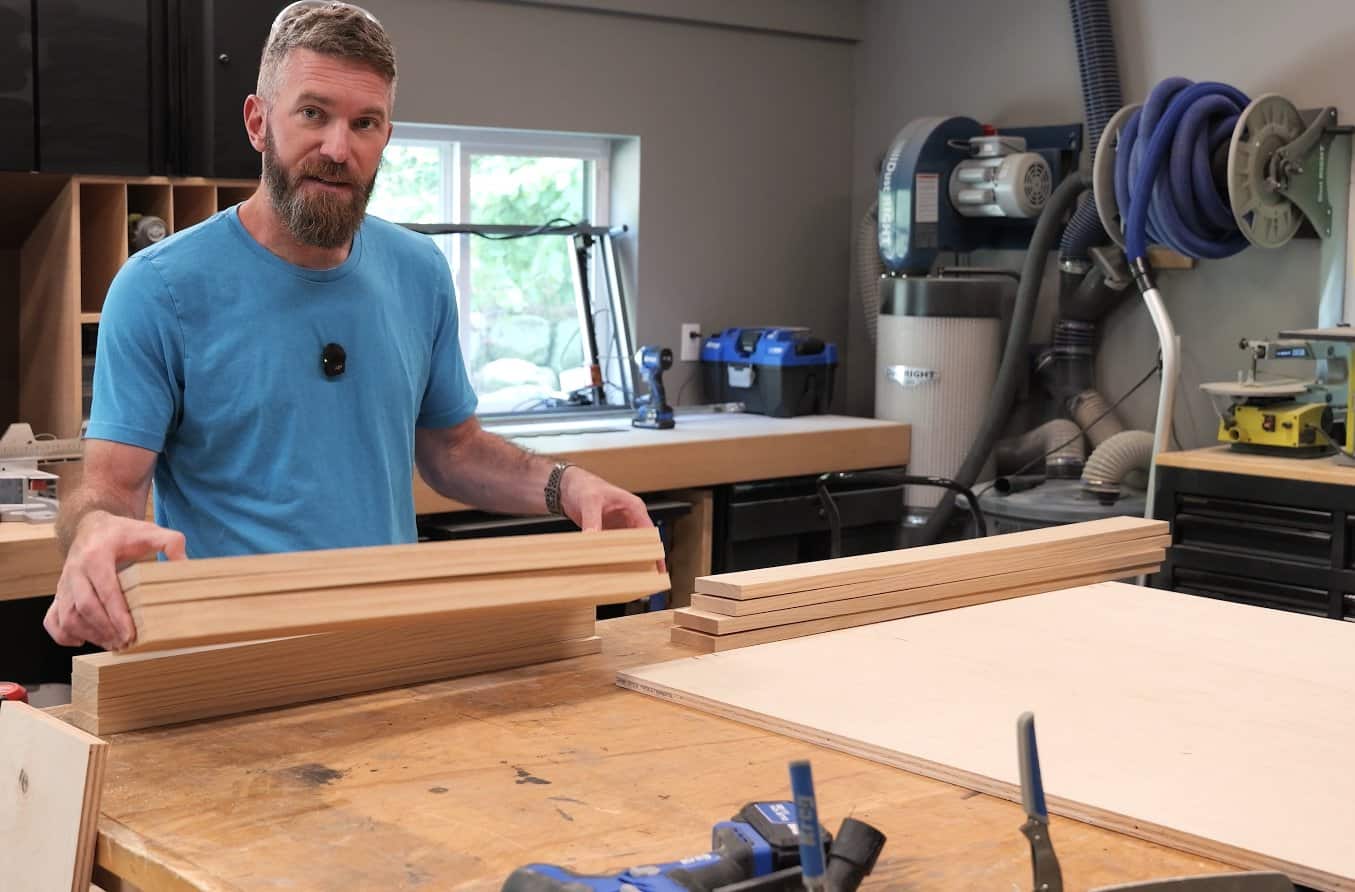
Screws, glue, and sandpaper came out of the shop. I went with select pine because the legs get ripped and tapered, and clear, straight boards make that a lot less of a fight. Poplar would paint even better.
Save the scrolling
Every cut, every step and the leg bracket detail on one 7-page PDF for the shop wall. Imperial and metric included.
How to Build a DIY Mahjong Table
Cut and rip everything
Break the plywood down to a 40-1/2″ square. Cut the four aprons from the 1x4x8s at 41-1/4″ (that’s the plywood side plus one board thickness), then cut the leg boards from the 1x4x6s and 1x3x6s.
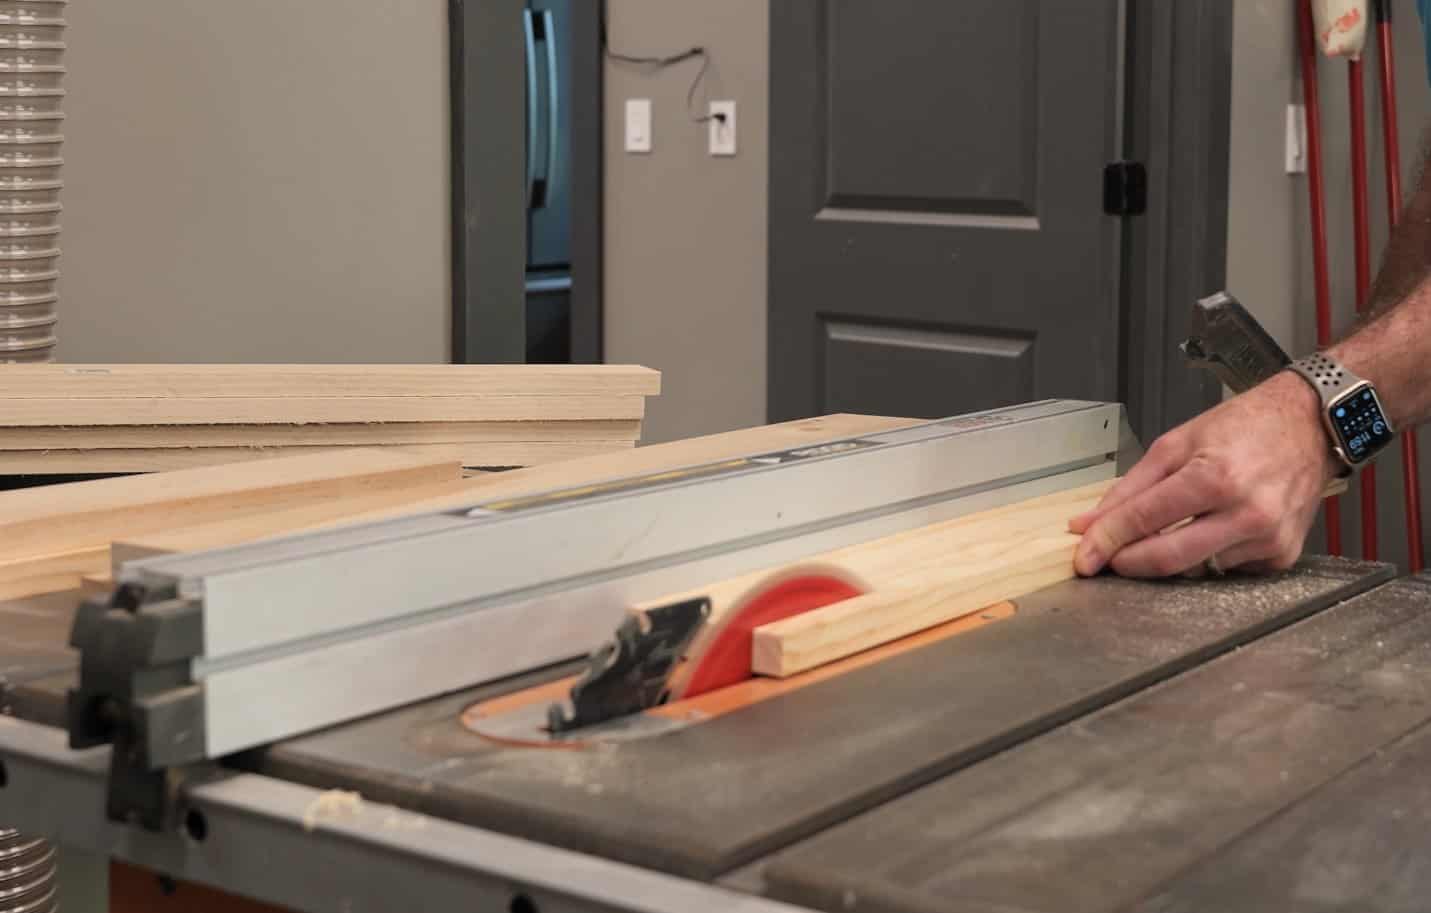
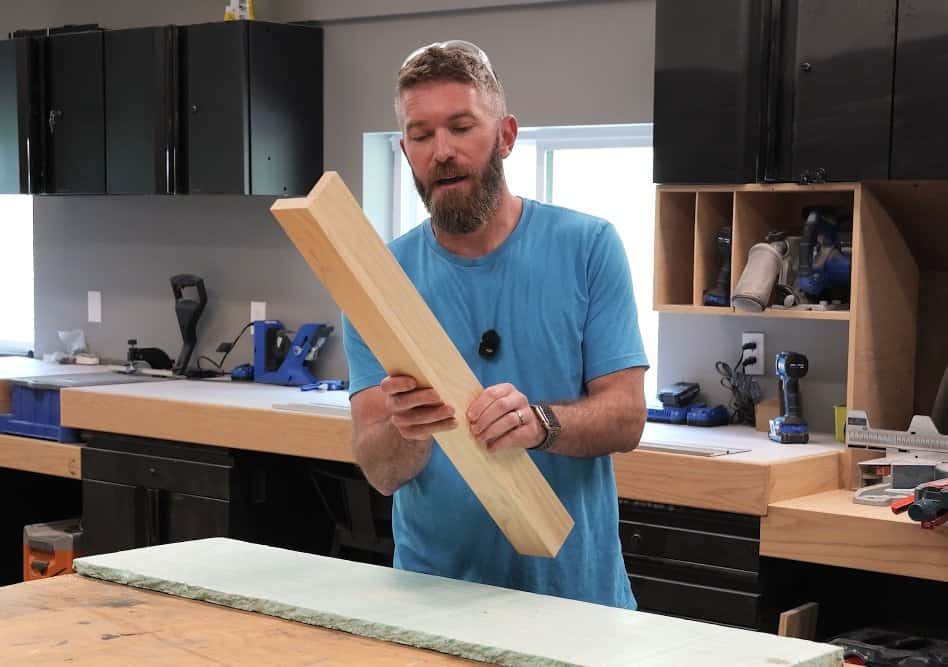
Now rip them. The four 1×4 leg boards get ripped to 2-3/4″ and the four 1×3 leg boards get ripped to 2″. Straight off the rack, the leg looked a little chunky. The two different widths are on purpose: one board overlaps the edge of the other in the L, so once you add the 3/4″ thickness, both faces of the finished leg measure 2-3/4″. Same look from either side.
The handle and its two spacers come out of the plywood offcut. The full cut diagram is in the plan.
Taper the leg boards
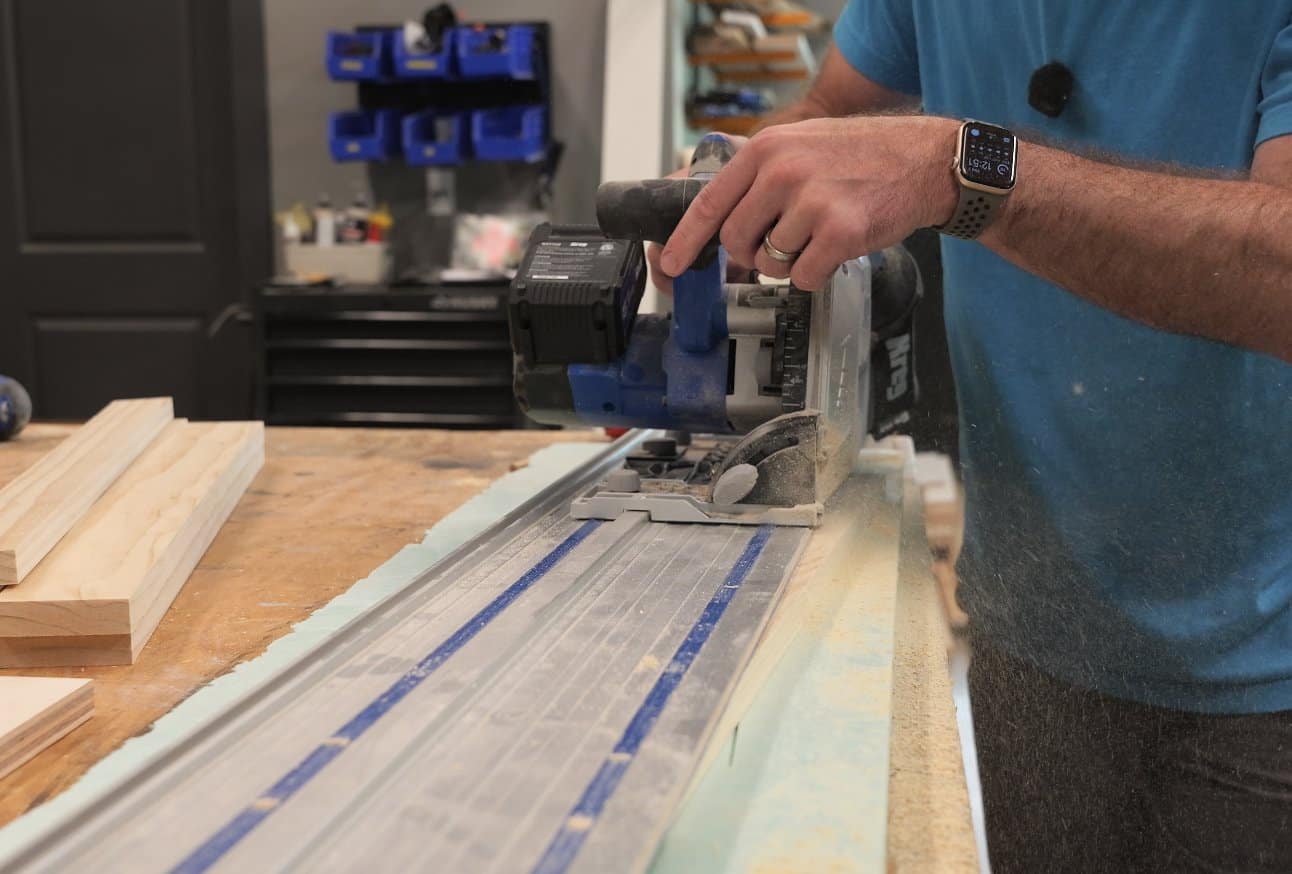
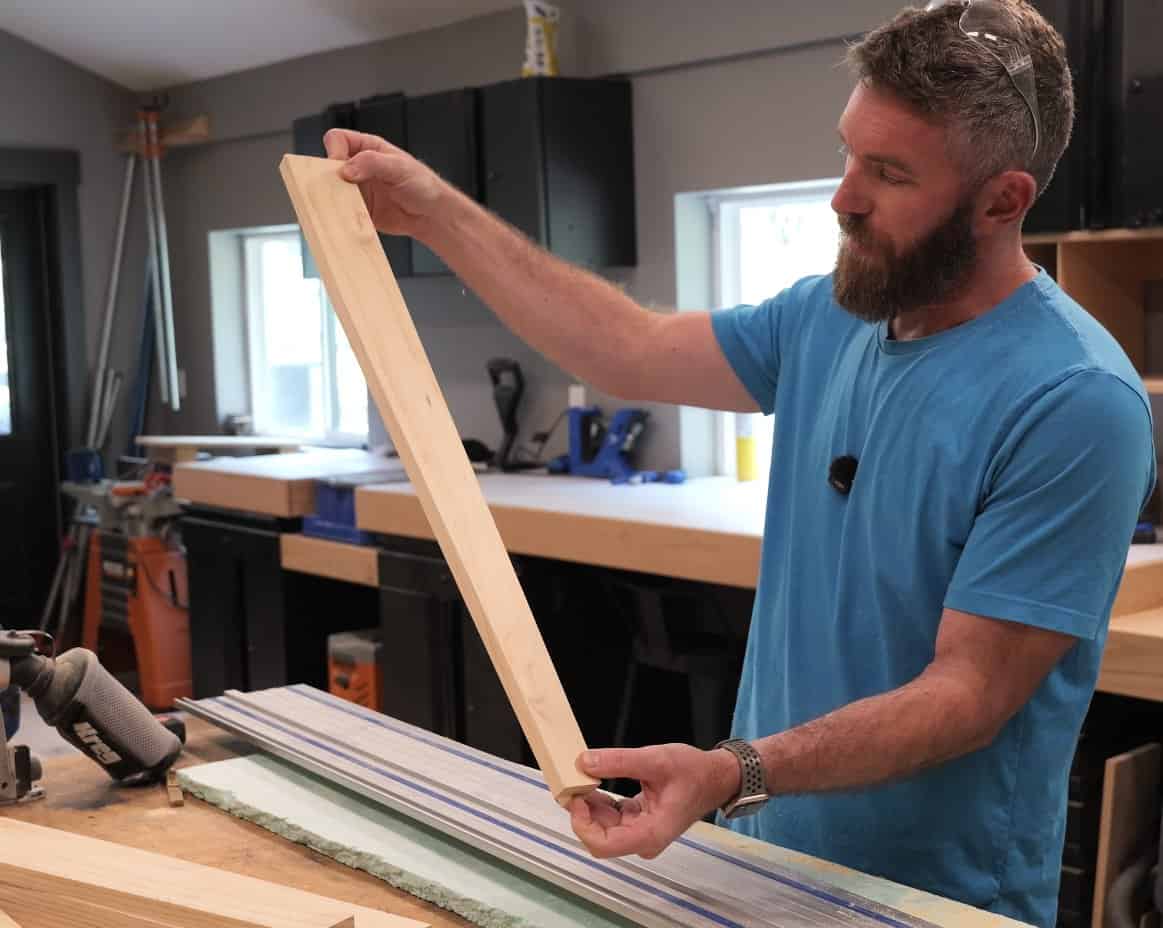
Straight legs looked boring, so all eight leg boards get the same taper. Measure 22″ up from the foot and mark the edge. At the foot, mark 1-1/4″ in from that same edge. Connect the marks and cut to the line.
I cut mine with the track saw, right on the line. A taper jig on the table saw works too, and so does a circular saw and a sander if you take your time. It’s a subtle detail, but it makes a huge difference in how the finished table looks.
Glue up the legs, then relieve the corner
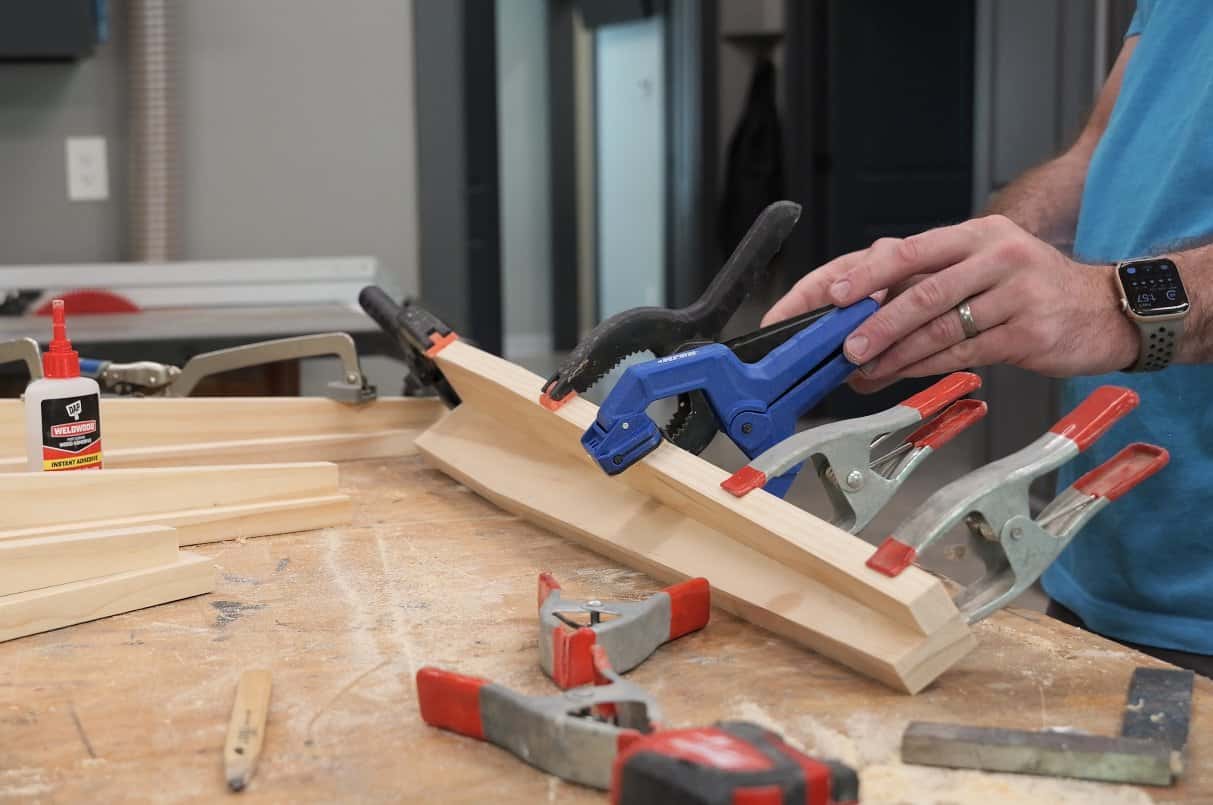
Glue a 2-3/4″ board and a 2″ board into an L, tapers running the same direction, with the wide board overlapping the edge of the narrow one. Glue a 2″ x 2-3/4″ block into the inside corner at the top. That block is what the bracket screws into. Clamp it or pin it with brad nails and build four.
Once the glue cures, sand everything and ease the edges with a roundover bit.
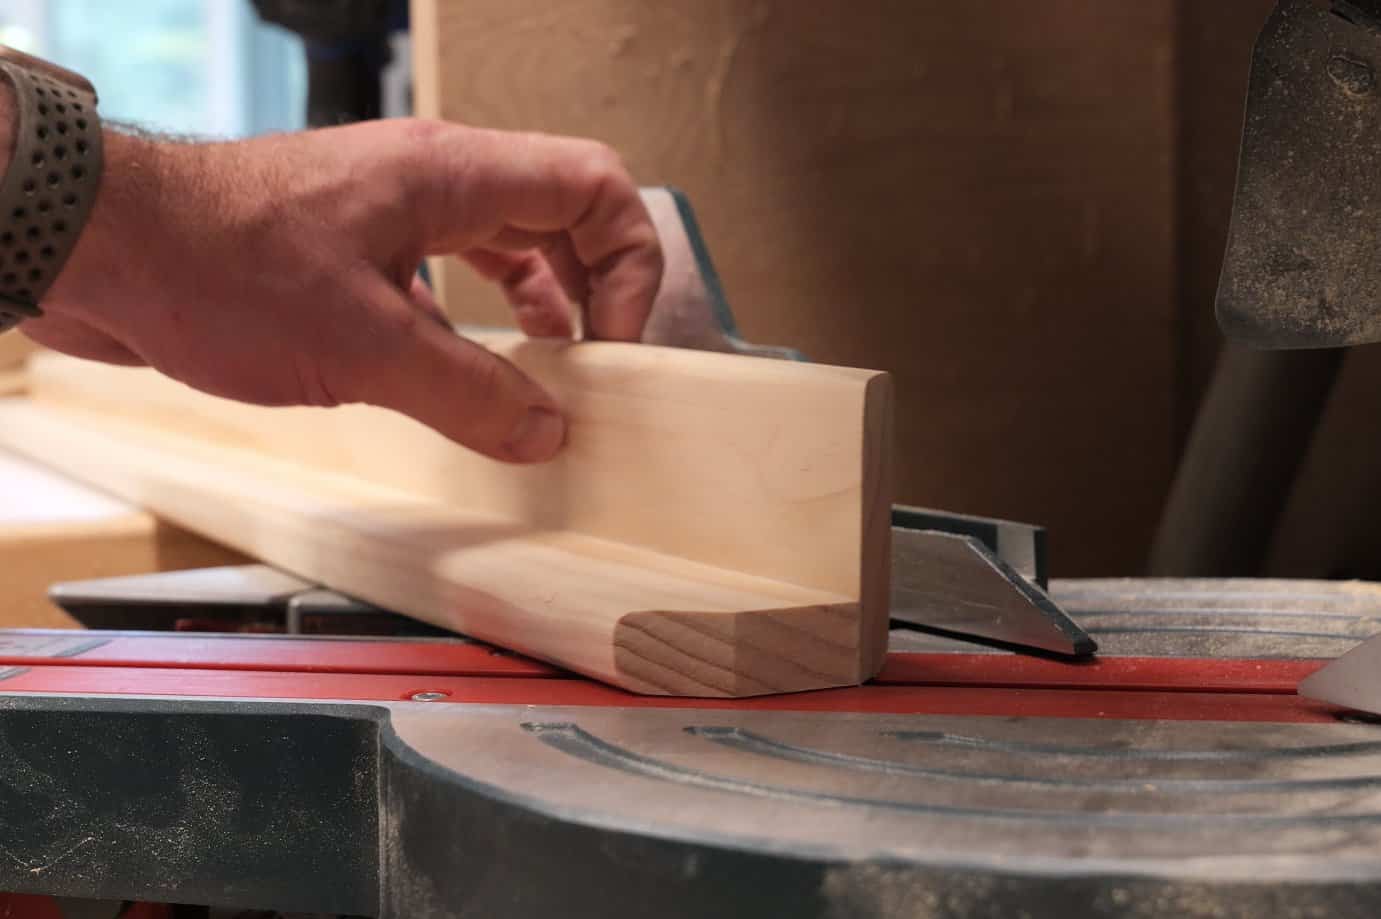
Now the step I forgot the first time. Knock a 3/4″ chamfer off the top corner of each 2″ board. When the leg is standing, it sits tight in the inside corner of the aprons. When it folds, that corner has to rotate around the bracket, and without the relief it binds. I tried it on a test piece first, and a 45 on the corner was all it took.
Scallop the aprons (optional)
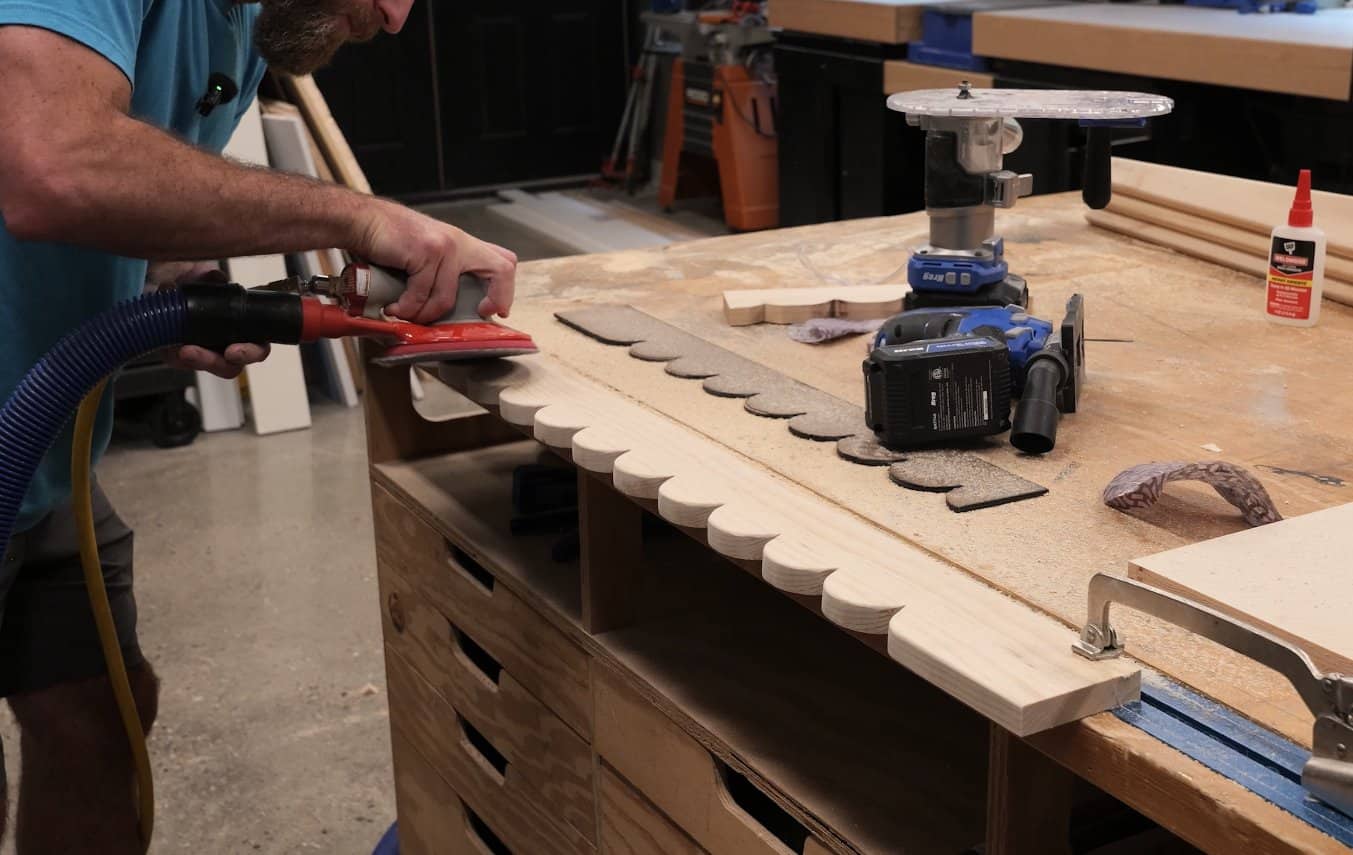
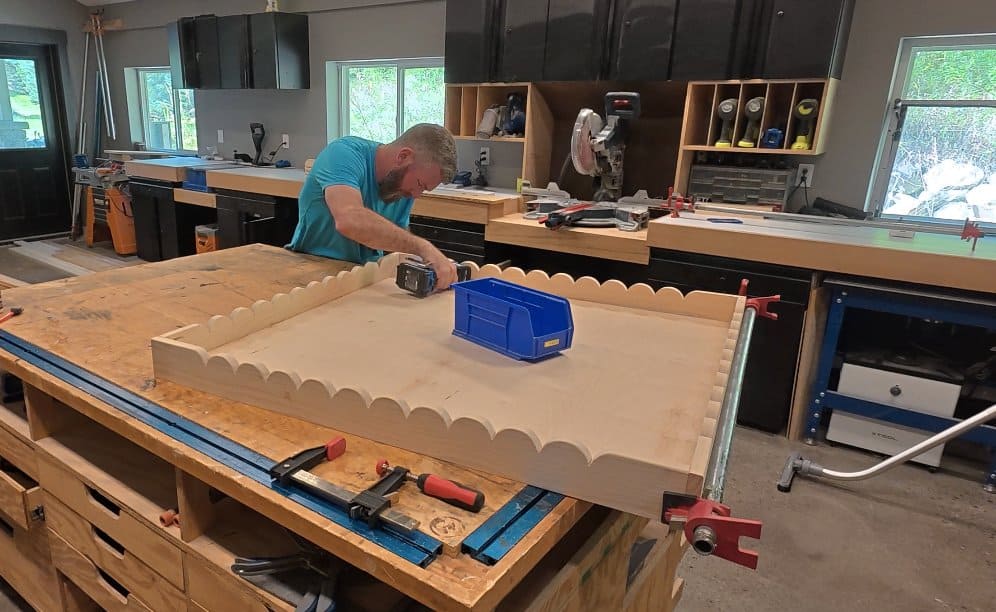
Jamie asked for a scalloped edge, so we have a scalloped edge. Skip this step if you want a plain apron. It added about an extra hour between cutting and sanding, but I think it was worth it.
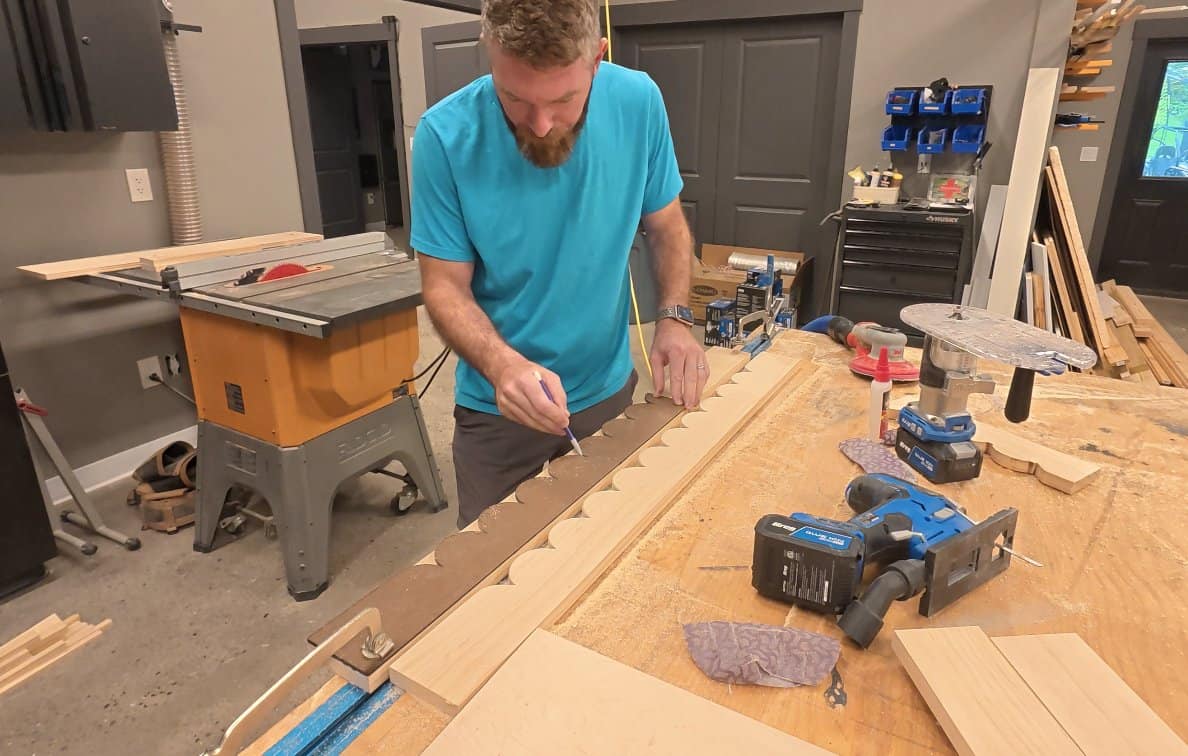
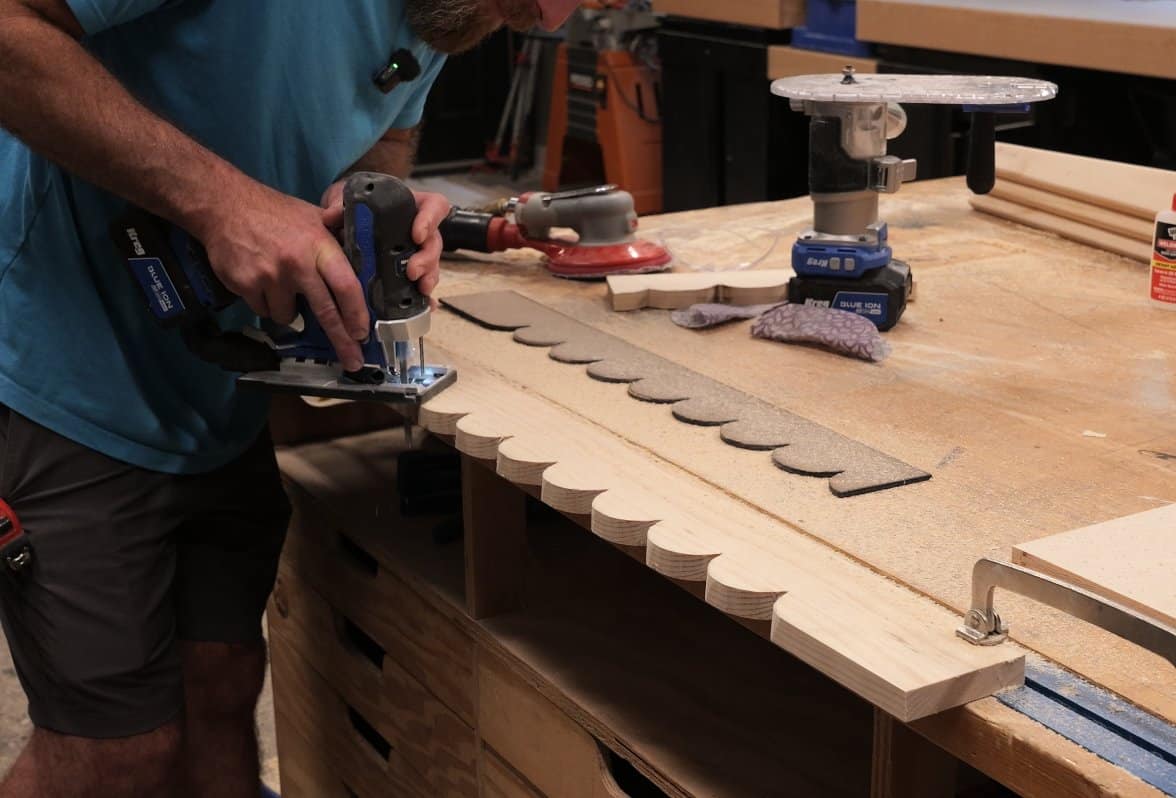
The scallops are centered on the side of the finished table, not on the board, because each apron laps the end of the next one at the corner. So mark 20-1/4″ from the end that butts into the next apron (21″ from the other end), and lay out five 3″ half circles each way from that mark. Ten scallops, 1-1/2″ deep.
I cut a template on my laser cutter, but you don’t need one. Scalloped trim and templates are easy to find online or at a craft store, and the inside of most rolls of tape is 3″ across. Cut them with a jigsaw and sand smooth.
Build the top
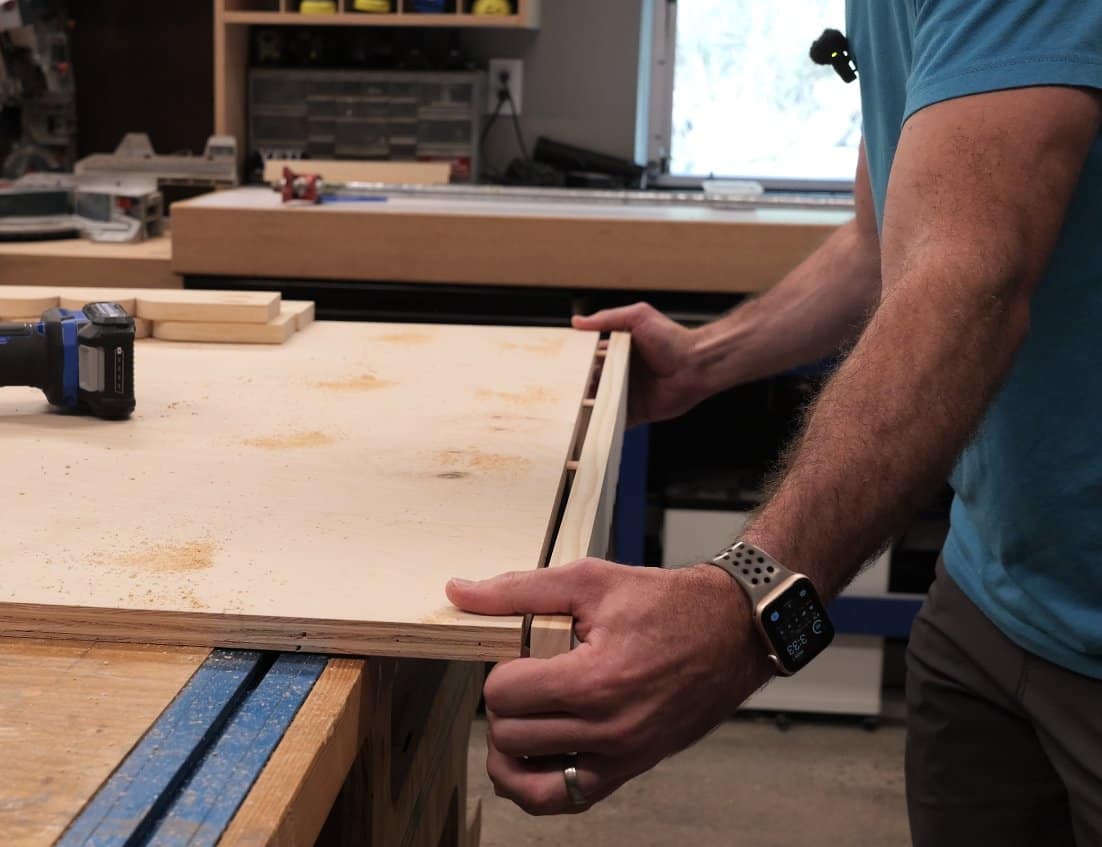
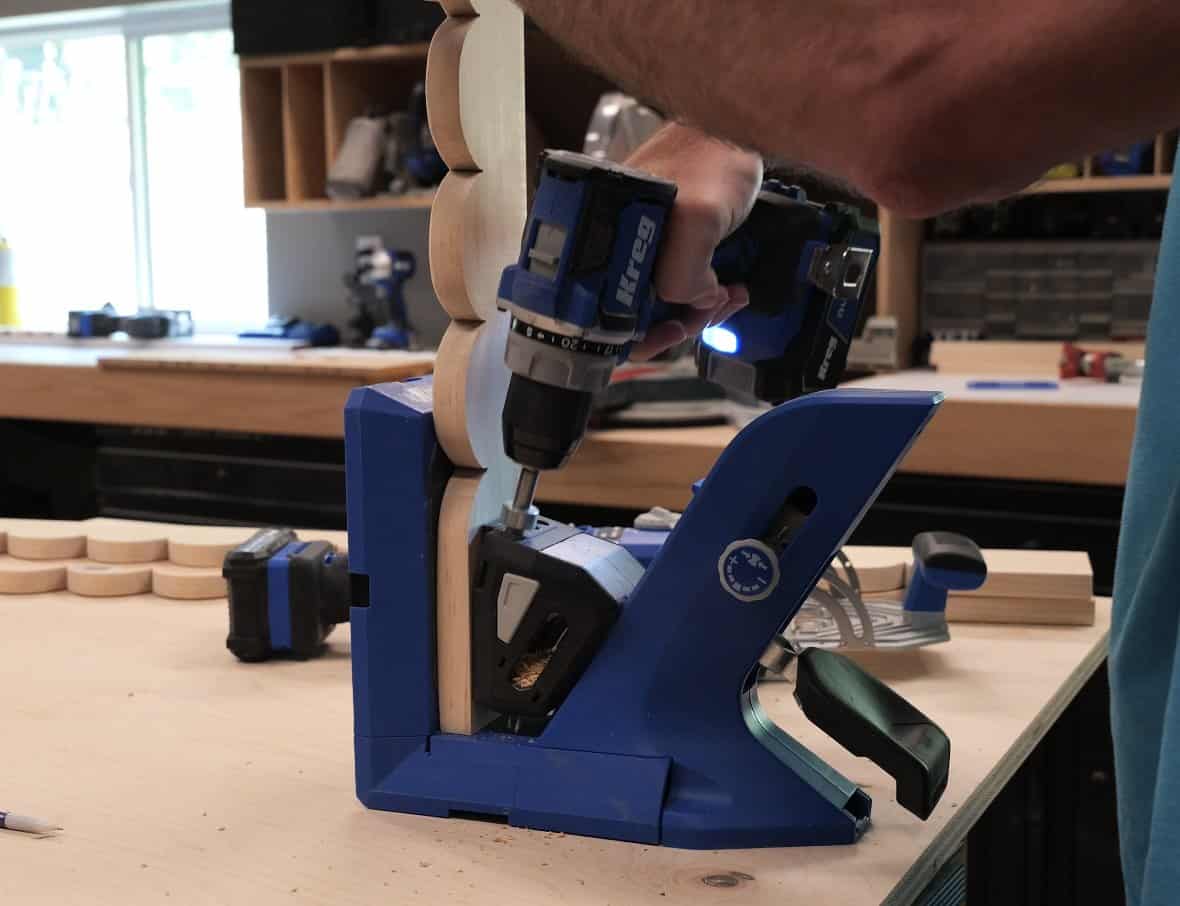
Work upside down on a flat surface so the plywood ends up flush with the top edge of the aprons. Each apron butts into the next one, pinwheel style, and the corners get tied together with pocket screws through the end of each apron. I drilled those with my Kreg pocket hole jig.
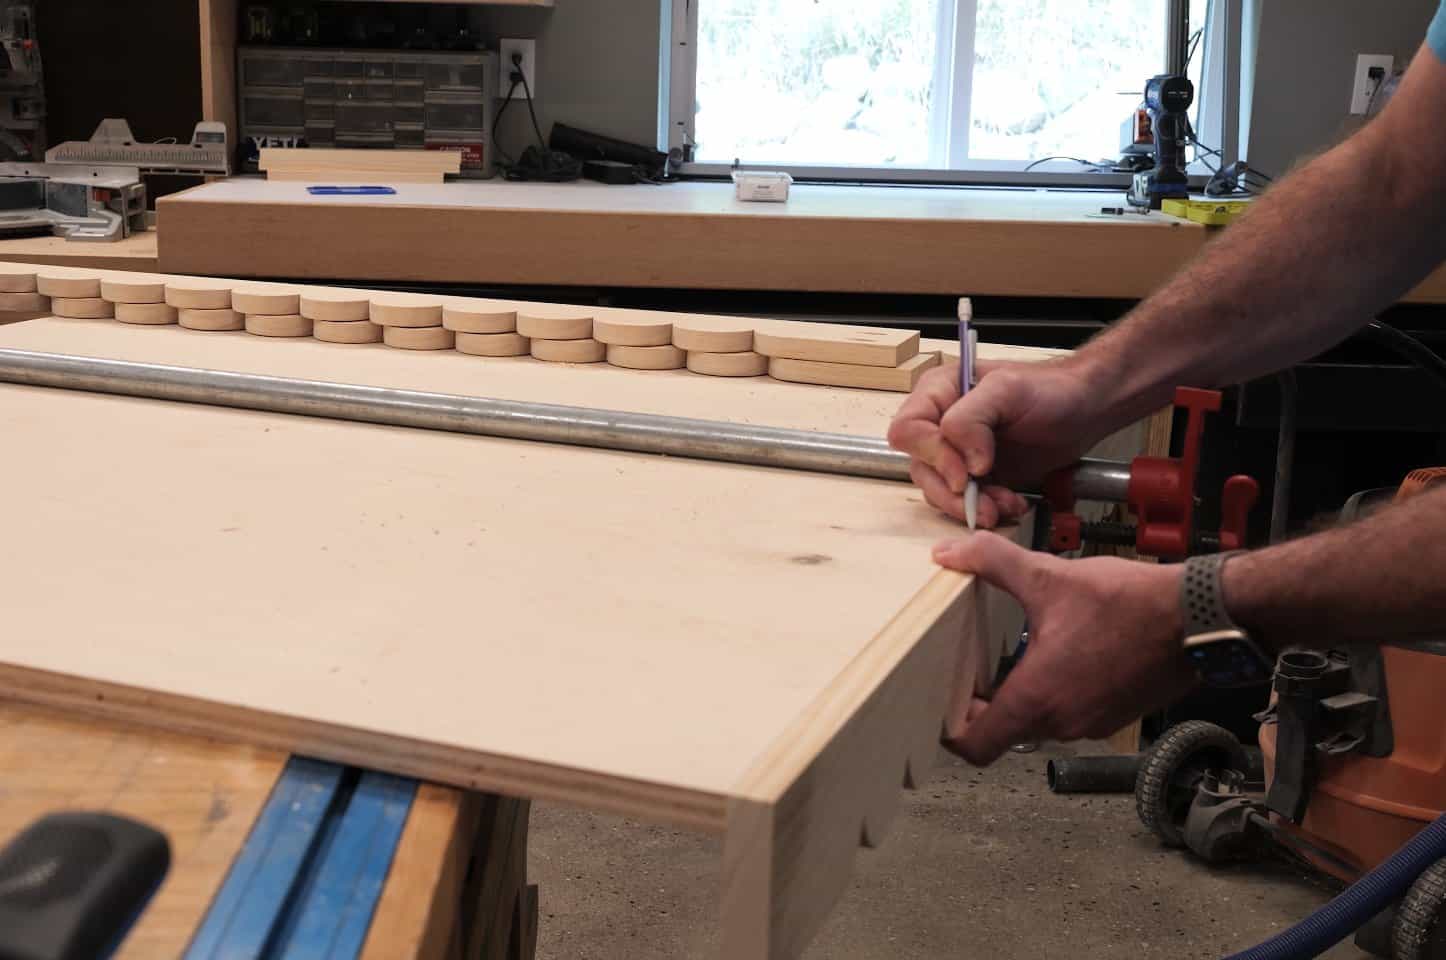
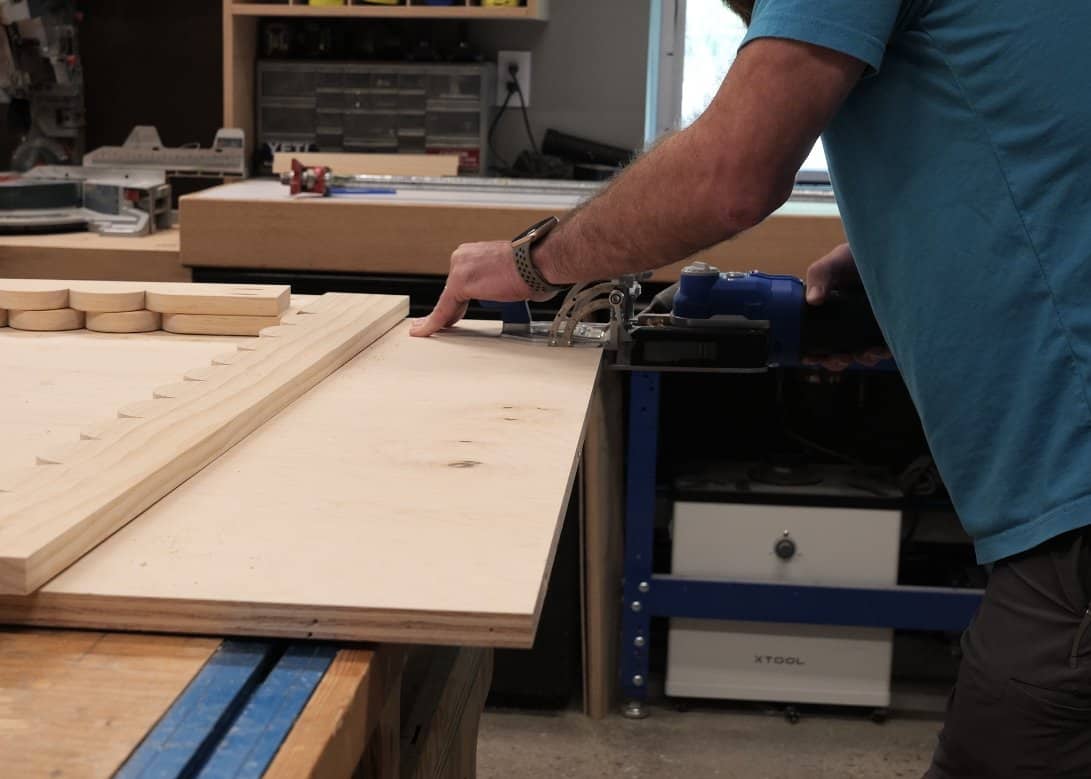
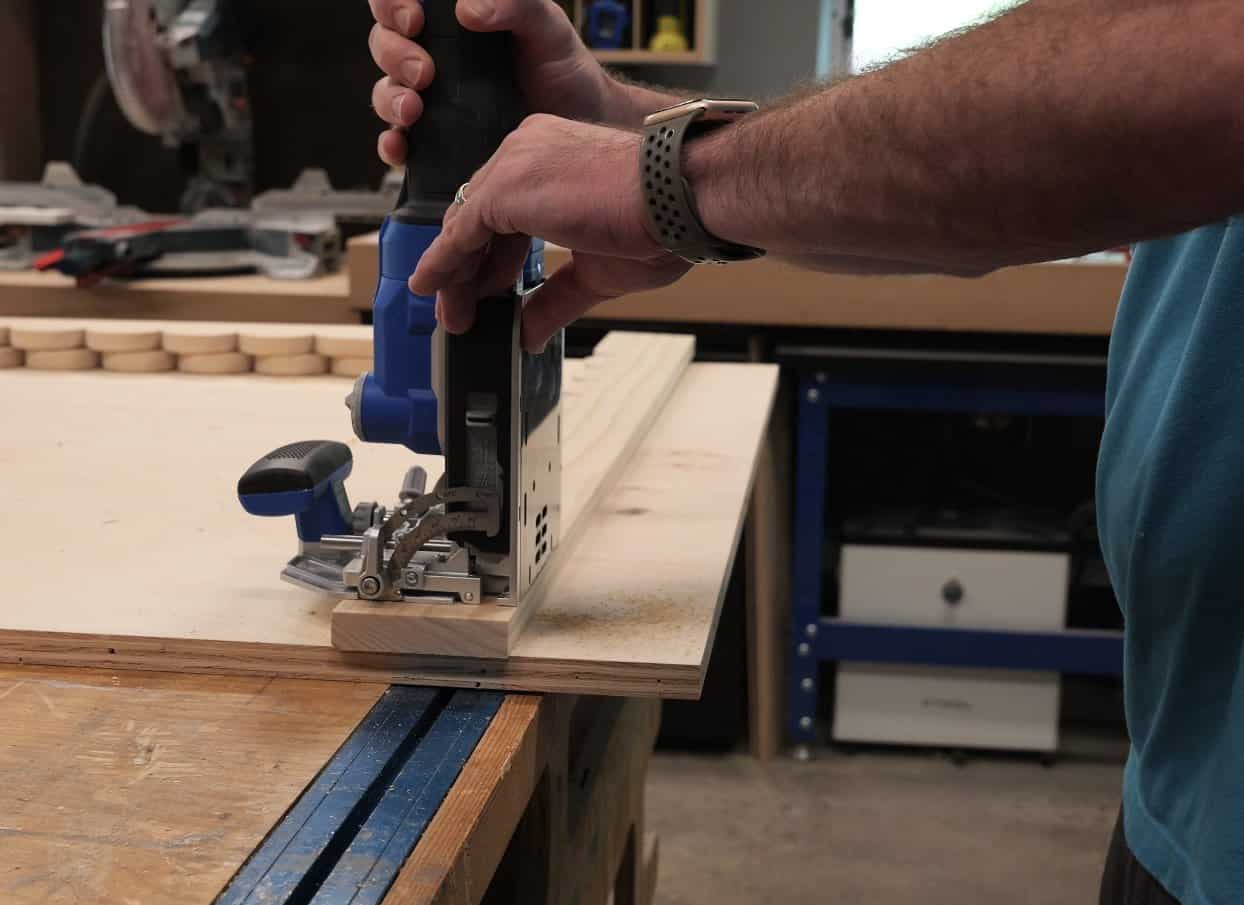
To attach the aprons to the plywood, the plan uses pocket holes around the underside of the panel, and that works just fine. Kreg sponsored this build, and it was my first chance to try the new Kreg Edge, a cordless loose tenon joiner. If you’ve seen the Festool Domino, it’s that idea for a lot less money, and without the cord. Draw a line everywhere you want a tenon, across both pieces. I used four per apron, roughly evenly spaced. Line the tool up on each mark, cut a mortise in both parts, glue in a tenon, and push them together.
The nice thing about tenons is alignment. The aprons go exactly where they’re supposed to, and you can still nudge things while the glue sets. It came out nice and flush. With pocket holes you’ll just have to play with it a little more to keep everything lined up.
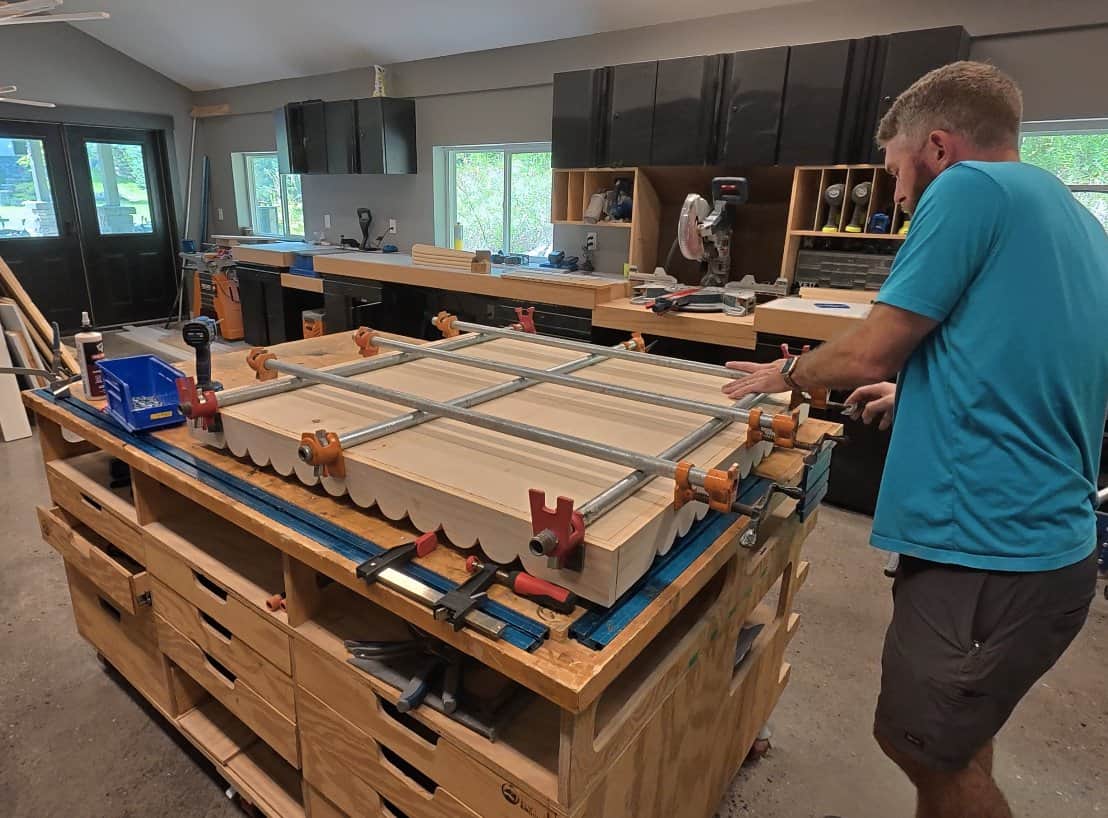
One trick for the glue up: I screwed together a small stand to hold the top up off the bench. That let me glue it right side up, see the top surface, and keep the aprons out of the way.
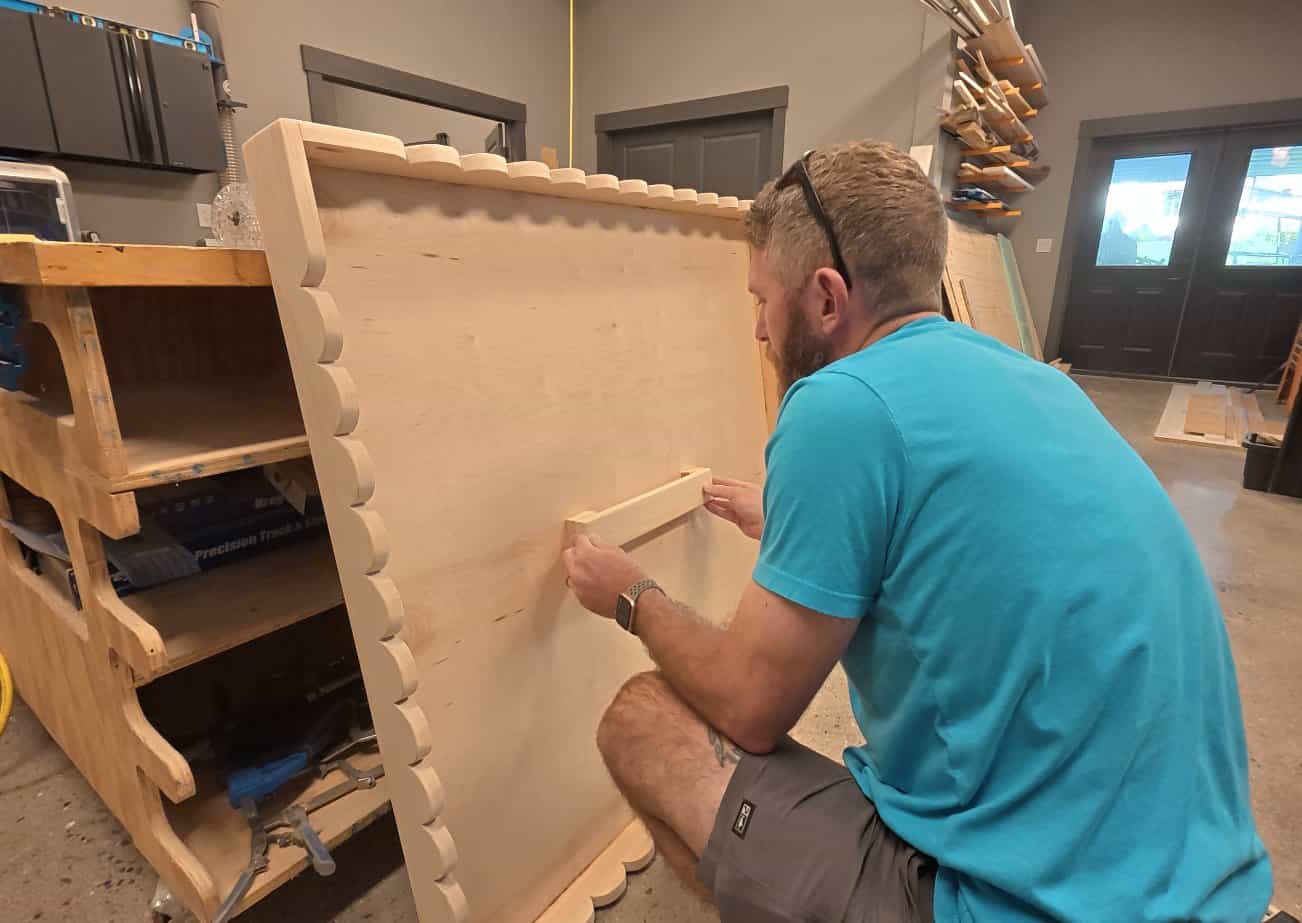
Last, find the center of the panel, glue and screw the two 2-1/2″ spacers down where the handle ends land, and fasten the 12-1/2″ handle on top with glue and 1-1/4″ wood screws.
Mount the folding legs
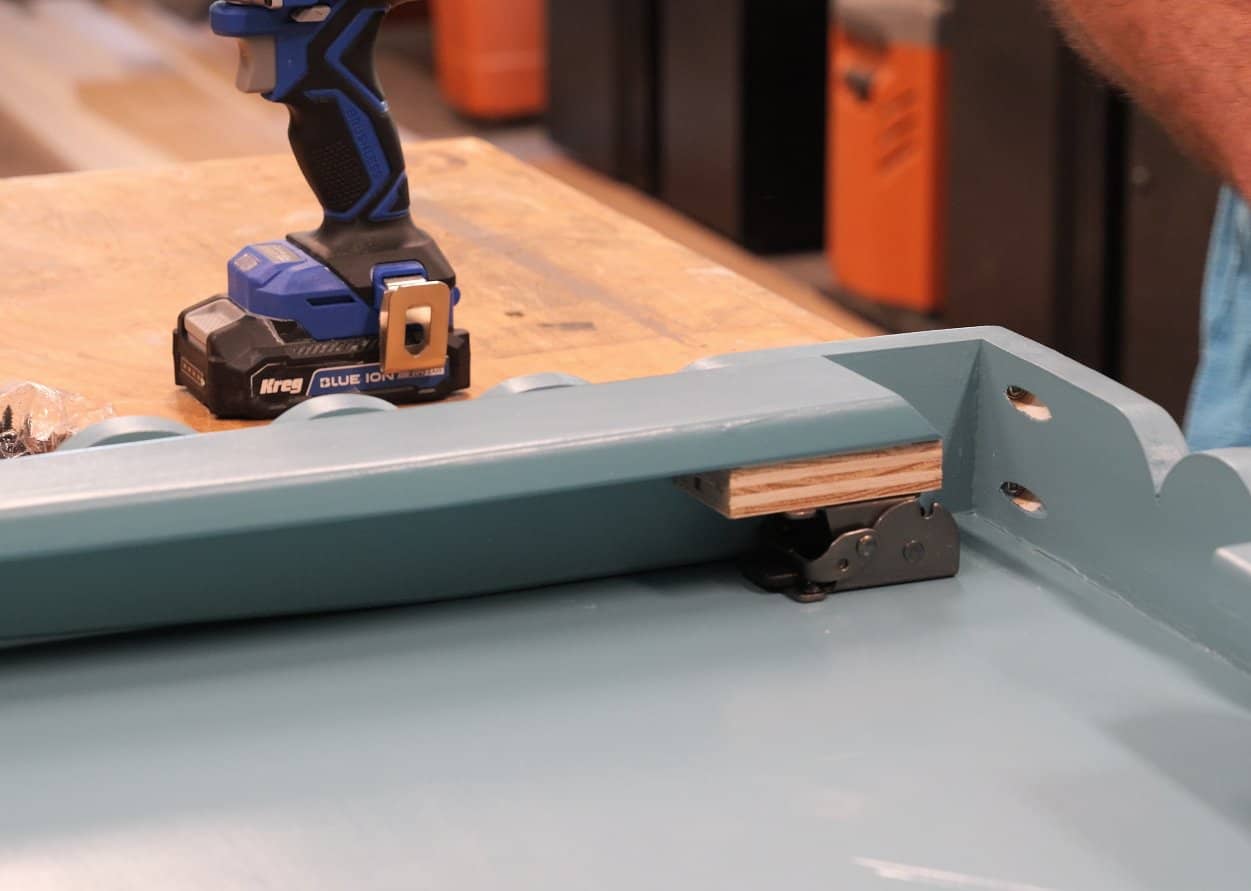
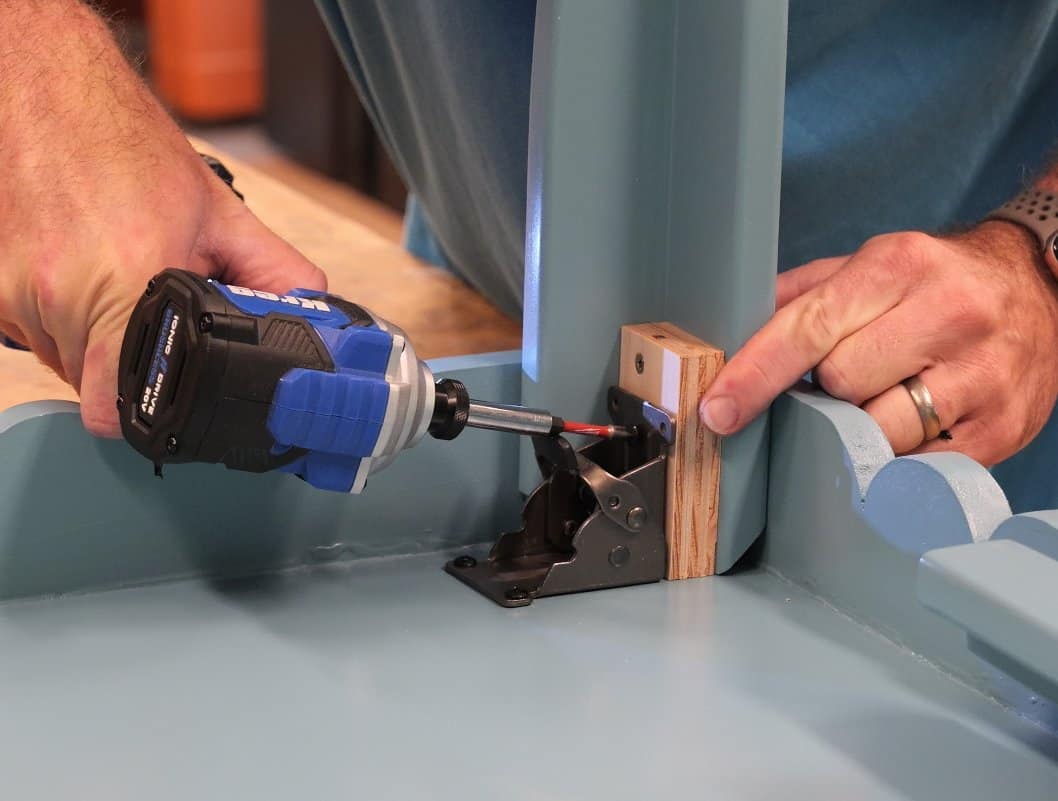
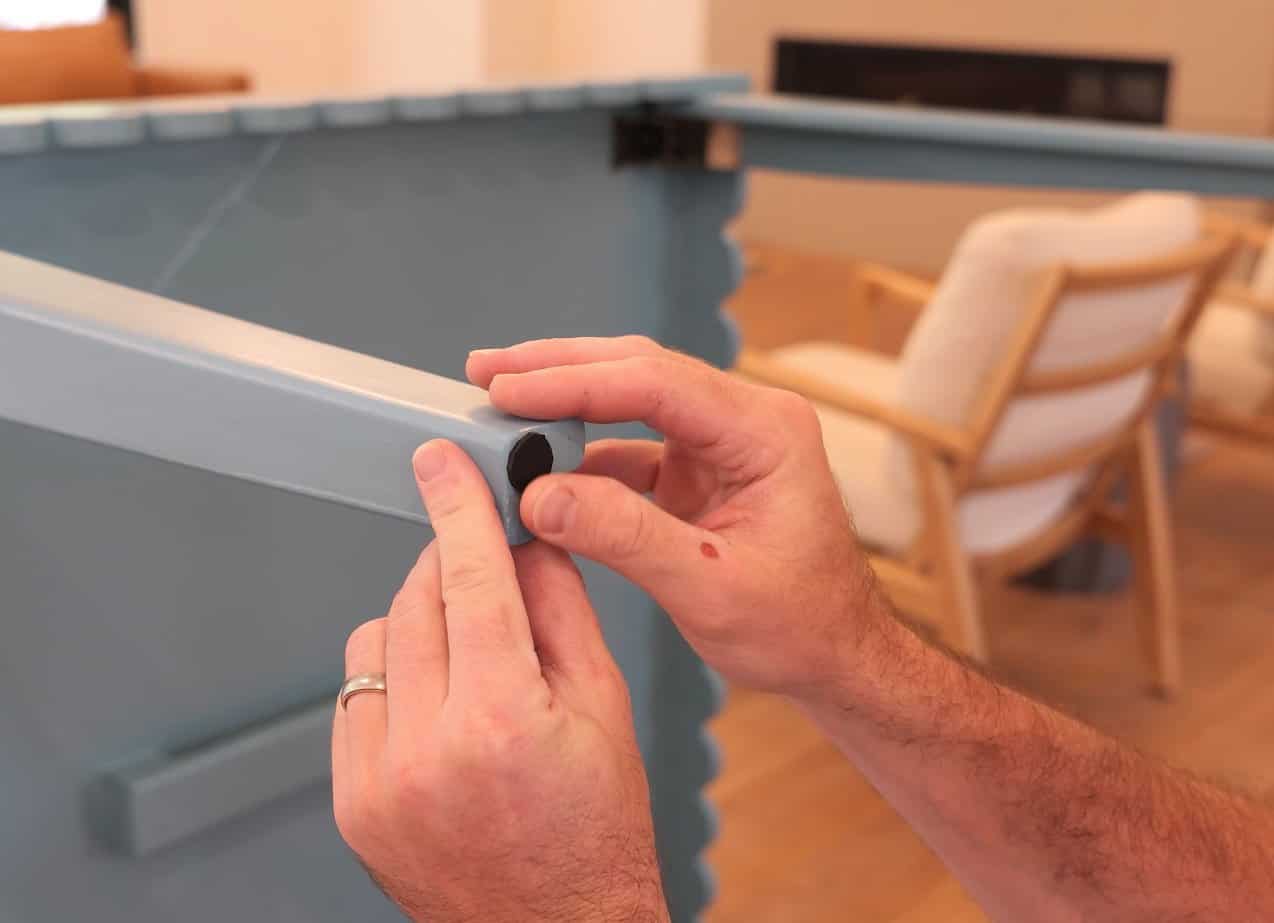
Stand each leg tight into an inside corner, with the bracket on the block at the top of the leg. Fasten the bracket to the leg and to the plywood with the screws that came with it, and check those screws against the thickness of your top before you drive them.
Each leg folds down along a different apron. Two legs can’t share a side, they’re too long. Set one bracket, fold it to make sure it clears, then do the other three.
Honest moment: I swear I planned this out, and I still messed it up. My block came out about 3/4″ shy, so the leg didn’t sit down in the bracket the way it should. I fixed mine by screwing a little plywood block to the inside to make up the difference. The plans are already corrected, so you won’t have to do that.
Fix the wobble, then finish
The first time I stood it up and pushed on a corner, it rocked. This is where I started to panic.
Turns out the legs weren’t all the way out. The brackets have a little play, so if you just set the table down, a leg can stop short of the corner. Pull each leg out until it seats against the corner of the aprons, and most of the wobble goes away. Then stick a rubber pad on every foot and the legs stay where you put them.
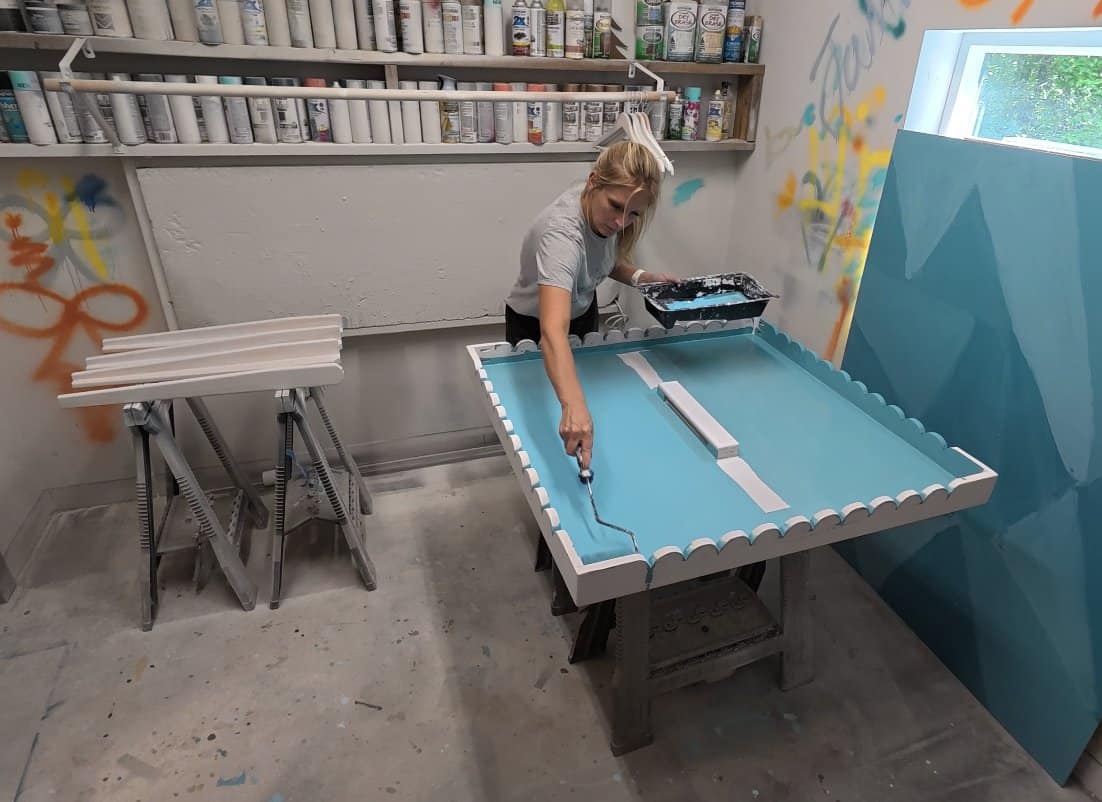
Fold the legs in and finish your DIY mahjong table like any other piece of furniture. Break every edge, especially the top edge of the aprons, since that’s where forearms rest all game. We painted ours Benjamin Moore Rendezvous Bay (726). Let the paint cure fully before the mat and tiles go on.
The Final Result
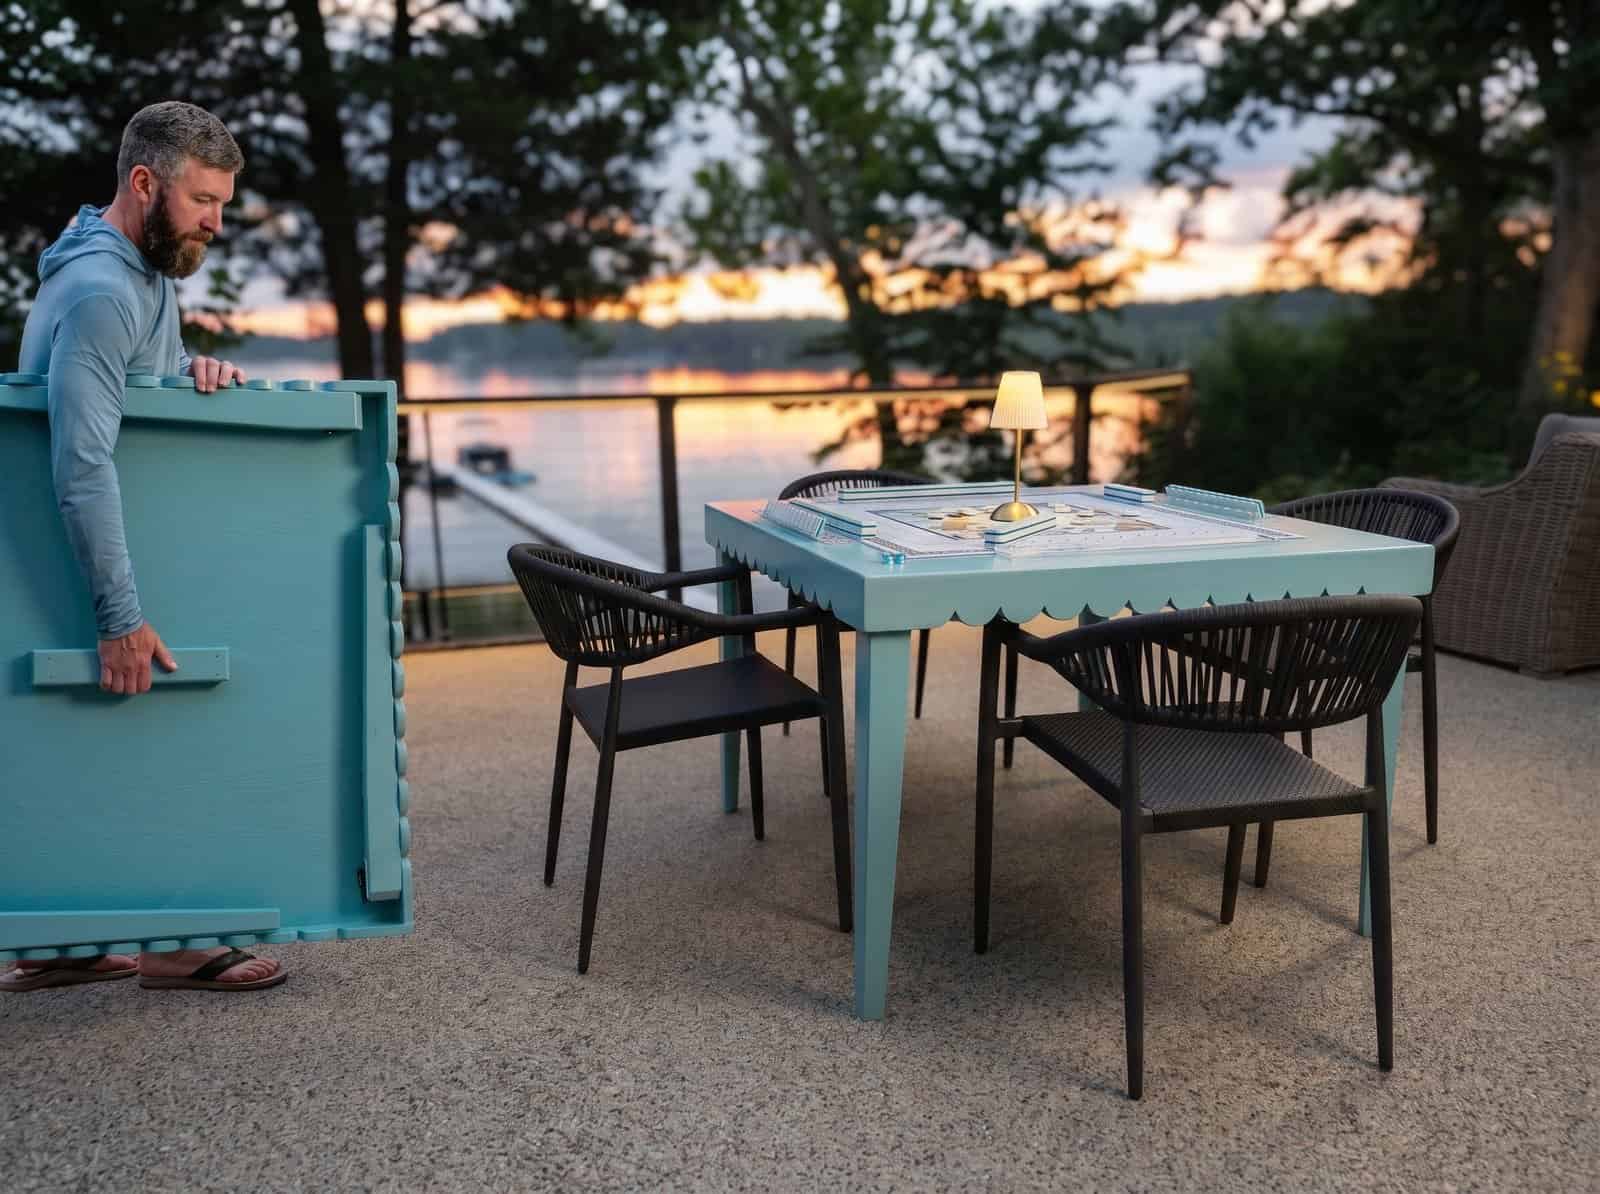
That’s the finished DIY mahjong table. Four people, four sides, nobody at a corner and nobody reaching across. The legs click in and lock, and once they’re seated it’s plenty stable for game night. It isn’t heavy at all. When the game’s over, the legs fold under, you grab the handle, and it slides into the closet next to the coats.
That’s the one thing the fourteen hundred dollar tables can’t do.
Our Mahjong Setup
If you’re wondering what’s on the table in these photos, here’s the setup we play with:
The mat is what set the size of this table. It fits in the middle with room on every side for the racks.

Mahjong Table FAQ
What size should a mahjong table be?
Standard mahjong tables run 34″ to 40″ square (or round), and 29″ to 31″ tall. Ours is 30″ tall, right in the middle, and 42″ square, a little bigger than most. Here’s why. Most mahjong mats are 31″ to 32″ square, so 42″ leaves about 5″ of wood on every side of the mat for racks, drinks, and elbows. That’s the size that felt comfortable to us.
Can I make it a different size?
Yes, a DIY mahjong table scales easily. The aprons are always the plywood side plus 3/4″. The one catch is the legs: they have to stay shorter than the inside of the top so they still fold flat, and each one needs its own apron to fold along.
Why does my folding table wobble?
Usually the legs aren’t all the way out. Folding brackets have a little play, so a leg can lock short of where it should be. Pull each leg out until it seats against the corner of the aprons, then add rubber pads to the feet. That fixed ours.
Do I need a Kreg Edge or a Domino?
No. I used the Kreg Edge to attach the aprons to the top because it makes alignment easy, but pocket holes work fine, and that’s what the plan shows. You’ll just need to take a little more care keeping the aprons flush while you drive the screws.
Do I have to cut the scallops?
No, they’re optional. A plain apron looks clean and saves you about an hour with the jigsaw. The scallops were Jamie’s call.
Can I buy table legs instead of building them?
You can, and it’ll save you the rips and tapers. But store-bought legs are $25 to $100 apiece, against about $30 in 1x4s and 1x3s for all four of mine. The L-shaped legs are also built to fold flat against the aprons, so they nest in the table when it’s closed. A round or square store leg won’t tuck in as cleanly.
What wood should I use?
Any straight, clear board works for a DIY mahjong table. I used select pine, and poplar paints really well. Knots and twist are what make the rips and tapers miserable, so be picky at the store.
Your Move
If you play, you already know the dining table problem. A DIY mahjong table fixes it for $137 and an afternoon in the garage, and it doesn’t take up a corner of the house the other six nights of the week. Grab the folding mahjong table plans if you want the cut list, the diagrams, and the corrected leg detail on paper, imperial or metric. If you’d rather build a square table that stays put, our square plank coffee table uses a lot of the same moves, and there are more game table plans in the shop.
You can watch the whole build, wobble and all, in the video up top. And if you build one, post pictures in the comments. I want to see what colors you all paint them.
Be safe and happy building.
Jamison
Ready for game night?
The whole build in one ad-free PDF: cut list, shopping list and step diagrams, imperial or metric. $10.