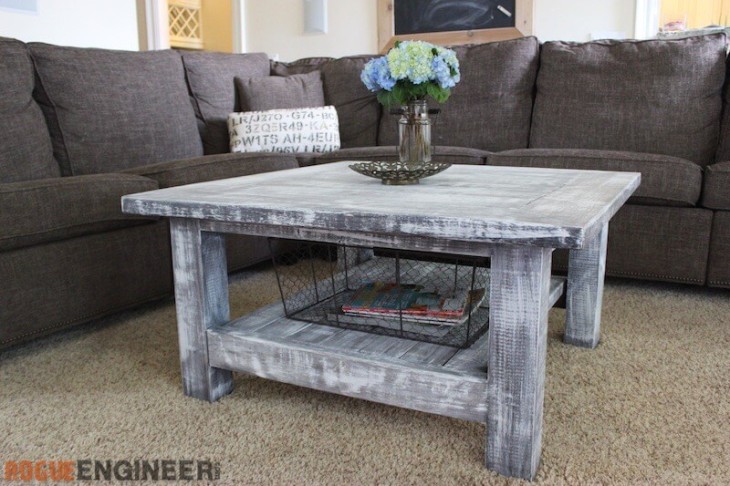
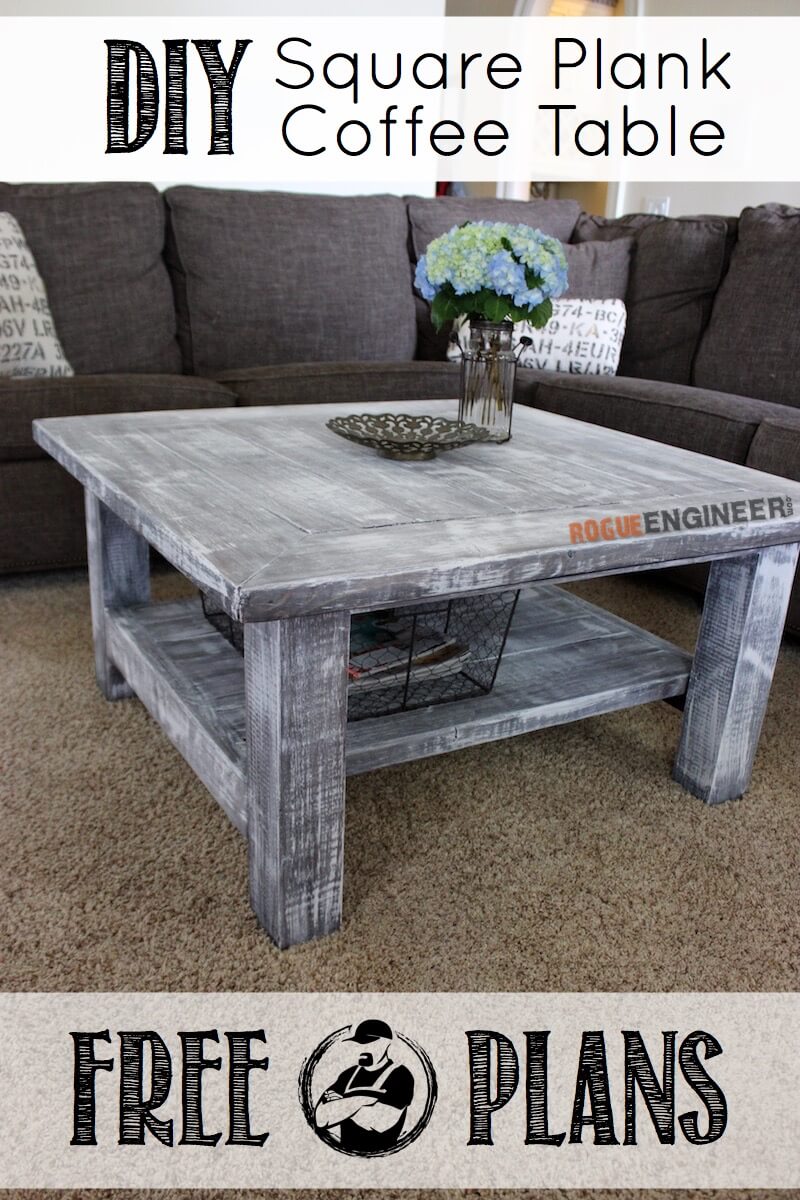
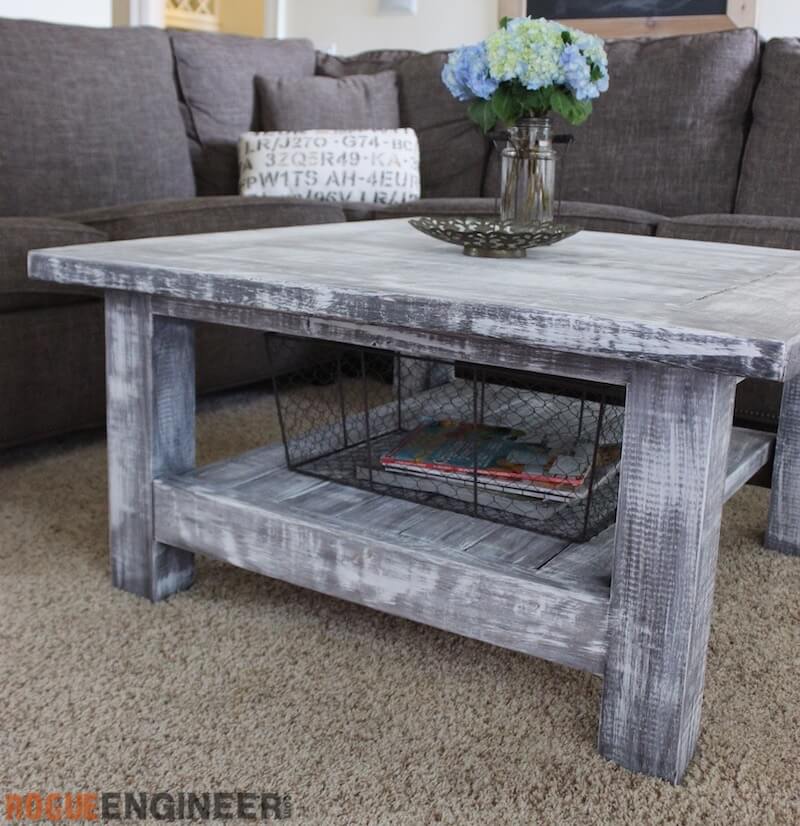
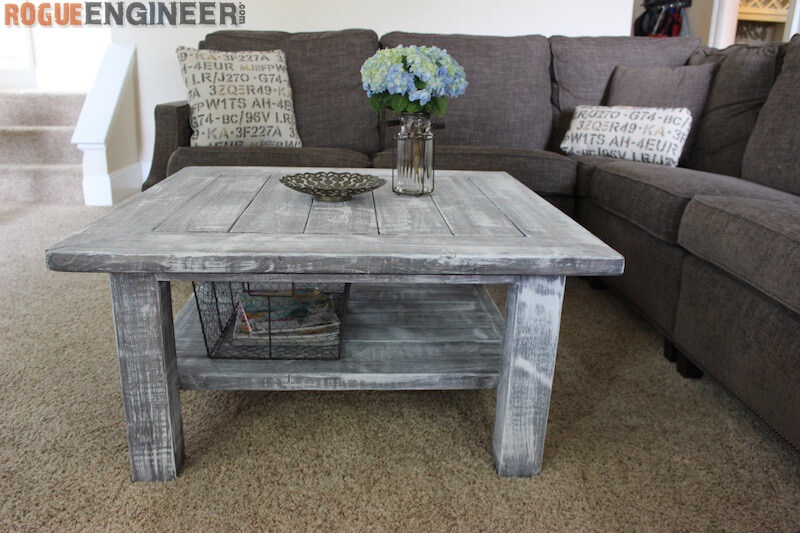
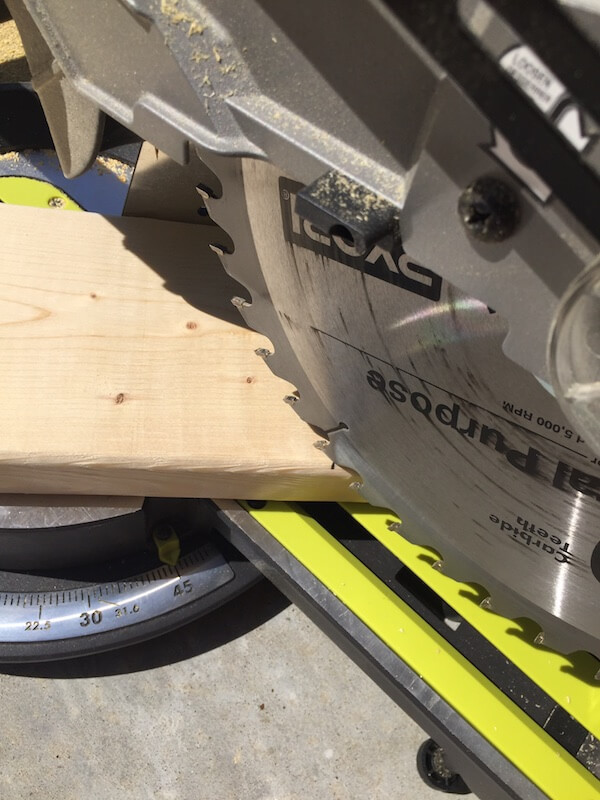
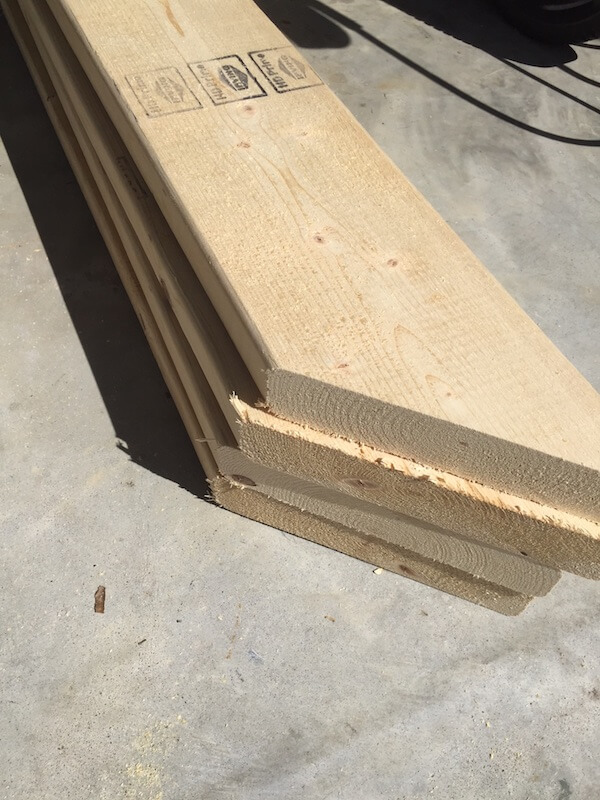
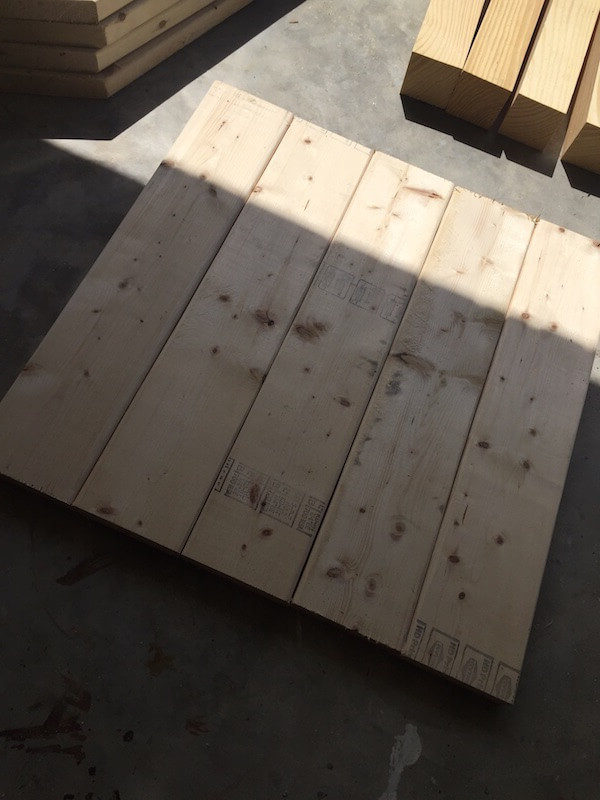
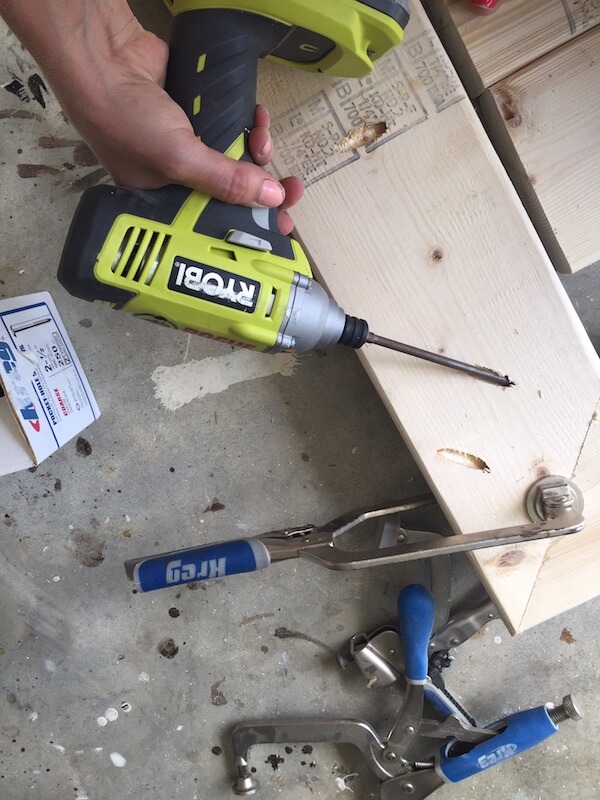
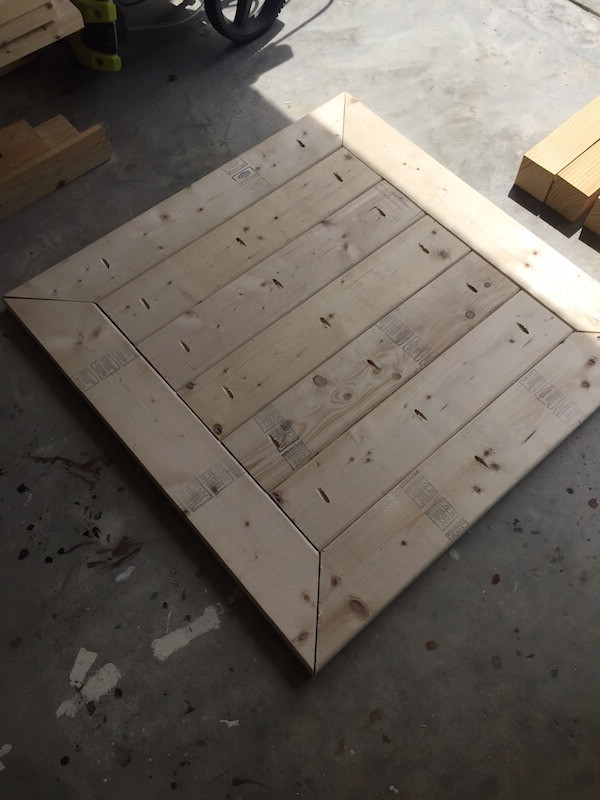
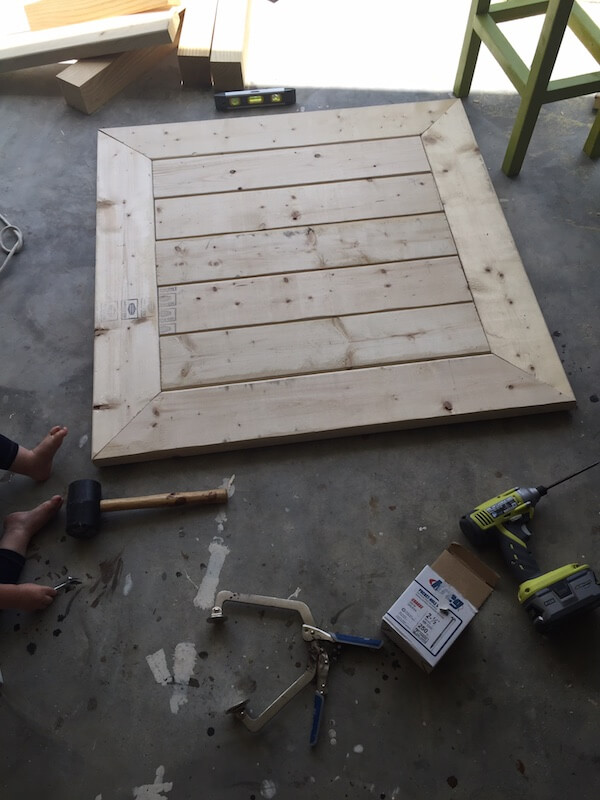
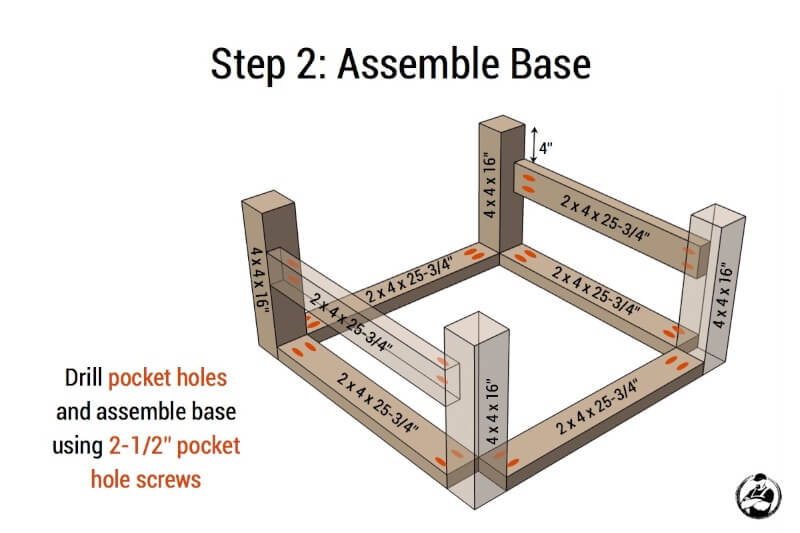
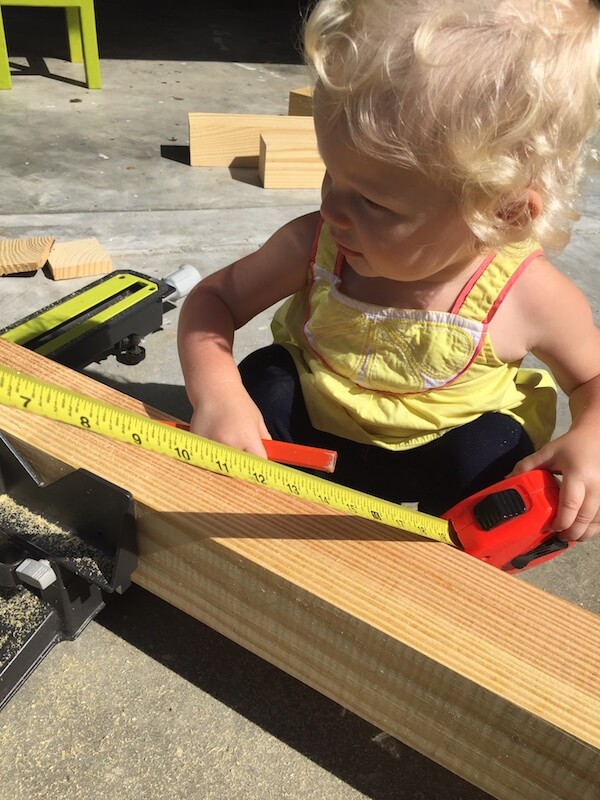
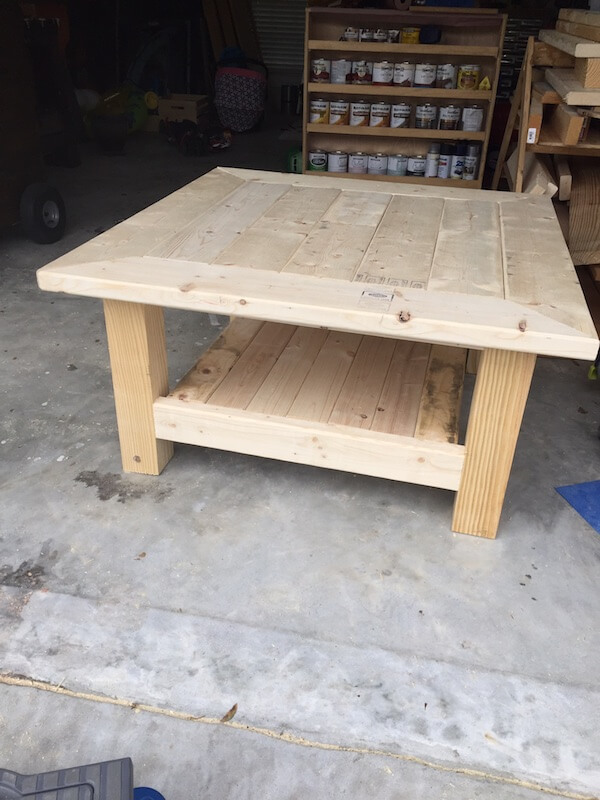
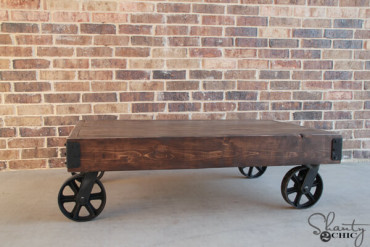
I’ve got to give my wife all the credit on this one. From design to finish, this was all her. She surprised me when she told me that she wanted to learn Sketch-Up, but even more when she actually designed a table and built it all in the same week. So here it is her first table design!
For sneak peeks of our upcoming projects be sure to follow me on Facebook and Instagram. Also, follow me on Pinterest to get tons of projects plans from all around the web!
Required Tools
Materials
- 1x 4 x 4 x 96″ Kiln Dried Lumber
- 5x 2 x 4 x 96″ Premium Studs
- 4x 2 x 6 x 96″ Premium Studs
- 2-1/2″ Kreg Pocket Hole Screws (Coarse)
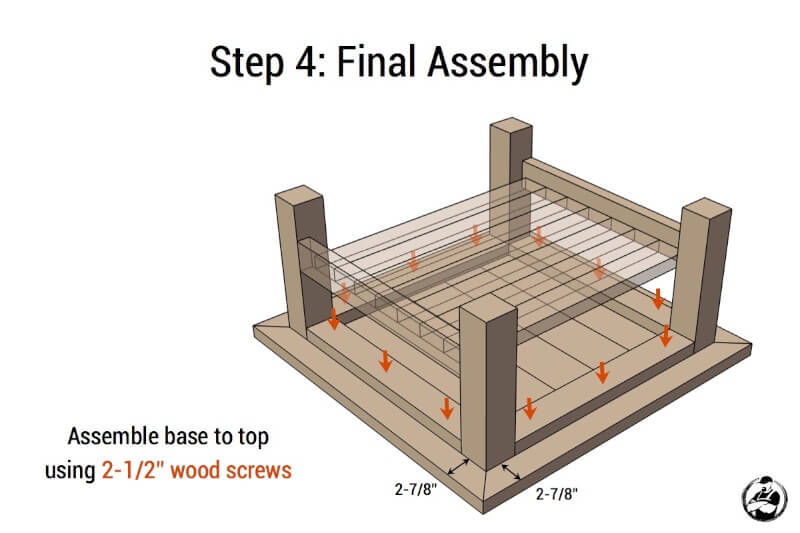
- 2-1/2″ Wood Screws
Disclosure: The links provided in the “materials” and “required tools” sections are affiliate links. If you would like to support our site and help keep our content free come find out more about how we can make money with no extra cost to you.
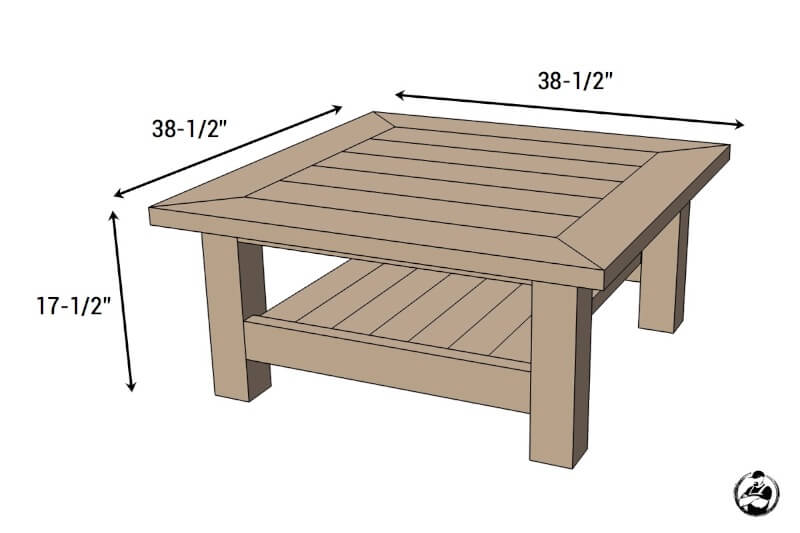
Dimensions
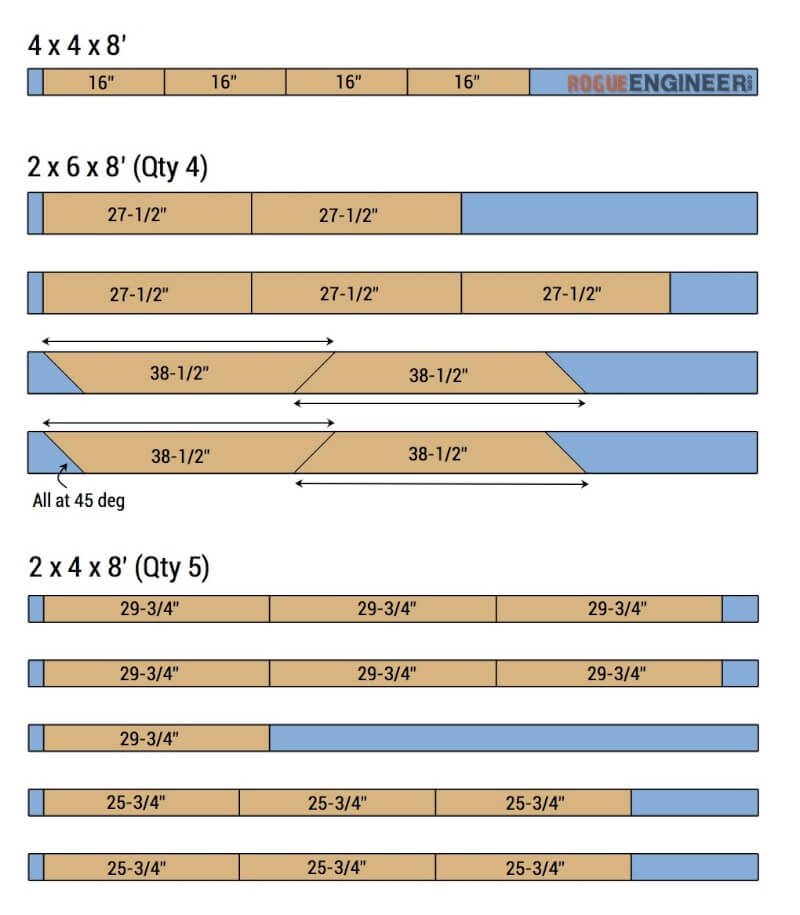
Cut List
How to build a portable lumber rack
Finishing
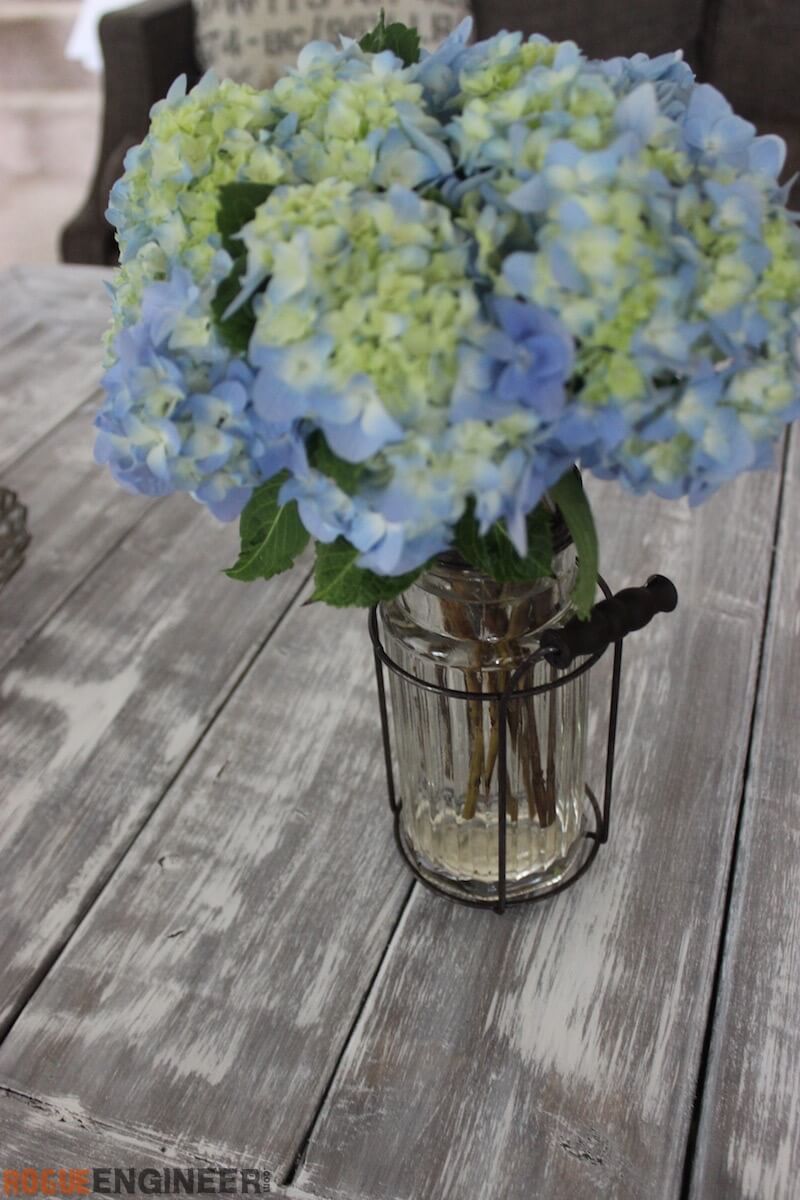
Hey, it’s Jamie! I hope you all enjoyed my first table design and build. So, I’ll admit I completely winged the finish, but I think it turned out pretty awesome! I am going to do my best to walk you through the steps but I do promise to post a picture tutorial soon!
Step 1: Stain
For this step I used Varathane Espresso. Using a foam brush, I applied the stain let it sit for roughly 30 seconds and wiped clean with a stain rag.
Step 2: White Wash
To make the white wash mixture I used half Rust-Oleum chalk paint in linen white and half water. Mix well, and using a stain rag wipe over the surface. This will give it a grayish tone.
Step 3: Dry Brush
The last step is to dry brush over top of the white washed surface. Using a dry brush, I used the same linen white chalk paint from Rust-Oleum and dipped the tip of the brush into the paint. Getting just a little paint on the end of the brush, I then dabbed the brush onto a piece of scrap wood to take off any excess paint. Then, going with the grain of the wood, I used quick strokes. You can add more or less depending on the look you desire!
Sorry for the lack of pictures during the finish process, sometimes you just get in the zone!
Questions? Comments?
As always, if you have any questions don’t hesitate to comment below and especially don’t forget to post pictures of your finished products in the comments! ENJOY!

