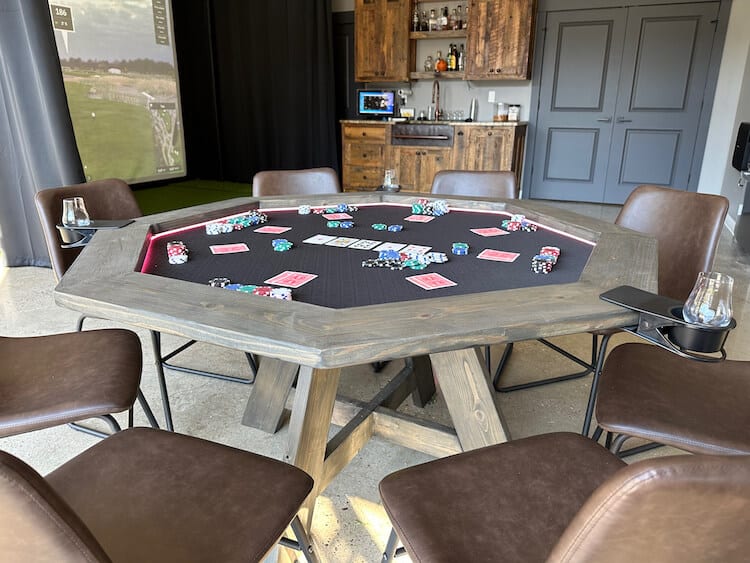
Poker Table w/ LED Lights
With winter around the corner the golf outings turn into poker nights. My makeshift poker table from last year worked great but it was simple and too big. This year was the perfect time to invest in a new poker table but they are SO expensive so I decided to build my own. I wanted it to be small enough to reach comfortably across the table but also be able to seat 8 people. Since I was taking the time to build a poker table I wanted to include LED lights and actual poker table speed cloth. Read on to see exactly how it all came together.
Project Video

Time to Complete
1 Wknd
Estimated Cost
~$150-300
Skill Level
Intermediate
Tools
- Kreg Pocket Hole Jig
- Drill/Driver
- Miter Saw
- Table Saw
- Circular Saw
- Brad Nailer (optional)
- Tape Measure
- Pencil
- Safety Glasses
- Hearing Protection
Materials
- 3/4” x 4’ x 4’ Plywood
- (4) 2 x 6 x 8’ Lumber
- (3) 2 x 4 x 8’ Lumber
- (2) 1 x 2 x 8’ Boards (optional)
- DAP Plastic Wood-X
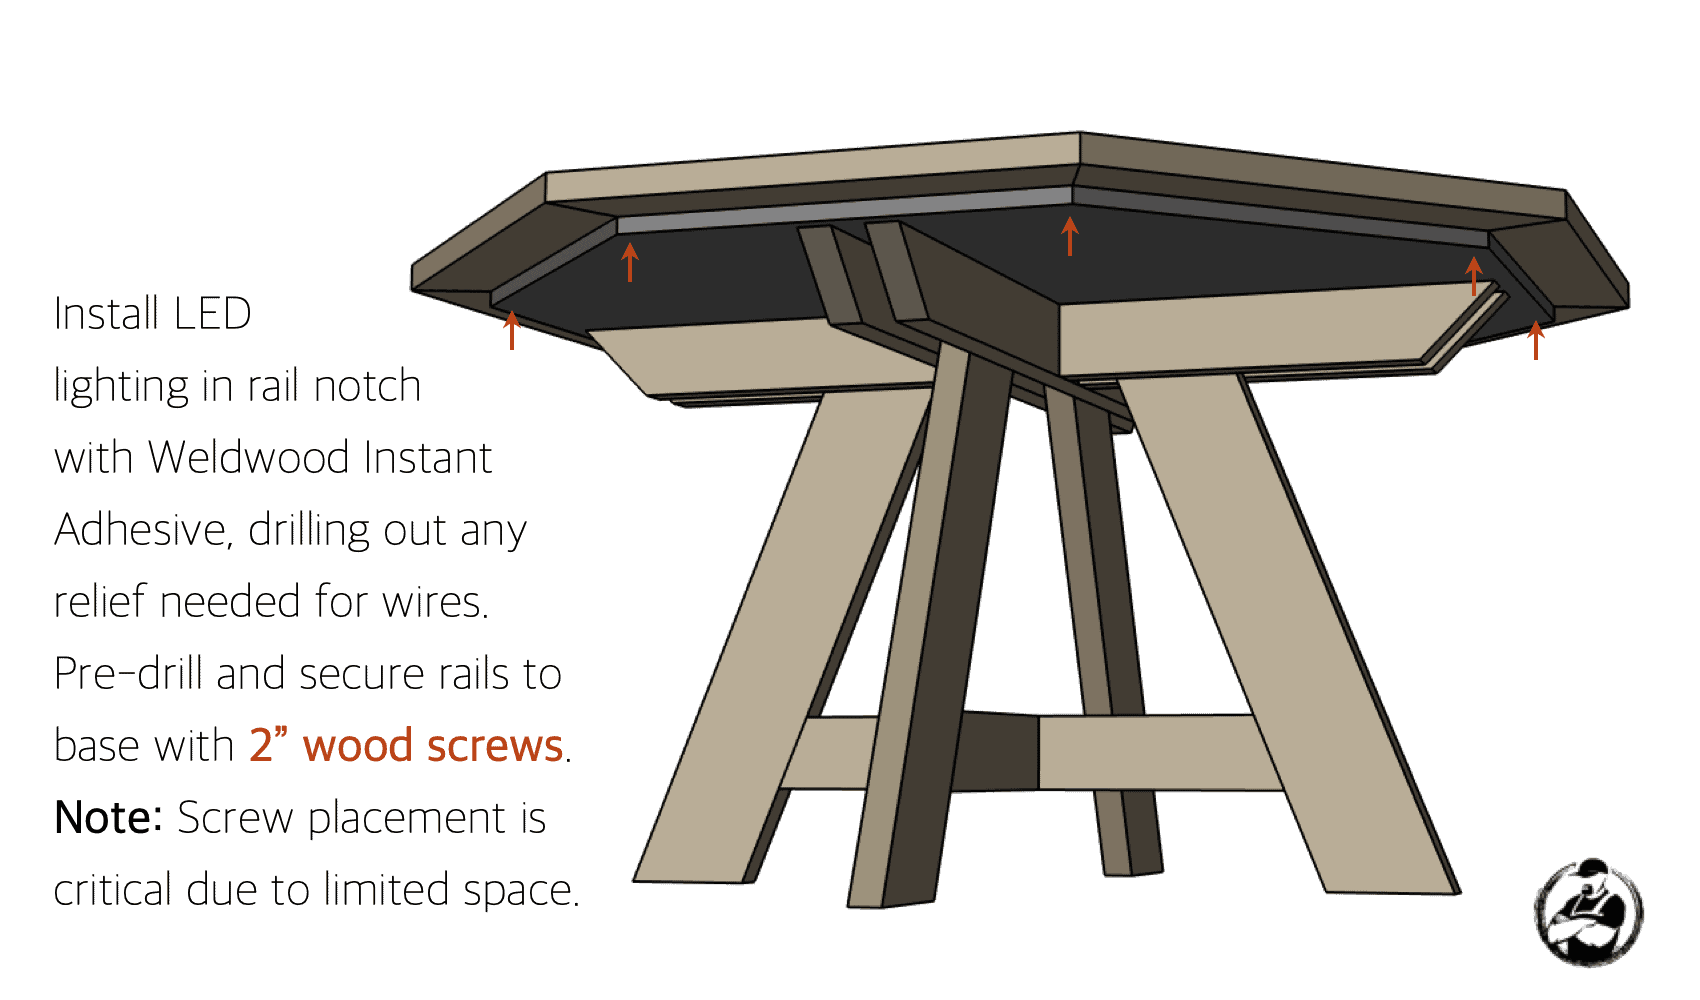
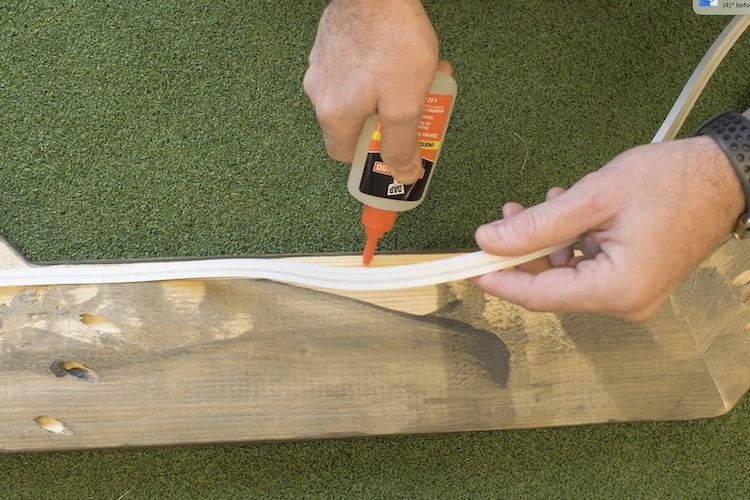
- DAP Weldwood Instant Adhesive
- LED Light Strip
- 1/8” x 4’ x 8’ Headliner Foam or Neoprene Fabric
- Poker Table Speed Cloth
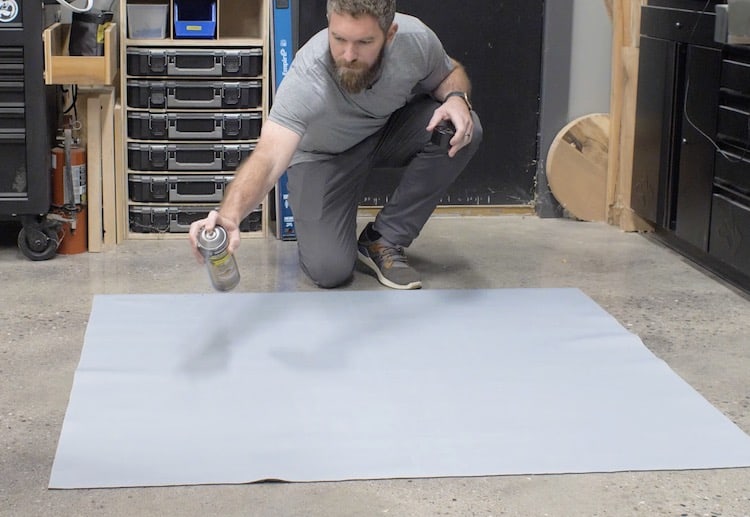
- DAP Weldwood Contact Cement Spray
- 2-1/2” Pocket Screws
- 1-1/4”, 2”, & 2-1/2” Wood Screws
- Brad Nails (Optional)
Disclosure: This post is sponsored by DAP Products. As well, the links provided in the “materials” and “required tools” sections are affiliate links. If you would like to support our site and help keep our content free come find out more about how we can make money with no extra cost to you.
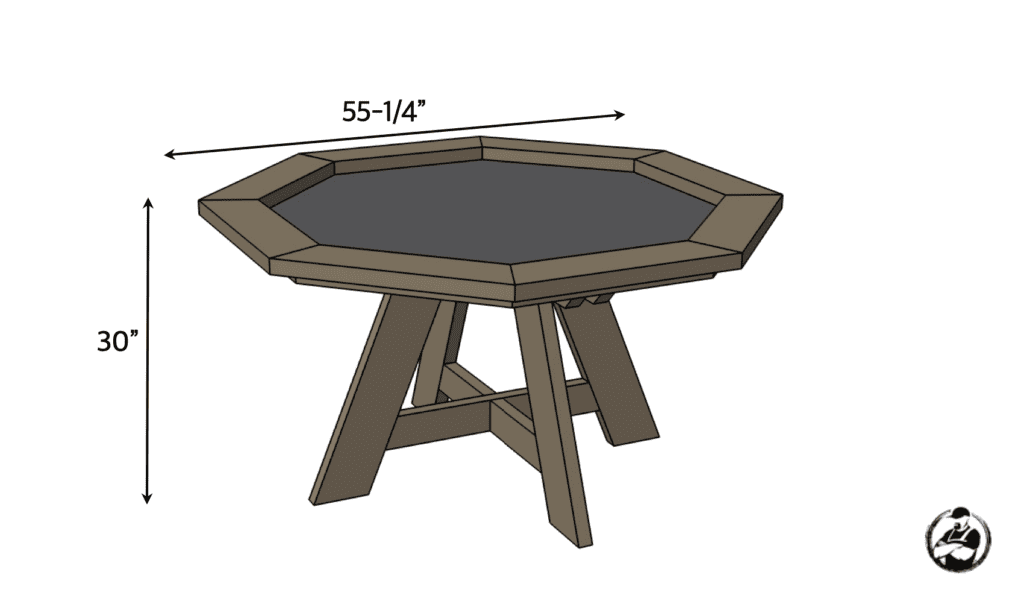
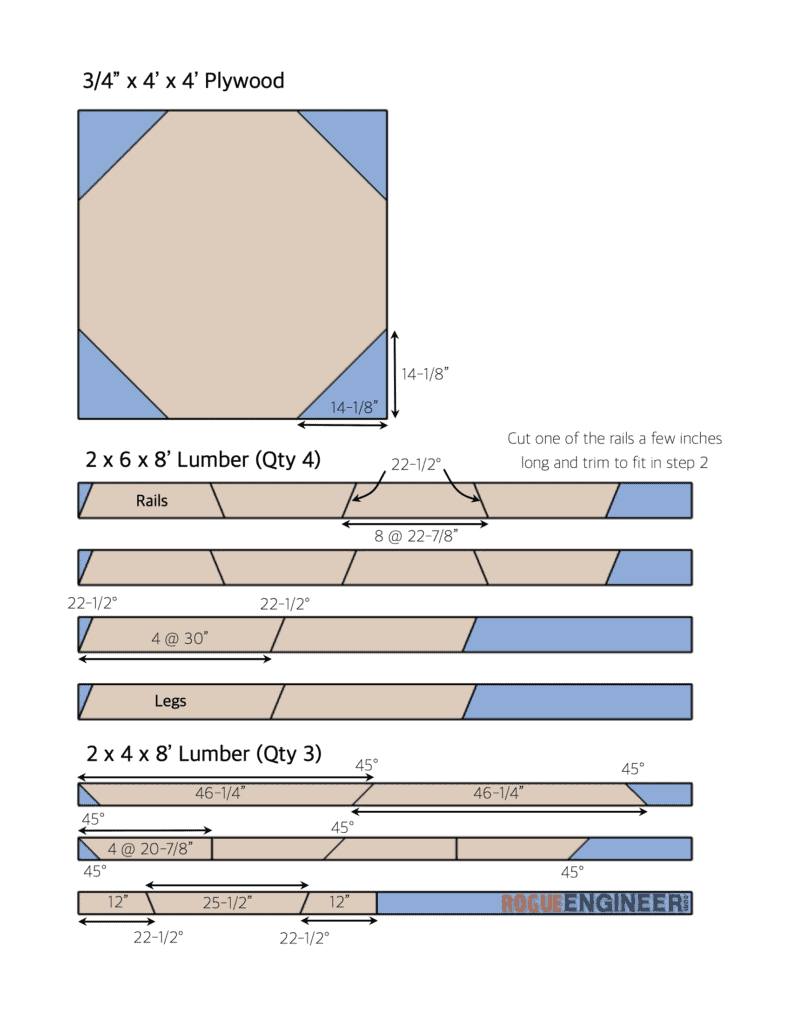
Dimensions
Cut List
How to Build a Poker Table
Total Time: 2 days
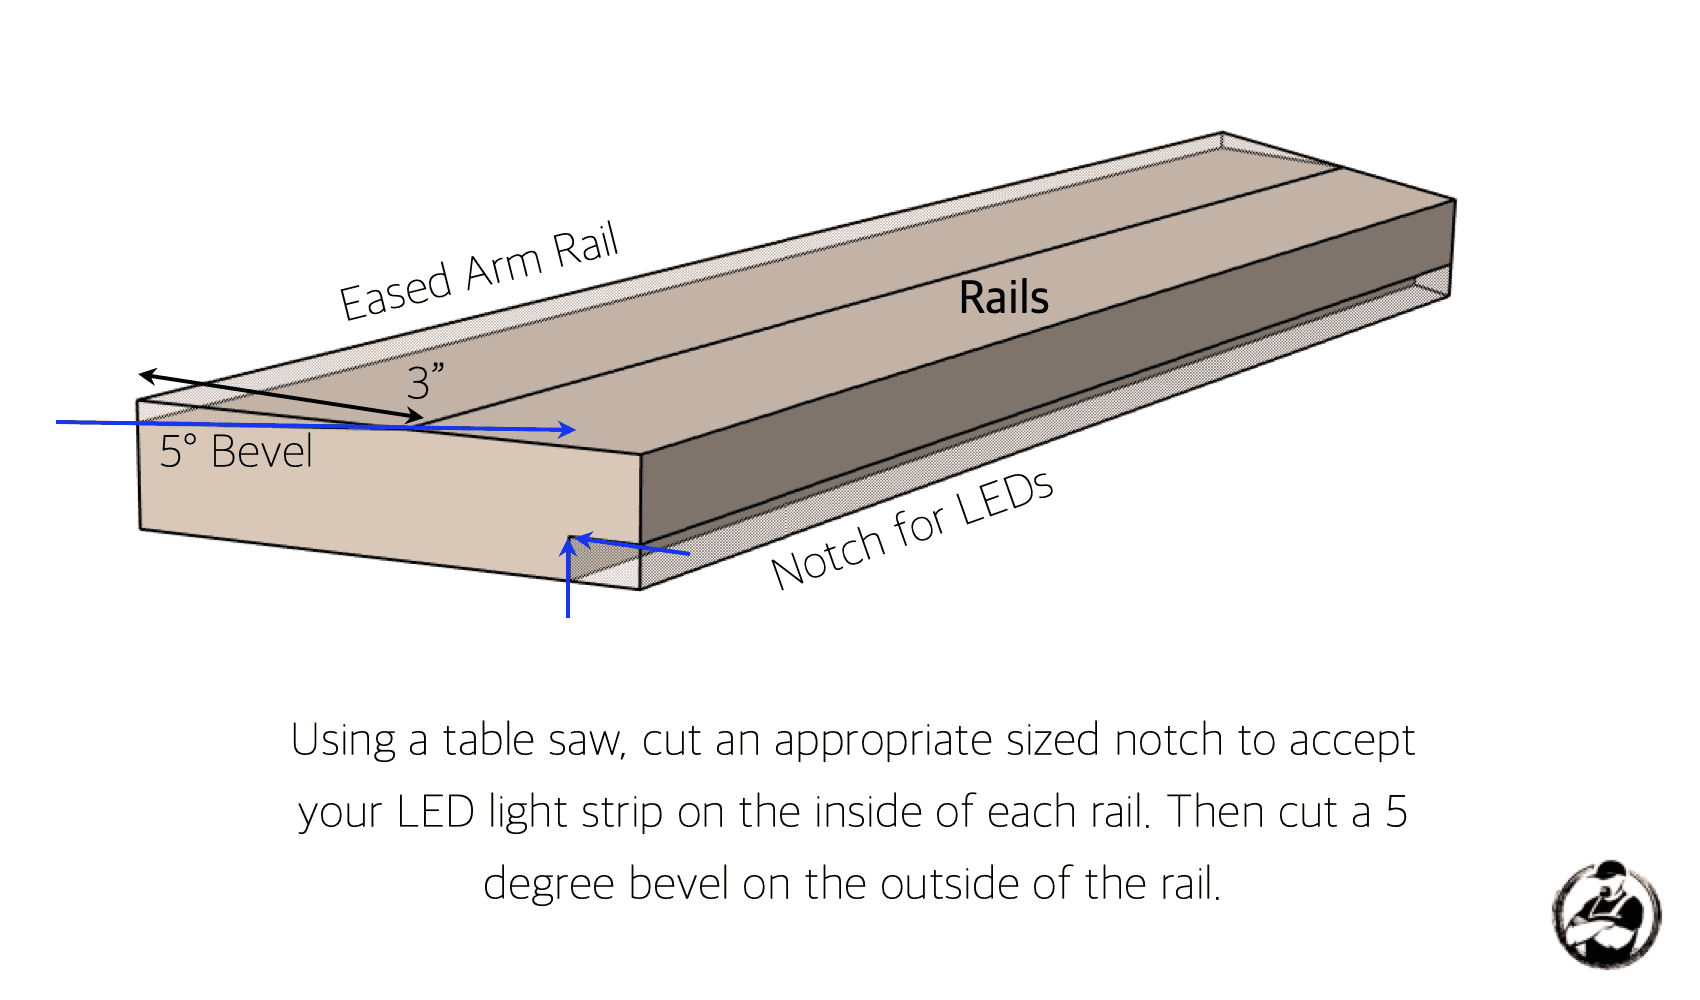
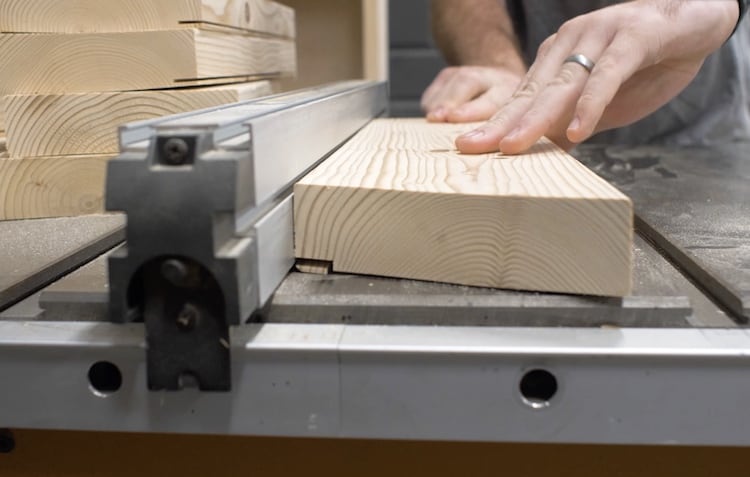
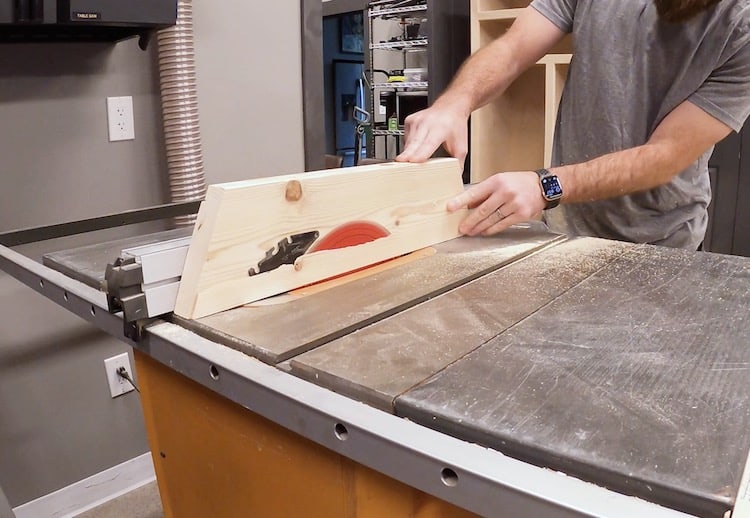
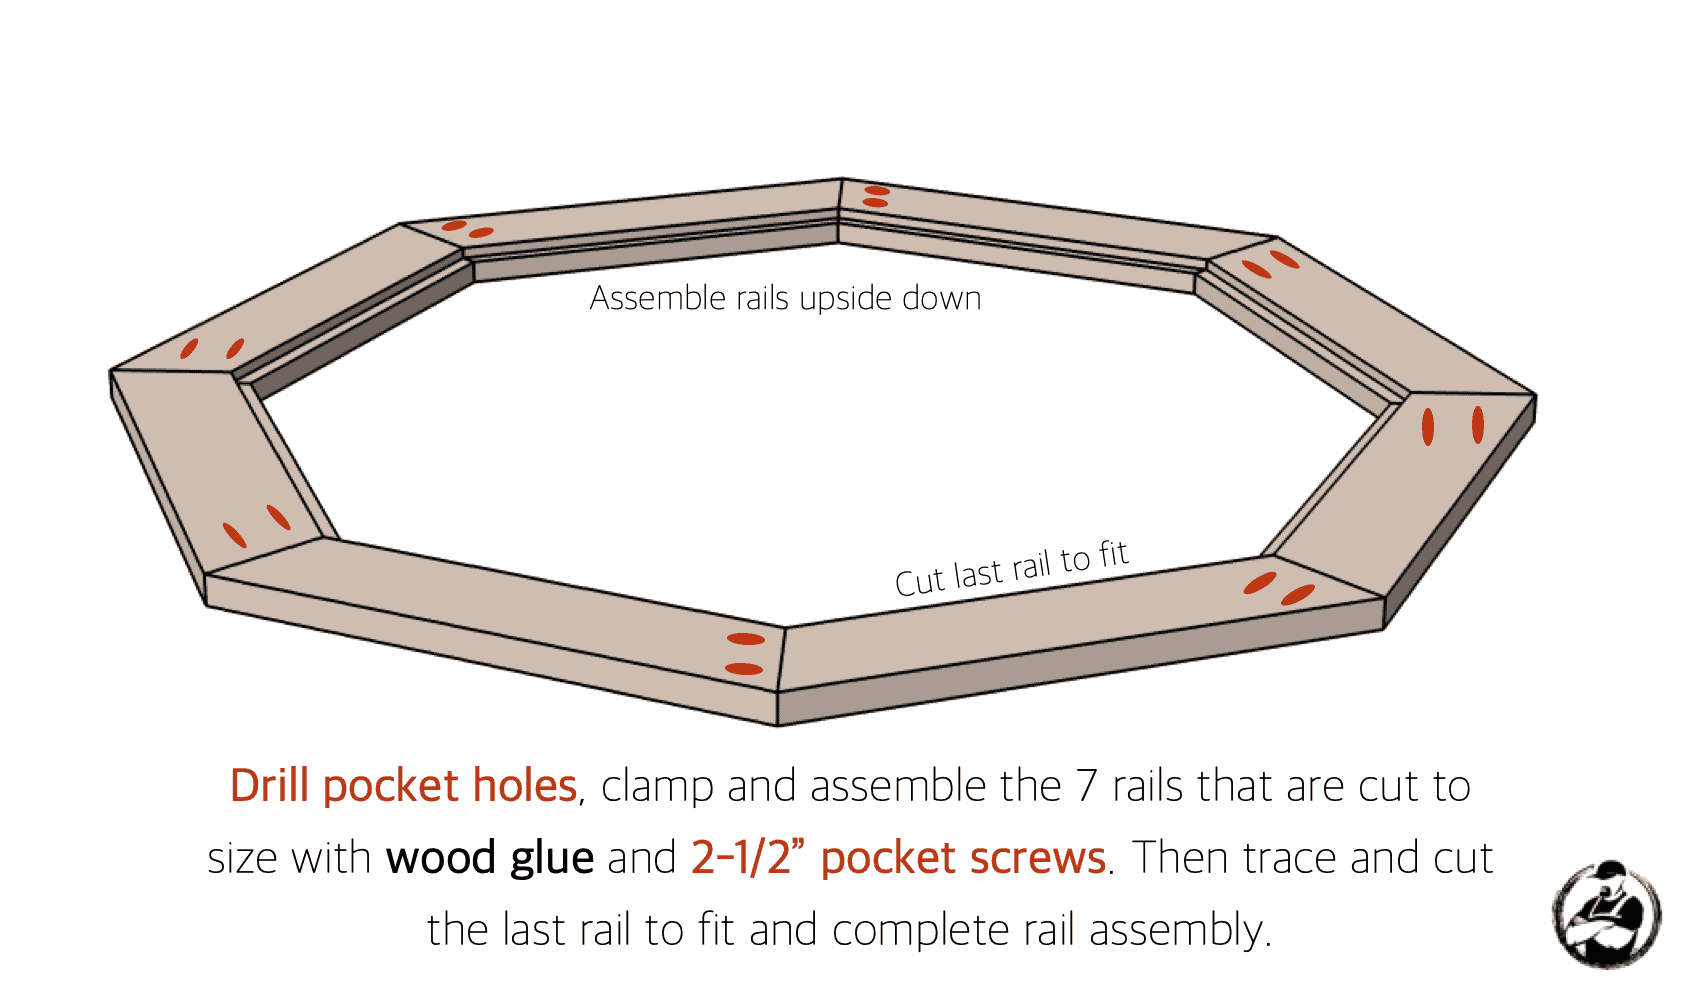
Cutting the Rails
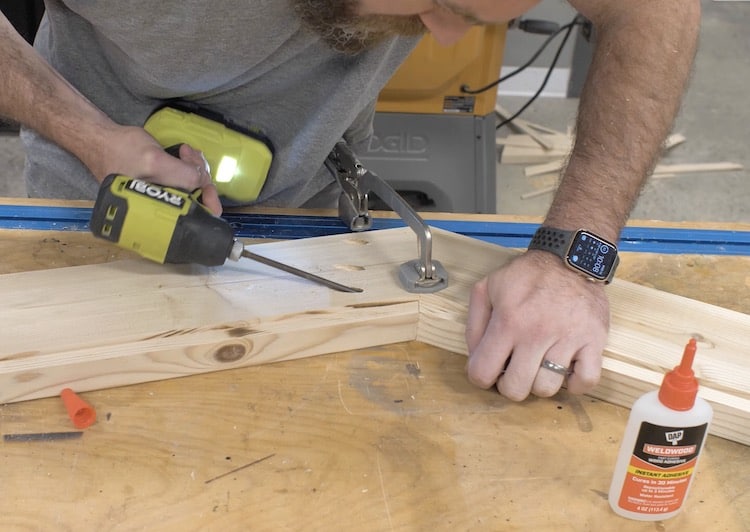
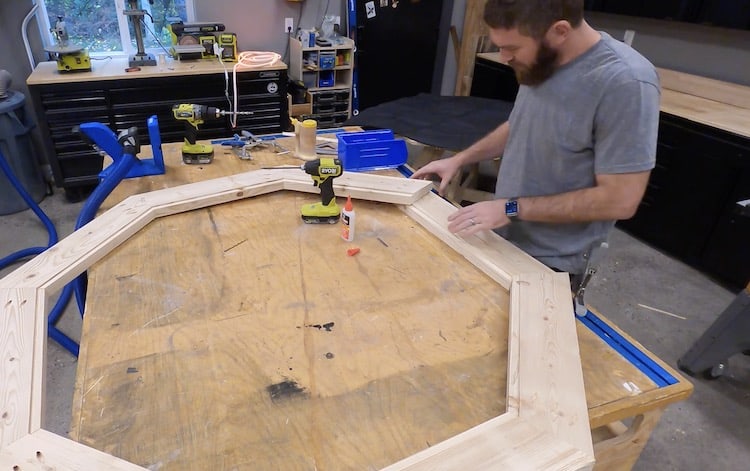
Assembling the Rails

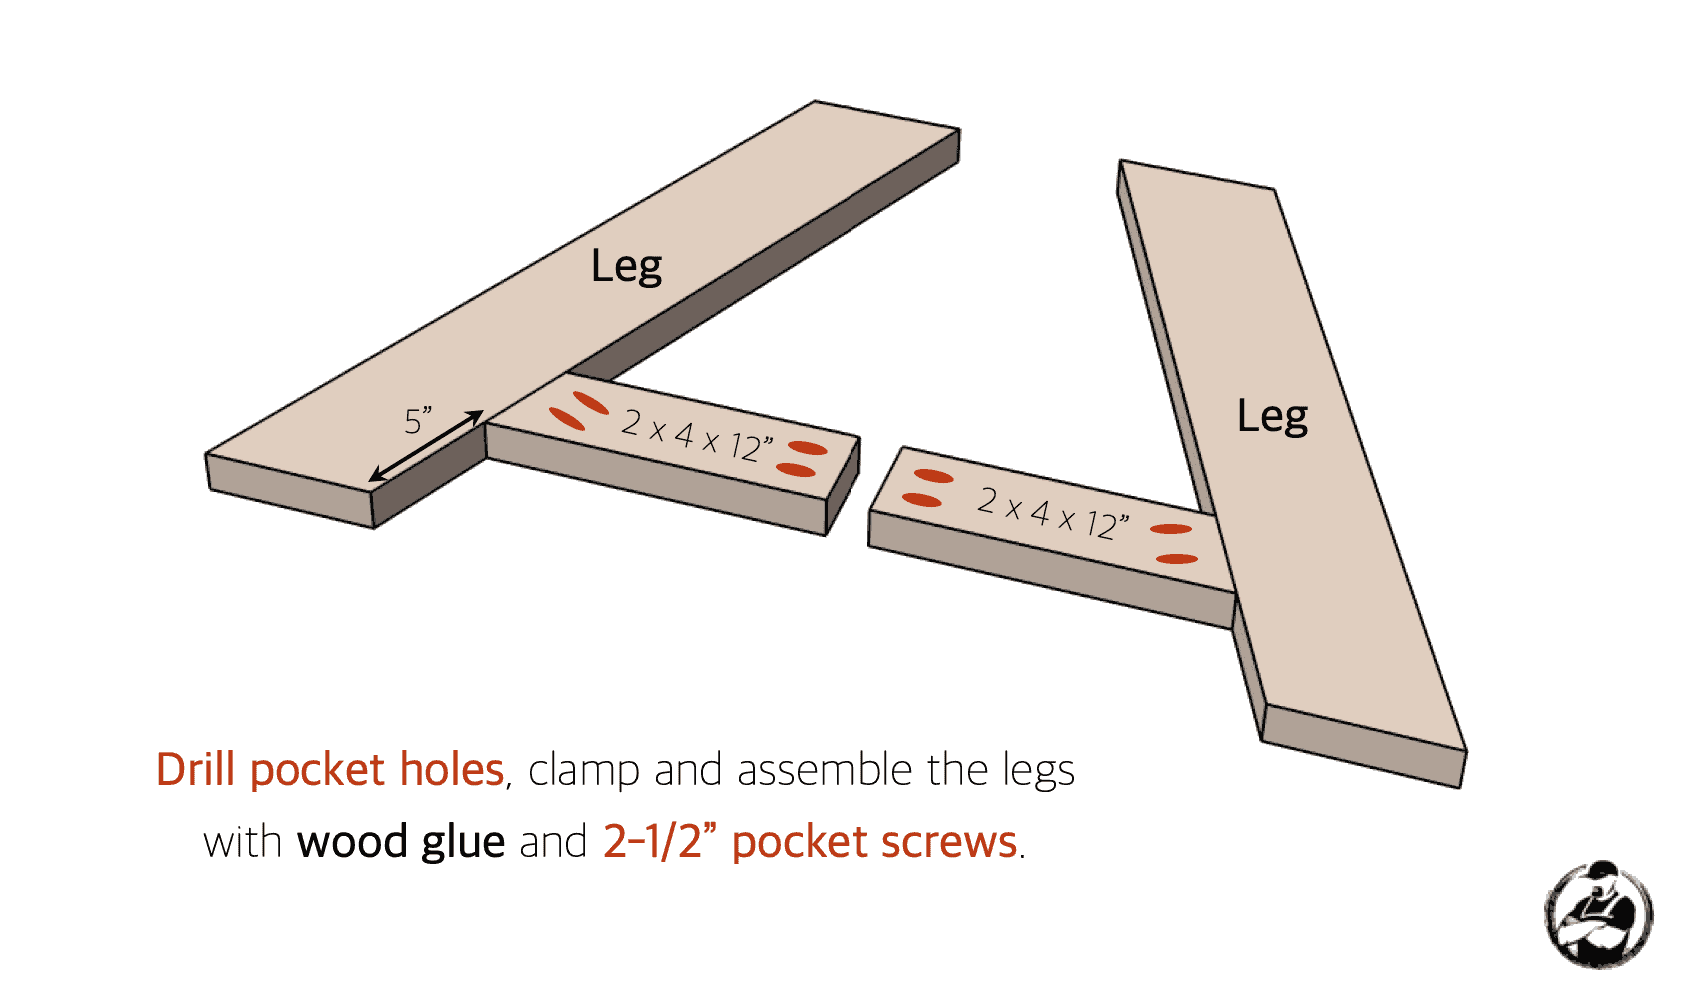
Assembling the Legs
Note: When I built my table, rather than using the 2×4 supports at the top I went with a piece of plywood which ended up a little wobbly. Below, the plans have been modified for more rigidity.
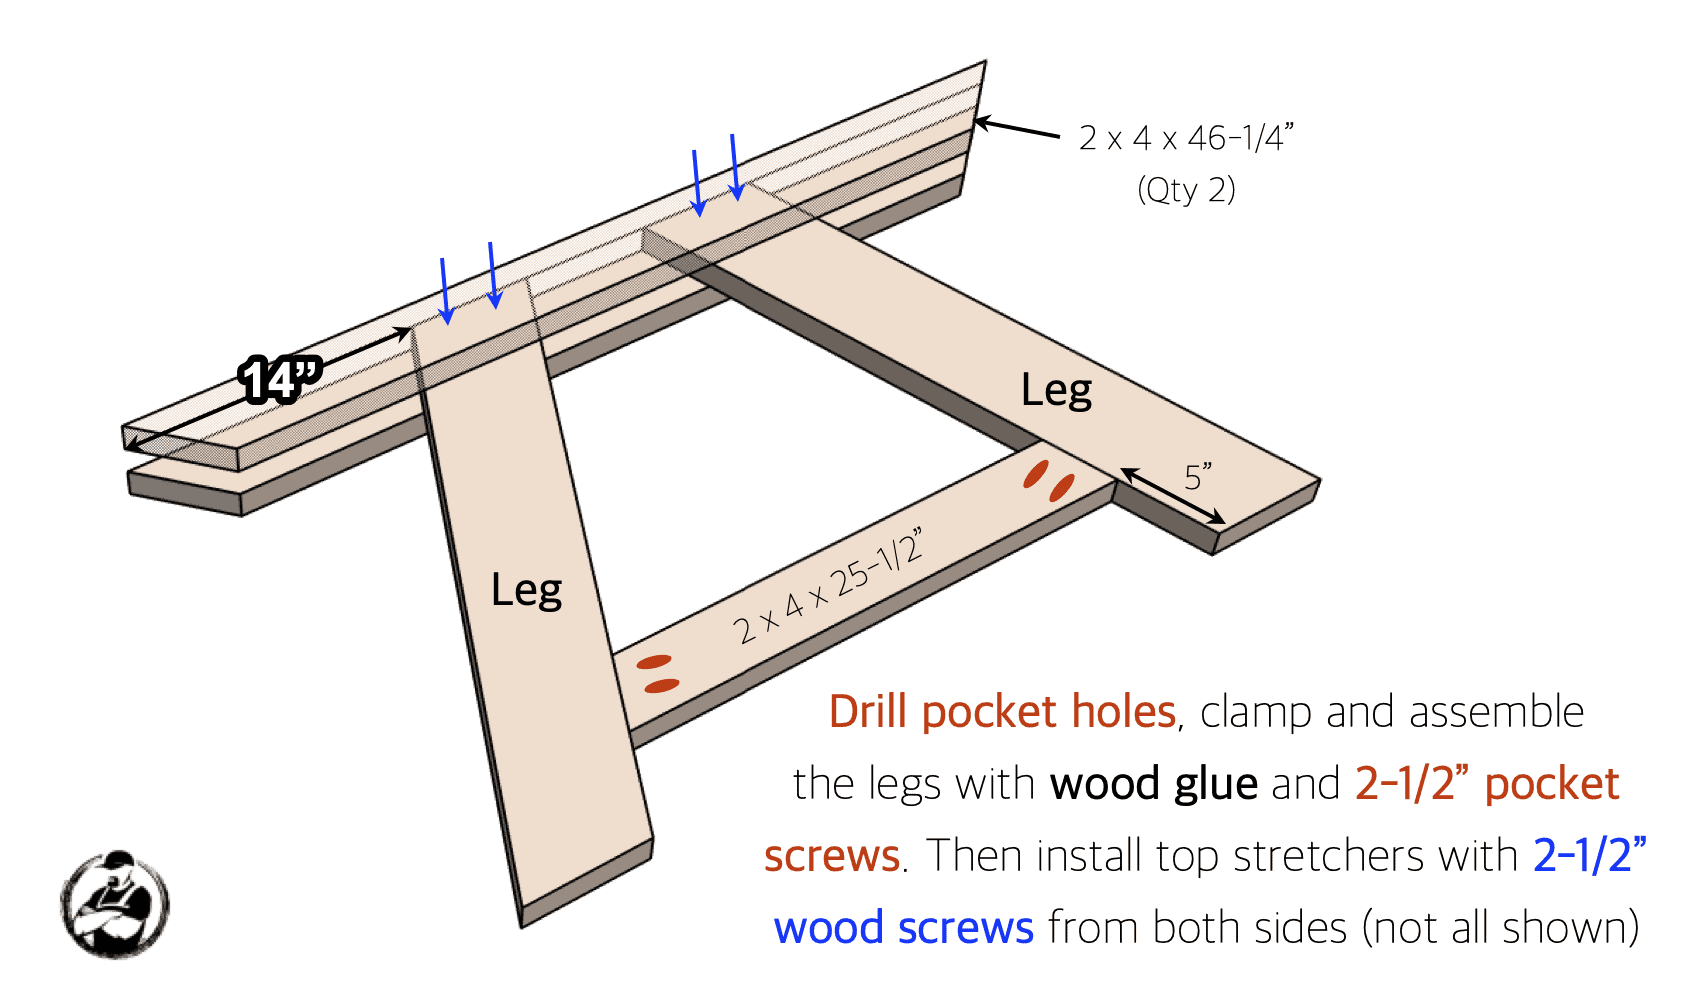

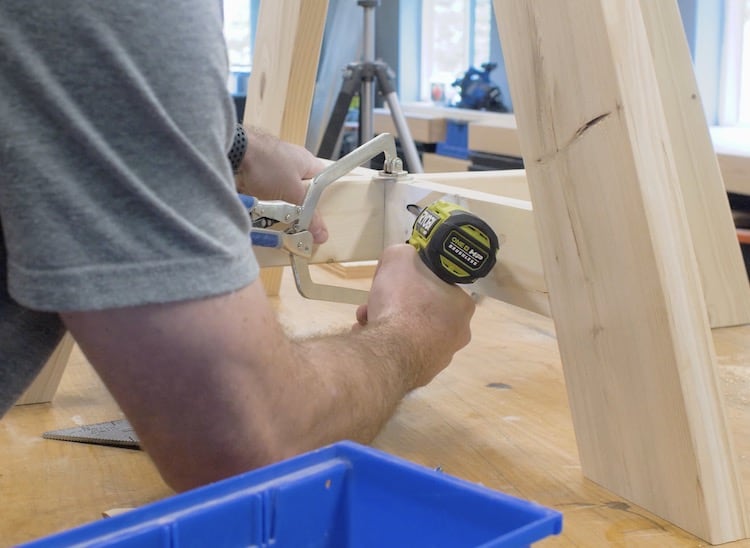
Assembling the Legs
Assembling the Base

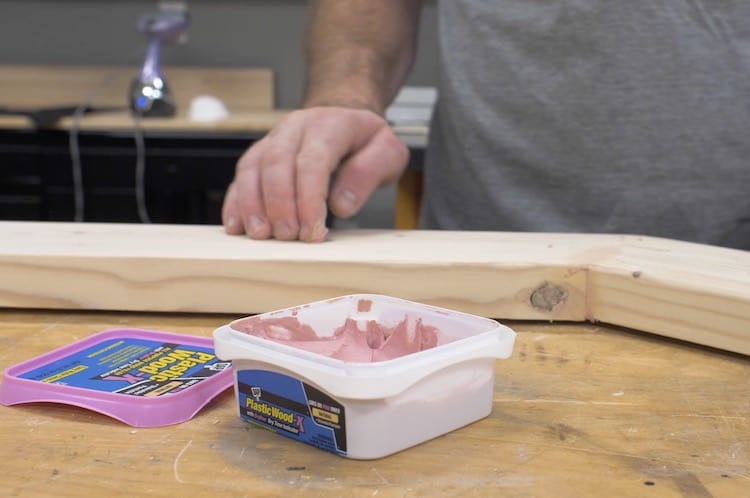
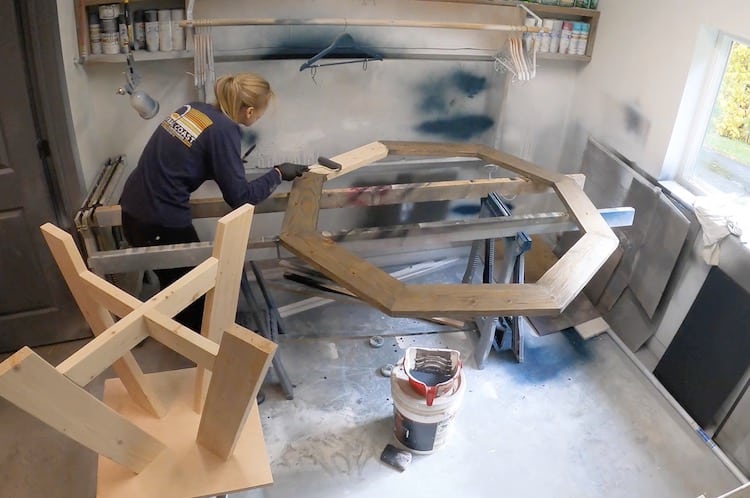
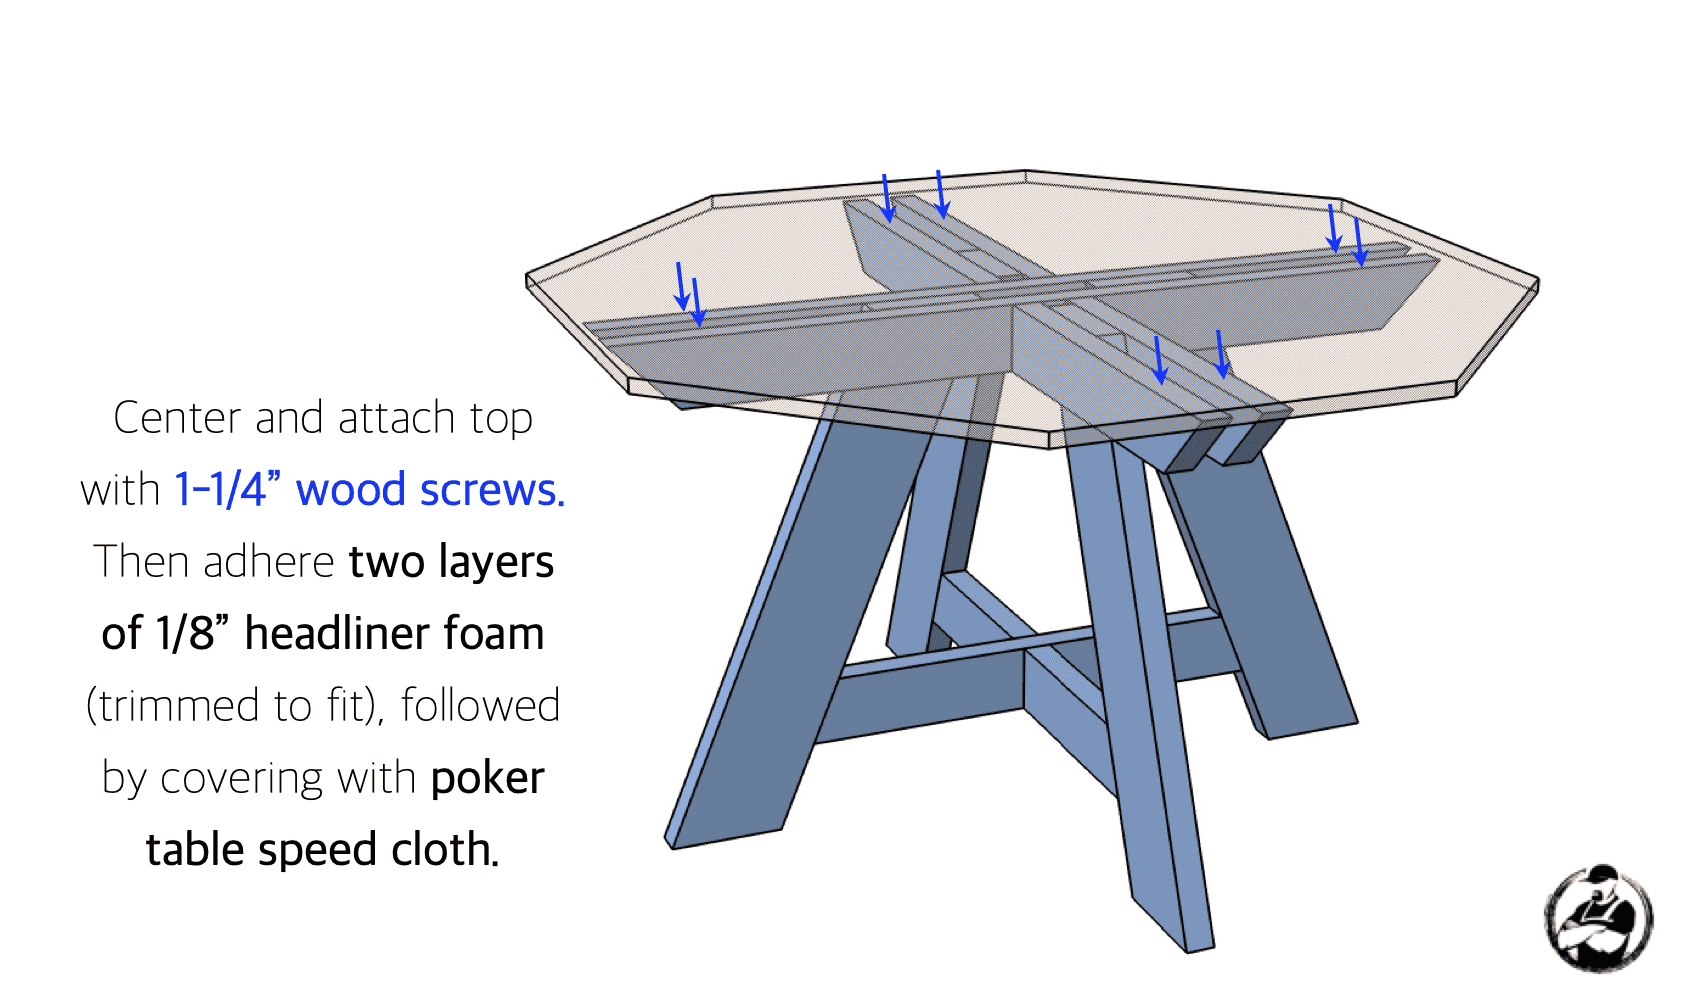
Finishing Top and Base
To make sure you end up with the best results make sure to prep the surface before staining. For this, I used DAP Plastic Wood-X to fill any joints, knots and imperfections before sanding smooth.
We then applied a semi-tranparent tintable deck stain (in the color slate) which I like working with because it help tone down the variations in color that you would normally see when staining pine, and it has the water proofing built in, making it an easy one step process.
Installing the Top

Attaching the Rails
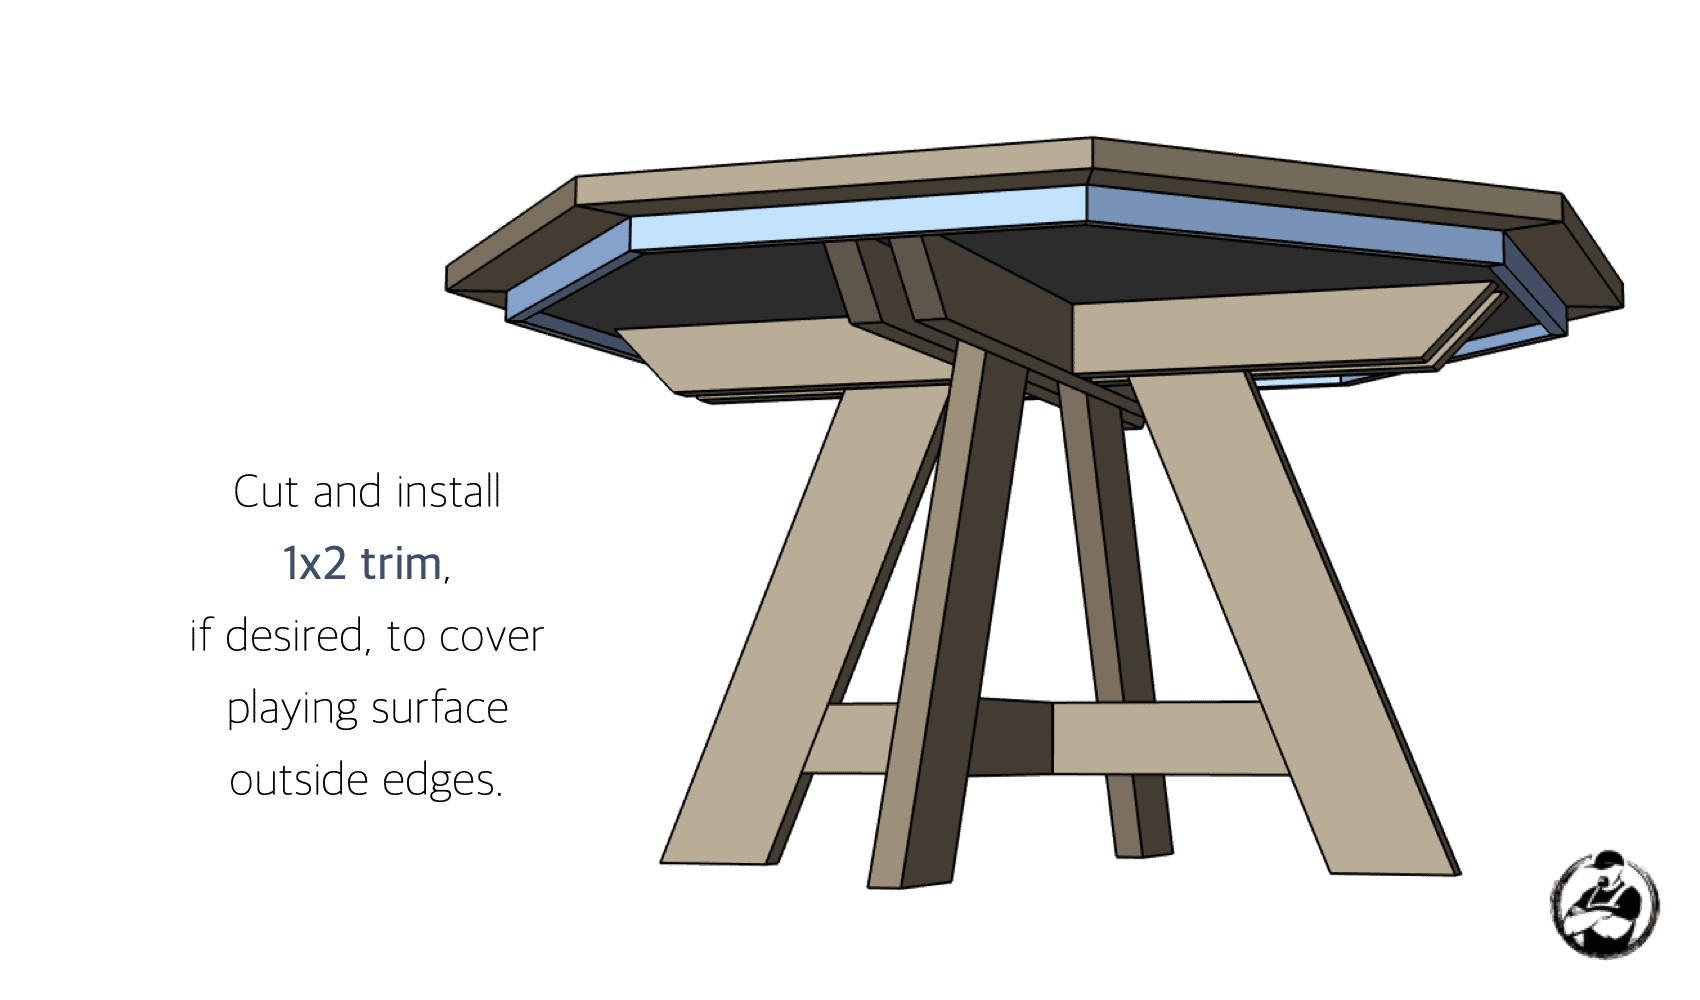
Adding Trim (Optional)
A couple things to note…
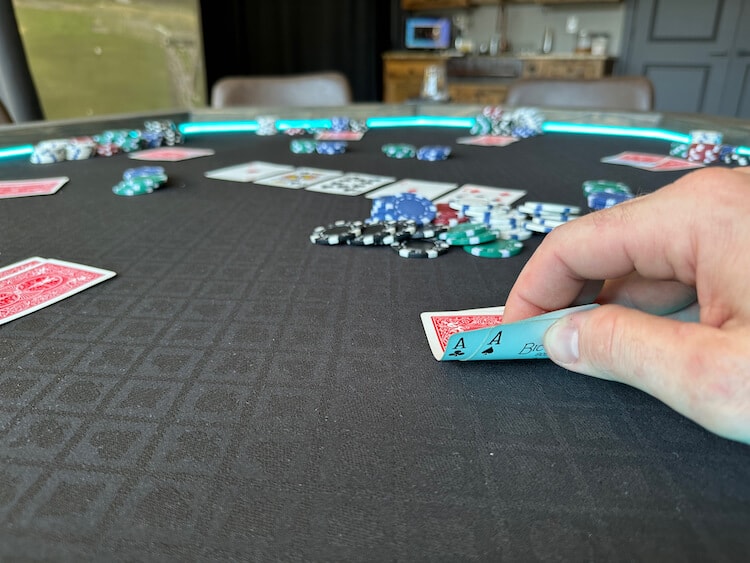
First, while they do look good, I did not add a racetrack (hard surface ring just inside the rail for stacking chips) because the consensus amongst most poker players is that they didn’t like it. If the cards are on there they are hard to pick up and most people just don’t like the noise when people are stacking/shuffling chips.
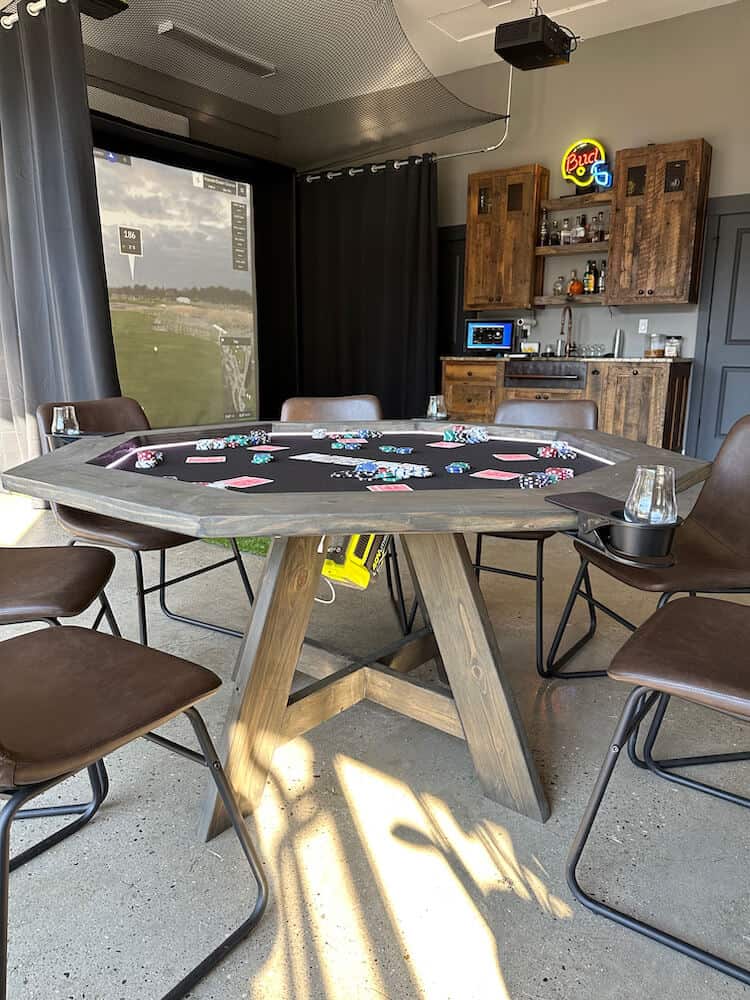
Second, I did not add cup holders. I wanted a smaller table and felt like sinking cupholders in would reduce the playing surface. I opted instead for clip on cup holders instead, this way they are out of the way and you can situate them however you like depending on how many drinks are at the table.
Overall, I couldn’t be happier with how it turned out. The poker table is perfect for guys nights and I know it will get a ton of use for years to come. If you end up building a poker table like this I would love to see your builds in the comments below so be sure to post a picture.