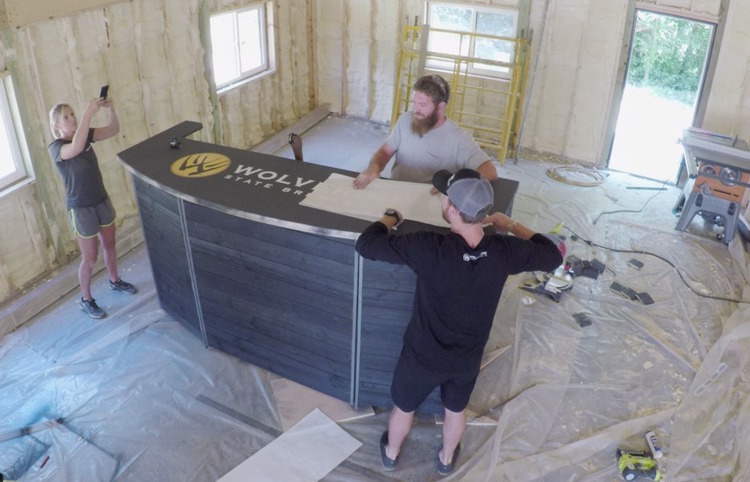
So I was tasked with building a portable festival bar for a local brewery called Wolverine State Brewing Company. We needed create a serving bar for beer festivals with space for all their serving equipment. Several kegs and their couplers will sit on the ground (or lower shelf), then a shelf above them will need to support several jockey boxes. Jockey boxes are coolers with coiled copper lines running through them and when filled with ice, they make sure you have cold beer at the tap. The biggest challenge is that the bar needed to be durable and portable, all while looking good at the festivals. The bar needed to be able to be disassembled and transported in a cargo van. Read on to see what we cam up with.. and if you are ever in Ann Arbor, Michigan, be sure to stop by Wolverine for a beer.
Don’t forget to subscribe on YouTube and for sneak peeks of our upcoming projects be sure to check out Our DIY Life on YouTube, follow us on Facebook and Instagram. Also, follow me on Pinterest to get tons of projects plans from all around the web!
The Columns
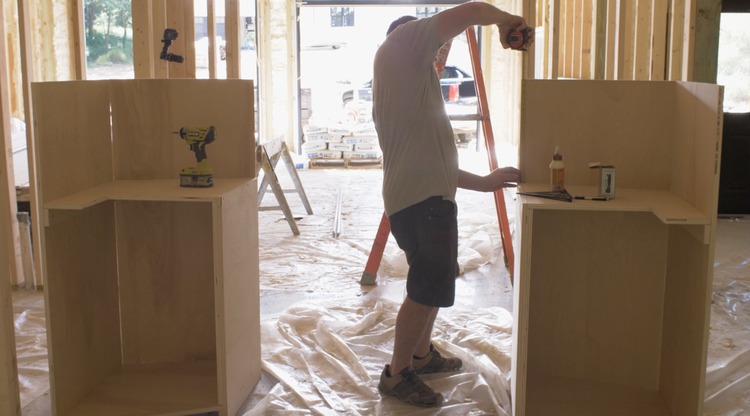
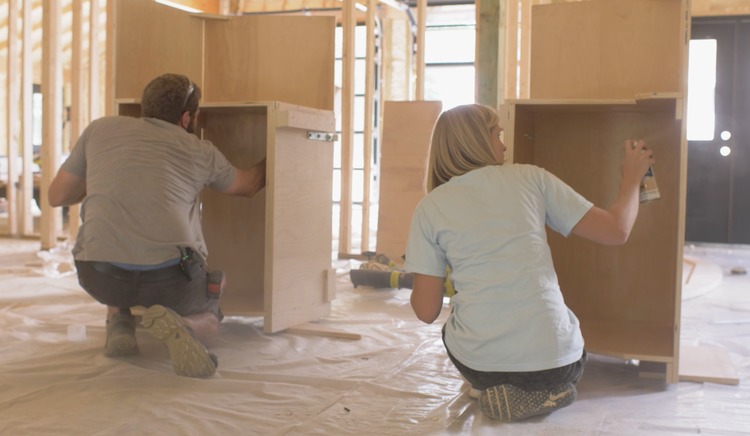
I started out by building the columns. In order for the unit to be stable the freestanding columns needed to be substantial. They needed to house a keg with coupler in the lower section, a jockey box on the middle shelf and they needed to support the top, front and shelf.
The columns were made of 3/4″ plywood with the inside wall being doubled up for added strength.
The Shelf
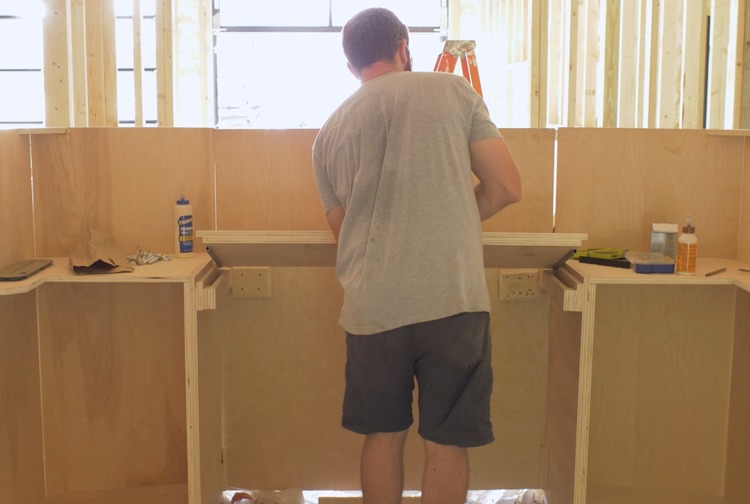
Now it was time to build the shelf. I wanted the shelf to drop into place and lock the two columns together without any mechanical fasteners. But first I needed to make a shelf capable of supporting two jockey boxes (coolers full of ice), to do so I doubled up some 3/4″ plywood, which made for a very strong shelf.
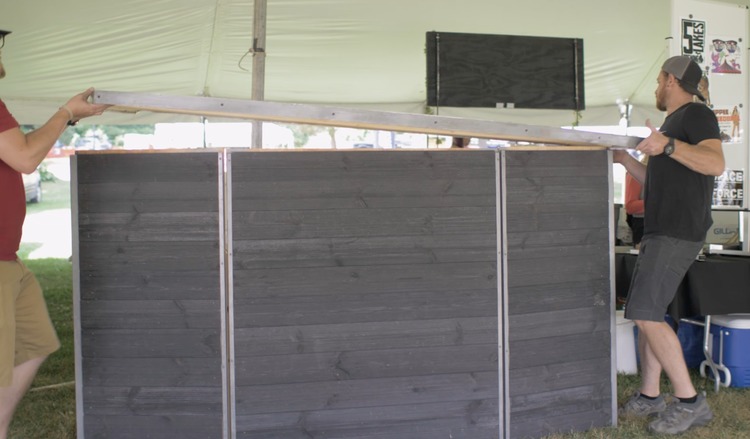
To get the shelf to drop in and lock the columns together, I made a slot on the inside of the columns that a piece of 3/4″ square tubing, at each end of the shelf, would drop into and lock in place.
It actually ended up working out really well. I left a little bit of play in the slot so that the front could be adjusted to drop in and it just makes it easier to assemble in the field.
The Front
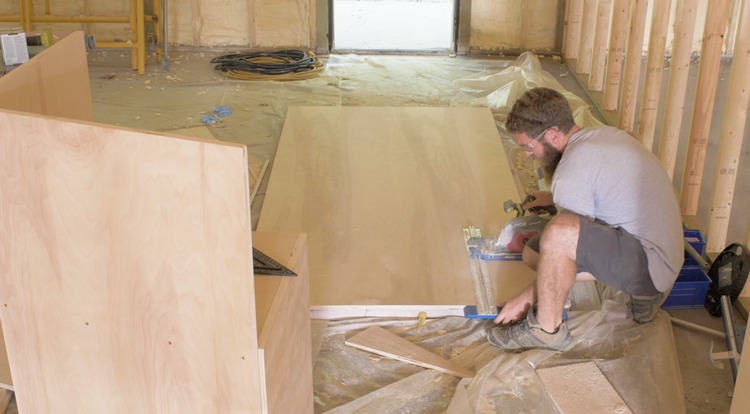
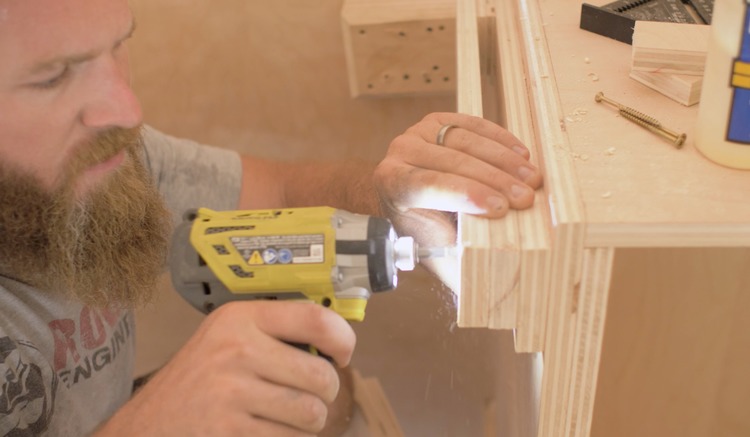
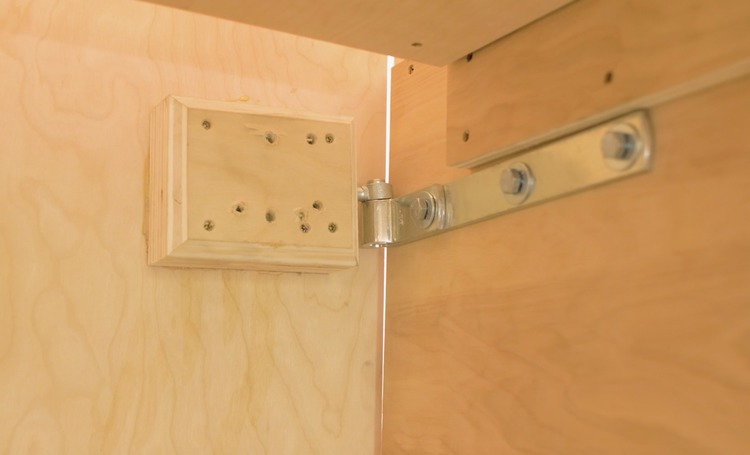
As you saw above, the front is a sheet of plywood cut to fit the opening. I added a tripled up plywood block that was glued and screwed to the front (on each side) with a gate hinge pin screwed into it. That pin slips into a strap is one size smaller so that it will be easier to assemble and give some wiggle room for adjustments.
The Top
I started with a piece of plywood on top of the columns assembled with the front and shelf. I doubled up the plywood in front where it lands on the columns and front so that it would slide into place. I also wanted to give the bar top a slight arc. So I used a piece of foam board with a nail and string to find the arc that I wanted.
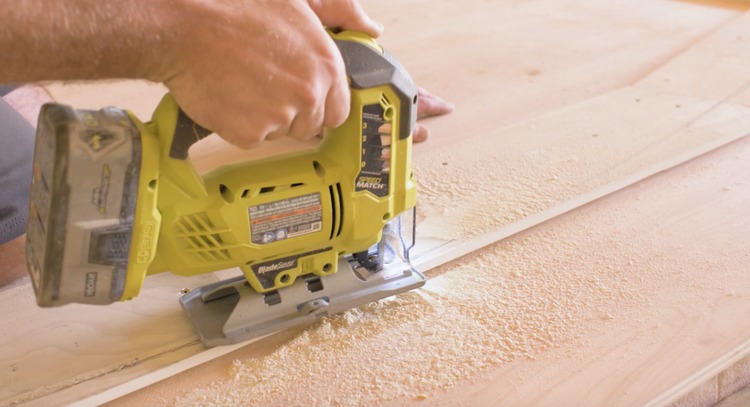
Then I cut out that arc with a jigsaw.
I was left with a little blade deflection, so I evened it out with a belt sander.
The Finish
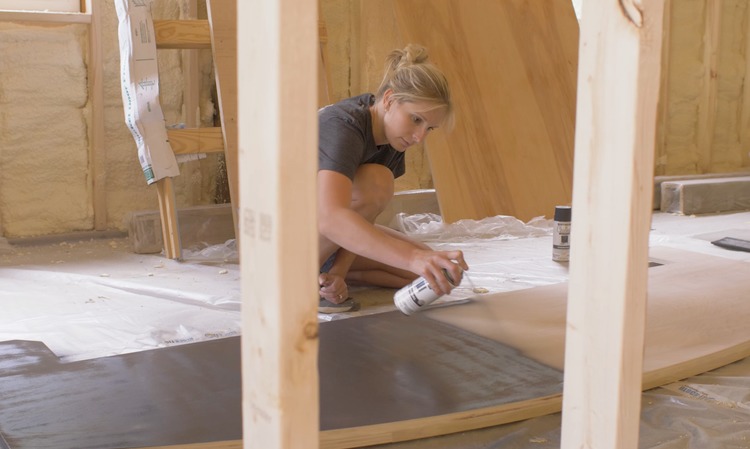
For the backside of the festival we decided the important part of the finish was that it was as water-resistant as possible so we sprayed the entire surface with several coats of polyurethane.
As for the top, we painted that black for now but will be adding a graphic and covering with epoxy.
Adding Metal
Since this structure is going to be constantly assembled, disassembled, and transported I wanted to make sure that all the edges and corners are durable. So I decided to add 2″ steel straps with the edge of the bar top and steel square tubing to all of the corners and edges of the columns.
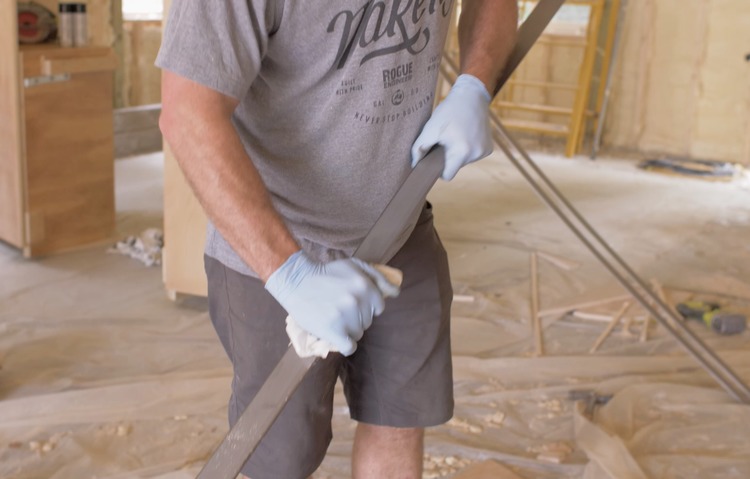
To get the steel ready for paint I started by wiping down with lacquer thinner to get rid of the grease.
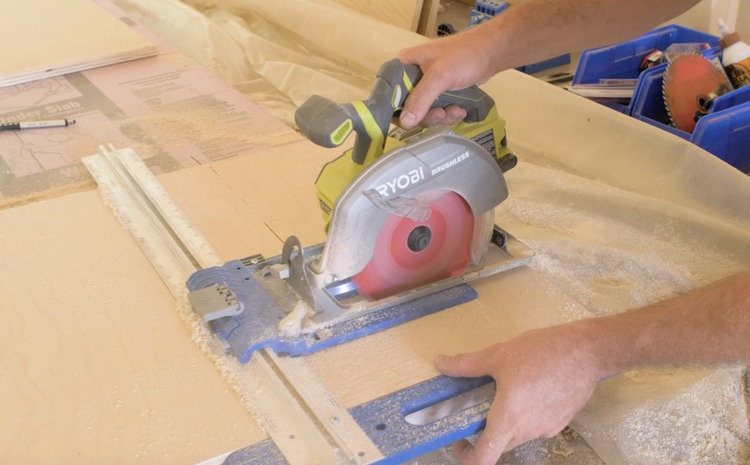
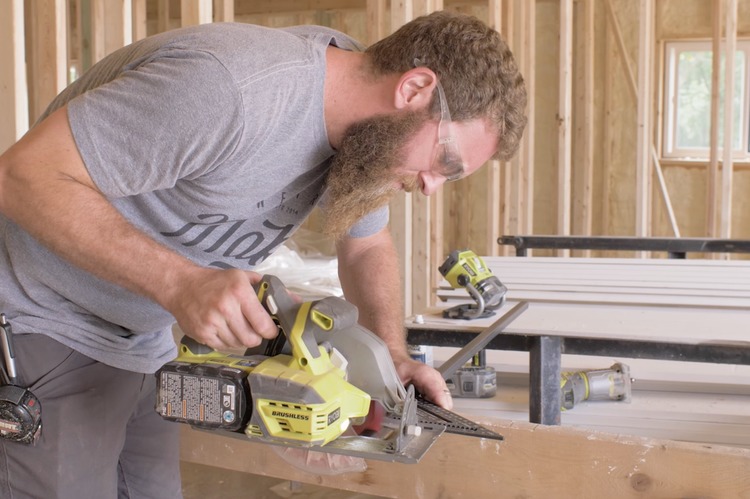
Then I cut the steel down to length with a circular saw and a steel demon blade from Diablo.
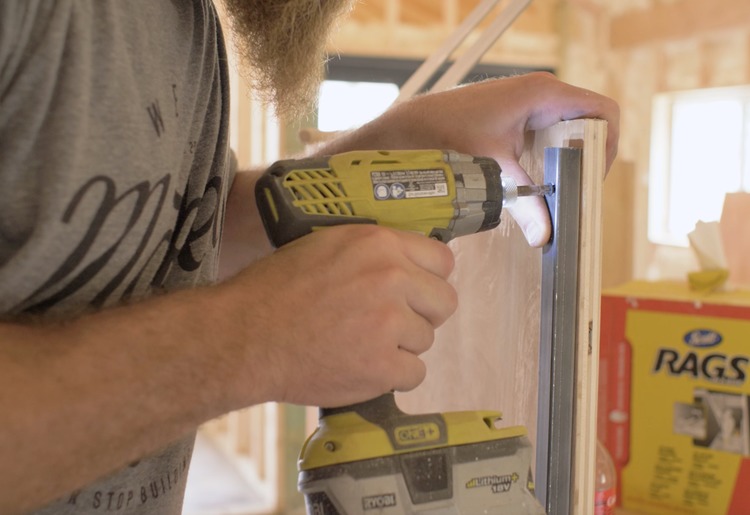
Then I countersunk and installed the steel with black wood screws.
The Shiplap
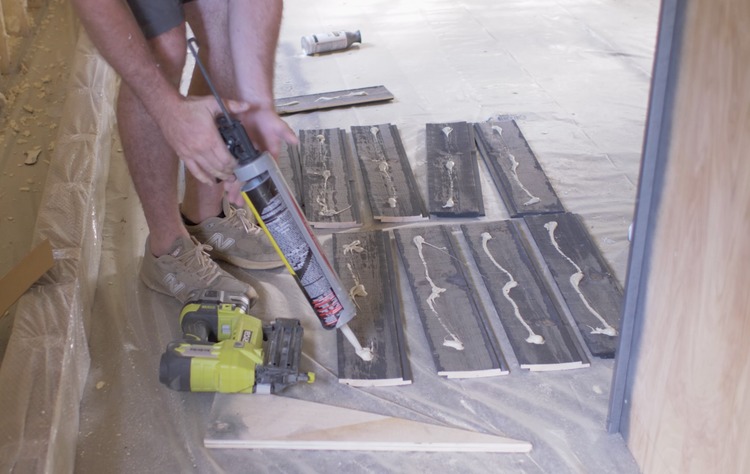
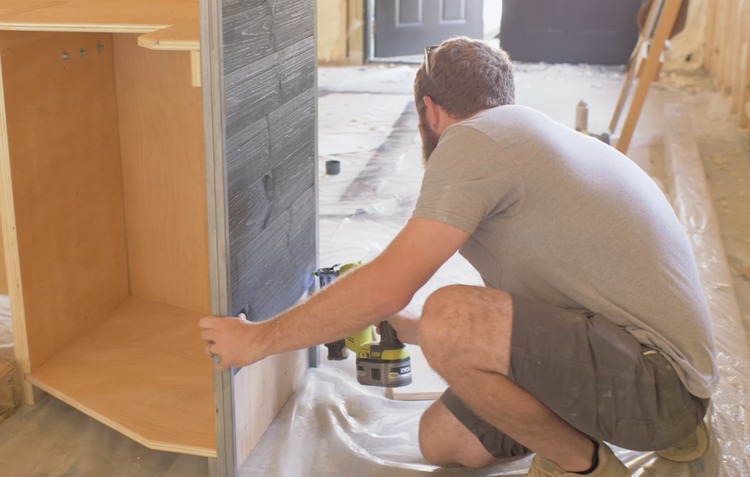
We found some rustic black shiplap at our lumberyard that went with the look that we wanted. So we installed that with construction adhesive and 18g brad nails.
Finishing the Top
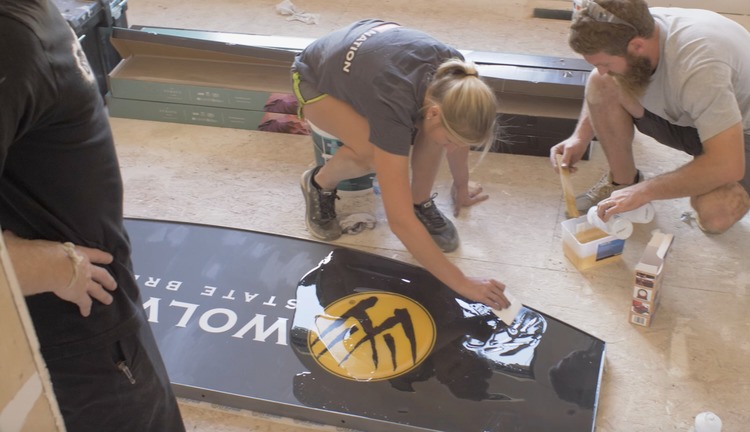
Now it was time to adhere the logo to the top. This was an exciting moment.
Then, it was on to pouring the epoxy top.
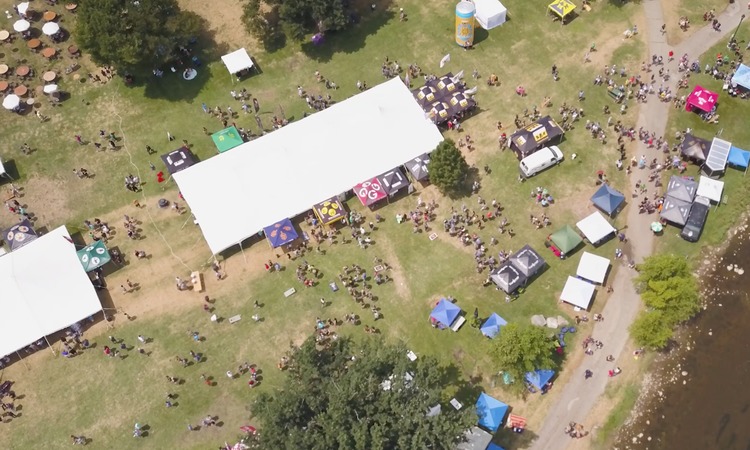
The Beer Festival
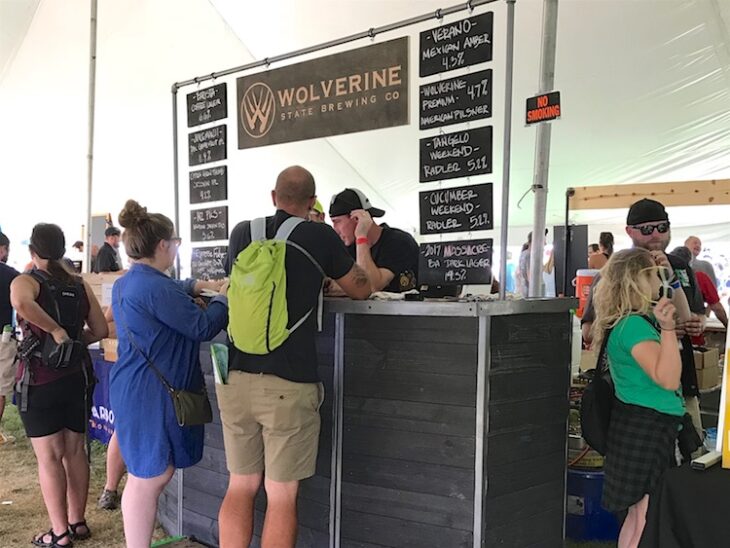
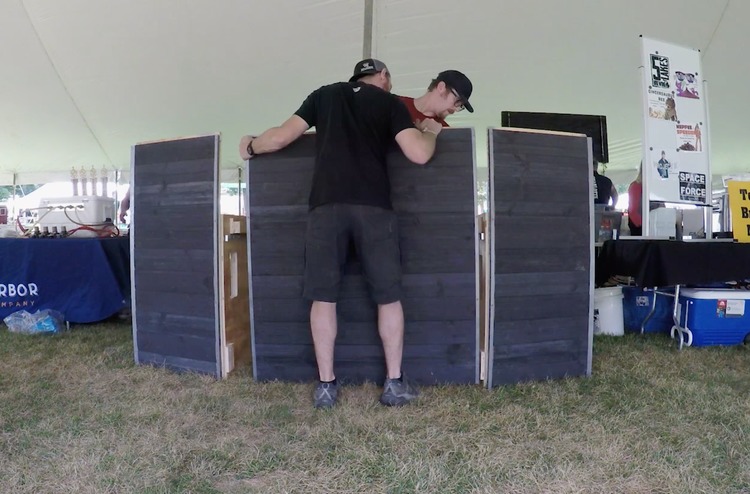
Now it was time to test the design. So we headed to the local beer festival to help the Wolverine State Brewing Company set up their new bar for the first time.
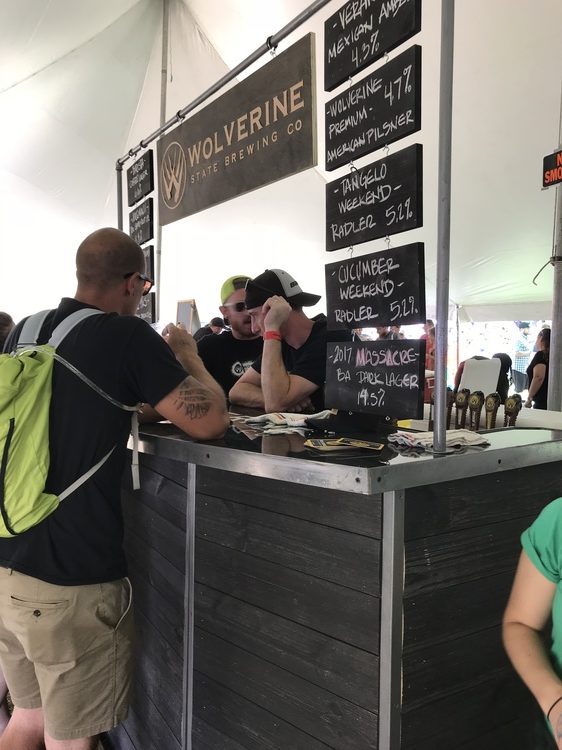
And it went together great! However, after seeing the bar in use I wish I would have made the top shorter. I knew we had to have a jockey box (cooler) on a shelf above a keg with coupler. I knew that would dictate my height and make the bar higher than normal, which was okay since it is a festival bar. But, I wish I would have had those things on hand when building so that I could minimize the space needed and reduce the overall height.
So, the portable festival bar was a hit! Okay maybe the beer was the hit, but nevertheless it was a fun project and I’m sure it will work well for beer festivals.
Questions? Comments?
As always, if you have any questions don’t hesitate to comment below and especially don’t forget to post pictures of your finished products in the comments! ENJOY!

