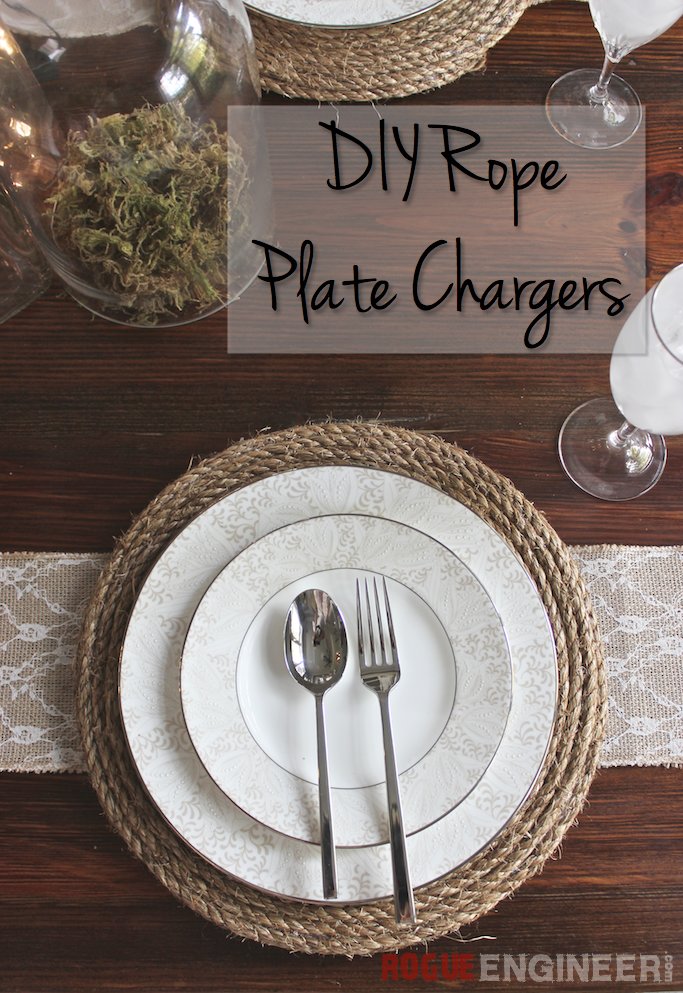
Whether it’s hosting for the holidays or just having a dinner party, adding a little interest to your table is simple to do. Add some texture to your table with these beautiful and easy to do rope plate chargers.
Disclosure: The links provided in the “materials” and “required tools” sections are affiliate links. If you would like to support our site and help keep our content free come find out more about how we can make money with no extra cost to you.
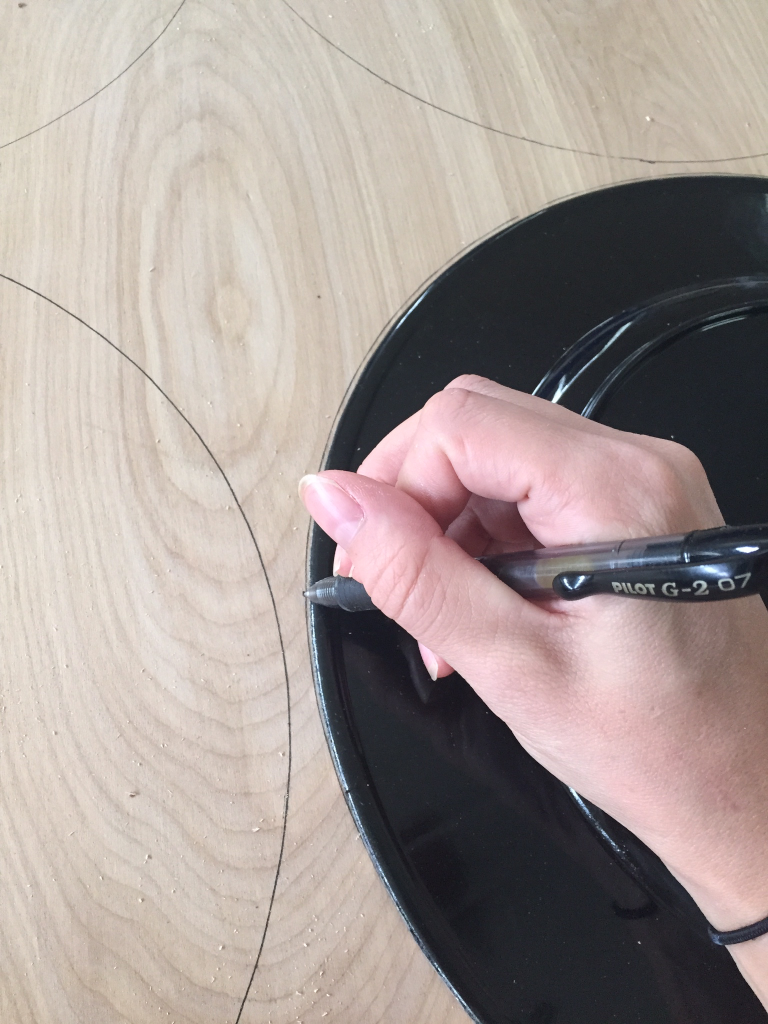
Print out the circle template (Note: When printing set page scale to “None”) and trace circles onto the 1/4″ plywood. For this step, I simply used a plate charger I already had, which gave me perfect 12-1/2″ circles. In order to fit 6 circles onto your 2’X4′ make sure you place the circles close together, see layout below.
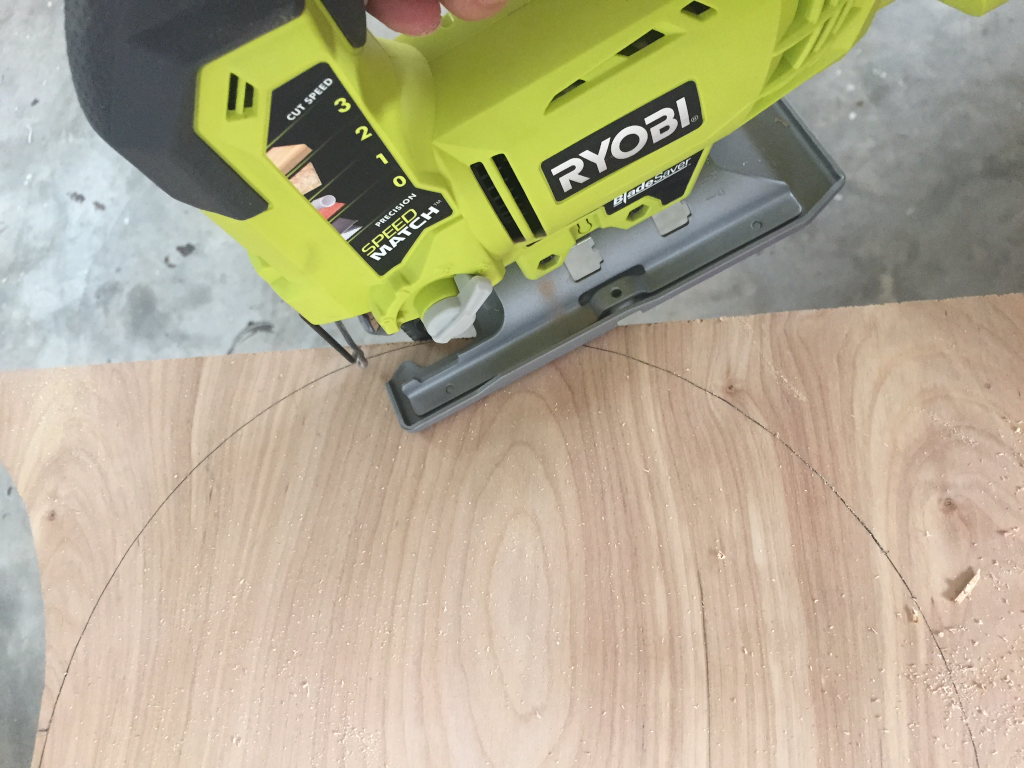
Cut Out Circles
Use the jig saw to cut out the circles.
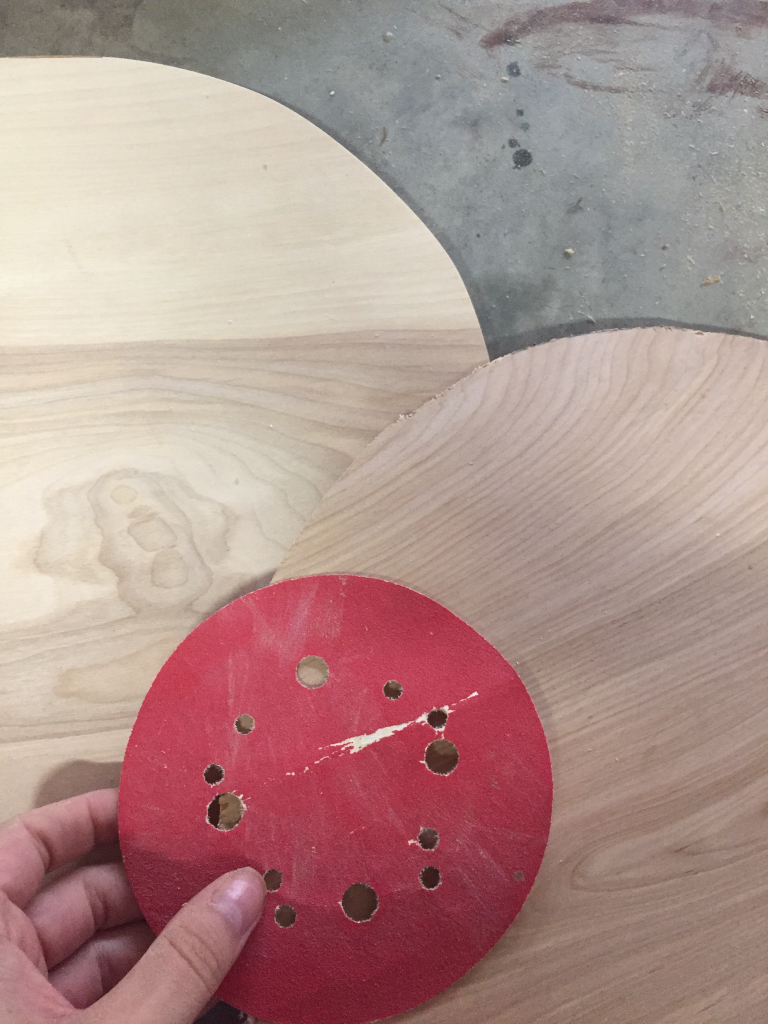
Sand Edges
This step isn’t necessary, but I still like to do it. I find it easier to work with a smooth surface. I just sanded down the edges that were cut, taking off any rough or sharp cuts on the wood.
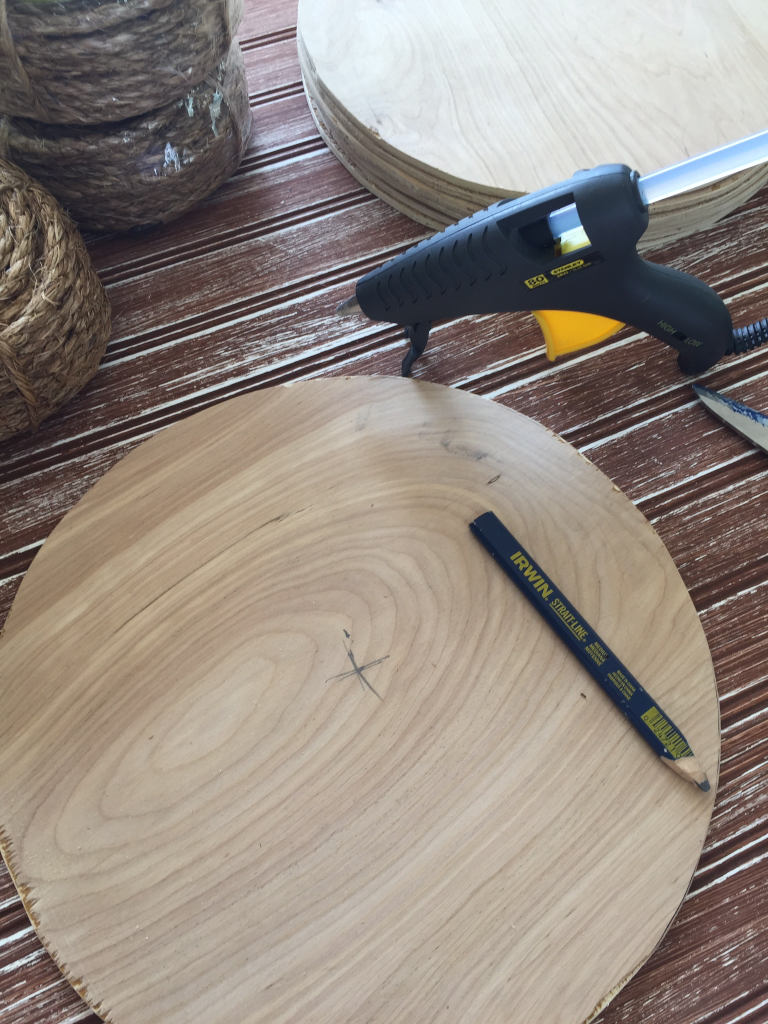
Mark Center of Circle
Using the template that you printed out, mark the center of your circle. This is where we will start gluing our rope. If you didn’t have a printed template, like myself, then try to mark the center using a measuring tape.
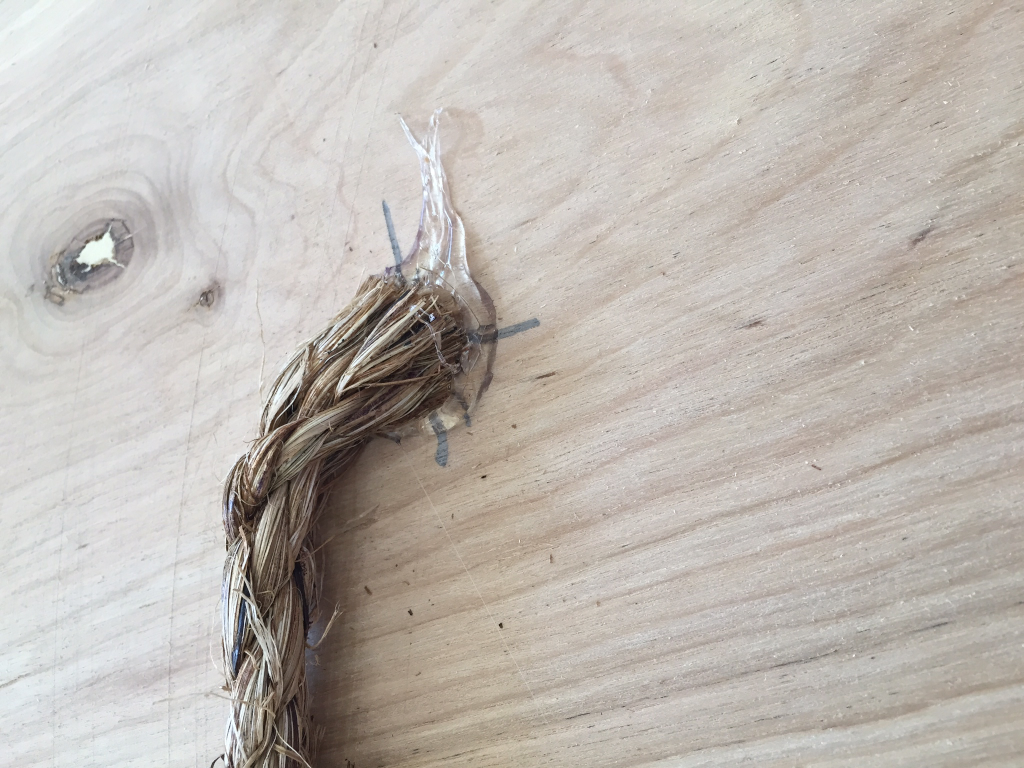
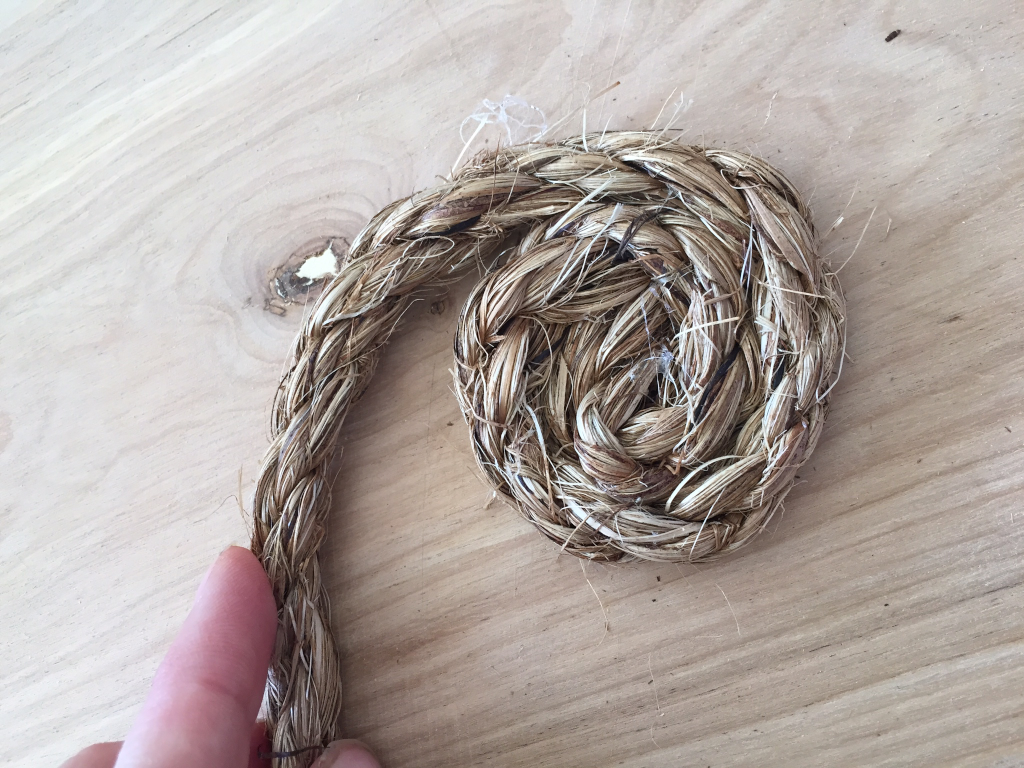
Gluing Rope
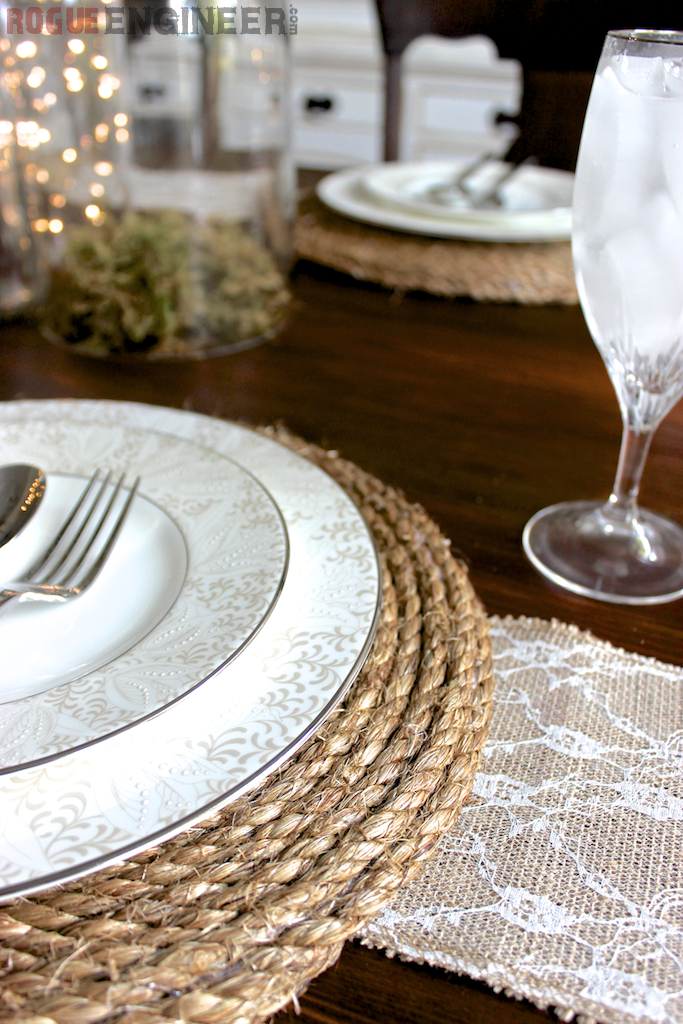
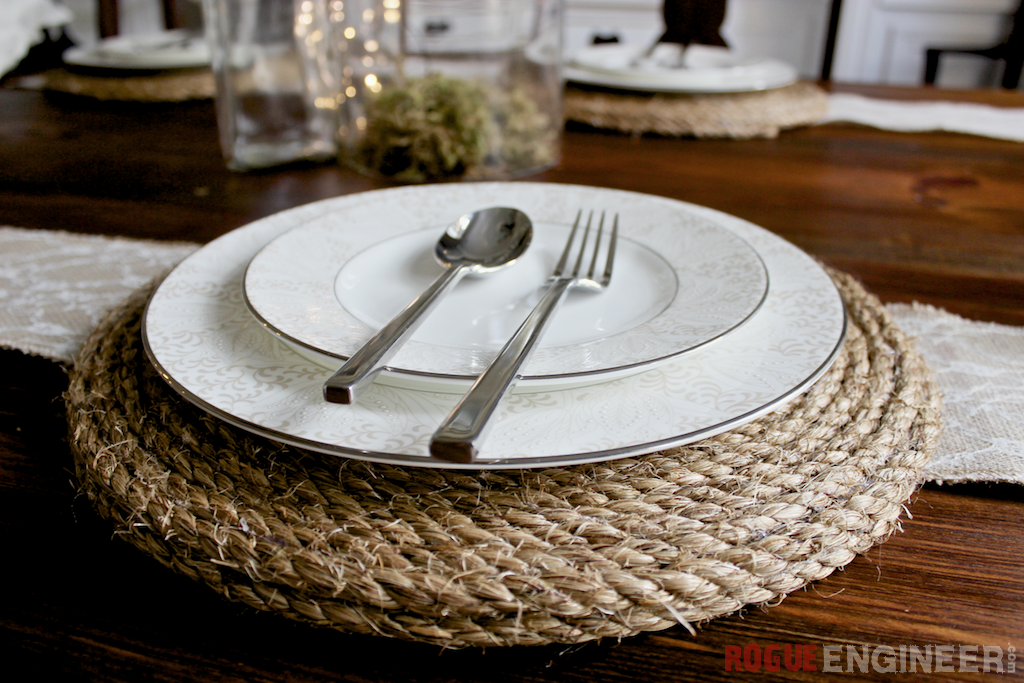
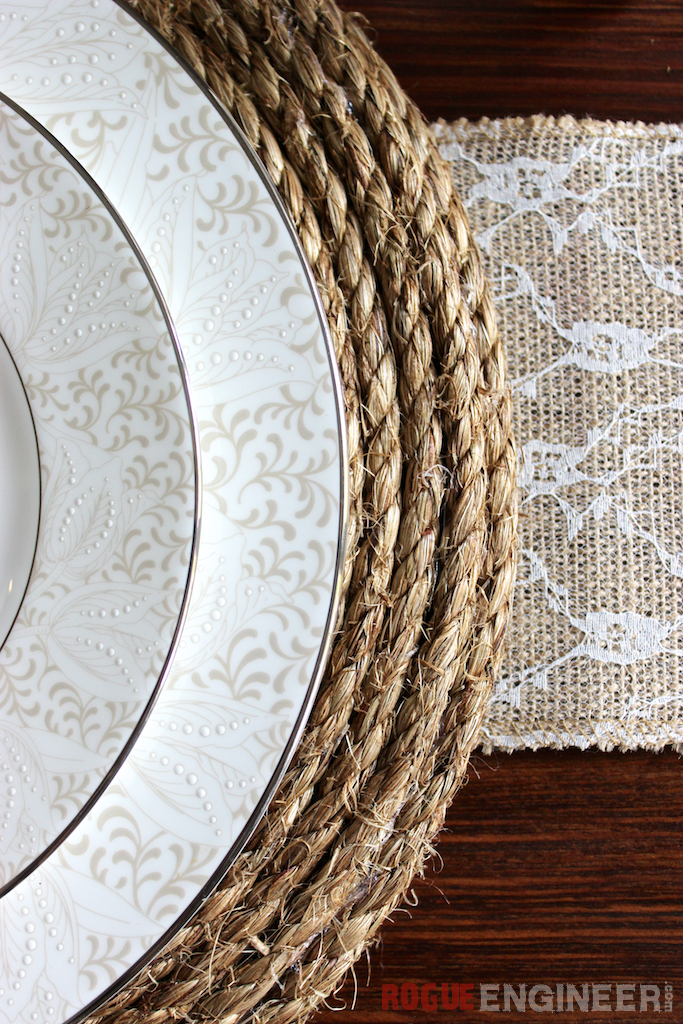
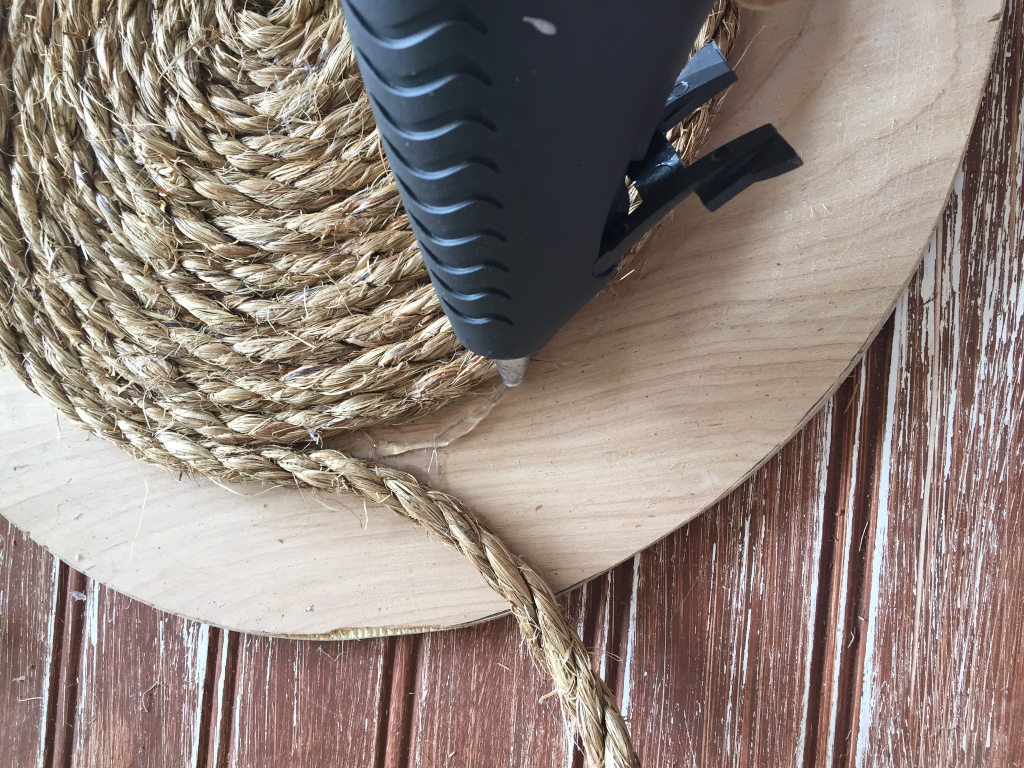
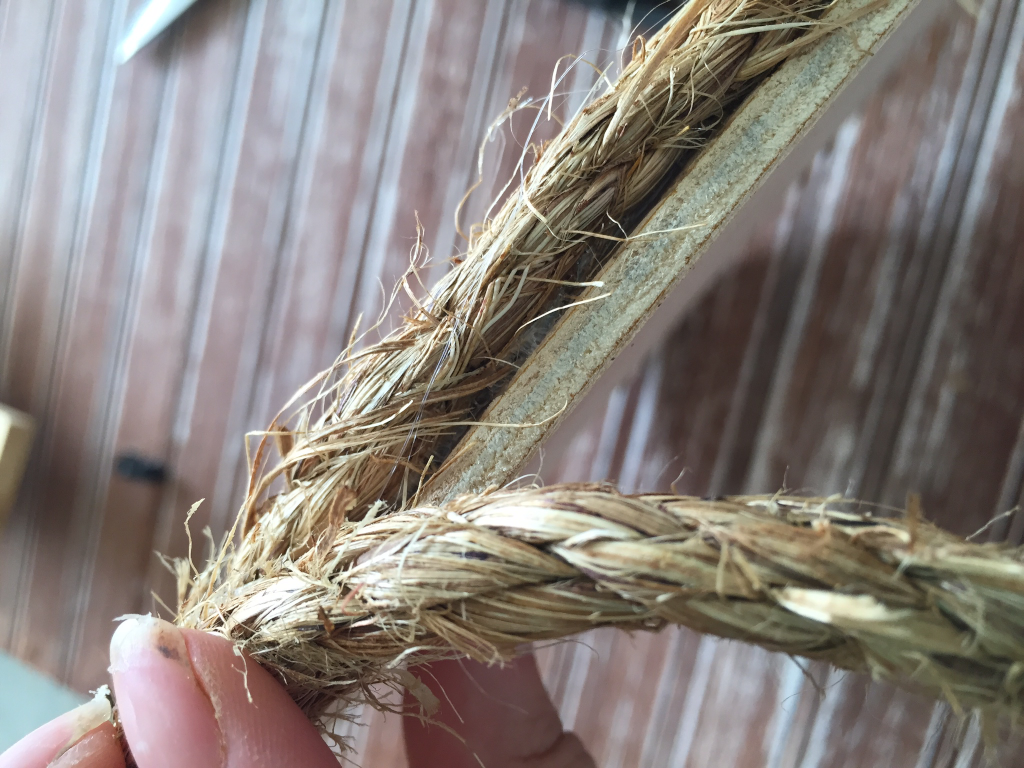
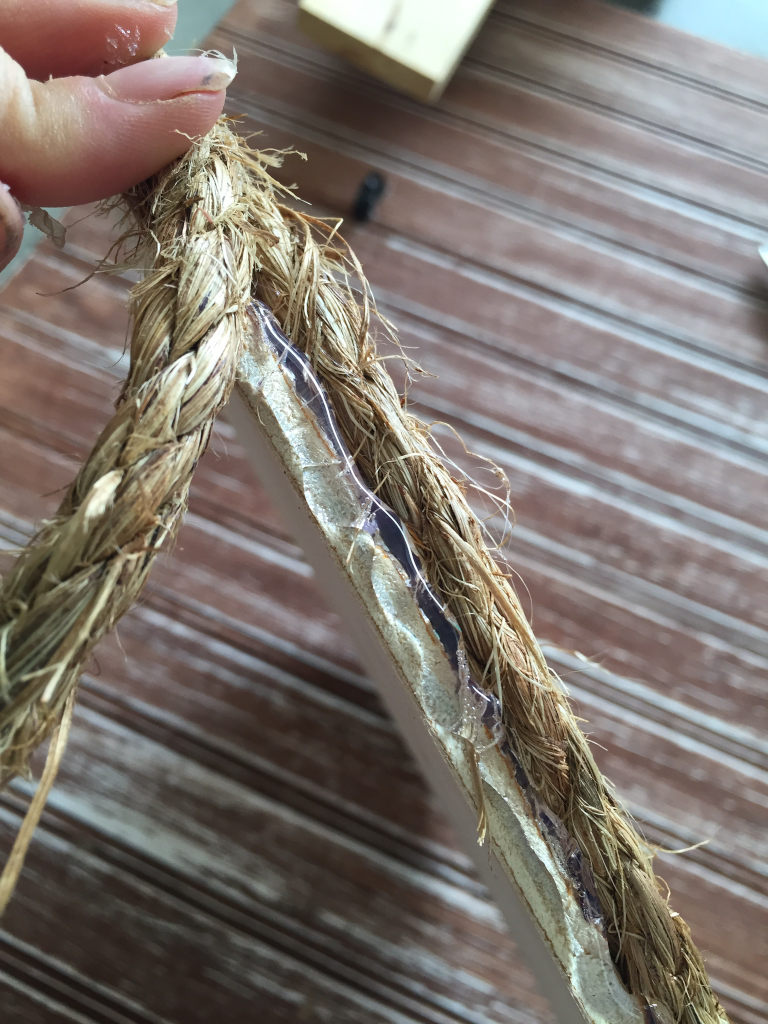
Start gluing at your center mark. For this step I started with a large circle of hot glue in the center. I found it easier to start shape the rope into a circle before I placed in onto the glue. Once the center is glued down, make a bead of glue around the center and start tightly forming your rope circle. Continue this process until you get to the edge of your circle. For the edge, put glue on the edge of the board and press the rope down. You want to be sure to press down longer on this step to allow the glue more time to dry. Once you go all the way around the circle, cut the rope at and angle along the braid and glue down end.
Questions? Comments?
As always, if you have any questions don’t hesitate to comment below and especially don’t forget to post pictures of your finished products in the comments! ENJOY!
11 Comments
Thank you so much for posting your instructions! I have been searching high and low for these chargers in stores to no avail. I finally decided to just make them on my own and found your post.
I want to make 12 chargers. Reading your instructions, I am still a little unclear on how many feet of rope I need to buy for 12.
Hey Amy! My wife made 6 of these chargers from 2 bags of 100ft rope. (Link in materials section) So for you to make 12 you should be able to double the supplies list therefore using 4 bags of 100ft of rope. Hope that helps and I’m glad you found us!
Hello, just discovered your awesome Web site, and I’m excited to try some of your projects. I have some leftover sisal rope from a lamp recycling project I just completed, and I’m wondering if it would work as well for these chargers, or if I need to buy manila rope instead. I’ve been looking online for the differences between the two types of rope, but I’m still not sure. Any advice? Thanks!


Thank you so much for posting your instructions! I have been searching high and low for these chargers in stores to no avail. I finally decided to just make them on my own and found your post.
I want to make 12 chargers. Reading your instructions, I am still a little unclear on how many feet of rope I need to buy for 12.
Could you please help me clarify?
Thank you so much!
Hey Amy! My wife made 6 of these chargers from 2 bags of 100ft rope. (Link in materials section) So for you to make 12 you should be able to double the supplies list therefore using 4 bags of 100ft of rope. Hope that helps and I’m glad you found us!
Love this idea! Thanks so much!
Awesome, glad you like them! Thanks for checking out the site.
Hello, just discovered your awesome Web site, and I’m excited to try some of your projects. I have some leftover sisal rope from a lamp recycling project I just completed, and I’m wondering if it would work as well for these chargers, or if I need to buy manila rope instead. I’ve been looking online for the differences between the two types of rope, but I’m still not sure. Any advice? Thanks!
Thanks Patti! I think the sisal rope would work just as well.
Hi,
I’m live in the UK. I’m not sure what you mean by underlayment? Is this plywood or the stuff you put under laminate flooring?
Thanks
Paddy
it’s plywood, they often call is hobby board in the big box stores.