

Tapered Leg Side Table
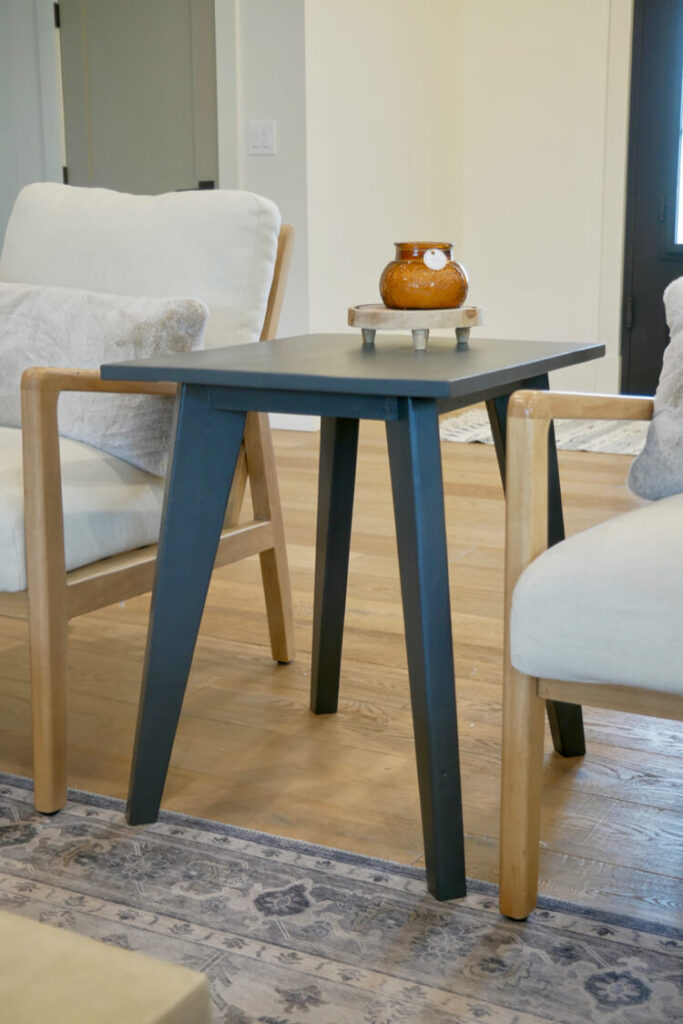
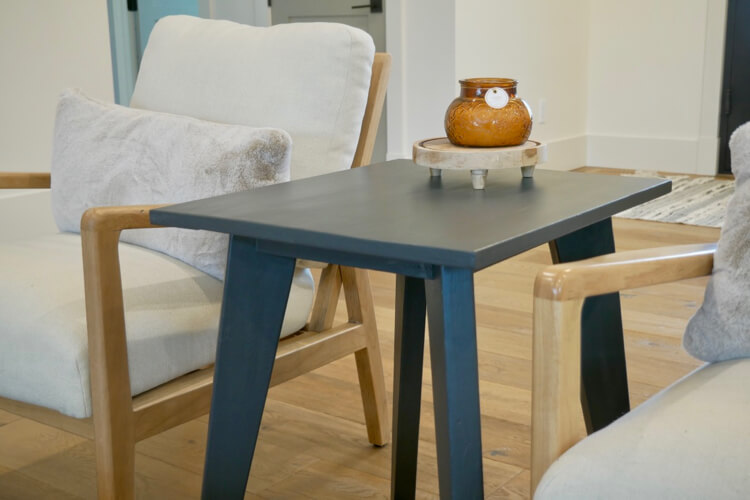
The idea behind this project is to show how an otherwise simple build with accessible materials can be easily modified to look so much better. Just by adding a taper to the legs you can add a lot of interest. Another idea is to angle the legs and in this project we do both. Apply these ideas to you next project to spruce it up a bit!
If you love this stuff as much as we do, you might want to consider following us on Instagram where we post sneak peeks and behind the scenes stuff in our stories. Also, did you know you can get tons of projects plans from all around the web when you follow us on Facebook and Pinterest!
Tools
Materials
- 2 x 4 x 8’ Board
- 2 x 2 x 8’ Board
- 1 x 10 x 4’ Board
- 2” Brad Nails
- 1-1/4” Pocket Screws
- 2-1/2” Pocket Screws
- 2” Wood Screws
- Wood Glue
Disclosure: The links provided in the “materials” and “required tools” sections are affiliate links. If you would like to support our site and help keep our content free come find out more about how we can make money with no extra cost to you.
Dimensions
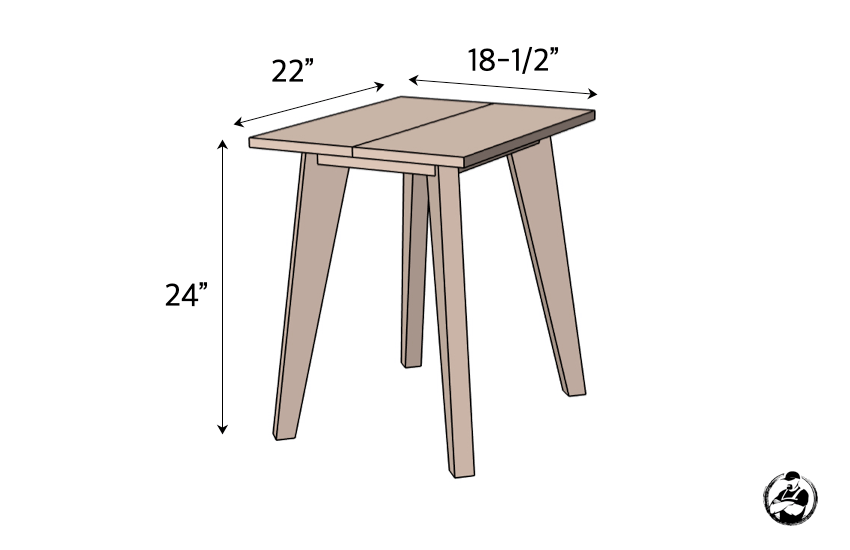
Cut List

Cutting the Taper

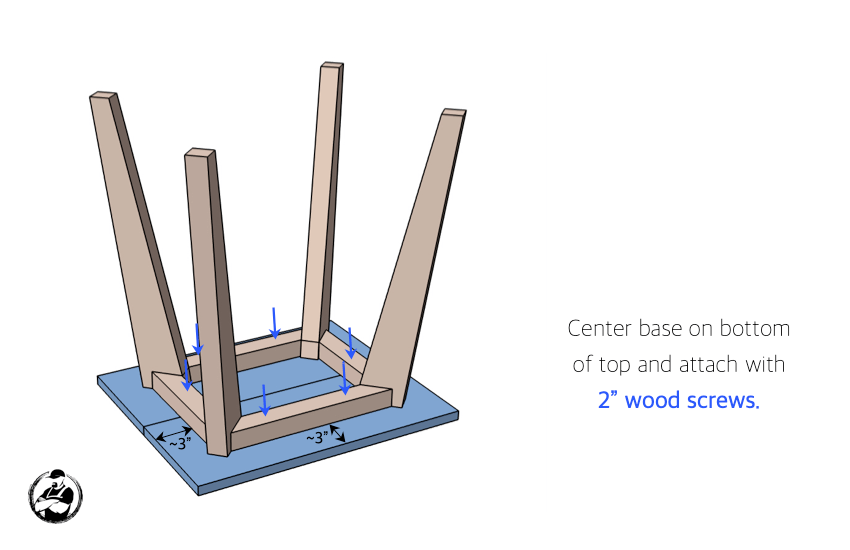
Assembling the Base

Assembling the Top

Final Assembly
I have seen different degree angles given for other projects with legs such as this table, is there a methodology as to what degree to cut for a project? Not talking about the taper.
I was looking for a method of attaching wooden legs to a small iive edge slab that I was working on. Your method of using pocket holes screws and attaching tapered legs to the frame is exactly what will work for me. Thank you for posting your simple but ingenious strong and unique plans. I’ll have to buy a brad nailer gun because I had problems holding the pieces together while trying to screw in the pocket hole screws. Much appreciated. God Bless.