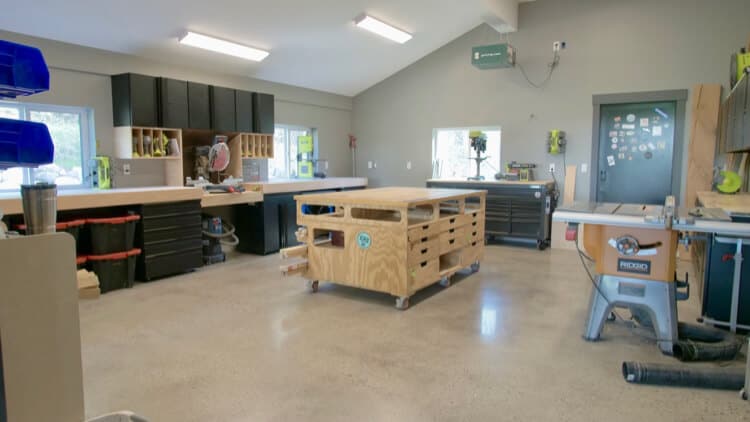
Dream Workshop Makeover
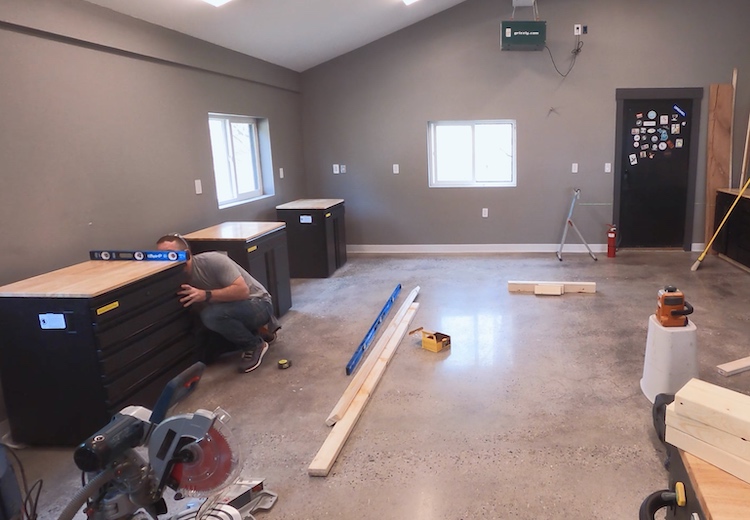
This has been a long time coming. After getting the drywall up we kinda just skipped over the last step. For the past year we have been using this space without really finishing it off. Tools were scattered around making things less efficient and organized. Finally I bit the bullet and started coming up with the cabinet layout and miter station design.
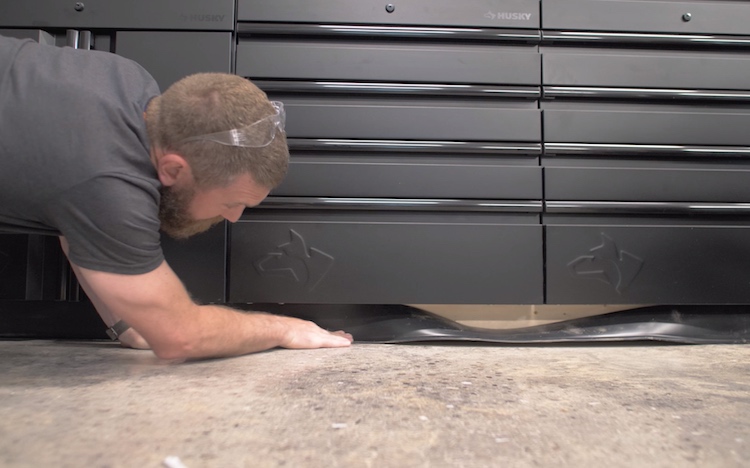
On one wall I wanted a row of cabinets to house smaller hand tools and upper cabinets to house consumables like adhesives, fillers, etc. For this I started by building a platform that would act like a toe kick. This was made out of 2x4s, leveled and anchored to the wall before installing the 5 drawer base cabinets and the 1 drawer 2 door base cabinets on top of the platform.

Then, to cover hide the 2×4 toe kick we cut and adhered black vinyl wall base.
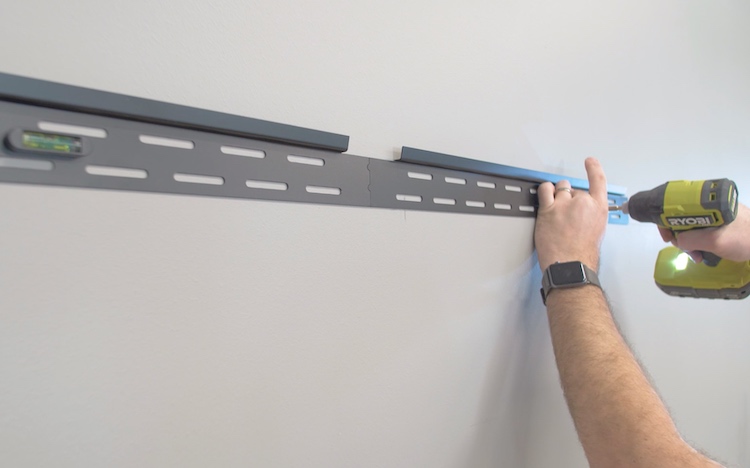
Now onto hanging the wall cabinets. They came with a french cleat style wall mount with built in level to make the installation process quick and easy.

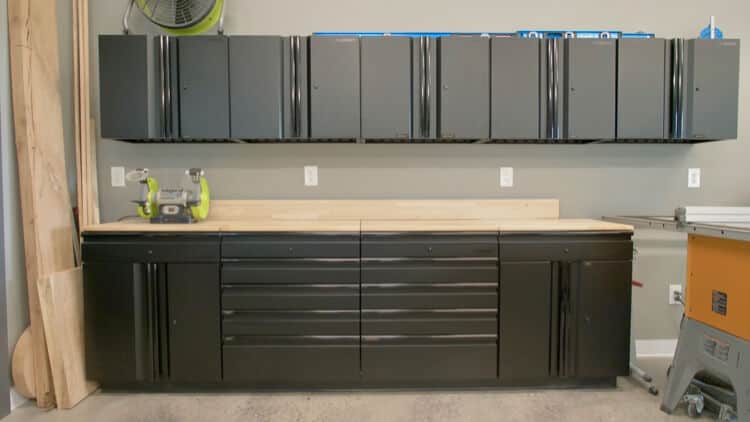
This area turned out great and will house a ton of tools and product while making the area nice and tidy.
Miter Station
After some planning I started locating the base cabinets how I wanted and began leveling them. Using my laser level I found the highest cabinet (since the floor is not perfect) and leveled that cabinet. Then I moved onto the rest, leveling them at the same height.
Note that I spaced them about 6in from the wall to have room for future dust collection and make sure the miter saw won’t stick to far out.
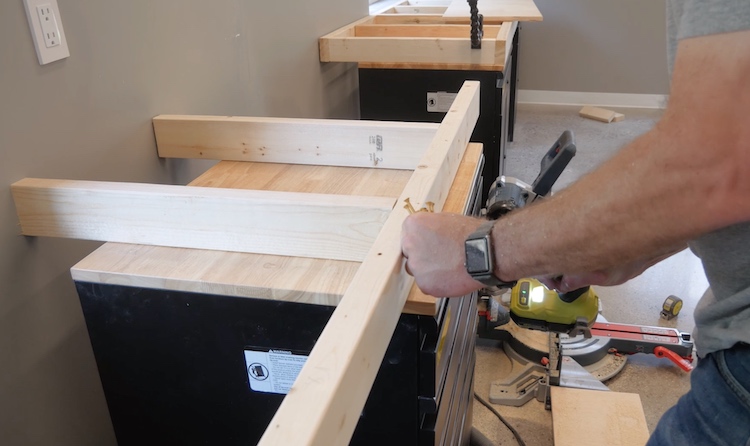
With the cabinets located and leveled, I could then move onto the platform that will support the countertops. This needed to be stout so I built it out of 2x4s spaced 16 inches on center. I then leveled the platform and anchored it to the wall studs, allowing the front to rest on the cabinets for now.
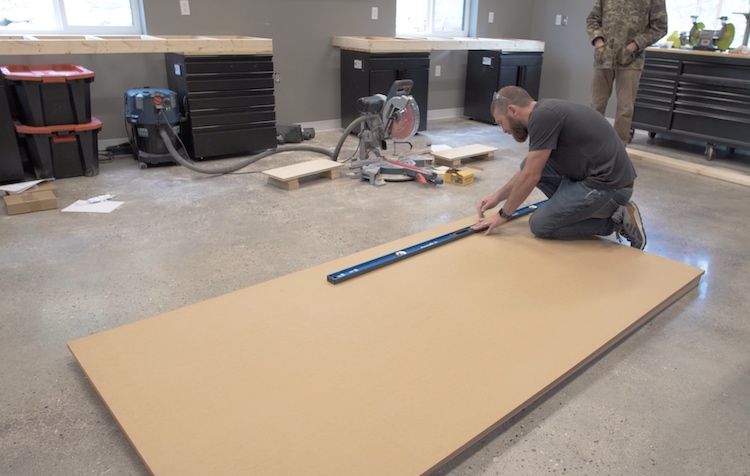
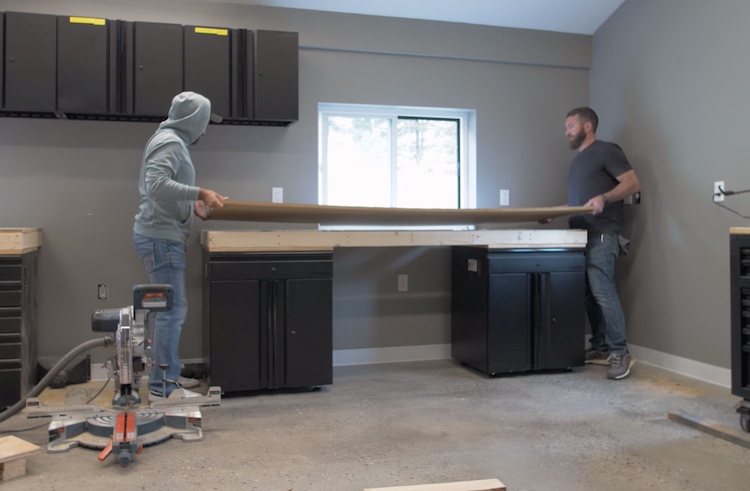
With the platforms done, I started to cut down the MDF sheets for the top. The bottom of my top lined up perfectly with the window sill so I ran them into the window sill to make it all one surface.
For the finished surface, I ultimately decided on a durable matte white laminate surface. They also have laminate sheets in tons of different finishes if you are looking for something else.
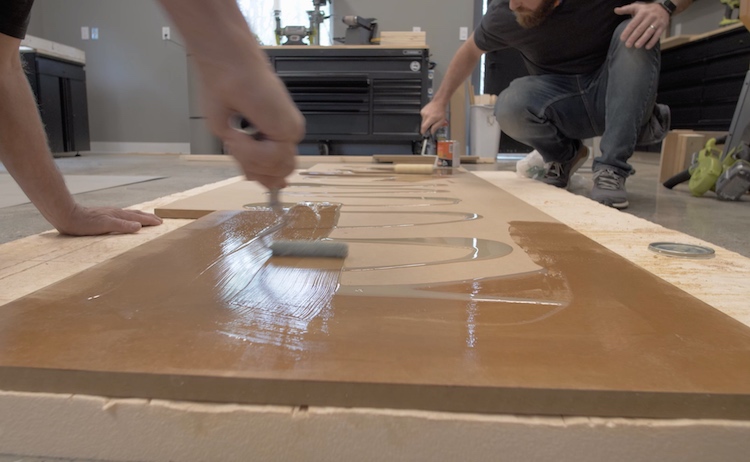
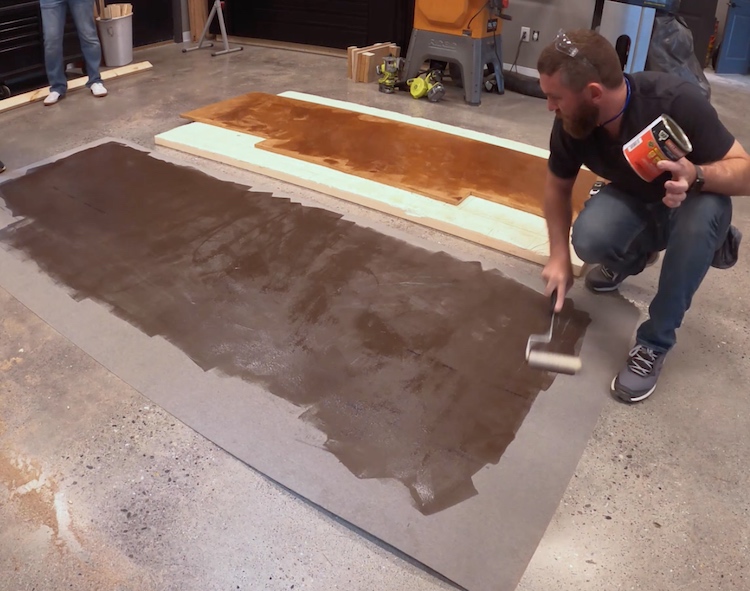
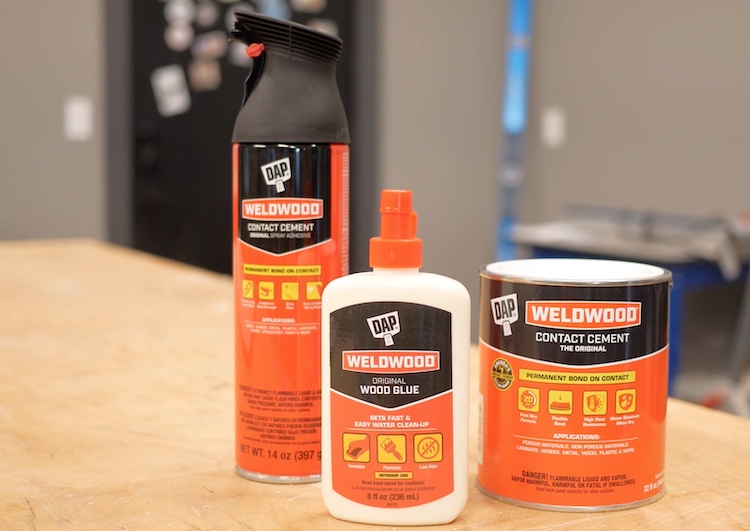
The first step in this process is to apply DAP’s Weldwood Contact Cement evenly to each surface (MDF and the back of the laminate).
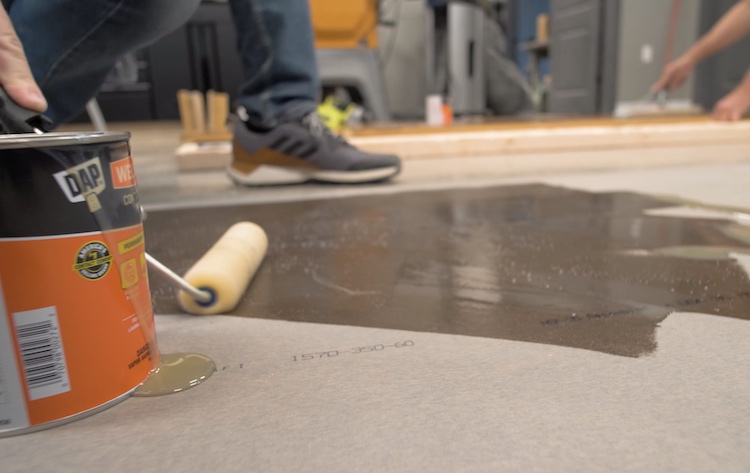
For this step I poured a little on and used a 6″ short nap roller to spread it out. This stuff is pretty smelly so make sure you are in a well ventilated area and following all the safety precautions laid out on the can.
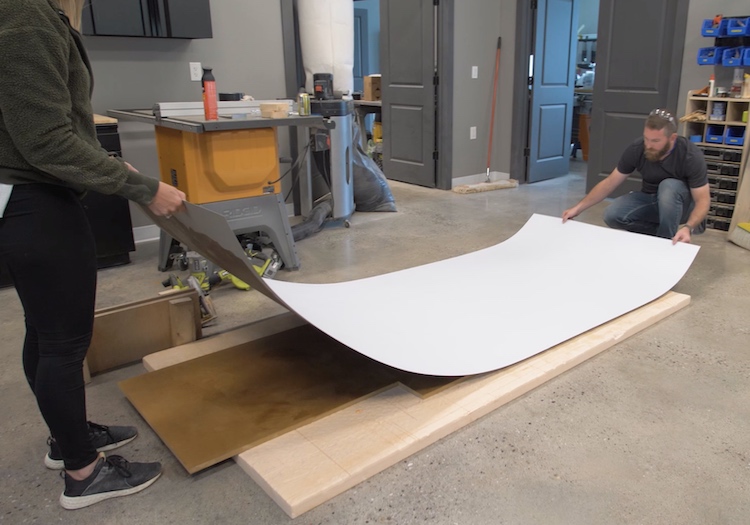
After allowing the contact cement to sit for 15-20 mins we could then move on to applying the laminate to the MDF. This is a two person job. We marked center on the laminate and marked a centerline on the floor where the center of the mDF would be. Then we carefully placed laminate on the MDF. Be careful because you only get one shot at this.
If you are working by yourself I’ve heard that it is possible to use dowels as spacers or a rope in a zig zag pattern while locating the laminate.
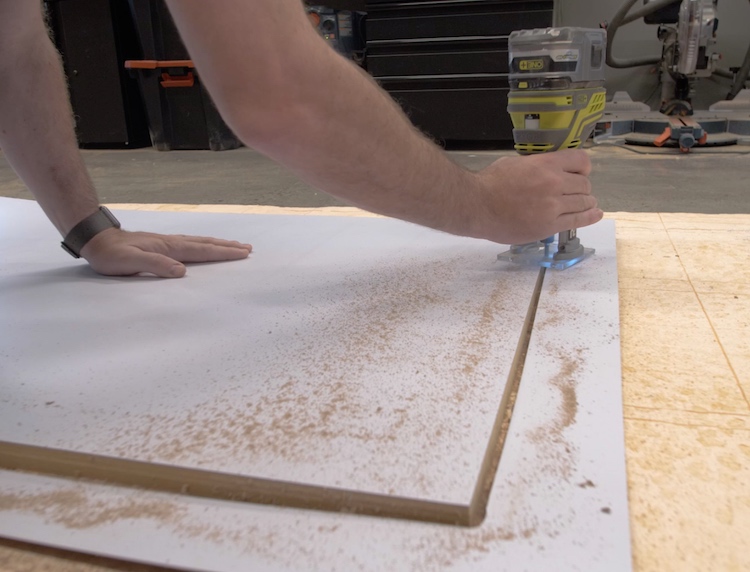
With the laminate in place, I then pressed it down with a scrap block of wood from the middle out. A 3 inch J-roller would be ideal for this but I didn’t have one on hand.
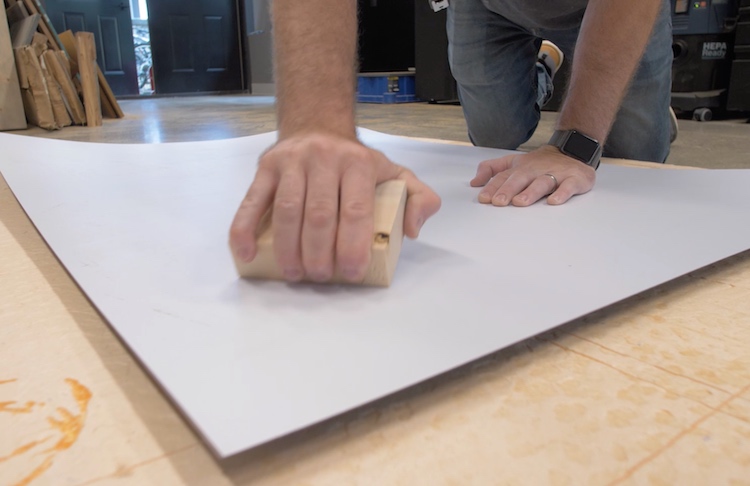
Finally I followed up with a trim router and flush trim router bit.
Having DAP as a sponsor this year has been great and I was even able to learn a bit about their products that I wasn’t aware of. Like the fact the Weldwood adhesive has been around since the 1930s when it was developed for of plywood construction. It was then used in WWII for molded plywood boats. From there it has been used for so many things such as cars, skis, and household projects. Find out more about Weldwood here.
With the countertops made I could then adhere them in place by using DAP DynaGrip HD Max; applying a bead to the 2×4 frame and setting the top in place.
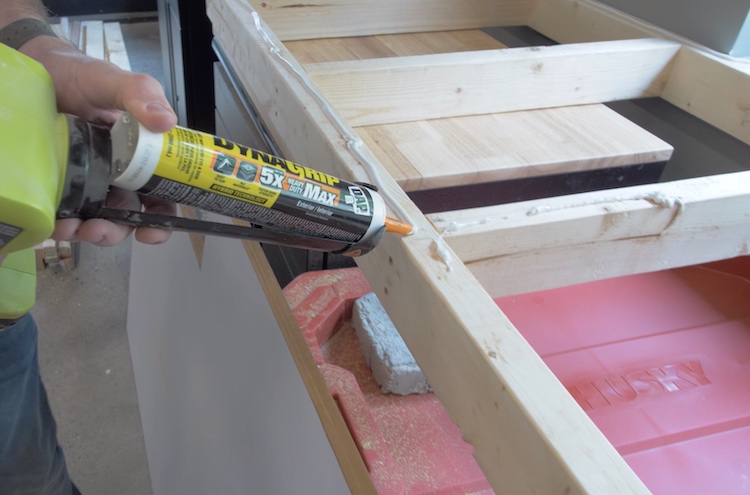
After setting the top in place we clamped it to the frame while waiting for the adhesive to set up.
To cover up the front of the frame we used oak because it is hard enough to endure the torture we will probably put it through.
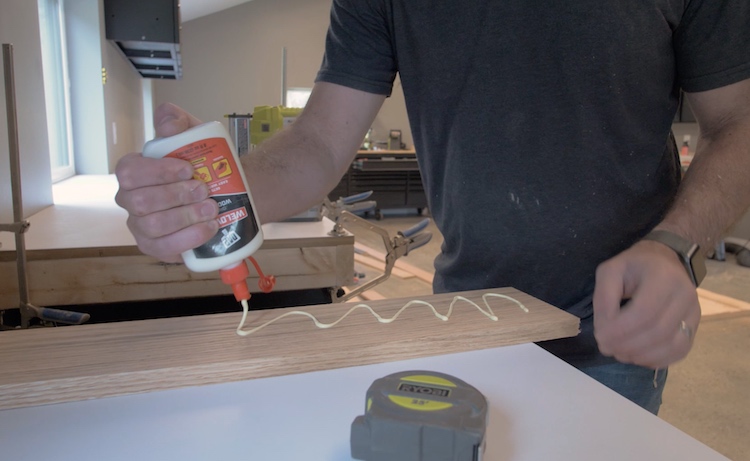
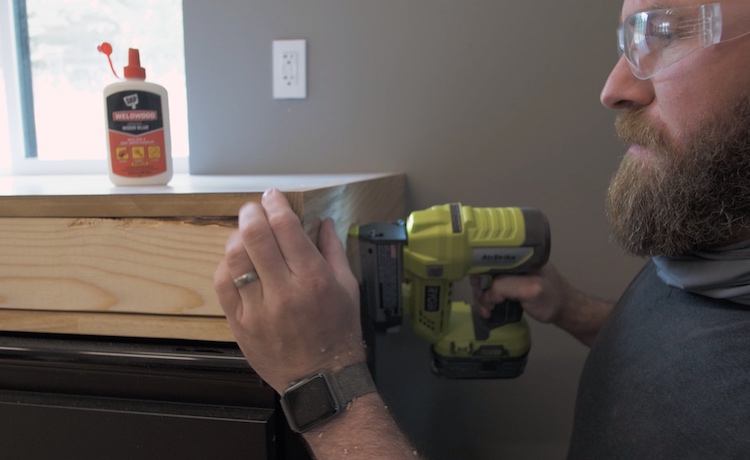
We started by cutting the 1×6 oak board down to size, applying DAP’s Weldwood Wood Glue to the back and tacking it in place with pin nails to hold it while the glue cures.
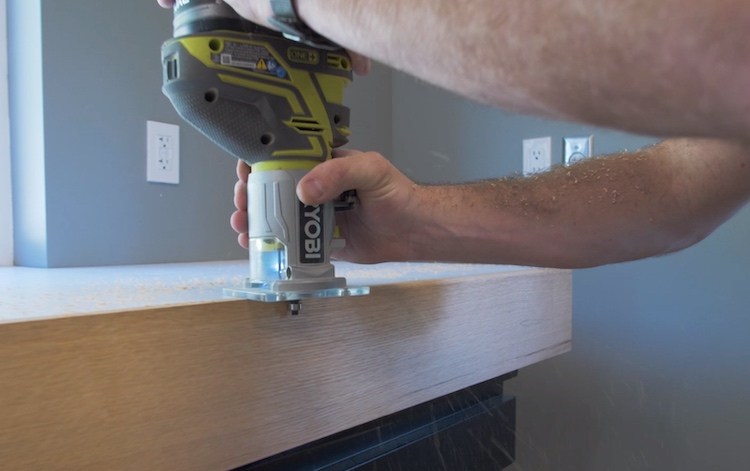
To add a round over to all the edges we used a trim router and roundover bit.
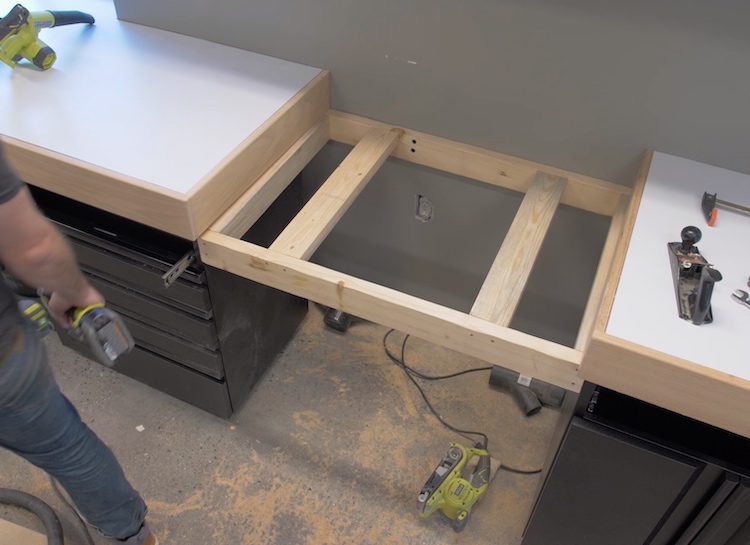
Then we could move on to making and anchoring the platforms for the miter saw and Kreg Foreman pocket hole machine. We wanted these to be level with the countertops so we made then slightly low so the tools could be shimmed for a perfect fit. These platforms get anchored to the wall studs and secured at the front through the inside of the adjacent cabinets.
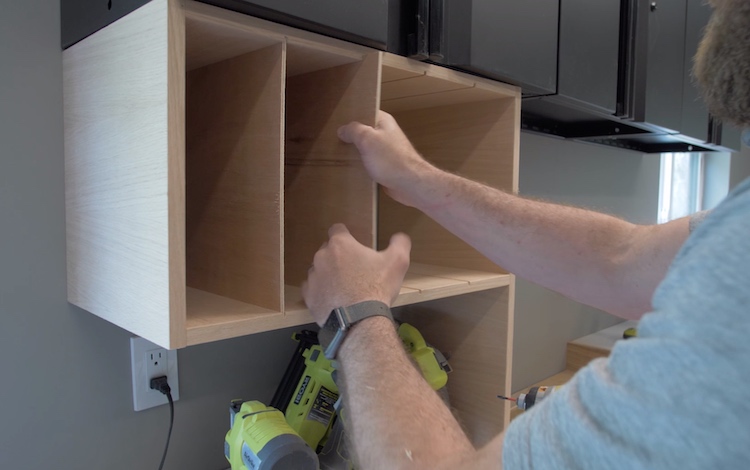
By the miter station I wanted some quick quick access to a handful of tools that I use on a regular basis such as drill, inpact, nailers, etc.
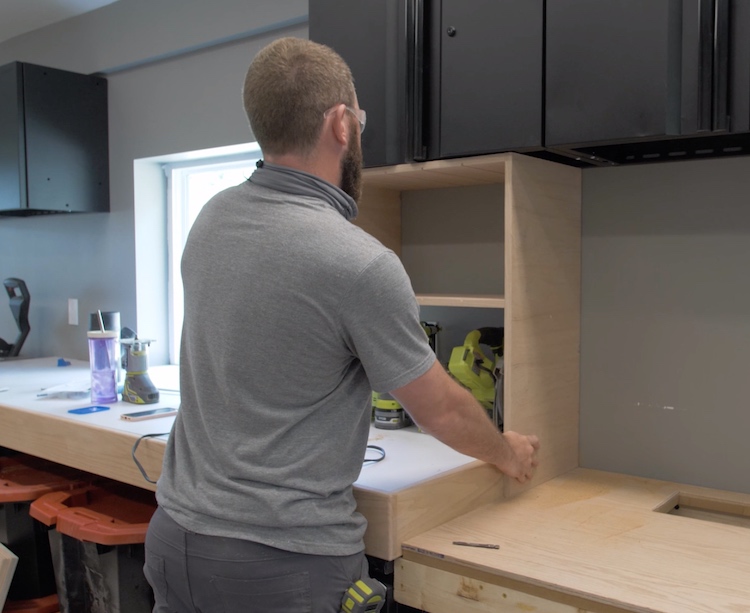
So I constructed a plywood box with dados for 1/4in dividers. This gets anchored to the wall and the side nearest the miter saw goes to the counter. This will help with dust collection in the future.
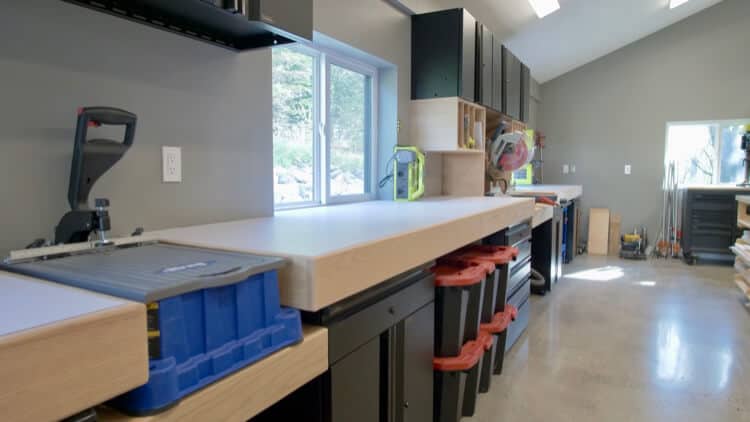
Overall, I was able to knock out a pretty sweet miter station and tons of tool storage. Building the Kreg Foreman into the counter is going to be amazing.
One easy to do thing for organization is to create large totes dedicated to job specific tools that don’t take place in the shop. For instance, plumbing tools are in one tote as well as another for drywall tools, tile & flooring, etc. These tools don’t get used all that often and when I need then I’ll have them all together.
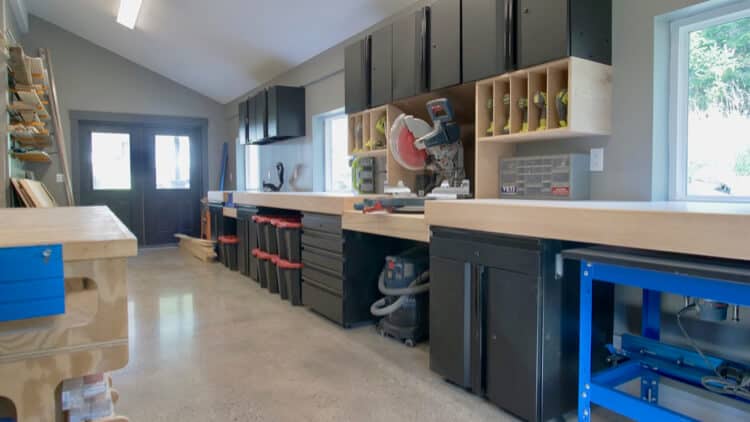
Hopefully you can gather some inspiration from my workshop progress and apply that to yours. My next steps will be cutting a T-track in the miter station counter, dust collection, table saw upgrade and probably something else I haven’t even thought of yet. Stick around as my dream of a workshop becomes a reality.