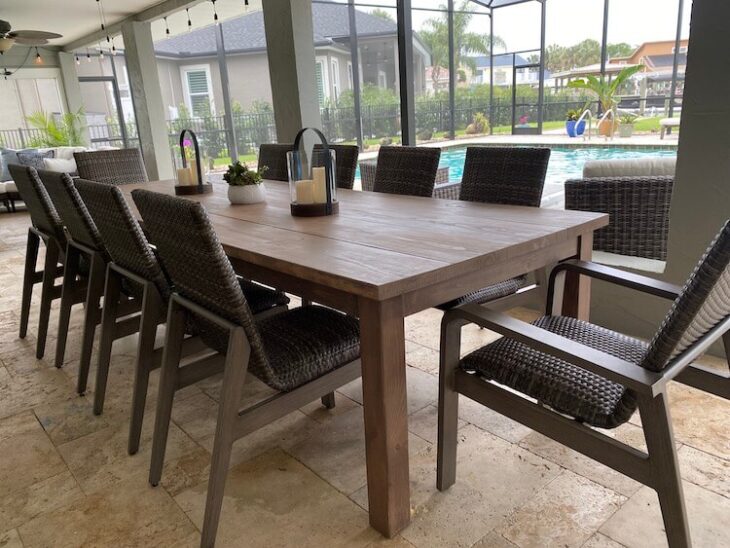
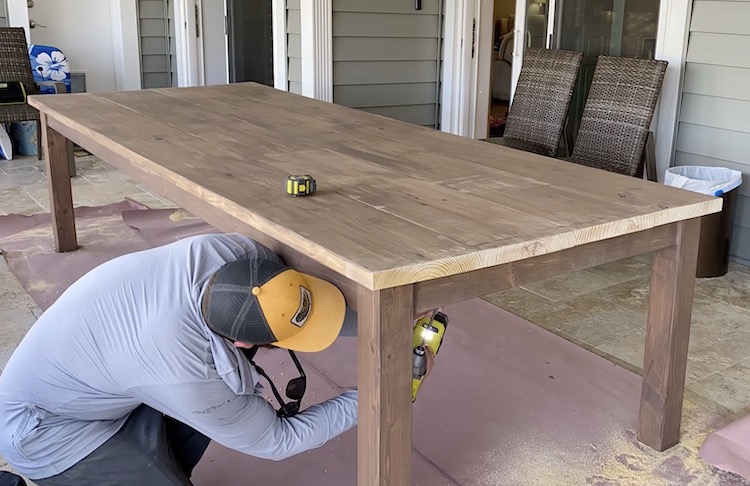
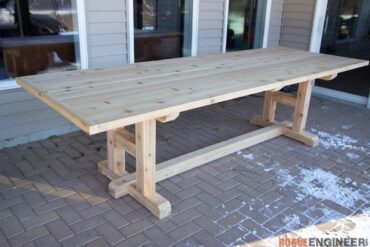
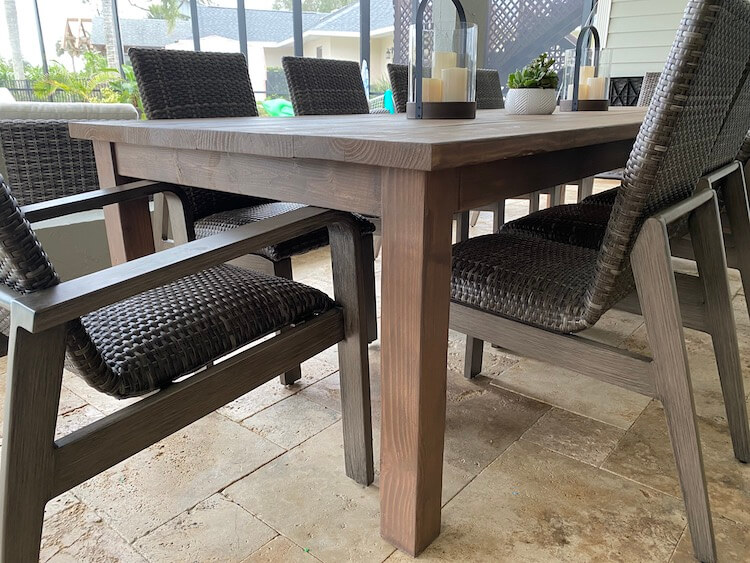
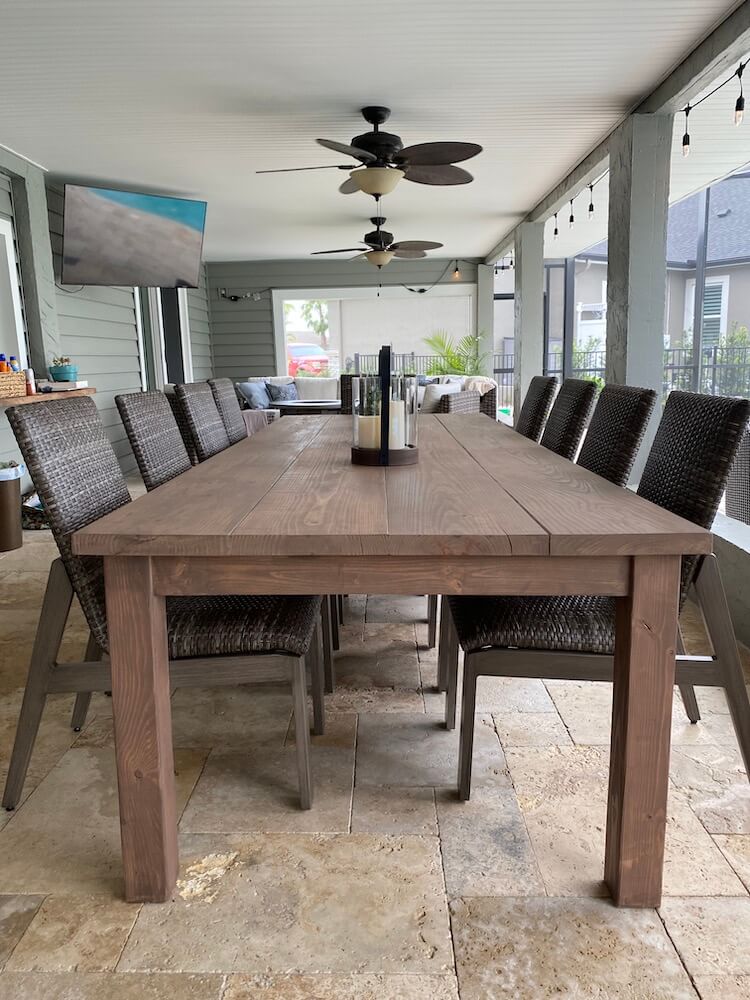
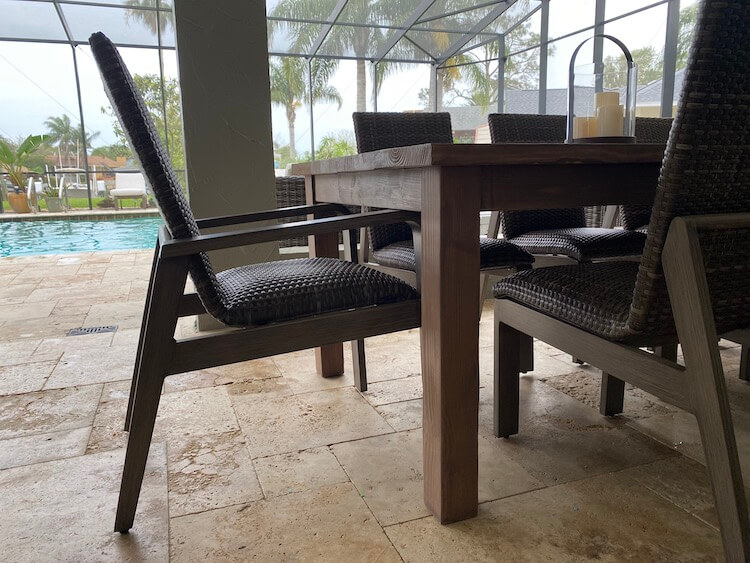
Recently we took a trip down to my parents house in Florida and one thing they have been missing on the back patio was a table big enough to seat our entire family. We needed enough seats for my family, my brothers family and my parents, which brings us to 10 seats. I didn’t have a bunch of time or the workshop to build a big fancy table so we opted to keep it simple. Even though this table only took a few hours and under $200 to build, we have already gotten a ton of enjoyment out of it and it will be a great place to gather for years to come. Read on to see exactly how we did it.
If you love this stuff as much as we do, you might want to consider following us on Instagram where we post sneak peeks and behind the scenes stuff in our stories. Also, did you know you can get tons of projects plans from all around the web when you follow us on Facebook and Pinterest!
Disclosure: This project was sponsored by Kreg Tool Company however the design opinions are 100% my own.
Full Project Video
Wanna see how it all came together? Check out the full project video below and don’t forget to subscribe on YouTube so you won’t miss future videos!
Tools
Disclosure: The links provided in the “materials” and “required tools” sections are affiliate links. If you would like to support our site and help keep our content free come find out more about how we can make money with no extra cost to you.
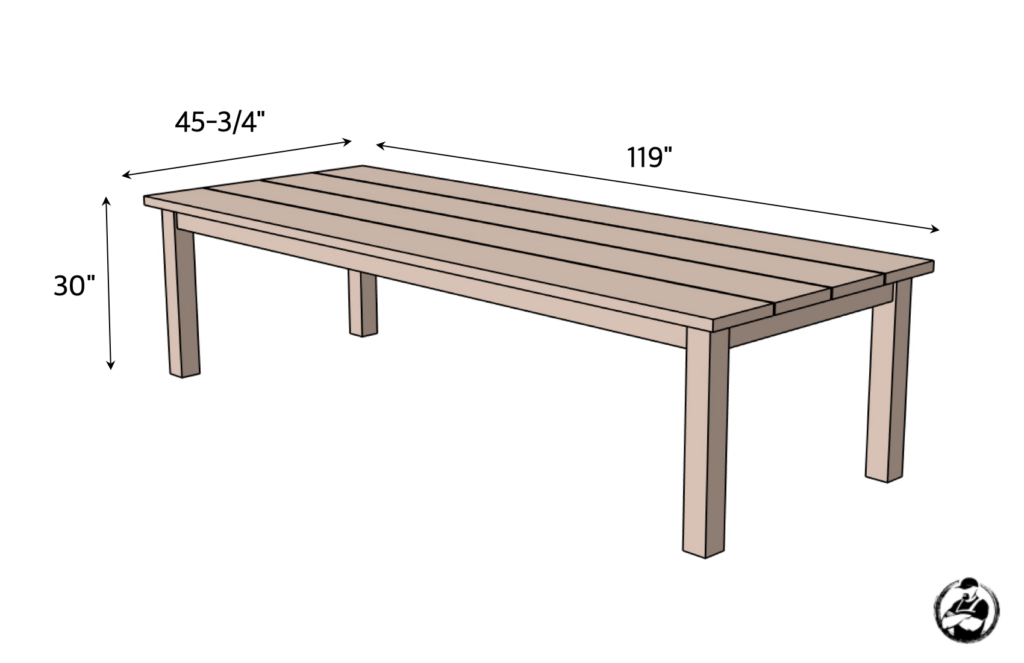
Dimensions
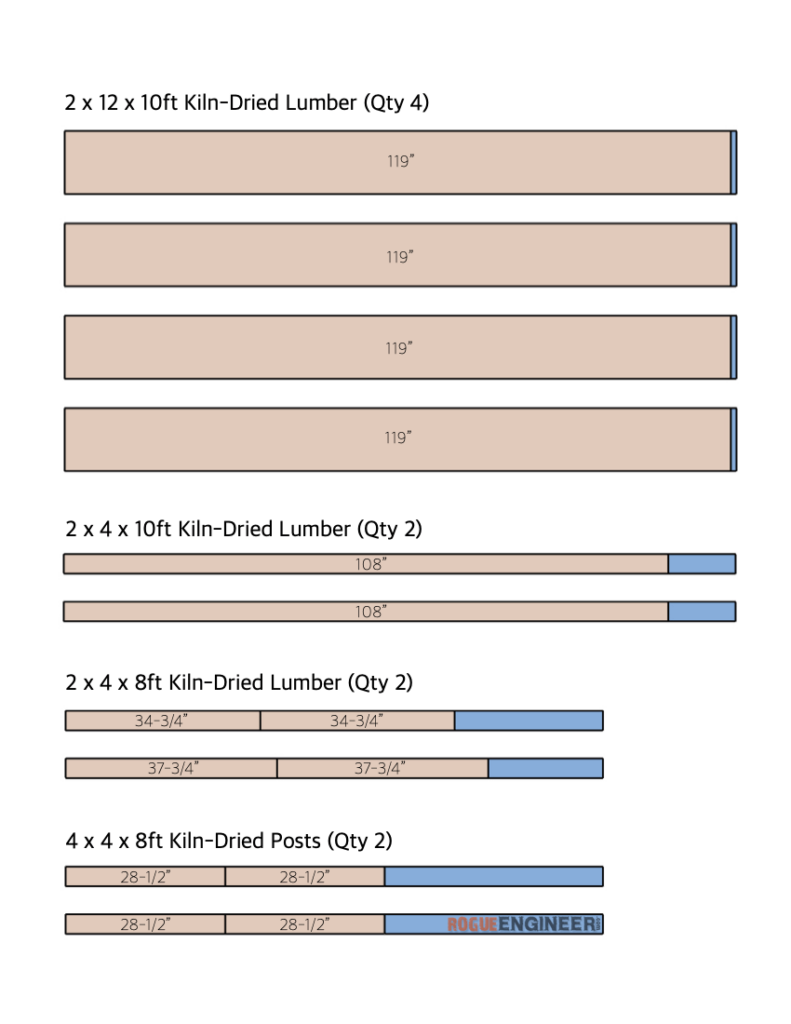
Cut List
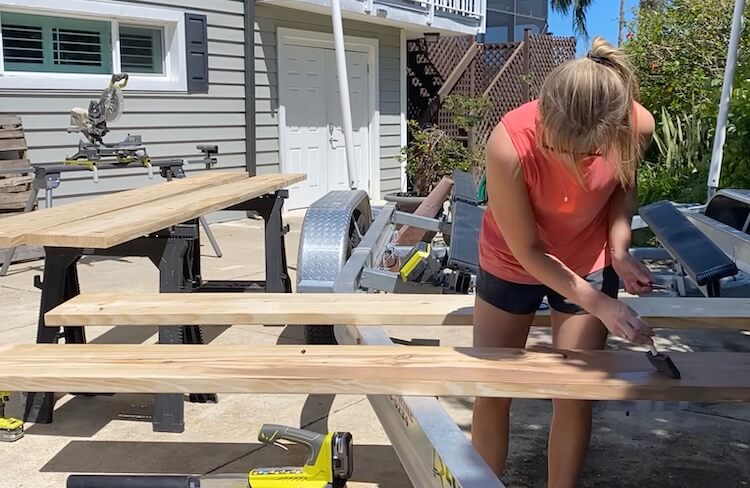
After cutting down the boards, this is a good time to to apply your finish. Since this is untreated lumber and it will be an outdoor table we decided to go with Behr’s tintable semi-transparent deck stain in the color Wood Chip.
How to Build an Easy Outdoor Table for 10!
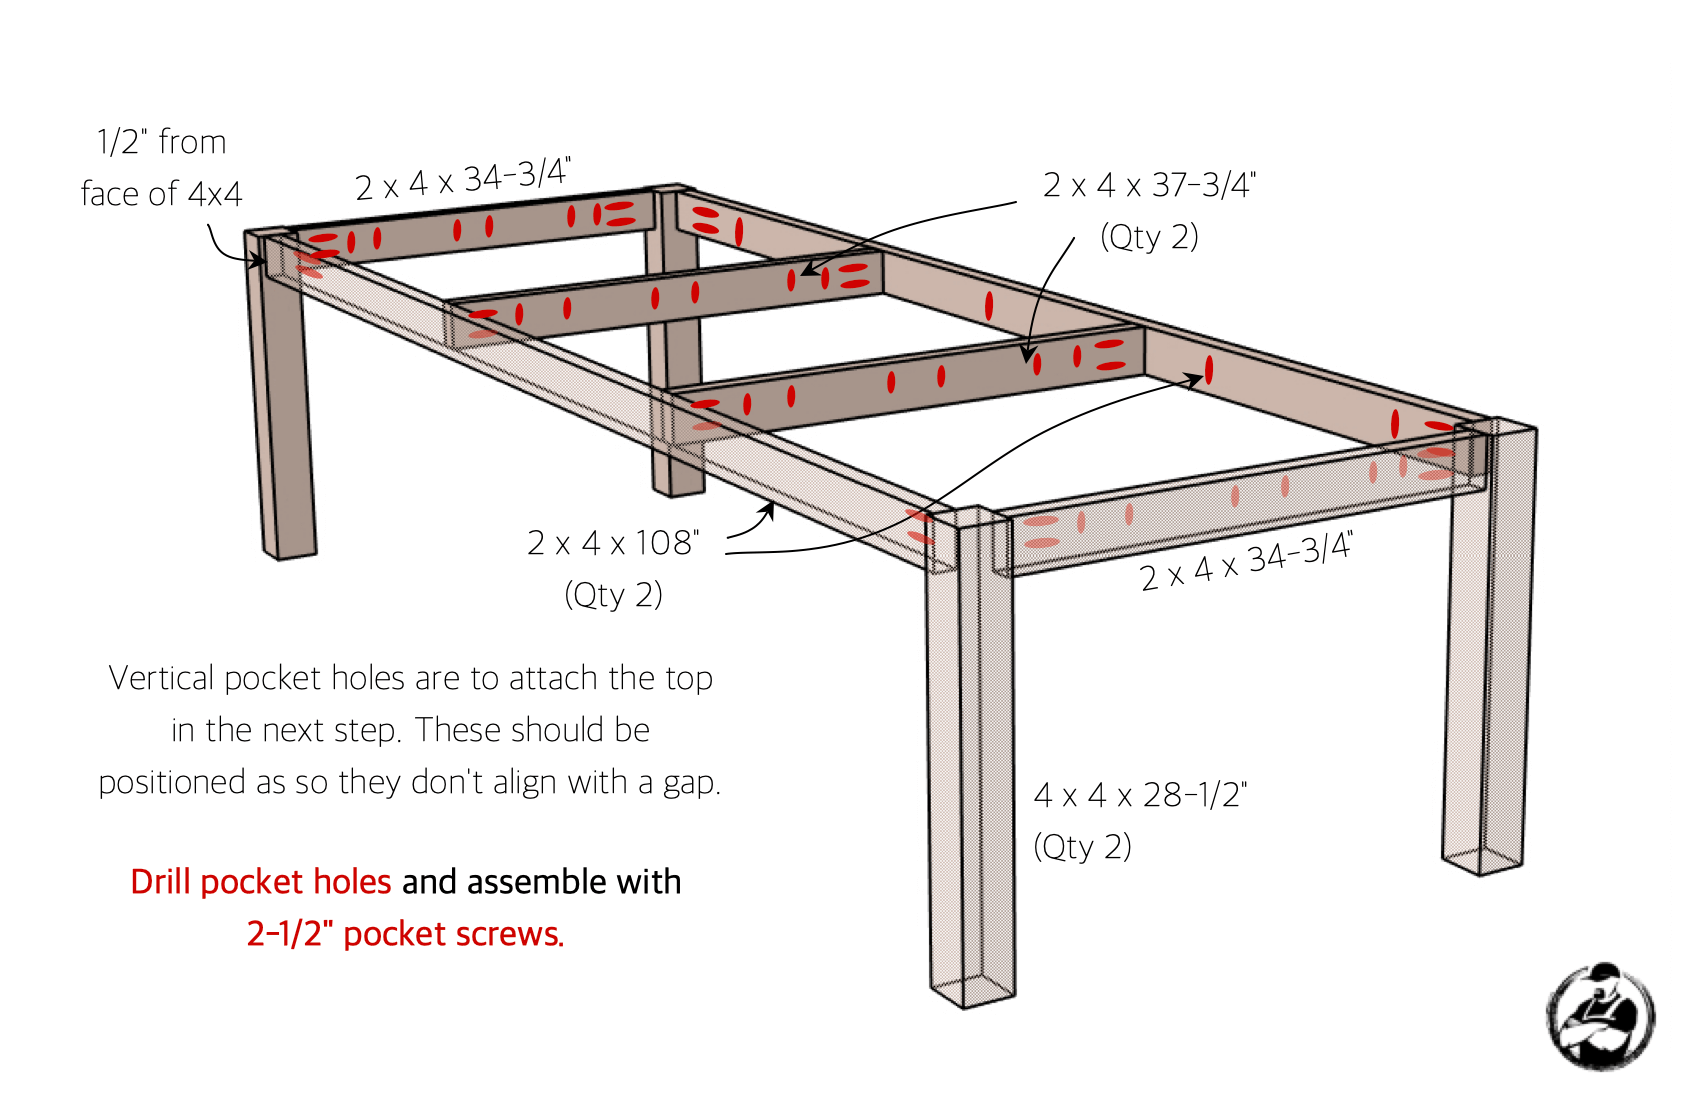
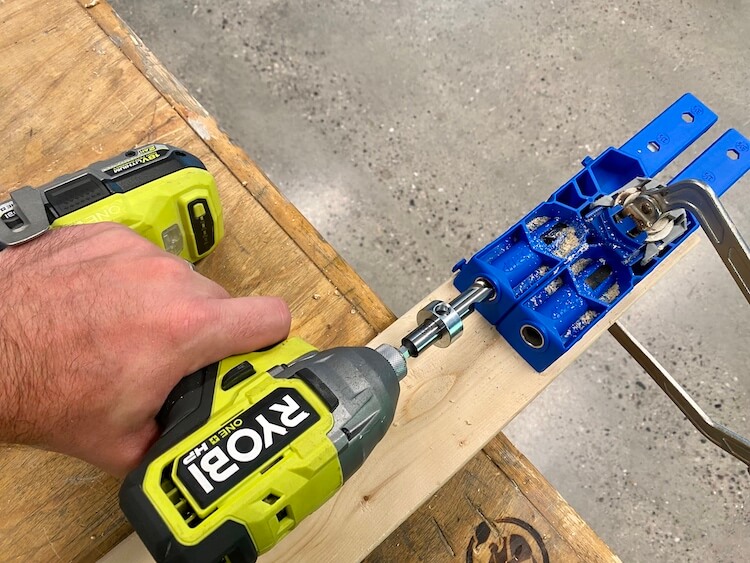
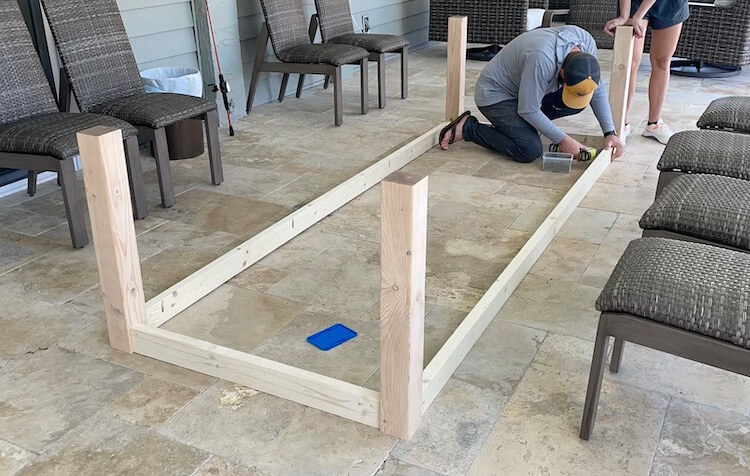
- Assemble the Base
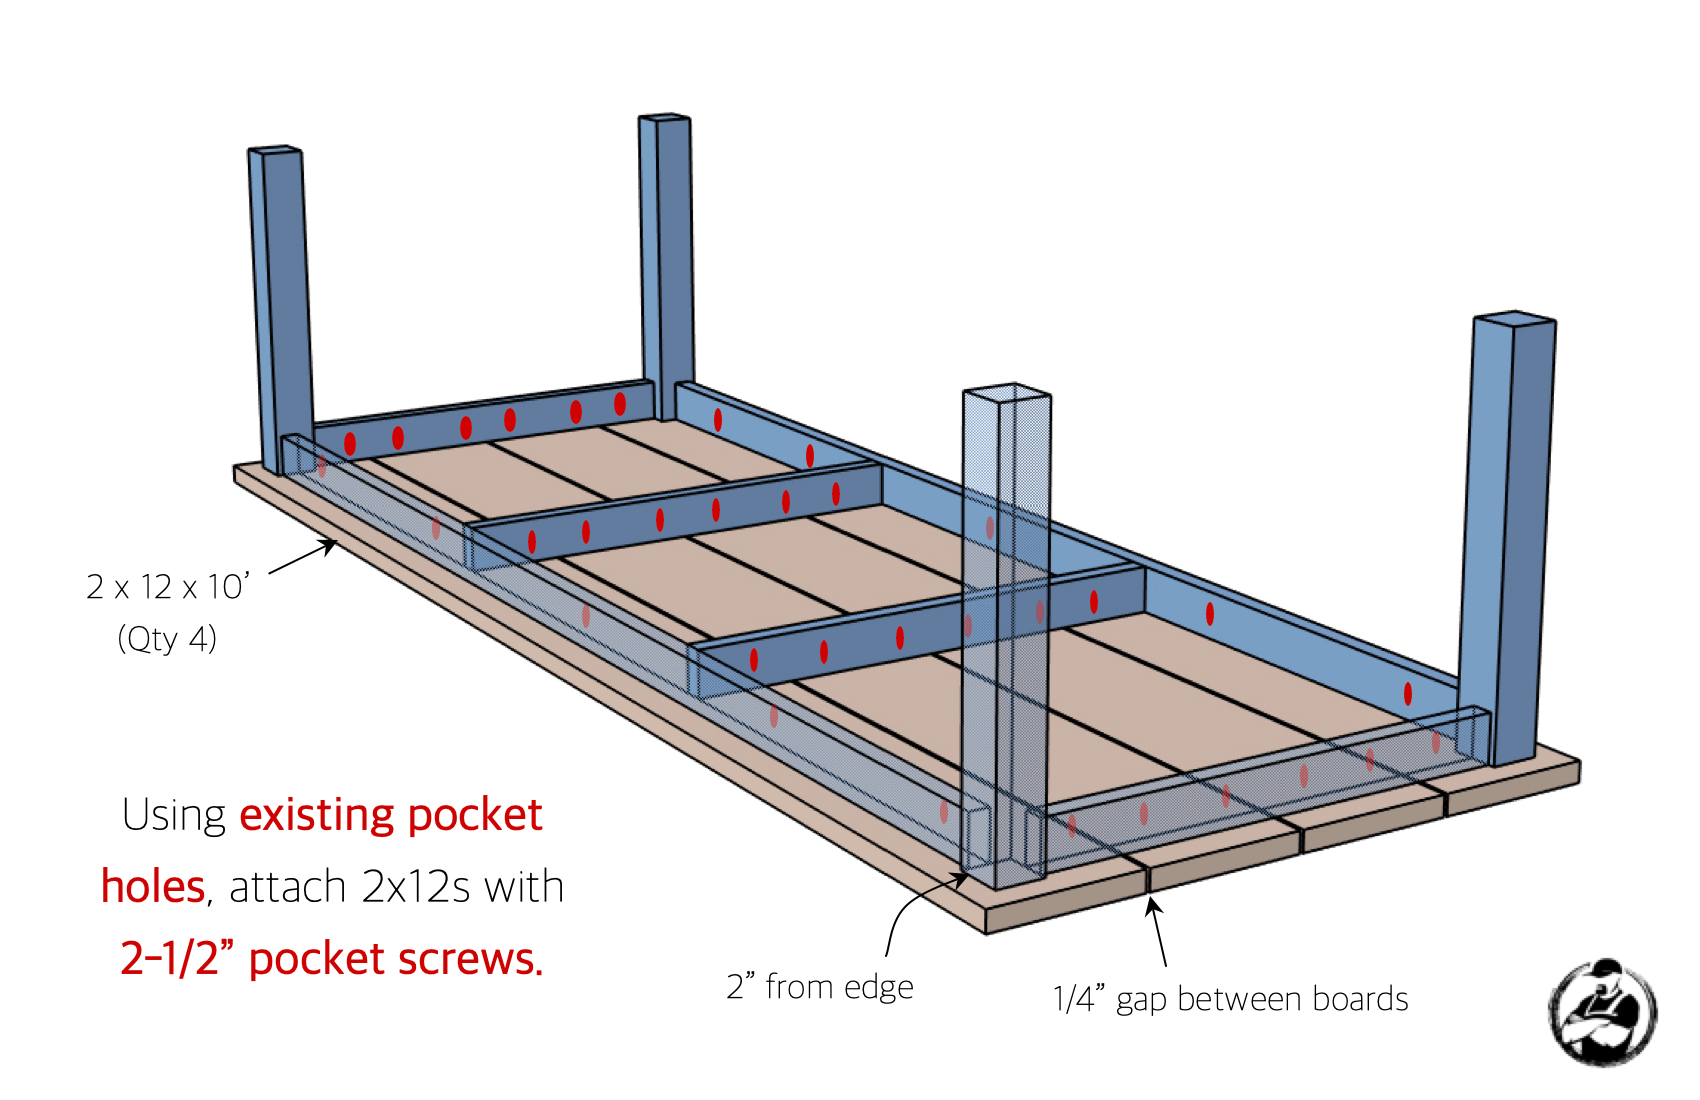
- Attach the Top
I actually build this top with no gaps but I wish I would have left a 1/4″ between the boards. I also opted to screw the top in place with the table upright since we only had two people and this thing is an absolute beast once assembled.
Questions? Comments?
As always, if you have any questions don’t hesitate to comment below and especially don’t forget to post pictures of your finished products in the comments!

