
How to Fix a Rotted Door Frame
Quick fix: Repair a rotted exterior door frame with the DAP Plastic Wood Rot Repair Kit for about $40 in product and a free afternoon — a fraction of the $400–500 a contractor charges, and a sliver of the thousands you’ll spend if water reaches the wall framing. The kit is a two-step Wood Hardener + Epoxy Filler system that turns soft, rotted fibers into a cured, paintable surface stronger than the original wood. Documented by Jamison Rantz, May 2026.
I walk through this door every single day. It’s the side entry that connects my office to my wood shop — and for years I’ve been pretending the wood rot creeping up the bottom of the frame wasn’t there.
It was there.
If I’d let it go another season or two, the rot was going to climb past the frame and into the wall framing — and that’s the kind of repair that turns a Saturday afternoon into a five-figure problem. So here’s the full play-by-play of how I fixed a rotted exterior door frame for about $40 with the DAP Plastic Wood Rot Repair Kit, plus the preventive fix I did on a second door so it never gets this bad in the first place.
If you’ve got an exterior door (or two, or six) and you’ve never crouched down to check the bottom — bookmark this and go look the second you finish reading.
Why Rotted Door Frame Repair Can’t Wait
Wood rot is one of those slow problems that hides in plain sight. Paint cracks. Water sneaks in. The frame softens. Then one day you press on it and your finger sinks in like it’s drywall.
Here’s the cost ladder, and it’s why I wish I’d done this two years ago:
The repair I’m about to show you is the $40 version — different approach than the contractor (chemical hardener + epoxy fill instead of cutting and splicing in new wood), same end result: a solid, paint-ready frame that stops the much bigger bill from ever showing up.
How to Spot Wood Rot Before It Gets Bad
Before you fix it, you’ve got to find it. The bottom of an exterior door frame is the #1 place I see rot show up, and there are three reliable tells:
- Paint cracks or flaking along the bottom 4–6 inches of the frame — that’s the entry point for water.
- Soft spots. Press the wood with your thumb or the tip of a screwdriver. Healthy wood is firm. Rotted wood feels like a wet sponge.
- Stained, dark, or fibrous wood where the frame meets the threshold or the concrete.
If you press a screwdriver into the wood and it sinks in without resistance — you’ve got rot. Don’t panic; just plan on a Saturday with the kit below.
What You’ll Need: Tools & Materials
How to Fix a Rotted Door Frame Step-by-Step
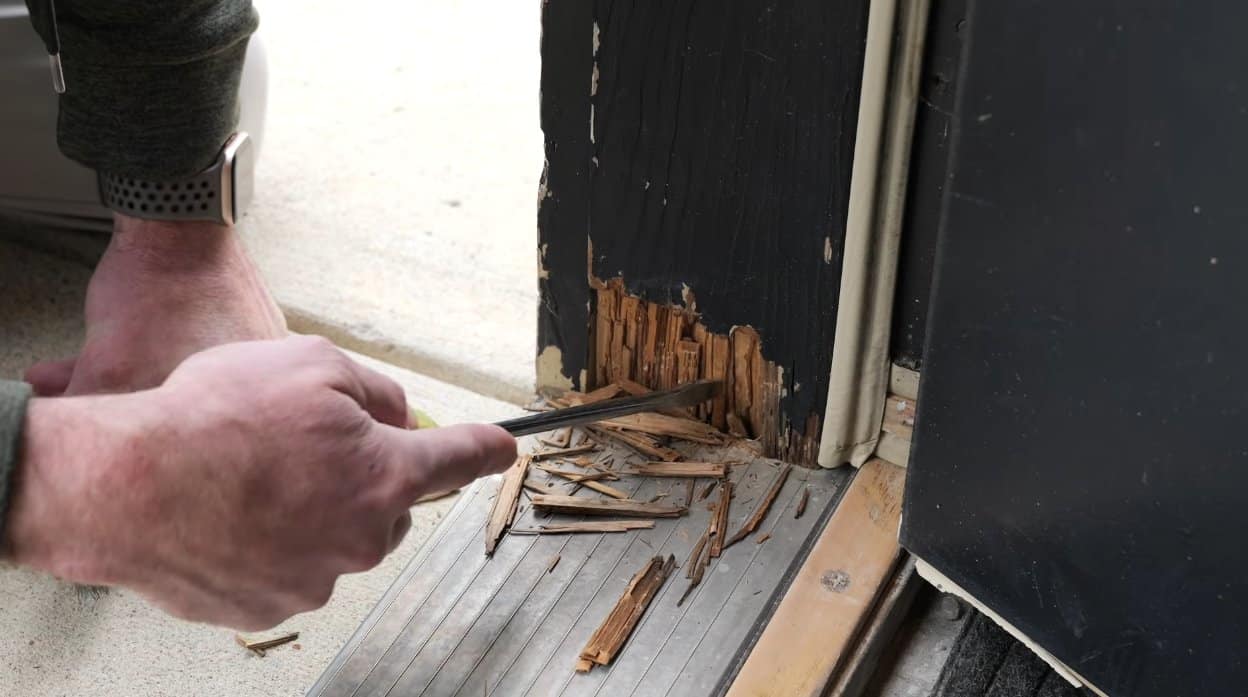
Dig Out the Rotted Wood
Grab your chisel, putty knife, or even a flathead screwdriver and start clearing out every loose wood fiber and crumbling chunk. Don’t be shy — anything that comes out easily was already lost. You want to get back to solid, structurally sound wood.
A wire brush is handy for cleaning up the surrounding paint chips and dust. The goal: a clean cavity that’s ready to accept the hardener.
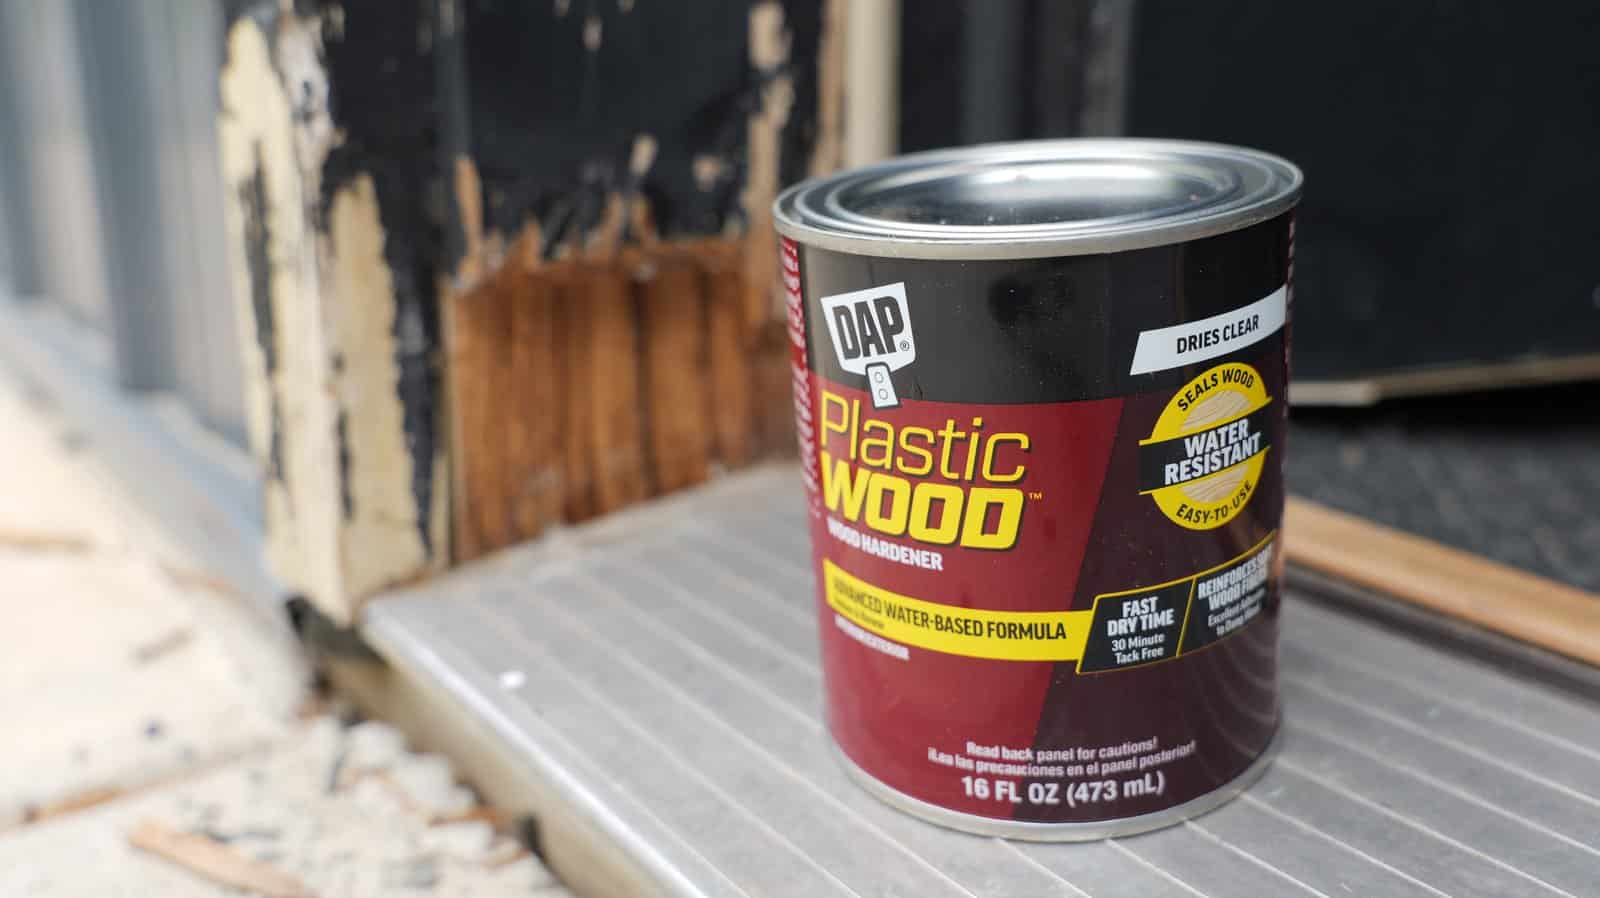
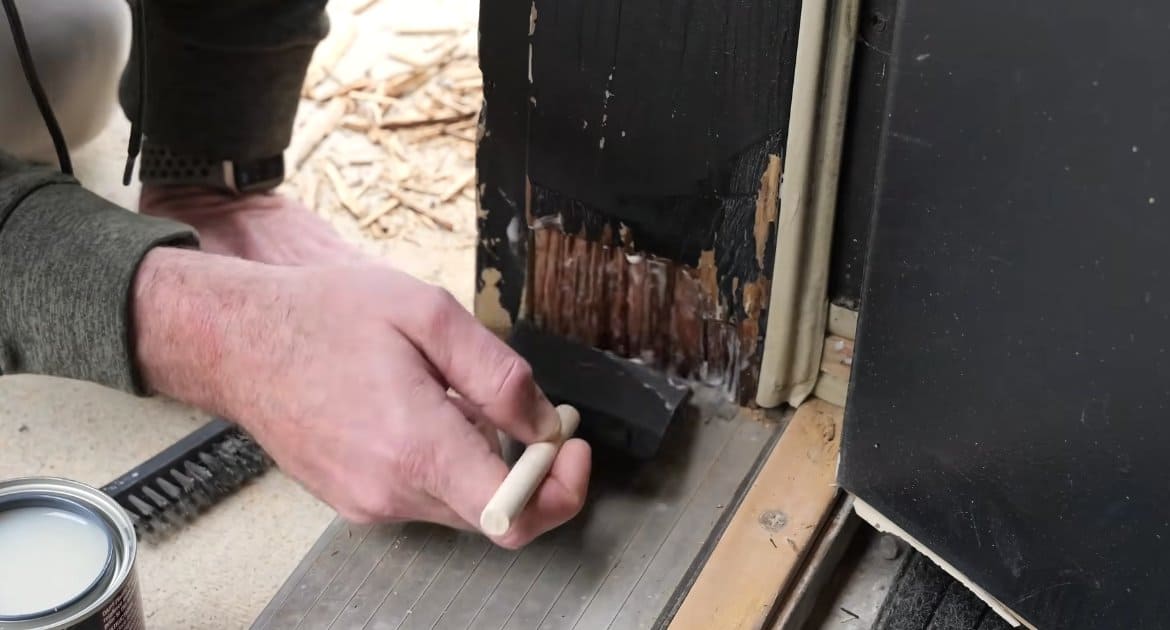
Apply DAP Wood Hardener
Now flip open the Wood Hardener from the kit. This is a thin, watery liquid that soaks into the remaining wood fibers and locks them down — turning the soft, punky stuff at the edges of your repair into a hard, stable base the epoxy can grab onto.
Brush it on generously. Let it work into every soft spot. Then let it cure for 2 to 4 hours (check the can for your exact cure window).
While that’s setting up, this is the perfect time to walk around and inspect your other exterior doors. Which brings me to…
Catch the Other Doors Early
I have a second exterior door my wife just repainted, and I noticed it was starting the same story — a little missing paint at the bottom, a few hairline cracks. That’s exactly how this whole project began two years ago on door #1.
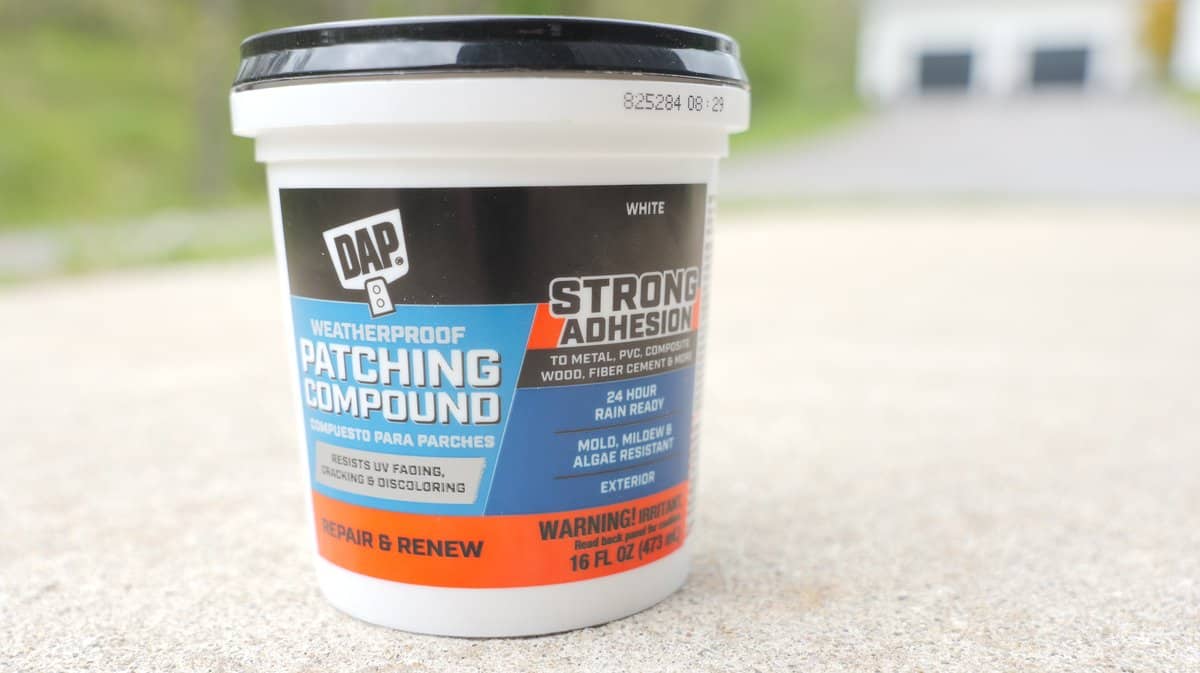
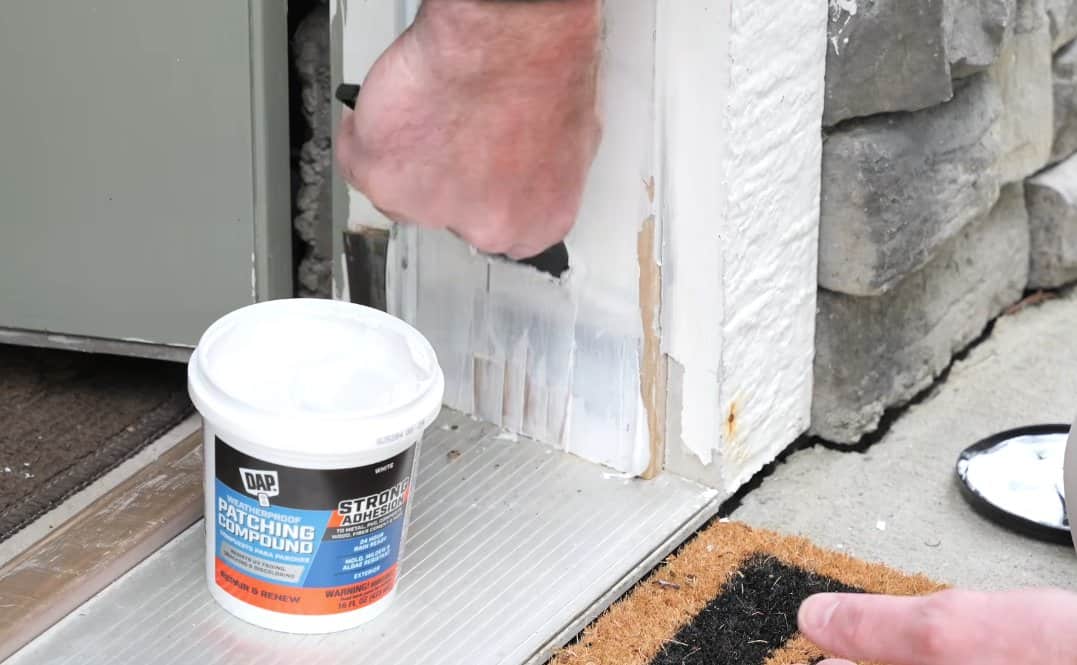
So while the hardener was curing, I did a 10-minute preventive fix on door #2 with the DAP Weatherproof Patching Compound. It’s basically wood filler that’s rated for exterior use — bonds well, sheds water, and sands smooth.
Scrape off loose paint. Press the compound into the cracks with a putty knife, slightly proud of the surface (you’ll sand it flush later). Let it cure per the label.
That’s it. A 10-minute job that almost certainly just saved me another full-day repair five years from now.
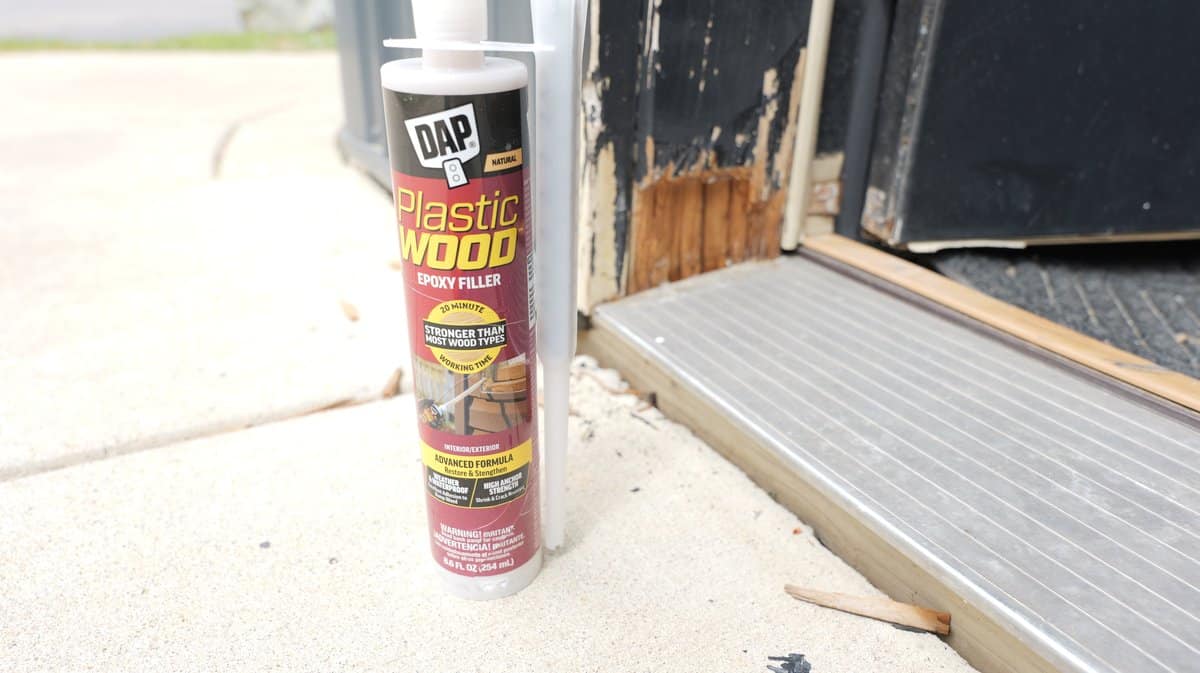
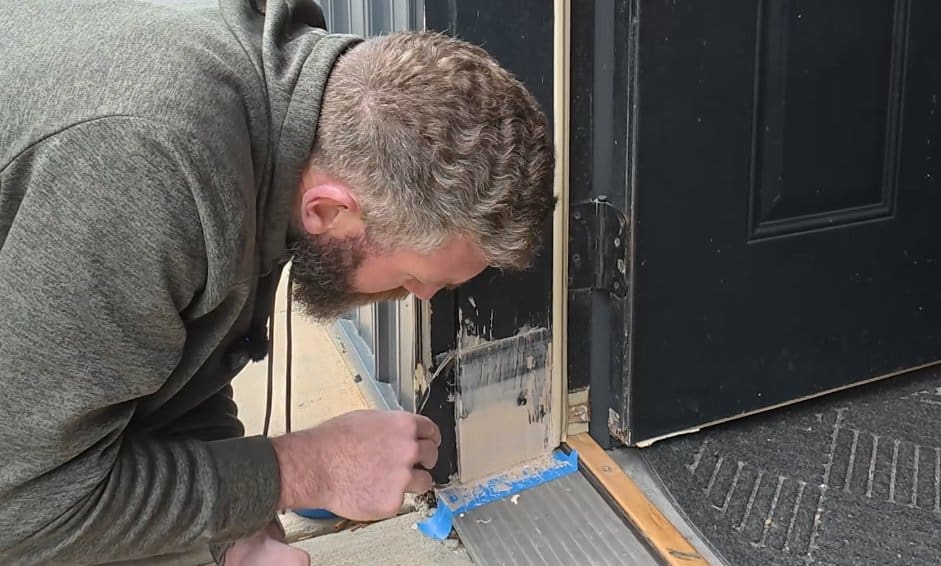
Mix and Apply the Epoxy Filler
Back to the main repair. The hardener’s cured, and now it’s time for the two-part Epoxy Filler from the kit. This is the structural stuff — once it cures, it’s actually stronger than the original wood.
The cartridge loads into a standard caulk gun and comes with a mixing nozzle that combines the two parts as you dispense. A few notes from learning the hard way:
- Push out a small ribbon first until the color is uniform — that means the two parts are mixing properly.
- You’ve got about a 20-minute working time, so have everything prepped before you start.
- Tape off your edges so you don’t get epoxy where you don’t want it.
- On a deep fill like mine, the epoxy can sag a little. Don’t fight it — fill the cavity, let it stiffen for a couple of minutes, then come back and tool it.
To get a flat surface, I piled the epoxy slightly proud of the frame, then dragged a putty knife across the top of the frame as a reference, using the existing flat surfaces to screed off the high spots and feed the low spots. Works surprisingly well.
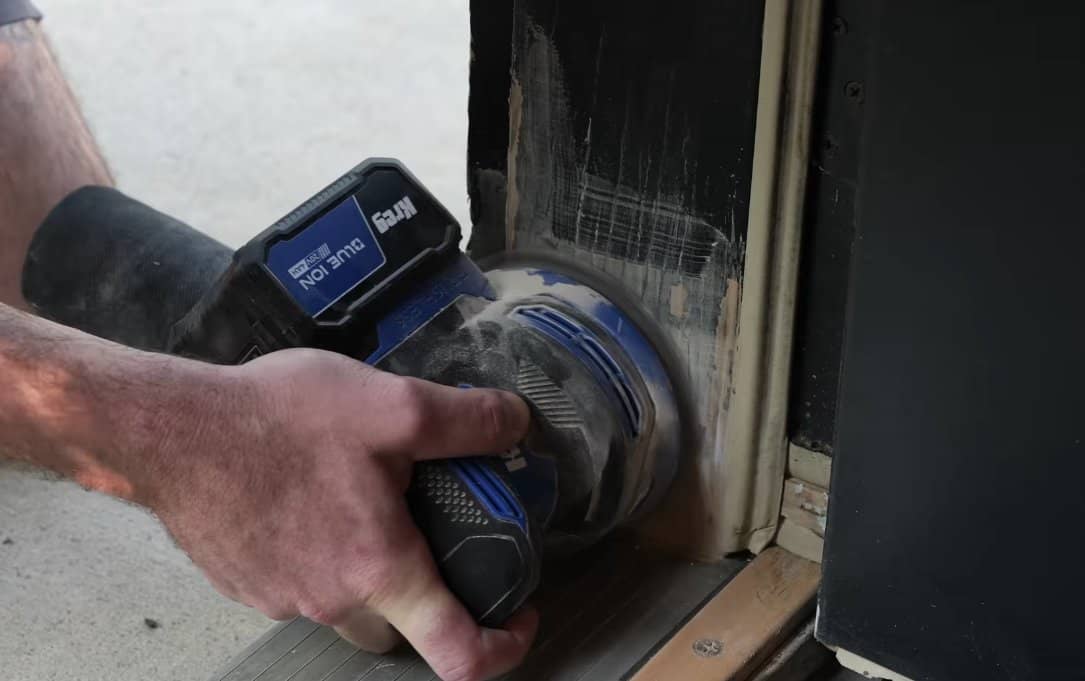
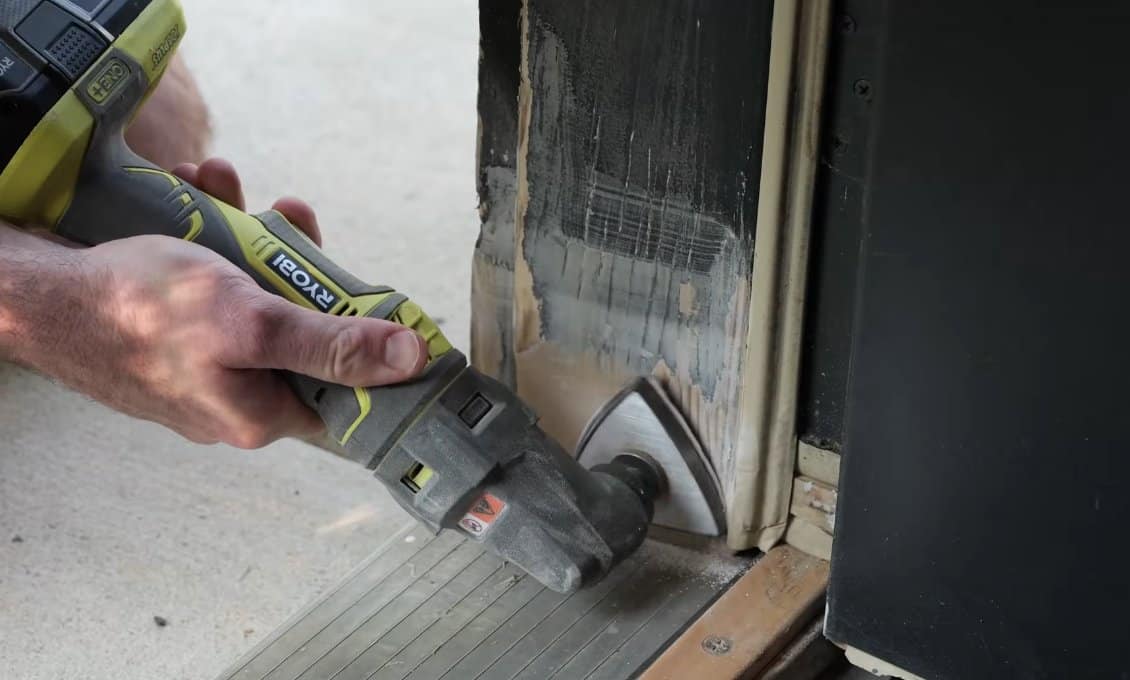
Sand the Repair Smooth
Once the epoxy is fully cured (overnight is safe), sand it smooth. Start at 80 grit to knock down the bulk, then work up to 220 for a paint-ready surface. Take your time on the contour — feathering the new material into the surrounding trim is what makes the repair invisible once it’s painted.
Same drill with the patching compound on door #2 (and here’s where you’ll really notice: the patching compound sands much easier than the epoxy — which is exactly why catching rot early saves so much labor).
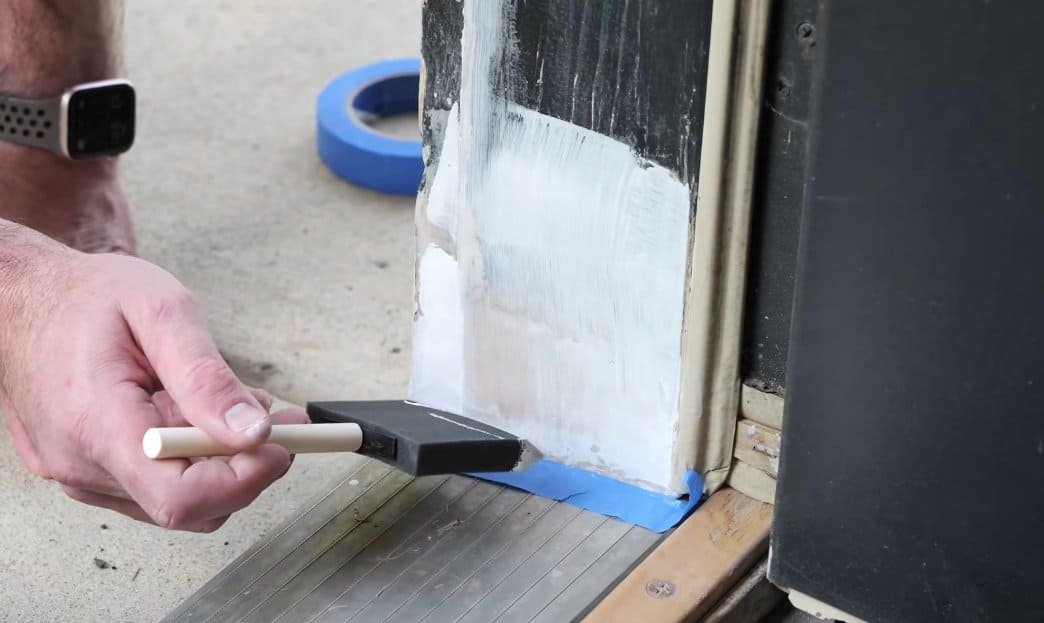
Prime and Paint
Hit the sanded repair with a coat of exterior primer — yes, a foam brush works fine, don’t let anyone tell you otherwise. Let it dry per the can.
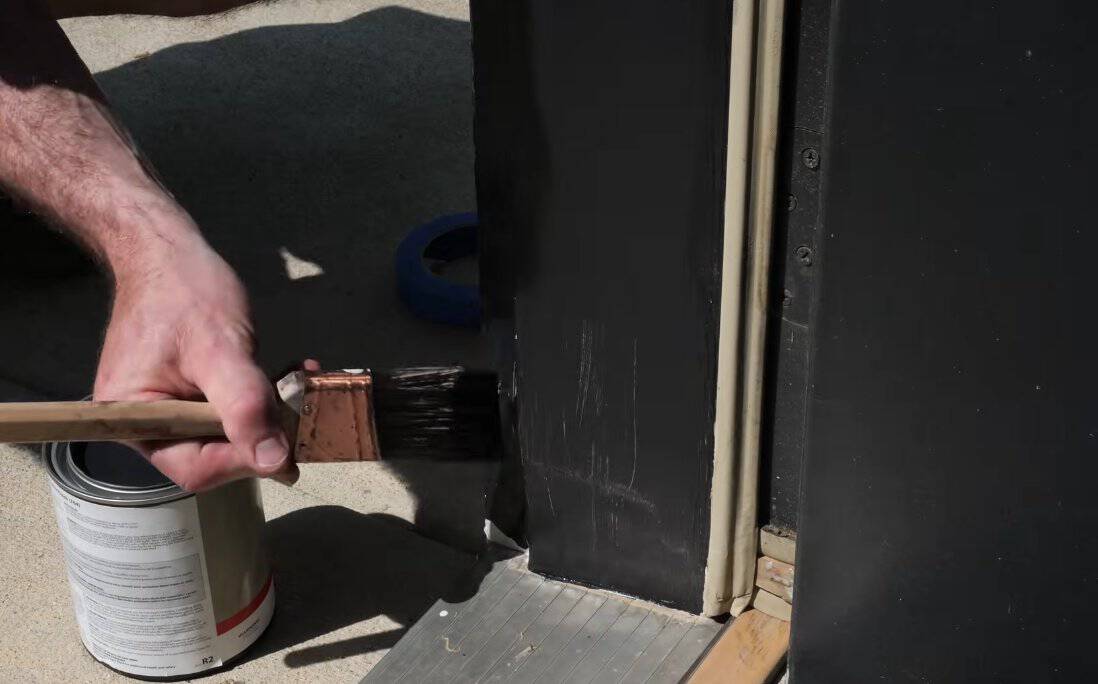
Once the primer is dry, two coats of your exterior trim paint and the repair literally disappears. If you matched the existing trim color, nobody walking up to your door will ever know there was rot here.
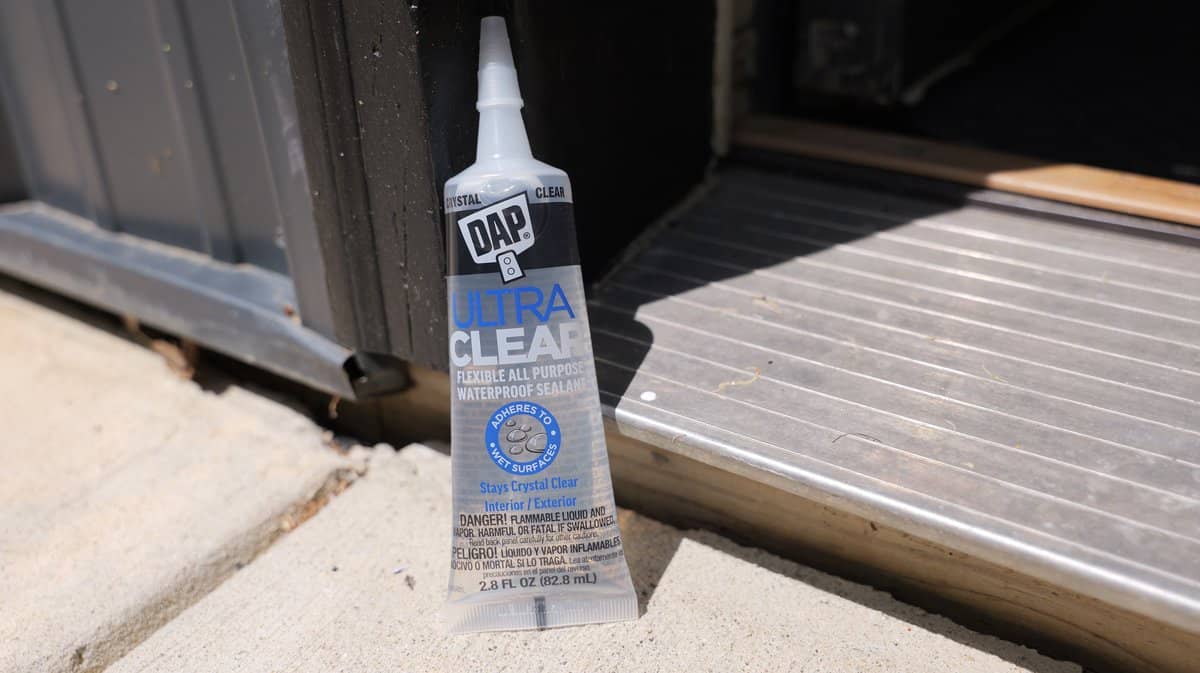
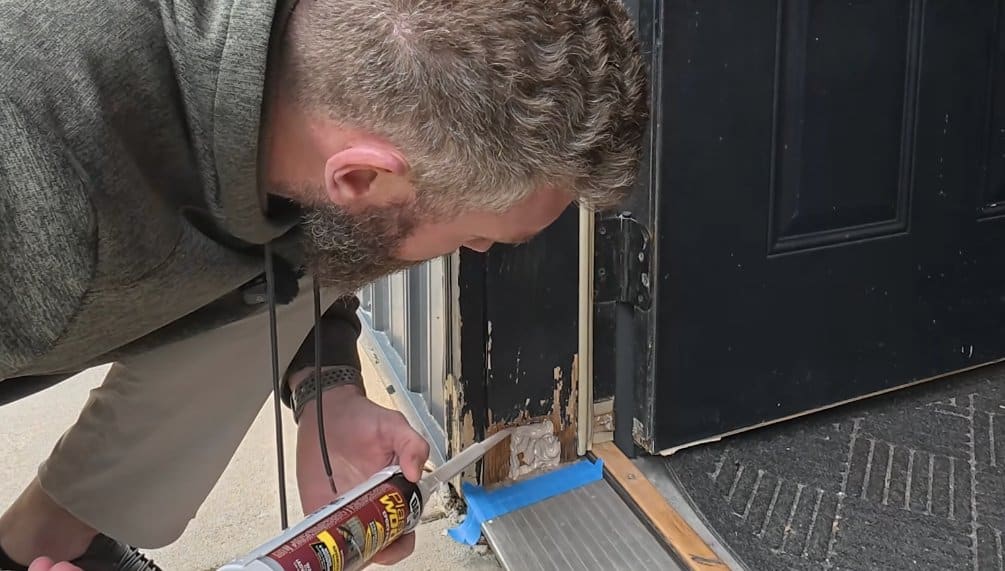
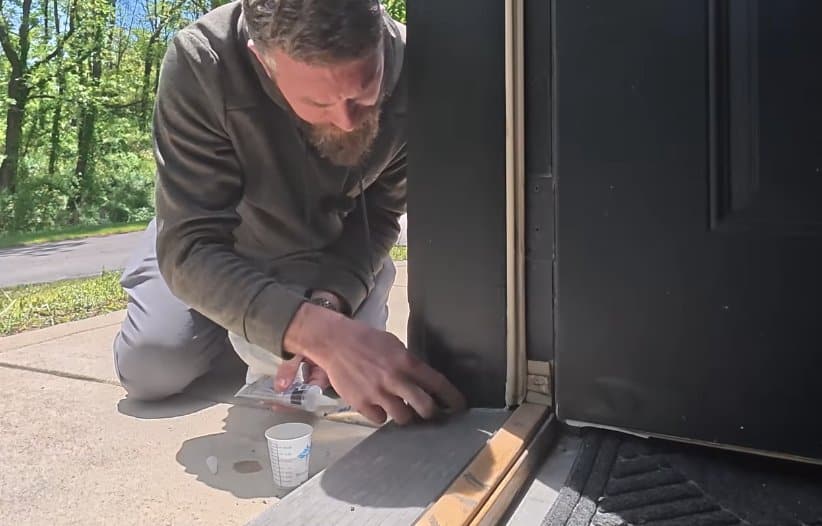
The Final Precaution — Seal It
This is the step a lot of DIY repairs skip, and it’s the one that makes the fix last. I ran a clean bead of DAP Ultra Clear along the bottom of the door trim where it meets the threshold and the concrete. Ultra Clear stays clear, stays flexible (even in cold temps), and seals the joint so any future water gets shed before it can find a path back into the wood.
The epoxy itself isn’t going to rot — but there’s still original wood behind it. The sealant protects that.
The Final Result
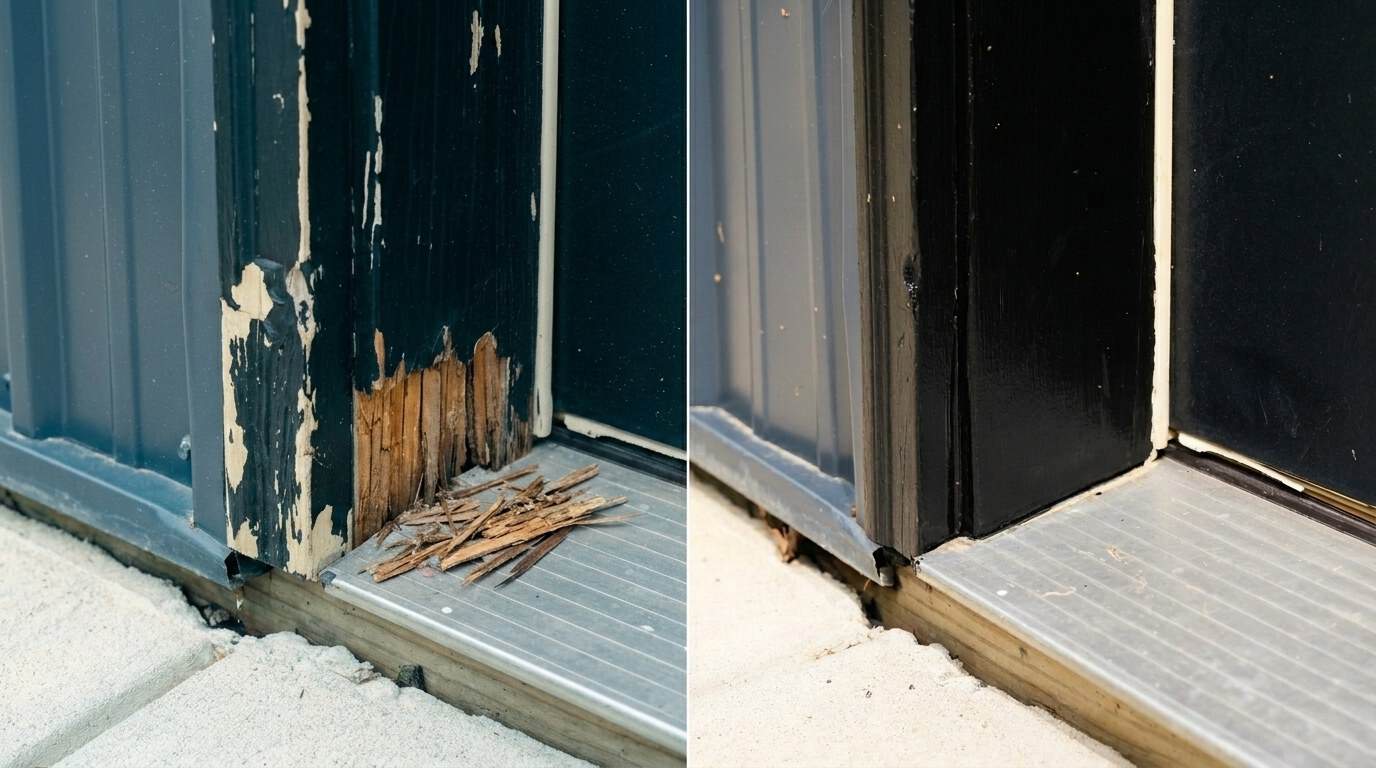
Total spend: about $40 in product. Total time: one afternoon plus cure time. The frame looks like the rot was never there, and now I’m not worried about coming home one day to a wall-cavity disaster.
If you’d told me a couple years ago that I could fix a rotted exterior door frame myself — having never done it before — for the price of a takeout dinner, I would’ve stopped procrastinating a lot sooner. So consider this your nudge.
Wood Rot Repair FAQ
Can you really repair rotted wood, or do you have to replace it?
You can repair it as long as you can get back to enough solid wood for the hardener and epoxy to bond to. The DAP Wood Hardener stabilizes the remaining fibers, and the Epoxy Filler rebuilds the missing material. The cured repair is actually stronger than the original wood. Full replacement only becomes necessary if the rot has eaten through the structural part of the frame or migrated into the wall.
How long does a DAP wood rot repair last?
When you follow the steps — clean it out, harden it, fill with epoxy, prime, paint, and seal the joints — a properly done repair can last decades. The two failure modes that shorten it are skipping the hardener (so the epoxy bonds to weak wood) and skipping the sealant bead (so water finds its way back behind the repair).
How much does it cost to fix a rotted door frame?
DIY with the DAP Plastic Wood Rot Repair Kit runs about $40 for the kit, plus another $10–$20 if you also pick up the Weatherproof Patching Compound and Ultra Clear sealant. A contractor cut-and-splice is typically a few hundred dollars depending on your area. If the rot has spread into the wall framing, you’re easily into the thousands once drywall, framing, and possible mold remediation are factored in.
What’s the difference between wood hardener and epoxy filler?
Wood hardener is a thin liquid that soaks into soft, partially-rotted wood and cures it solid — think of it as primer for rotted fibers. Epoxy filler is a thick, structural paste that replaces missing wood. You almost always want to use them together: hardener to prep the surface, epoxy to rebuild the missing material.
Can I just use regular wood filler instead?
For tiny cosmetic cracks on an interior door, sure. For an exterior door frame that sees rain, snow, and temperature swings? No. Standard wood filler isn’t weatherproof and won’t survive a season. You want exterior-grade products: the DAP Plastic Wood Rot Repair Kit for structural rot, or the Weatherproof Patching Compound for shallow cracks.
How do I prevent wood rot in the first place?
Inspect the bottom 6 inches of every exterior door frame twice a year — spring and fall. Touch up any cracked or missing paint immediately. Run a sealant bead where the trim meets the threshold or the concrete. And keep landscaping/sprinklers from spraying directly on the door frame.
Your Move
Go check your doors. Today. Crouch down, look at the bottom 6 inches of every exterior door frame in your house, and press on any spot where the paint looks tired. If anything feels soft — order the kit, set aside an afternoon, and handle it before it becomes a contractor problem (or worse, a framing problem).
If you want the visual version of this whole repair, the full video is on YouTube — it’s the one with me looking concerned at a door frame. And if you tackle this yourself, tag @rogue_engineer on Instagram. I want to see your before-and-afters.
Products used in this repair (affiliate links)
- DAP Plastic Wood Rot Repair Kit — Amazon · DAP.com (often cheaper in-store)
- DAP Weatherproof Patching Compound — Amazon
- DAP Ultra Clear Waterproof Sealant — Amazon
This post is sponsored by DAP. As an affiliate, this site may earn a small commission on qualifying purchases at no additional cost to you.
