

How to Install Vinyl Plank Flooring
This episode was sponsored by The Home Depot however the opinions are 100% my own.
When it came to installing flooring in our basement we knew we wanted something durable, waterproof and easy to install. We settled on luxury vinyl plank (LVP) flooring and more specifically Sterling Oak from Lifeproof. Ultimately, we are extremely happy with how easy it was to install and in this article we share all the tips and tricks we picked up along the way.
If you love this stuff as much as we do, you might want to consider following us on Instagram where we post sneak peeks and behind the scenes stuff in our stories. Also, did you know you can get tons of projects plans from all around the web when you follow us on Facebook and Pinterest!
Full Project Video
Tired of reading already? Check out the full project video below and don’t forget to subscribe on YouTube so you won’t miss future videos!
Preparing Floor for Vinyl Plank Flooring
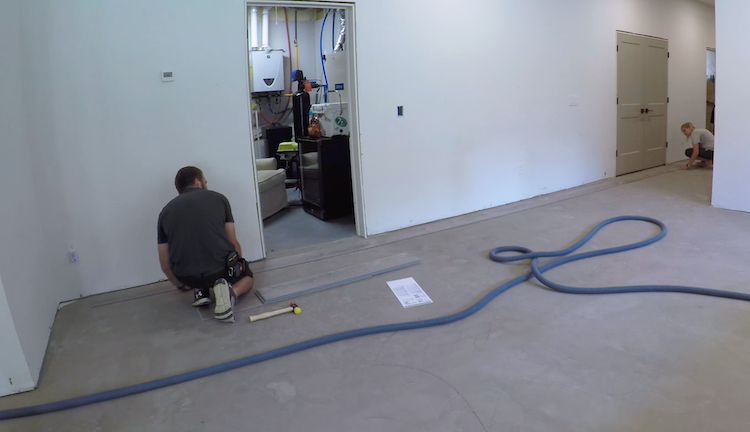
To make sure your floor doesn’t have any air pockets below it you’ll want to check to see if the floor is level. Most flooring will give you a limit. For instance, Lifeproof LVP needs to be laid on a floor with no more than 1/4″ of variation in 10′. This can be checked with a long straight edge or board. these specs can be found in the installation guide.
If you are installing over concrete then you should use a concrete leveler to bring the low spots of the floor within those limits and grind down any high spots. If you are laying over a wood subfloor you should use self-leveling compound meant for that substrate and sand any high spots. Obviously, the floor will need to swept and free of any debris.
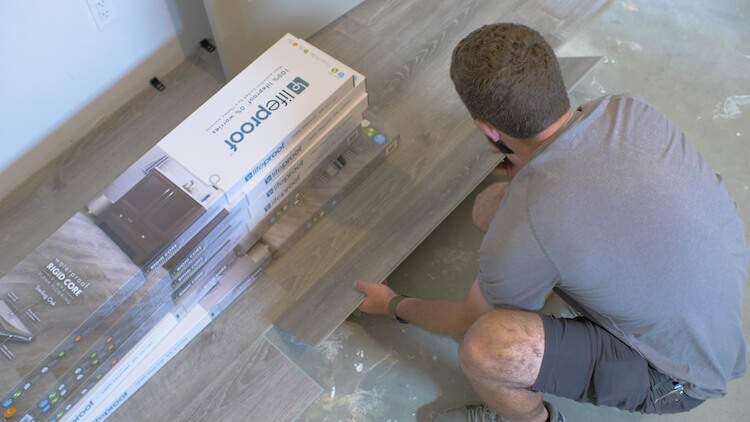
When it comes to using an underlayment with vinyl plank flooring, luckily, Lifeproof has already taken care of this and built it into the planks so no additional underlayment is required. If your LVP doesn’t have an underlayment built-in, I would highly recommend laying down an underlayment like QuietWalk to help with sound and provide a moisture barrier.
Which Direction to Install Vinyl Plank Flooring?
This is a common question and the answer is along the longest wall or run. If you have a hallway run it down the hallway, not across. If you have a square room then it’s your choice.
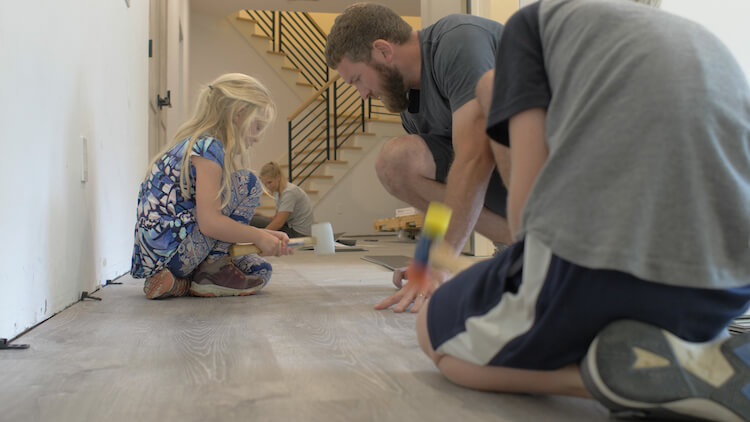
Laying the First Row
Starting in the left corner place 1/4″ spacers (2 per plank) against the wall for expansion and contraction. (This gap will get covered up by baseboard trim or quarter-round molding after the flooring is complete.) Then, join the first row together with the tongue side against the wall and slide it against the spacers. The tongue is the overhanging side of the plank and the groove is the exposed side of the joint.
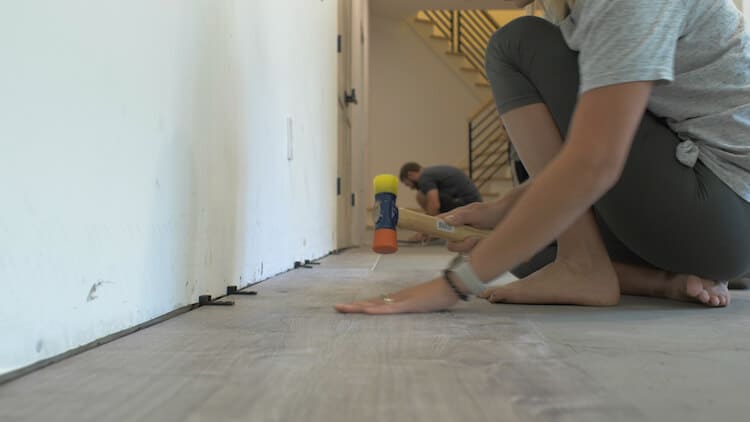
Connecting the Planks
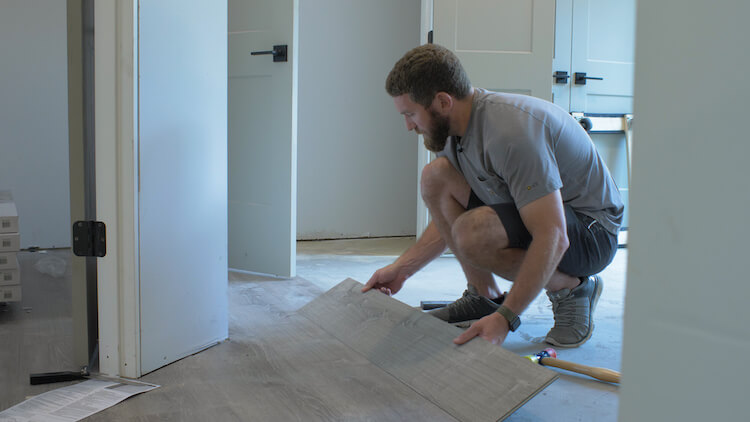
Connecting the planks is rather simple. Just slide the tongue into the groove on an angle, making sure the end of one board lines up with the last. Then, drop the board into place.
A soft hammer is perfect for finishing off the joint and then you can use a scrap piece of flooring or a tapping block and soft hammer to tighten up any gaps without damaging your groove. Home Depot also sells a flooring installation kit with all those things, spacers and pull bar which I highly recommend. When you get to the end of a row, use your off-cut to start the next row. Also, make sure that the seams are staggered which will help keep the floor straight and the joints tight.
Cutting the Planks
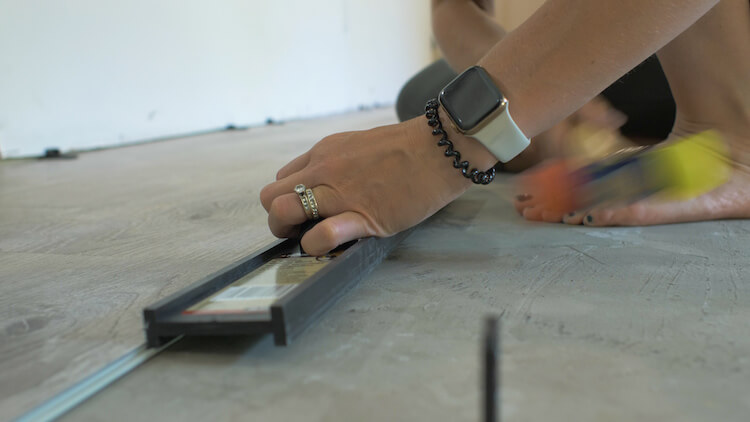
When it comes to cutting the planks there are a couple of options. You can simply score it with a utility knife (several passes) and then flip it over and snap it. If you choose this method I recommend a speed square for straighter square cuts as a utility knife can drift. This does take a little extra work but will avoid the plastic sawdust created by a miter saw.
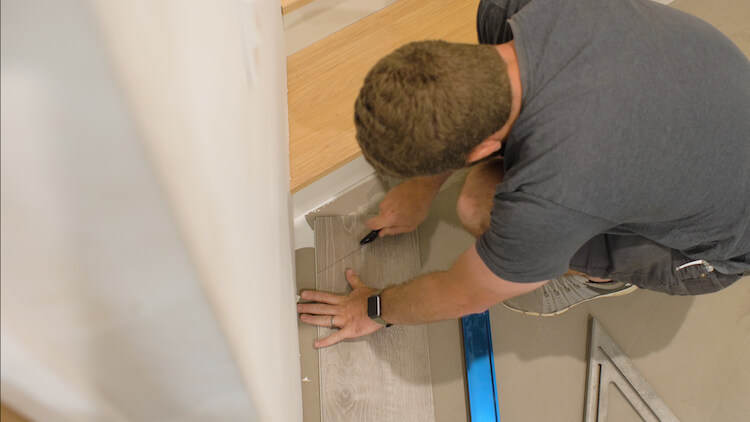
Which brings me to the second method. A miter saw will be the quickest and give you the cleanest cut. However, it does create a lot of sawdust that will require clean up and you will need to walk to the miter saw every time you need to make a cut.
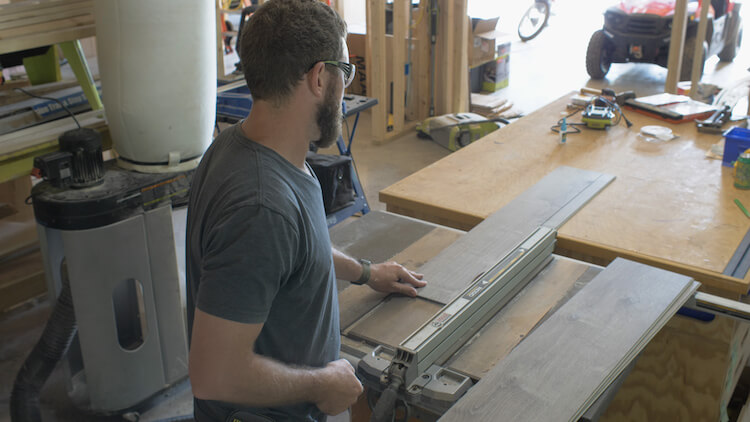
When it comes to notched cuts, a jigsaw or a hand saw is what you’ll want to use. And any rip cuts will be easiest with a table saw but can be done with the score and snap method if need be.
Angle Finding
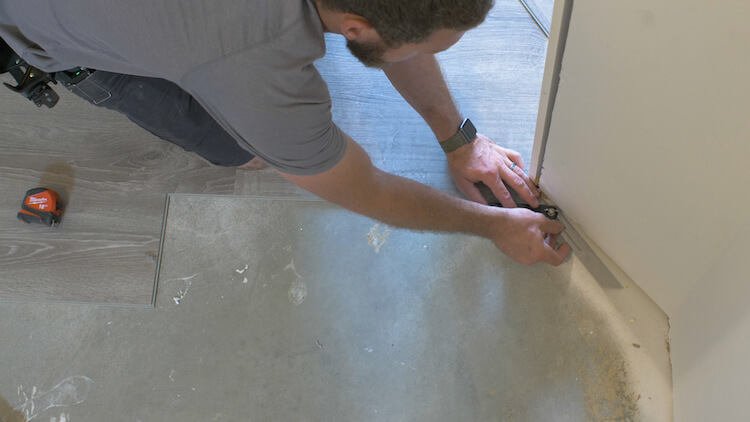
If you know you are going to run into an angled wall, do yourself a favor and buy a cheap t-bevel. This gauge has two straight edges with a nut to tighten them in place and transfer the angle to your plank for cutting.
Undercutting Door Jambs
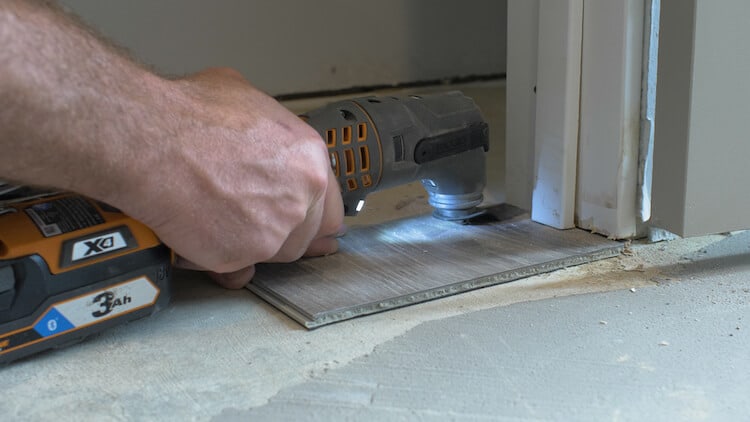
The flooring should be laid under the door jamb as no trim will be able to cover it. If the door jamb does not have a gap at the bottom or it isn’t quite enough to slip the plank under then you will need to flush-cut the jamb with a scrap piece of flooring. The easiest tool to use for this job is an oscillating multi-tool but a handheld flush cut saw or pull saw will work too.
Working in Tight Spaces
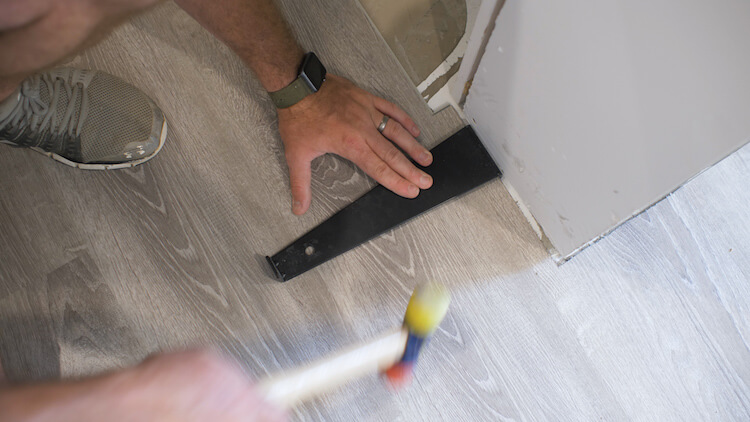
When you get to the last row or two you’ll notice that there isn’t enough room to hammer the last seam tight with a tapping block. This is when a pull bar come in hand. This is included in that flooring installation kit I mentioned earlier, and is basically a long “Z” shaped piece of steel with felt pads on the bottom to protect your flooring. One end goes against the edge of the floor and the other end can be tapped with a hammer to tighten up those last gaps.
Installing a Transition or Moldings
The types of transitions and moldings that are available are:
- T-Molding: Used to transition to a different floor with similar height or to hide a break in the flooring.
- Reducer: Used to transition from a higher or lower floor height.
- Stair Nose: Used on front edge of steps
- Thick Carpet Reducer: Used to transition to thick or plush carpet
- Quarter Round: Used to hide any unwanted gaps near walls & doors.
The installation process is pretty straight forward. The transitions come with a metal track that can be cut down to slightly less than the width of the doorway or area that needs the transition. Ideally you should position the track such that the edge of the transition is in the middle of the door when closed. This will assure that you only see flooring in your room when the door is closed. Then, attach the track to the subfloor with screws, anchors or, in my case, high quality construction adhesive. The molding then gets fitted into the track by firmly pushing down. Quarter round molding can be used to cover expansion gaps between old baseboard or exterior doors and this simply gets nailed in place.


How to Back Lay Vinyl Plank Flooring
It’s not ideal but sometimes it may be necessary to back lay the plank flooring into a room and avoid a transition piece. To do so, you have to work from right to left and the groove must slide under the tongue. Back laying make the tongues more vulnerable to getting damaged so be careful. If the joint will not come together as you expect it to then, more than likely, the tongue or groove is damaged and you will need to remove the broken piece of tongue or groove and try again. Once you get it to fit, again, a soft mallet and tapping block will tighten up the joints.
Final Thoughts
Overall this flooring went down really easy. With just my wife Jamie and I, we laid the entire basement floor in about 2-1/2 days. With dogs and kids running around, we knew we needed something that was durable and virtually maintenance free. That being said, I think we made the right choice and being able to install it ourselves saved us thousands of dollars.
Questions? Comments?
As always, if you have any questions don’t hesitate to comment below and especially don’t forget to post pictures of your finished products in the comments! ENJOY!
I did this same floor in my basement and with a pitbull and two toddlers I’ll be doing the same thing to my main floor overtop of the original hardwood as I don’t want to spend the money having everything refinished for everyone to destroy the hardwood again. I absolutely love this stuff and it gets an immense amount of compliments from everyone who sees it. I have the same color and everything.
What a great idea! And the hardwood will be protected if anyone ever wants to revert back. Our dog trashed the hardwoods in our last house. They had a polyurethane finish and the clear coat had scratch mark all over which can’t be fixed easily.
when you put this over your hardwood, did you use any underlayment, or just drop the planks onto the hardwood?
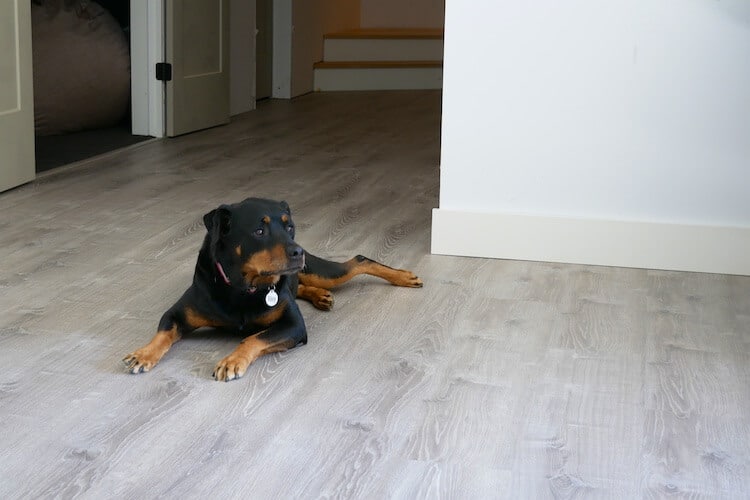
As always, a great presentation! How does the dog like the new floor? Is he able to walk and grip the floor or do its pads and claws slip?
She doesn’t have any complaints. I would have thought she would be slipping a bit but I haven’t noticed any slipping. Until she starts playing around of course.
That’s great news. We have a vinyl flooring now that we’ll be ripping out and replacing but my service dog has a terrible time slipping on the current stuff. It’s made me hesitant to with the Lifeproof but I’ll give it a look. Thank you for that feedback!
I installed LVP in my bedroom but instead of tongue and groove joints, they were a type of adhesive you pulled the paper strip off to expose. It went together very easily but I’m now seeing some coming apart. I’m afraid I may have installed the moldings too close to the LVP planks and they’re not able to move. How much of a gap should there be between the molding and the flooring?
I would love your input on how to replace a piece in the middle of a room. I have had this type of flooring down for about 8 years now and have 3 pieces that need replaced due to water damage.
How well has the flooring held up with the particular beast of burden in the pics? We have 2 Rotties and are in search of something durable because we live in the South and they are inside more than they are out.