
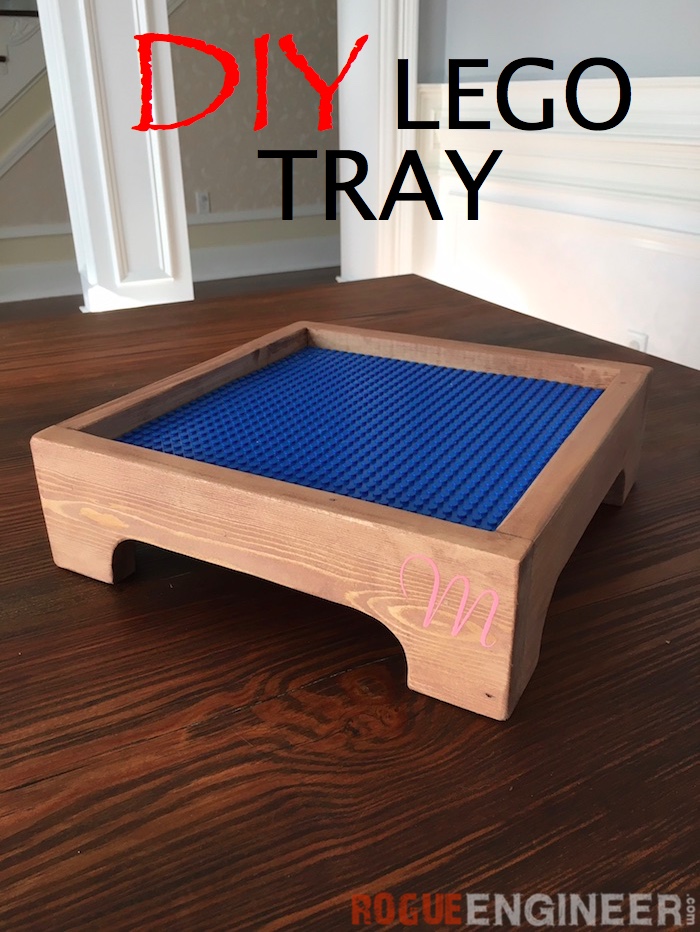
DIY Lego Tray
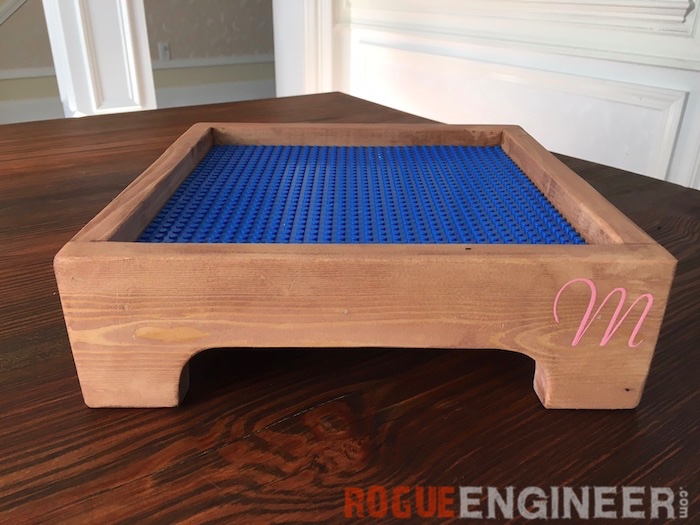
In this house WE LOVE LEGO’s. Last Christmas we made my son one really awesome lego table. It is by far one of the most used Christmas gifts we have done. So this year we decided to make my daughter a little Lego Tray of her own. It’s the perfect simple gift for any little one. Enjoy!
For sneak peeks of our upcoming projects be sure to follow me on Facebook and Instagram. Also, follow me on Pinterest to get tons of projects plans from all around the web!
Required Tools
Materials
- 3/4″ Plywood
- 10 1/8″x 10 1/8″
- 1 x 4 scrap
- 1-1/4″ Brad Nails
- Liquid Nails
- LEGO Baseplate
- wood filler
- Wood Glue
Disclosure: The links provided in the “materials” and “required tools” sections are affiliate links. If you would like to support our site and help keep our content free come find out more about how we can make money with no extra cost to you.
How to build a Lego Tray
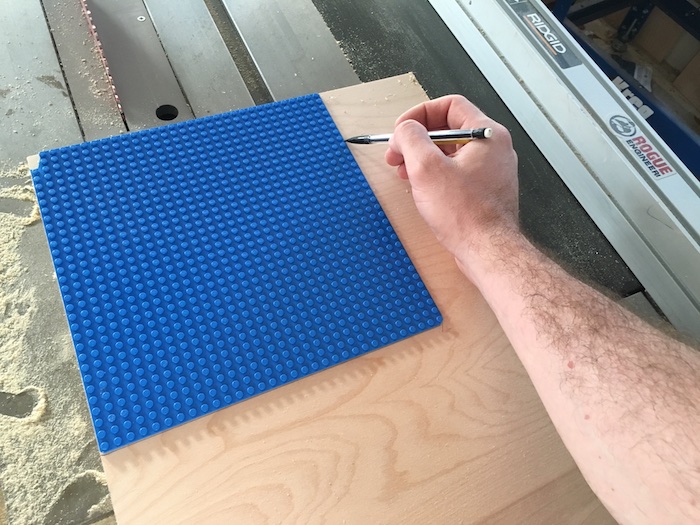
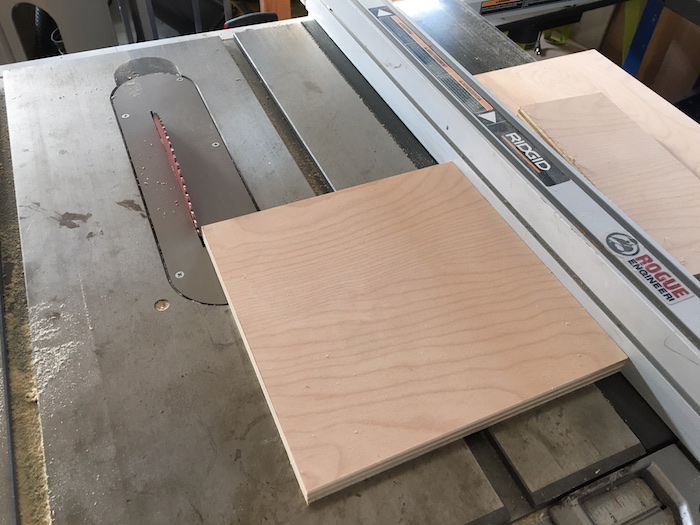
Step 1: Cut Wood
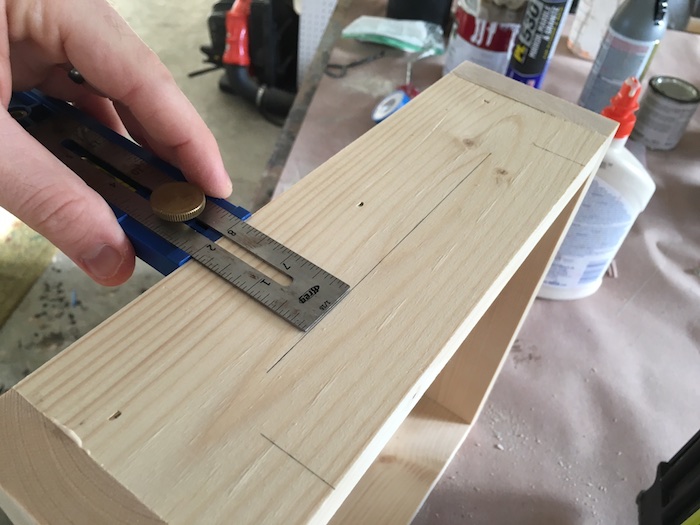
Trace the lego baseplate onto the 3/4″ plywood and using either you sliding compound miter saw or table saw, cut out the plywood.
*Note: the lego baseplate is slightly larger than the 10″x10″ like the package states. Tracing will give you the exact size.
Using the miter saw, cut 2 1X4’s at 10 1/16″ and 2 1×4’s at 11 5/8″.
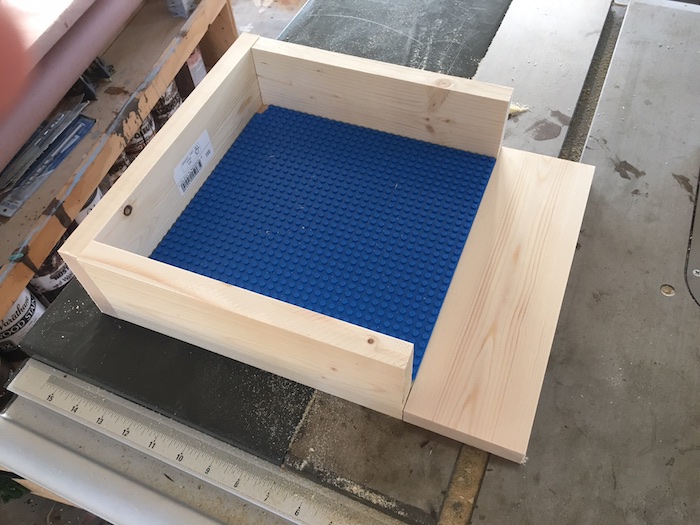
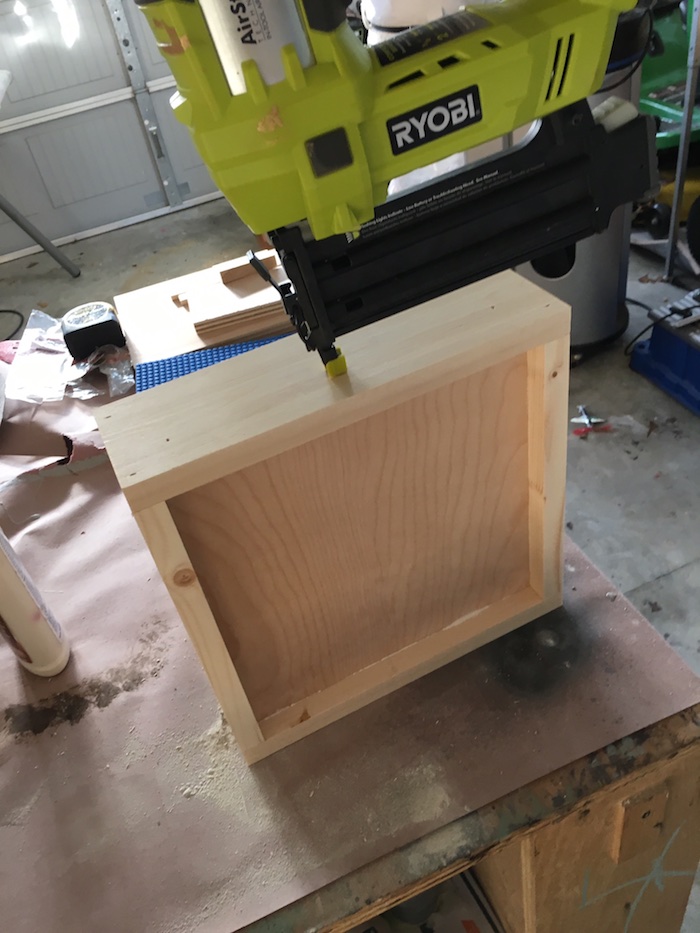
Step 2: Assemble Tray
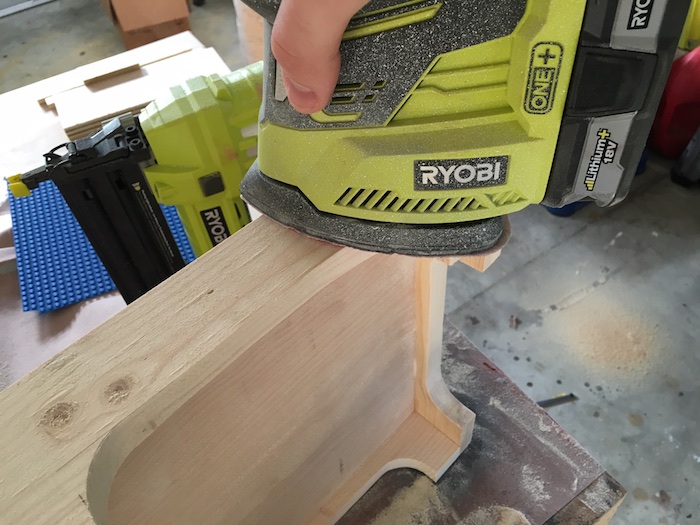
Using wood glue and brad nailer, begin to assemble tray. I attached the plywood 3/4″ down on the 1X4’s using a piece of 3/4″ wood as my spacer.
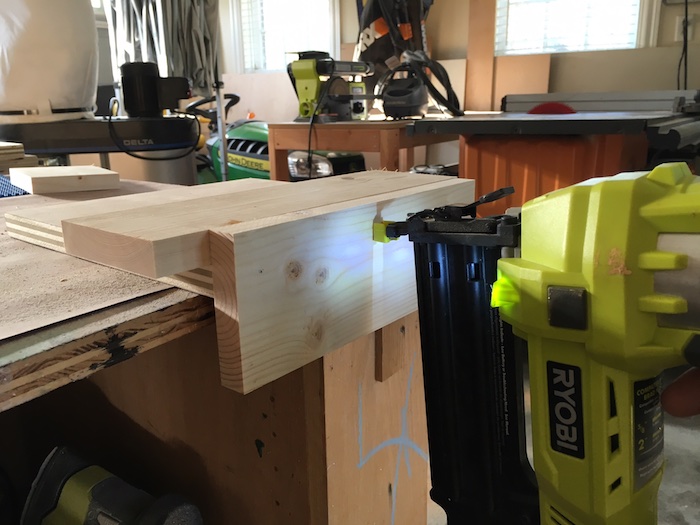
*spacer shown in picture above
Step 3: Cut Sides
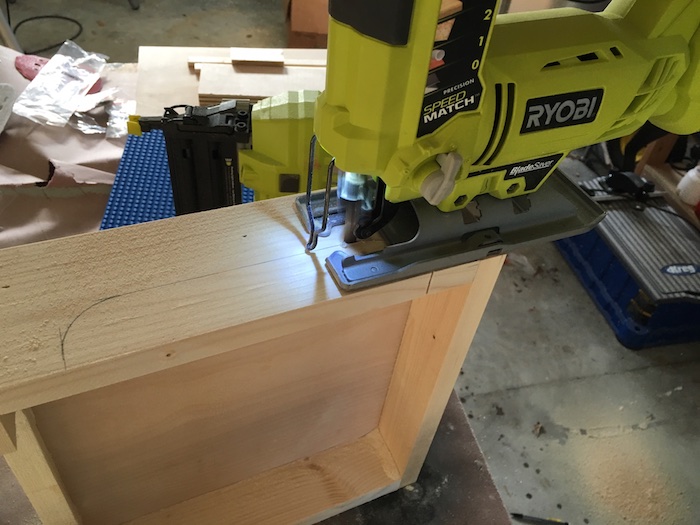
To finish the tray, using a jig saw cut rounded sides out of the 1×4″ to create the tray. I used a round object as my guide. I marked 2″ in from the sides and 2″ down from the top.
trace circle object to create a a rounded corner on the tray bottom.
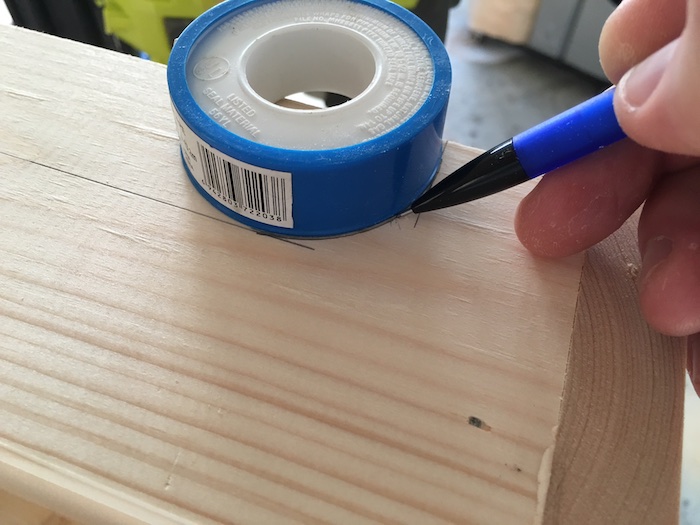
Trace on all sides and cut out using jig saw.

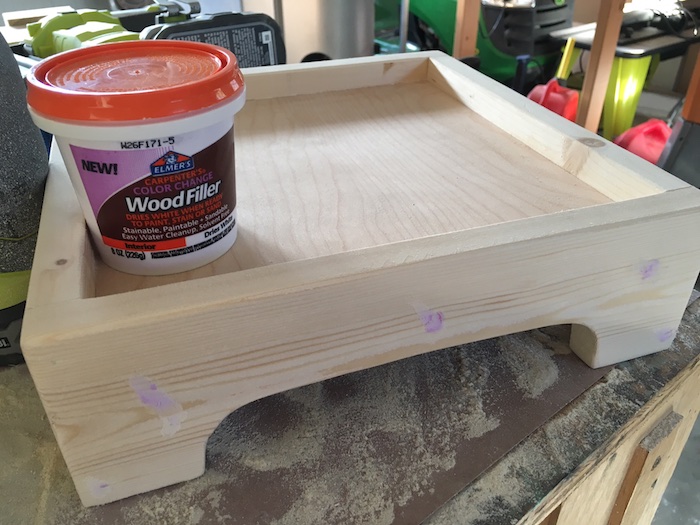
Step 4: Fill and Sand
Using wood filler, fill the holes from he brad nailer. Once dried sand tray using 220 grit sand paper.
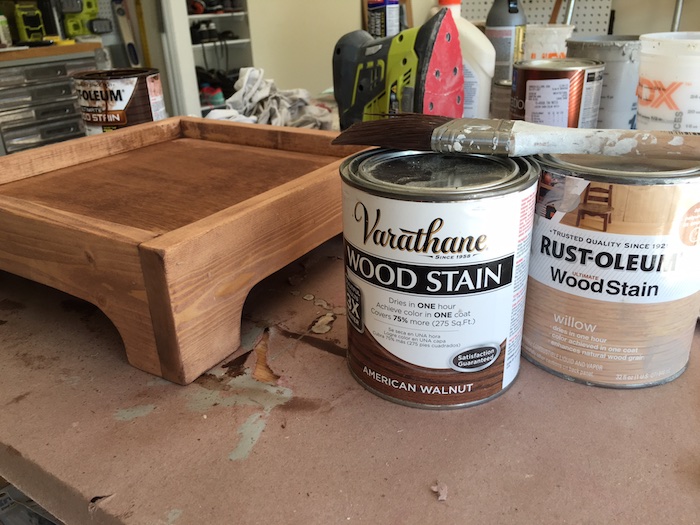
Step 5: Finish
For the finish on this lego tray, we started with Rust-Oluem Willow stain, which we found was’t quite enough color change for us, so we ended up doing a coat of Varathane American Walnut on top before the Willow died which blended the colors nicely.
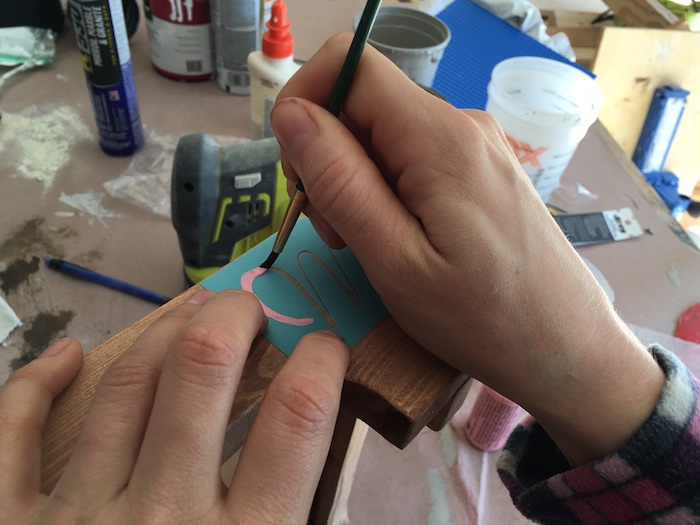
Once the stain was dry we added an “M” stencil to the side in light pink acrylic.
Once the stenciled letter was dry, we sprayed a coat of Watco Clear Lacquer in Gloss.
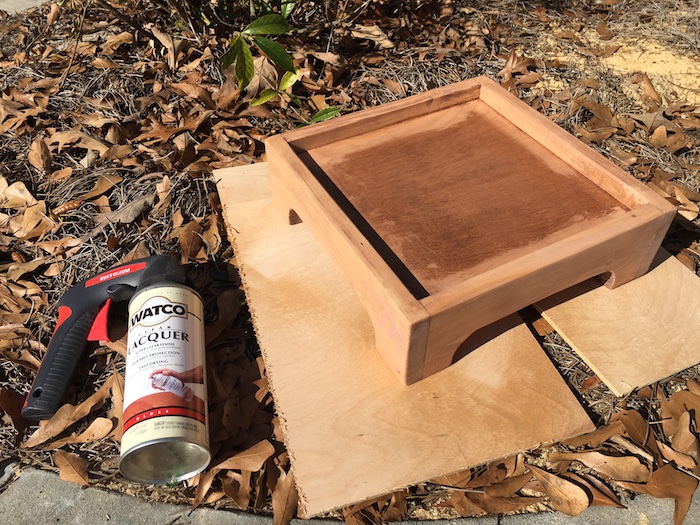
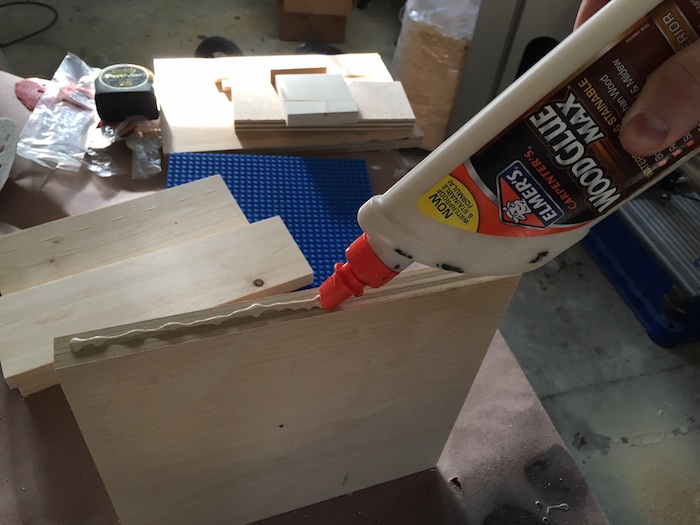
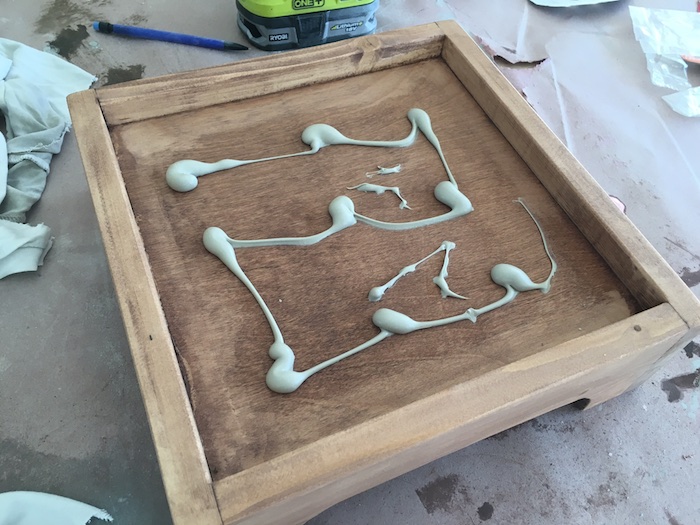
Step 6: Glue Lego baseplate
Last step is to glue the lego baseplate to the top of the tray using liquid nails. Press lego baseplate down firmly onto liquid nails.

There you have it! This little lego tray makes the perfect homemade Christmas gift for the little ones in your life. I know my daughter will surely enjoy it. The best gifts and the gifts made with love. Happy building!

Questions? Comments?
As always, if you have any questions don’t hesitate to comment below and especially don’t forget to post pictures of your finished products in the comments! ENJOY!
I had just found a lego base under our couch (go figure!) when I saw this project. I went right out to the shop and saw that I had enough scrap wood for this, so I whooped it up! Just waiting on the poly to dry so I can sand and glue the lego piece in. 🙂 Great idea!!
Nice! I really like those free projects.
Jamie, I did a project like this a few years ago, converting a activity table into a lego table. It was 4 squares wide and 6 long. The lesson I learned is that over time, Liquid Nails melts the lego panels. We ended up with warped, bubbled terrain. I’m still looking for an adhesive that will work better.
That’s interesting. So far I haven’t run into any issue with the lego tray I built using the liquid nails. I did build my son a lego table 2 years ago, and didn’t have liquid nails at the time so I ended up using a silicon based adhesive, which seems to still be holding up without any issue.
Perfect execution of an excellent idea…thank you! Something to consider might be the addition of a drawer beneath the table for lego staorage. Thanks again for making the step-by-step instructions for this project available!