

Magnetic Bottle Opener
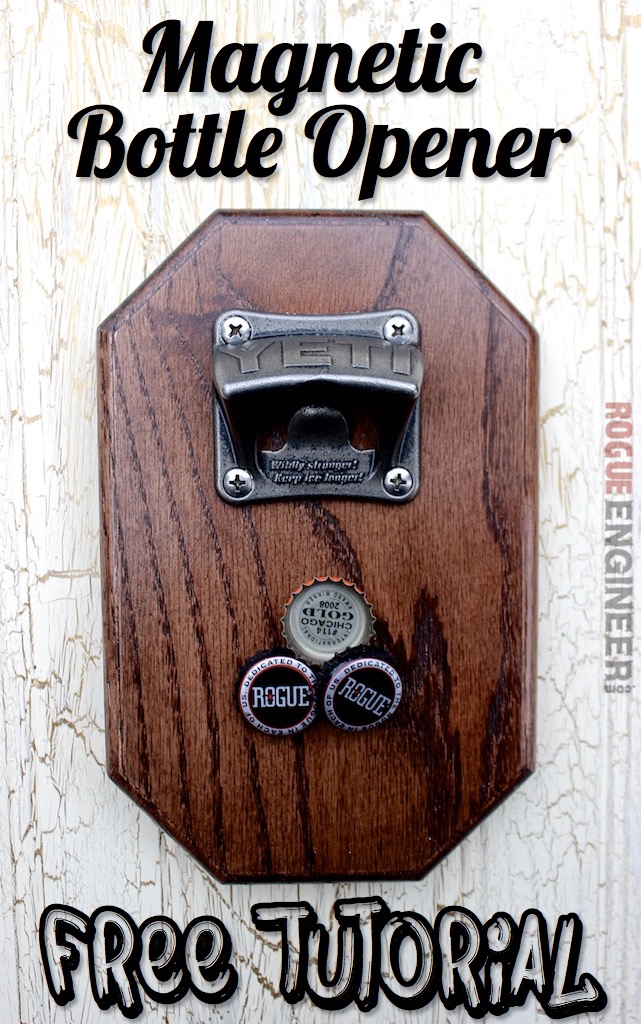
So I’ve been seeing these really cool DIY magnetic bottle openers floating around on the web and wanted to give it a try myself. The idea is the instead of a catch bucket for the bottle caps. Hidden magnets attach the bottle caps to the wood. Pretty cool huh!?! Well, here’s how I made my beer bottle opener for under $25.

Disclosure: The links provided in the “materials” and “required tools” sections are affiliate links. If you would like to support our site and help keep our content free come find out more about how we can make money with no extra cost to you.
Tools Required
- Drill
- Miter Saw
- Bit for Magnet Hole
- 1/4″ Magnets = 1/4″ Forstner Bit
- 2″ Magnet = 2″ Forstner Bit
- Router and Bit of your choice (Optional)
- Tape Measure
- Pencil
- Safety Glasses
- Hearing Protection
Materials
- 1 x 6 x 12″ Oak
- Wall Mounted Bottle Opener
- Magnets:
- Strong: 10 Neodymium Magnets 1/2″ x 1/4″
- Stronger: 2″ x 1/4″ Neodymium Magnet
- Liquid Nails
Plans
Step 1: Cut Oak to Length and Miter Corners
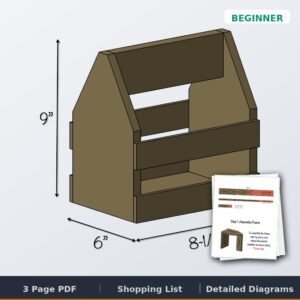
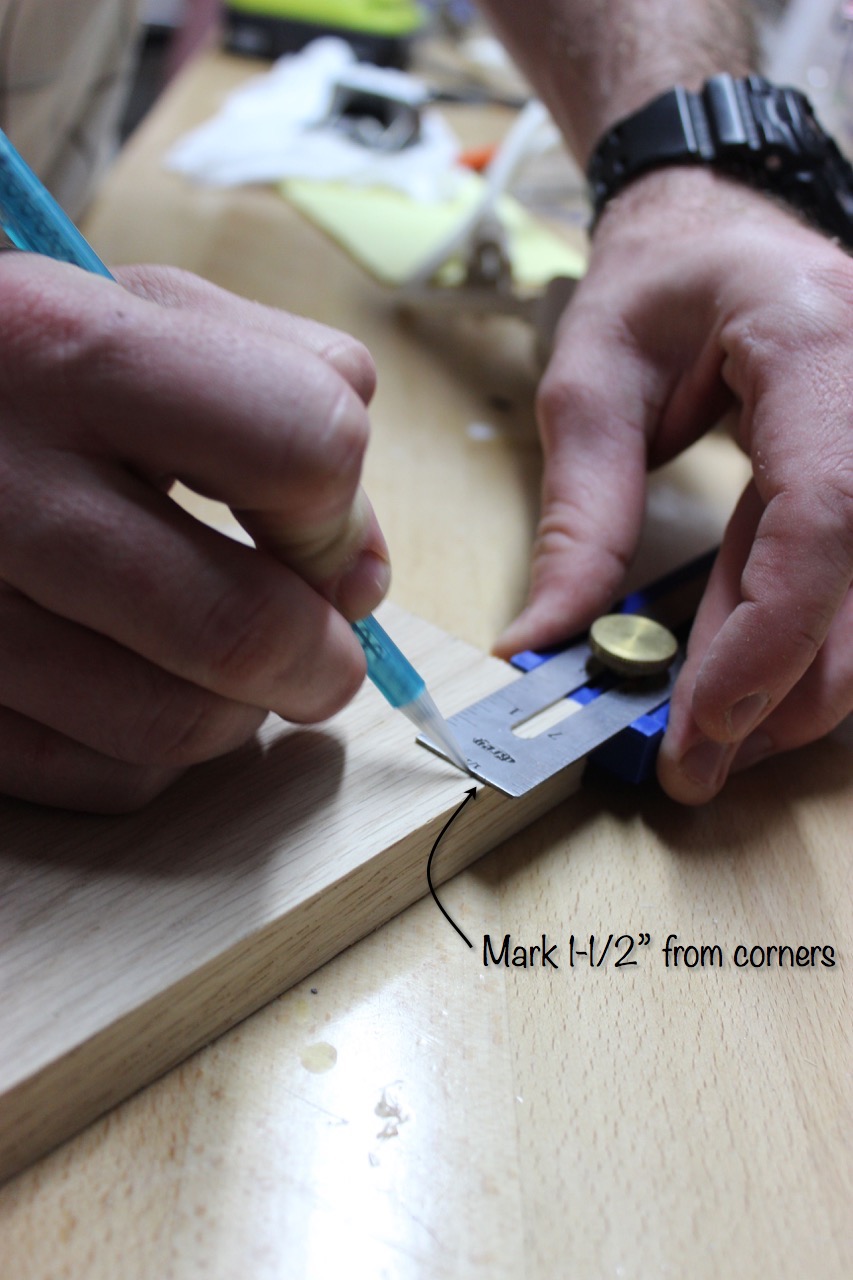
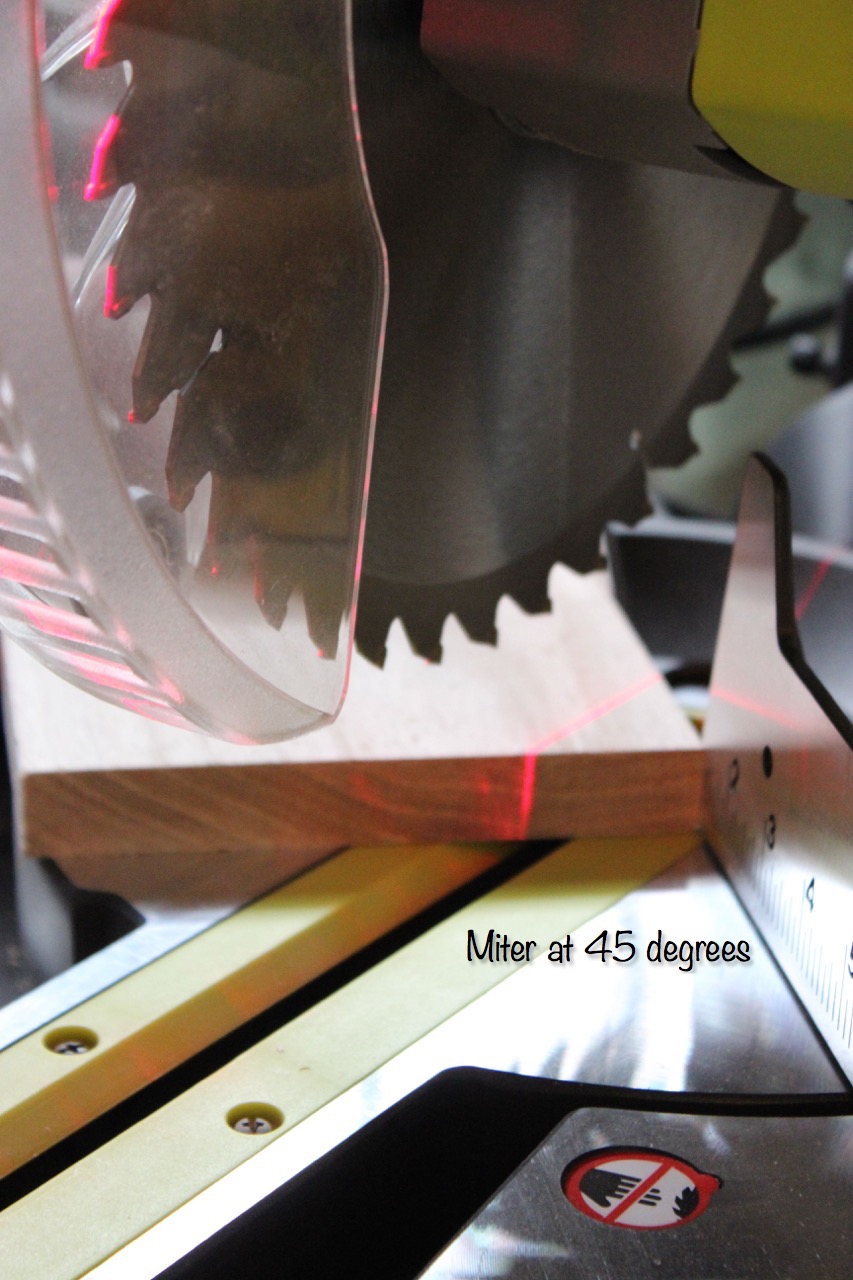
My piece of oak was 8-1/2″ long and I mitered the corners 1-1/2″ in at 45 degrees.
Step 2: Route the Edges (Optional)
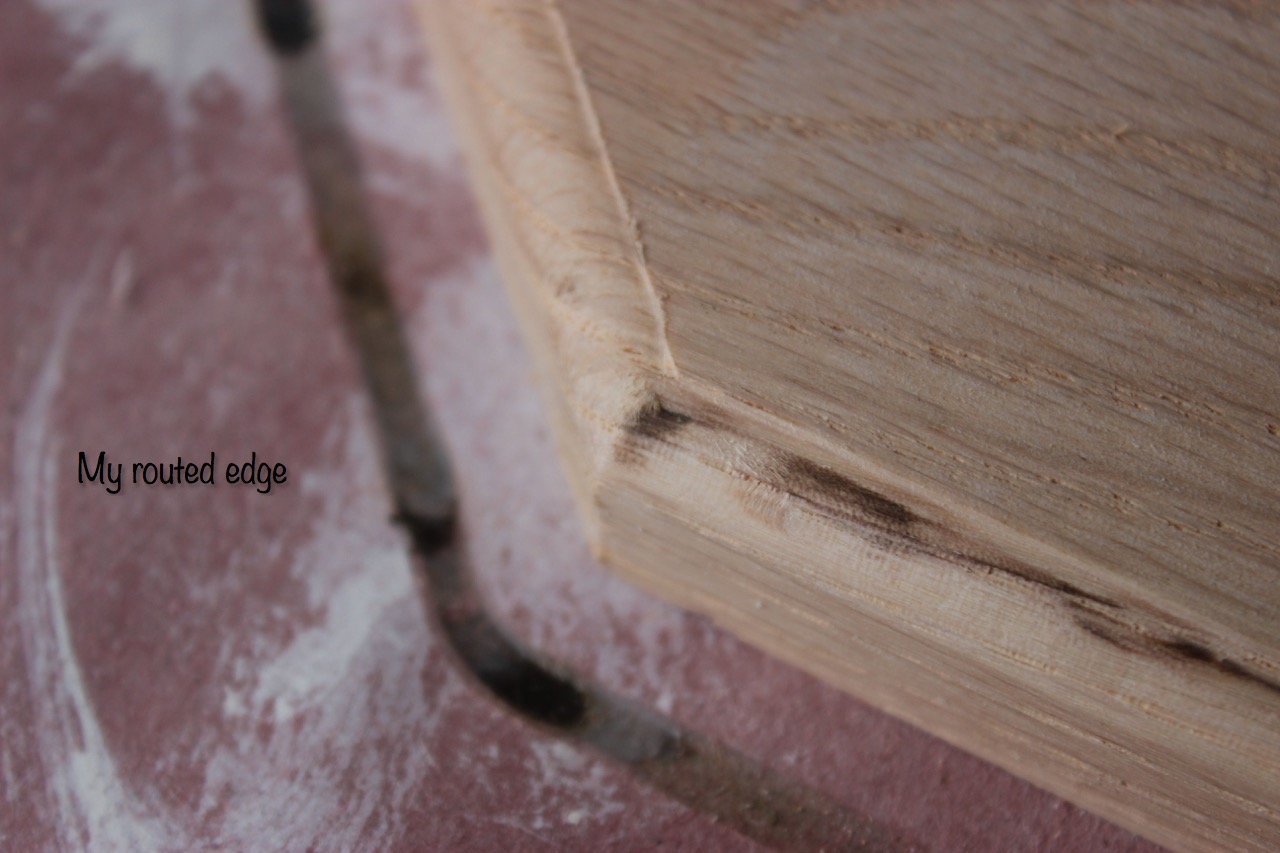
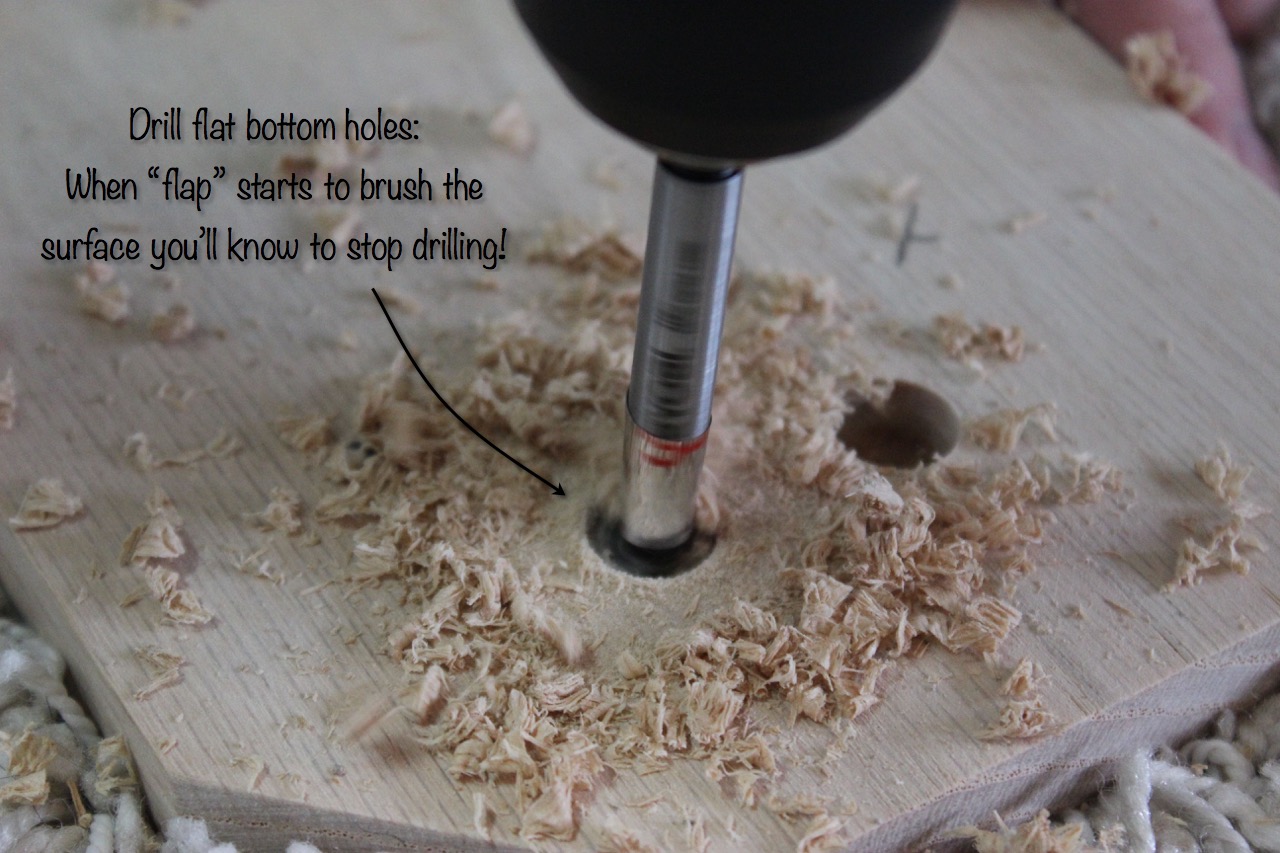
Step 3: Drill Holes for Magnets
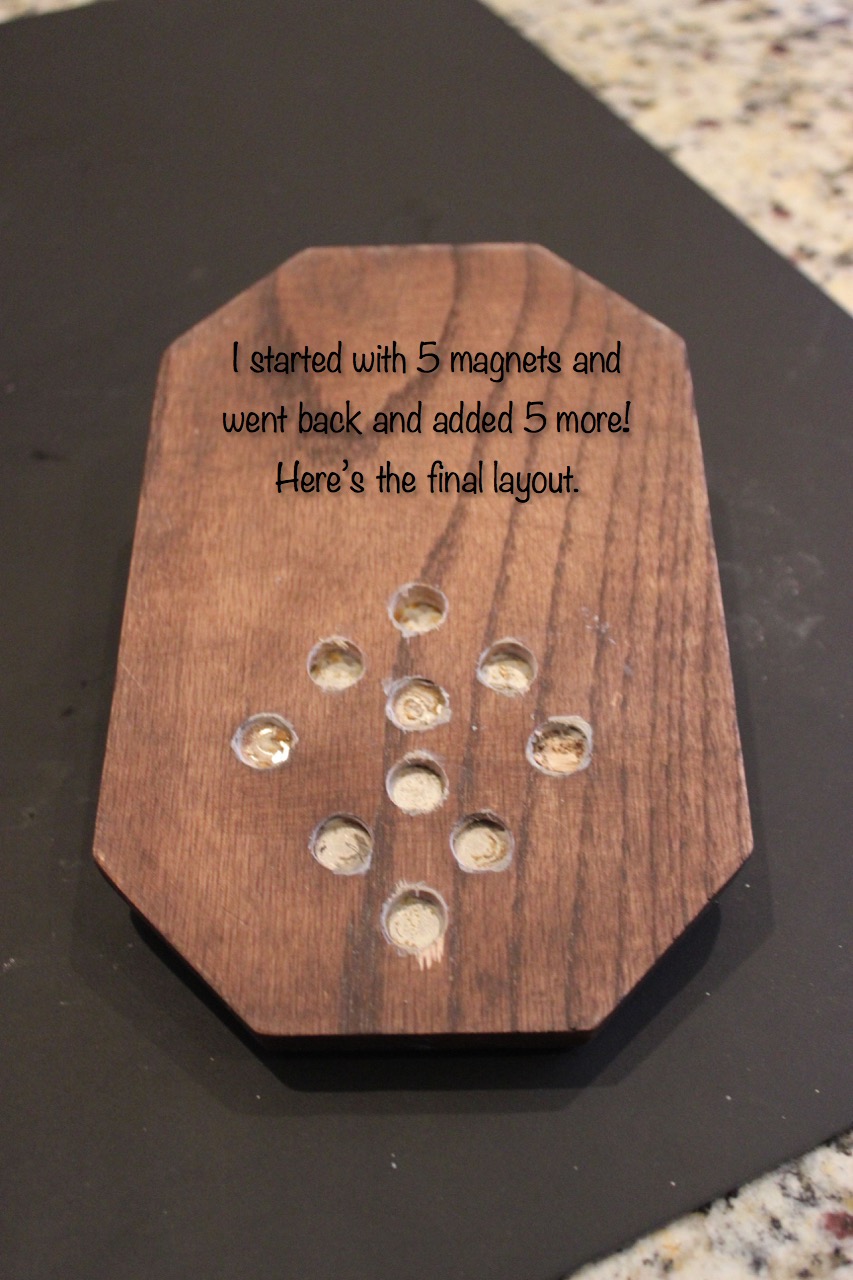
I started off using only five 1/2″ diameter by 1/4″ magnets. Then after a test I decided to use all ten. These magnets are fairly strong and will catch most bottle caps (not all).
If I were to do it again I might spend a few buck more to get the 2″ x 1/4″ Neodymium Magnet. I also noticed that the magnets probably needed to be placed slightly closer to the bottle opener to catch the cap immediately.
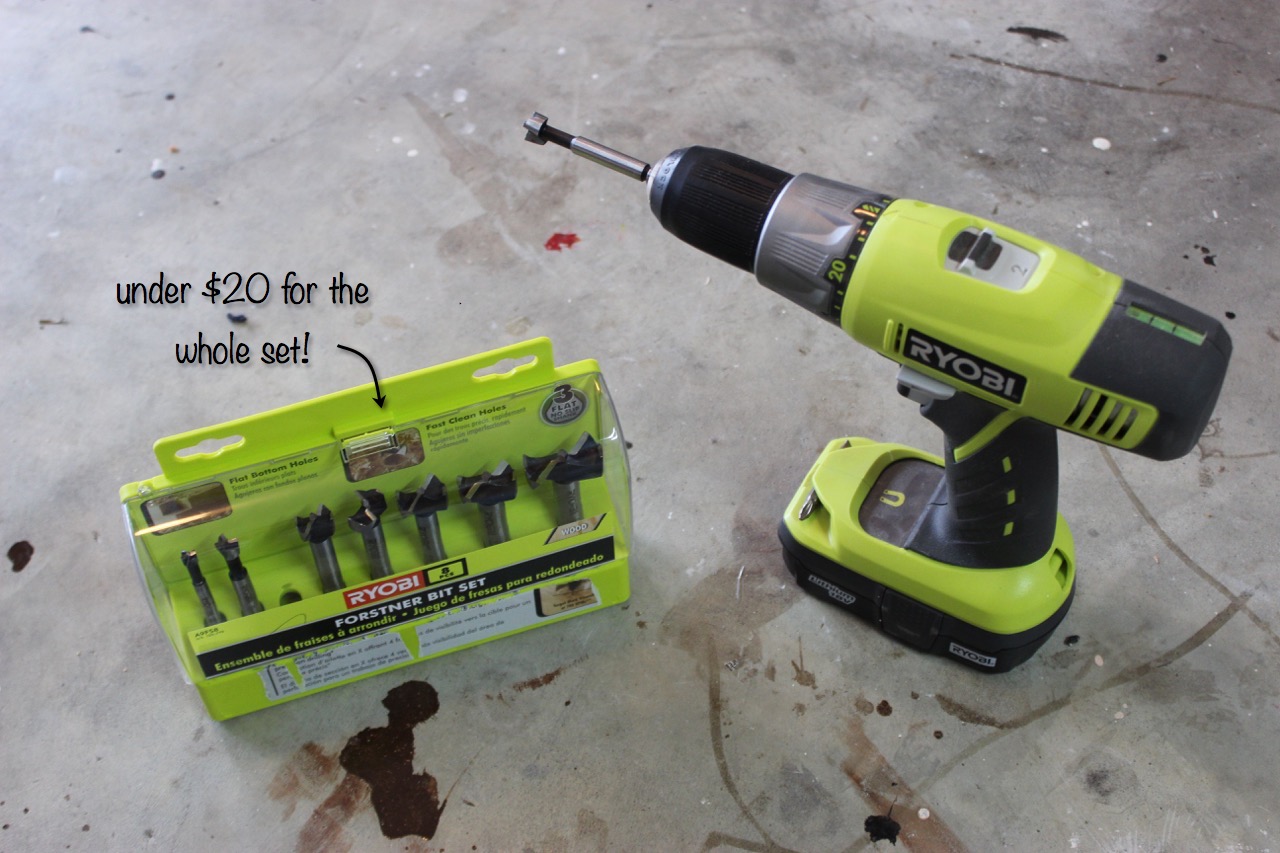
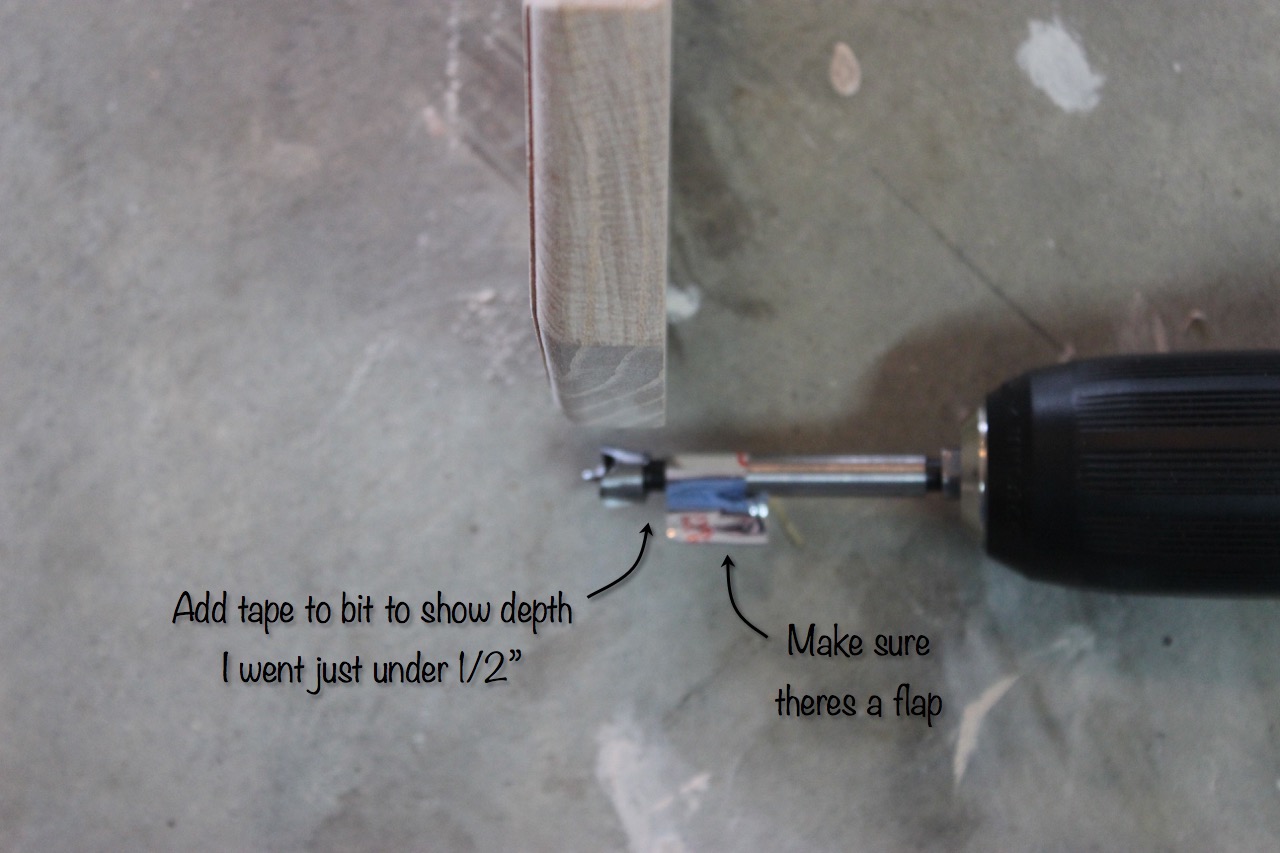
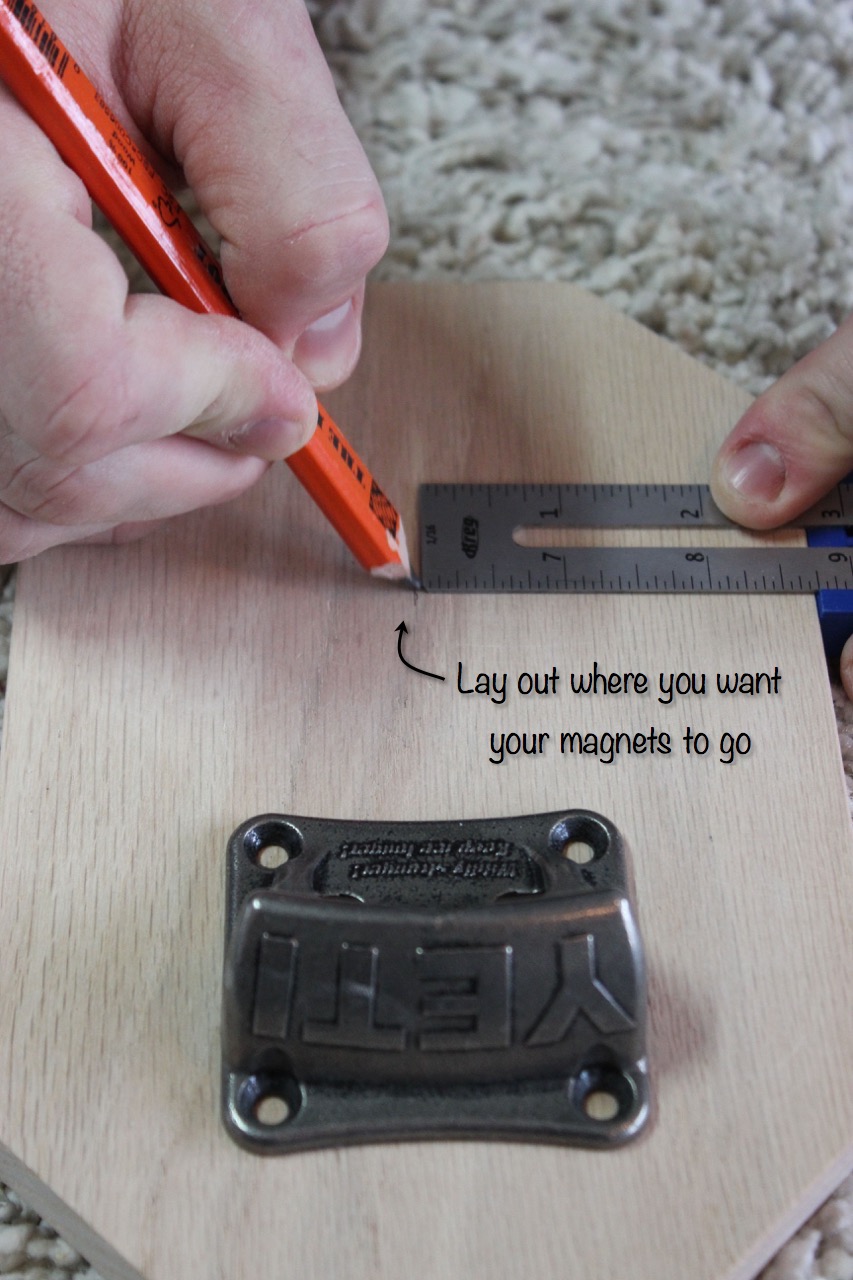
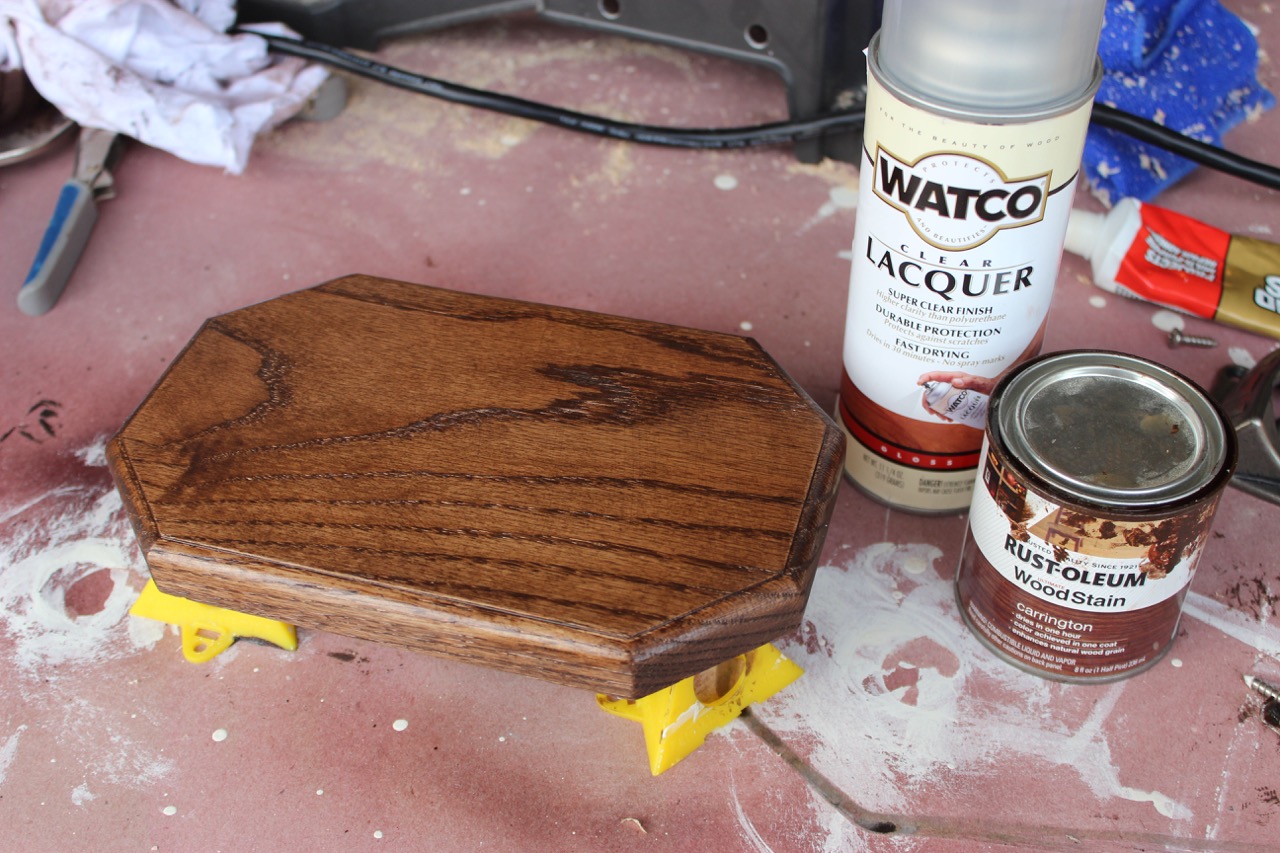
Step 4: Finishing
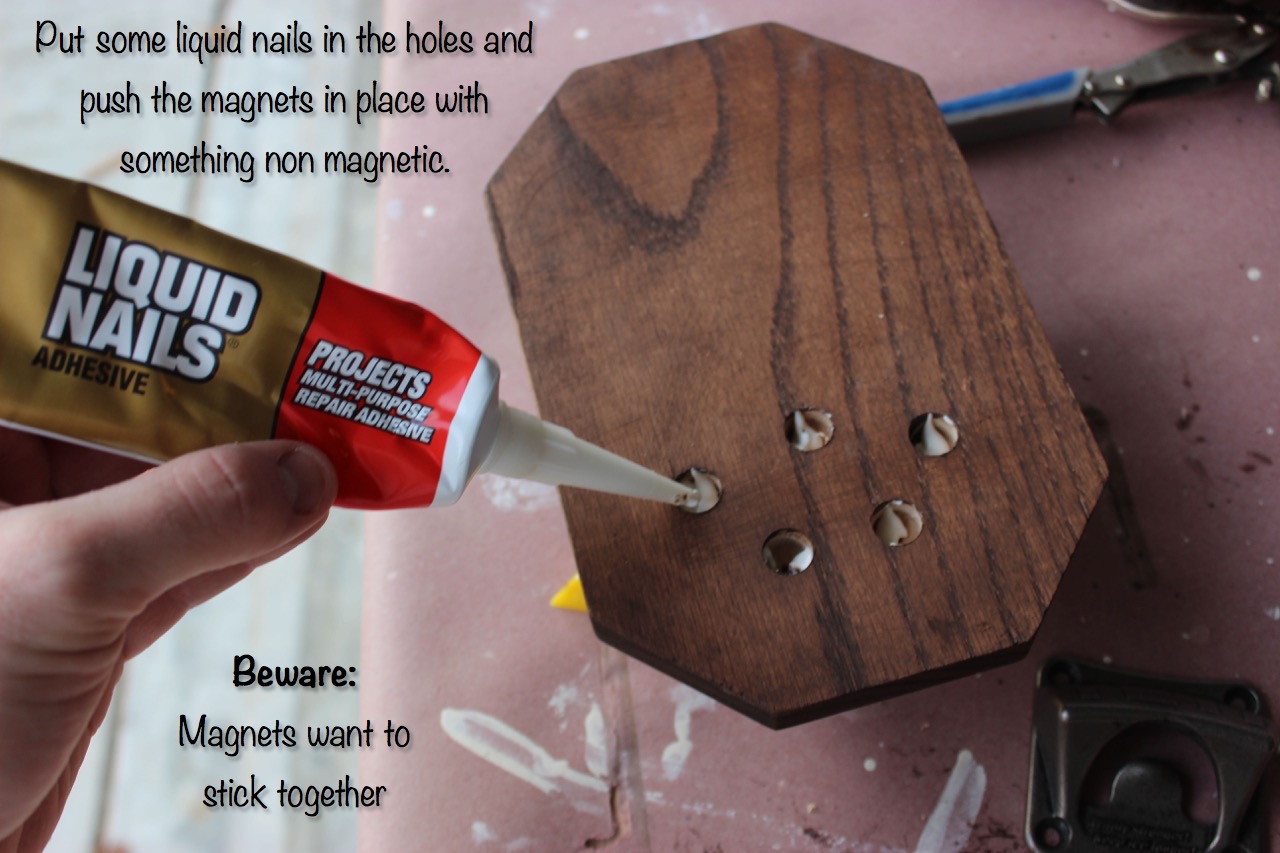
Step 5: Add Magnets and Bottle Opener
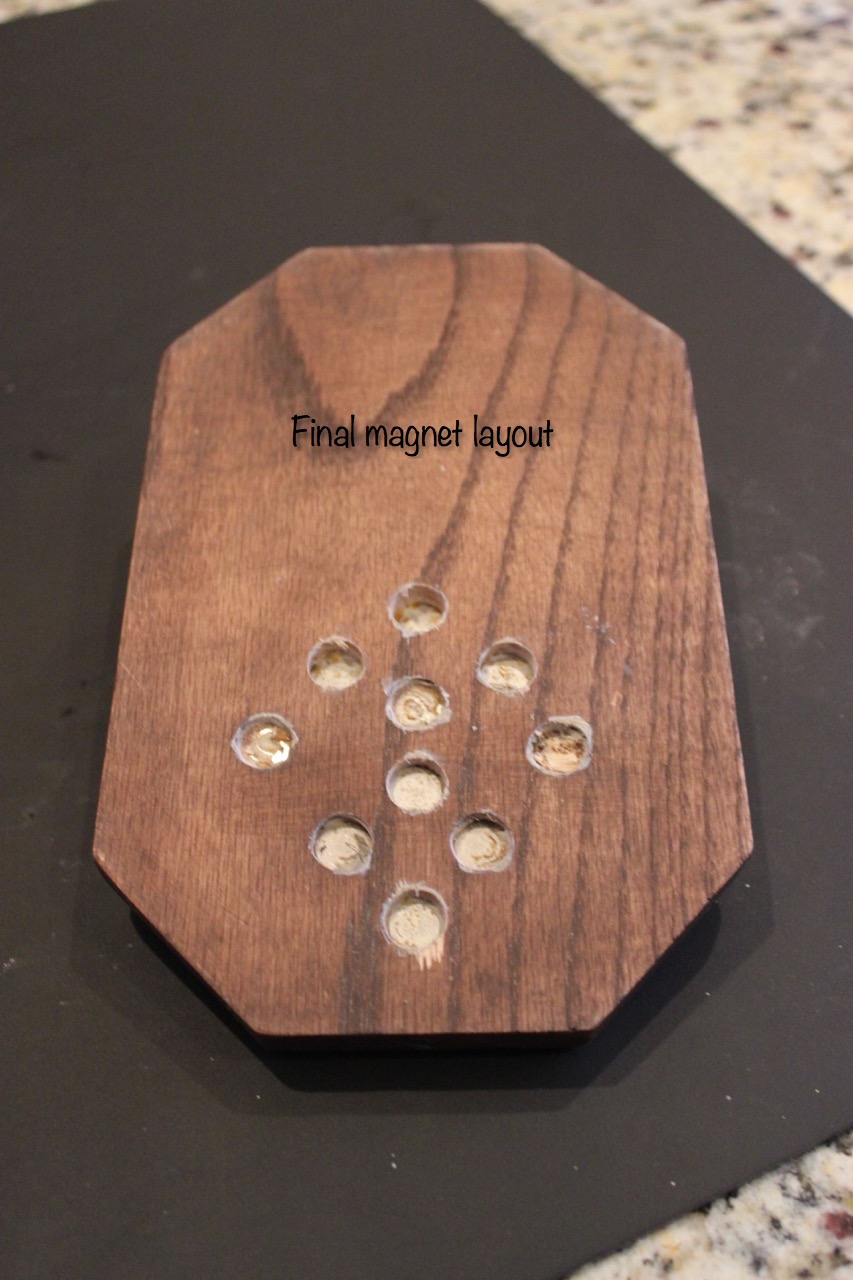
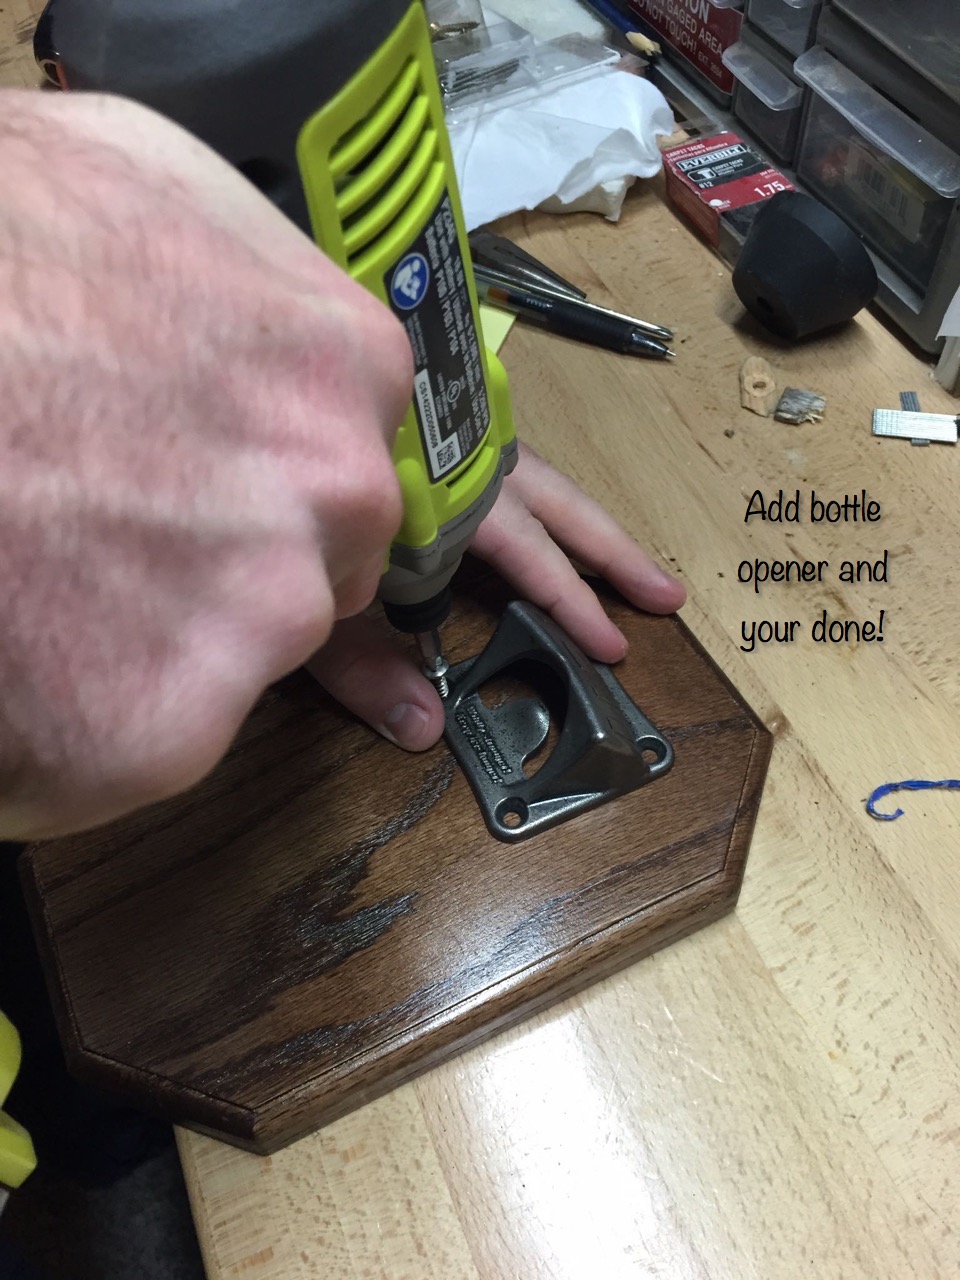
Mounting Options:
I didn’t use anything. That’s because the magnets in the wood also stick to my refrigerator, and are plenty strong enough to hold the beer bottle opener.
If you need to mount it to something non-magnetic you could always use a Sawtooth Hanger or use a Keyhole Router Bit for a nice flush mount.
Questions? Comments?
As always, if you have any questions don’t hesitate to comment below and especially don’t forget to post pictures of your finished products in the comments! ENJOY!
I have been making something along these lines for several months, although it’s just simply a 1x4x9 that I will woodburn a design into, finish, stick a REE magnet in the back of, and put on the bottle opener. I initially planned to mount it on my walls (I have a non-magnetic fridge) by just using longer screws on the bottle opener that can go into the wall stud behind it. I found that it’s also good to use a screw at the bottom to minimize the opener moving around from repeated openings over time.
Nice work Will! Thanks for sharing and the tips. I bet you could use both screws for the bottle opener as longer mounting screws and it would be enough to take out the movement.
I’ll give that a try with the longer mounting screws. One question I had: when I was first making these, I used a few small REE magnets, about the size of the ones in your design. I noticed that they would orient themselves, in what I’m assuming is in line with the field of the other magnets already in place. Any idea if that means they are enhancing the magnetic field this way, or if they are destructively interfering? I wasn’t sure if I should turn them over, against the field, and epoxy them, or leave them in the way they orient.
If you’re stacking them I don’t think that increases the strength all that much. I think its more about surface area. Check out this site: http://www.kjmagnetics.com/calculator.asp
Reattaching photo that was removed:
OMG this is amazing!!! Super cool, and totally functional. Definitely making this for my husband for his birthday this year; he’ll love it, and I’ll love not finding bottle caps all over the counters (or floors after the cats find them on the counters and start batting them around!) Pinned!
Thanks Jessi! Haha good luck!
[…] I did things slightly differently than Jamison did, but the idea is the same. Jamison built his bottle opener from scratch, using a piece of hardwood, a saw, and a router, but I used a small wooden craft plaque from Michaels that was already cut to size with nice routed edges. So this tutorial is a little less “DIY” and a little more “crafty”, but if you want to see the full-on DIY version, be sure to check out Jamison’s tutorial! […]
[…] fun Magnetic Bottle Opener is an awesome DIY idea from Rogue Engineer for Dad to pop the tops off of his monthly beer […]
Made these for our wedding groomsman gifts. I used my AutoCad software at work to make a 2d layout for all of the drill holes. Made it really easy to mark hole centers on the pieces. Shared my pics as a Pin (see web page)
Thanks!
Jason
Thats a great idea Jason. Thanks for sharing!
The other thing I would recommend is using wooden dowels to glue into the holes and then sanding flat to the surface. I needed something to keep the magnets laying flat. With the 16 holes i used, the magnets created their own magnetic field and wanted to stand on their side to push/pull each other. Ended up having to glue and place on a metal table for the magnets to lay flat in the holes until the glue dried.
Plus the dowels would give a more finished look.
Yea I had the same issue. Good call on the wooden dowels and metal table!
hey, the second I saw the post I just had to make one off these, had a few snags along the way unfortunately when I magnets came I aciddently let two off them collide thus shattering them. things like that can happen so I ordered some more and boom done. cheers for the tutorial made this a lot easier
That’s a bummer about the magnets but it turned out great! Nice work!
Reattaching photo that was removed
I am having trouble getting a strong enough magnetic field. I bought 1/4″ rare earth magnets and I have 8 or 9 as close the the surface without drill through and I can barely get a cap to stick. Not sure what to try next. Ideas?
More magnet surface area = more pulling force. Try using a larger diameter magnet. Here’s another one I did https://rogueengineer.com/michigan-magnetic-bottle-opener/
[…] rogueengineer […]
How many of the larger magnets would you recommend using?
Here is one that I just made this weekend. I used Cherry and made it a little bit longer. I also used a single 1.5 X 3/8 magnet in the back. Very happy with the way it turned out and can’t wait to tackle a few more projects from this site.
[URL=http://smg.photobucket.com/…][IMG]http://img.photobucket.com/…[/IMG][/URL]
For some reason, the magnets were a total disaster for me. I put them at the depth described and when I went to test it, they wouldn’t catch the cap. 10 1/2” neodymium magnets. Plus they wouldn’t hold the board to the fridge so I had to install magnets on the back to hold it up. Ended up having to pilfer a jar in a metal strap from a Hobby Lobby thing my wife had so there was something to catch the caps. I decided after this that I will probably never work with glue and magnets combined ever again. I dunno if maple is more dense than oak (I don’t think it is), but I just couldn’t get this to work out for me.