

Hoverboard Go-Kart Attachment
$0.00
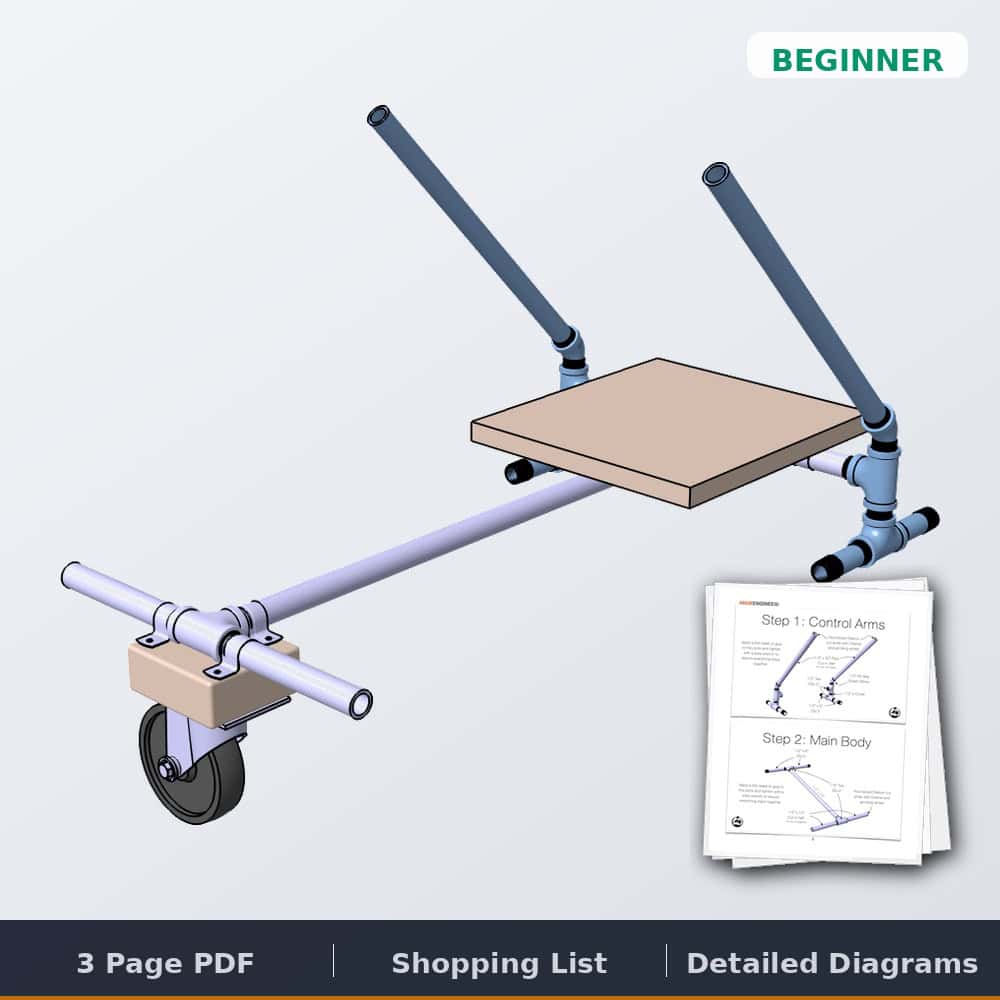
Printable hoverkart plans for a DIY hoverboard go-kart attachment built from 1/2″ steel pipe, a 10″ x 11″ plywood seat and one swivel caster, in about a day. The PDF includes the full pipe and fitting list, 4 illustrated steps, and a tools and materials list. Instant download.
Free plan — we'll email your download link, along with weekly build ideas and new free plans. Unsubscribe anytime.
✓ Instant download · Personal use license · Secure checkout via Stripe
Description
Hoverkart plans: a DIY hoverboard go-kart attachment from 1/2″ steel pipe
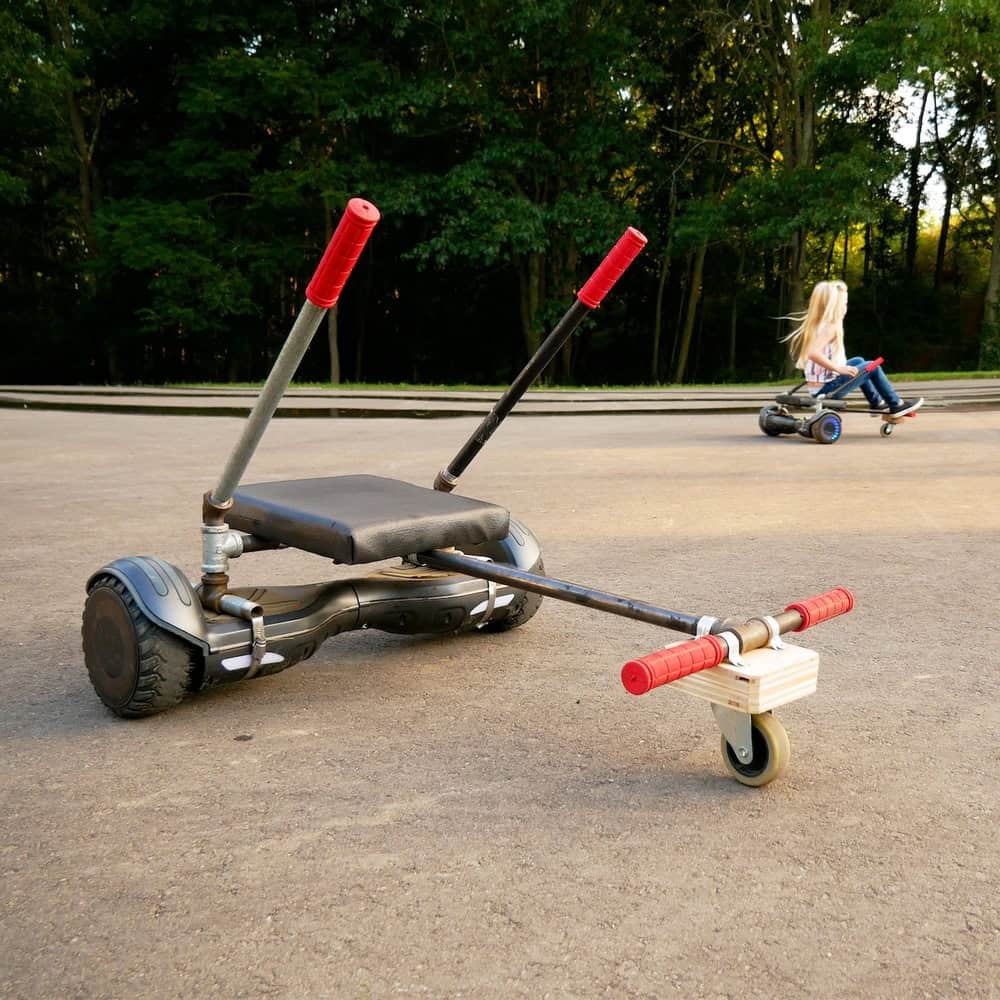
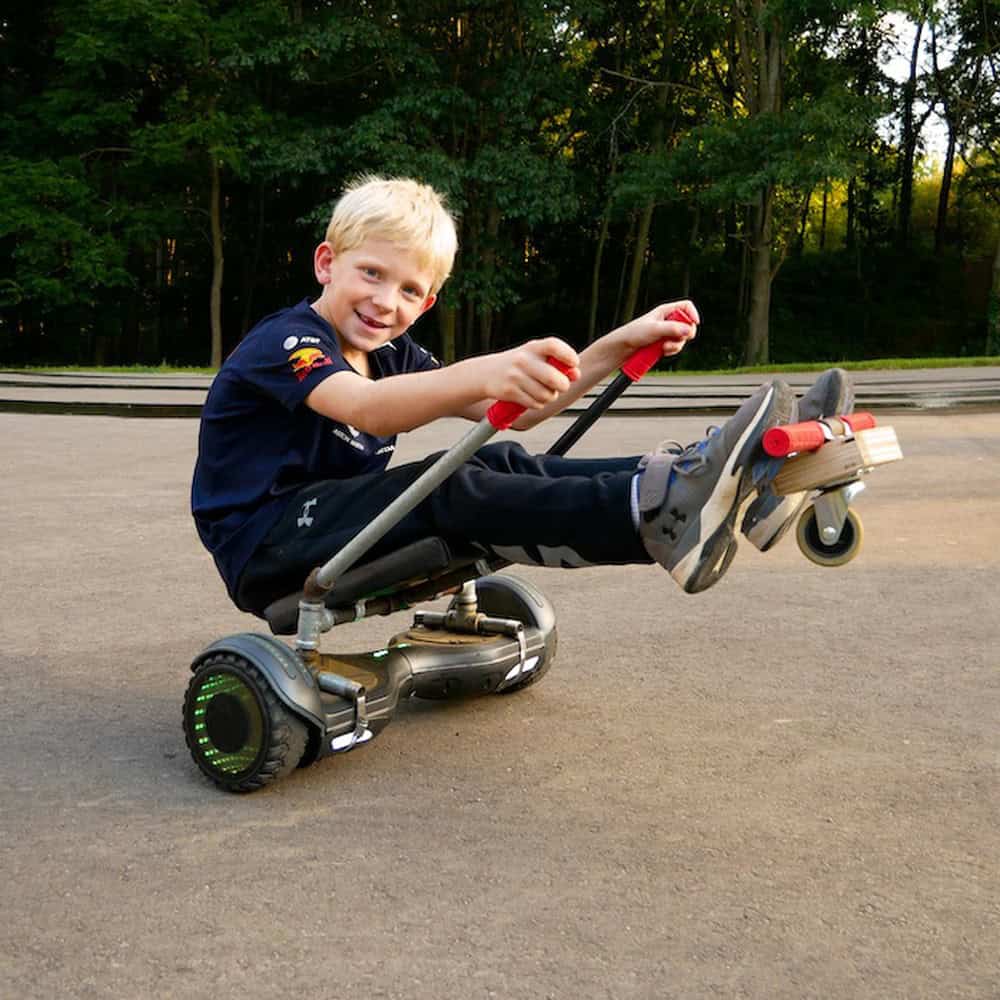
Our son picked up his hoverboard right away, but our daughter never felt comfortable standing on it. So after a couple of tries, we came up with our own hoverboard go-kart attachment that’s easy to make from 1/2″ steel pipe fittings, a plywood seat and a single swivel caster. You steer it with two control arms, a lot like the controls on a zero turn mower. It costs about the same as an off the shelf hoverkart, so you won’t save money, but it was a blast to build with my son.
Watch the build
What you get
- Printable PDF plan, instant download
- Pipe and fitting list, with no-cut nipple options
- 4 illustrated steps: control arms, main body, seat and caster, final assembly
- Tools and materials list
Specs
- Seat: 3/4″ plywood, 10″ x 11″, with optional padding
- Build time: 1 day
- Skill level: Beginner
- Estimated cost: about $75
Pipe and lumber you’ll need
- 1/2″ x 30″ steel pipe (control arms) or two 12″ or 18″ nipples
- 1/2″ x 24″ steel pipe (main body)
- 1/2″ x 12″ steel pipe nipple (foot rests) or two 6″ nipples
- Two 1/2″ x 6″, four 1/2″ x 3″ and two 1/2″ x close steel pipe nipples
- Six 1/2″ steel pipe tees and two 1/2″ street 45s
- 3/4″ plywood, 2′ x 2′
Hardware and supplies
- 3″ swivel caster (no lock)
- 3/4″ and 1-1/4″ wood screws, plus fender washers if the caster holes are too big
- DAP RapidFuse for the pipe joints
- Steel hose clamps (5 to 7 inch worked for us)
- Staples
- Optional: kneeling pad, tool box liner and 4 bike handle grips
Tools you’ll need
- Drill/driver
- Dremel Ultra-Saw
- Dremel 4300 rotary tool with a grinding wheel
- Staple gun
- Pipe wrench and clamps
- Tape measure and pencil
- Safety glasses and hearing protection
Common questions
Do I have to cut pipe? No. Cutting the 30″ and 12″ pipes in half is the cheaper route, but you can use two 12″ or 18″ nipples for the control arms and two 6″ nipples for the foot rests instead.
How does it attach to the hoverboard? Two steel hose clamps route through the 3″ nipples on the control arms. Put some padding under the control arms to protect your hoverboard.
Anything to watch out for? Yes. With the kart attached, the hoverboard thinks someone is always on it. If you stand up and walk away, the handles tilt forward and it starts moving on its own. Our kids learned to turn it off before getting off.
Want to see it in action first? The full build is on the blog: DIY hoverkart.
Quick answers
Reviews
There are no reviews yet.