


Whole Home UV Light Filtration
After the first year in our new home we started to realize that something wasn’t just right with the water. Although our water was negative for coliform bacteria and arsenic, some sensitive stomachs in our family let us know that something needed to be done. After some research, I decided on a UV light filtration system.
The way that this system works is that the wavelengths from the UV light scramble the DNA of living organisms, such as bacteria, viruses, or cysts, rendering them unable to reproduce and harm anyone consuming them.
If you love this stuff as much as we do, you might want to consider following us on Instagram where we post sneak peeks and behind the scenes stuff in our stories. Also, did you know you can get tons of projects plans from all around the web when you follow us on Facebook and Pinterest!
Disclosure: This post is sponsored by RYOBI tools, however the opinions and instructions are 100% my own.
Materials
- UV Light
- Sediment Filter Housing
- 5 Micron Filter
- PEX Tubing
- Required PEX Fittings (as required)
- Crimp Rings
- Elbows
- Tees
- Caps
- Couplings
- Valves
- PEX to MPT adaptors
- PTFE Tape
Disclosure: The links provided in the “materials” and “required tools” sections are affiliate links. If you would like to support our site and help keep our content free come find out more about how we can make money with no extra cost to you.
Below are the steps I took to install my UV light. Always default to the manufacturer’s instructions as not all UV lights are same. And of course, if you are not confident in taking on a project like this, please hire a certified plumber to install your UV light.
Total Time: 1 day
Selecting the Right Size UV Light
After doing some research I realized that sizing the light appropriately was important because the water needs to be in contact with the light for a certain amount of time to fully disinfect it. This means a bigger light can accommodate a higher flow rate while a smaller light with water flowing too fast might not be as effective. When it comes to sizing a whole home UV light you’ll want to look at the flow rate which is given in GPM (gallons per minute) and make sure they are at or above the max flow rate in your house.
To give you a rough idea of the max flow rate of your homes water system you can first look at the supply line size. A 3/4″ water line will have a normal flow of 6GPM and a peak flow of 16GPM. This is a pretty typical size supply line for most houses. However, the water source ultimately determines the flow rate. The easiest way to get a close estimate is to fill a 5 gal bucket from the tap closest to the well pump, using a stopwatch determine the time it takes to fill, then perform the following calculation.
5 gallons / (seconds to fill) X 60 seconds = ____ Gallons per minute
Do this a few times to make sure you get an accurate rate. If you want a more precise method to calculate the flow rate from your well pump watch this video.
I ended up around 12GPM so I ultimately decided to go with the 14GPM UV light to be safe.
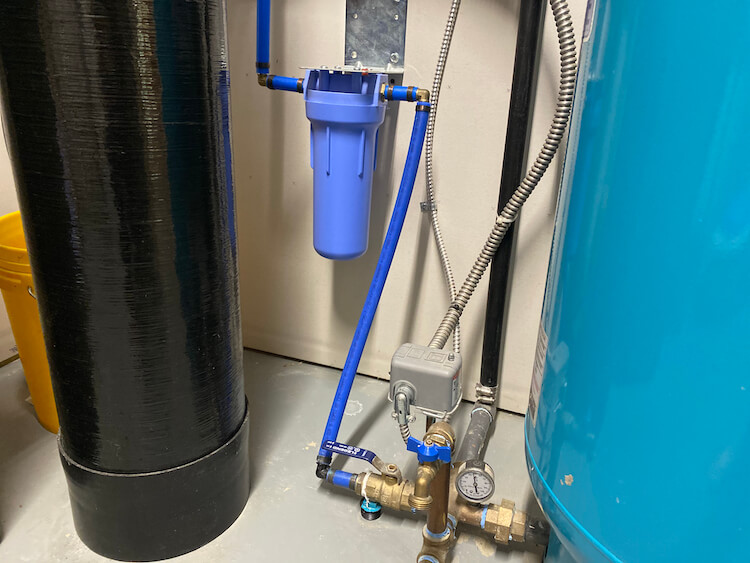
Sediment Filter Required
Sizing the light properly will make sure the water gets the correct dosage of UV light but there is one other thing that could hinder the effectiveness of this type of filtration, shadows. That’s right, if you have any sediment in your water the bacteria can hide in its shadow and not be completely disinfected. To avoid this we need to make sure there is a sediment filter installed just after the well pump. My UV light system requires a sediment filtration housing with a compatible 5 micron filter. Depending on the filter you choose you may need an additional mounting bracket as some do not include them.
Laying out the System
Don’t just start hacking into your plumbing without a plan. Make sure to layout the components and fittings to make sure you have everything you need before you get started. Even if this means drawing a diagram on paper, trust me, it’s worth it.
The sediment filter should be installed just after the well pump or main water shut-off and the UV light should be the last water treatment component in the system. A series of valves should also be placed to bypass the UV system if need be. The diagram below is pulled from the installation manual of my UV light for reference.
Once everything is laid out make sure to count all the couplers, tees, elbows, adaptors, PEX crimp rings, etc, needed to complete the install.

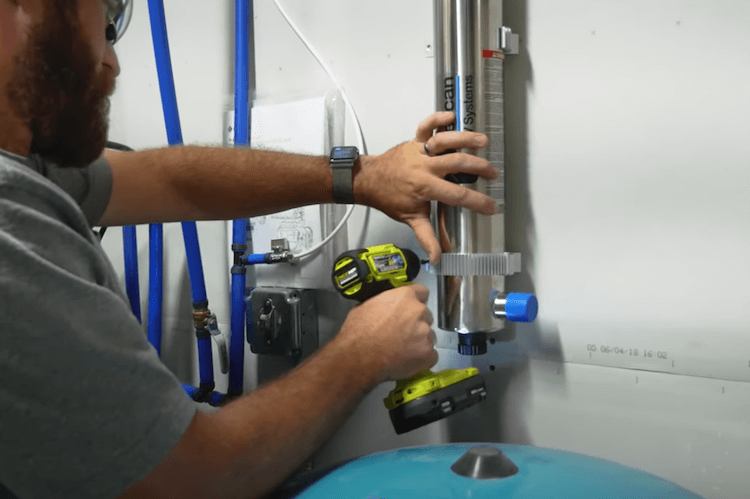
Mounting the Components
The first thing to do after laying out the system is to mount the UV light and sediment filter. Figure out exactly where you want them to go on the wall. Make sure to take into consideration the space above the UV light since the bulb will need to be removed and replaced every year. Then use the supplied hardware to mount the units.
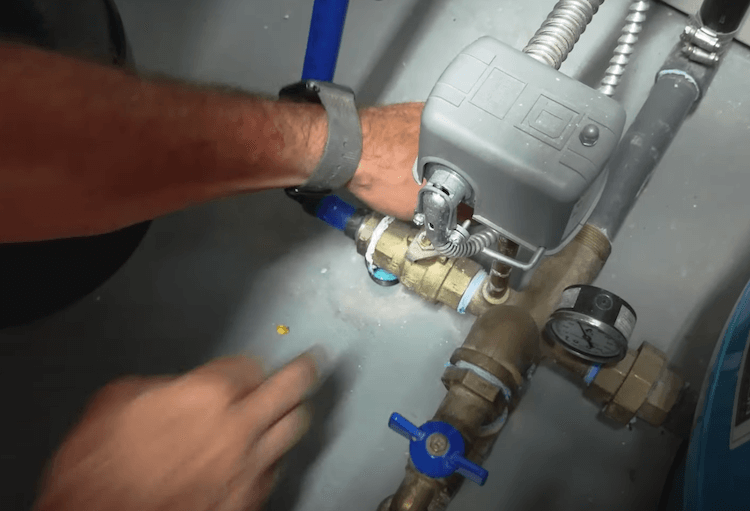
Turning off the Water and Relieving the Pressure
Locate the valve on your main water line and turn it off. Then go to the nearest bathtub or faucet and turn it on. This will relieve the pressure in the water lines and reduce the amount of water leakage when cutting into the lines.
This step doesn’t really need to be done until the active water lines are being cut into. So if you want to reduce the time you have the water off in the house then you can wait until everything else is mounted and ready to be spliced in.
Installing the Lines
With the components mounted you can start to run the lines. Cut the PEX to lengths needed and connect with the required fittings and crimp rings.
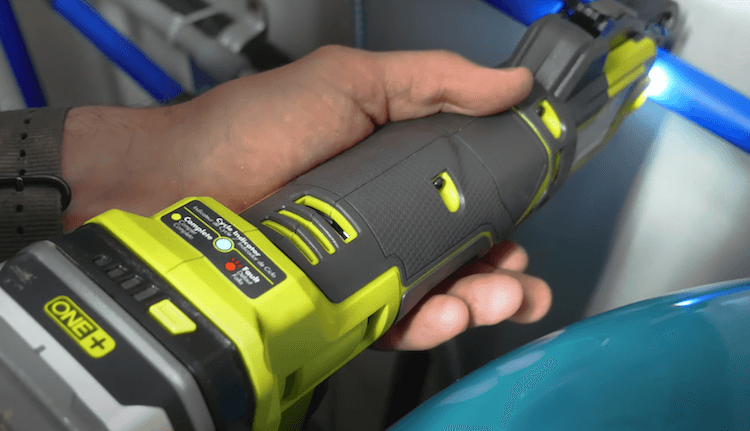
I used the 18V PEX crimper from RYOBI which is pretty amazing. It can get into pretty tight spaces and even has a light that will turn green to assure you get a proper crimp, or red if there is a fault.
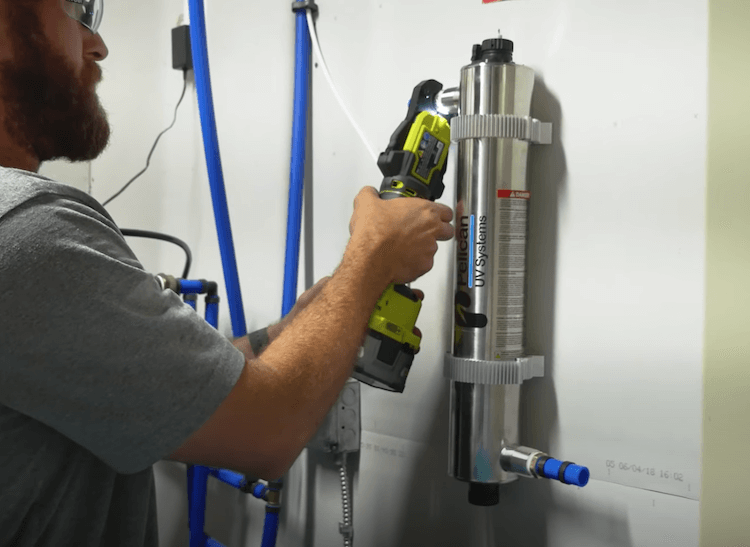
Connecting the UV Light
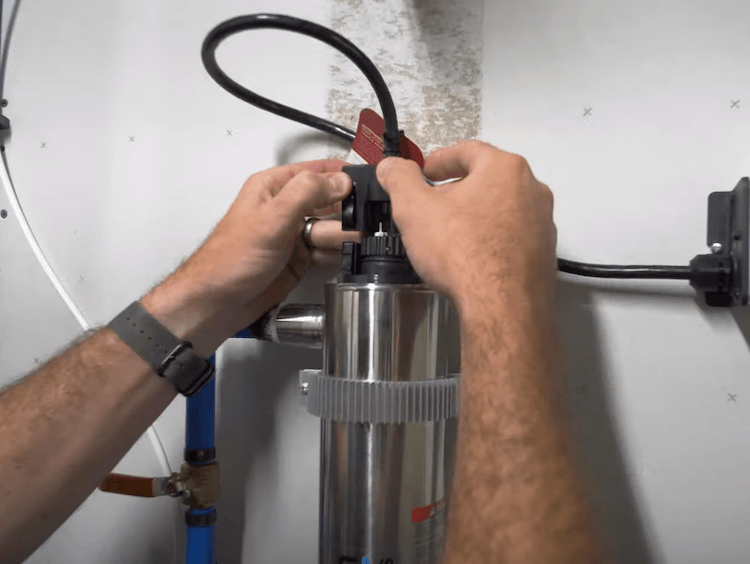
Insert the UV light bulb into the housing. Be very careful as the bulb and the glass sleeve that it slides into are extremely fragile. Once inserted, install the top of the housing.
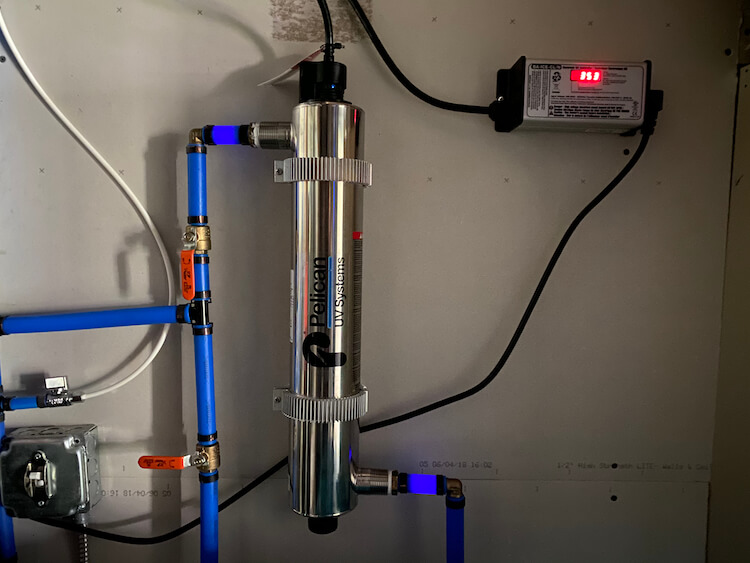
Then mount the power supply on the wall such that one the cord can reach the light and a GFI protected outlet. Connect the cord to the top of the housing and plug the power supply in. With the lights off you can really see how bright that light is. So much so, that the PEX to the sides of it glows.
Overall, this wasn’t difficult to install and projects like this help me get more and more comfortable with plumbing. If you have any questions or experiences please comment below.