

Poker Table w/ LED Lights
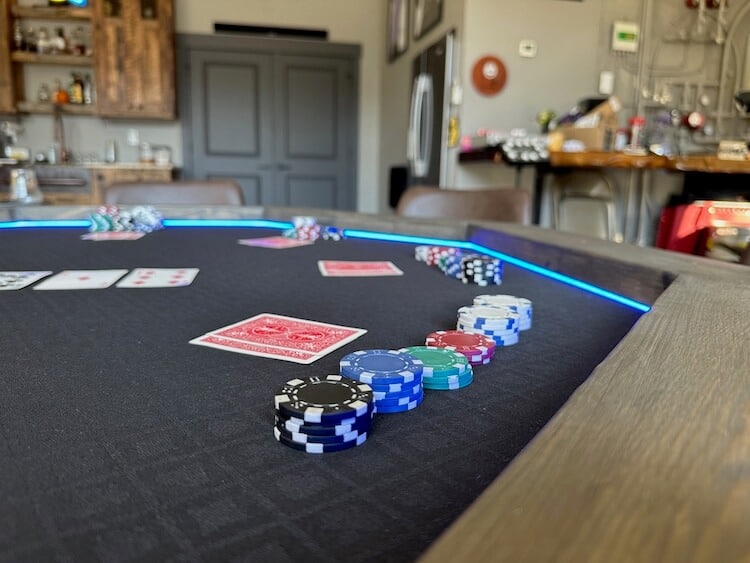
Quick answer: This DIY poker table seats 8, wears real poker speed cloth over headliner foam, and glows from an LED strip tucked under the padded rail — built in a weekend for $150–300 instead of the four figures retail tables ask. Sized small enough to reach across, big enough for the whole crew. Free tutorial below; the printable plans put it all in one PDF. Designed, built, and documented by Jamison Rantz.
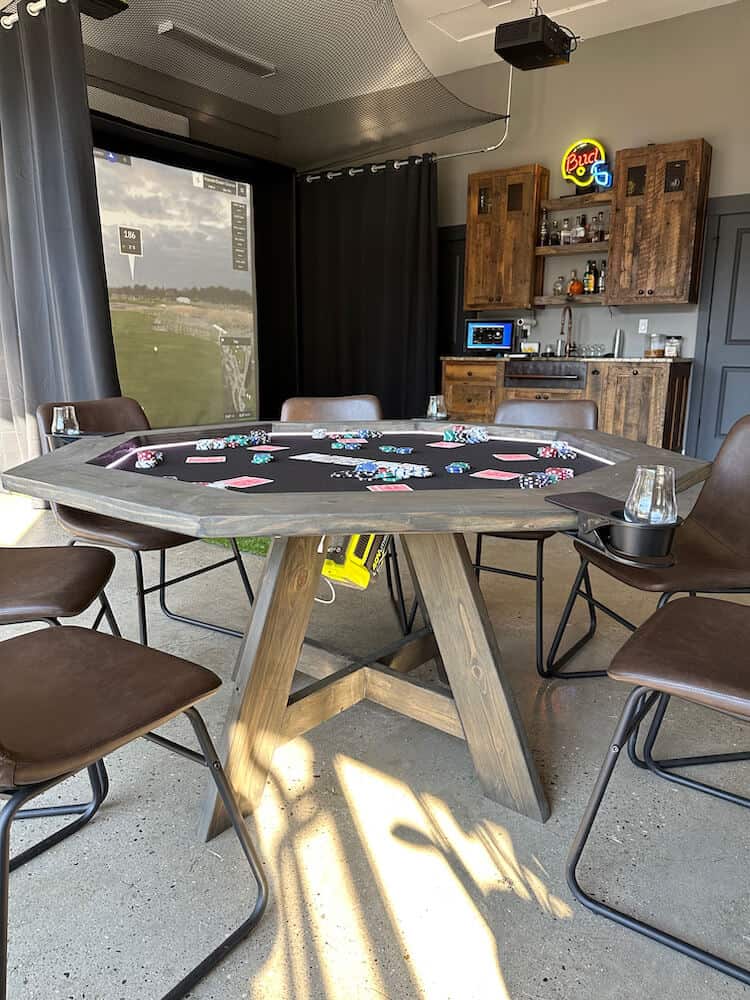
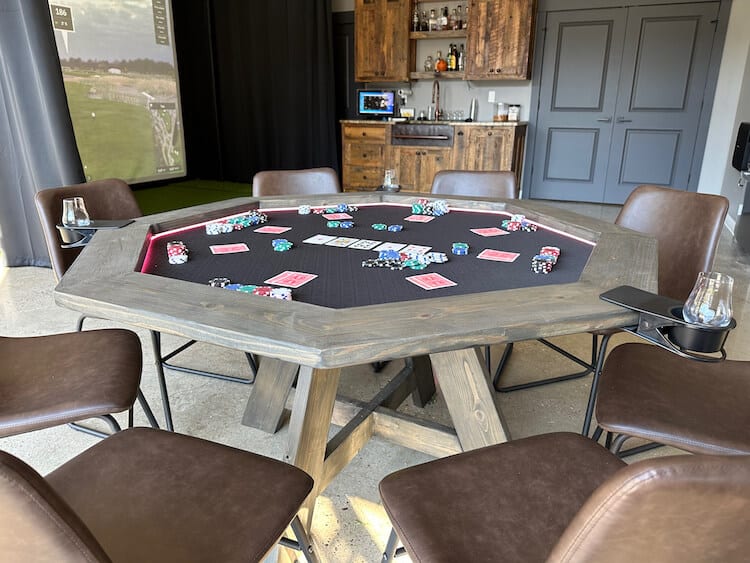
With winter around the corner the golf outings turn into poker nights. My makeshift poker table from last year worked great but it was simple and too big. This year was the perfect time to invest in a new poker table — but they are SO expensive, so I built my own. I wanted it small enough to reach comfortably across the table but still seat 8, and since I was taking the time, it was getting LED lights and actual poker table speed cloth.

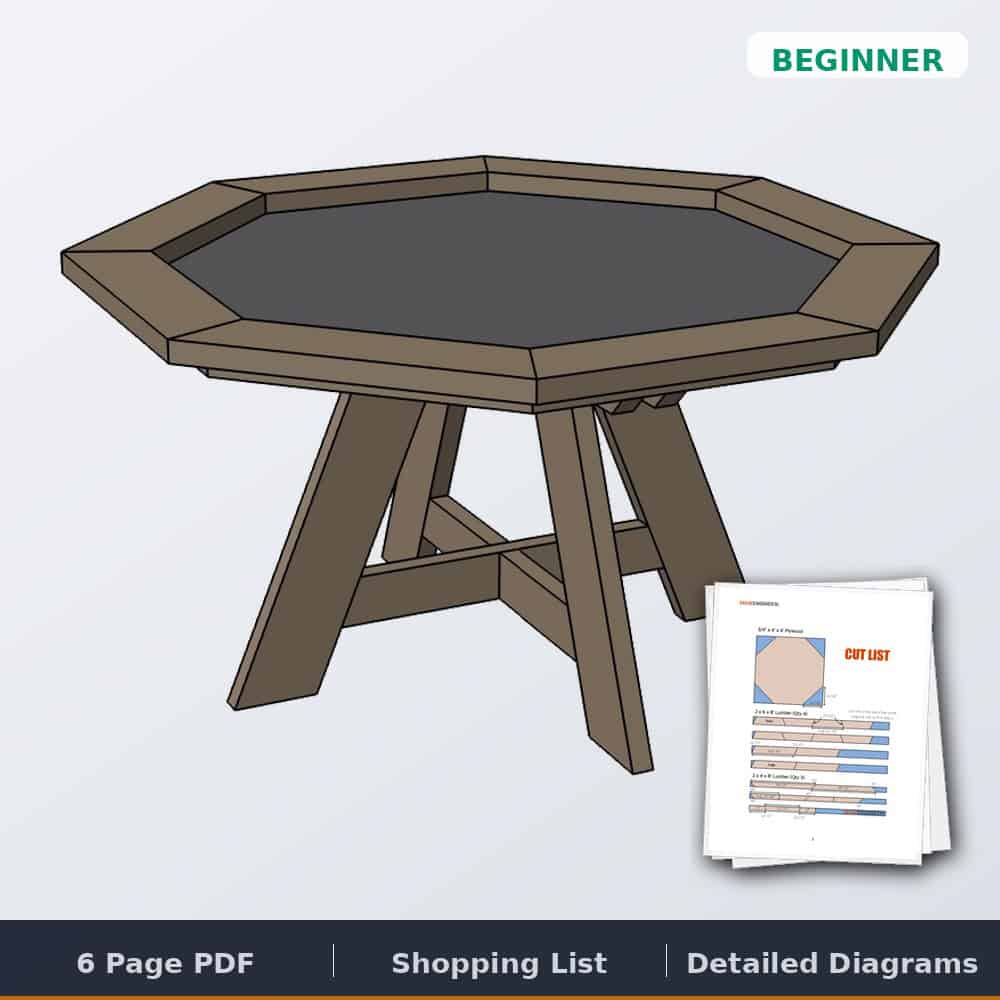
Tools & materials
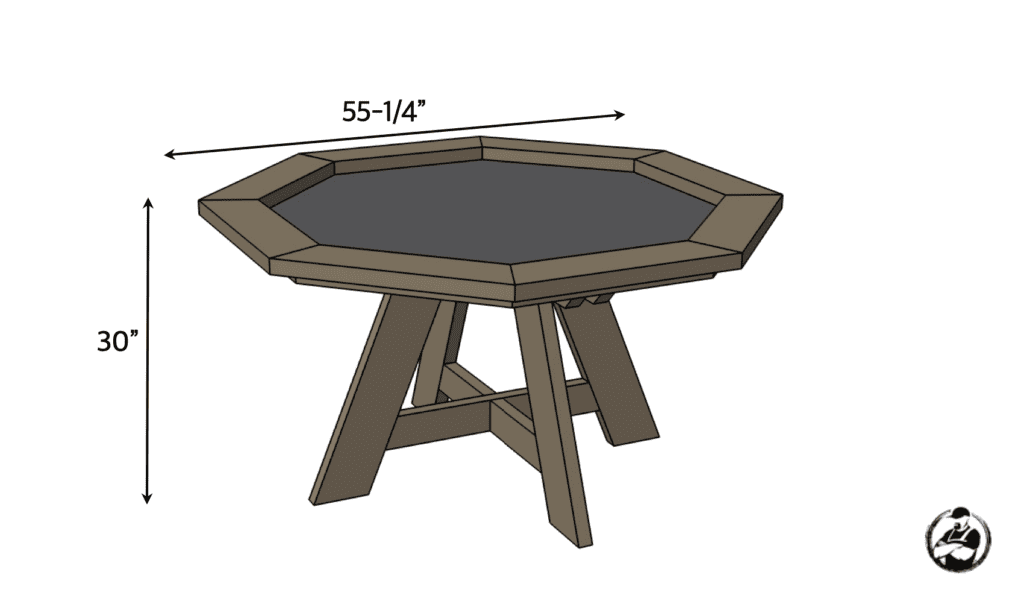
Dimensions
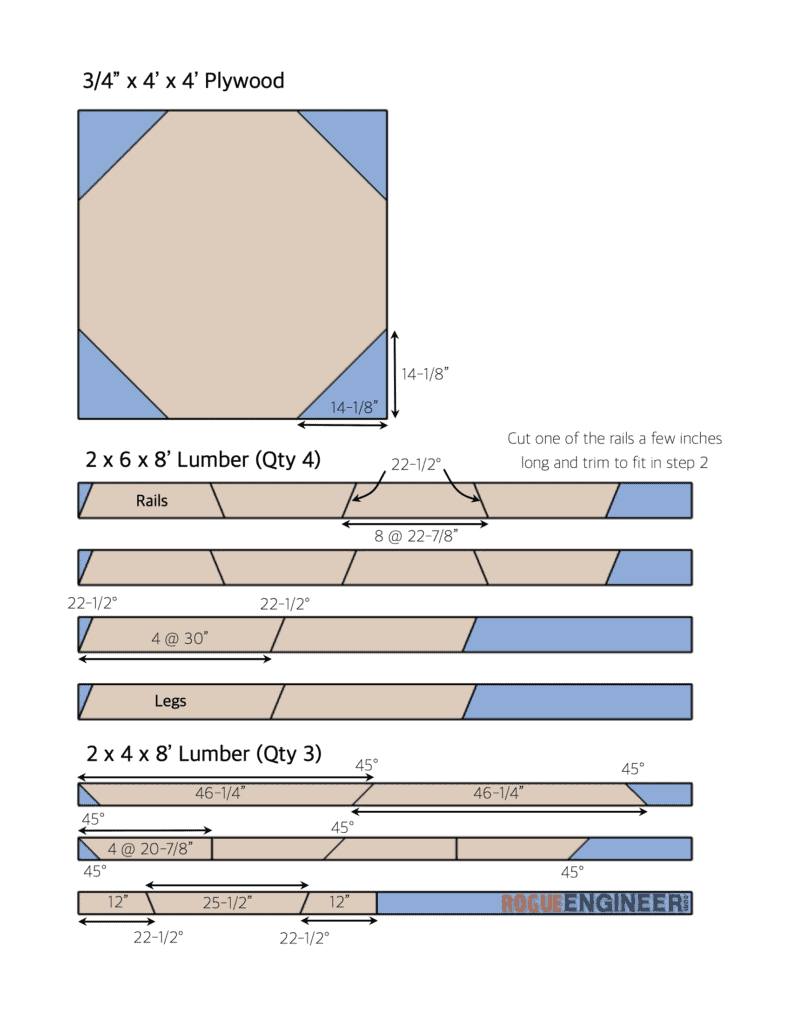
Cut list
How to build a poker table
Total Time: 2 days
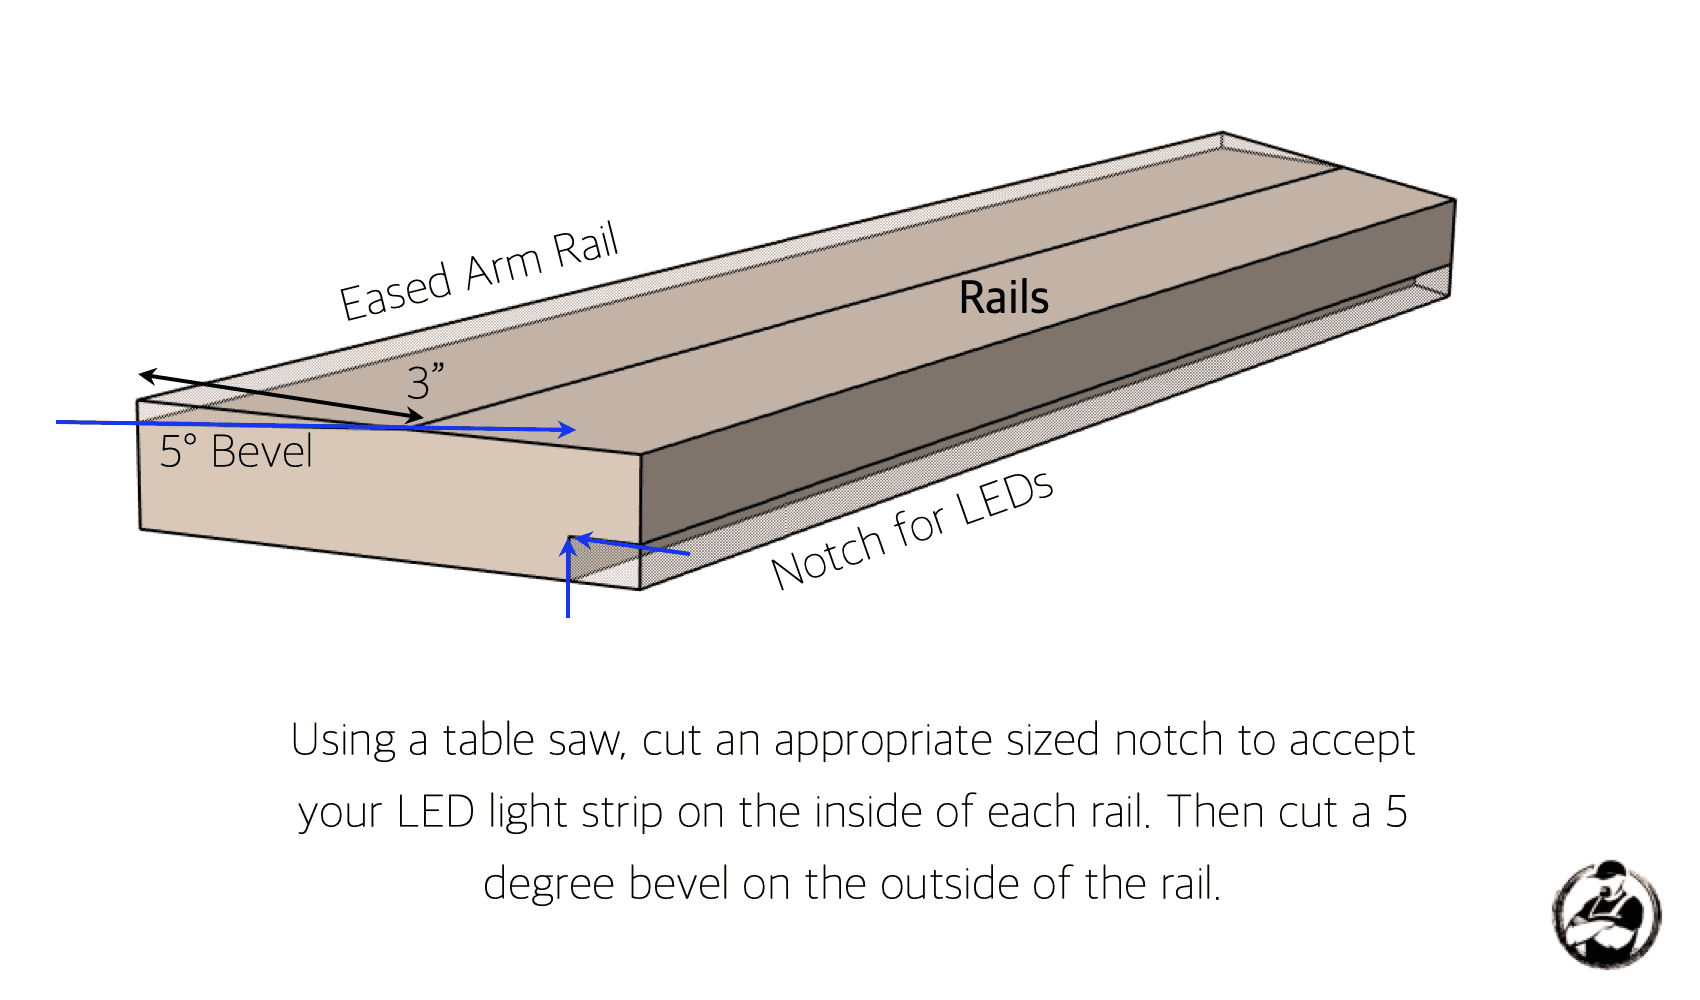
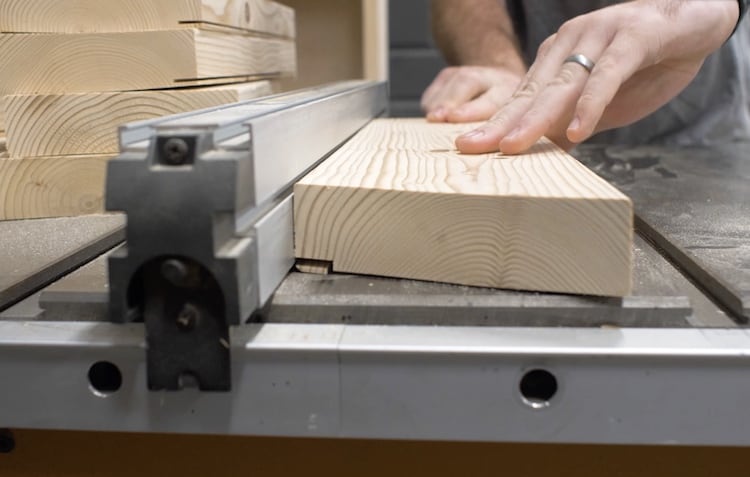
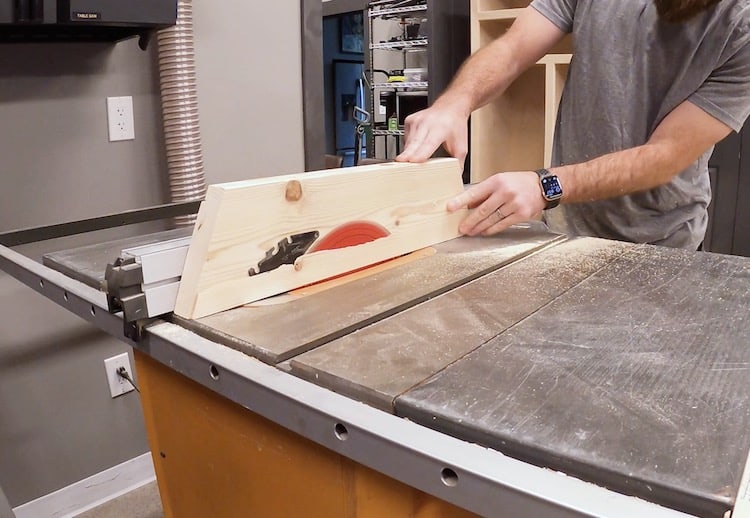
Cutting the Rails
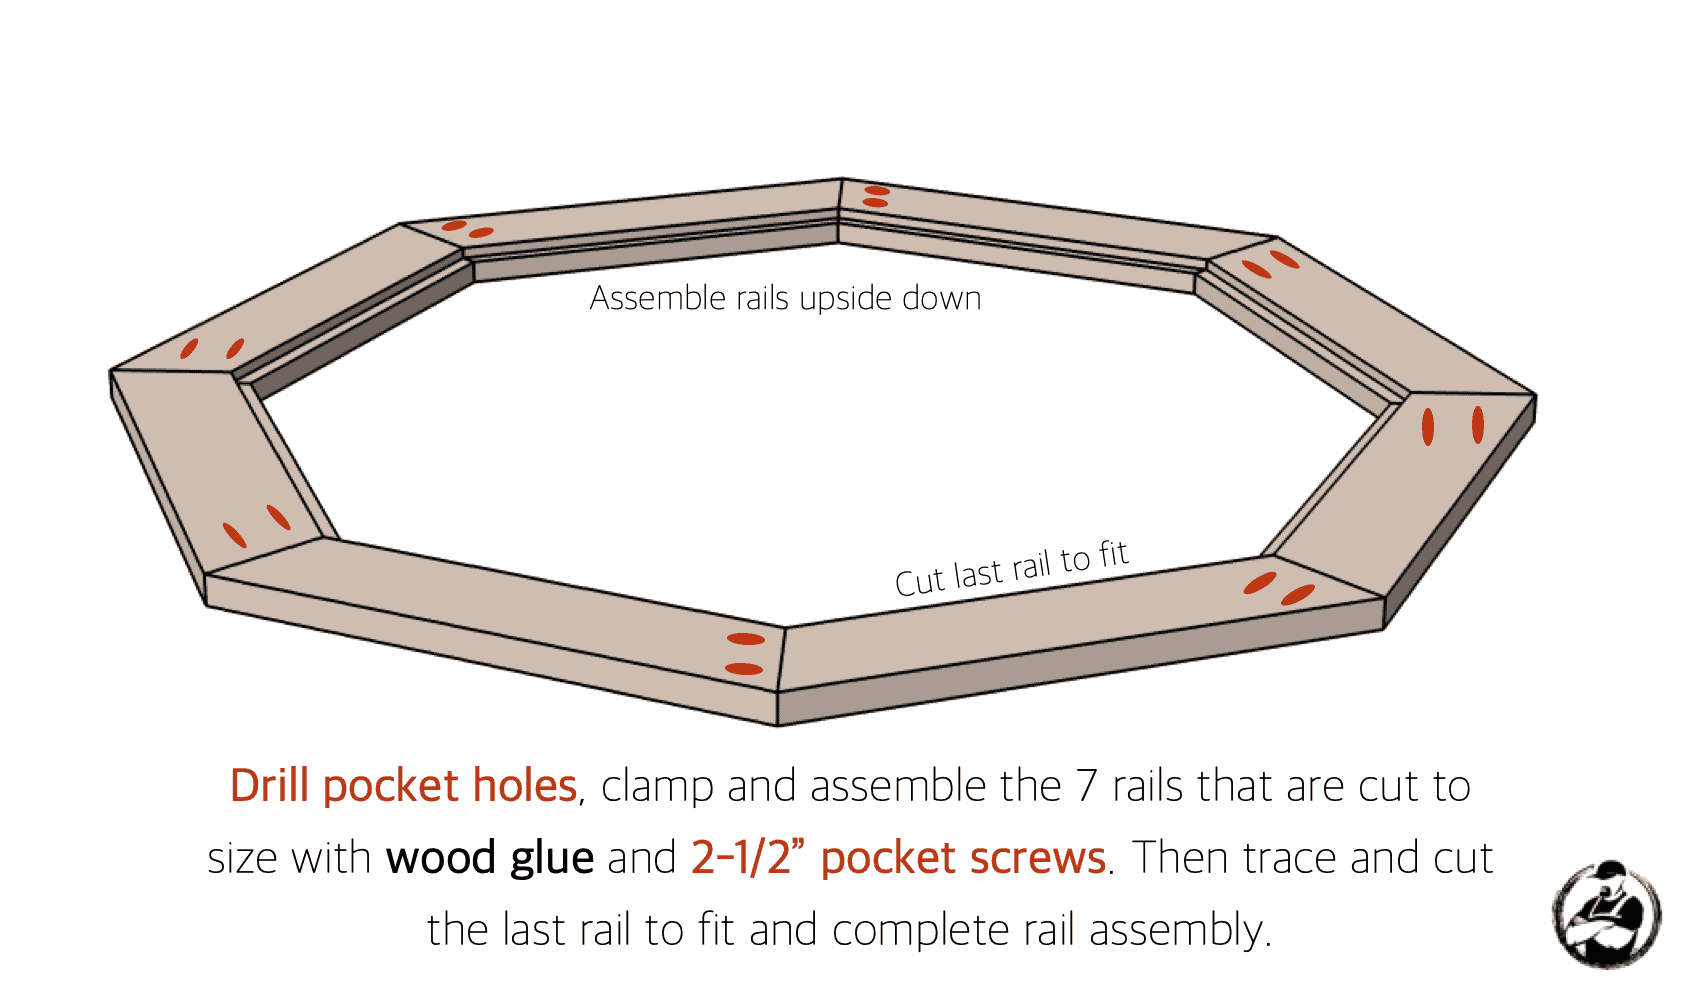
Assembling the Rails
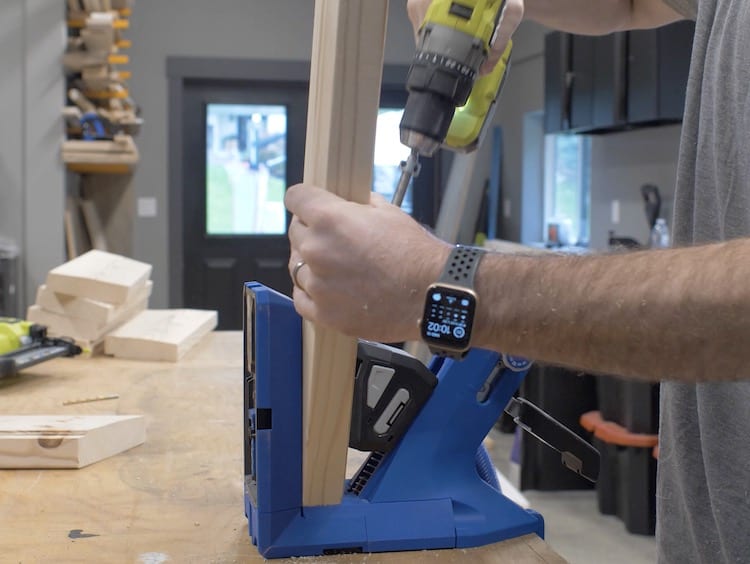
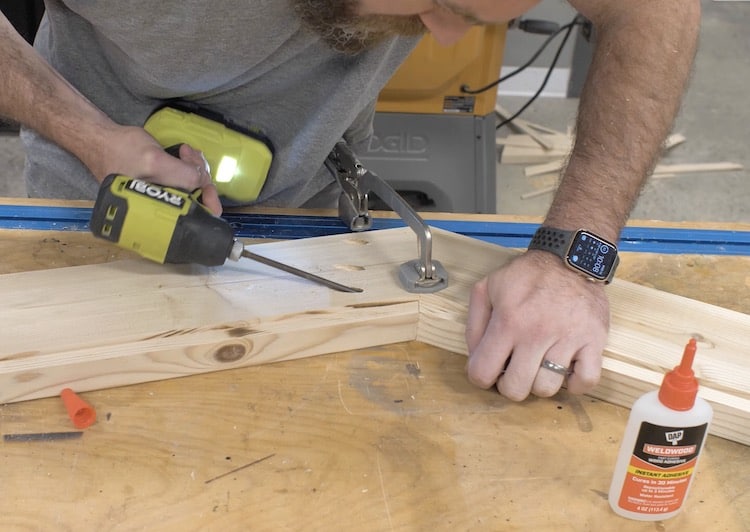
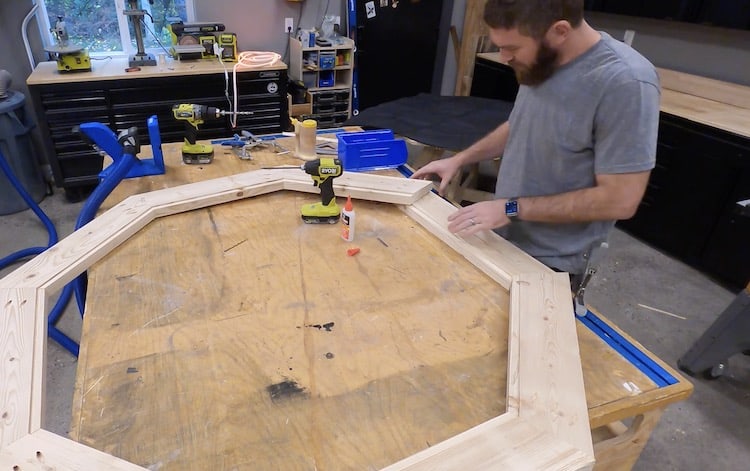
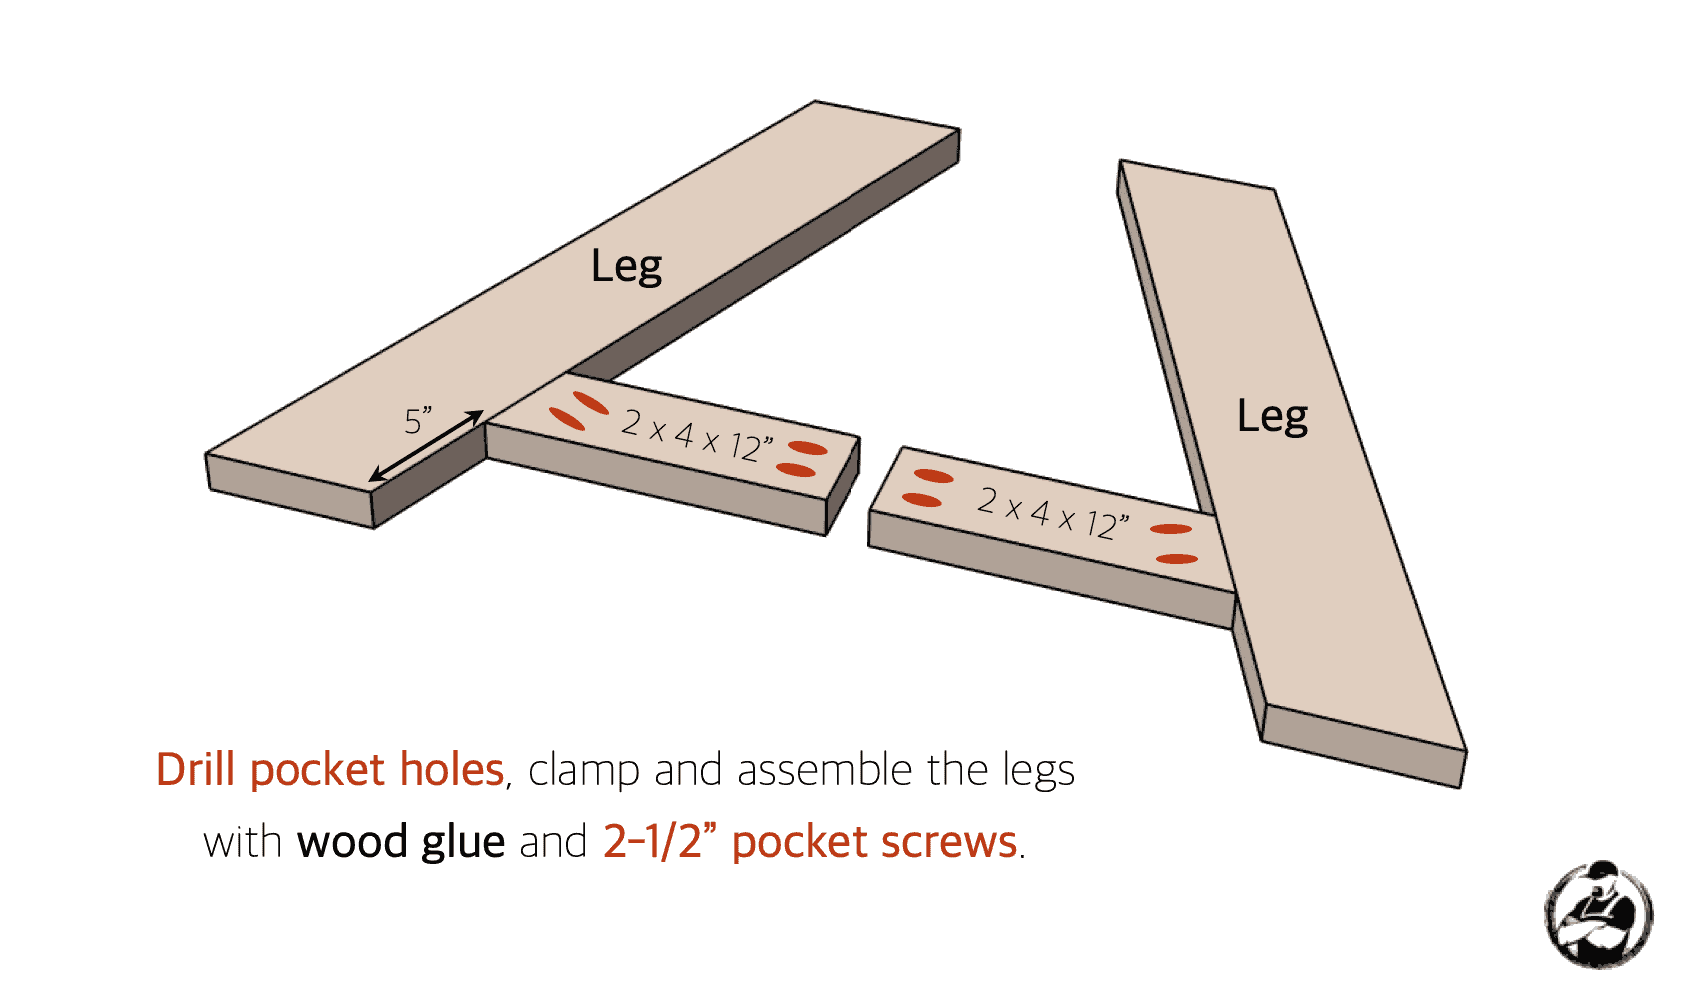
Assembling the Legs
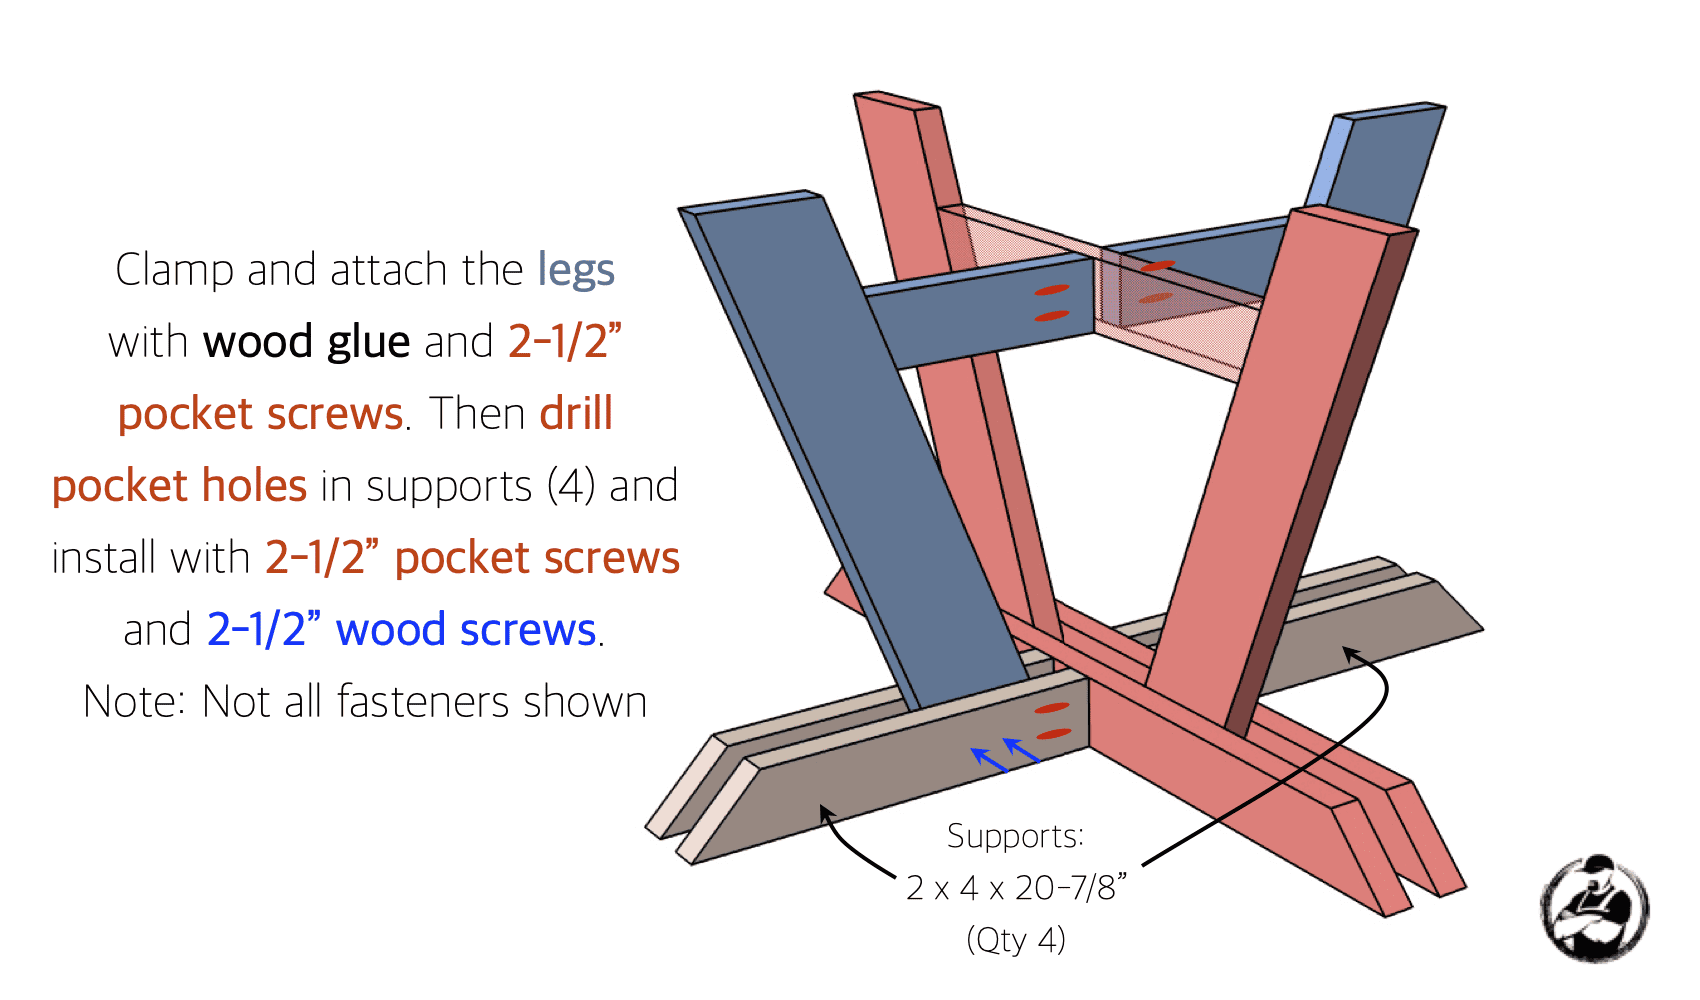
Note: When I built my table, rather than using the 2×4 supports at the top I went with a piece of plywood which ended up a little wobbly. Below, the plans have been modified for more rigidity.
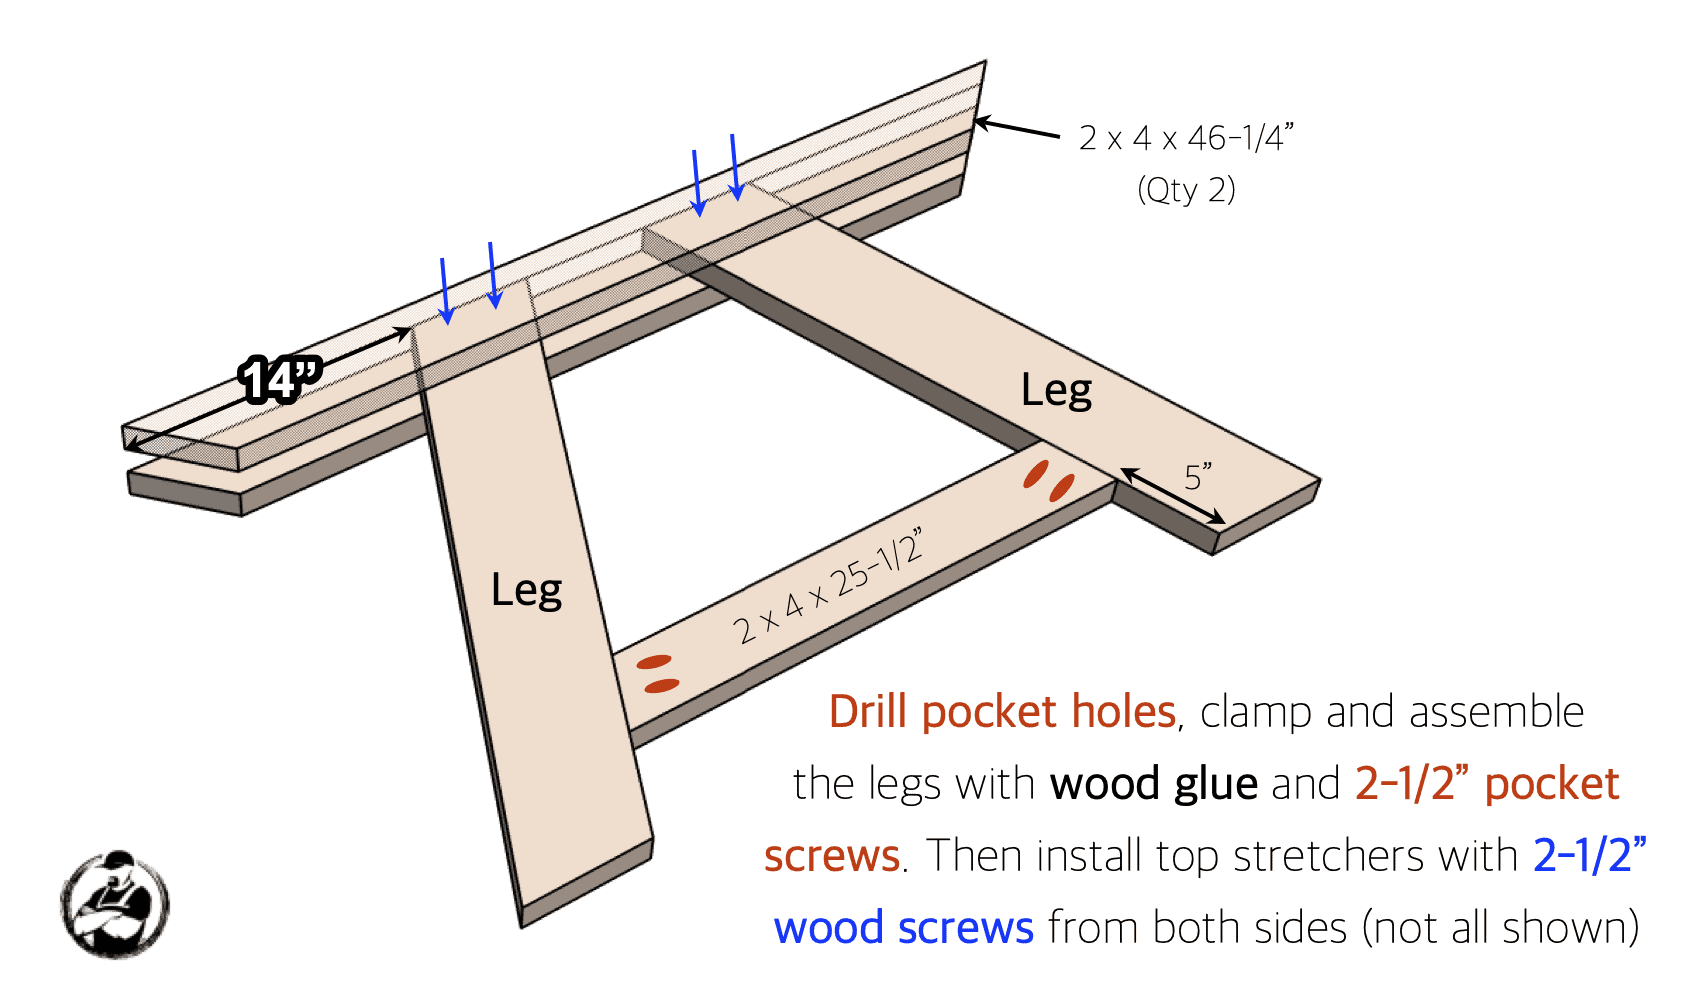
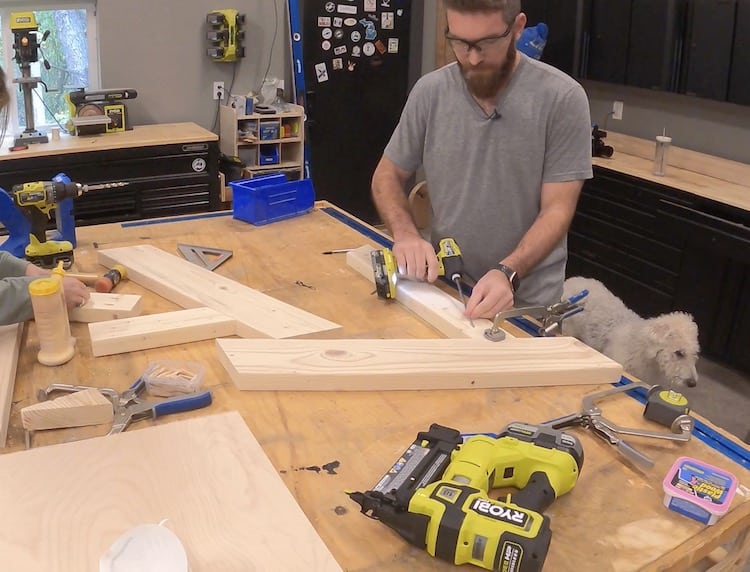
Assembling the Legs
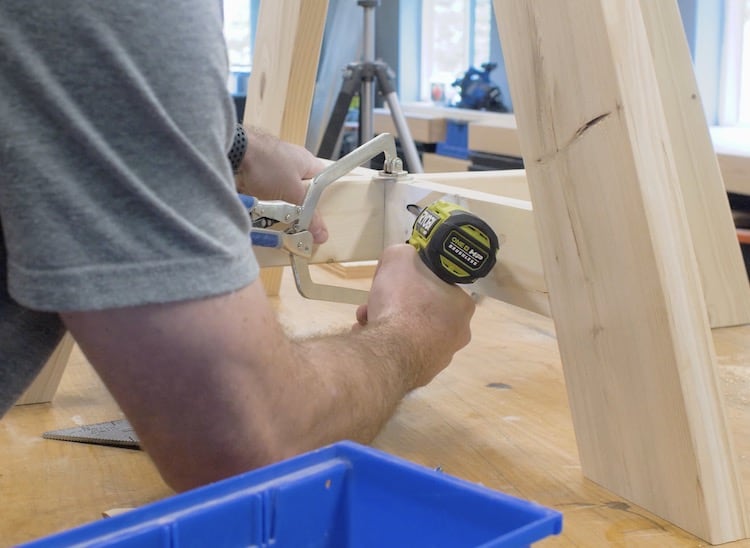
Assembling the Base
Finishing Top and Base
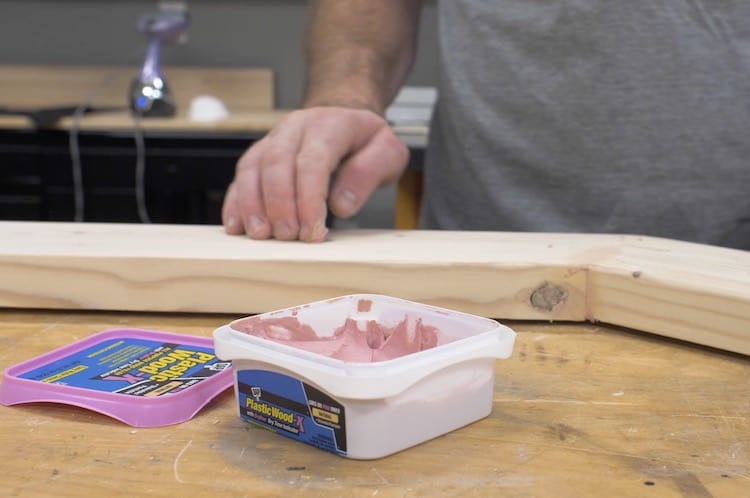
To make sure you end up with the best results make sure to prep the surface before staining. For this, I used DAP Plastic Wood-X to fill any joints, knots and imperfections before sanding smooth.
We then applied a semi-tranparent tintable deck stain (in the color slate) which I like working with because it help tone down the variations in color that you would normally see when staining pine, and it has the water proofing built in, making it an easy one step process.
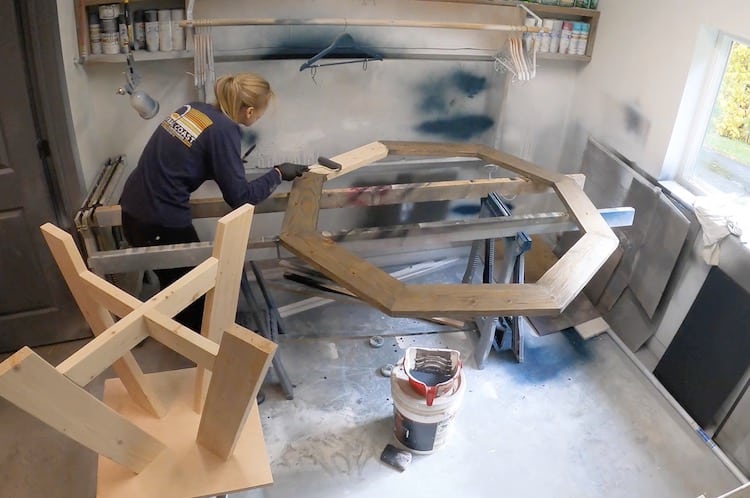
Installing the Top
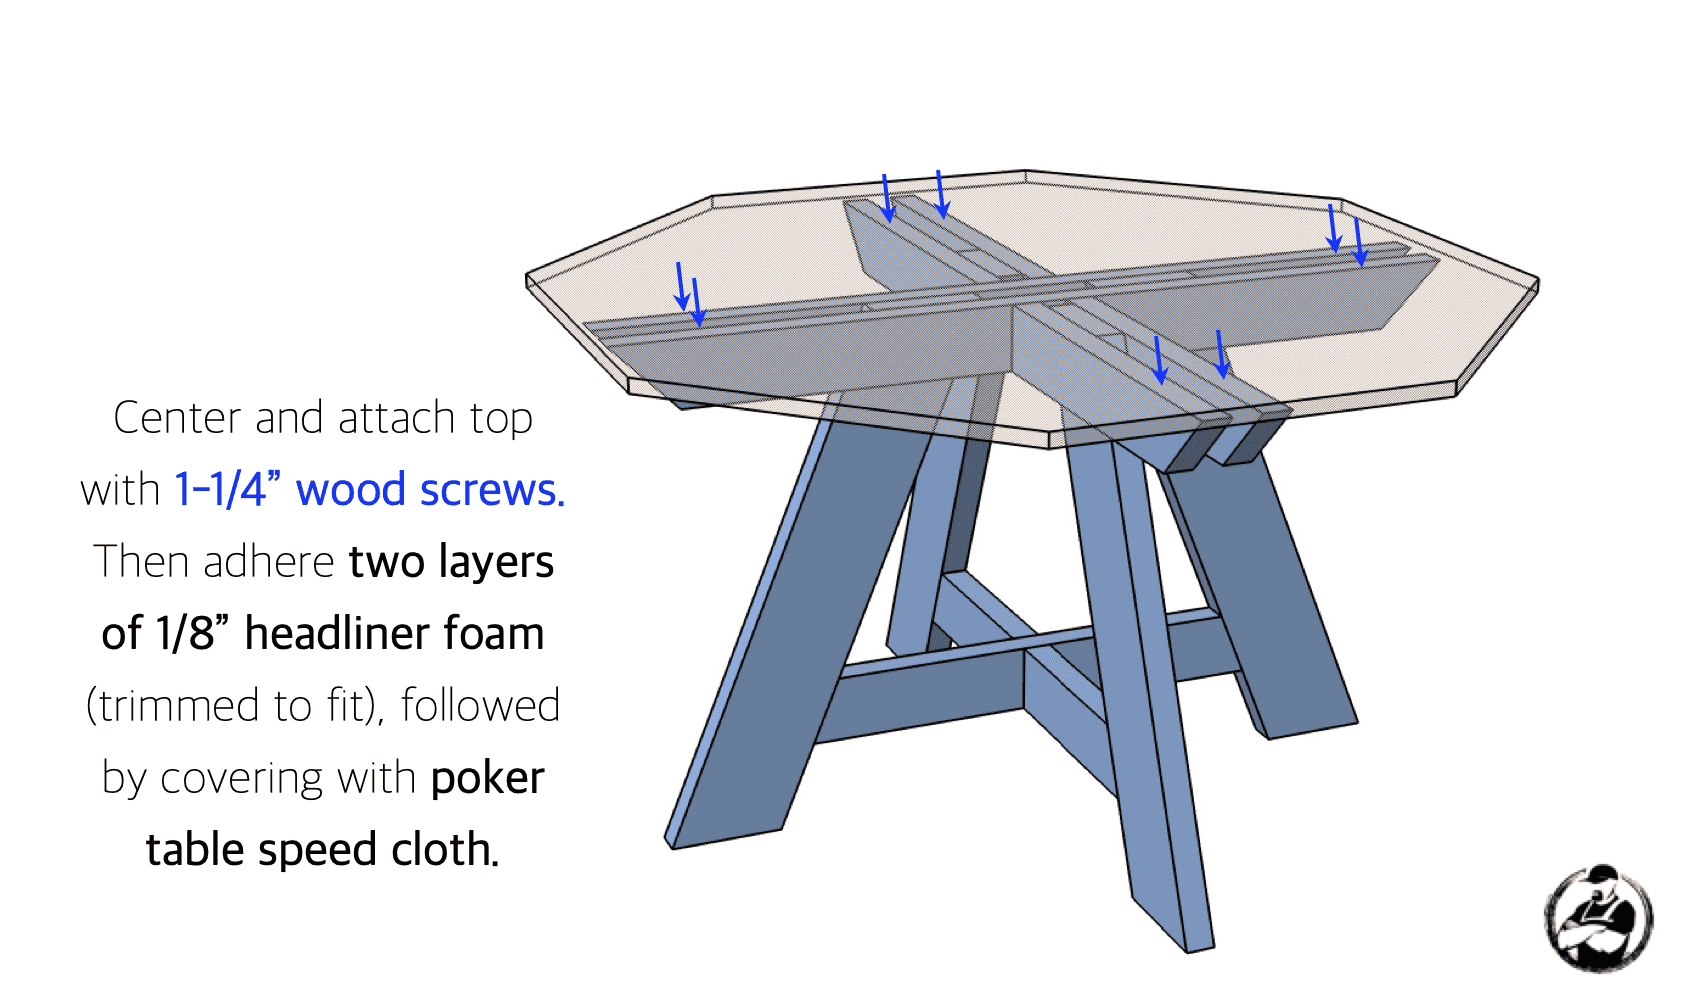
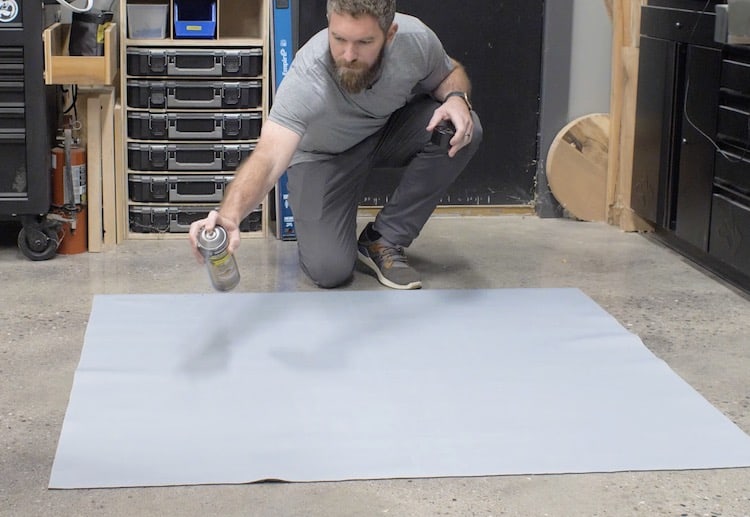
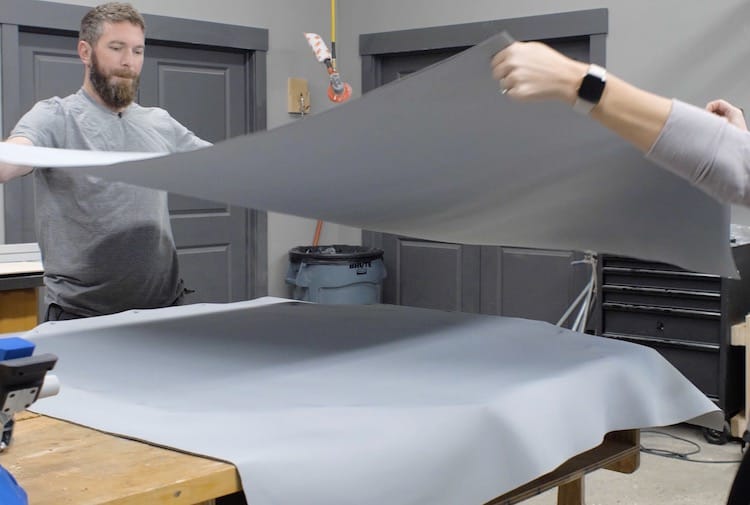
Attaching the Rails
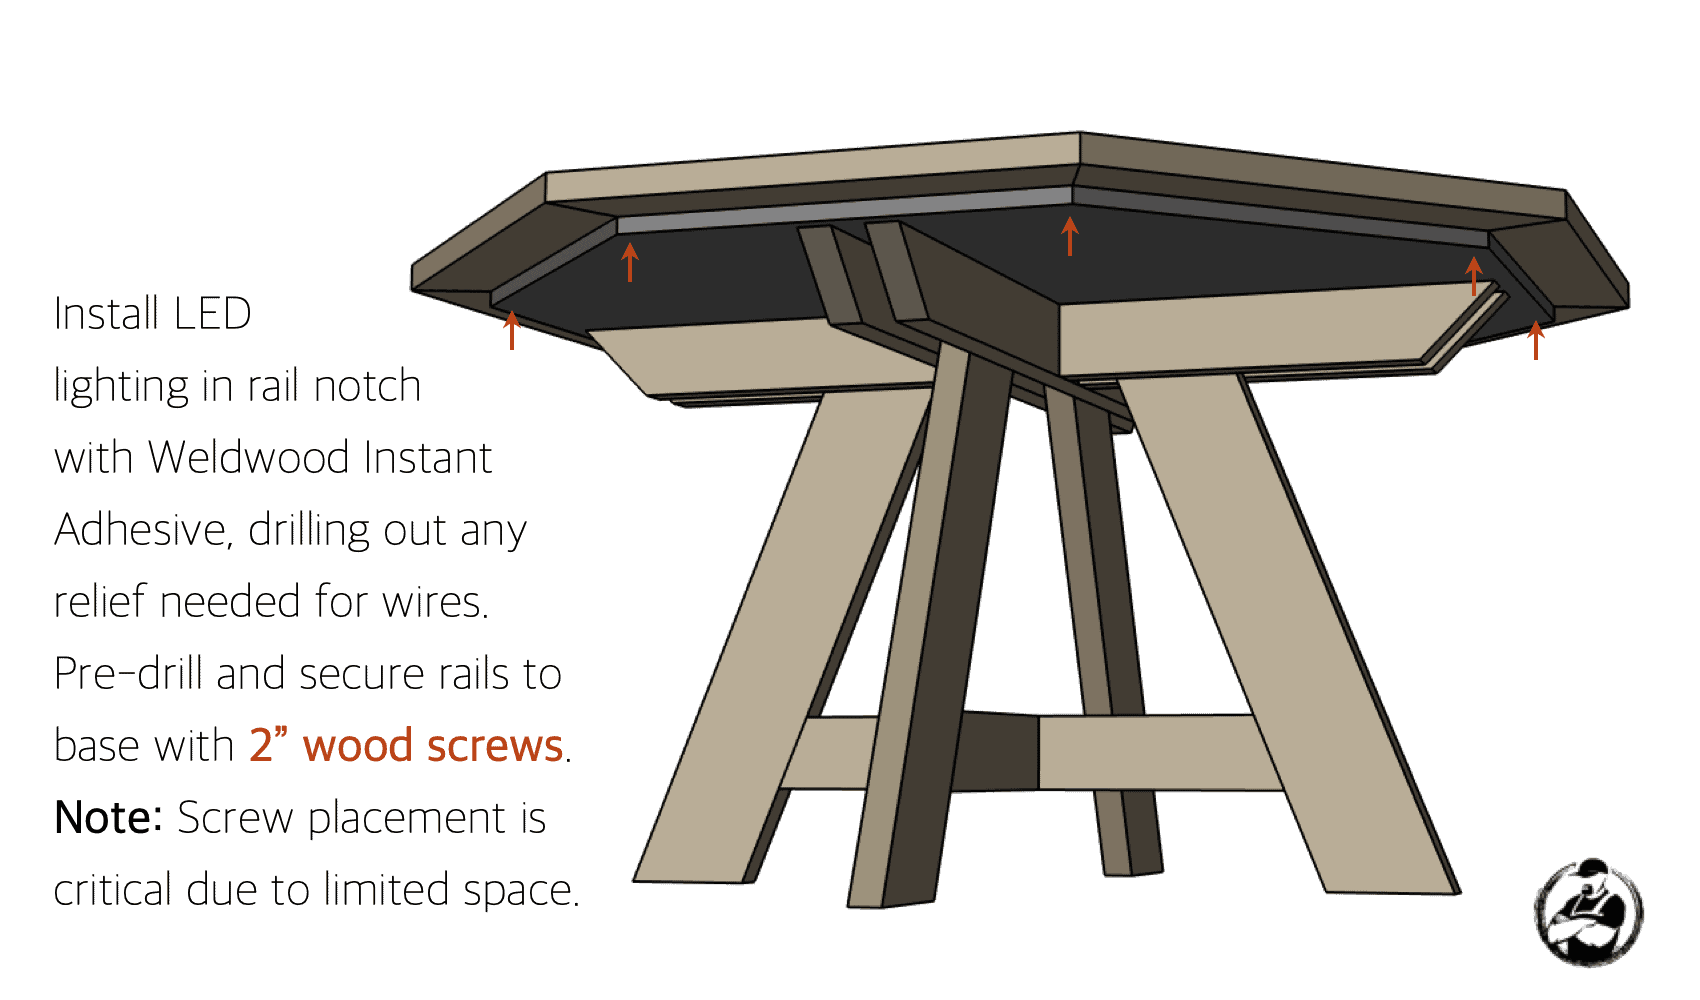
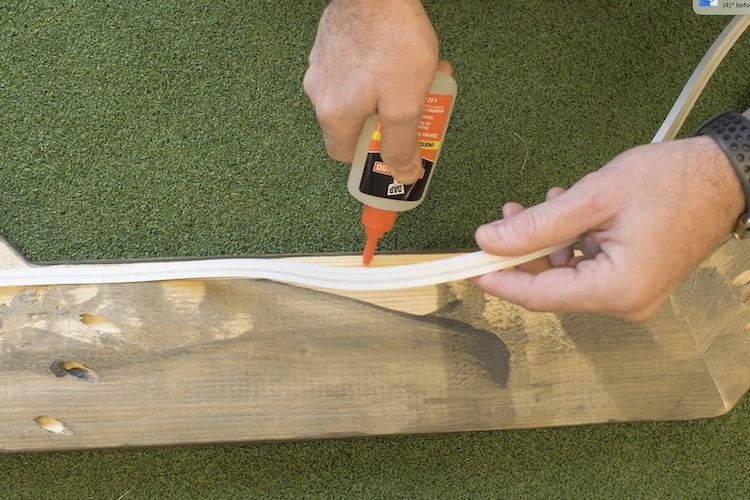
Adding Trim (Optional)
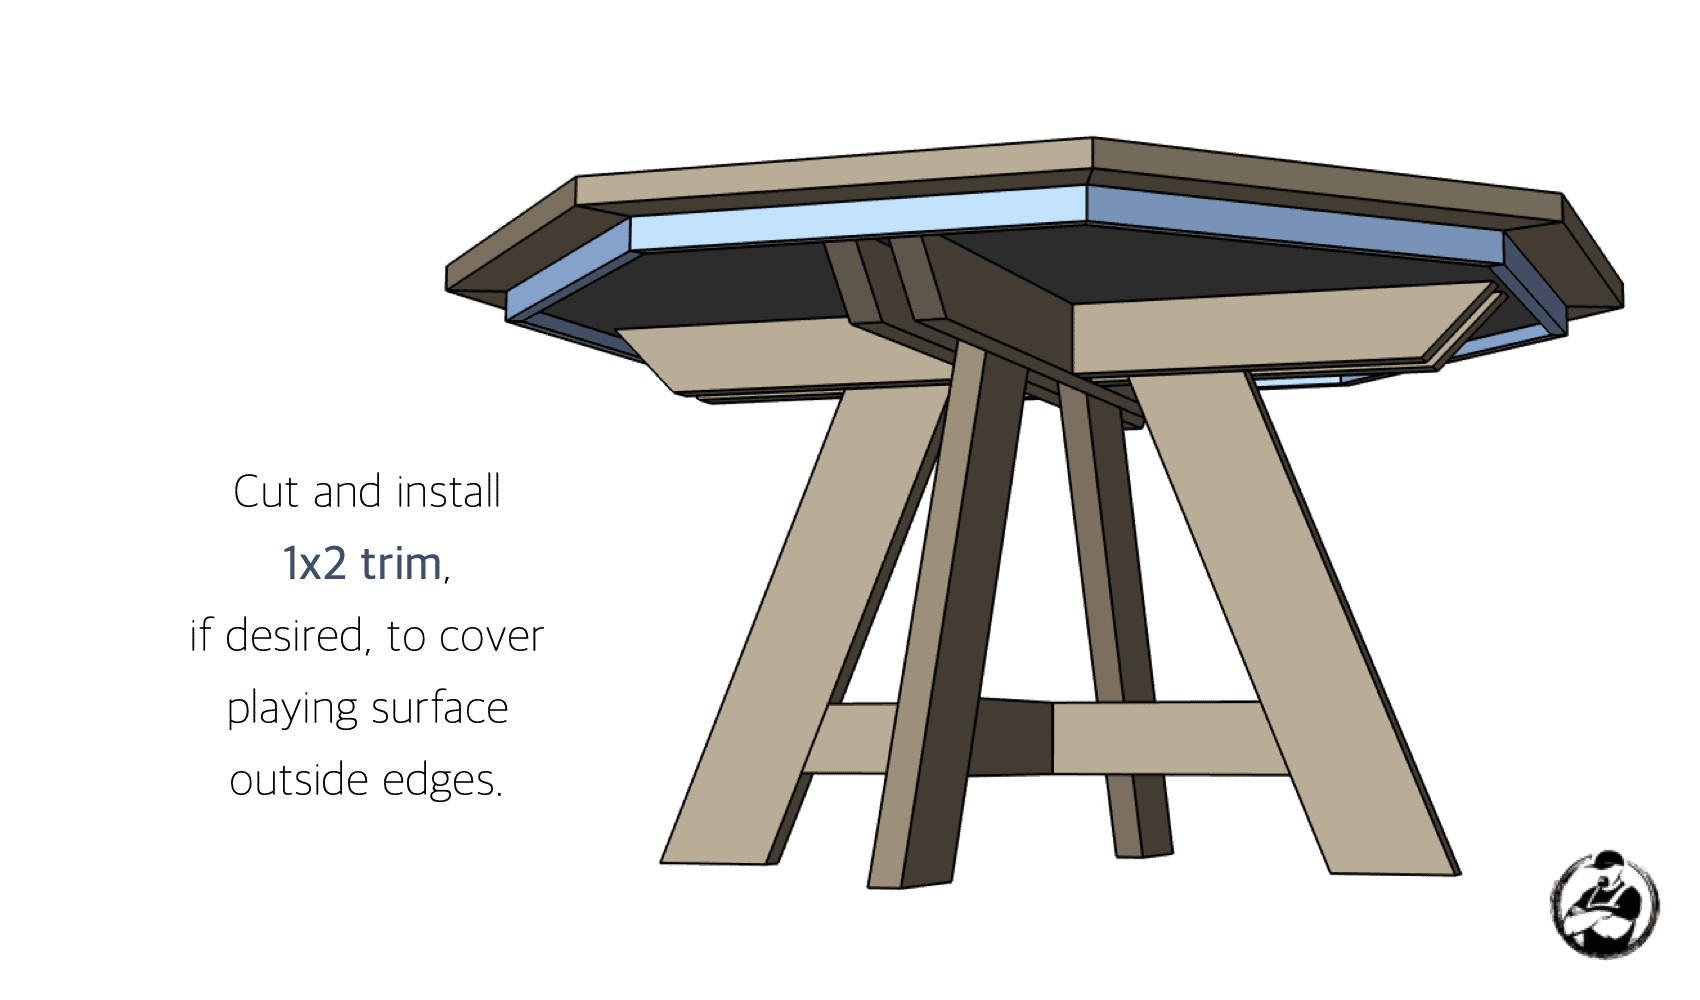
A couple things to note
No racetrack. While they look good, I skipped the hard chip-stacking ring inside the rail — the consensus among poker players is they don’t like it: cards on the track are hard to pick up, and the chip-clacking noise gets old fast.
No sunken cup holders. I wanted a smaller table and sinking cup holders into the rail eats playing surface. Clip-on cup holders stay out of the way and move wherever the drinks are.
Overall, I couldn’t be happier with how it turned out. The table is perfect for guys’ nights and will get a ton of use for years to come.
The finished table
Poker table questions, answered
How much does it cost to build a poker table?
This one ran $150–300 depending on what you already have — a sheet of plywood, 2x lumber, speed cloth, foam, and an LED strip. Comparable retail tables with speed cloth and lighting start well north of $1,000.
What goes under poker table felt?
A padding layer — 1/8″ automotive headliner foam or neoprene — glued to the plywood with contact cement, then the speed cloth stretched over it. The foam gives the surface that soft casino feel and makes chips land quietly.
What is speed cloth?
A slick polyester/spandex blend casinos use so cards glide flat across the table instead of catching like they do on craft felt. It’s water resistant, durable, and worth every penny over regular felt.
Should a poker table have a racetrack and cup holders?
We skipped both on purpose: players find racetracks annoying (hard card pickup, noisy chips), and sunken cup holders shrink an already-cozy 8-player surface. Clip-on holders give you drinks without the sacrifice.
Build out the game room
Questions? Comments?
If you have any questions, drop them in the comments below — and when your build is done, post a picture. That’s the good part.
https://uploads.disquscdn.c… https://uploads.disquscdn.c…Super easy plans. Easy, quality build. Spend the $5 for plans and support this site!
So what if I want an over width if 62 inches. How long would I need to cut the boards
I did the table in sketchup first then modified it keeping the basics similar.thats the only thing I can suggest for modifying it.I had zero experience on this type of project.
Oh and how do I get the full plans for this table
https://uploads.disquscdn.c… I did it. Took me 2 months due to the weather and some materials that took longer to arrive.But I did some modifications like adding a 4 inch space under it for storage and making it larger for more players.just missing the leds for now, but this was an amazing first time project for me.
can you send me a blueprint of this
or screen shots from whatever sketch up is lol