DIY Garage Shelves (Free Shelf Designer + Plans)
Quick build: These DIY garage shelves are 2x4s and plywood screwed straight into the studs. The one above my workbench is 66-3/8″ long and 19-3/8″ deep, cut from the plywood left over from the bench top: four 2x4s and two boxes of construction screws, about $41 at Home Depot in October 2026, and it rates about 300 lb spread across the shelf. A 4 ft wall shelf on two 2×4 brackets runs about $91 with a full sheet of plywood and rates about 375 lb. The free shelf designer below sizes either one to your wall and studs and emails you the plans as a PDF. Documented by Jamison Rantz, October 2026.
The wall above a workbench is the most wasted space in most garages. It’s where the stuff you reach for every day should live, and instead it’s bare studs or a single sagging shelf.
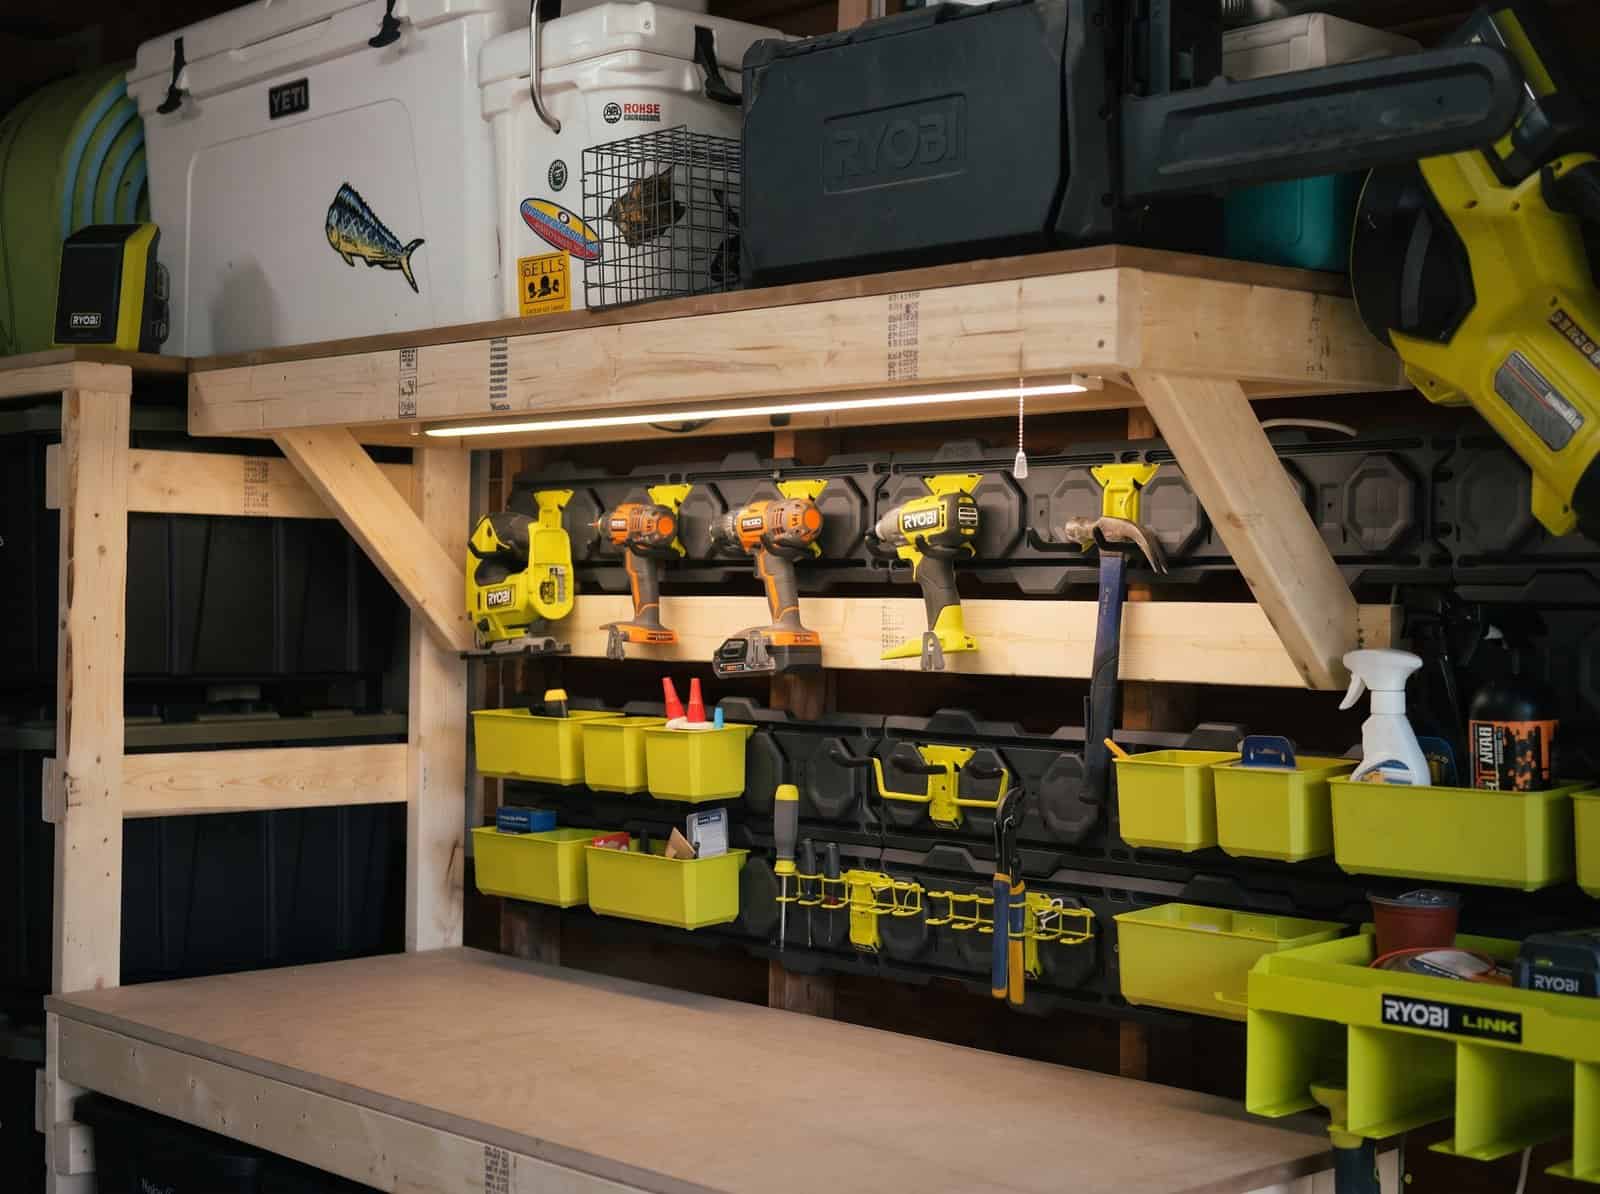
I built my DIY garage storage shelves out of 2x4s and plywood, and the designer handles two kinds. The first sits above the workbench, made from the strip of plywood left over from the bench top. The second is a garage wall shelf on 2×4 brackets, one bracket on every other stud. Both go straight into the studs, so they hold real weight.
The designer below does the math for both. Tell it your wall, your studs and how big you want the shelf, and it works out the brackets, the cut list, what to buy, the load rating and every build step. When it looks right, it’ll email you the plans as a PDF. Free.
Design Your Garage Shelves
Pick a wall shelf or a workbench shelf, set the length and depth, and tell it your stud spacing. Everything updates as you go: the 3D model, the steps, the cut list and the cost. Every price is editable, so you can match your store.
Design a 2x4 garage shelf for your wall: a bracket shelf on every other stud, or the workbench shelf with angled supports, sized for the plywood left over from the mobile tote workbench top. You get the frame sized to the sixteenth, a 3D model you can spin step by step, how much it holds, the cut list, a board-by-board cut map, the cost and the build steps.
Your shelf
2x4 brackets screwed into every other stud carry a 2x4 box shelf. The brackets land on your studs, so the tool spaces them for you.
Two 2x4 ledgers screw into the studs wherever they fall, with angled supports at the ends, so no stud has to line up. Add angled supports and they space out evenly along the shelf.
Into the studs: 2 construction screws (3-1/2 in) at every stud, through each ledger, long enough to reach 1-1/2 in into the stud through the drywall.
3 screws at each end of every angled support, and 6 screws in every back support instead of 4 (or a third lag). It raises the rating where the wall connection is the limit, mostly on longer shelves.
Keeps each top support square on its back support. Not counted in the rating.
Loading the 3D view…
Drag to turn it around.
2 angled supports, one at each end; the ledgers screw into the studs wherever they fall. Holds about 300 lb spread evenly. Engineering notes
Build it in 5 steps
2 angled supports · 9 cuts from 4 2x4s and a sheet of plywood · about 55 screws
Buy and cut the lumber
9 cuts from 4 2x4s and the plywood. Cut everything first and label each piece with tape (ledger, rail, cross piece, angled support), so assembly is just screwing labelled parts together.
- Sight down each 2x4 at the store and leave the twisted ones.
- The angled supports: cut each one 23-3/16″ long point to long point, 45° at both ends with the cuts angled toward each other.
- Then trim the point at the foot: a small 45° cut across the long point, square to the first cut, 2-1/16″ along the edge. That little flat ends up flush with the bottom of the bottom ledger.
- Cut the longest pieces first; the cut map below says which cuts come from which board.
Shopping list
- 2x4 × 8 ftQty4EachTotal$17.00
- 3/4 in plywood, 4×8 sheetOne sheet makes two shelves this sizeQty1EachTotal$49.82
- Box of 45 · #10 × 3-1/2 in construction screws, 1 lb box20 into the studs, through the drywall. Into every stud through each ledger: enough for the most studs it can crossQty1EachTotal$11.97
- Box of 55 · #10 × 3 in construction screws, 1 lb boxAbout 35 screwsQty1EachTotal$11.97
Home Depot online, Oct 2026. Prices vary by store.
Cut list
| Part | Stock | Length | Qty |
|---|---|---|---|
| Top ledger | 2x4 | 66-3/8″ | 1 |
| Bottom ledger | 2x4 | 66-3/8″ | 1 |
| Front rail | 2x4 | 66-3/8″ | 1 |
| Angled support 45° both ends, angled toward each other; 23-3/16″ long point to long point then trim the point off the foot, 2-1/16″ along the edge | 2x4 | 23-3/16″ | 2 |
| Cross piece | 2x4 | 16-3/8″ | 3 |
| Plywood | 3/4 in plywood | 66-3/8″ × 19-3/8″ | 1 |
- Top ledger66-3/8″× 1
- Bottom ledger66-3/8″× 1
- Front rail66-3/8″× 1
- Angled support23-3/16″× 245° both ends, angled toward each other; 23-3/16″ long point to long pointthen trim the point off the foot, 2-1/16″ along the edge
- Cross piece16-3/8″× 3
- Plywood3/4 in plywood66-3/8″ × 19-3/8″× 1
- Cross pieces from the left end
- 0″ / 32-7/16″ / 64-7/8″
- Top ledger top to bottom ledger top
- 11-7/16″
- Shelf line down to the bottom of the top ledger
- 4-1/4″
- Angled support, long point to long point
- 23-3/16″
- Cuts
- 9
- Waste (2x4s)
- 23%
Cut map: what to cut from each board and the plywood
8 ft 2x4s, the cheapest per foot. The fewest boards that yield every cut.
- 2 × 8 ft 2x466-3/8 + 23-3/16 (45°s) · 6-5/16 off0 of 2 cut
- 1 × 8 ft 2x466-3/8 + 16-3/8 · 13-1/8 off0 of 1 cut
- 1 × 8 ft 2x416-3/8 + 16-3/8 · 63-1/8 off0 of 1 cut
Tap + as each board comes off the saw. Your progress stays on this phone for this shelf.
Build the frame
Lay the 66-3/8″ top ledger and front rail side by side, ends flush, and mark both from the left end at 32-7/16″, 64-7/8″: the left edge of each cross piece. The first one is flush with the left end.
- Screw the 3 16-3/8″ cross pieces between them, on edge, each on its marks: 2 screws through the top ledger and 3 through the front rail into each.
- Check the frame is square: measure both diagonals; when they match, it is.
Add two angled supports and the bottom ledger
Lay the frame on its back on the bench, the top ledger down and the front rail up. Lay the 66-3/8″ bottom ledger flat on the bench too, parallel to the top ledger with a 7-15/16″ gap between them. No screws in it yet: for now it's a spacer that holds the supports in line.
- Set an angled support inside each end cross piece: its top flush with the top of the frame, its trimmed foot on the bottom ledger with the trimmed flat flush with the ledger's far edge.
- Hold a square on the bench against the frame so the frame stands at 90° to the bench, then drive 3 screws through each support into its cross piece, staggered either side of the support's centre line so they don't split it.
- Turn the shelf upside down, the frame's top down and the feet up. Stand the bottom ledger on edge against the feet, the gap to the top ledger still 7-15/16″, the trimmed flats flush with its edge. Clamp it to each foot: it's awkward to hold while you drive.
- 3 screws through the back of the bottom ledger into each foot. The whole shelf is now one piece, ready for the wall.
Hang it and level it
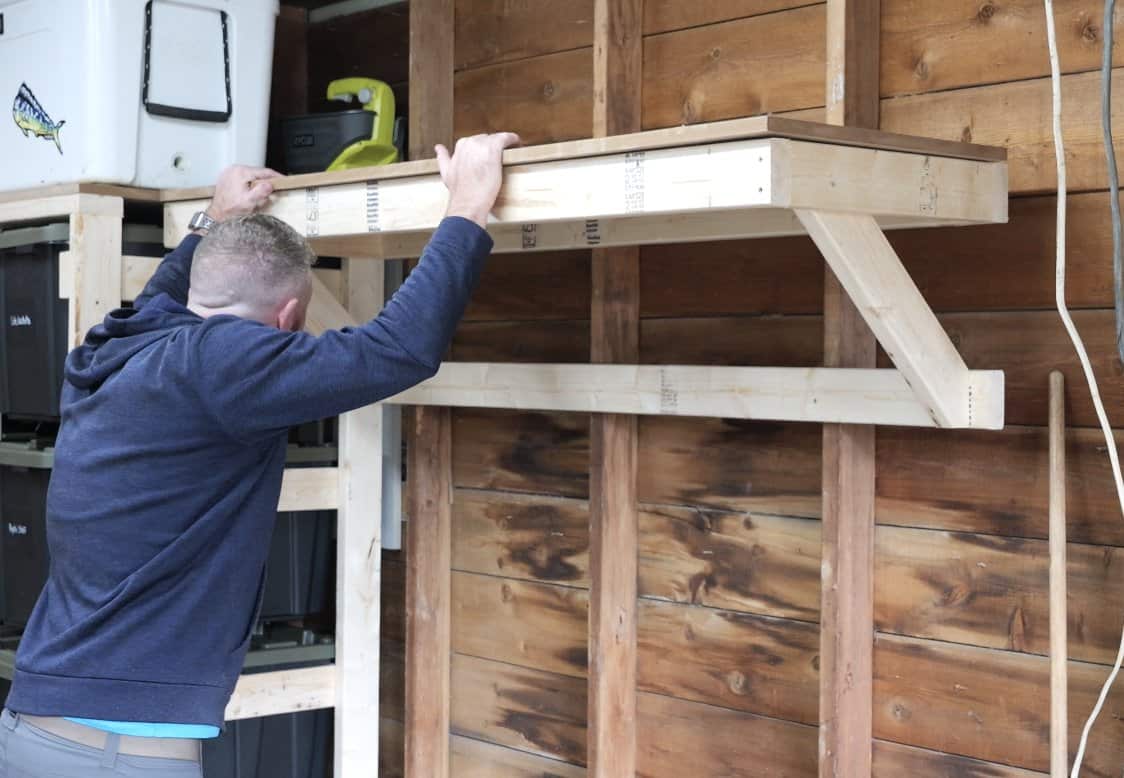
Find the studs and draw a level line on the wall where you want the top of the shelf. If you can, slide the shelf along the wall so a stud sits within a few inches of each end: the end supports push down on the bottom ledger there.
- Lift the shelf into place (two people), the bottom of the top ledger 4-1/4″ below your line, and drive 2 construction screws (3-1/2 in) through the top ledger into every stud, levelling along the length as you go. Then the same through the bottom ledger.
- If the shelf tips up or down coming out from the wall, back the screws out of the angled supports where they meet the cross pieces, set the shelf level, and drive them back in.
Plywood on top
Lay the 19-3/8″ × 66-3/8″ plywood on the frame, flush all round, and screw it down around the edges: one screw at each corner, then about every 24 in along the top ledger and the front rail. None in the middle.
- Keep the heavy things near the wall and over the angled supports.
Email me these plans
The whole build as a printable PDF, sized to your shelf: the shopping list, cut list, cut map, every step with its drawings, and how much it holds. Print it for the shop, or pull it up on your phone at the store.
Engineering notes
Holds about 300 lb spread evenly (about 50 lb per foot, 33.9 lb per square foot), limited by how far the plywood sags between its supports.
Load ratings are engineering estimates, not a certified rating. They come from the published design values for wood, plywood and fasteners (NDS 2018, APA), which carry a safety margin, and they assume: the most common 2x4 (SPF, Stud grade), sound studs, every screw or lag into the wall driven into the middle of a stud and as long as the plan says, the screws the plan calls for, and the load spread evenly across the shelf. One heavy item near the middle of a span counts for about twice its weight. Check your wall, your studs and your work, start light, and never climb on or hang from a shelf.
What the design checks
- Bottom ledger clears the top ledger 7-15/16″ between them (need 1″)
- Cross pieces close enough 3 cross pieces, at most 32-7/16″ apart
- Reaches two studs needs 19″ to reach two studs 16″ apart
- 2x4s fit 8 ft boards longest piece 66-3/8″
- Plywood fits a sheet 19-3/8″ x 66-3/8″
What each part allows
| Check | lb / sq ft | lb on the shelf |
|---|---|---|
| Plywood across the shelf: deflection span / 180 with creep | 33.9 | 302 |
| Bottom ledger screws: shear the stud nearest an angled support; one screw holds 103 lb sideways | 43.3 | 387 |
| Bottom ledger: bending an end angled support up to 15-1/4″ past the last stud | 56.4 | 503 |
| Front rail: bending worst at 33-3/16″ from the left end | 59.9 | 535 |
| Plywood across the shelf: bending 16-5/8″ span | 82.1 | 733 |
| Top ledger screws: shear and pull-out 3 studs at least; one screw holds 103 lb sideways, 112 lb pull-out | 102.8 | 918 |
| Front rail: deflection span at 33-3/16″, span / 180 with creep | 111.2 | 992 |
| Front rail to cross piece: 3 screws into the cross piece's end grain | 111.6 | 997 |
| Angled support foot: 3 screws through the bottom ledger into the support's foot | 111.6 | 997 |
| Angled support to cross piece: 3 screws | 168.4 | 1504 |
| Front rail: shear | 200.4 | 1789 |
| Plywood across the shelf: shear | 322.5 | 2880 |
| Top ledger: shear | 596.3 | 5325 |
| Top ledger: bending worst at 9-3/16″ from the left end | 717.1 | 6404 |
| Angled support: buckling 23-3/16″ long | 1000.9 | 8938 |
| Top ledger: deflection overhang at 0″, overhang / 90 with creep | 2120.2 | 18934 |
Allowable stress design to the NDS 2018 and APA's Panel Design Specification: SPF, Stud grade 2x4s and wall studs, load duration 0.90 (storage stays put), creep on every deflection, span / 180 and overhang / 90, every span and overhang loaded or not, whichever is worse. The rating is the smallest line above, less the shelf's own weight.
Garage Wall Shelves on 2×4 Shelf Brackets
Each bracket is three 2x4s: a back support screwed flat to the stud, a top support that the shelf sits on, and an angled support cut at 45° on both ends that ties them together. The shelf itself is a 2×4 frame with a plywood top.
- Brackets go on every other stud. On 16″ studs that puts them 32″ apart, which is plenty for a 2×4 frame and 3/4″ plywood.
- The ends can run 4″ to 20″ past a bracket. That’s how one stud layout covers every length. Past about 16″ the ends start to sag first, so the designer adds a bracket when a longer shelf needs one.
- Brackets grow with the shelf depth, from 12″ to 24″ deep.
- Heavy duty is an option: three screws at each end of the angled support and an extra screw into the stud. It only pays off on longer shelves, and the designer shows you when it does.
A Shelf Above the Workbench
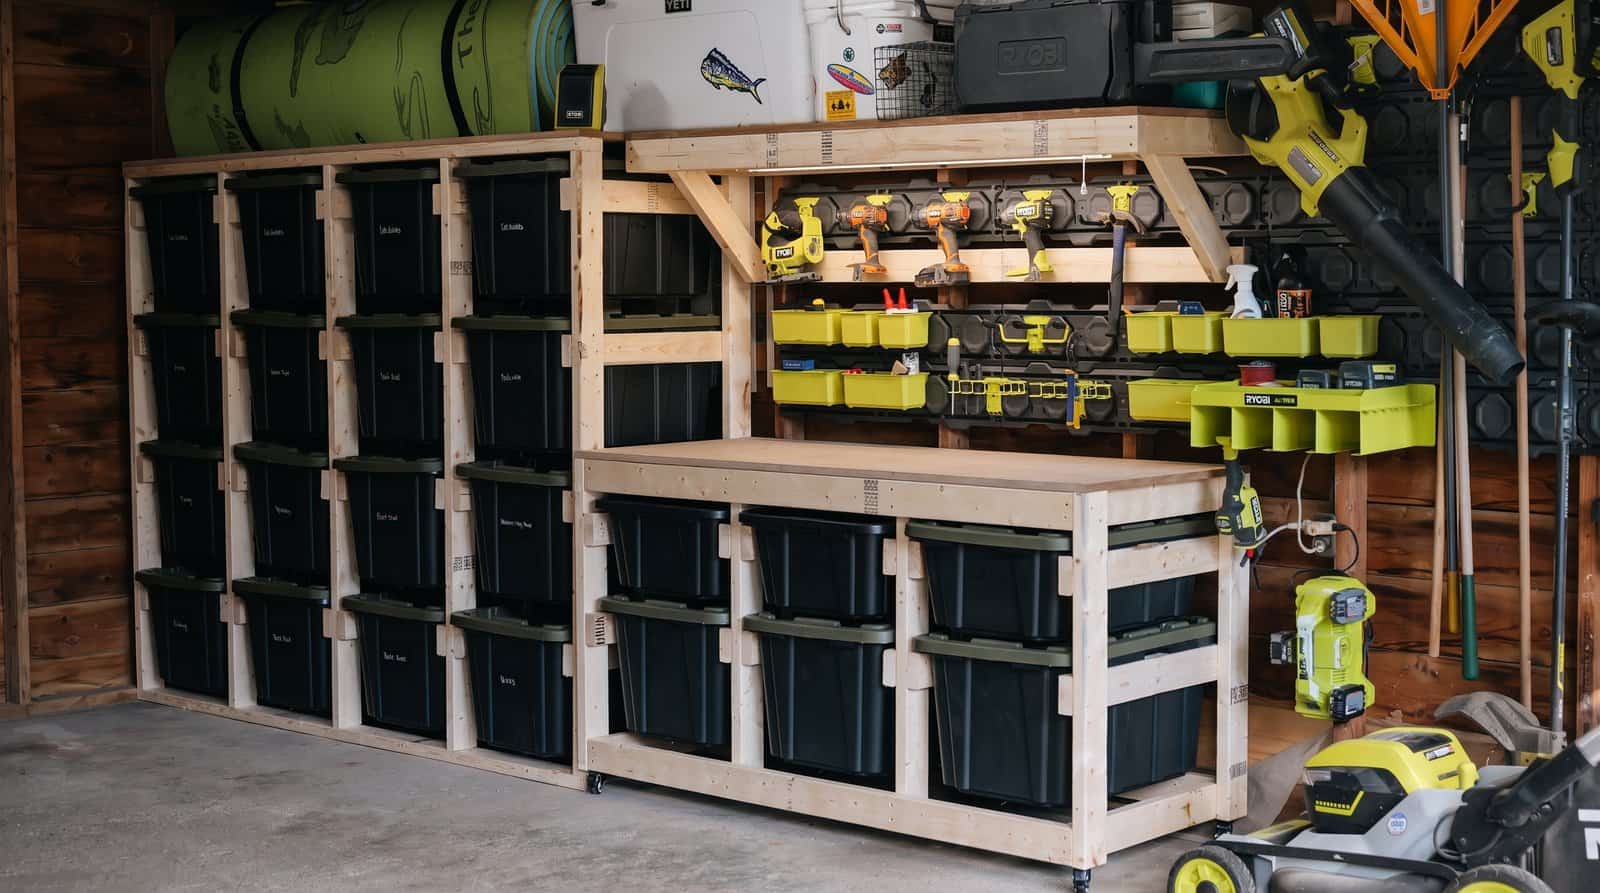
This is the one I built over my mobile tote workbench. When you rip the bench top out of a sheet of plywood, there’s a long strip left over. On the 3-bay bench that strip makes a shelf 66-3/8″ long and 19-3/8″ deep, which lines up with the bench below it.
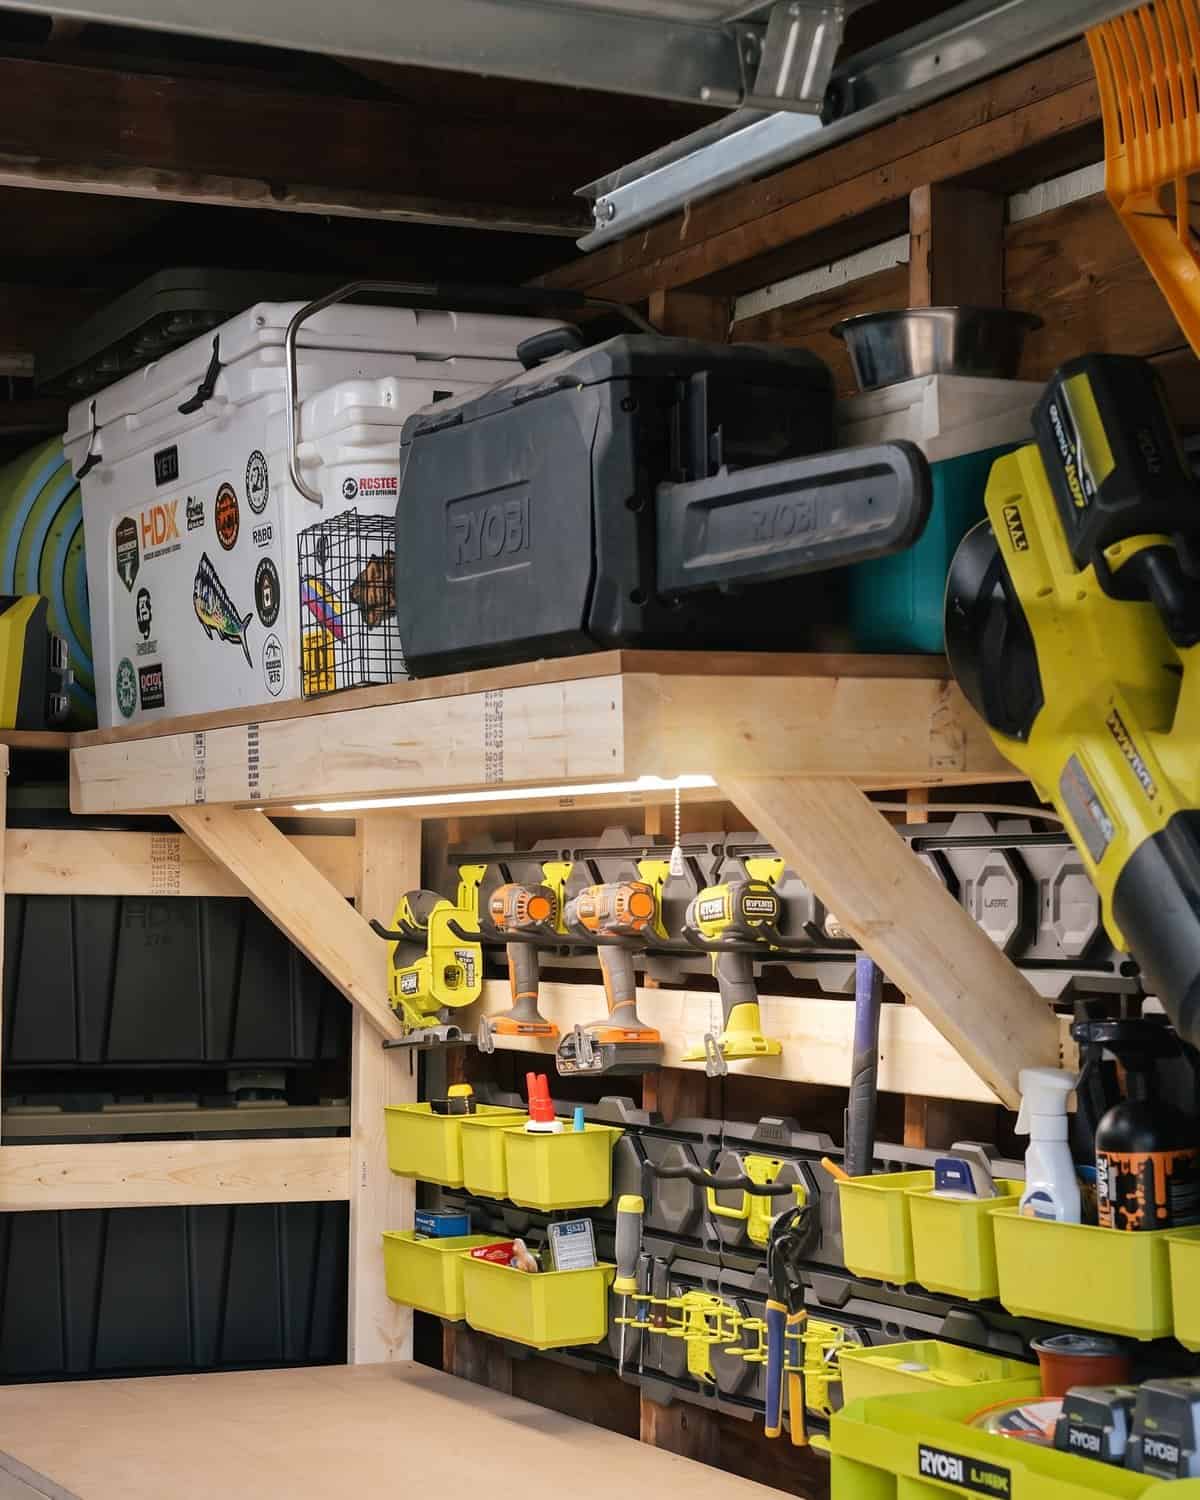
It hangs on two 2×4 ledgers screwed into every stud it crosses, with an angled support at each end. Longer shelves get more supports. With the plywood already in hand, it’s four 2x4s and screws, about $41, and it rates about 300 lb. The light strip tucks right under the front rail.
How Much Weight 2×4 Shelves Hold
More than most people put on them, as long as the screws are in the studs. These are the ratings the designer gives for shelves over 1/2″ drywall on 16″ studs, with the load spread evenly:
| Shelf | Rating | What gives first |
|---|---|---|
| Wall shelf, 4 ft, 2 brackets | 375 lb | The top screws into the studs |
| Wall shelf, 8 ft, 3 brackets | 475 lb | The top screws into the studs |
| Wall shelf, 8 ft, heavy duty | 725 lb | The top screws into the studs |
| Workbench shelf, 66-3/8″, 2 supports | 300 lb | The plywood bending |
On a wall shelf, the weak point is the top row of screws pulling out of the stud, not the wood. That’s why the screws into the wall are 3″ into bare studs or 3-1/2″ through drywall, and why 3/8″ lag screws are an option in the designer.
These ratings are engineering estimates, not a certified rating. They come from the published design values for wood, plywood and fasteners, and assume sound studs, every screw centered in a stud and the load spread out. One heavy thing in the middle of a span counts for about twice its weight. Start light, and never climb on or hang from a shelf.
DIY Garage Wood Shelves: The Best Plywood
I use 3/4″ (23/32″) BC sanded pine plywood. It’s flat, it’s smooth enough to slide a bin across, and on these spans it’s the plywood bending, not breaking, that sets the limit, so thinner sheets cost you capacity fast. OSB works and costs less, but it sheds splinters and soaks up anything you spill on it.
One 4×8 sheet makes four 4 ft wall shelves 21-1/2″ deep, or two workbench shelves. If you’re building the bench too, the shelf top is free.
Is It Cheaper to Build or Buy Garage Shelves?
Build them. The first 4 ft wall shelf costs about $91, and most of that is the sheet of plywood, which tops four shelves that size. Every shelf after that adds about $25 in 2x4s and screws. The workbench shelf is about $41, because its top is plywood you already cut off the bench.
The bigger difference is where the weight goes. A built shelf is screwed into the studs and sized to your wall, so it holds 300 to 475 lb and fits the space exactly. A freestanding unit sits on the floor in front of the wall and takes up the floor you were trying to clear.
How to Build Garage Shelves from 2x4s
Here’s how I built the shelf above my workbench, 66-3/8″ long from the bench’s leftover plywood. The whole shelf goes together on the bench and goes up on the wall in one piece. The designer gives you the exact cuts and a drawing for every step at your size, and the wall shelf’s own steps.
Buy and Cut the Lumber
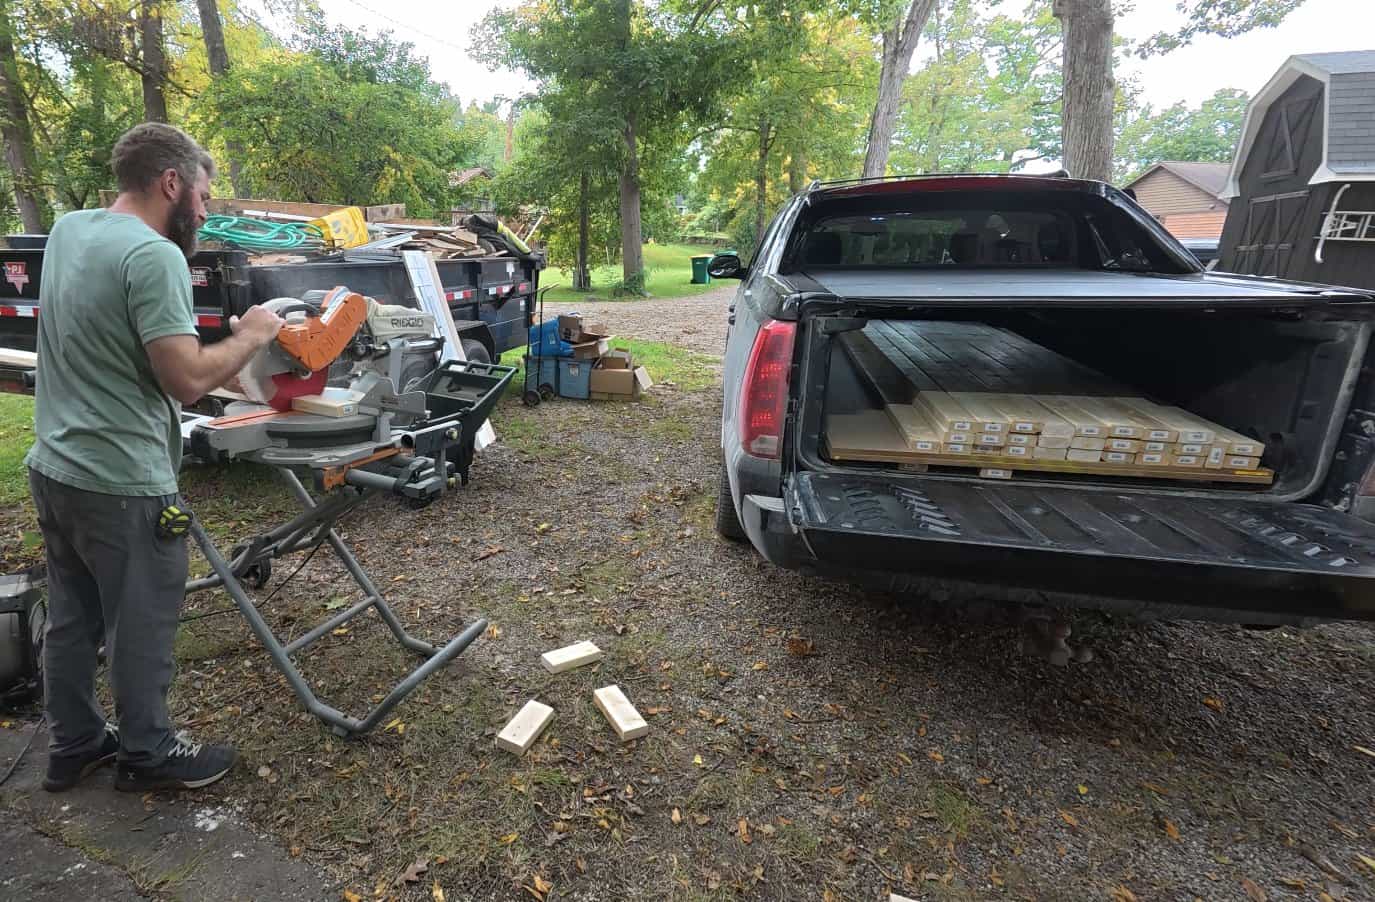
Sight down each 2×4 at the store and leave the twisted ones. It’s 4 2x4s and the plywood strip. Cut everything first and label each piece with tape (ledger, rail, cross piece, angled support).
The angled supports get a 45° on both ends, the cuts angled toward each other. Then trim a small flat across the long point at the foot, so it ends up flush with the bottom of the bottom ledger.
Build the Frame
Lay the top ledger and the front rail side by side and mark both at once for the cross pieces. Screw the cross pieces between them on edge: 2 screws through the ledger and 3 through the rail into each one.
Measure both diagonals. When they match, the frame is square.
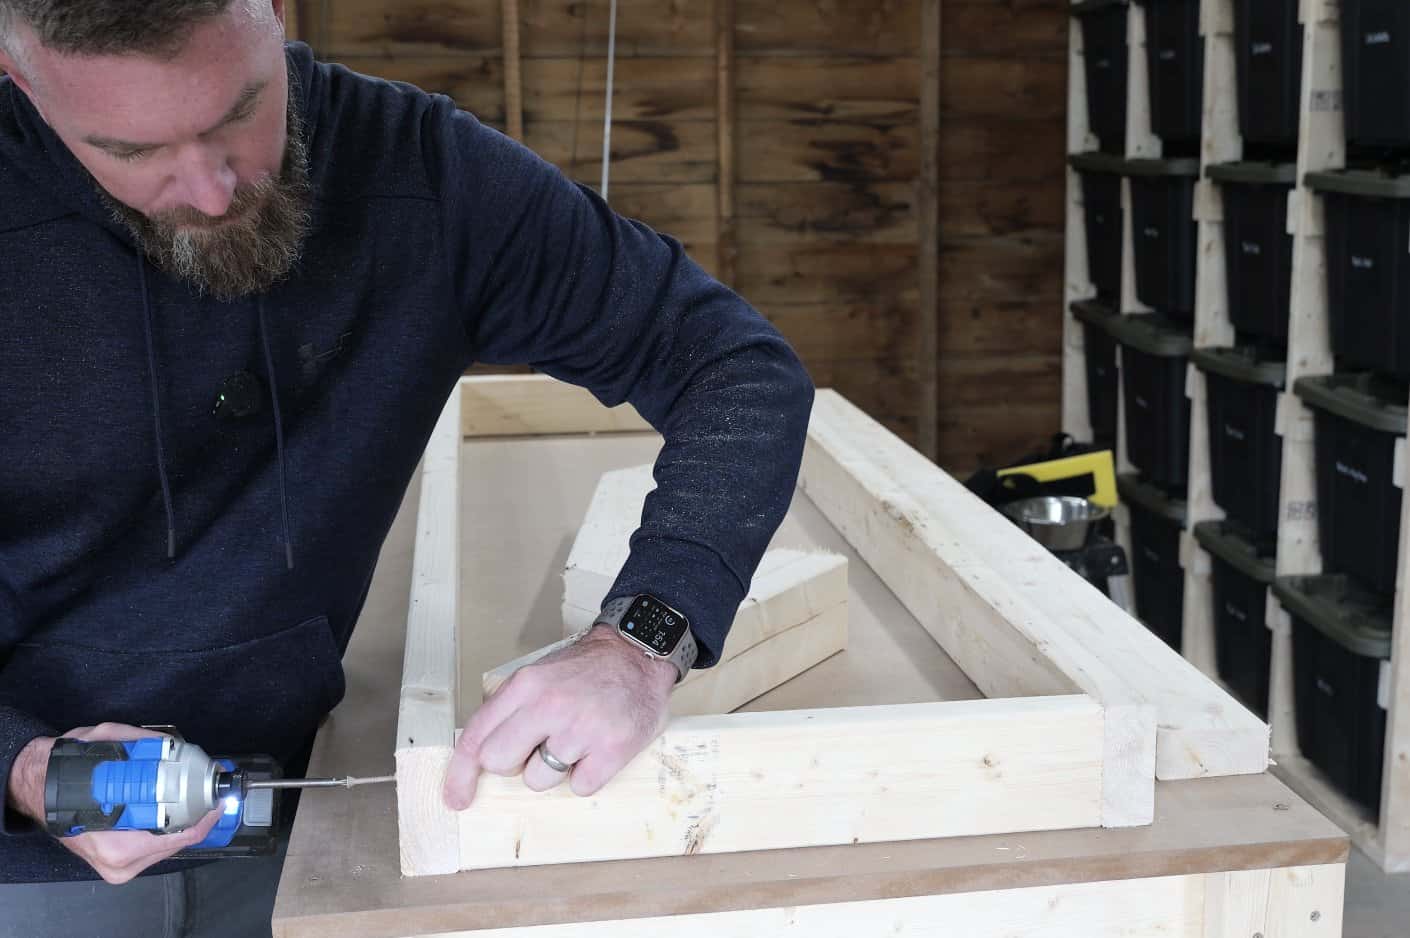
Add the Angled Supports and the Bottom Ledger
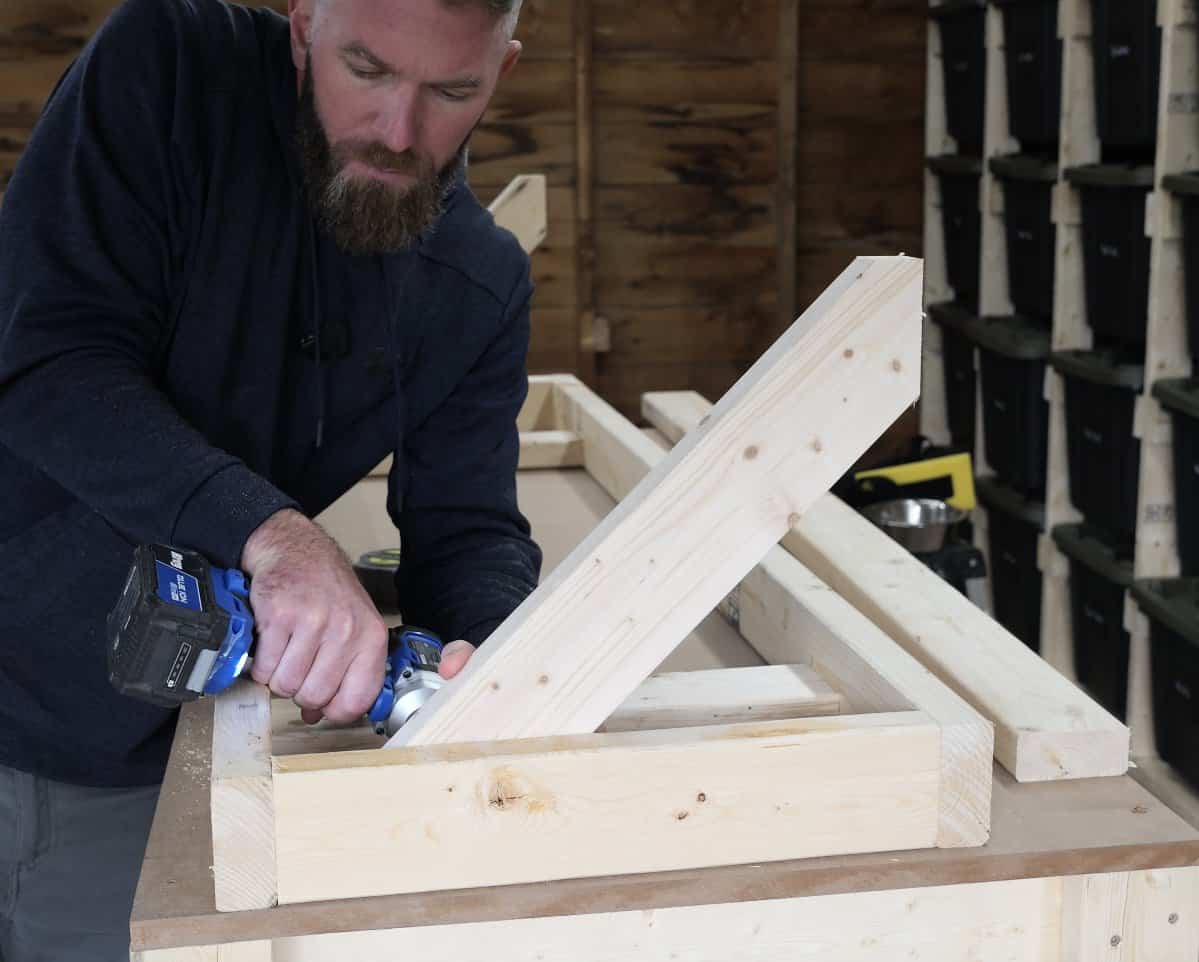
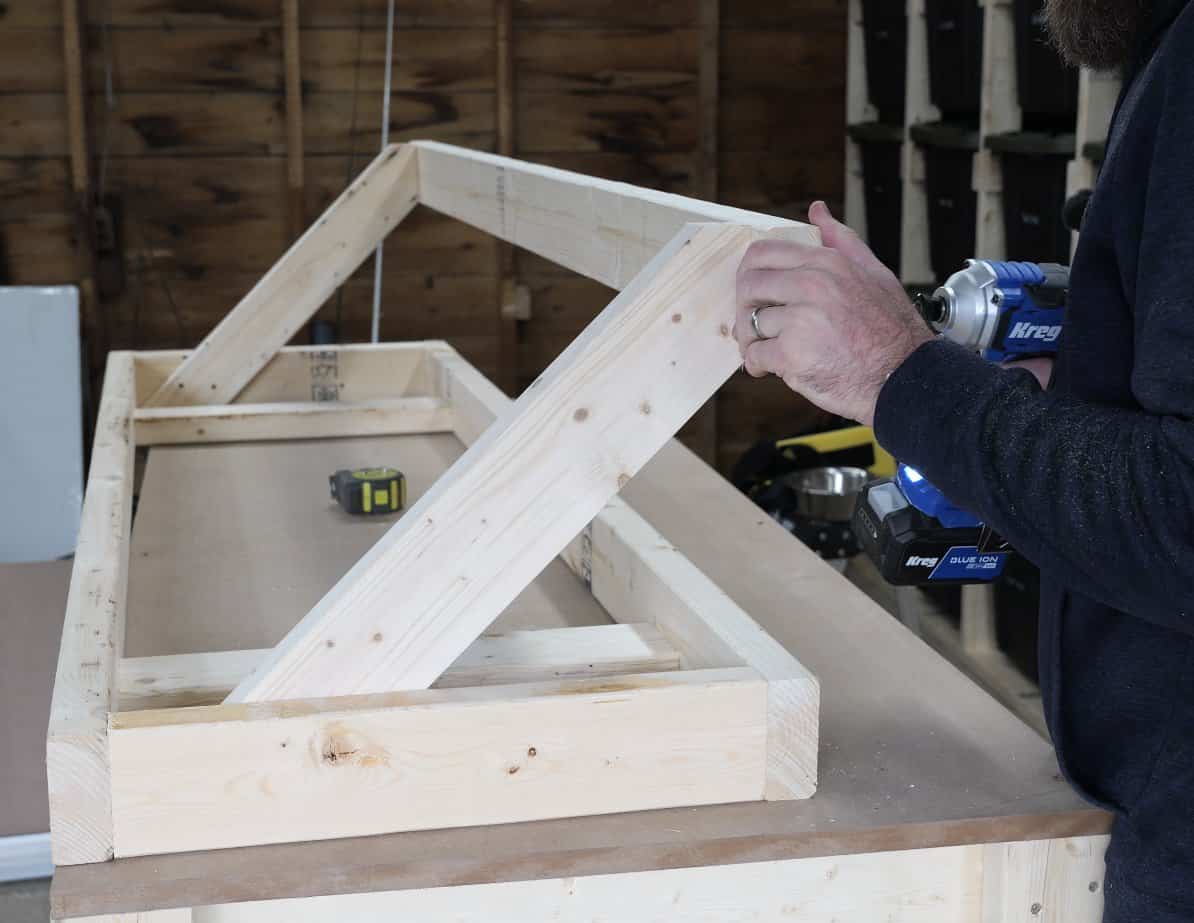
Lay the frame on its back on the bench, with the bottom ledger flat beside it as a spacer. Set an angled support inside each end cross piece, its foot on the ledger, and drive 3 screws through each support into its cross piece, staggered so they don’t split it.
Flip the shelf upside down, stand the bottom ledger on edge against the feet and clamp it. Then 3 screws through the ledger into each foot. The shelf is now one piece, ready for the wall.
Hang It and Level It
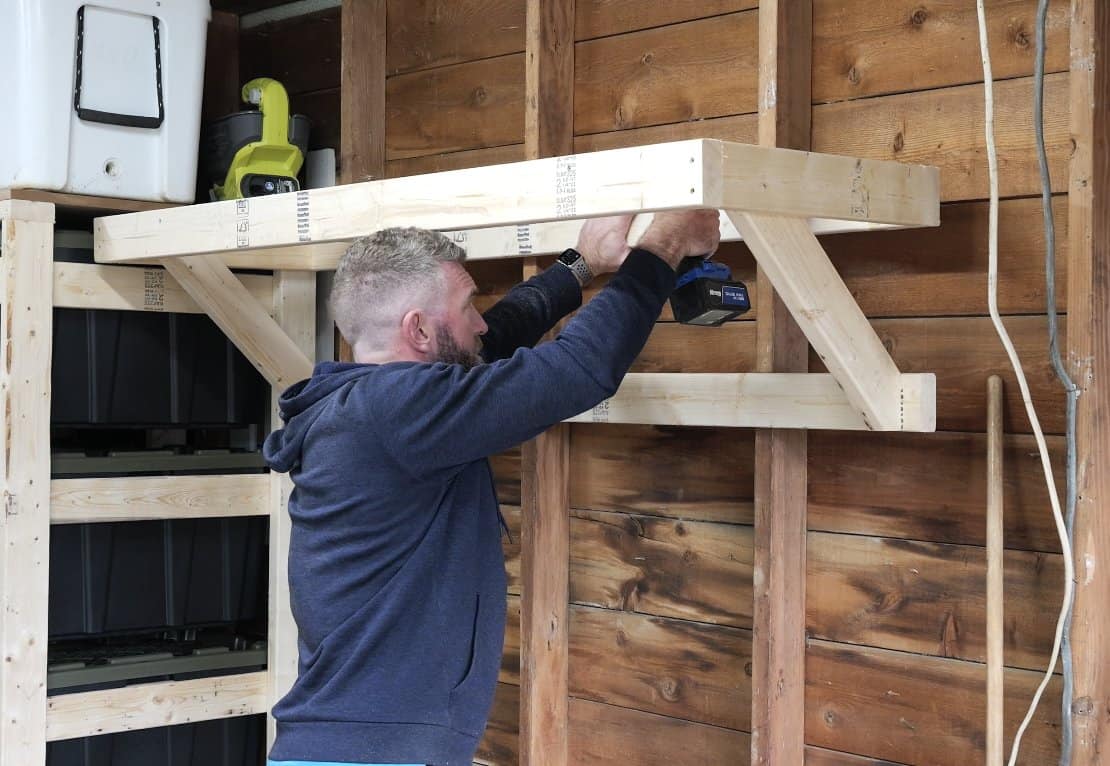
Find the studs and draw a level line where the top of the shelf goes. If you can, slide the shelf so a stud sits within a few inches of each end. Lift it into place with a second person and drive 2 construction screws through the top ledger into every stud, leveling as you go, then the same through the bottom ledger.
If the shelf tips up or down coming off the wall, back out the screws where the angled supports meet the cross pieces, set it level, and drive them back in.
Plywood on Top
Lay the plywood on the frame, flush all round, and screw it down around the edges: one at each corner, then about every 24″ along the ledger and the front rail. Keep the heavy things near the wall and over the angled supports.
Free DIY Garage Shelves Plans (PDF)
Once the designer shows the shelf you want, hit the email button and it sends you the plans as a PDF: the cut list, the cutting map, the shopping list and a drawing for every step, sized to your wall. Take it to the store and the saw.
More Garage Storage
The shelf is one of three builds on the same wall. See all of them, plus more storage builds, in DIY garage storage ideas.
- DIY tote storage rack: the free designer sizes a 2×4 rack to your totes.
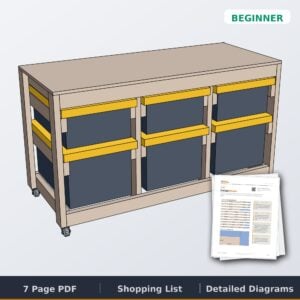
- DIY mobile workbench: the rolling bench under this shelf, 2 to 8 totes in 7 sizes.
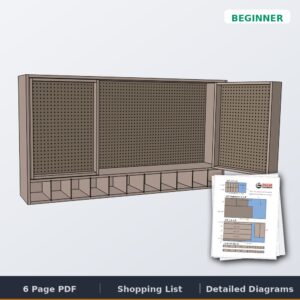
- Storage shelves with a workstation: tote shelving with a work surface and hanging space.
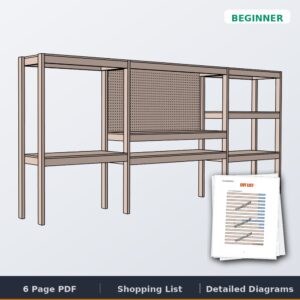
- Heavy-duty storage shelving unit: freestanding, holds about 32 totes.
- Portable garage storage shelves: a rolling unit you can move where you need it.
Garage Shelves FAQ
How much weight can 2×4 shelves hold?
A 4 ft wall shelf on two 2×4 brackets, screwed into every other stud, rates about 375 lb spread evenly across it. An 8 ft shelf on three brackets rates about 475 lb, and about 725 lb with the heavy-duty option. The top screws pulling out of the studs are the limit, so get every screw into the middle of a stud.
What is the best plywood for garage shelves?
3/4″ (23/32″) sanded plywood. It stays flat, it’s stiff enough for these spans, and it’s smooth to slide bins across. OSB is cheaper but rougher and soaks up spills.
Is it cheaper to build or buy garage shelves?
Building is cheaper, and the more shelves you build the better it gets, since one sheet of plywood tops four 4 ft shelves. A 4 ft shelf costs about $91 including the whole sheet, and each extra shelf adds about $25 in lumber and screws. A built shelf is also screwed into the studs, so it holds far more than most freestanding units.
How do you build garage shelves from 2x4s?
Build a bracket for every other stud from three 2x4s (a back support, a top support and a 45° angled support), screw the brackets into the studs, then set a 2×4 frame on them and top it with plywood. The free designer above gives you the cuts, the screw count and a drawing for every step.
How do you attach a shelf to a wall with brackets?
Into the studs, never just the drywall. Four #10 construction screws per bracket, 3″ into bare studs or 3-1/2″ through 1/2″ drywall, or 3/8″ lag screws if you want more holding power on a long shelf.
Your Move
Go find your studs. Then put your wall into the designer and see what fits. Most garages have room for at least one of these over the bench.
If you build one, send me a photo. I want to see what you put on it.