DIY Mobile Workbench with Tote Storage (Plans)
Quick build: This DIY mobile workbench is a 2×4 frame on four locking casters with a 3/4″ plywood top at 38″ tall. Underneath, every bay holds an HDX 27 gallon tote with a 14 gallon tote above it, and both slide out like drawers on 2×4 runners. My 3 bay bench is 66-3/8″ x 28-1/2″, holds six totes and took 11 2x4s, one sheet of plywood, a set of casters and two kinds of screws: about $140 at Home Depot in October 2026, plus about $57 for the totes. The mobile tote workbench plans come in 7 sizes. Documented by Jamison Rantz, October 2026.
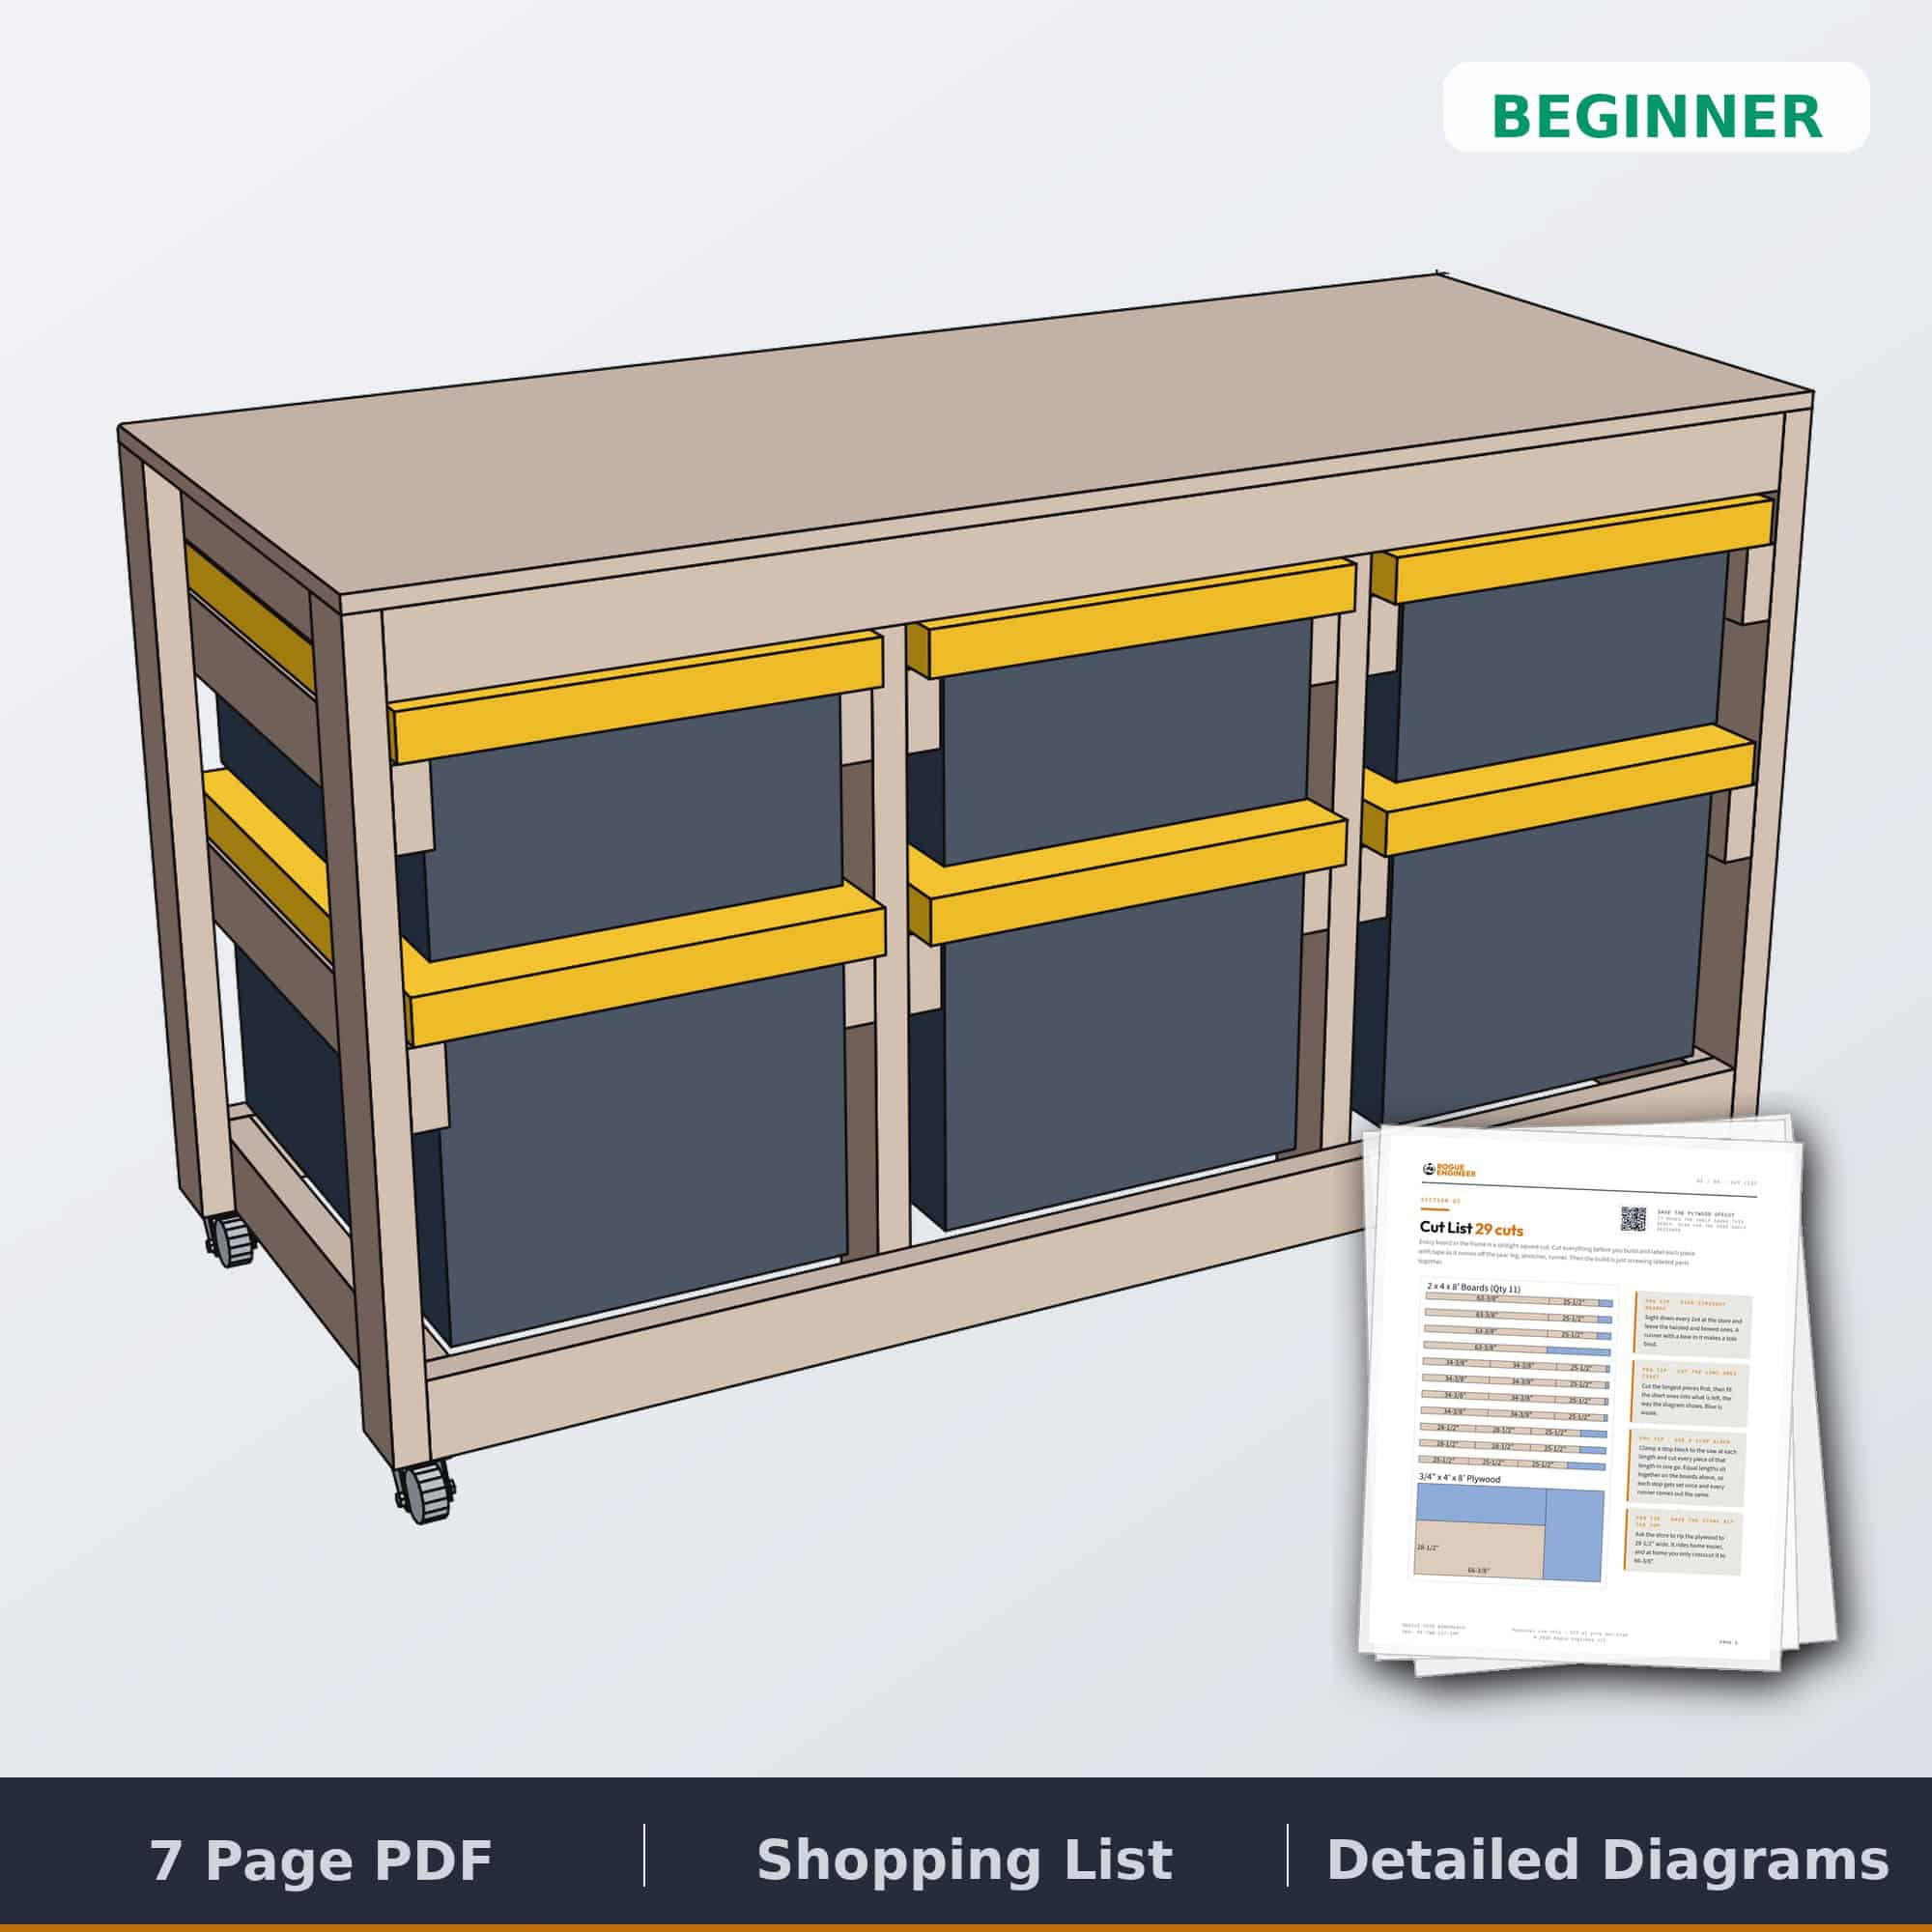
Mobile Tote Workbench Plans: $10
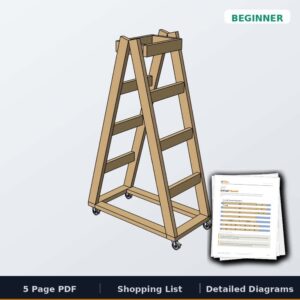
Cut list, cutting diagram, shopping list and step by step diagrams for your size: 1 to 4 bays straight or 1 to 3 sideways, Imperial or Metric. Includes 3D model files you can open in SketchUp or FreeCAD.
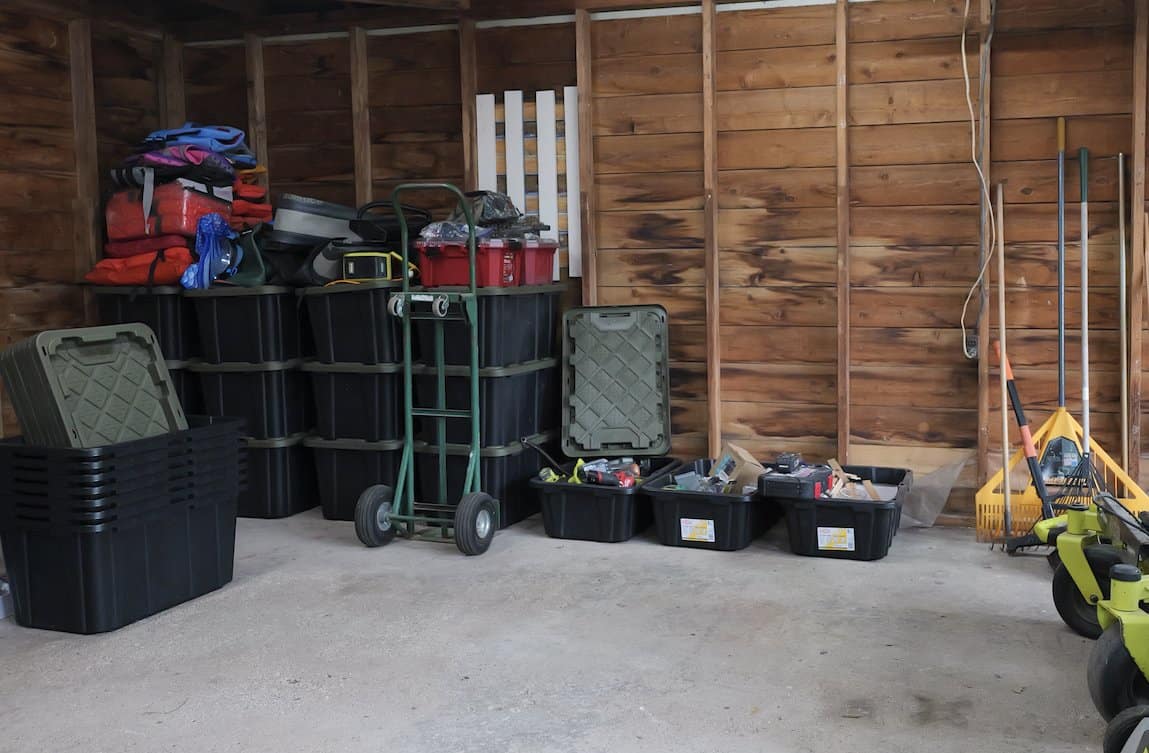
Get the Plans →My garage had a tote problem. They were stacked three high on the floor, and whatever I needed was always in the bottom one. I also didn’t have a real workbench, just whatever flat surface was clear that day.
So I built one thing that fixes both. It’s a workbench on locking casters with the totes built in underneath. Every tote hangs by its rim on two 2×4 runners, so you pull out the one you want and nothing else moves. When I need the floor, I unlock the casters and push the whole thing against the wall.
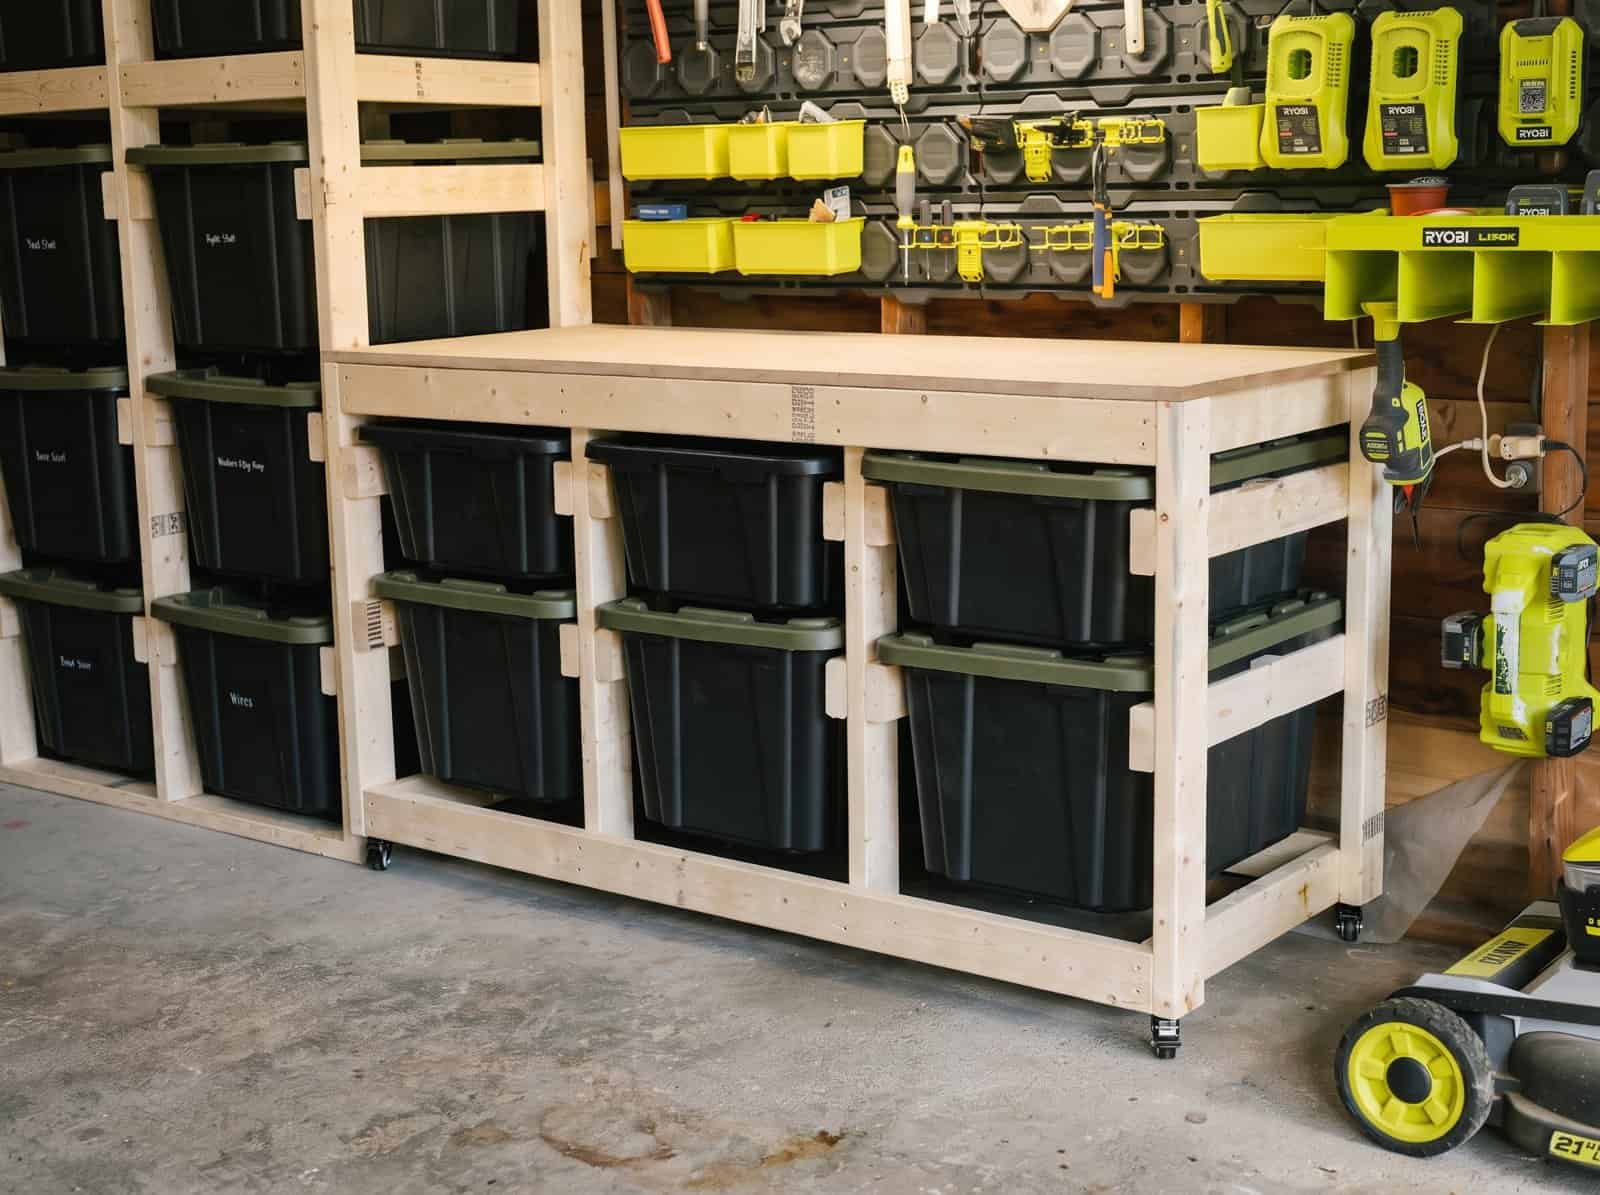
It’s all 2x4s, one sheet of plywood and screws. No pocket hole jig, no glue ups and no angled cuts. If you can make a square cut and drive a screw, you can build this in a day.
Why Build a Mobile Workbench with Tote Storage
Rolling workbenches from the big box stores are steel cabinets full of shallow drawers. They’re great for sockets and screwdrivers. They’re no good for the extension cords, the shop vac hoses and the half bags of fasteners that actually take up space in a garage. That stuff lives in totes, and a tote doesn’t fit in a drawer.
The DIY bench is longer, has a bigger work surface, and the six totes hold far more than nine drawers. It’s also a 3/4″ plywood top you can clamp to, screw into and replace when it’s beat up.
Pick Your Size: 1 to 4 Bays, Straight or Sideways
A bay is one stack of two totes. Straight benches turn the totes short end out, so they’re 28-1/2″ deep and the shortest for the number of totes. Sideways benches turn them long side out, so they’re only 19-5/8″ deep and slide in along a wall or under a window, but they get long fast.
| Size | Footprint | Totes | Cost |
|---|---|---|---|
| 1 Bay, Straight | 23-1/8″ x 28-1/2″ | 2 | $104 |
| 2 Bay, Straight | 44-3/4″ x 28-1/2″ | 4 | $116 |
| 3 Bay, Straight | 66-3/8″ x 28-1/2″ | 6 | $140 |
| 4 Bay, Straight | 88″ x 28-1/2″ | 8 | $168 |
| 1 Bay, Sideways | 32″ x 19-5/8″ | 2 | $104 |
| 2 Bay, Sideways | 62-1/2″ x 19-5/8″ | 4 | $116 |
| 3 Bay, Sideways | 93″ x 19-5/8″ | 6 | $140 |
I built the 3 bay straight. It’s the one in every photo here, and it’s the size the dimensions below come from.
Tools and Materials
Have the store rip the plywood to 28-1/2″ wide. It rides home easier, and at home you only make one crosscut for the top. The strip that’s left over isn’t scrap, either. It becomes the shelf above the bench.
How to Build a DIY Mobile Workbench
These are the steps for my 3 bay straight bench. Every joint in the frame is two 2-1/2″ construction screws, and every part is a square cut. The plans have the cut list, cutting diagram and a dimensioned drawing for each step at all 7 sizes.
Cut the Lumber
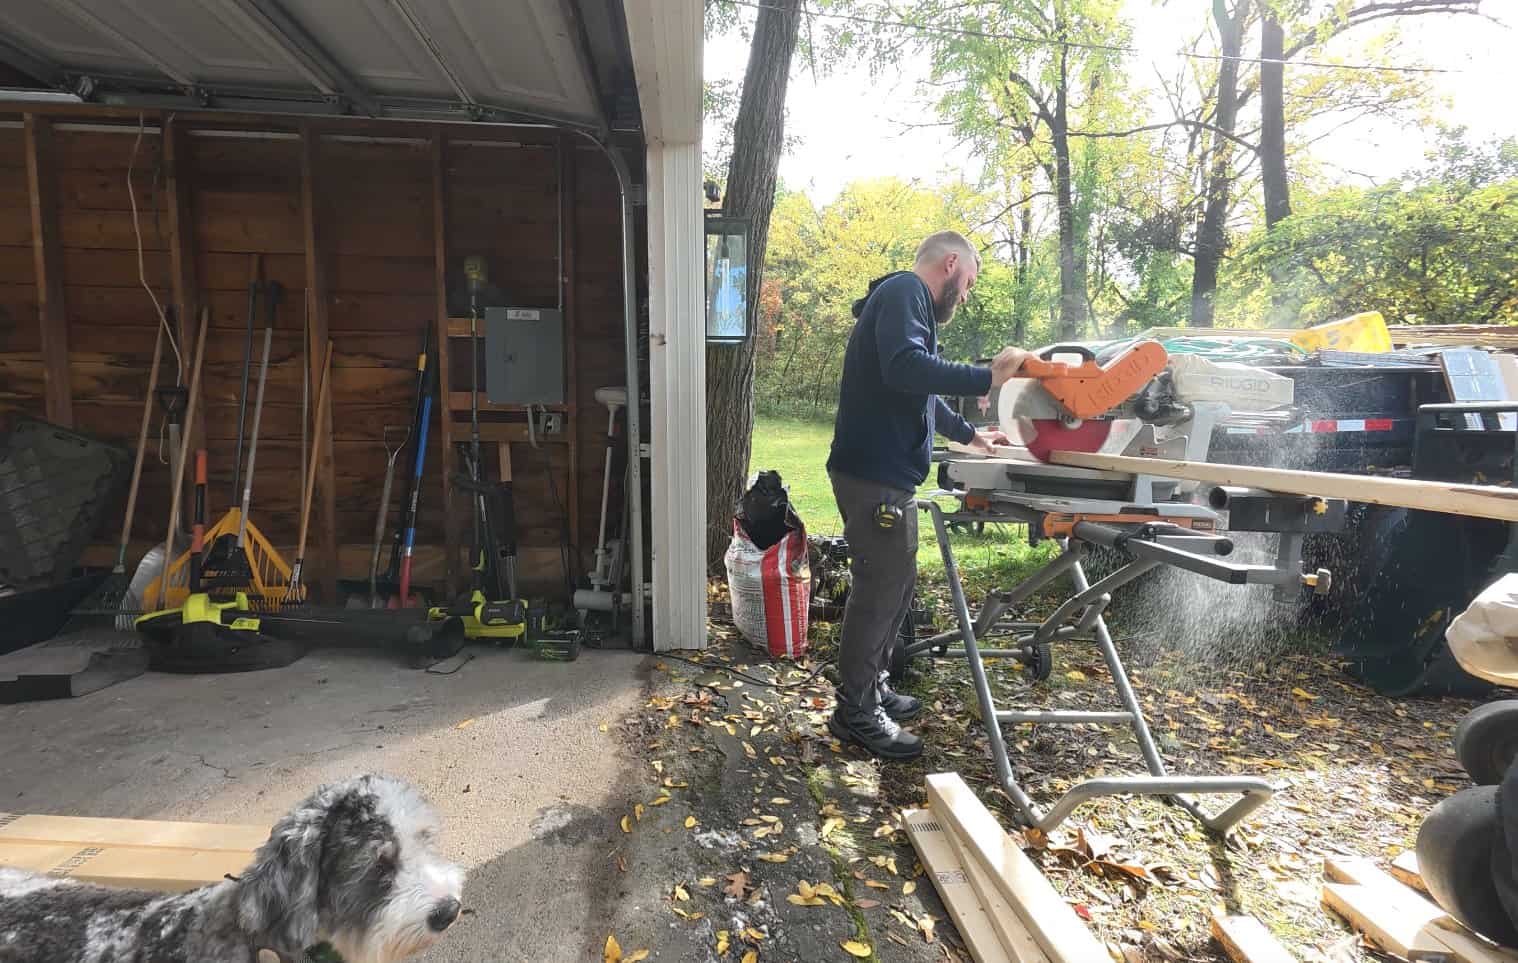
Sight down every 2×4 at the store and leave the bowed and twisted ones. A runner with a bow in it makes a tote bind. Cut the long pieces first and label each one with tape as it comes off the saw: stretcher, leg, runner.
A stop block clamped to the saw makes this fast. Set it once for each length and cut all of them. Every runner then comes out exactly the same, which is what keeps the totes sliding.
Build the Two Frames
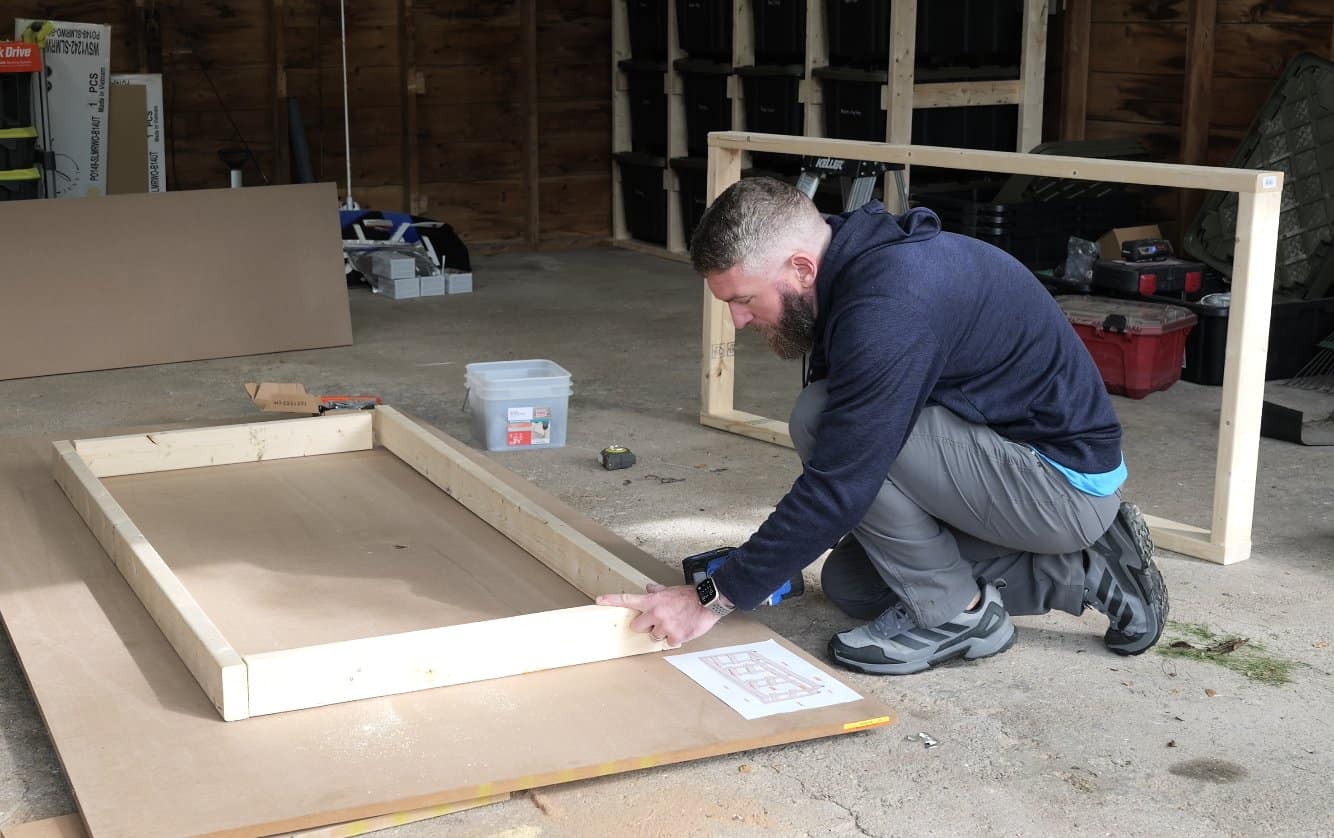
Each frame is two long stretchers with a short stretcher between them at each end, all on edge and flush at the ends. On the 3 bay that’s a rectangle 63-3/8″ long and 28-1/2″ wide. Screw through the long stretchers into the ends of the short ones.
Measure both diagonals before the last screws go in. When they match, the frame is square, and so is the bench you build on it. Build two: one is the bottom, the other the top.
Build the End Ladders
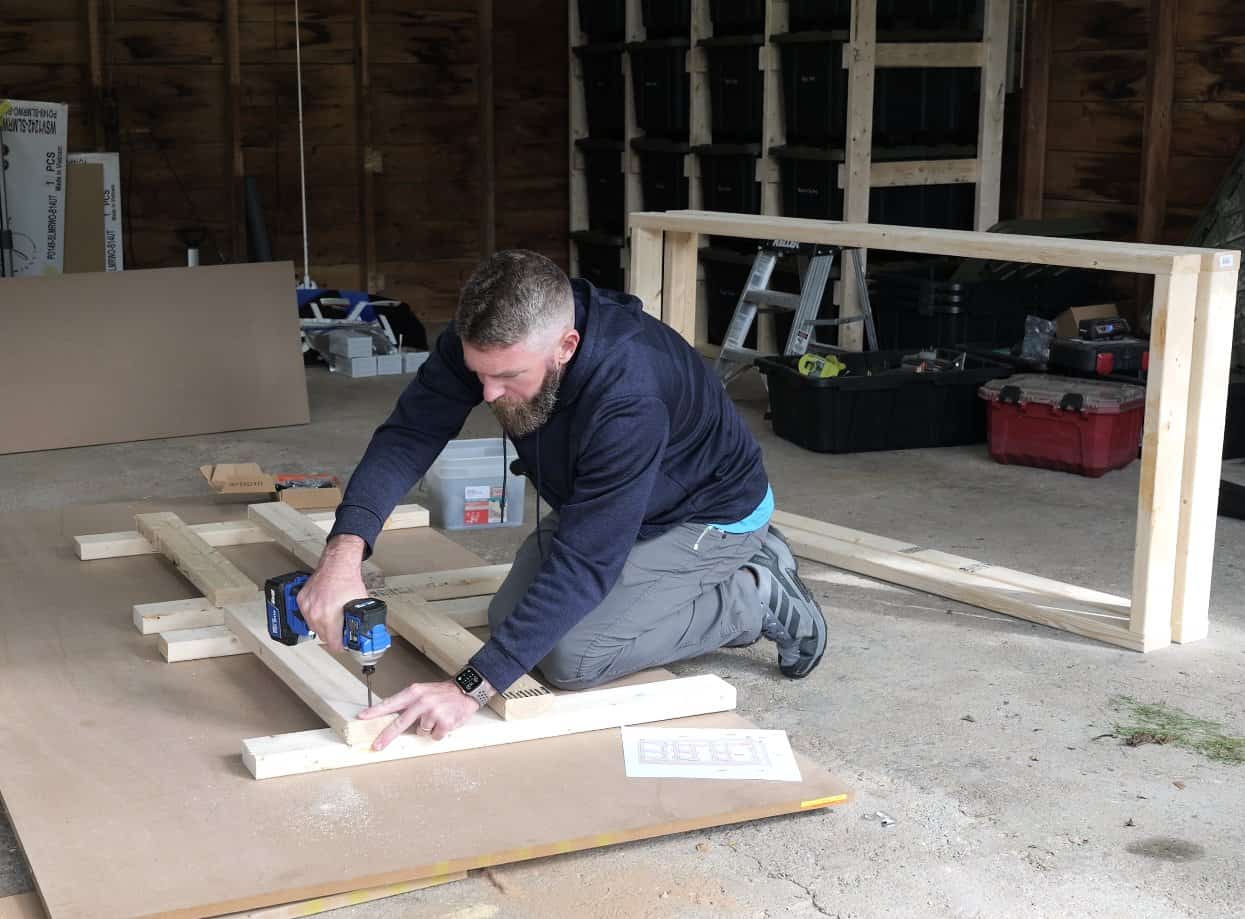
An end ladder is two legs with a 2×4 runner across them at each tote level. Clamp both legs side by side and mark them at once so every runner lands at the same height. On mine the marks are 17-3/8″ and 28-1/2″ up from the bottom.
Clamp each runner with its top edge on the mark, flush with the outside edges of the legs, and screw it on. Build two.
Build the Middle Ladders
The middle ladders sit between the bays, so they get a runner on both faces at each mark. They’re narrower than the end ladders because they fit inside the frames. Stagger the screws on one face so they miss the ones coming from the other.
The 3 bay needs two. A 1 bay bench doesn’t need any.
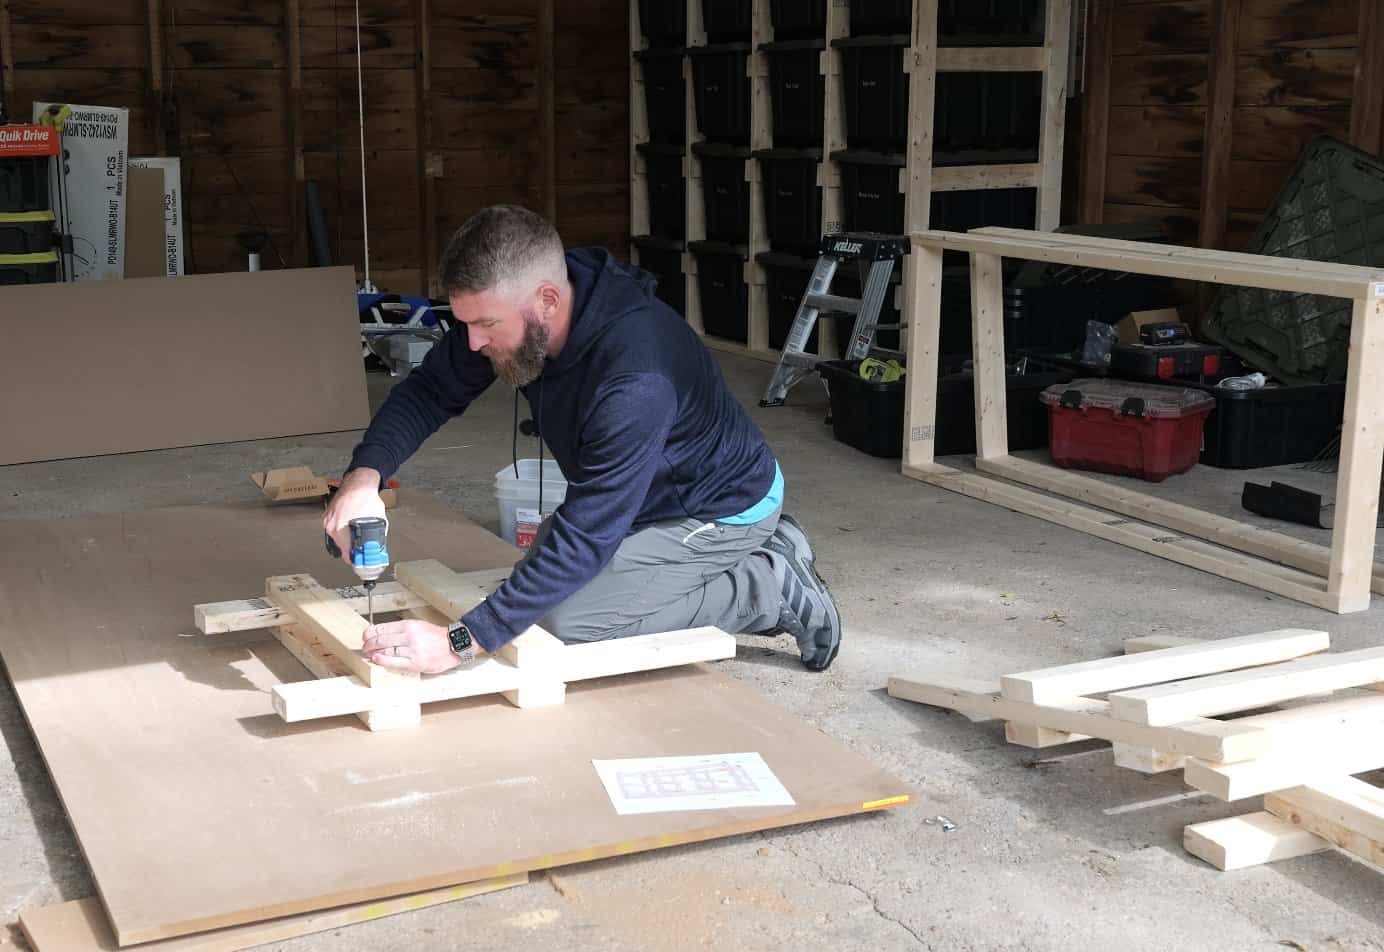
Assemble the Frame
Do this on a flat floor. Stand the end ladders up with the runners facing in, set one frame between them at the bottom and one at the top, and screw through the legs into the frames.
Then mark where the middle ladders go on the long stretchers. Pull every measurement from the outside of the same end ladder, so a small miss stays in one bay instead of adding up across the bench. Set each middle ladder on its marks and screw through the stretchers into it, top and bottom.
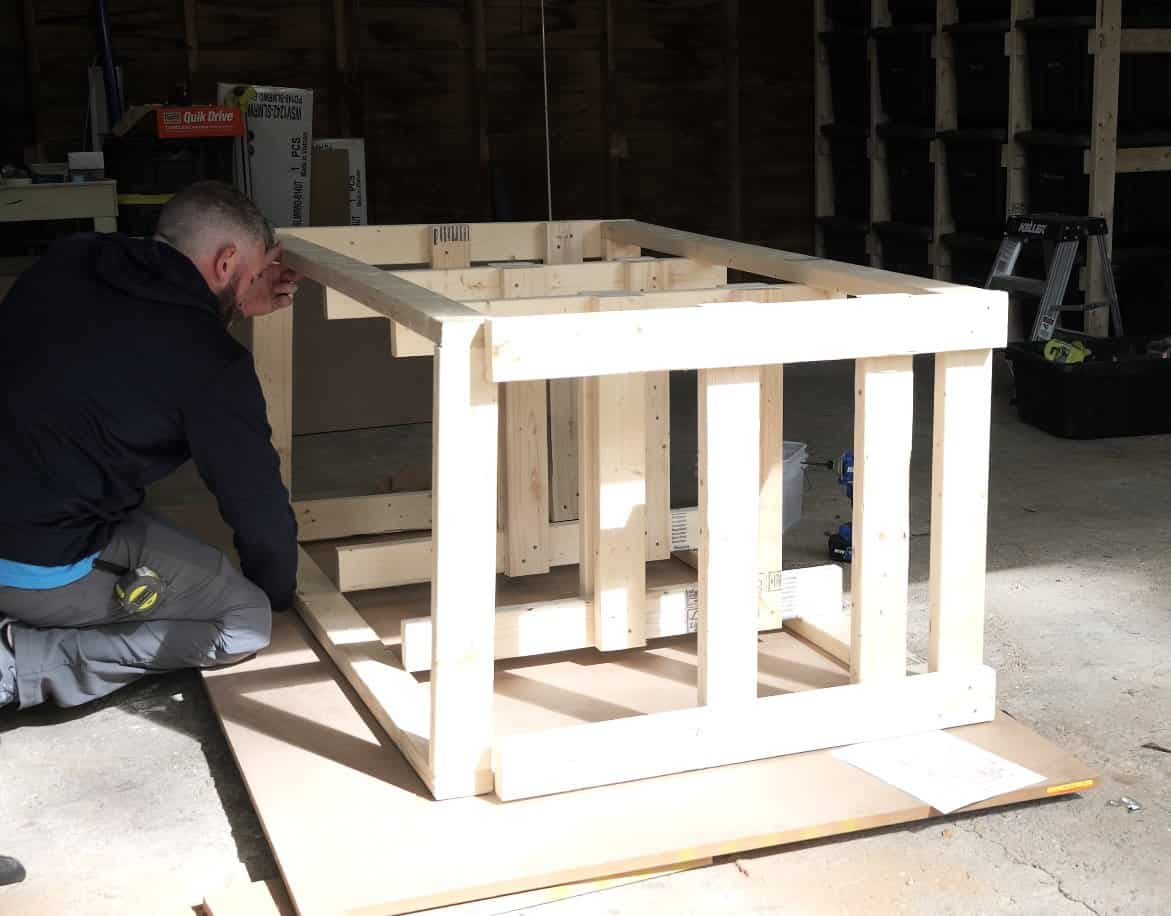
Mount the Casters
Flip the frame upside down. Center a caster on the end of each leg, with the plate straddling the joint between the leg and the short stretcher, and screw it on with four 1-5/8″ wood screws.
Four 150 lb casters carry 600 lb between them, bench and full totes included. Lock them whenever you’re working and the bench stays put, even when you lean on it.
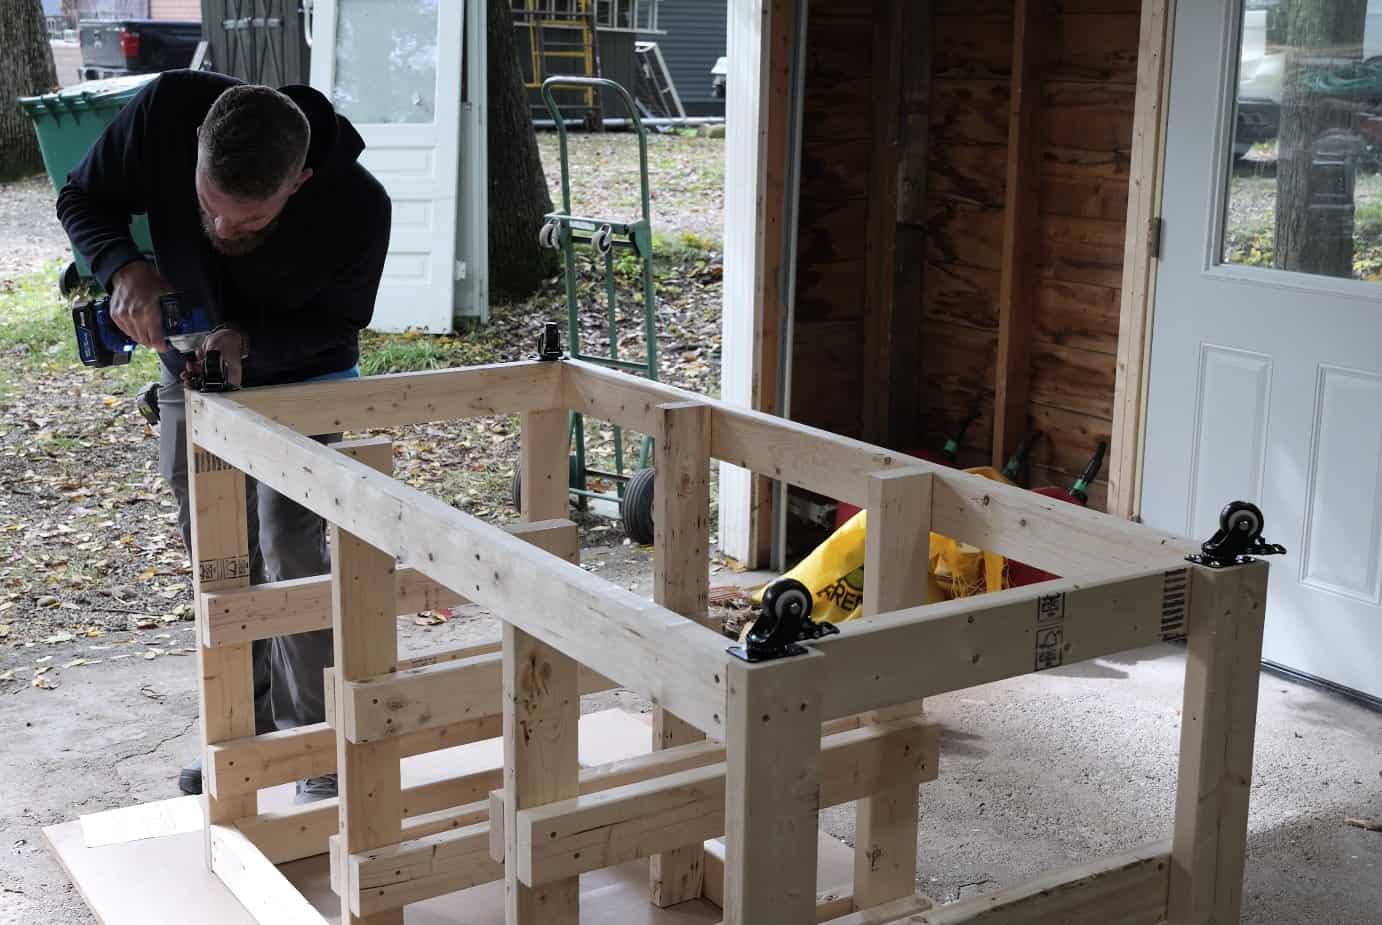
Screw Down the Top
Flip the bench back onto its casters. Set the plywood top on the frame, flush all the way around, and screw it into the top frame’s long stretchers with 1-5/8″ wood screws, four along each side. That’s all it takes to hold it.
Ease the edges with sandpaper and put two coats of polyurethane on the top if you want spills and glue to wipe off. The frame doesn’t need a finish.
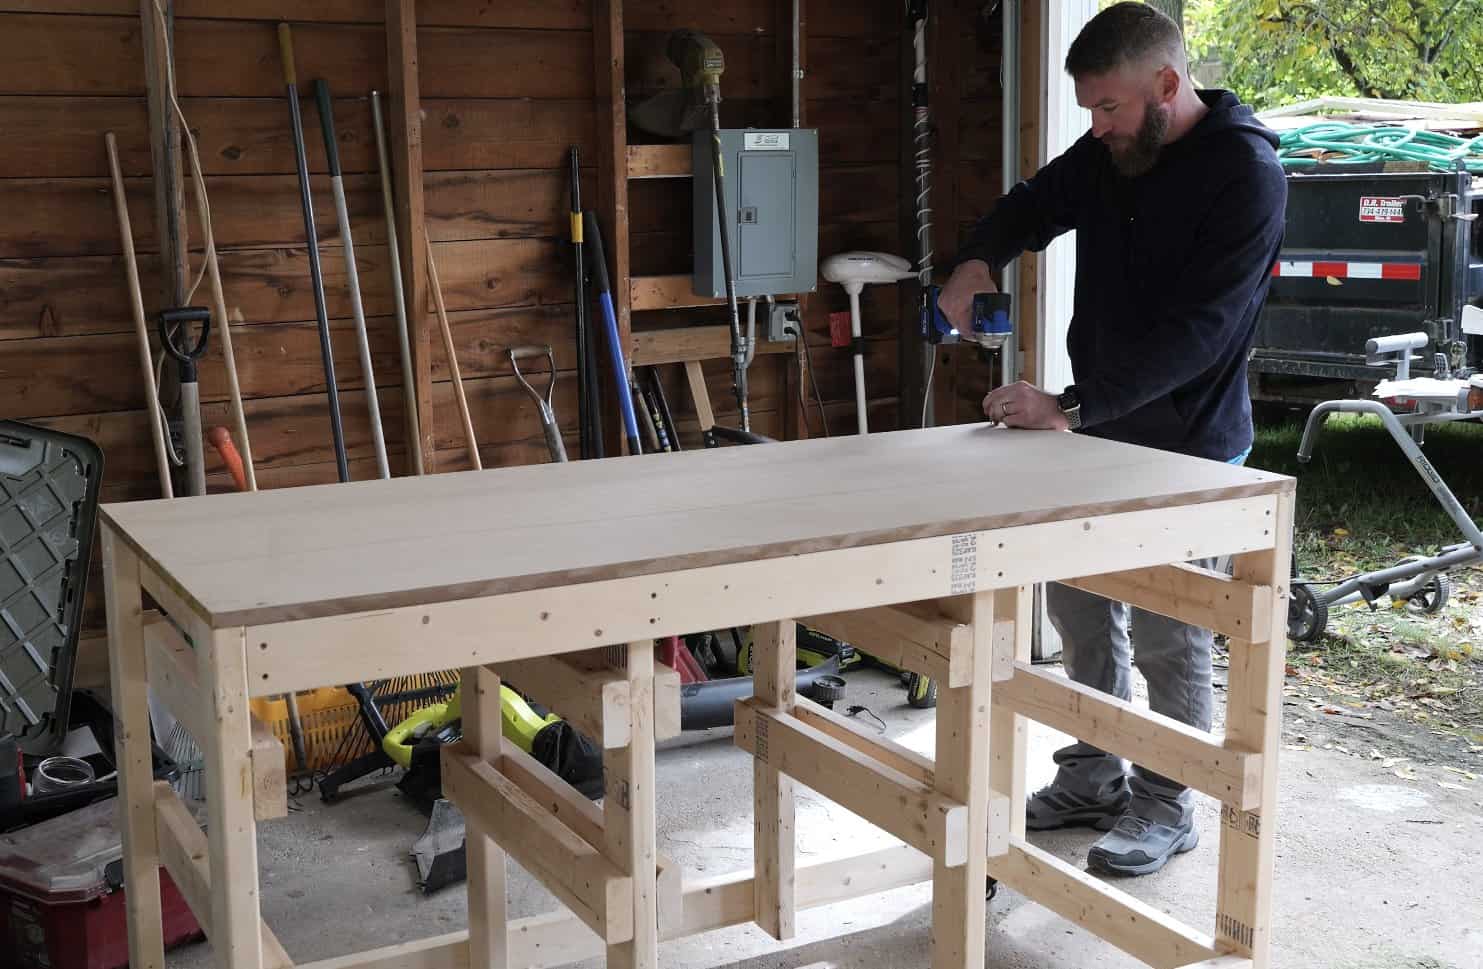
Load the Totes
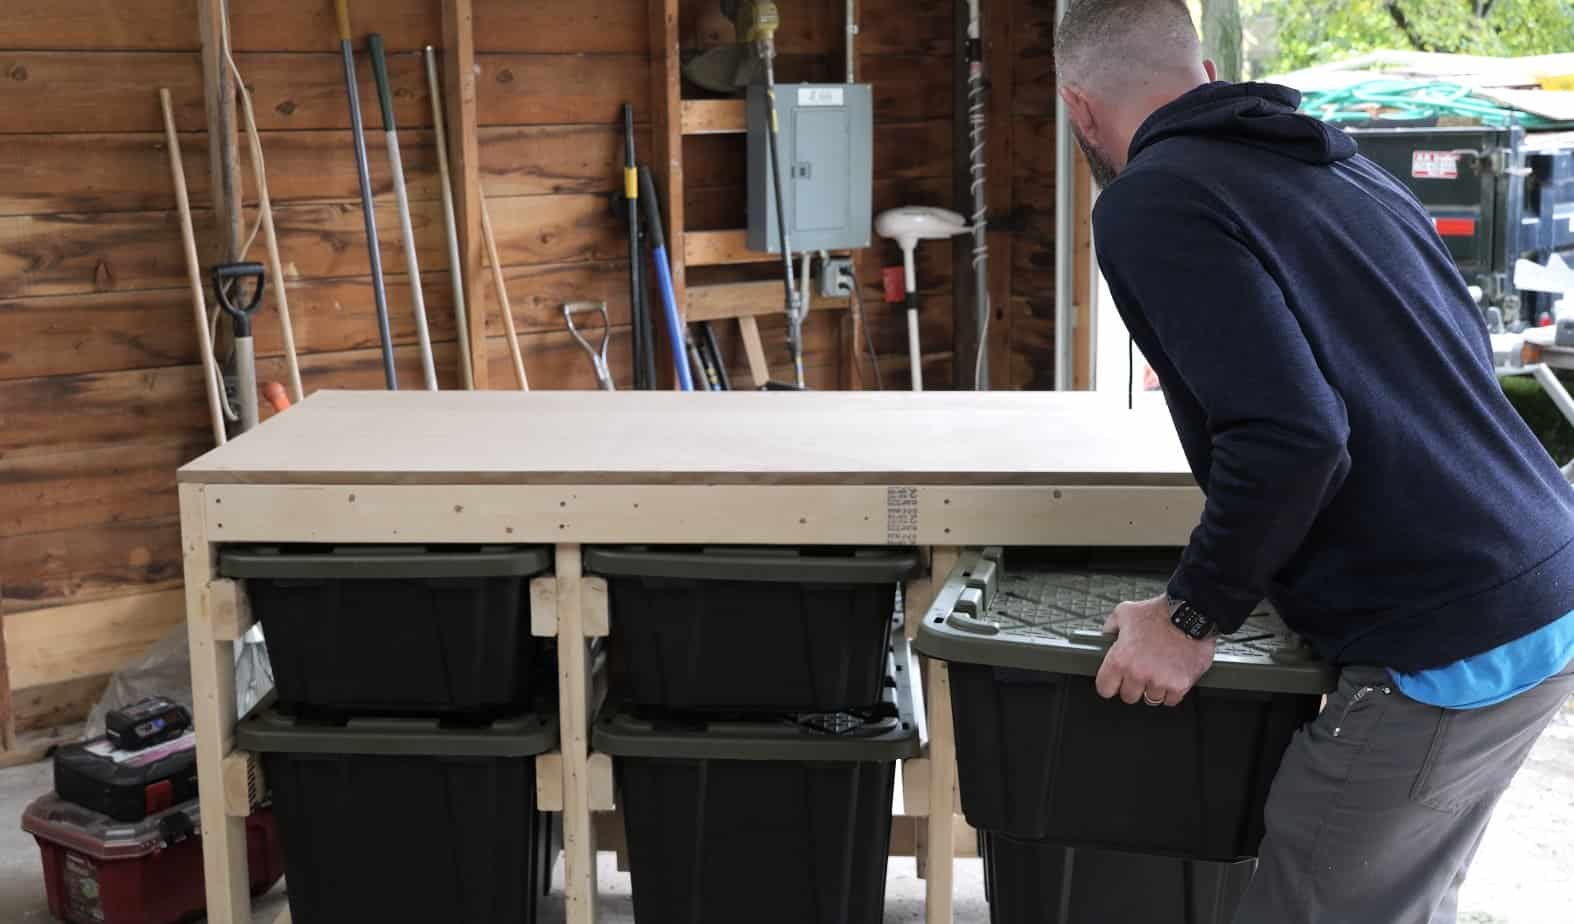
Slide a 27 gallon tote onto the lower runners and a 14 gallon tote onto the upper ones in every bay. Each one hangs by its rim, with 1-1/4″ of rim resting on each runner.
Heavy things go in the bottom totes. The bench rolls easier, and the top tote is easier to lift.
What Size Totes Fit Under a Workbench?
This tote storage workbench is sized for HDX Tough Totes from Home Depot. The 27 gallon tote is 28-1/2″ x 19-5/8″ at the rim, and the 14 gallon shares the same rim, so both hang on the same runners. Only the height of each level changes.
Other totes work if they fit the runners. The runners in each bay are 17-1/8″ apart. A tote fits if its body is narrower than 17-1/8″ just under the rim, and the rim is at least 18-1/8″ across (measured across the short end on a straight bench, or the long side on a sideways one). Check yours before you cut. If the rim is too narrow, the tote drops between the runners. If the body is too wide, it won’t slide in.
Building a wall of totes instead? The free tote storage rack designer sizes a rack to any tote you measure.
Build the Shelf Above It
Remember the strip of plywood left over from the top? On the 3 bay it’s 66-3/8″ long and 19-3/8″ wide, exactly the length of the bench. Hang it on the wall above on a pair of 2×4 ledgers and you get a shelf that matches the bench and rates about 300 lb, for about $41 in 2x4s and screws.
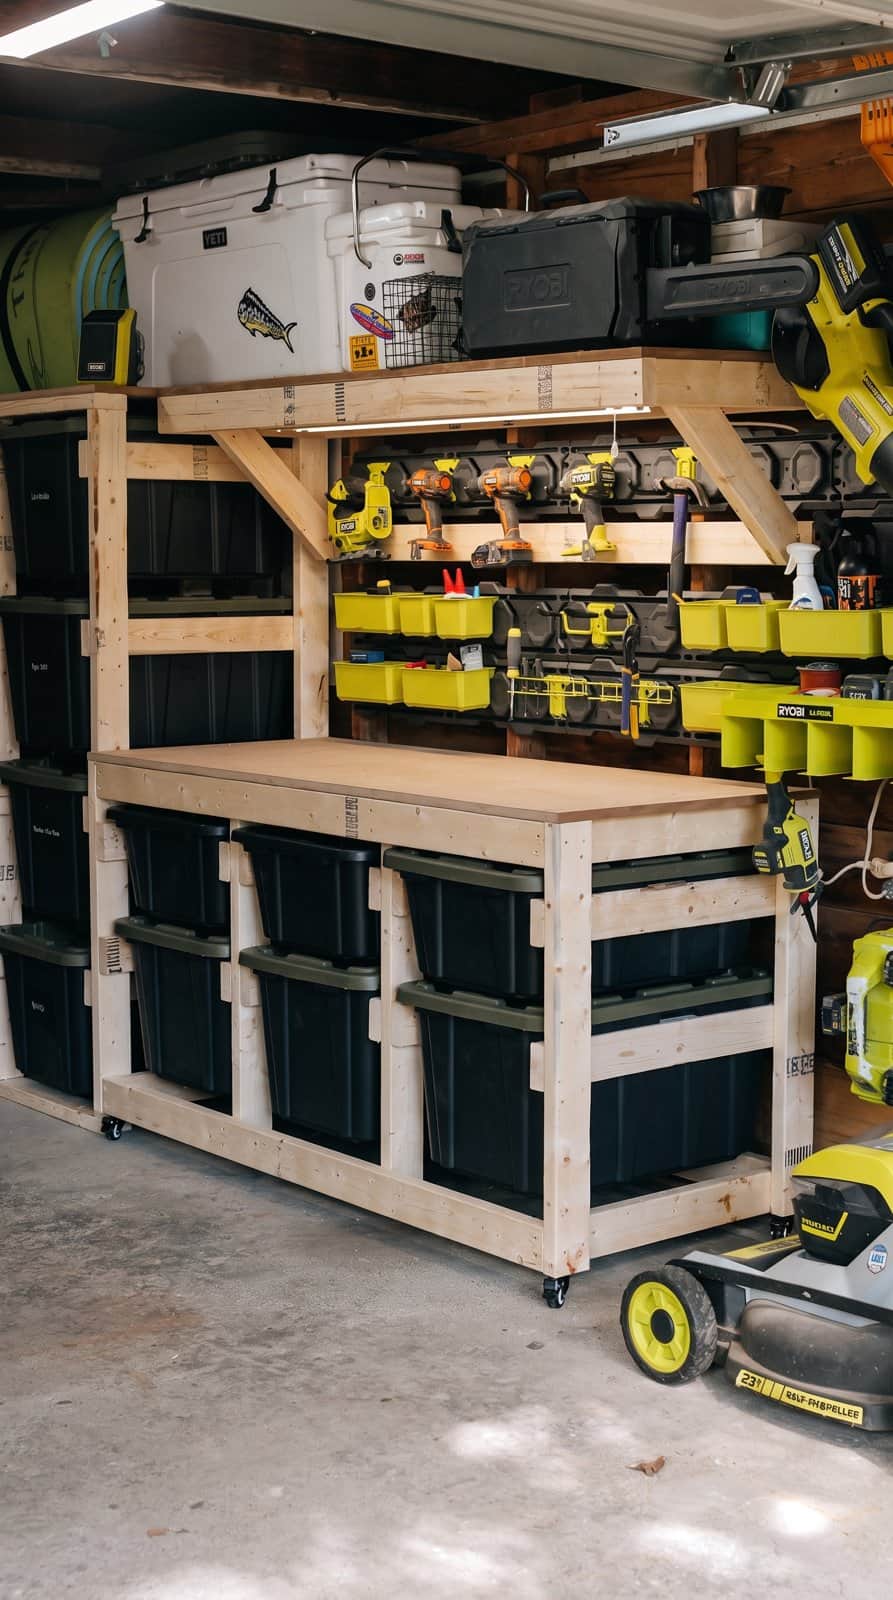
The free garage shelf designer sizes it to your bench and your studs, and the workbench plans have a QR code that opens it.
More Garage Storage
The workbench is one of three builds on the same wall. See all of them, plus more storage builds, in DIY garage storage ideas.
- DIY tote storage rack: a 2×4 wall rack for as many totes as your wall holds, with a free designer.
- DIY garage shelves: 2×4 and plywood wall shelves, sized to your studs.
- Storage shelves with a workstation: tote shelving with a fixed work surface built in.
- Portable workbench with storage: a smaller rolling bench with open shelves.
DIY Mobile Workbench FAQ
Is it cheaper to buy or build a workbench?
Build it. My 3 bay mobile workbench cost about $140 in lumber, plywood, casters and screws, and it has a 66-3/8″ x 28-1/2″ top and room for six totes. A steel rolling workbench cabinet half that long runs about $300 on a good sale.
What size totes fit under a workbench?
The plans are sized for HDX 27 and 14 gallon Tough Totes, which share a 28-1/2″ x 19-5/8″ rim. Other totes fit if the body is narrower than 17-1/8″ just under the rim and the rim is at least 18-1/8″ across.
How much weight can a mobile workbench hold?
Four 150 lb casters carry 600 lb between them, and that includes the bench and the full totes. Keep the heaviest things in the bottom totes.
How tall should a mobile workbench be?
This one is 38″ to the top, casters included. That’s a comfortable height for most people to stand and work at, and it leaves room for two totes per bay.
Can I put a tote storage rack on wheels instead?
I wouldn’t. A tall tote rack is much taller than it is deep, and on casters it can tip when you pull a full tote off the top. A mobile workbench keeps the totes low, about 1.3 times as tall as it is deep, so it rolls without getting tippy.
Do I need a pocket hole jig?
No. Every joint is two 2-1/2″ construction screws driven straight through, so a saw and a drill are all you need.
Your Move
Go measure the spot where it’s going to live and pick your size. Then check your totes against the runners before you buy any lumber.
The mobile tote workbench plans have the cut list, shopping list and a drawing for every step in 7 sizes, Imperial or Metric, with the 3D model files. And if you build one, send me a picture. I want to see what you put in the totes.
Be safe and happy building,
Jamison
Mobile Tote Workbench Plans: $10
Get the printable plans for your size: 1 to 4 bays straight or 1 to 3 sideways, Imperial or Metric, with 3D model files.
Get the Plans →