

Angled Leg Coffee Table
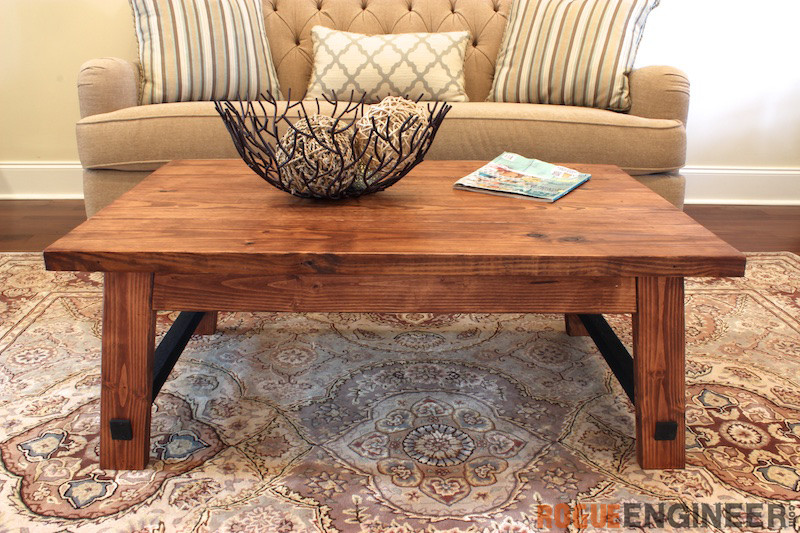
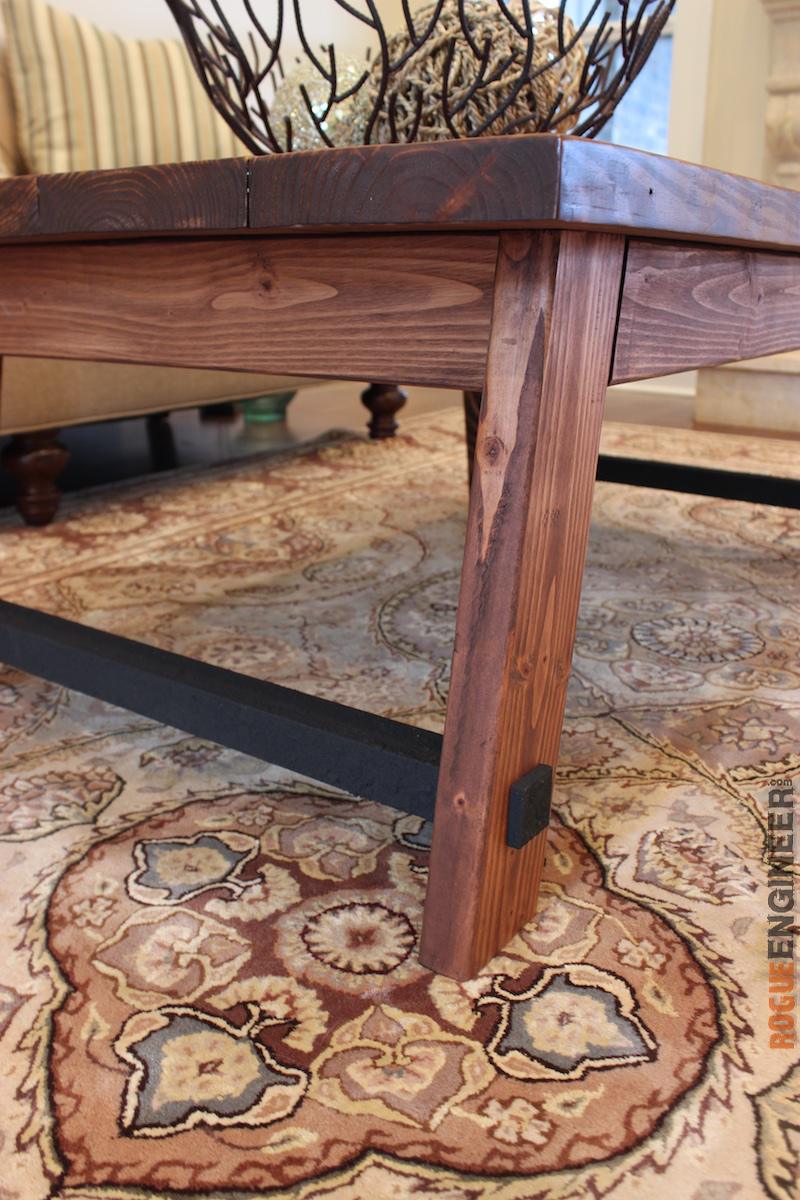
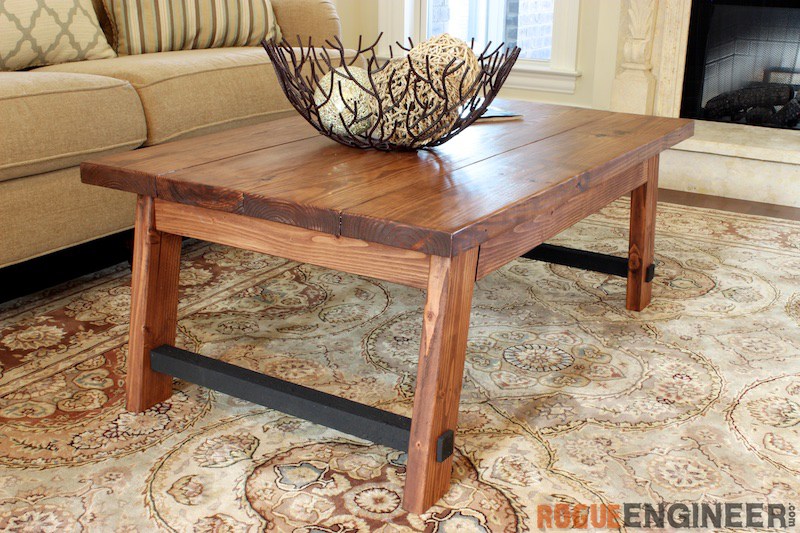
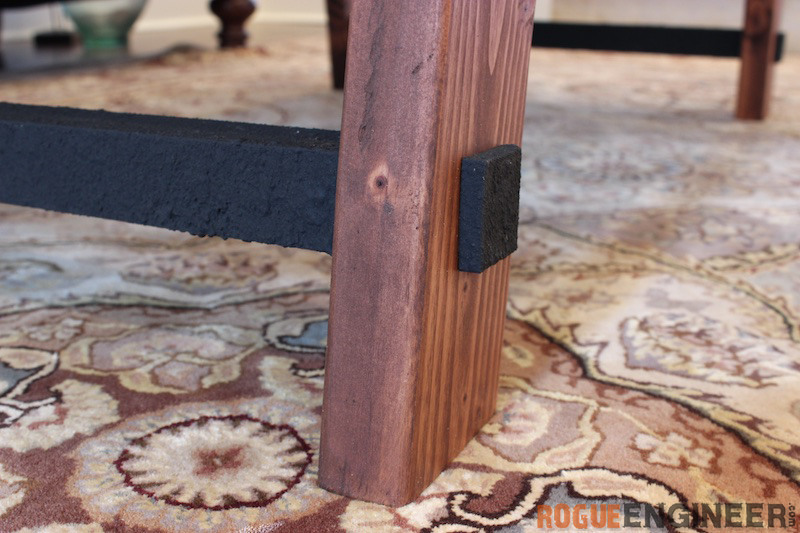
We love the mix of iron and wood, but since we aren’t exactly welders… well, we had to fake it. We built this simple angled leg coffee table with faux iron rods for less than $30! This table is simple yet still adds tons of character to any room. Plus, when you make something yourself, it’s always a great conversation piece!
For sneak peeks of our upcoming projects be sure to follow me on Facebook and Instagram. Also, follow me on Pinterest to get tons of projects plans from all around the web!
Required Tools
Materials
Disclosure: The links provided in the “materials” and “required tools” sections are affiliate links. If you would like to support our site and help keep our content free come find out more about how we can make money with no extra cost to you.
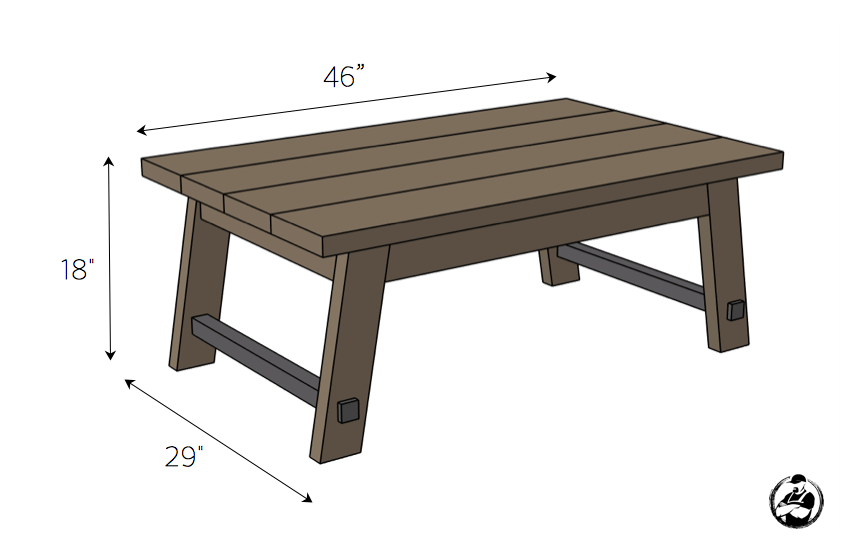
Dimensions
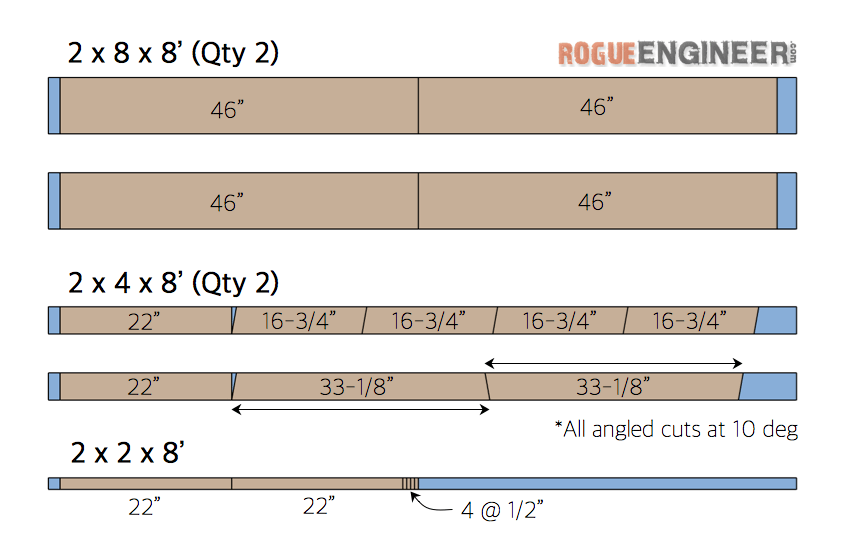
Cut List
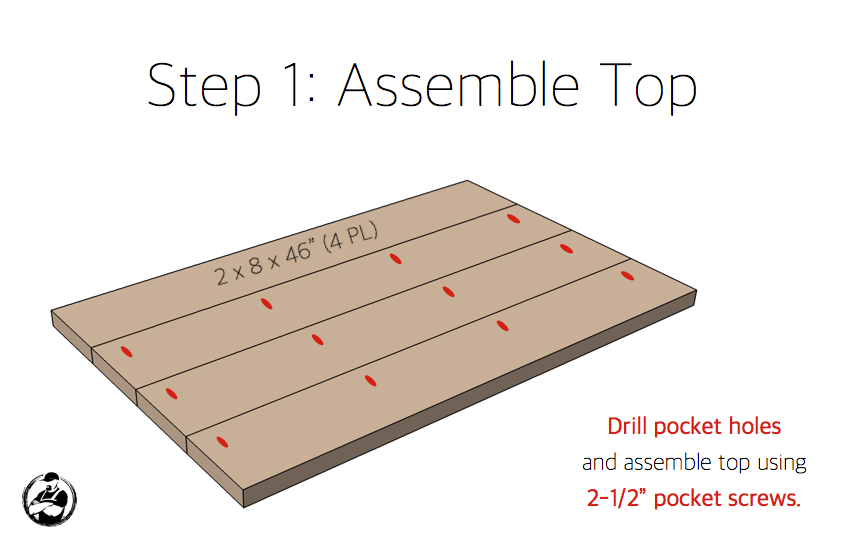
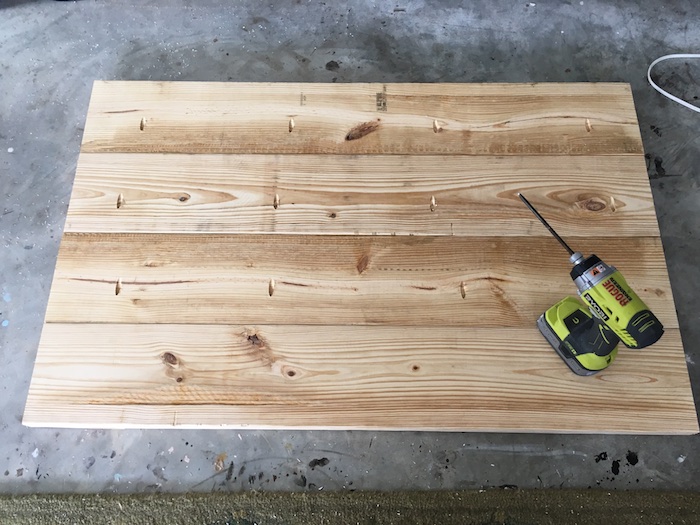
How to build an Angled Leg Coffee Table
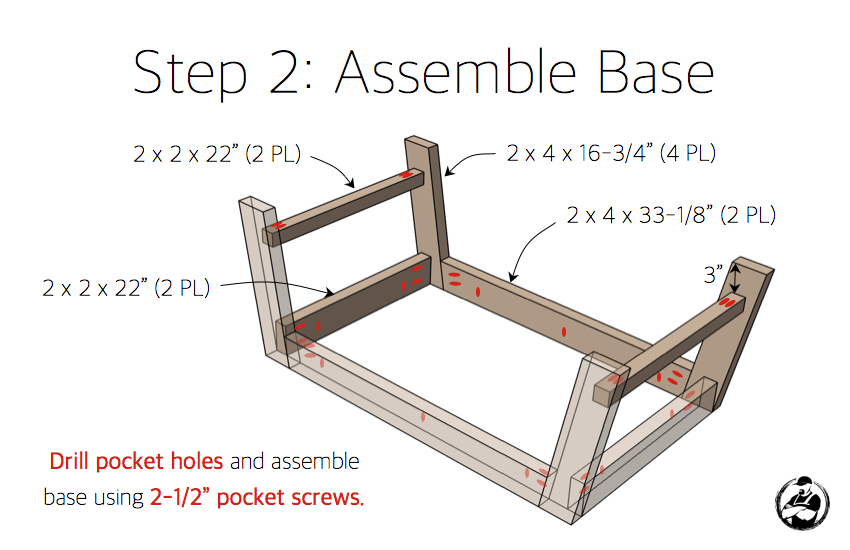
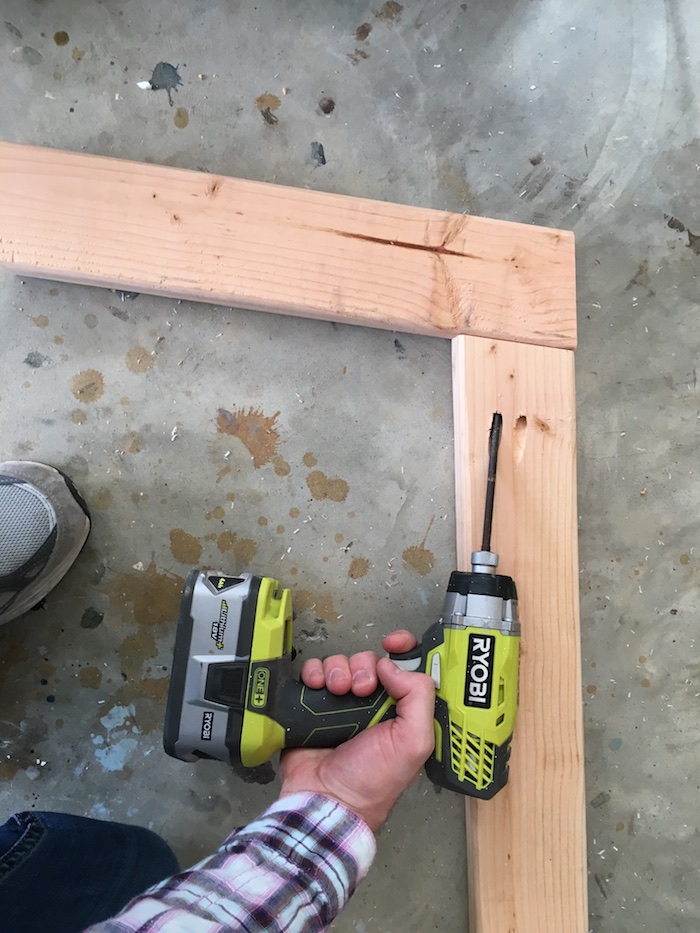
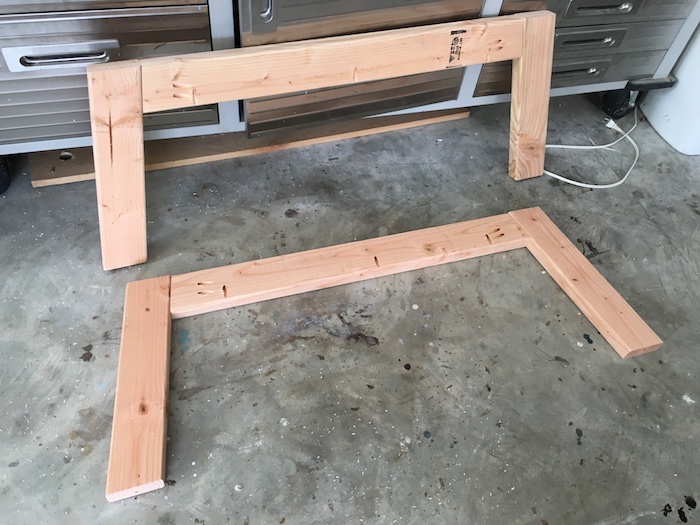
Finishing
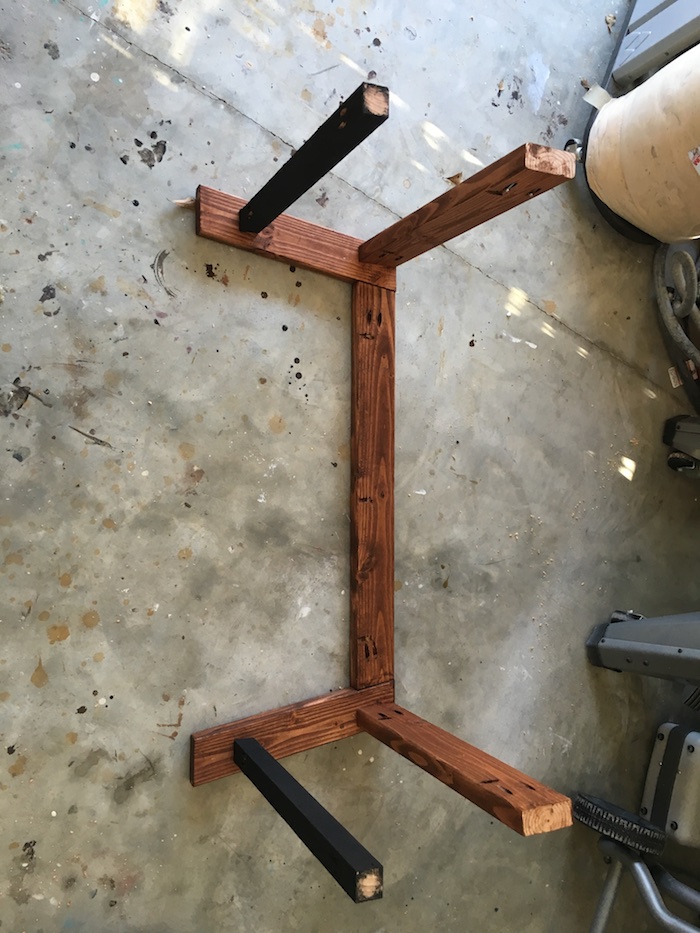
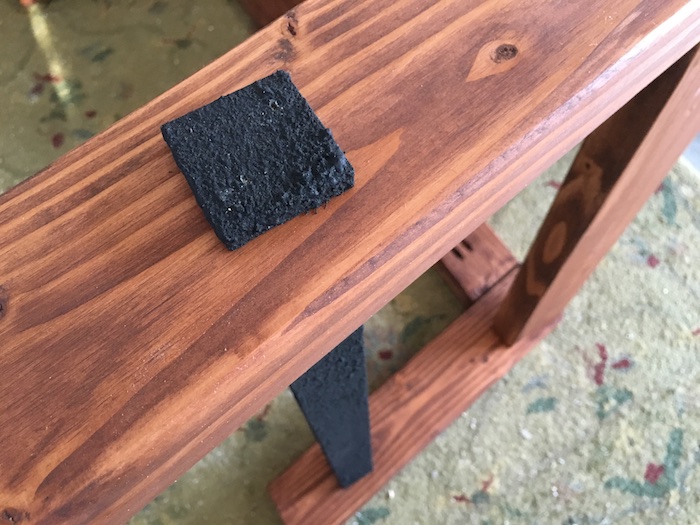
Since we decided to use a mix of finishes, we finished each section before we assembled the table. For the table I stained with Varathane Early American and sealed with satin triple-thick polyurethane. To see how Jamie did the “faux iron” on the 2x2s be sure to check out her faux corroded iron finish tutorial.
Questions? Comments?
As always, if you have any questions don’t hesitate to comment below and especially don’t forget to post pictures of your finished products in the comments! ENJOY!
So many pocket screws. Just wondering if you’ve ever had issues, especially the table top and the way it’s attached?
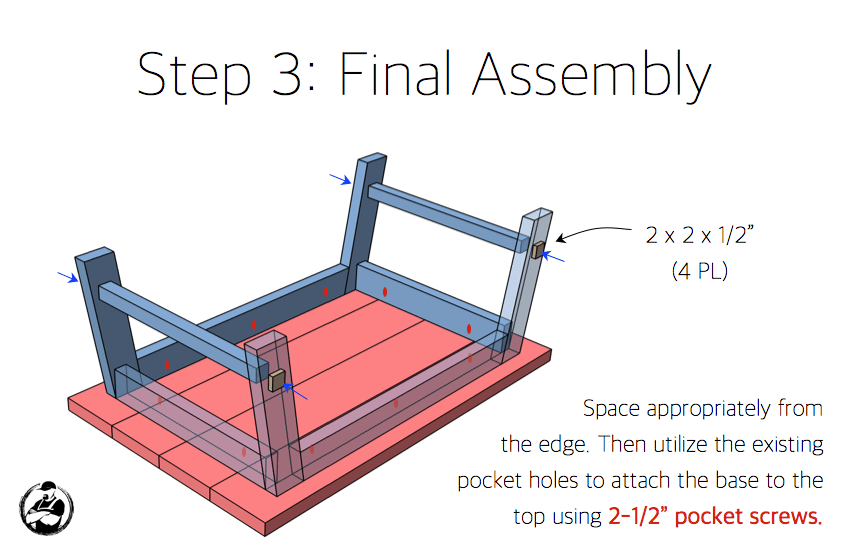
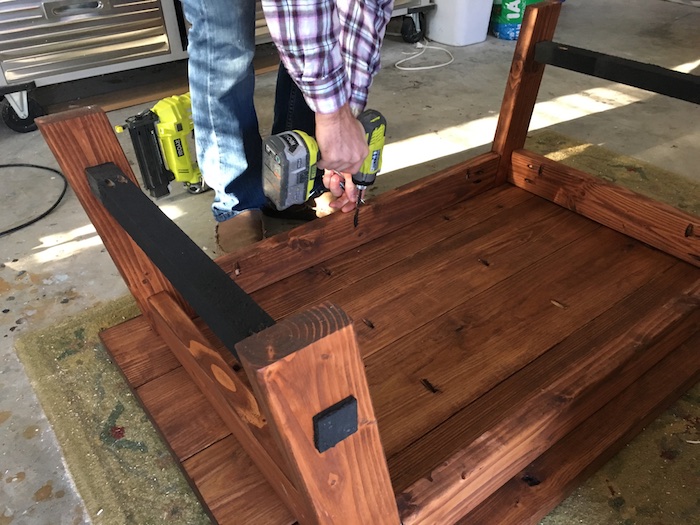
I go with pocket holes because it’s fast and easy but a variety of joinery could be used. And no, I have never had any issues using pocket hole screws.
So i see you used the Varathane triple thick poly on this. I used the same on the farmhouse table I just finished (and tagged you on last night). I had trouble applying it and got lots of brush strokes and an uneven finish. I also think it was drying faster than I could get it on and even. I ended up sanding it all down and putting another coat on using a foam brush this time. There is still some brush stroke looking spots but it looks much better. I used minwax quick drying ploy for a book case and cornhole boards and didn’t have these kind of issues. Wondering if it’s just this thick stuff. Any tips for getting that stuff (or any poly for that matter) on in a smooth way? Thanks!
Hey Mike! I’ve had a similar problem before. What works for me is to apply 2 – 3 coats of the thicker poly using a finer grit sandpaper (180, 220, 320) between each coat and then finish with a thin coat of wipe on poly.
Randy’s suggestion sounds like a good one. I usually apply mine with a foam brush and it is more or less self-leveling. I’ve had a couple issues with drips on vertical surfaces but always lended that to rushing it. To be honest, to get the very best finish I like to spray the poly on using a sprayer.
I assembled this table as my first project and it looks quite good. Thanks for posting this! Only issue was pocket hole screws ended up protruding out on the other side. I was using 1.5 inch holes with 2.5 inch pocket hole screws. I guess I was pushing it too far in?
Awesome. Hope you enjoyed your first build. We would love to see some pictures. As for the issue you ran into, your drill bit might have been set a little too deep which is why they came through.
this will be my first build. why do you have brad nailer listed as a required tool?
I’m curious, are you using the factory edges for the top or ripping the boards and getting them square?
We used the factory edges on this one.
Here’s a pic of my first build. Thanks Jamison for the inspiration and the plans!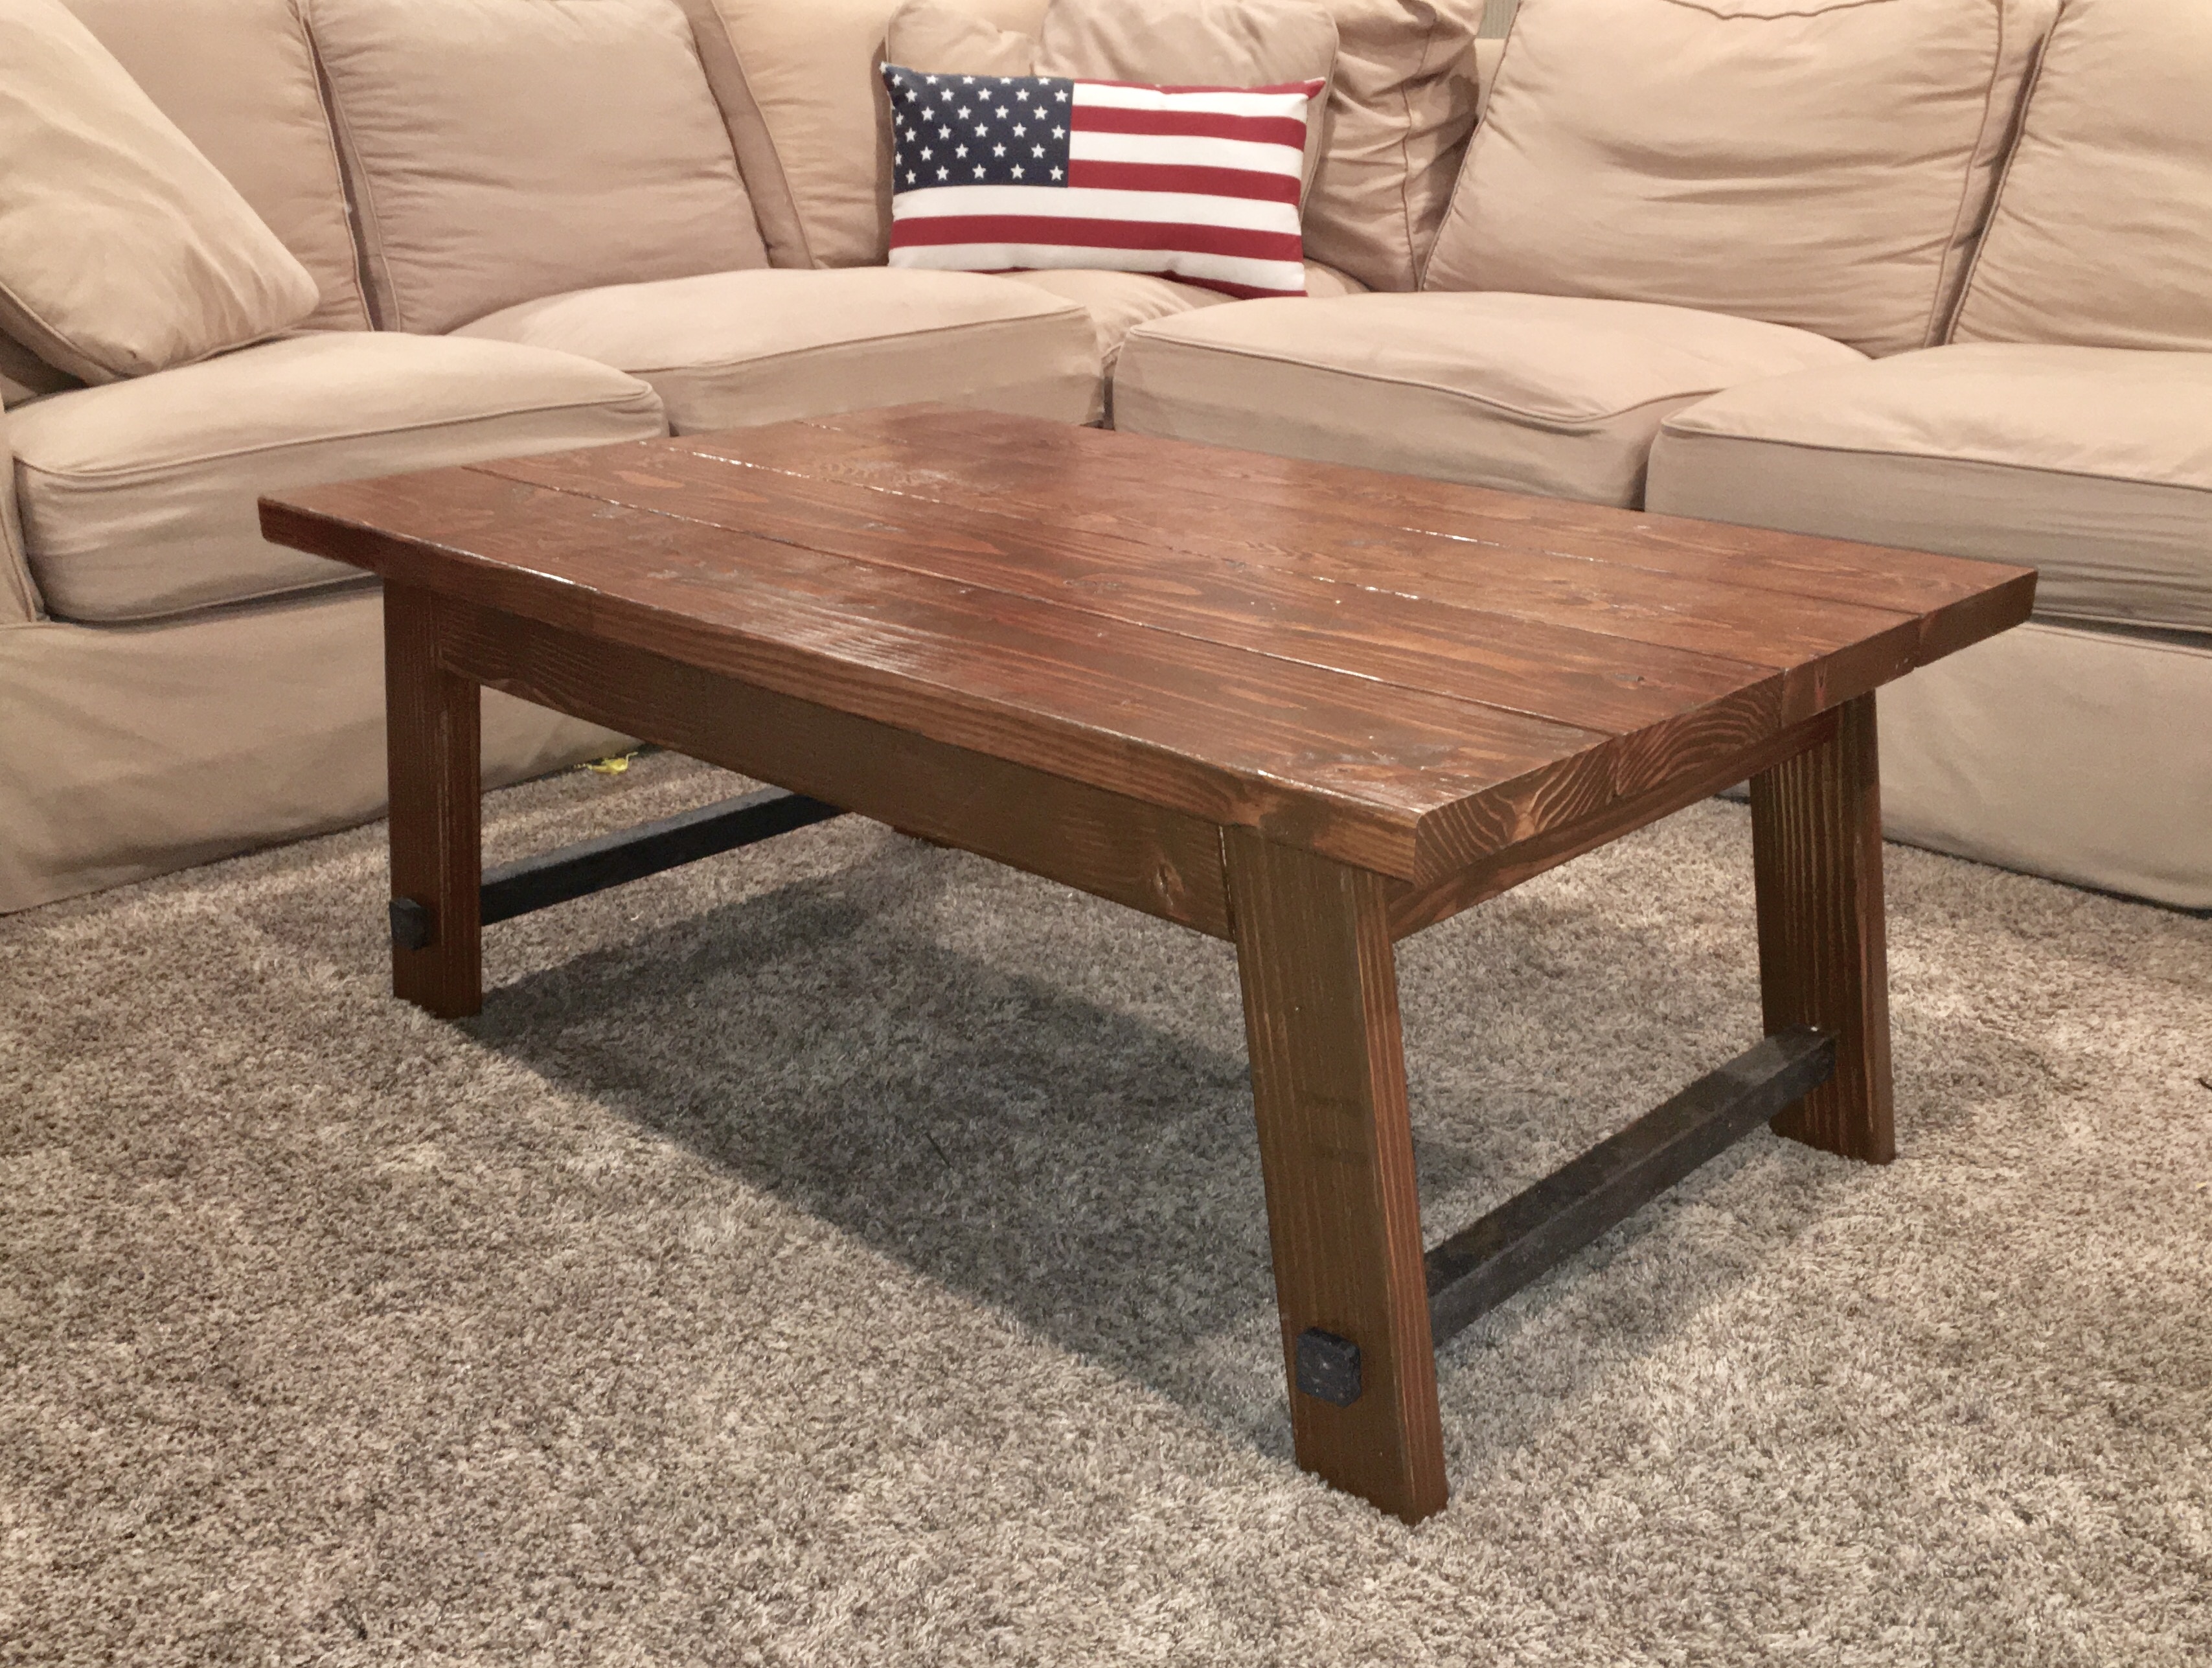
Does anything change if I decide to square up the edges on the boards? Not sure I want the factory edges.
The top will be a bit narrower so the overhang on the sides will not be the same. Whatever you take off of the width of the top I would take off the same on the parts of the base that run that same direction. This will leave you with the correct overhang.
Any chance you could update the link to the “Download Printable PDF”. The current one doesn’t seem to work anymore. Thanks!
I would like to build this table but I cannot download the plans and whenever I click on download it comes up an error message. Please can I have the plans
First of all, I love the website. So many great ideas!I wanted to share something I did using your plans as a guideline. Very large TVs are getting more common. I bought an 86″ TV and needed a stand because it weighs 150lbs and I didn’t want to hang it. Most store-bought TV stands top out at 60″ wide. The legs on my TV are 59″ wide. I didn’t want to put a $2000 TV on a stand with only 1/2″ on either end, so I decided to build my own. I used your Angled Leg Coffee Table plans. I took off one 2×8 on the top to narrow it. I used the full 8′ board lengths for the top, which gave me plenty of space on either side of the TV legs. I made the legs taller than the plans. For the base and legs, I added the appropriate lengths for the top of the base and deducted on the ends of the base for the missing top board.I also needed somewhere to put my cable box and audio components. I built a cage that hangs under the base frame. I used the same faux corroded iron on the audio cage as on the legs. People can’t believe it’s wood!I think it turned out really well, especially for my first project. I hope this may help others in the same situation that don’t want to hang their very large TV. https://uploads.disquscdn.c… https://uploads.disquscdn.c… https://uploads.disquscdn.c…