

Outdoor Wine Caddy
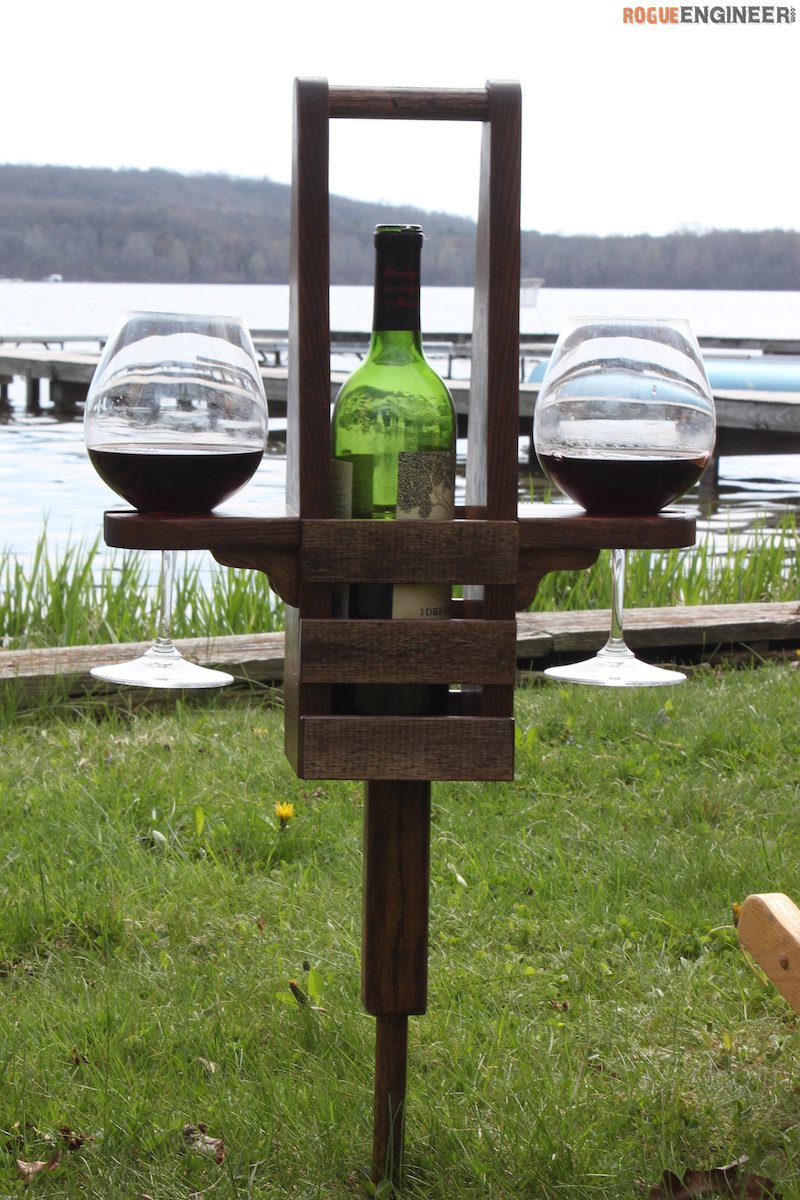
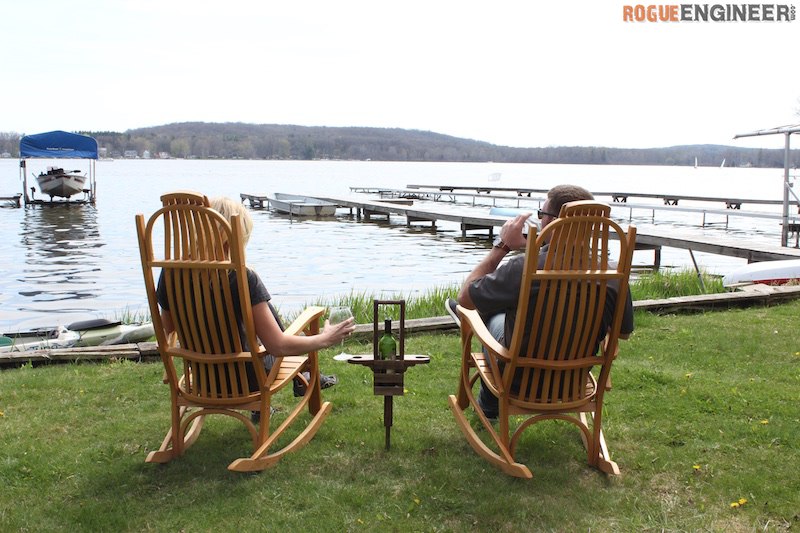
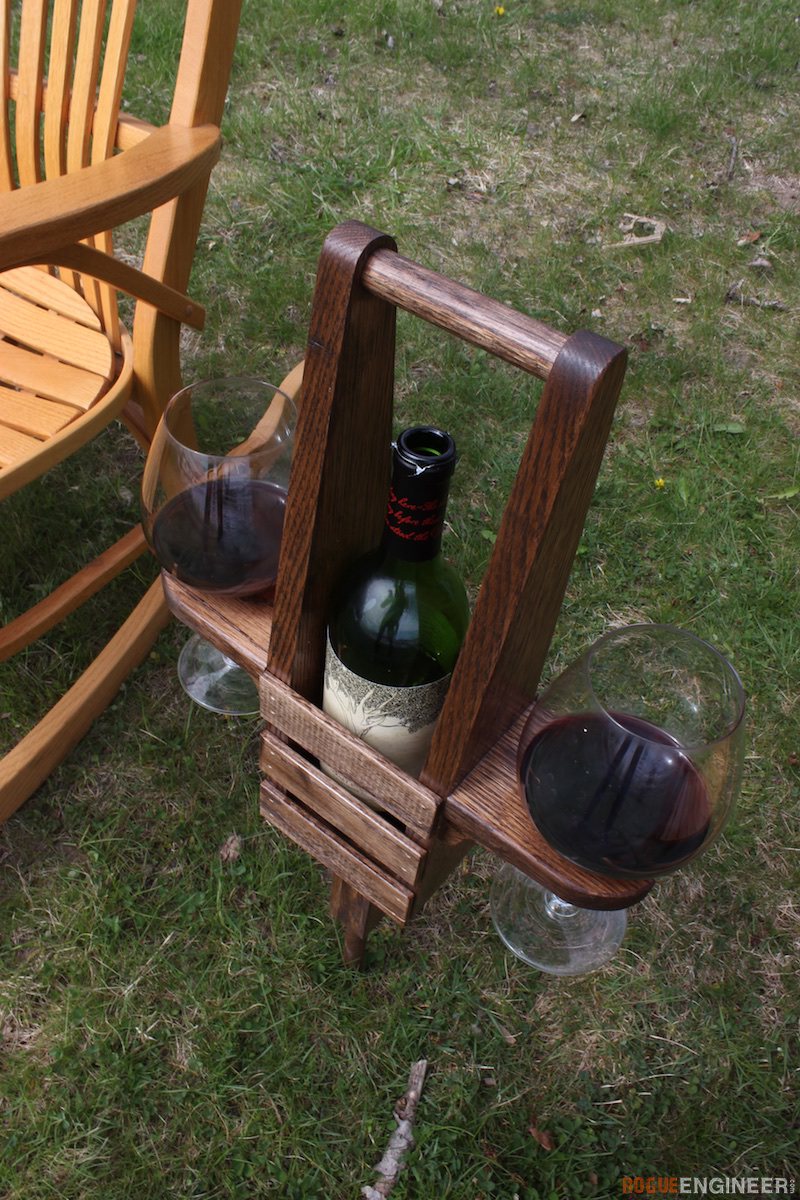
With Mother’s Day coming up I wanted to build something nice for the mother of my children. Knowing how much of a sucker she can be for a view and a good glass of wine, I decided on this outdoor wine caddy. It not only looks great but it is very functional and will definitely keep your wine safe!
This project has been sponsored by buildsomething.com and the step by step plans along with the cutting templates can be found over there, so be sure to head on over there to snag those along with a lot of other really cool project plans.
>> Full Project Plans and Templates <<
For sneak peeks of our upcoming projects be sure to follow me on Facebook and Instagram. Also, follow me on Pinterest to get tons of projects plans from all around the web!
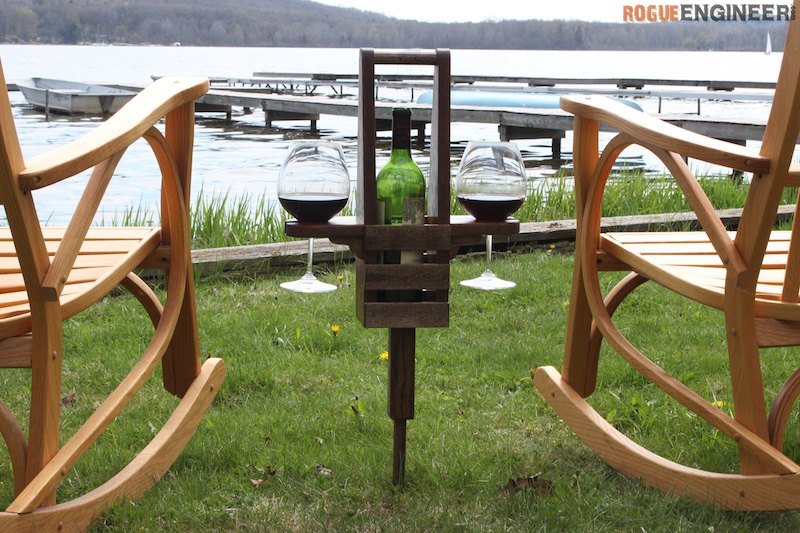
Required Tools
Materials
Disclosure: The links provided in the “materials” and “required tools” sections are affiliate links. If you would like to support our site and help keep our content free come find out more about how we can make money with no extra cost to you.
Questions? Comments?
As always, if you have any questions don’t hesitate to comment below and especially don’t forget to post pictures of your finished products in the comments! ENJOY!
If i were to build this with a bottom board (for use on a deck or patio) instead of a spike, what size would you recommend to prevent tipping? 12″ square?
Good idea Brad, I would say an 8″ to 12″ square base would be sufficient
I went ahead with 12″ base, made from the same 1×4 boards instead of a flat board like a plywood. I figured this would look better. I pocket screwed and glued the 4.25″ boards to the side of the 12″ board, to make it 12″ x 12″. Also made the 2×2 post 16″ long. I stained with Dark Walnut as well.
I will see how my wife likes it come mothers day! Thanks for the idea.
This turned out great. Hope she likes it 🙂
If I were to build this with a bottom board (for use on a deck or patio) instead of a spike, what size would you recommend? 12″ square?
Better late than never on my end, sorry Brad! Yes, a 12″ square base is right for deck or patio use. Go with 3/4″ stock, center the caddy on it, and round or chamfer the corners so nobody catches a toe. If it’ll live outside, a couple of coats of exterior finish on the base will keep it from cupping.
This was an amazing idea and decided to attempt.. My wife couldn’t be happier..
Thanks for the great plans and ideas..
Nate in Montana
Awesome job! Thanks for sharing
I would love to make this! But i don’t have a bandsaw or sander. Would it just take a bit more time? I have also seen a metal spike sandwiched between boards instead of the wood spike?
I used a jigsaw instead of a bandsaw, it just took a little longer and caused little more sanding. Also you have to be patient with a jigsaw as if you force the blade in any direction other than straight, it has a tendency to bend resulting in cuts that are not square.
Jigsaw is great if you don’t have a bandsaw. I’ve used a jigsaw on a lot of my pervious projects, the blade does have a tendency to bend, but nothing a little sanding won’t fix.
Huge fan of your designs and Dreaming Tree wine. Nice product placement. Celebrate we will.
Thanks man! We are a huge fan of any kind of wine. haha
Loved this plan. I lengthened the arms a bit and drilled a 2-1/2″ hole with a small shelf underneath so that it would hold a 12oz beer bottle in addition to the wine glasses. I also lengthened the 2×2 post a little taller as it matched the height of my chairs a little better.
That is awesome! Thanks for sharing!
Thanks for the great! I just wanted to know how you get the “spike”/dowel to enter very hard soil. I have clay soil at home and it’s terrible to dig into and almost impenetrable in some areas. I would have to use a mallet/hammer to get it in the ground and don’t want to break the caddy. Please reply if you have the time, thanks!
Hey Wendy, instead of the spiked dowel you could try gluing in a small metal rod. I used wood because it looks nice but I know what you mean.
How much did it cost to make the wine stake holder?
I’ve been making simila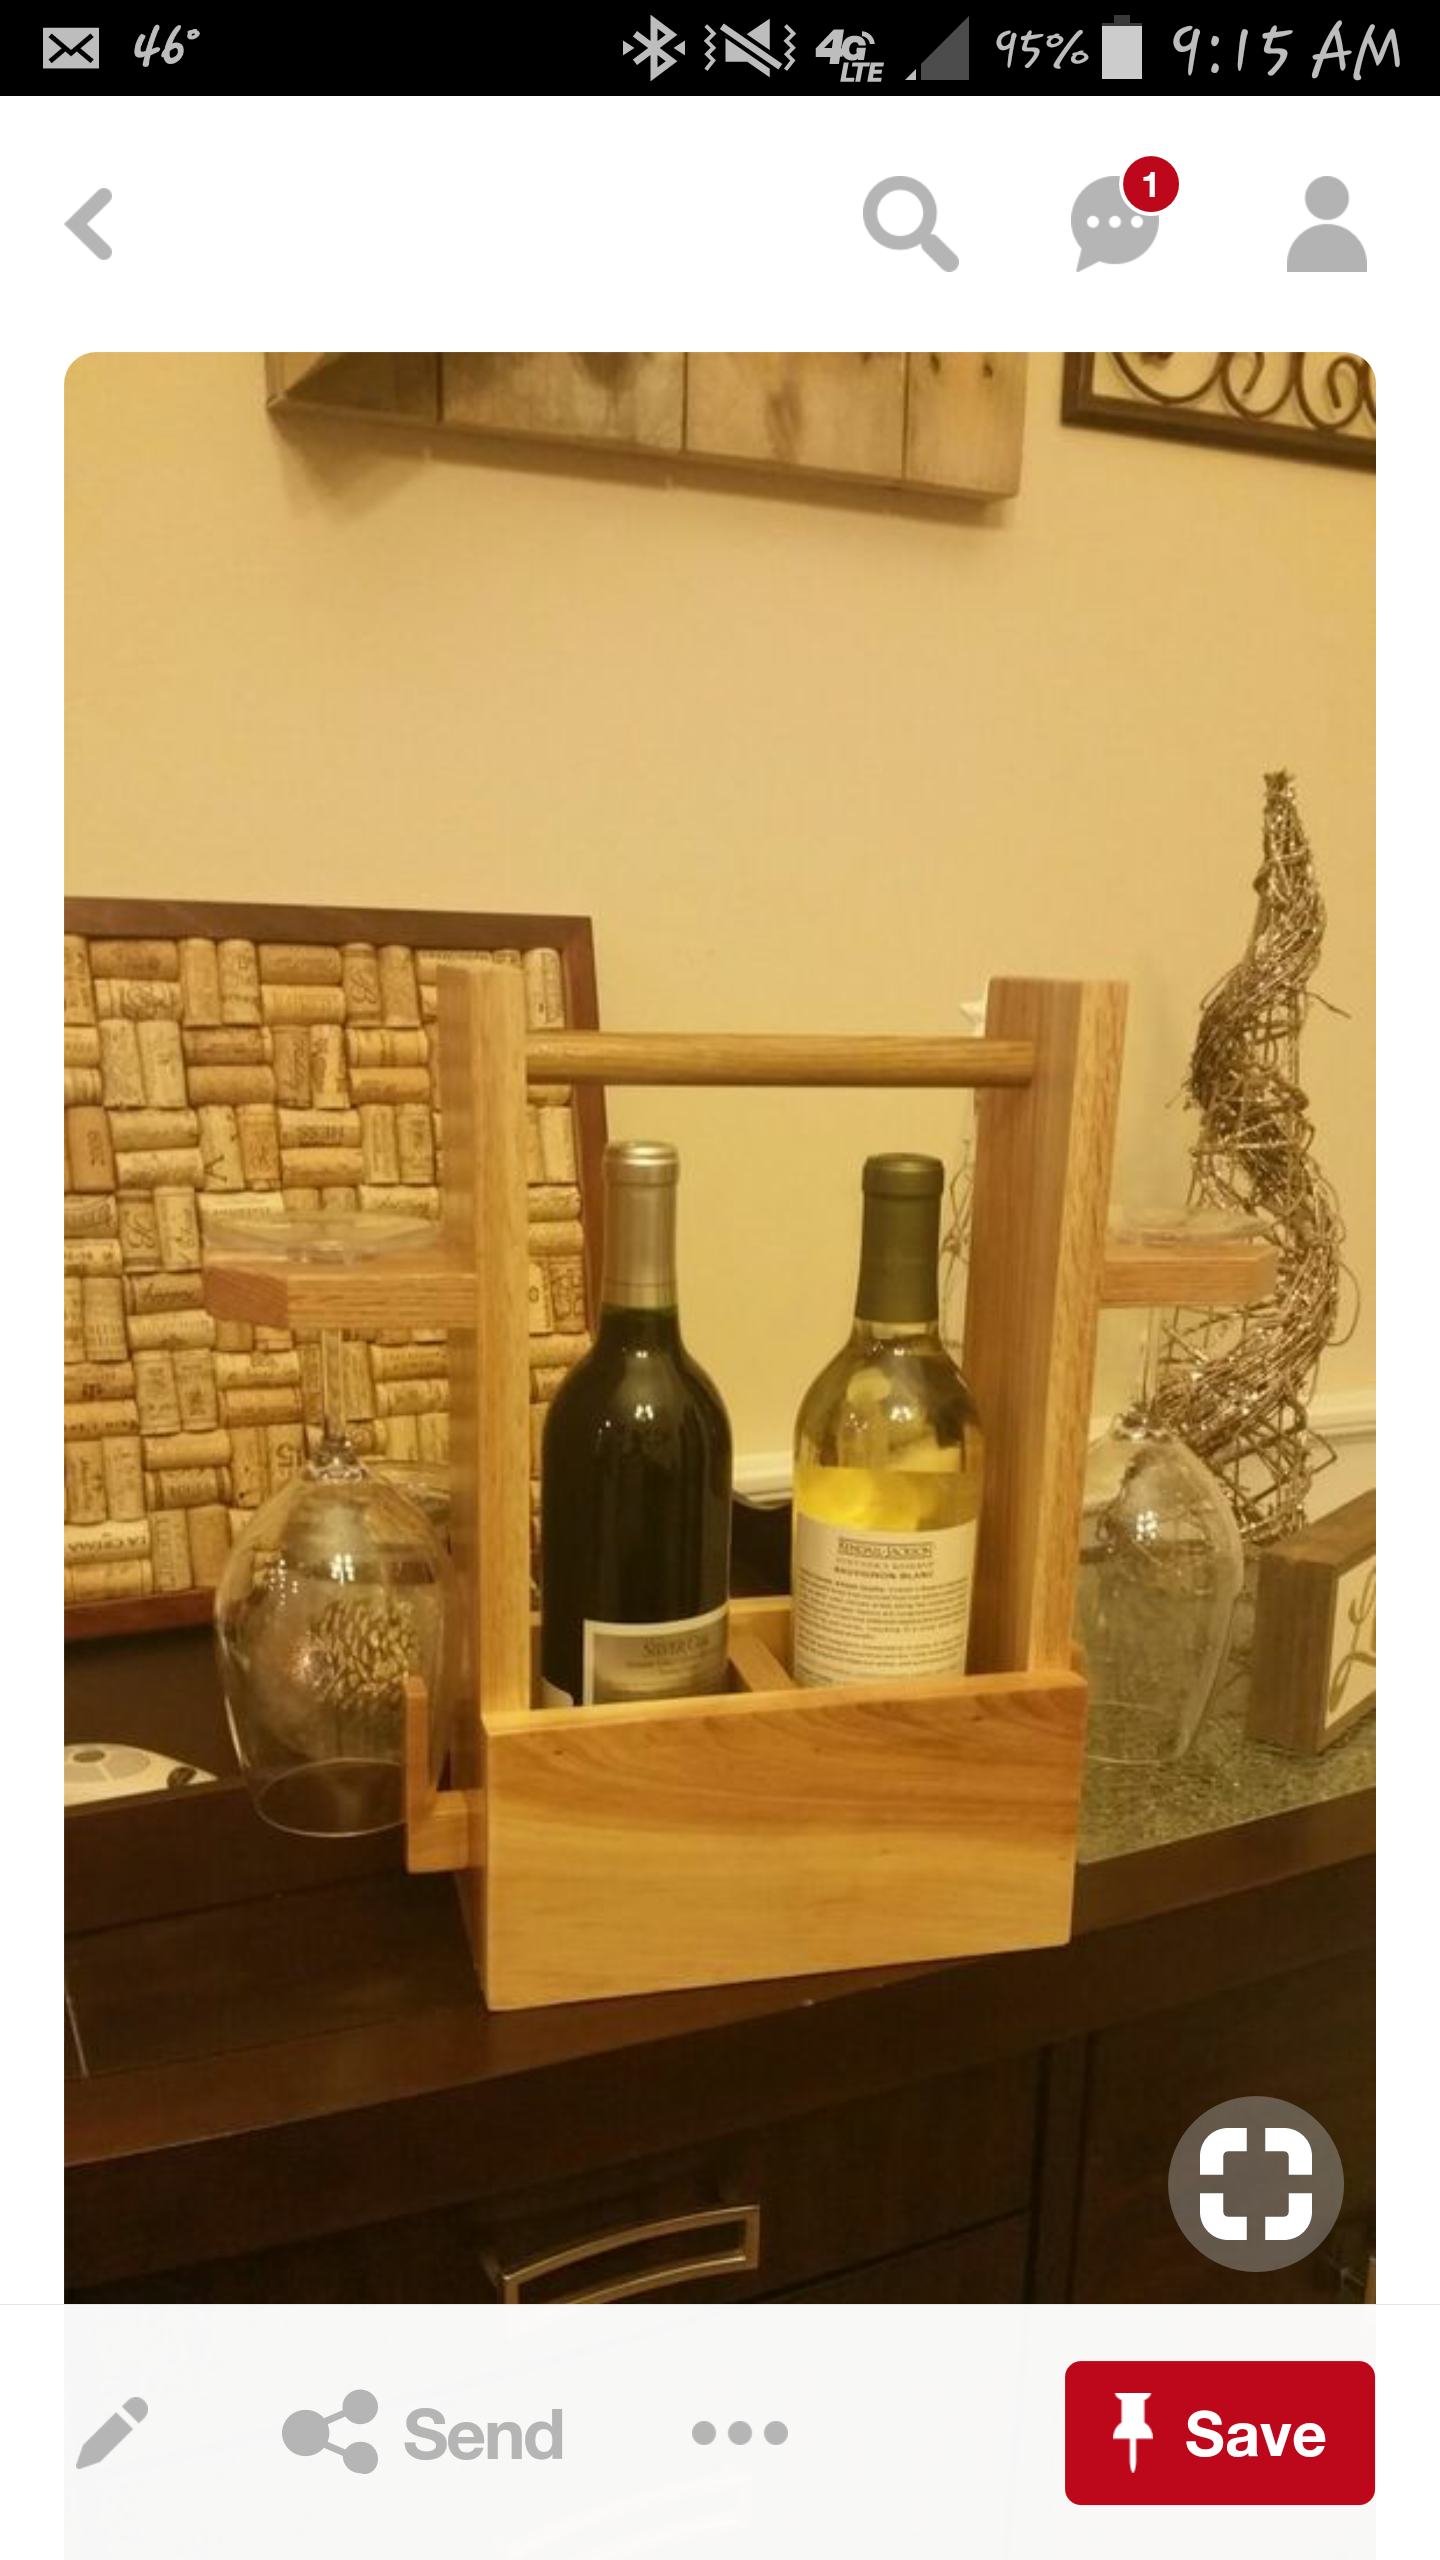 r caddies for a couple of years now. I like to mix my woods at times to give different looks and textures. But I would like to recommend that you use a round over bit on the wings for the notch and hole for the glass. It seems to add a little more security ad stability to the glass when sitting in the wing. I also have an “L” shaped keeper at the bottom that helps secure the glass in transit.
Thanks for the great project! I just wanted to know how you get the “spike”/dowel to enter very hard soil. I have clay soil at home and it’s terrible to dig into and almost impenetrable in some areas. I would have to use a mallet/hammer to get it in the ground and don’t want to break the caddy. Please reply if you have the time, thanks!
I’ve been making simila https://uploads.disquscdn.c… r caddies for a couple of years now. I like to mix my woods at times to give different looks and textures. But I would like to recommend that you use a round over bit on the wings for the notch and hole for the glass. It seems to add a little more security ad stability to the glass when sitting in the wing. I also have an “L” shaped keeper at the bottom that helps secure the glass in transit.
I made this as a Christmas gift and it turned out awesome. I used Rosewood for the sides and bottom, and cherry for the rest. I also modified the design to accept a portable base but unfortunately I did not get a picture before I gave this away. Turned out beautifully and was a fun build! Thank you for sharing the design!https://uploads.disquscdn.c… https://uploads.disquscdn.c…
I’m interested in how you made the modification to separate the base from the stake. I would like to do this so I can bring the caddy inside for storage and filling, then take it out to the fire pit. Can you share how you did this?
Hello, I am reviewing the plans for the outdoor wine caddy and cannot find the templates. appears that the ‘extra’ tab was lost when moved to the Kreg site. Can I find the templates somewhere on your site or another? Thank you for your help.
not sure if I missed seeing the “Extra” tab at bottom of detailed plans or added recently – but the templates are now with the plans at Kreg tools site. Thank you. This looks like a great project for summer.
https://uploads.disquscdn.c… Wine caddie you can take to picnic, barbecue or outdoors. Has removable stake for easy transition from tabletop to outdoor use. https://uploads.disquscdn.c…