
Our First Flip – The Demo
If you have been following along with us on Facebook and Instagram then you’ve seen the demo that has been happening at our first flip house along with Facebook Live updates. If not you are missing out so go follow now! With out further ado I will get right into all the happenings
Don’t forget to check out the 360 before tour if you haven’t already!
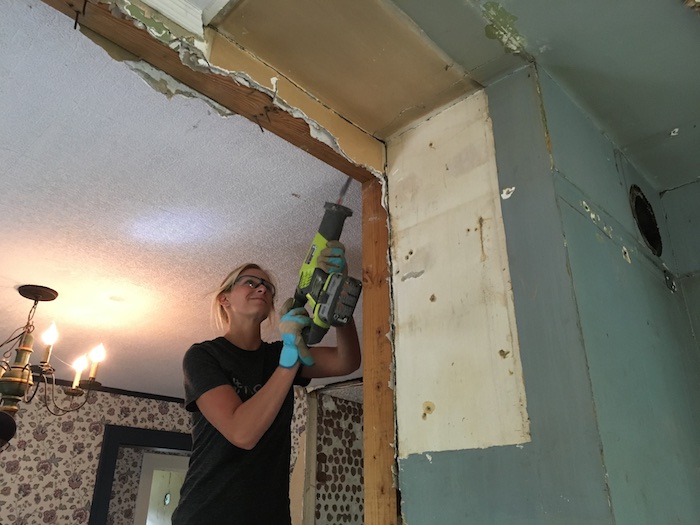
The Tiny Kitchen
In the kitchen we ripped out all the cabinets, countertops, flooring and soffits. They were metal cabinets so they required the big hammer 😉
We also decided to knock out the wall that separated the dining room and kitchen to give it a more open feeling.
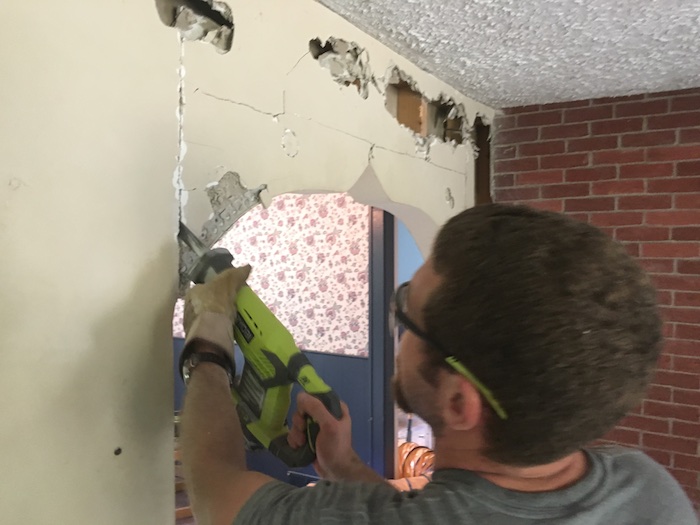
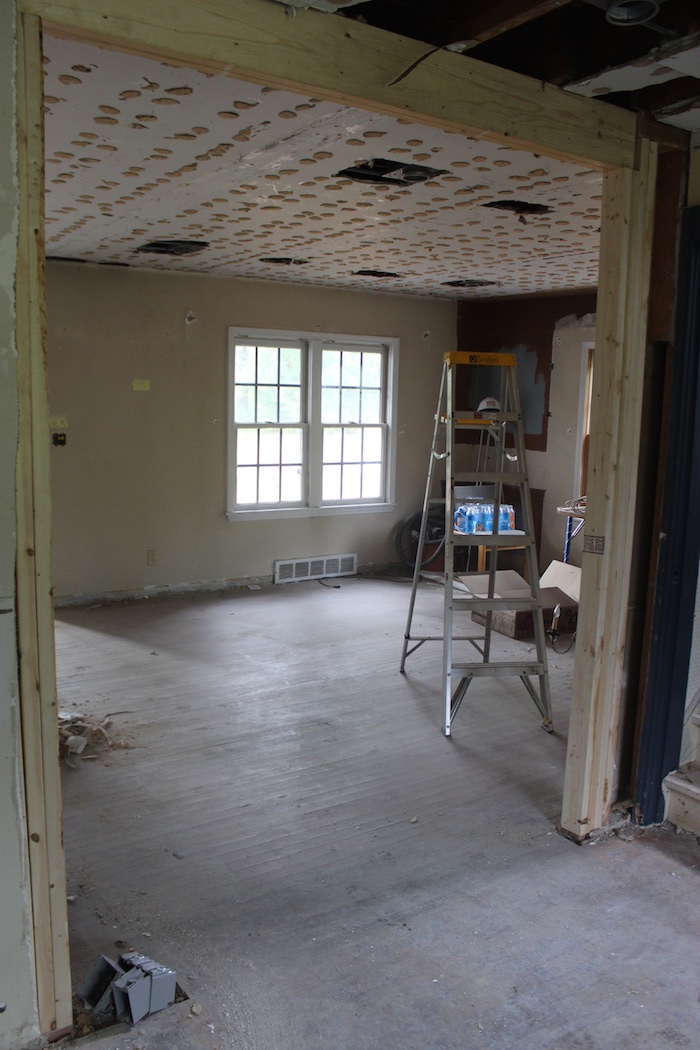
Dining & Living Rooms
The dining and living room flooring got removed along with the built-in bookcases. We also opened up this weird arch to help with that open feeling again.
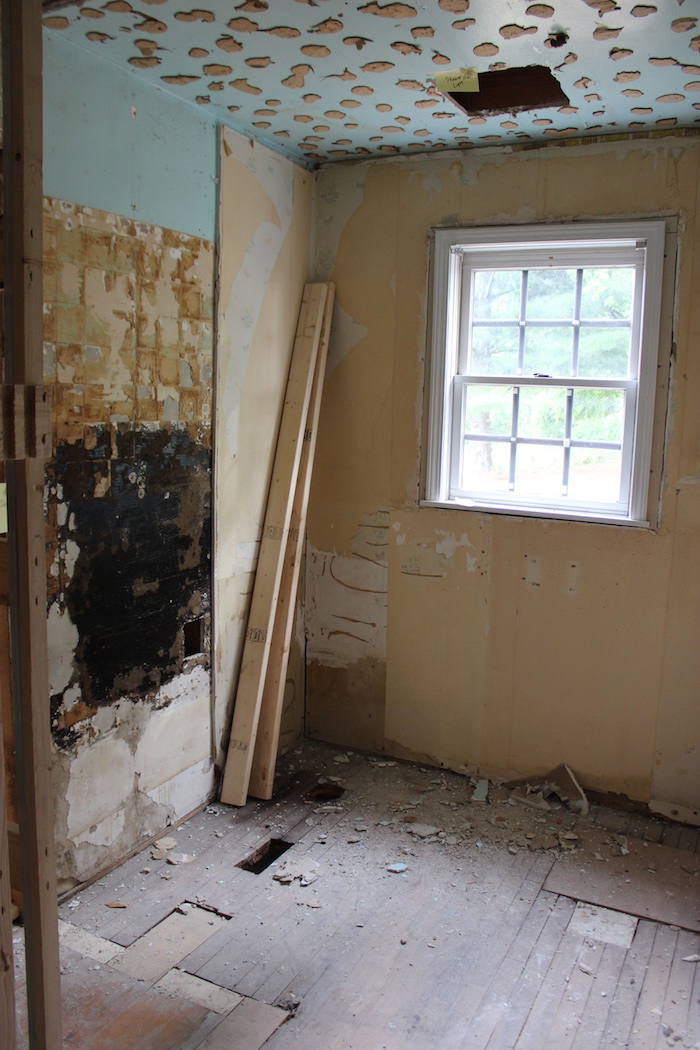
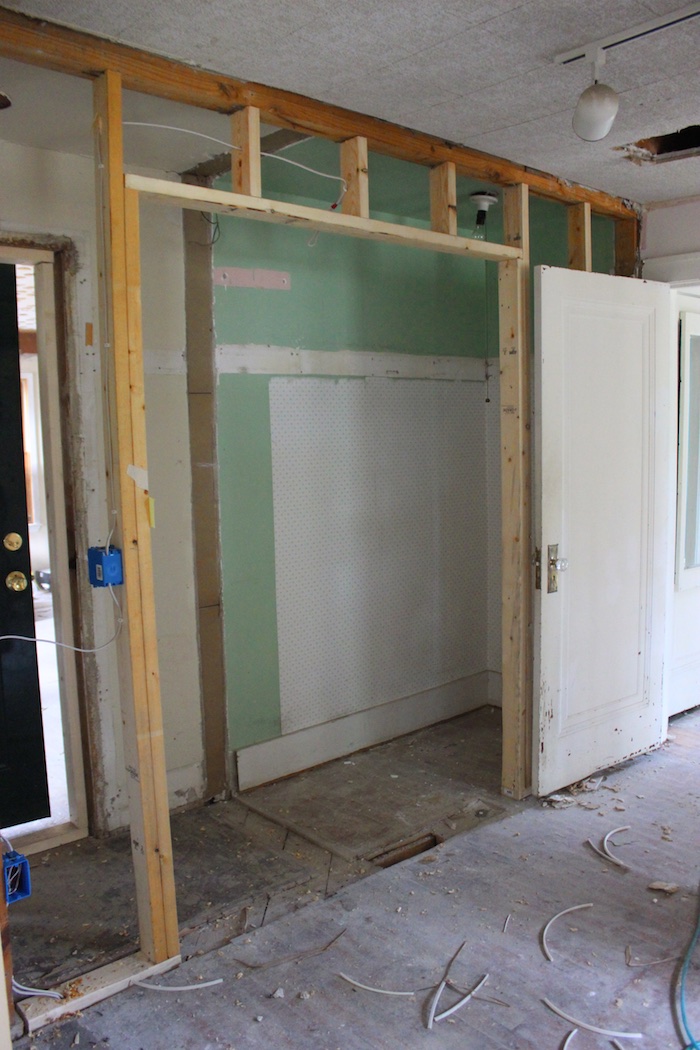
Second Bedroom
The second bedroom on the main floor is fairly small. To make it worse the closet was absorbed by the bathroom (which it needed). So we framed out a new closet so we can technically call it a bedroom. It’s a small room but it would be perfect for a nursery or small child. On the plus side the removal of the carpet revealed beautiful hardwood floors!
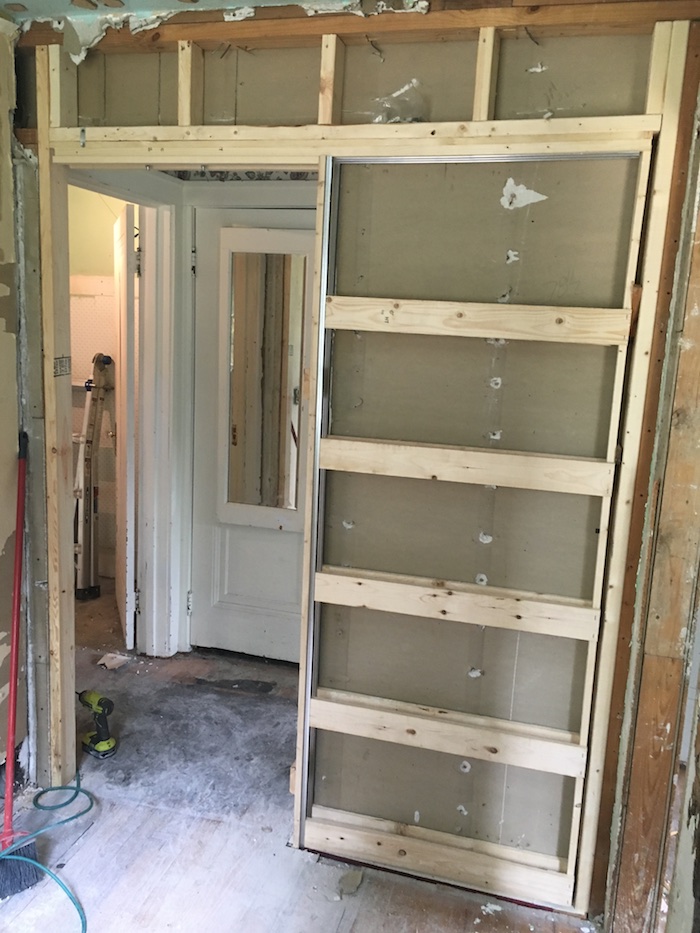
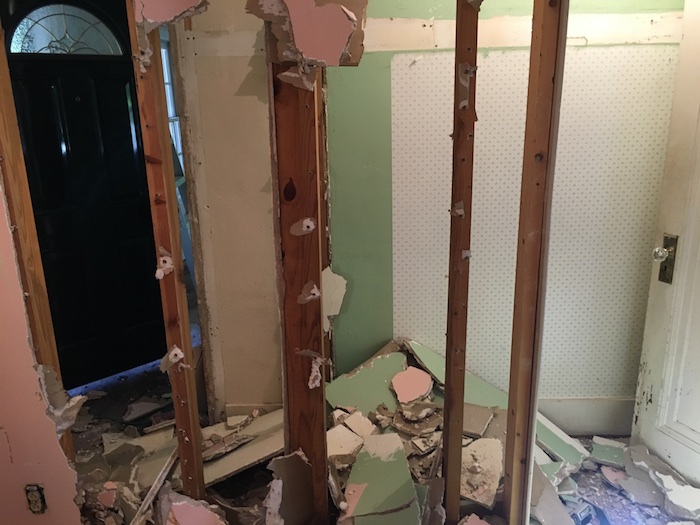
Main Bathroom
In the main we pulled all the fixtures, plumbing, tub, the wall between the tub and the toilet, vanity, toilet and door frame. We also installed a pocket door frame which we intend to install one of the original doors on. We still have to decide how it will lock but I’m sure we will figure it out.
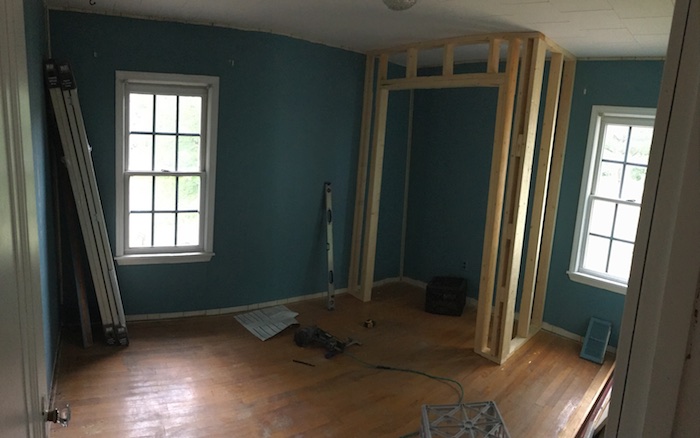
Master Bedroom / Closet
The master bedroom was in pretty good shape since it is a newer addition. The carpet was pulled and the ceiling fan will be swapped out. However, the master closet was pretty small. With the addition of the entryway, we figured we could make that the coat room and steal the existing coat closet to add to the master closet. There will be barn doors to cover the closet as well.
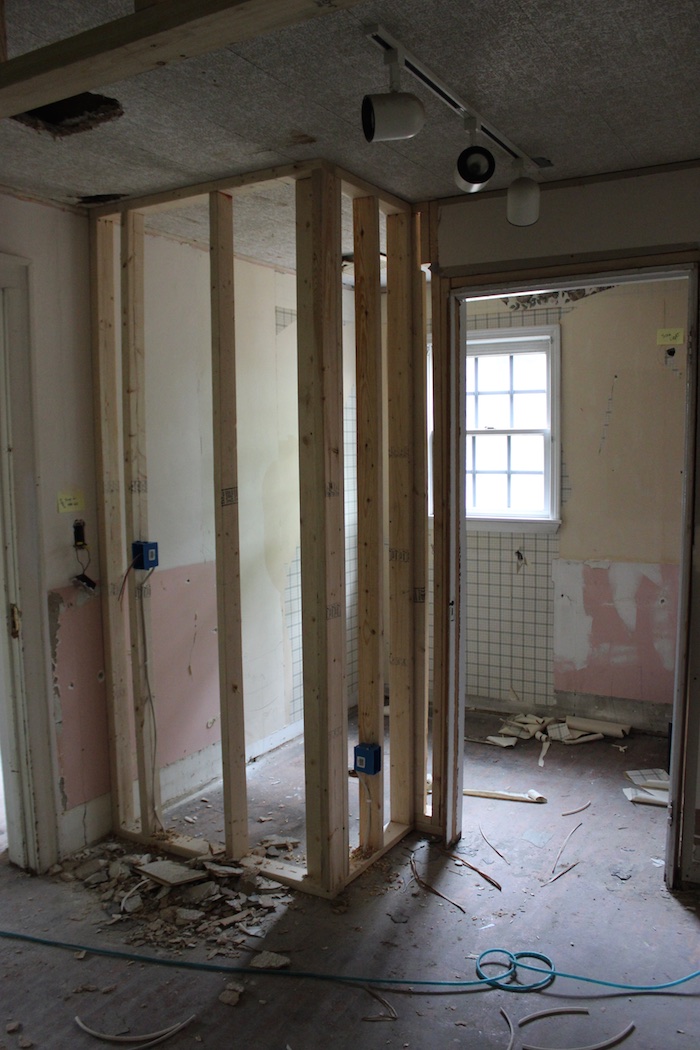
Master Bathroom
As for the master bathroom we pulled the shower, vanity, toilet, plumbing, floor, and.. well.. everything. (See a theme?) We also wanted to create more space so we knocked out the wall to the left of the door and framed out a bump out for the toilet to go.
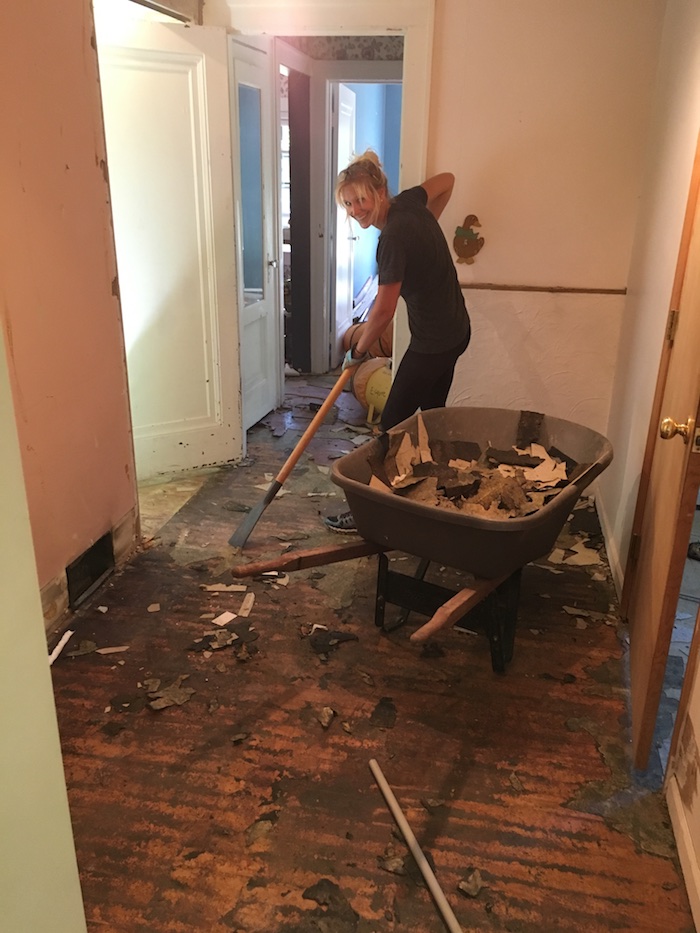
Look what we found!
Original hardwood floors.. all over!!! (Except for the entryway and master bedroom) And we are determined to keep them all and bring them back to their former glory. The problem is that in most places they were covered in 2-3 layers of linoleum and the adhesive used to lay the flooring is incredibly tough to remove. We have a plan on how to remove it and when we do, we will put together a tutorial on how to do so.
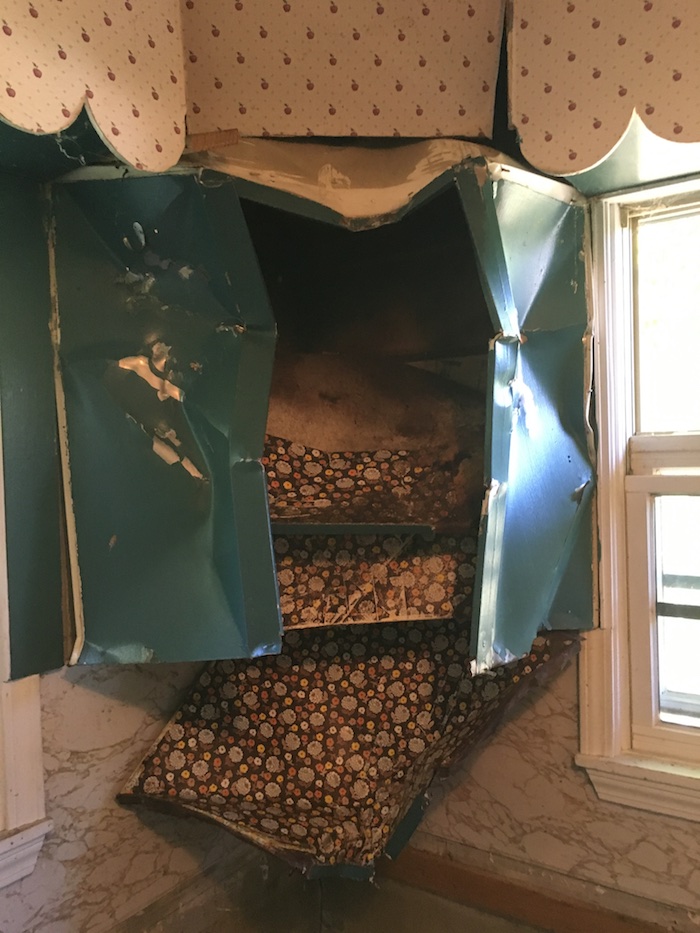
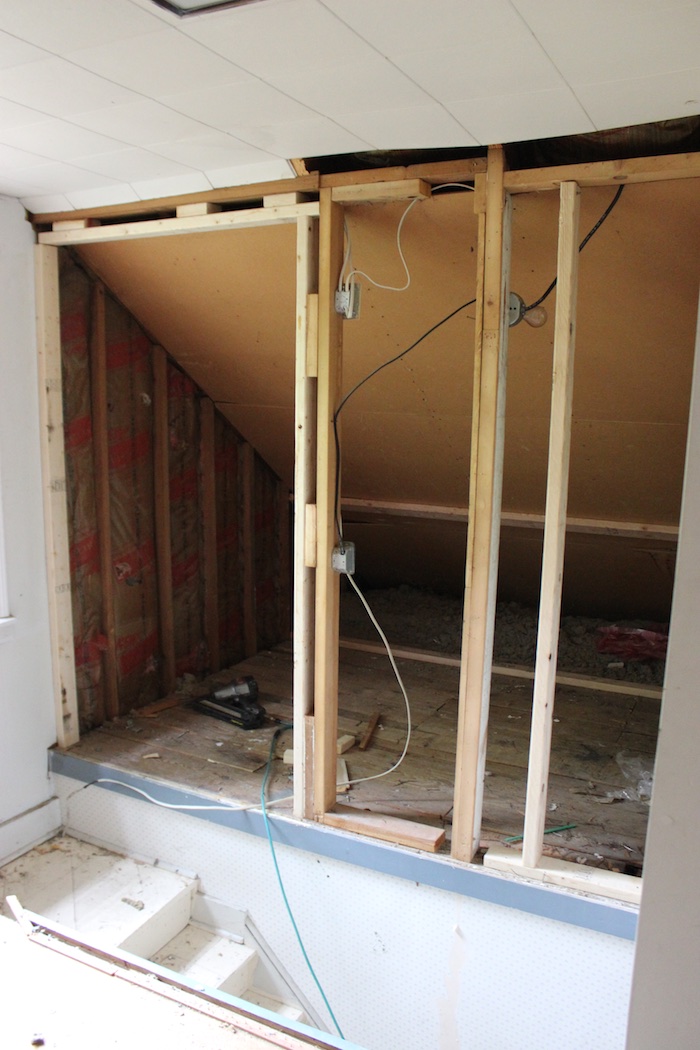
Upstairs
While the two upstairs bedrooms are long and odd, they are still two bedrooms. New carpet and paint will help those a lot. I did pull the paneling off this closet and am finishing up framing it out properly. When done this will get lined with cedar and be great extra storage.
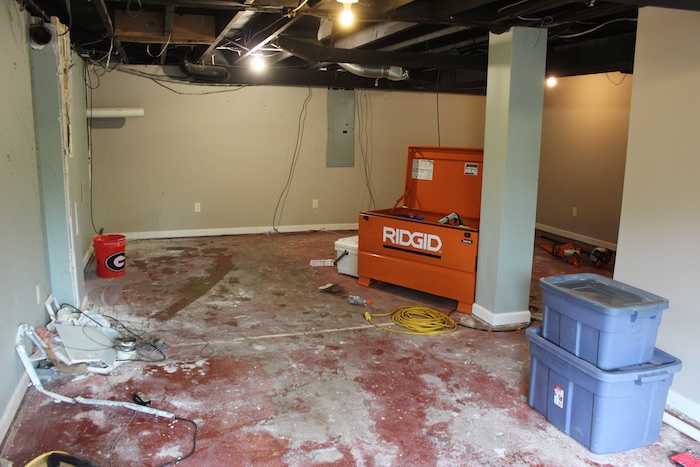
Basement
We pulled all the plumbing, carpet, washer, dryer, hot water heater, furnace, and will be rerouting some of the HVAC. We are having natural gas ran to the house and will be replacing the furnace with a gas furnace.
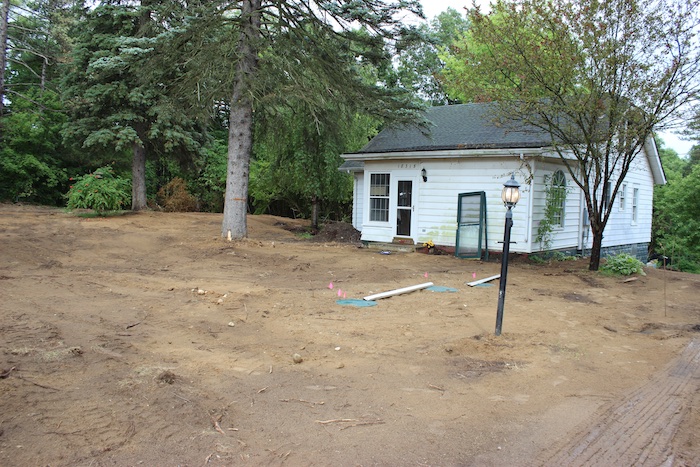
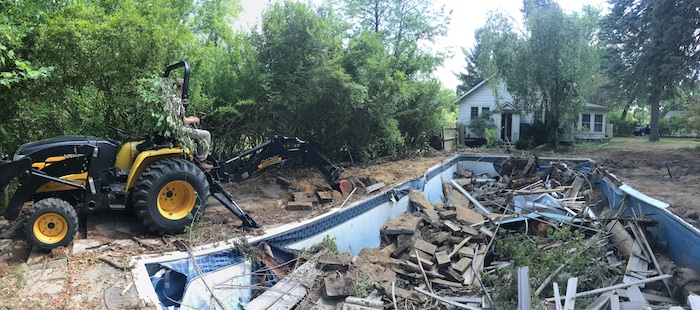
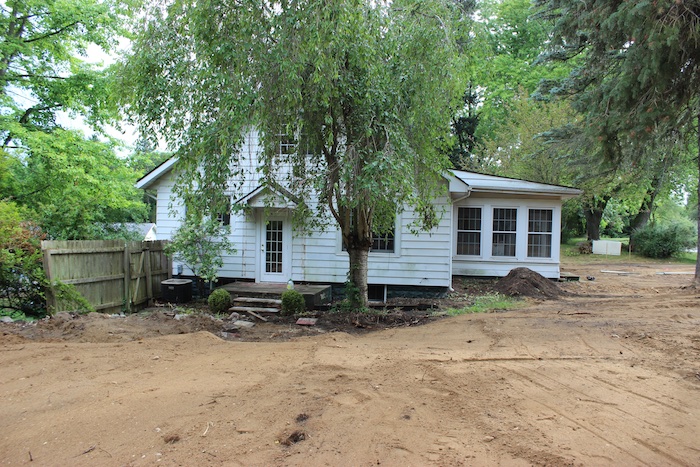
The Great Outdoors
So many things happened around the house. We started by tearing down the fence around the pool. Cutting up the fallen tree and removing it all.

Then, we busted up all the concrete around the pool and threw it in the pool to help fill it.
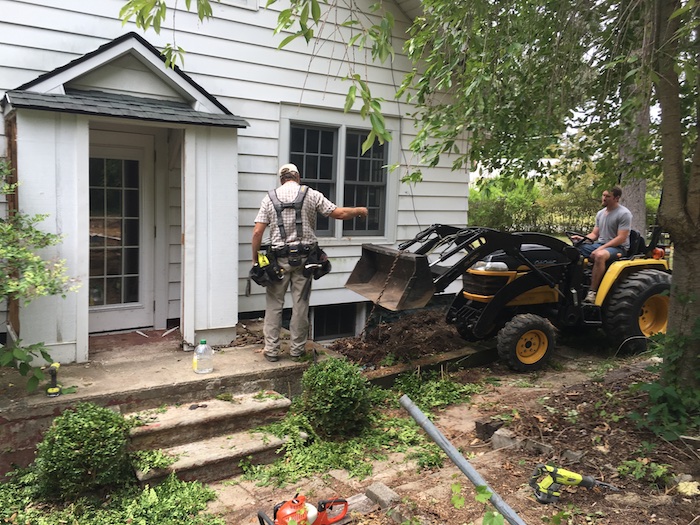
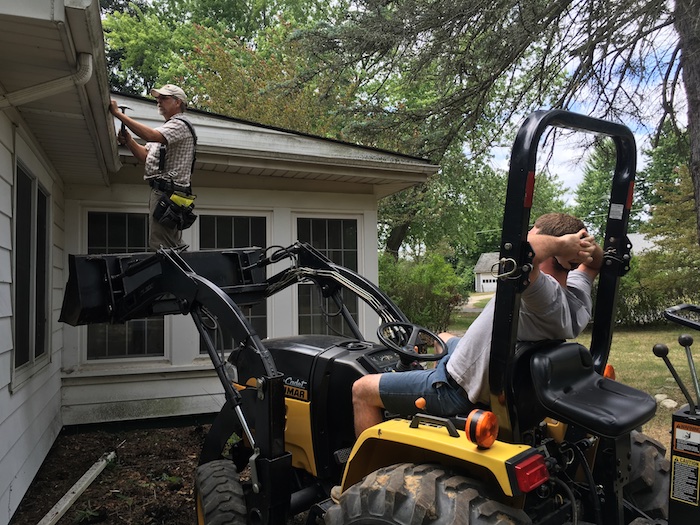
We removed the small addition on the side of the house. It was mainly the walls the came out. The gabled stays.
We cleaned out all the gutters which were way overgrown and blew the debris off the roof.
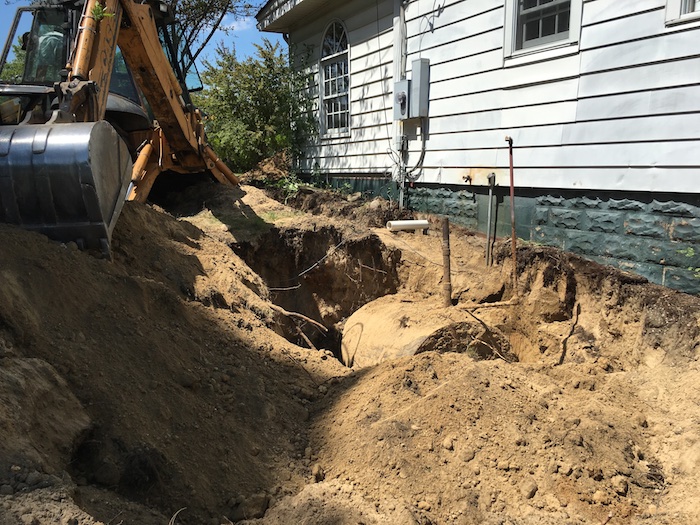
While the septic guys were here we had them pull this old fuel oil tank and remove it as well as abandon the old septic tank. Luckily there wasn’t anything in it and the ground was clear of any signs of leaking.
The biggest job was the new septic system. Two new tanks, one 1000 gallon and one 1500 gallon tank paired with a 1600 sq ft drain field that is 5-6 ft below ground. Basically the entire front yard is now our septic system… and it’s a good one!
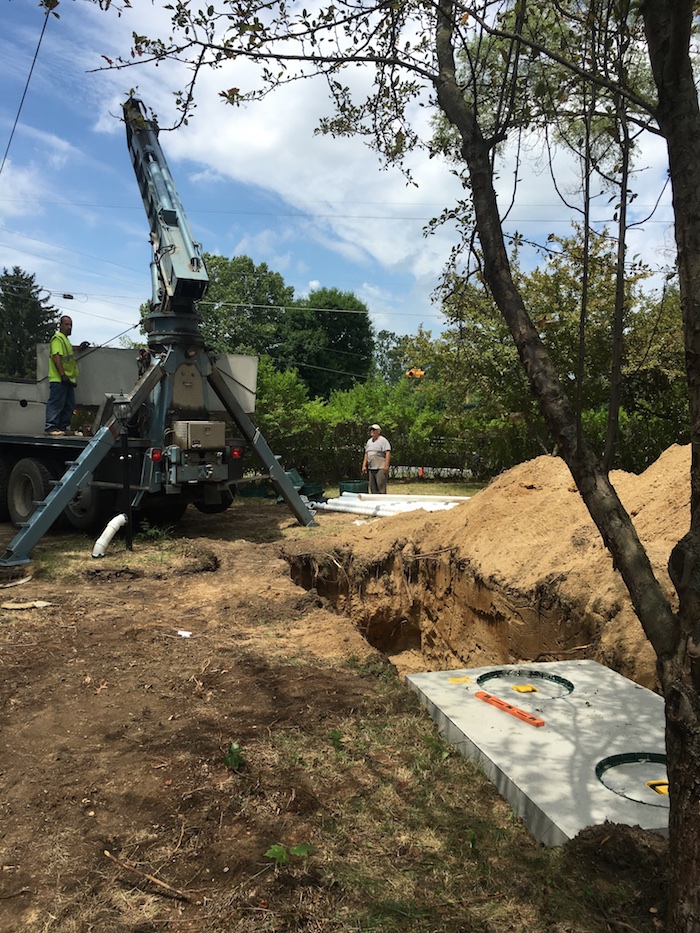

The nice thing about the septic system going in is that there was plenty of sand to cover the pool with!
If you can, it would be nice to also get a primer on how to determine if a wall is load bearing (seeing as to how you’re knocking down walls and such). I am looking to do some renovations at my house, and I’m stuck on whether or not I’m going to cave in the roof…!
The floors will look awesome once you get all the adhesive and junk off there, but it’ll be a chore. Good luck! Cheers
There are a lot of variables when determining a load bearing wall. So I’m going to say that you’ll need to consult and engineer. However, most cases, for smaller, simpler homes, you can look at the roofline or climb up in the attic and determine the direction that the joists run. The joists can only span so far, by code, before they need to be supported by a load bearing wall. Hope that helps!
awesome…! I’ve read that a few places, and it looks like the wall I’m planning to demo isn’t load bearing. I’ll have to fallow the joists a bit more before I’m confident in my decision to wreck it though. This wall section leads to a perpendicularly oriented vaulted ceiling. If I’m correct, it holds itself up through a truss system. Now for permits…
By the way, I’m a big fan of that gigantic metal Rigid toolbox. Never seen one of of those that big. Its like an adult-version keepsake box!
Haha. It’s my toy box! And can you believe they have one that’s even bigger than that!
totes getting one..!
Looking good guys!! You are really kicking butt and am anxious to start seeing the rebuild take shape 🙂
Thanks Linda!
Great Progress, I noticed you were filling in the pool… Just my 1 cent 😉 did you all get the ok for doing that? Did you give the water a place to go? as it rains over time would hate to see the pool start to fill up and the ground to become soft… I only suggest this as I have seen and heard that a in ground pool needed to be taken out all together and then filled in with dirt, not debris
Thanks. And yes, the pool was just a liner and we made sure break up the bottom so that it would drain properly. Hopefully future owners don’t decide that is a good place for a new pool ?
Awesome, just didn’t want to see you both get held up on anything… 🙂 look forward to seeing it all done!!
Hey guys, great pictures. I, too, am wondering about the pool. I saw all the debris in there. I can see burying rock and concrete in the pool, but it looked like lots of wood and trash as well. It was hard to tell how far down that will be. I wondered if the new owners might go to put in a garden in that spot and dig up trash.
We kept the wood and trash to a minimum and it is several feet down (5+ is my guess). We do plan to cover it with top soil as well but all that sand might be hard for any garden to grow it.
Another question: No asbestos concerns with all that linoleum you took up? Thanks!
Nope, we tested it. All clear.
I don’t think you’re allowed to fill the pool with the debris. I think you actually have to remove it all; all cement, all rubble, etc. Maybe where you live the codes are different though?
This is actually common practice. As long as you make sure the bottom of the pool is broken up and allows for proper drainage, you wont have any problems.
Hey, what are the plans for the HVAC duct rerouting? It looks like we are going to buy an older house soon, I was always little bit afraid getting too deep into the structure and heating. But your project rocks! Good in all beginnings! And keep us updated.