

Flip Top Vanity
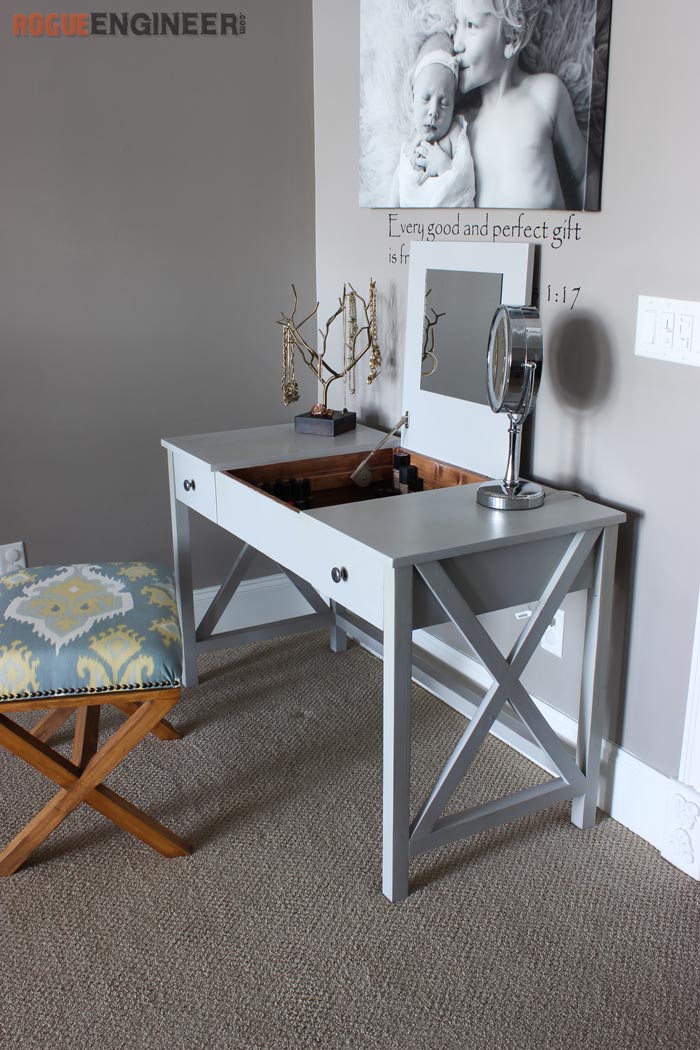
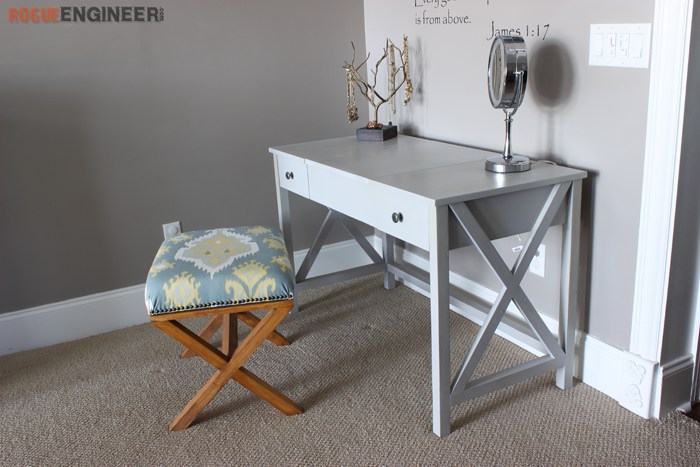
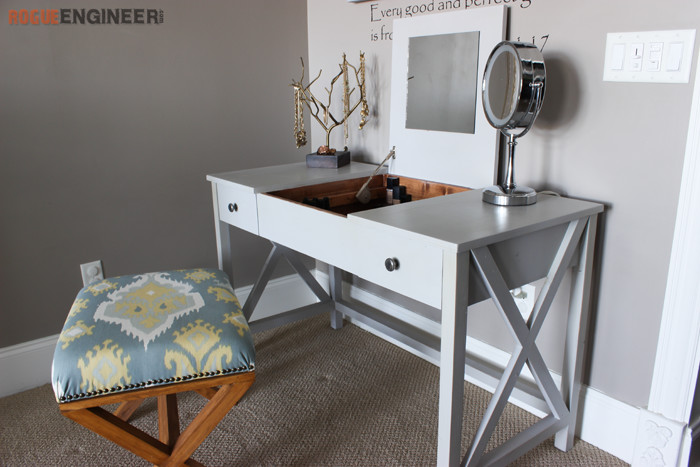
I’ve been trying to figure out what to get my wife for Christmas when one day it hit me. I walked into the bathroom while she was doing her hair and markup and saw her sitting in the sink. Literally, sitting in the sink! If you can picture that. Not like I haven’t seen this before, but at that moment I new what I was going to get build her, a vanity!
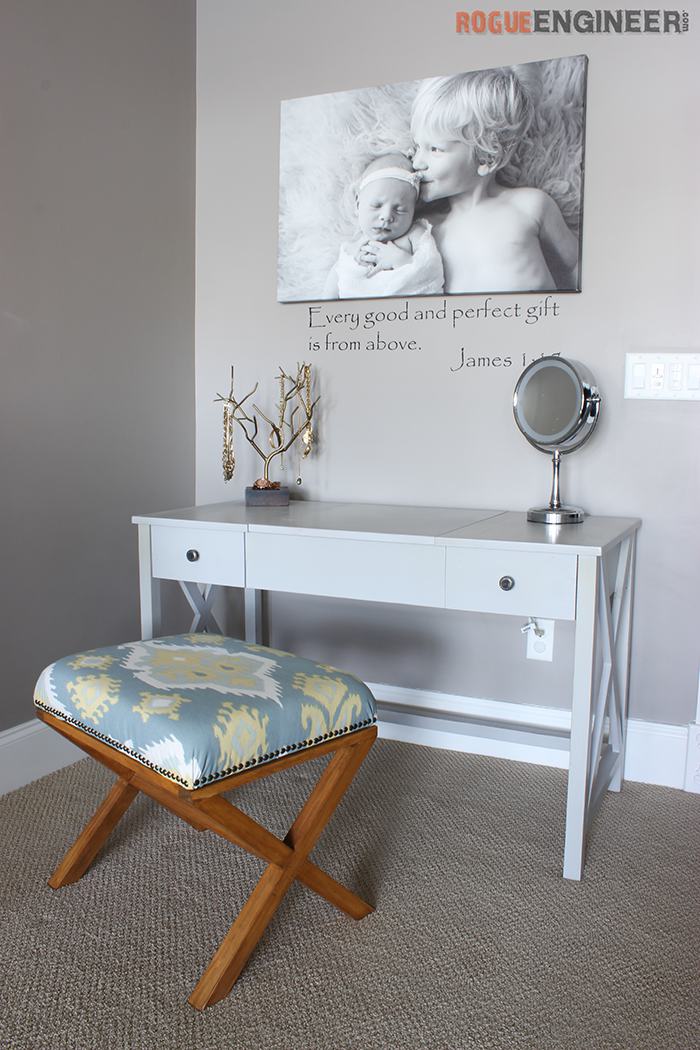
This vanity needed to not only look good but be functional and hide all of her crap supplies. I decided to go with a flip top design so it could double as a desk when not used as a vanity. I think the design I came up with accomplishes just that. Too bad it’s not going to be a surprise now but honestly how was I going to surprise her with anything I was building anyway. Here goes nothing. Enjoy.
Oh and the bench in the photos, we’ve got plans for that.
For sneak peeks of our upcoming projects be sure to follow me on Facebook and Instagram. Also, follow me on Pinterest to get tons of projects plans from all around the web!
Time to Complete
1 Day
Estimated Cost
$50-100
Skill Level
Intermediate
Required Tools
Materials
- 1/2 Sheet of 3/4″ Plywood
- 1/2 of a 1/4″ thick Project Panel
- Qty 2 – 2 x 2 x 96″
- Qty 2 – 1 x 6 x 6′
- Qty 2 – 1 x 4 x 6′
- Qty 2 – 1 x 2 x 8′
- 2-1/2″ Kreg Pocket Hole Screws (Coarse)
- 1-1/4″ Kreg Pocket Hole Screws (Coarse)
- 1-1/4″ Brad Nails
- 1-1/4″ Wood Screws
- Wood Glue
- Mirror
- Mirror Adhesive or Mirror Clips
- Qty 2 – 18″ Drawer Slides
- Qty 2 – Knob/Pull
- Lid Support
Disclosure: The links provided in the “materials” and “required tools” sections are affiliate links. If you would like to support our site and help keep our content free come find out more about how we can make money with no extra cost to you.
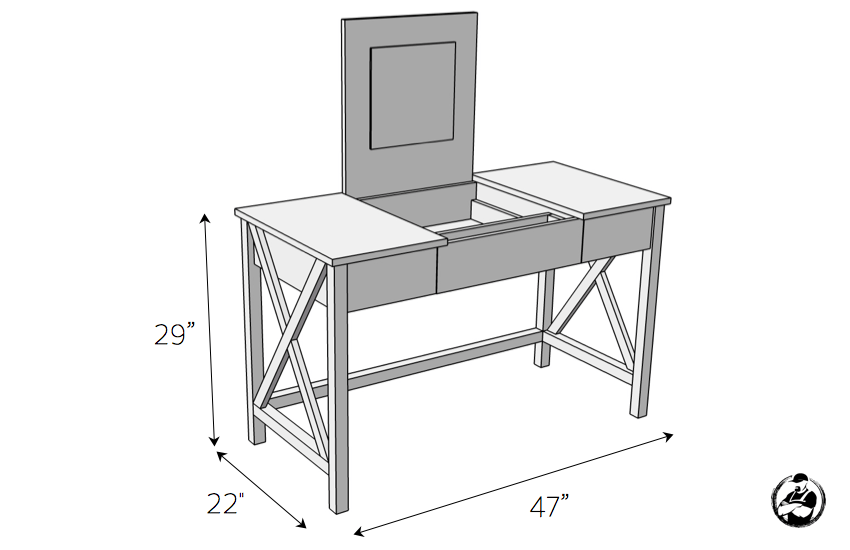
Dimensions
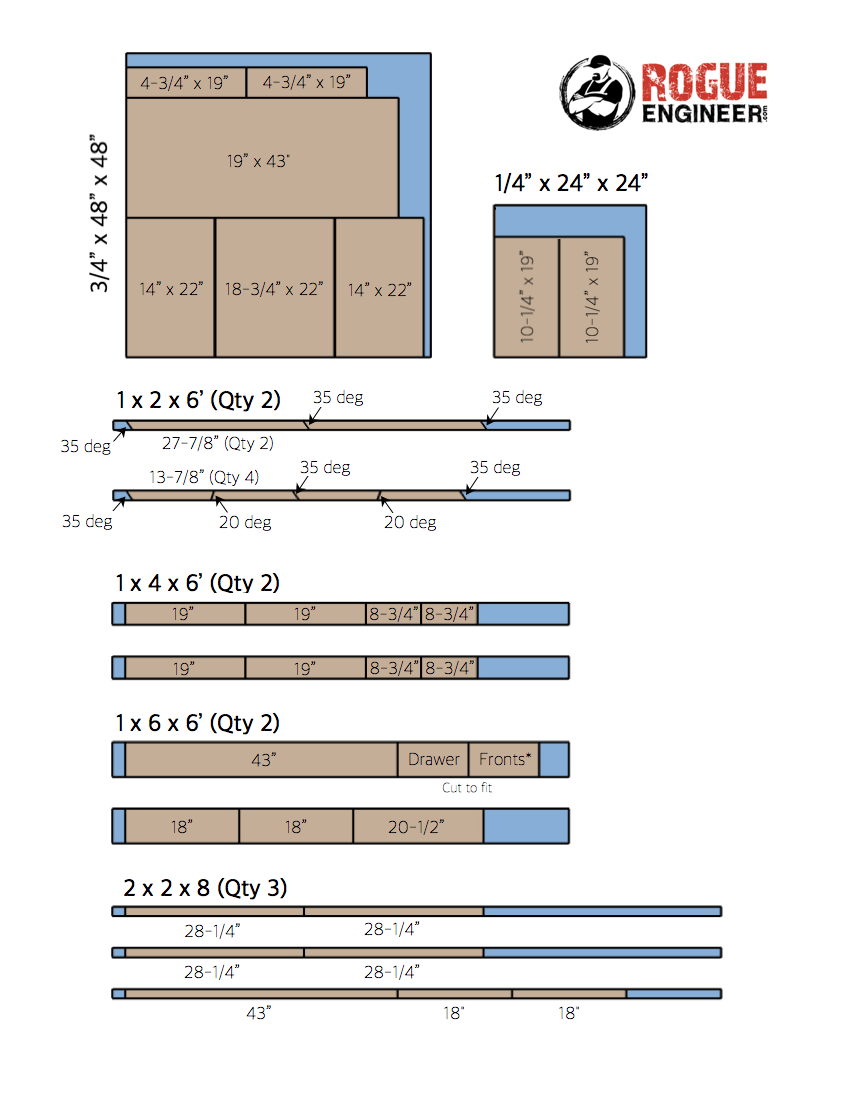
Cut List
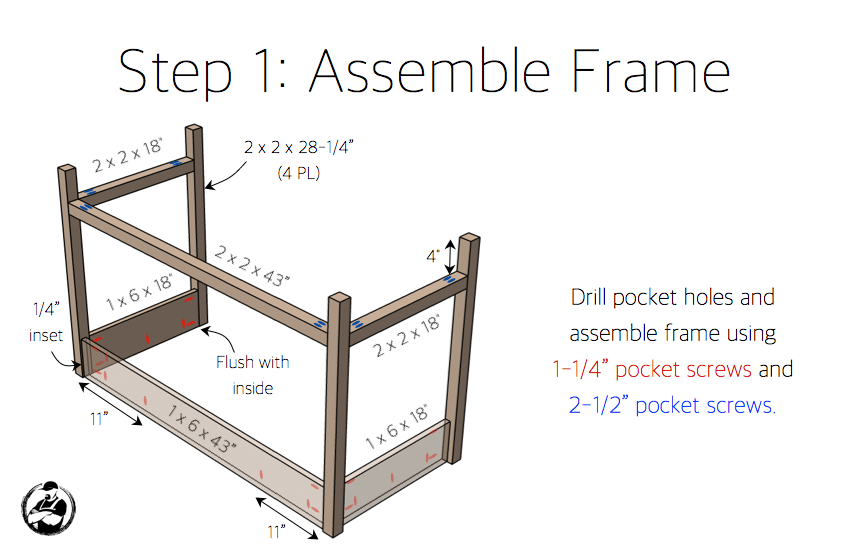
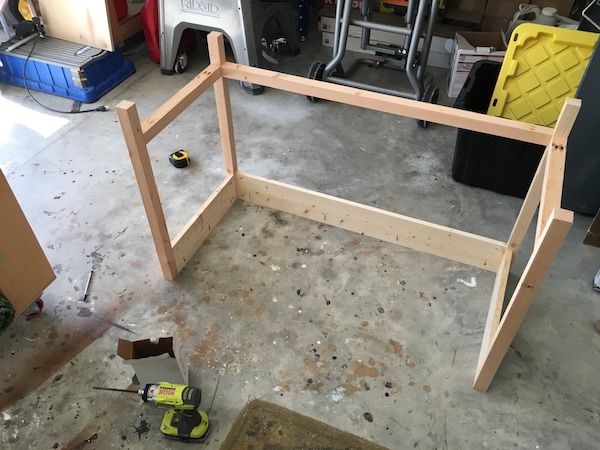
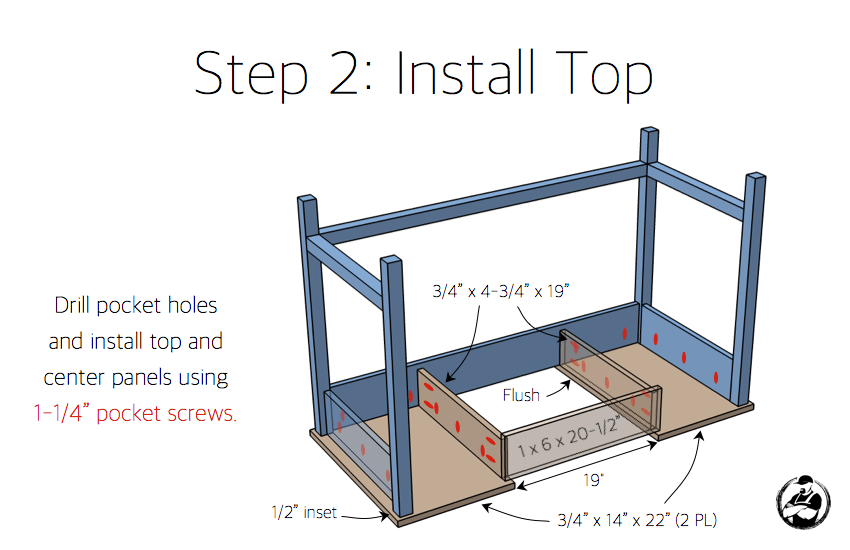
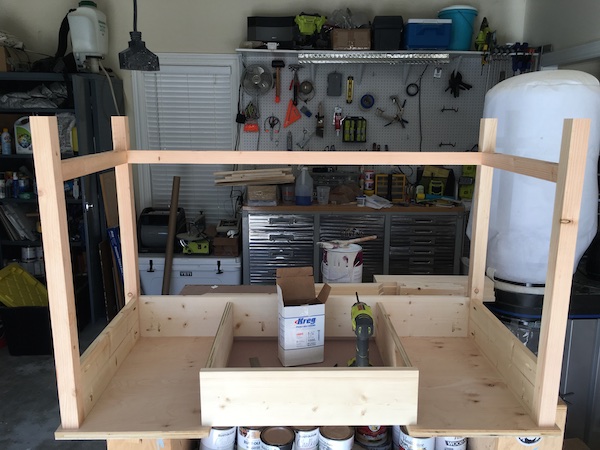
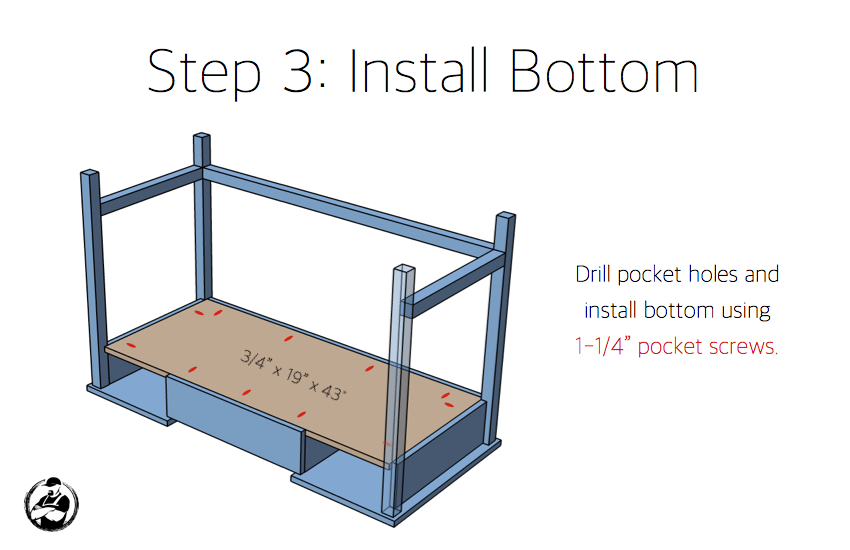
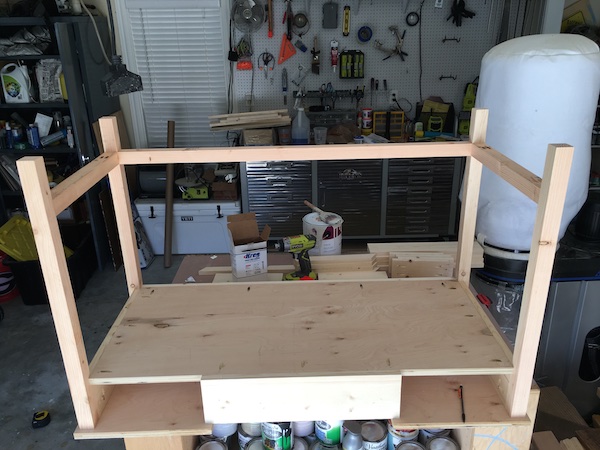
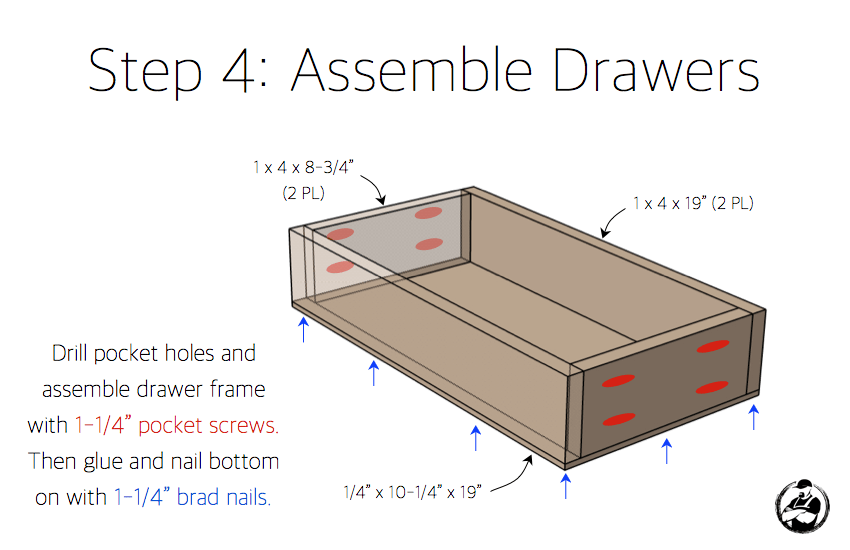
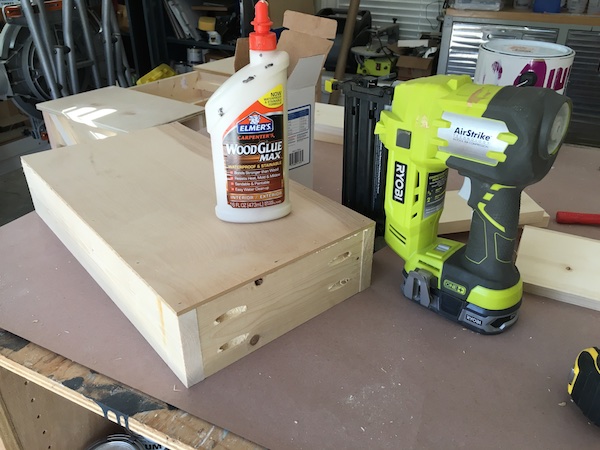
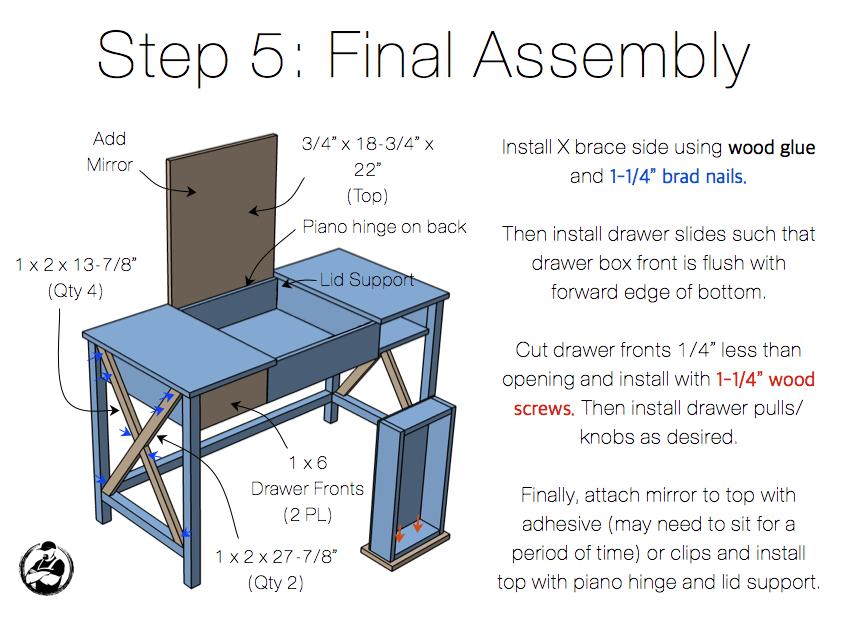
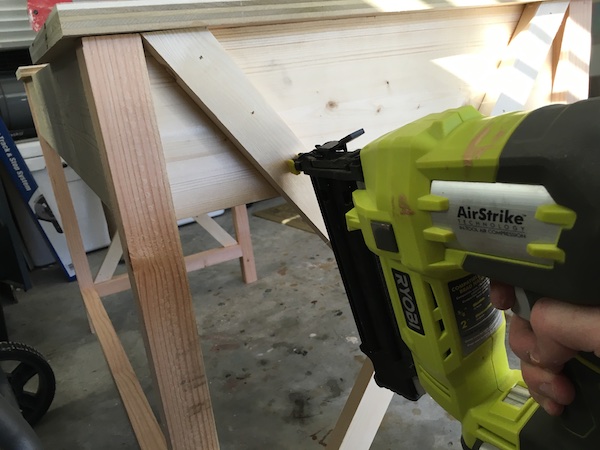
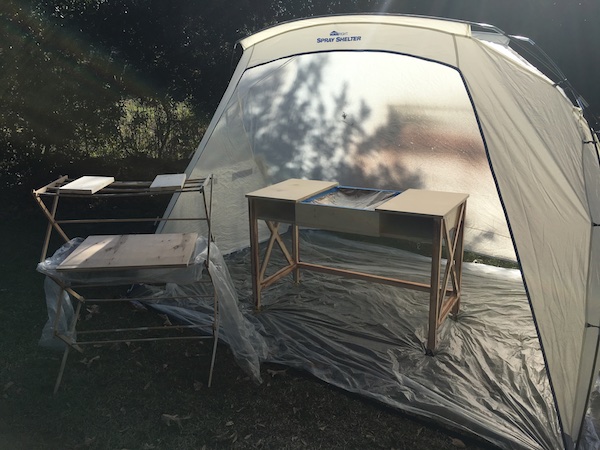
After nailing the X brace on, we stained the inside of the vanity with american walnut stain by Varathane and sprayed the rest with Aged Grey Chalked paint from Rustoleum using the Finish Max Pro and Spray Shelter from HomeRight.
Drawer slides are installed and drawers mounted.
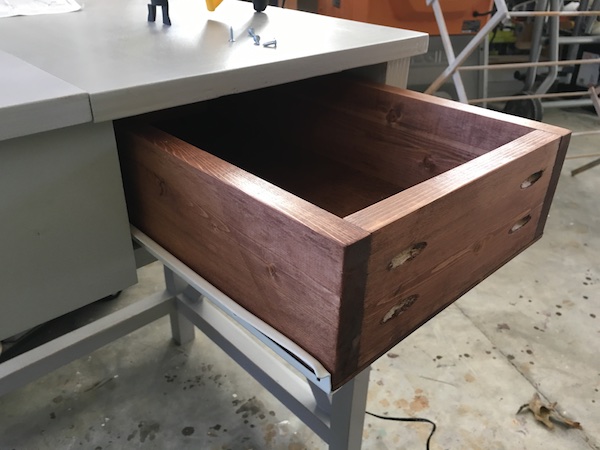
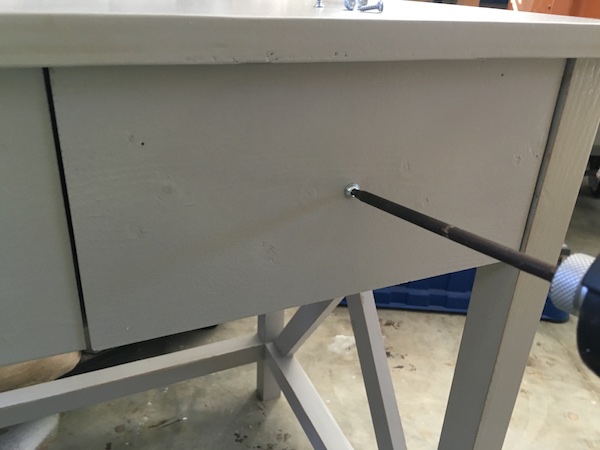
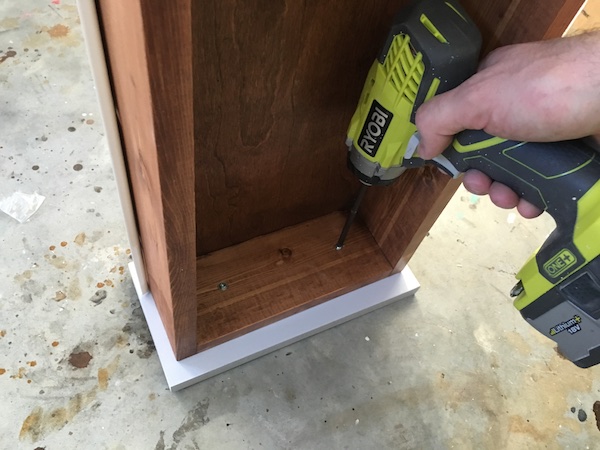
With the hole drilled for the knob I located the face evenly, and put a screw through the hole into the drawer. This keeps it in place so I can take it out and screw the front on from the inside. Another option is to use hot glue to stick it on temporarily. I’ve also nailed it on before but since mine was already painted I didn’t want to do that.
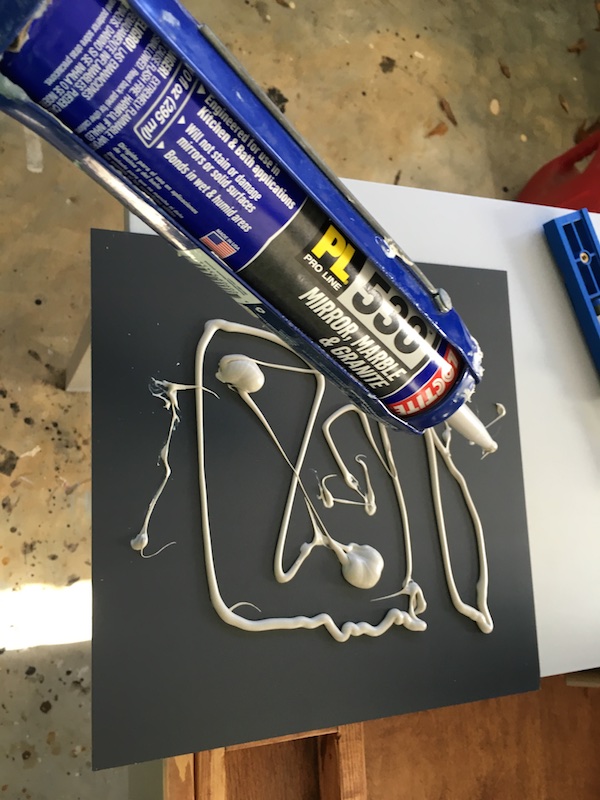
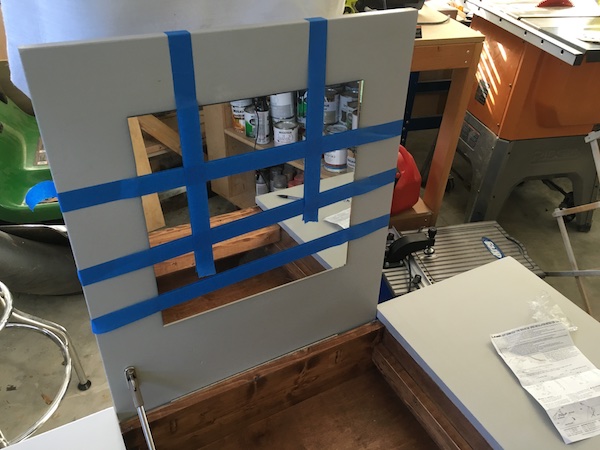
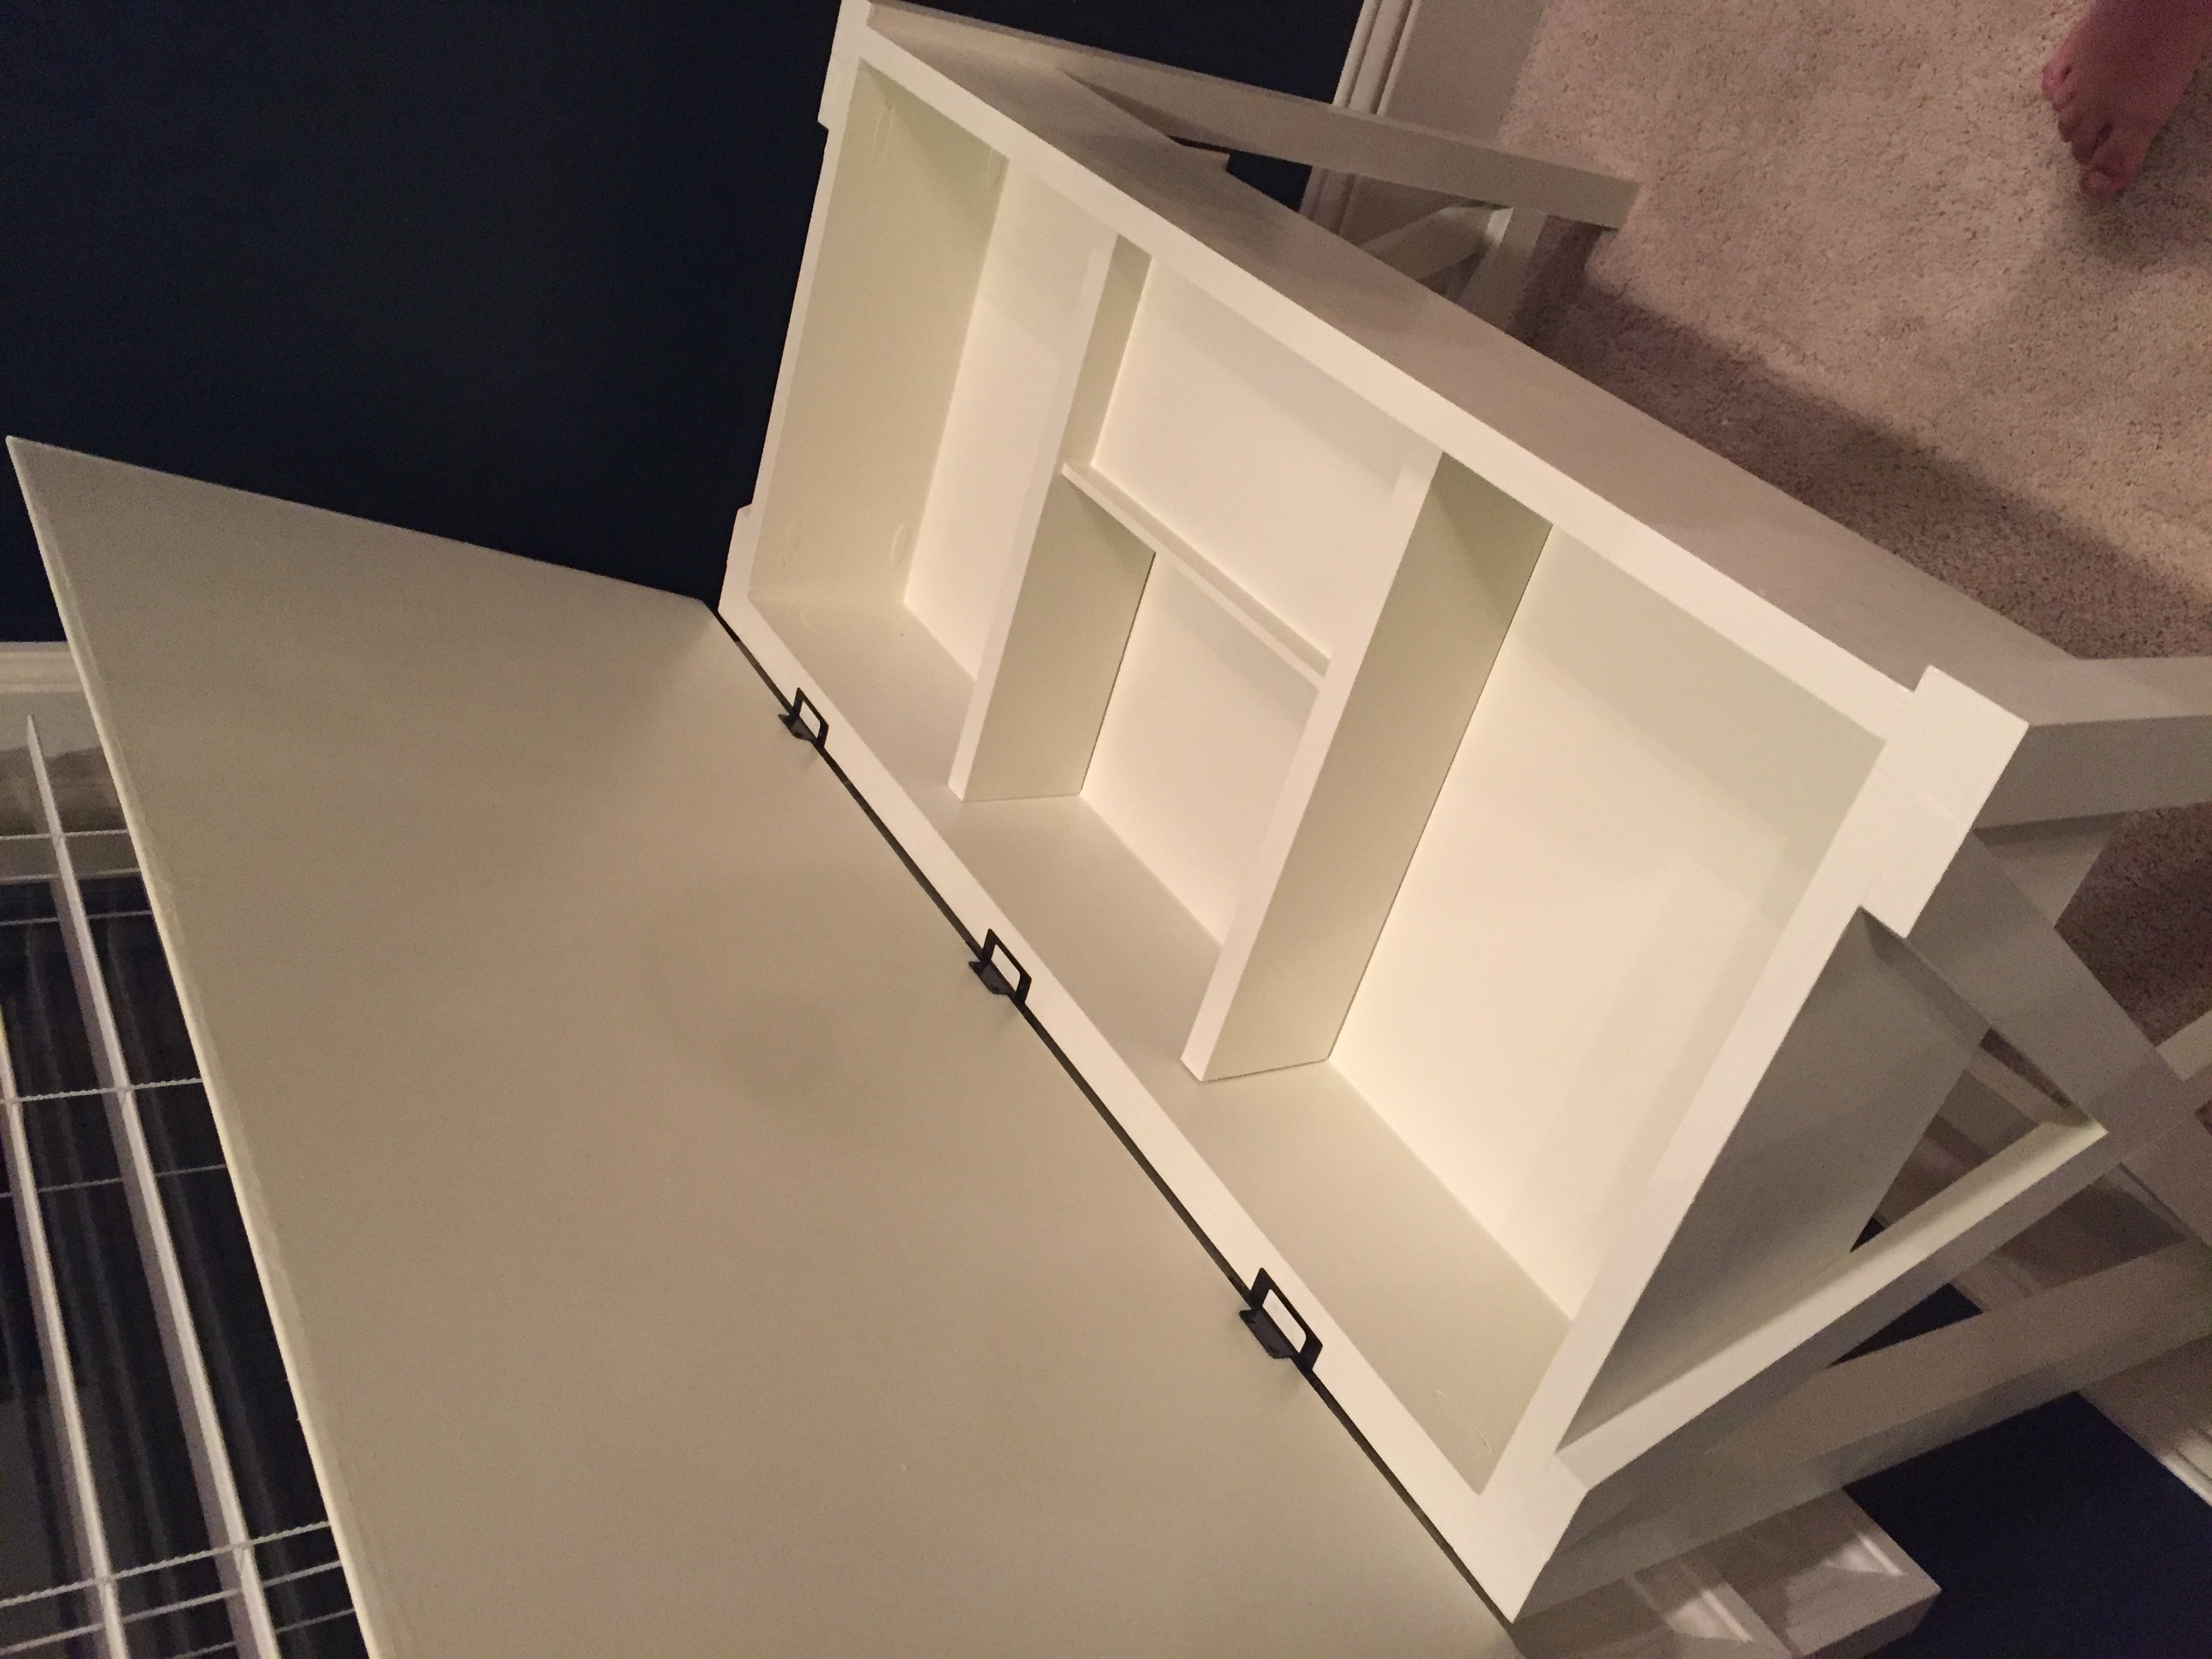
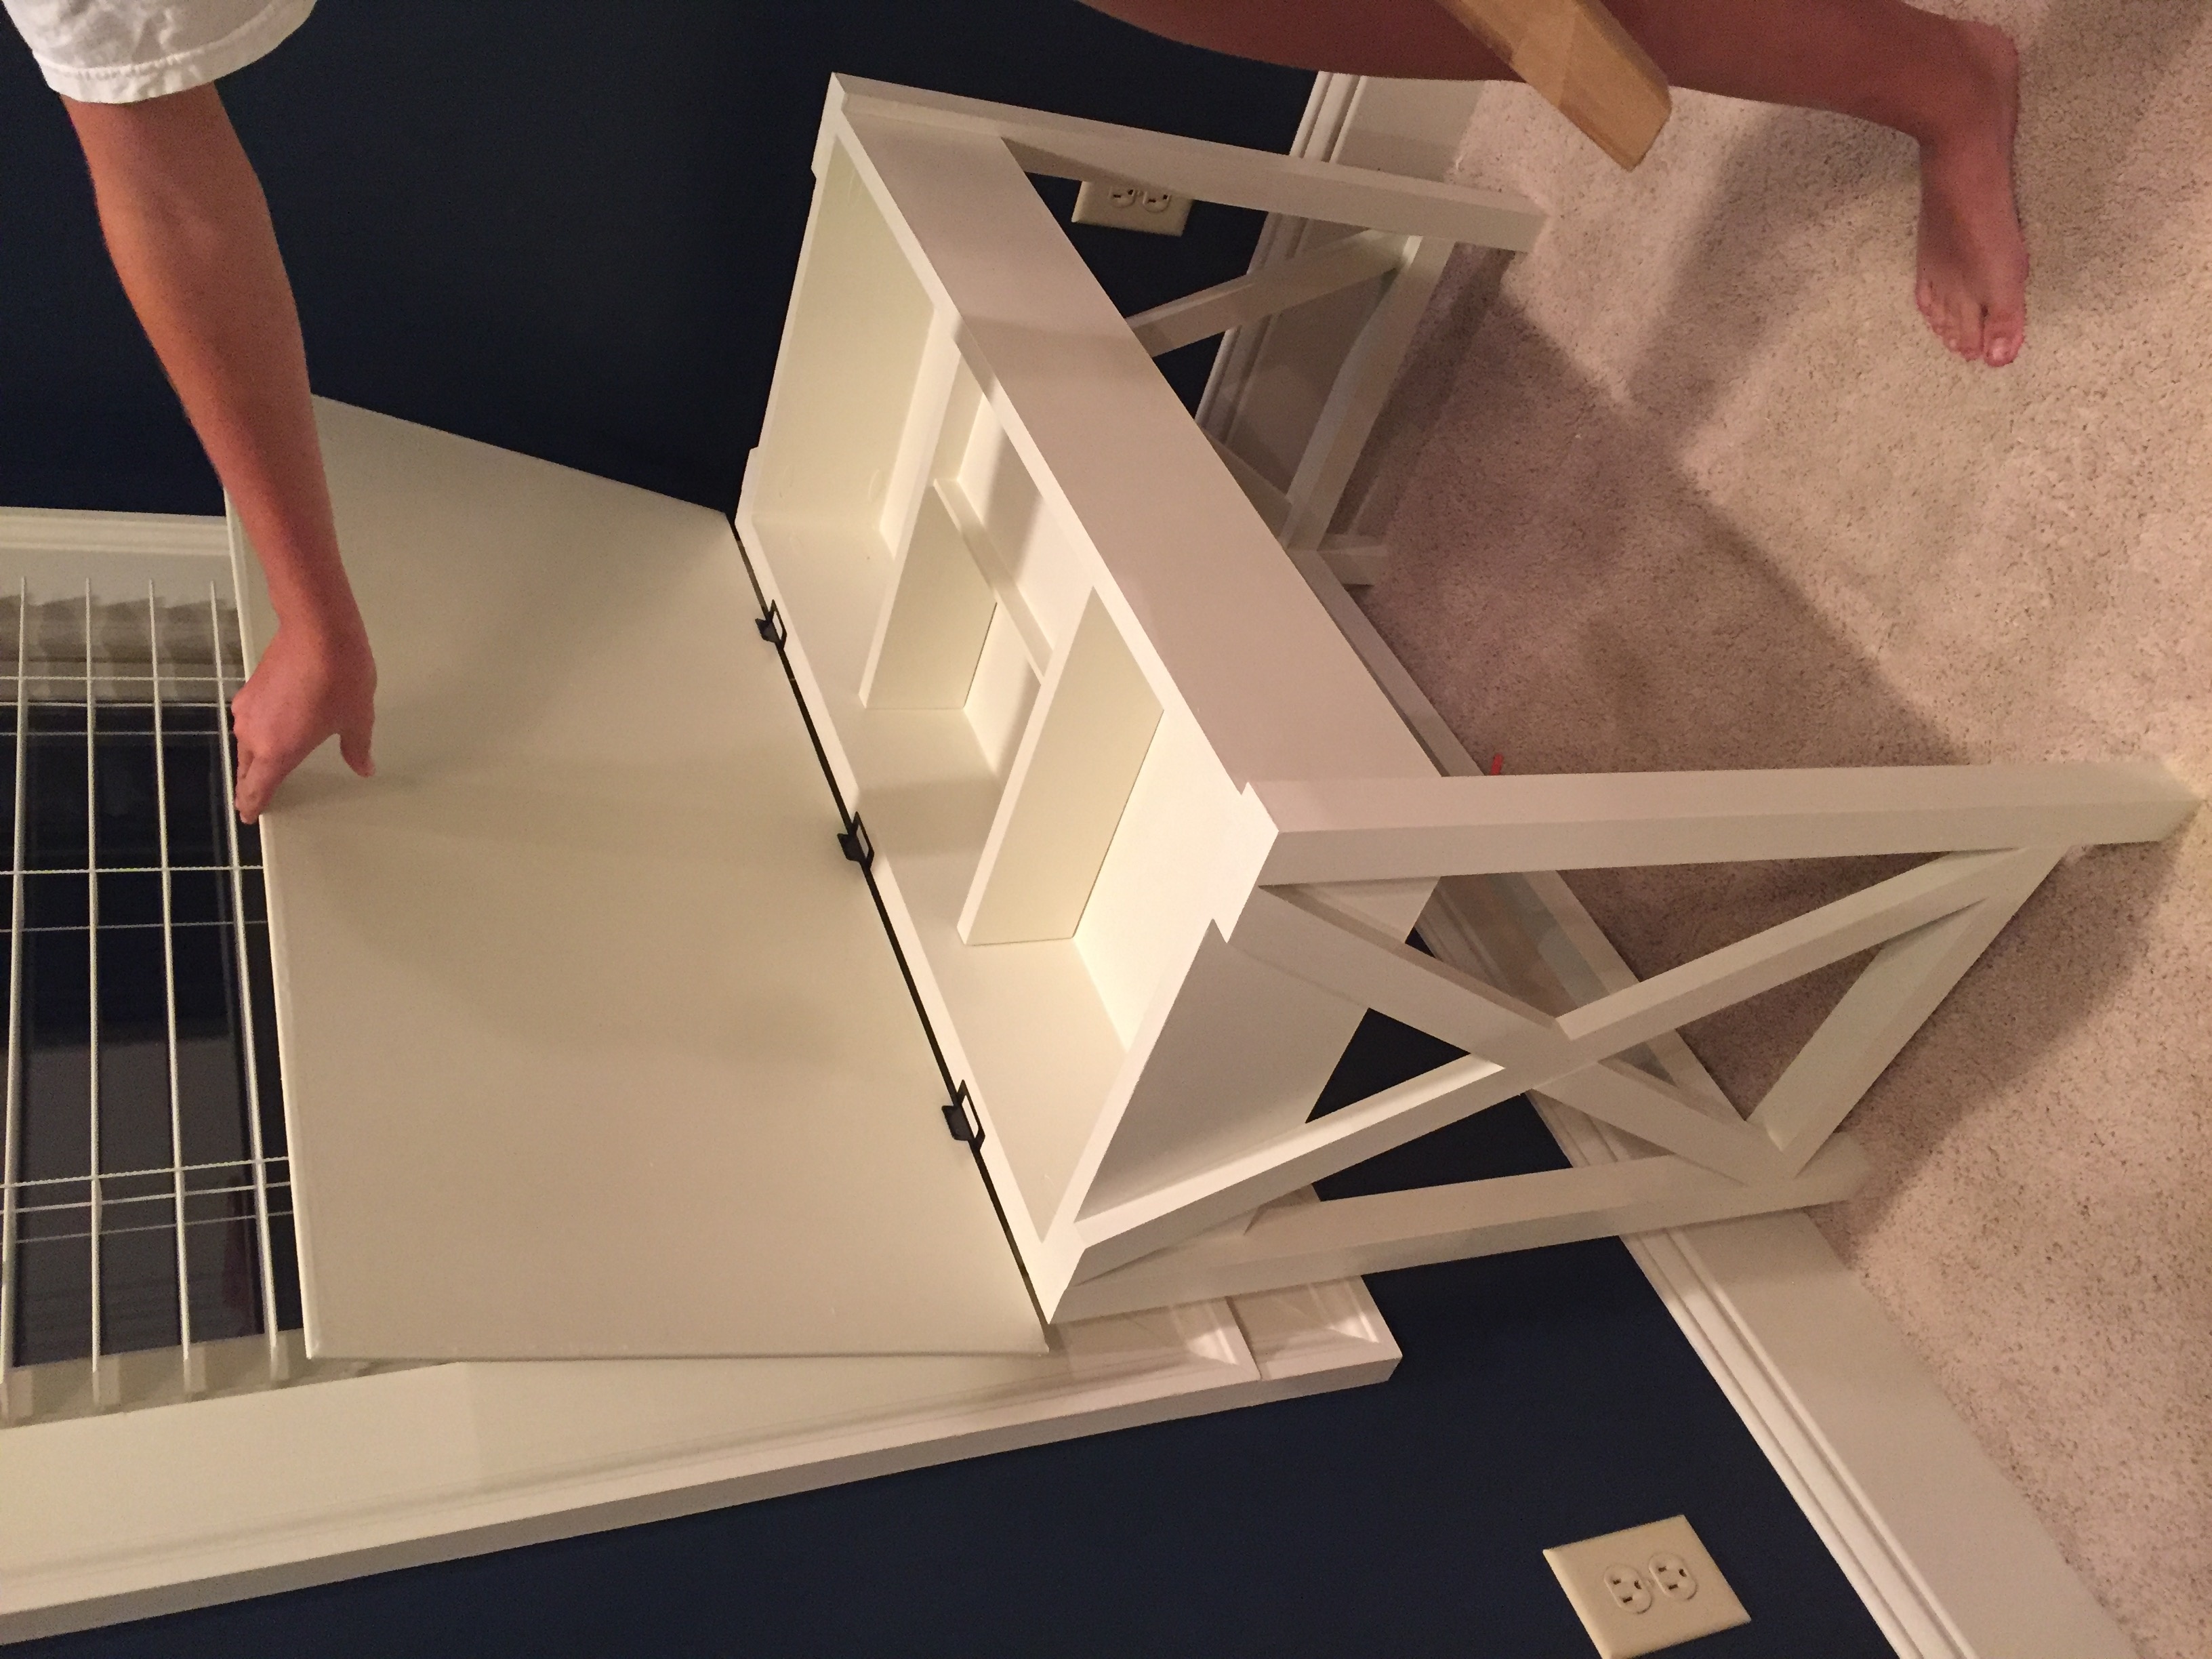
I don’t have a picture of the piano hinge but I installed it on the back of the vanity and bottom of the top. I probably should have glued the mirror before I attached the top but whatever. I did so with PL 530 Loctite.
I didn’t highlight the lid support that I used because it was more expensive and I really need one more on the other side. If I had to do it all over again I would use this lid support.
I will more than likely install some type of power strip or at the least a pass through as well as some hooks on the side for the hair dryer and straightener. Also, she says the mirror is big enough but if I find something that would cover the whole flip top then I’ll probably swap it out for her.
Hopefully you’ve enjoyed this project. I know my wife will. Happy Holidays.
Questions? Comments?
As always, if you have any questions don’t hesitate to comment below and especially don’t forget to post pictures of your finished products in the comments! ENJOY!
This vanity came beautiful. Really nice job
Thanks!
Nice!! My “projects to try” folder just got bigger. Thanks for this!
Haha, glad you like it!
I looked up the right and left supports that you didn’t use and one thing I saw said they don’t open to 90 degrees maybe 75 at best! which wouldn’t work if you want to see your face, right? Just wondering if you know if that is true, maybe you have used them before? Thanks!!
You are so right! I can’t believe I forgot that. I updated the post with some other supports that would work better.
You have a lucky wife, I’m envious! However I think I’ll attempt this build in the future for myself or granddaughter. Thanks for the plans.
Thanks Marlene!
What kind of wood did you use and what was the total cost of the build?
I used pine and I believe the cost was around $100. Which may be a bit higher if you need to purchase a full sheet of plywood or choose to go with nicer drawer slides.
Hi, just finished the vanity. Great plans. Thanks! Quick question: I bought the Stanley lid support that you suggested (not the one you used) and it seems like the vanity is too shallow for the length of the support? It gets 3/4 closed and then the lowest point hits the bottom. Any advice?
Its hard to say what the problem would be, could you attach a picture?
Sure! Will attach this evening, thanks.
I just built the vanity and my girlfriend loves it, the lid support listed on your page doesn’t work because it has to be at least 6.5 inches deep, other than that thanks for the plans
wonder if a solution was found I have the same issue.
Hello Mr. Jamison Rantz, I came across your page while searching for DIY fliptop vanity. This came out beautifully. I want to do this with an old desk I already have with a center drawer. However it has a solid top. What I want to do is cut the portion out over the center drawer and start from their. Do you think it will work if I just cut out the top part over the center drawer and do what you did for the Flip top and mirror?
Hello
Thanks for the plan 😉
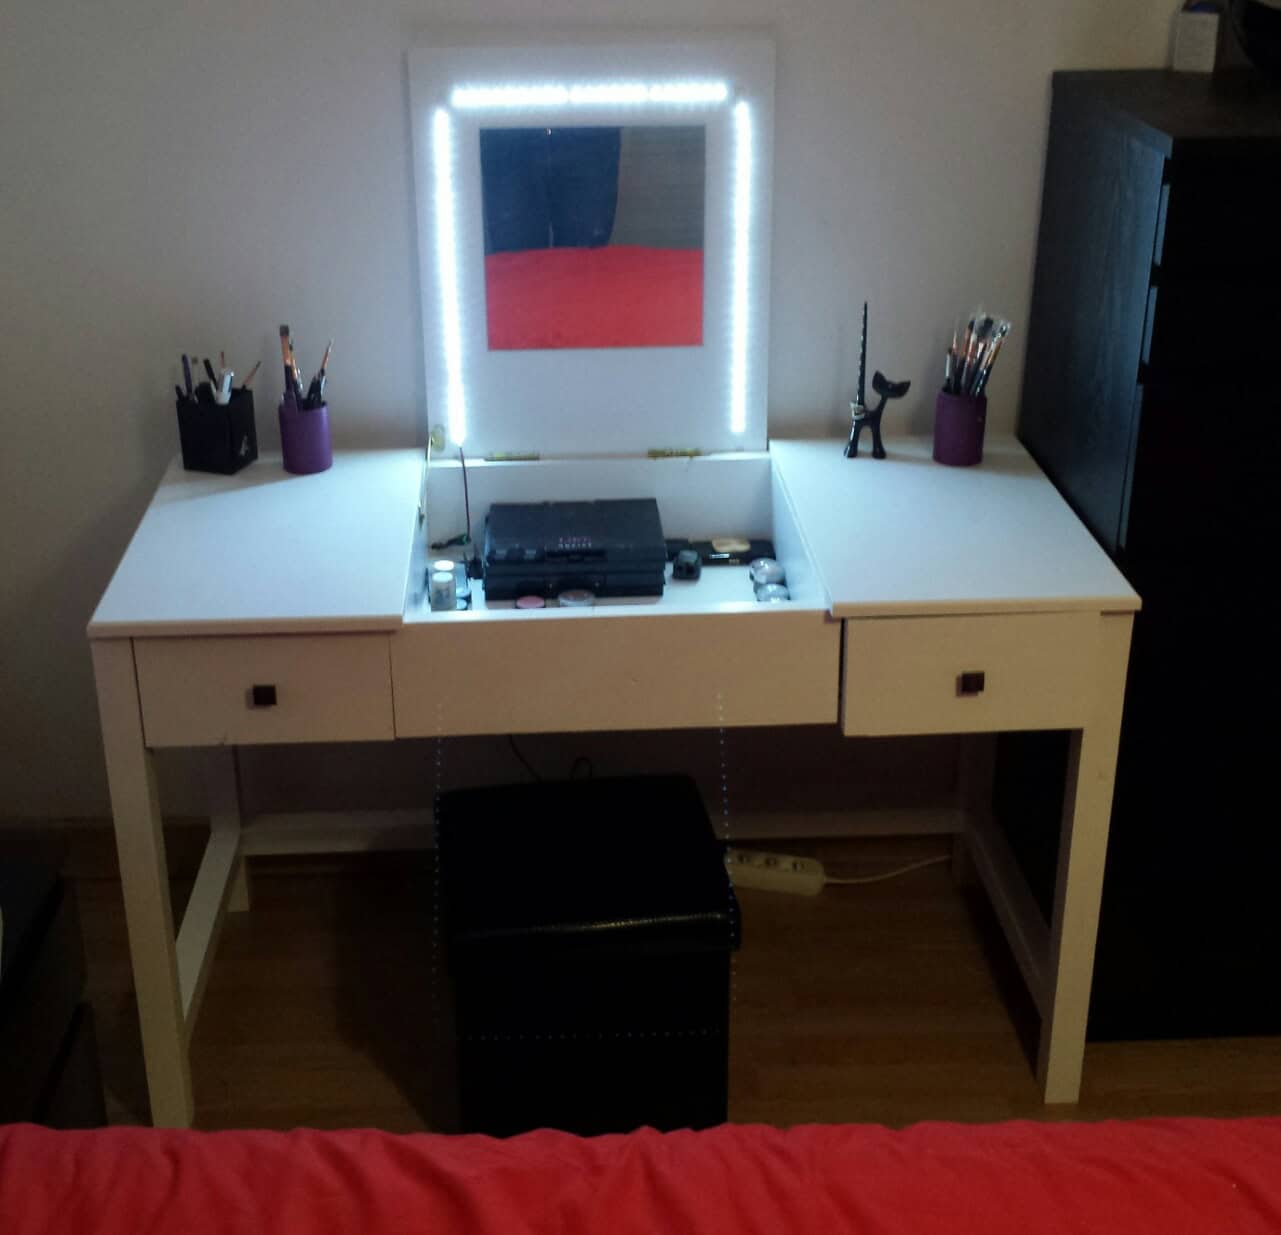
My wife love the vanity
I have made some change (no X on the leg and add some LED around the mirror.
I’m looking for a new project now 🙂
Vincent
Hi, so I’m new the DIY woodworking. I have a really stupid question that probably has an obvious answer but I’m going to ask anyway… So the bottom of the vanity is 4″ shorter in length to account for the 2×2’s at each end, yet the width is only 3″ shorter than the top and yet there are 2 2×2’s at each end there also. Shouldn’t the width be 4″ shorter on the underside also? Math is not my forte but even if the top lines up flush with the back my top piece seem like it will be an 1″ too short. I guess I should have prefaced this by saying I am trying to make a smaller version of your plans and am trying to adjust the measurements and that is probably why I am stymied. The final size I’m trying to create is 18×40 x 29, I could even make it 20×40 but I thought that it might look a little too square and the division of the top might look odd so that is why I reduced it to 18. Any advice you have would be greatly appreciated. Thank you
I think the answer to your question lies in the fact that the front and back panels are not flush with the insides of the 2x2s like the side panels. There is an extra 1/2″ on the back and front.
Thank you
I finished the vanity for my daughter. I did add a mirror after the picture was taken and I modified the plans to make it a little smaller. I made the whole top flip up instead of having drawers. I used 1/2 inch plywood instead of 3/4 inch to save on the weight of the lid. Thank you so much for the plans and inspiration!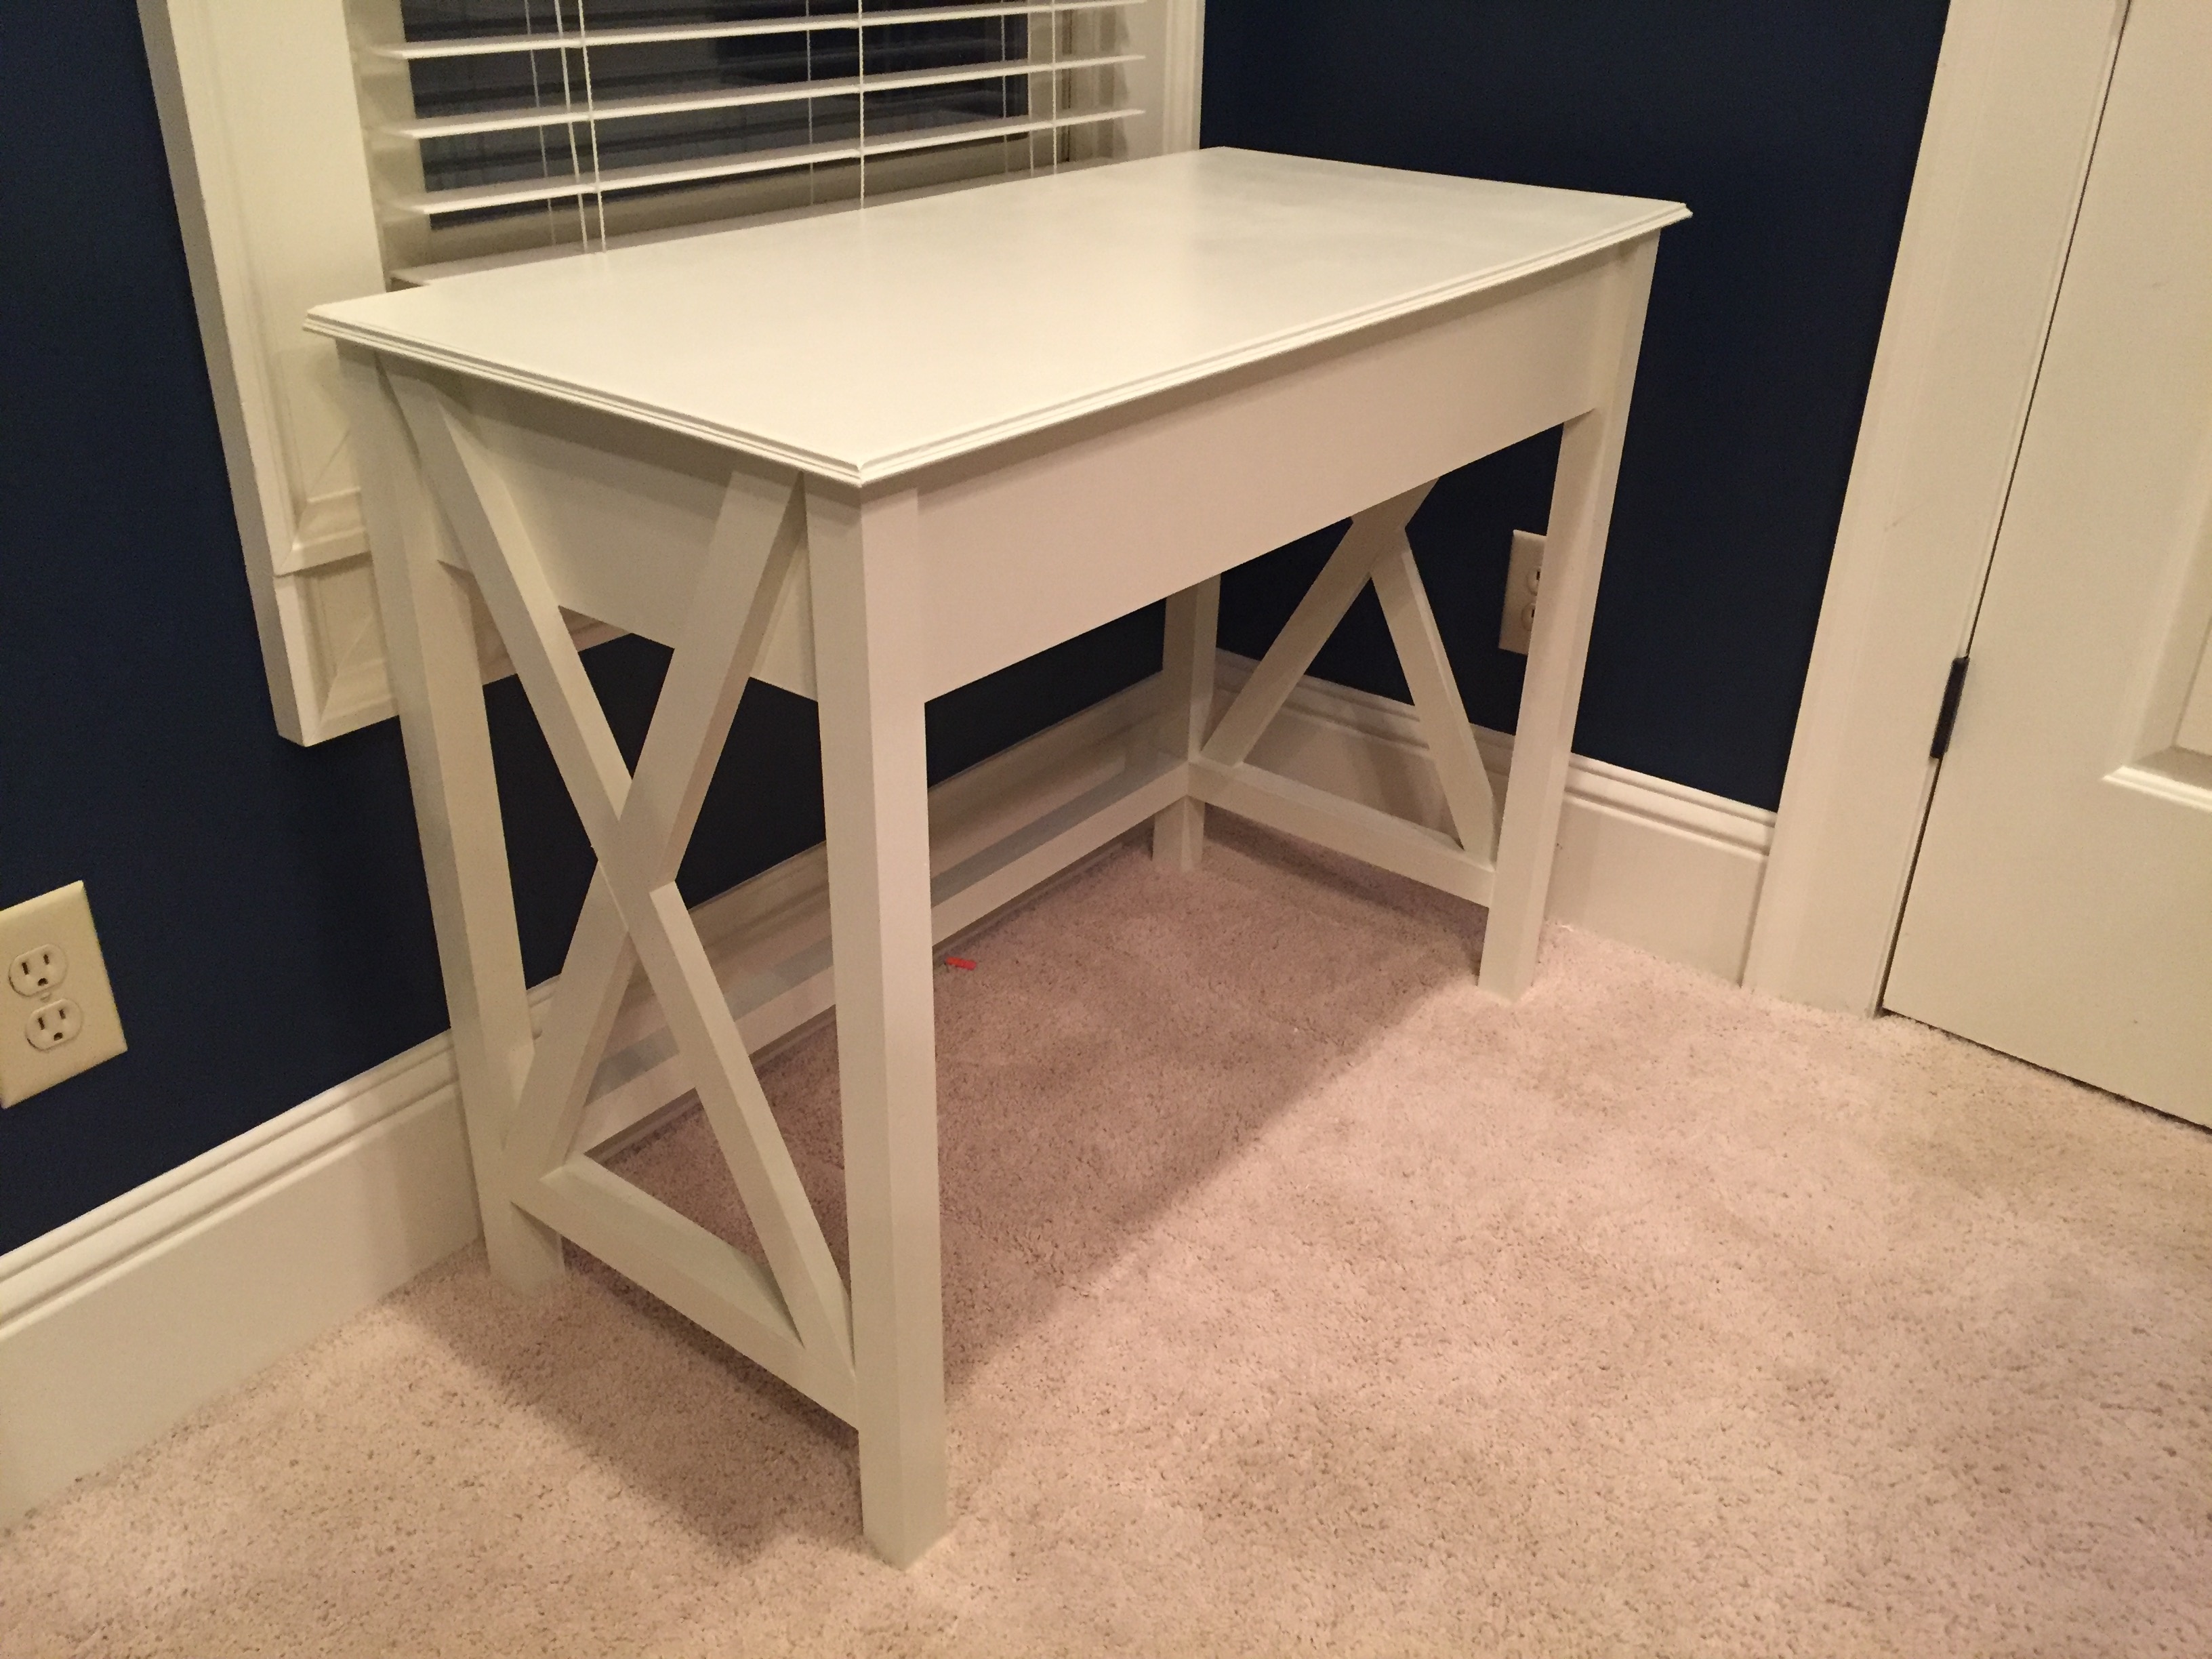
HelloThanks for the plan ;)My wife love the vanityhttps://uploads.disquscdn.c…I have made some change (no X on the leg and add some LED around the mirror.I’m looking for a new project now :)Vincent
This is just what I am looking for. Wanting to build this for my wife for Christmas. I especially love the Scripture on the wall!