

DIY Garden Bench
Quick build: You can build this five-foot outdoor garden bench from nine 1x4x8 boards — about $45 in lumber from any big-box store. Every cut is a straight or simple angle cut (no fancy joinery), it goes together with pocket screws and glue, and a confident beginner can finish it in a weekend. The full step-by-step is below, and the ad-free printable garden bench plans (imperial + metric) put the cut list and diagrams in one printable PDF. Documented by Jamison Rantz.
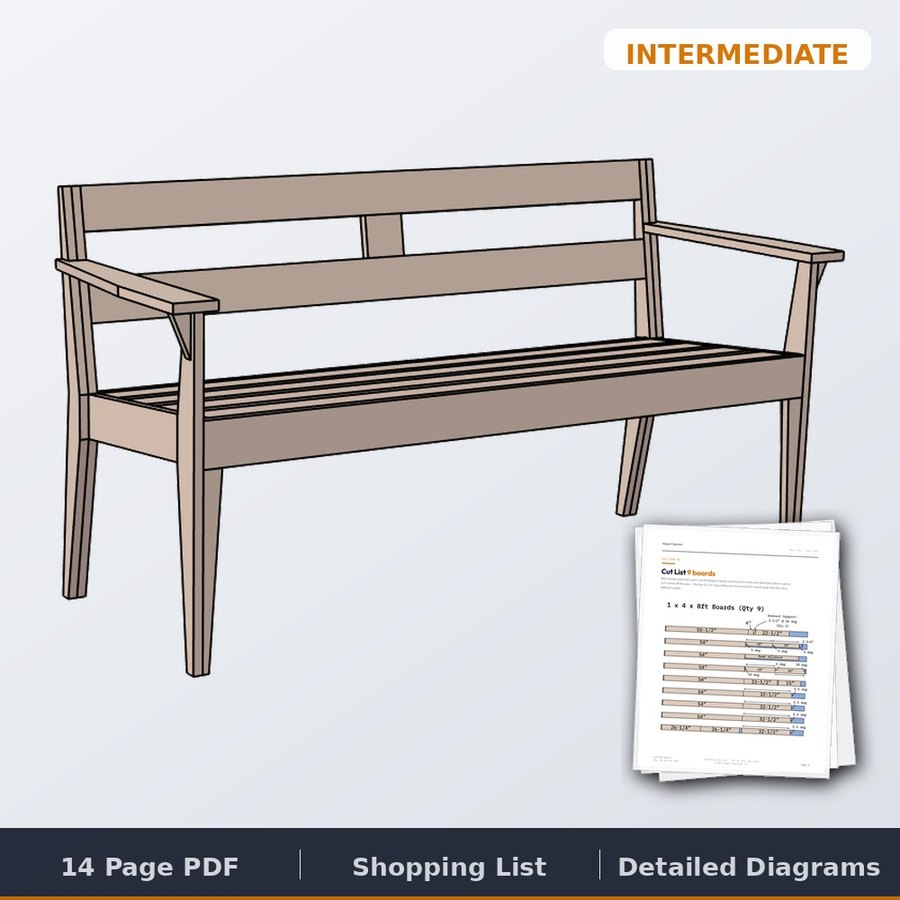
Garden Bench Plans — $10
Everything below in one ad-free, print-ready PDF: cut list, dimensions, step-by-step diagrams, and shopping list. Imperial and metric.
Get the Plan →I wanted a proper garden bench — the kind with an angled back and real armrests that you’d actually sit and stay a while on — without paying garden-catalog money for it. So I figured out how to build one out of the cheapest lumber the store sells: the humble 1×4.
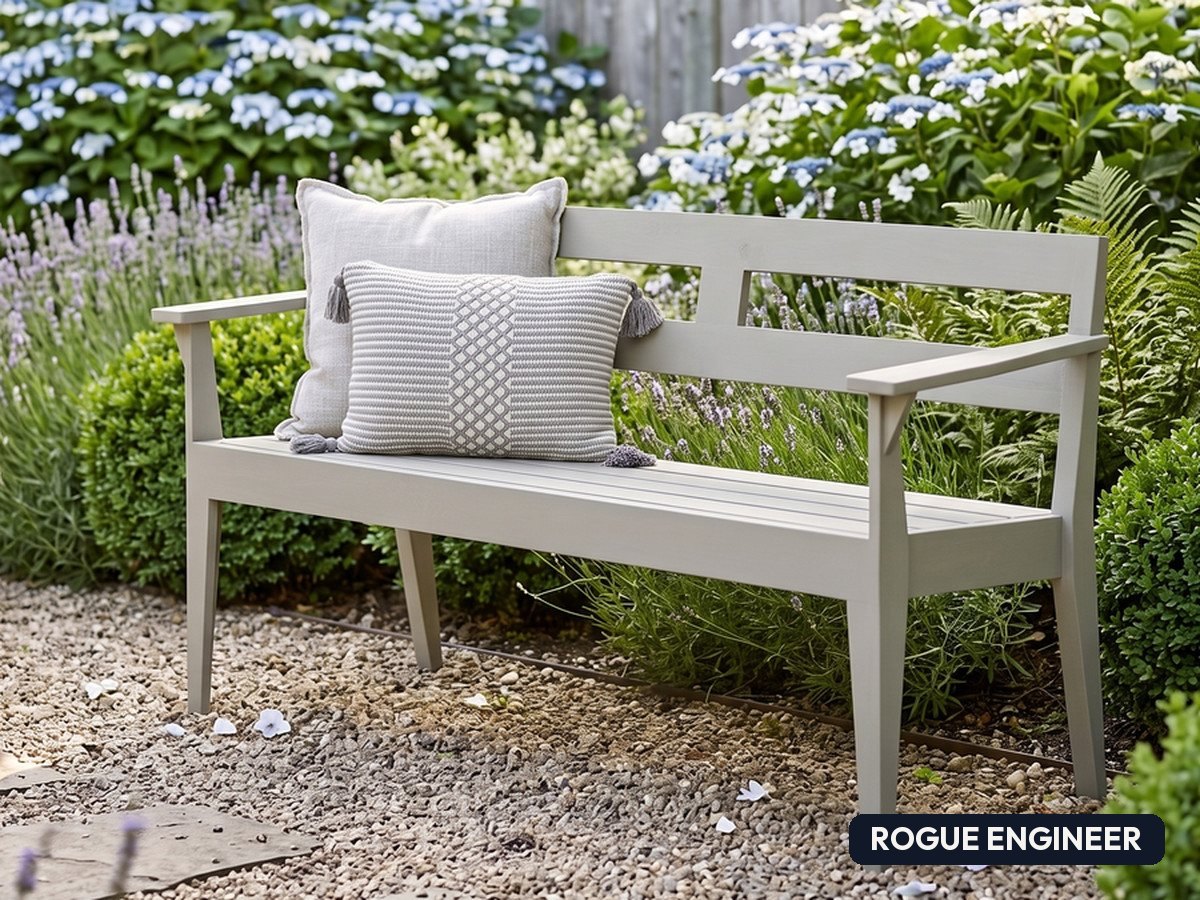
Nine 1x4x8 boards. About $45. That’s the whole material list — no hardwood, no expensive hardware, no complicated joinery. Just straight cuts, a couple of repeatable angles, pocket screws, and glue. The result looks like something off a patio-store floor, but you built it yourself in a weekend for less than the cost of dinner out.
Why build it instead of buy it
A five-foot wood garden bench with a back and arms is not a cheap thing to buy. Comparable benches from outdoor-furniture retailers land anywhere from about $300 to $500-plus (poly-lumber models, the wood benches at the big retailers, and boutique teak all sit in or above that band). Here’s how the numbers stack up against building it yourself.
Tools & materials
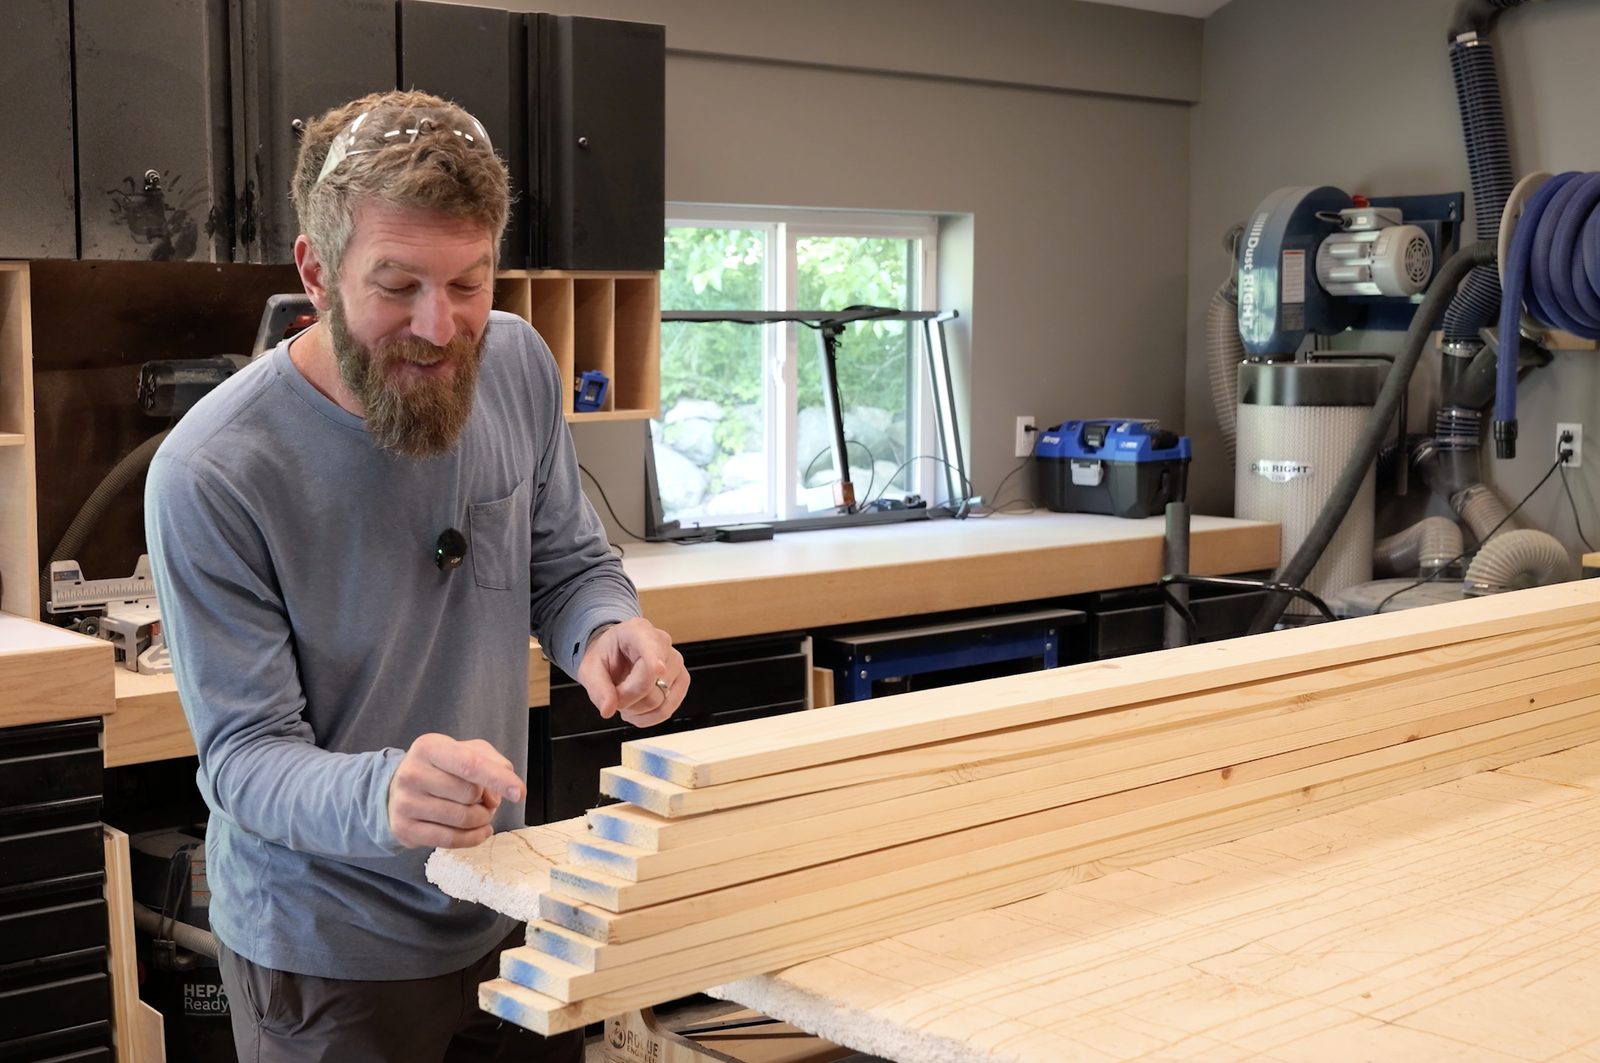
Garden Bench Plans — $10
Save the back-and-forth. The printable plan has every cut, dimension, and diagram on one document — imperial and metric — so you’re not scrolling on a sawdusty phone.
Get the Plan →How to build the garden bench
Make your cuts
Start by cutting all nine 1x4s to length per the cut list. Most of the pieces are straight cuts; the legs and armrests have a couple of simple repeated angles. Trim the ends clean as you go — those crisp square ends are a big part of why the finished bench reads “bought,” not “built.”
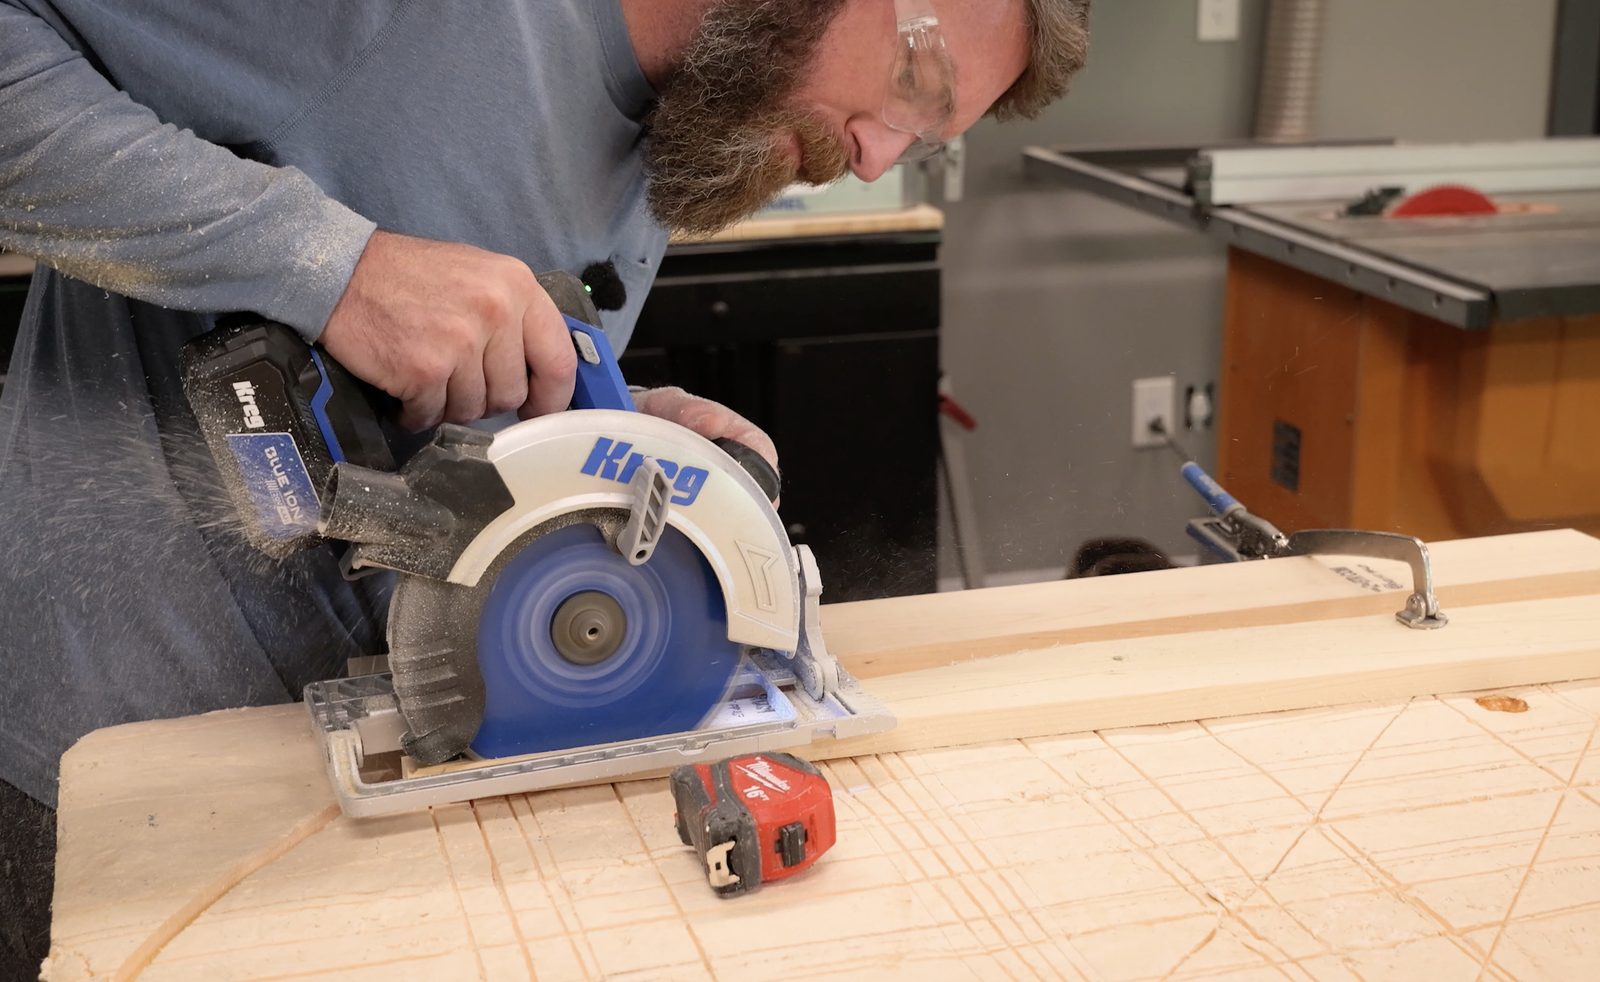
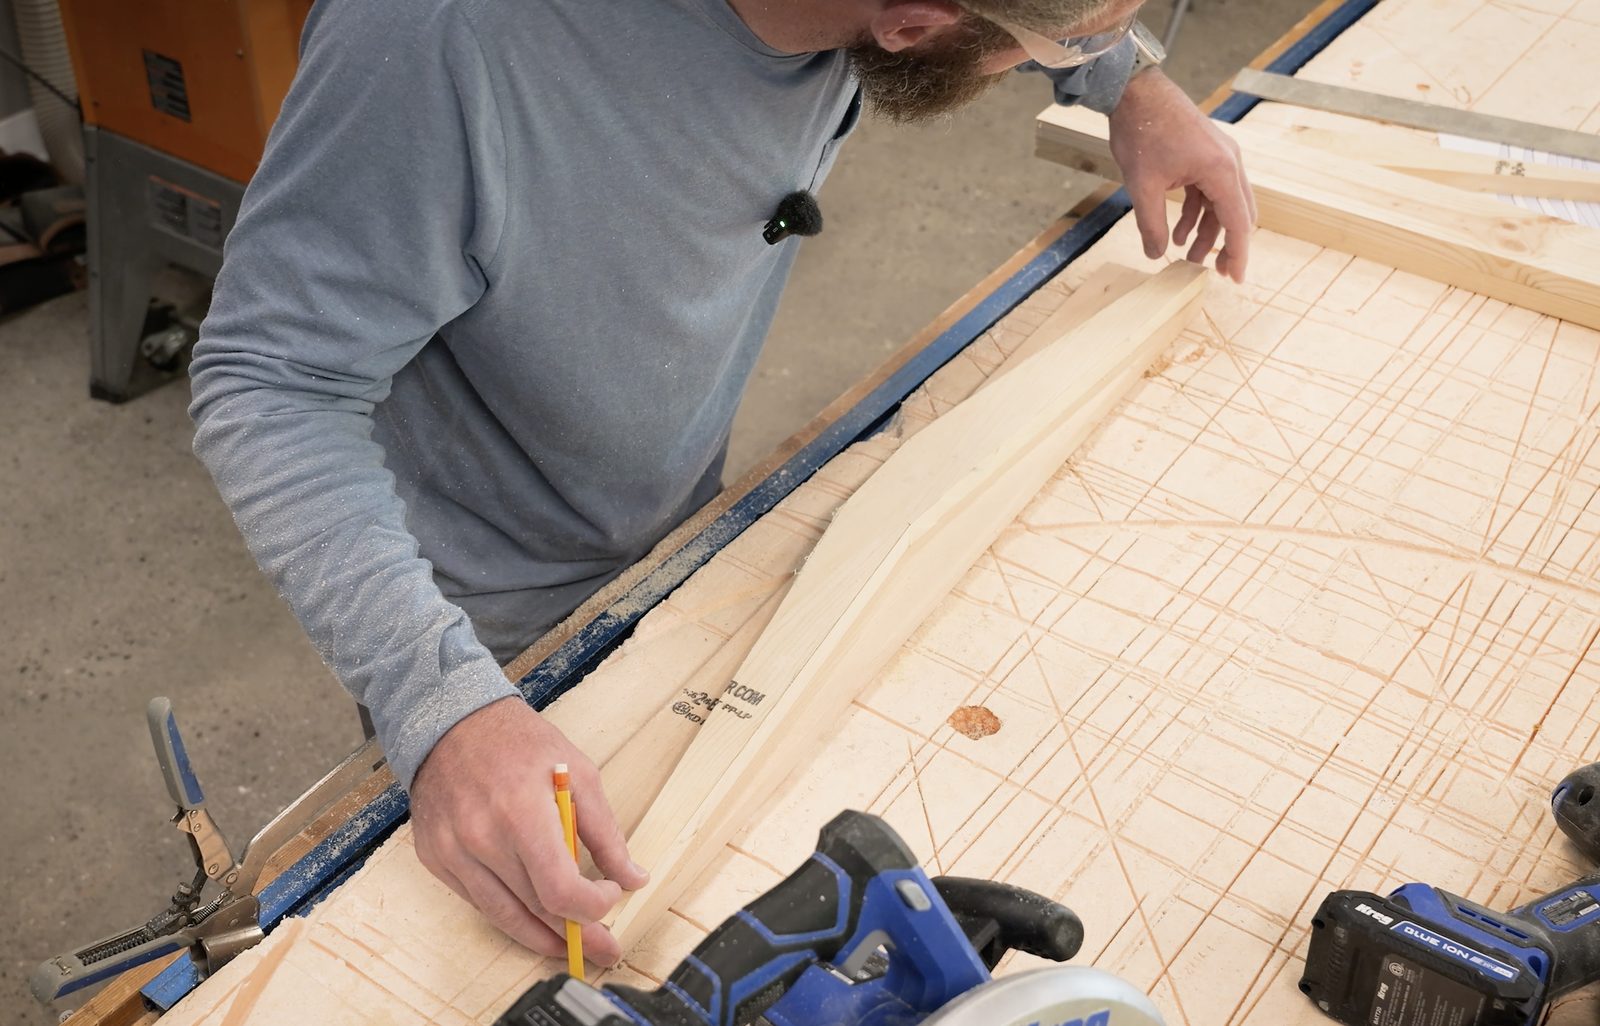
A foam sacrificial board under your workpiece and a straightedge on the circular saw make these cuts fast and dead straight.
Build the back legs
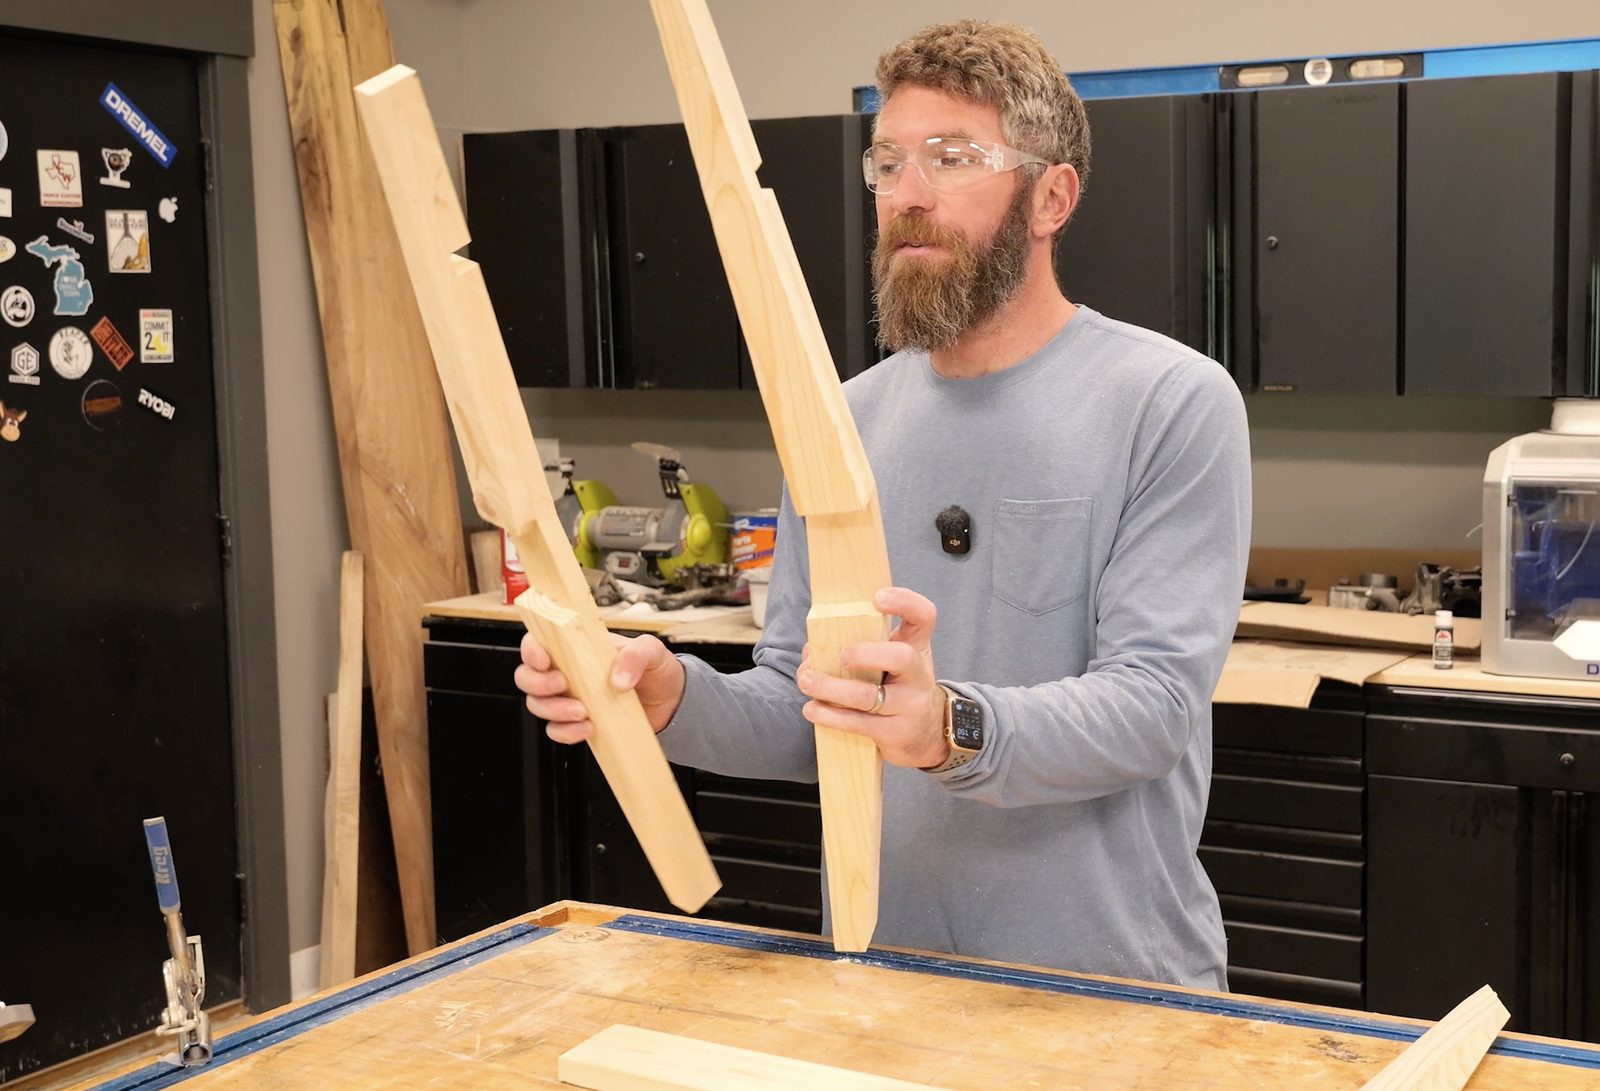
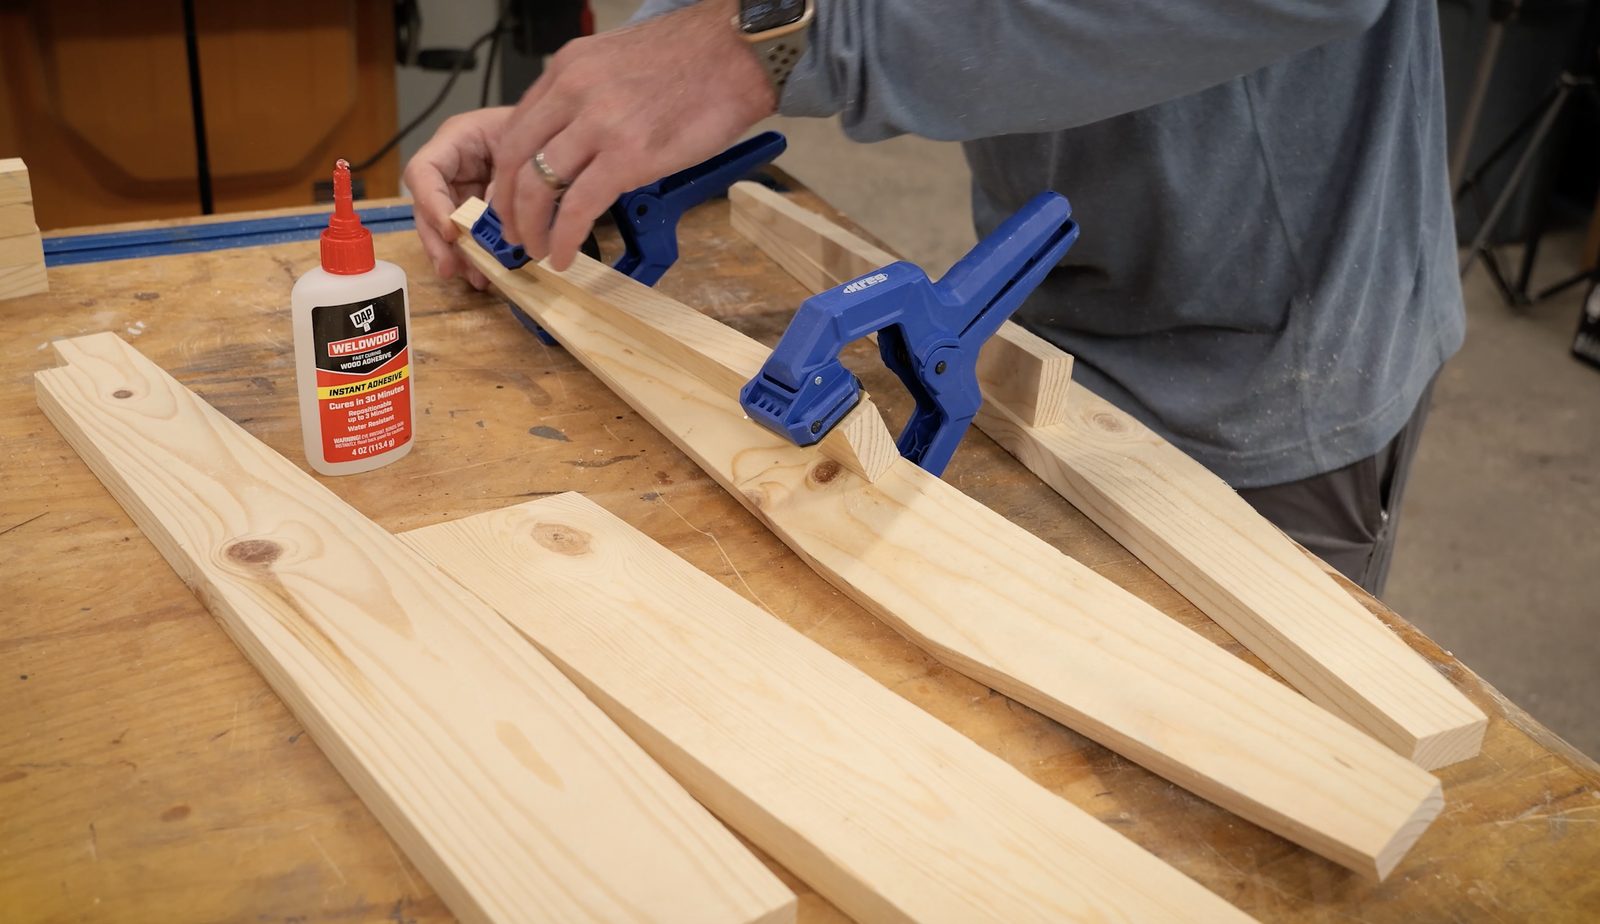
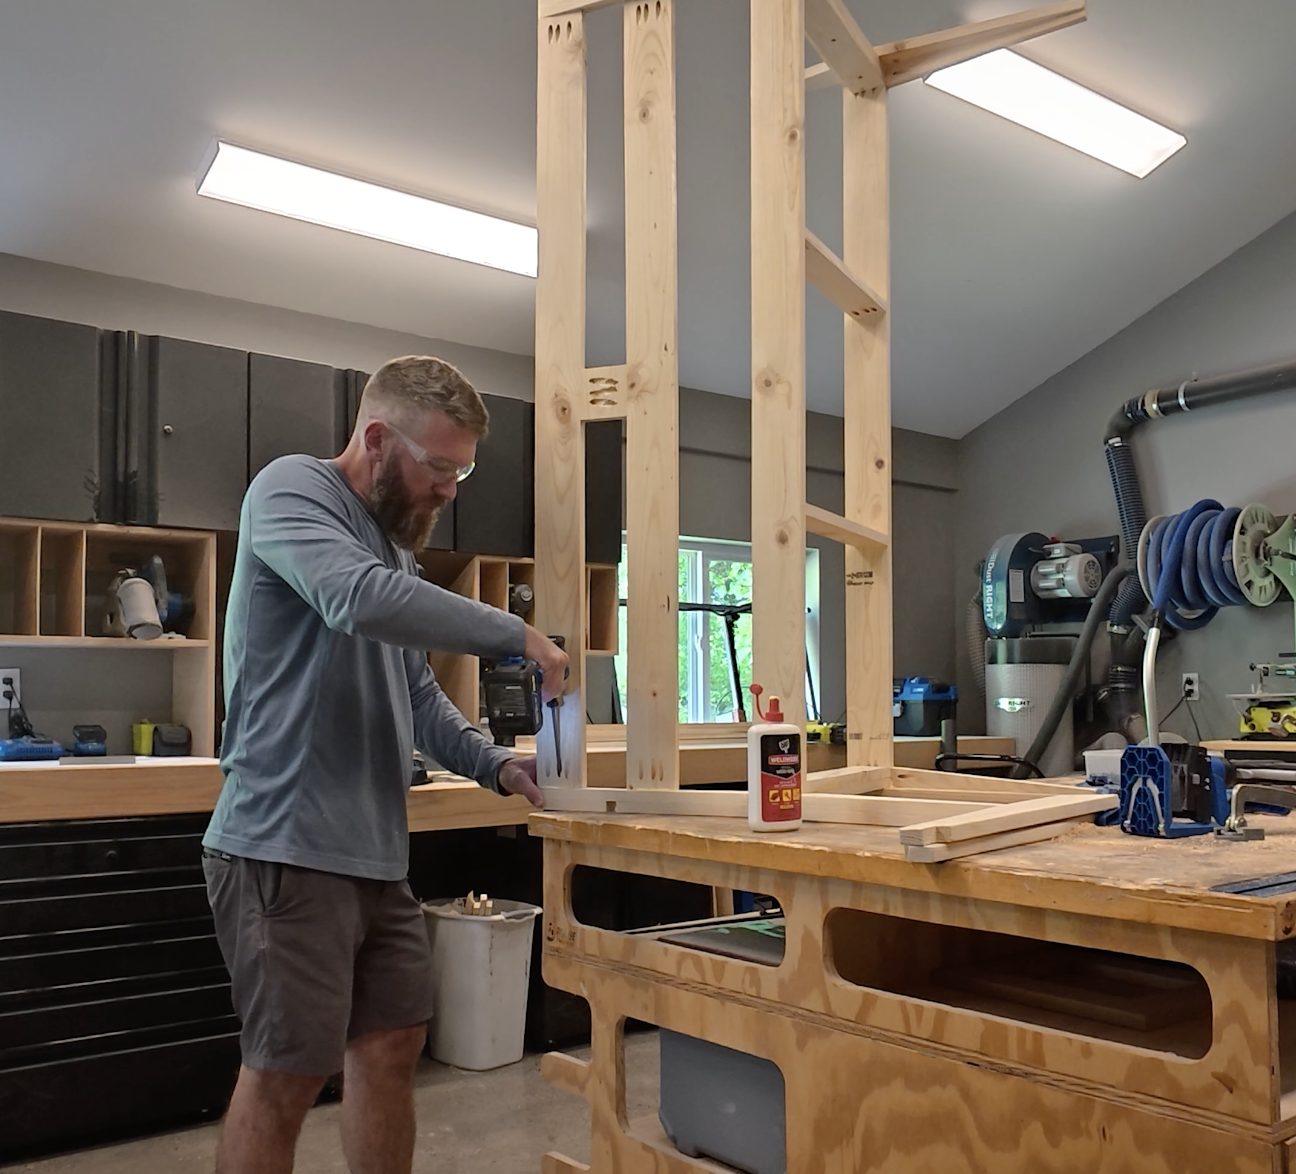
The angled back legs do the heavy lifting on this bench, so they’re worth getting right. Make a simple profile template first, then use it to cut four matching back-leg profiles with the circular saw and finish the inside corners with the jigsaw. Split two profiles into the inner back legs and two into the outer legs, then glue the mirrored halves together so you end up with a left and a right that lean at the same comfortable angle.
Use a spacer to set the gap consistently while the glue sets — DAP Weldwood grabs quickly, so you’re not standing around clamping for an hour.
Build the front legs and armrests
Cut the outer and inner front legs, adding the thin decorative “slivers” that give the leg its finished, layered look. Cut the two armrests with their angle and the small notch that lets them seat cleanly into the back leg. Assemble each front-leg unit so it’s ready to marry up with the seat frame.
Assemble the seat frame
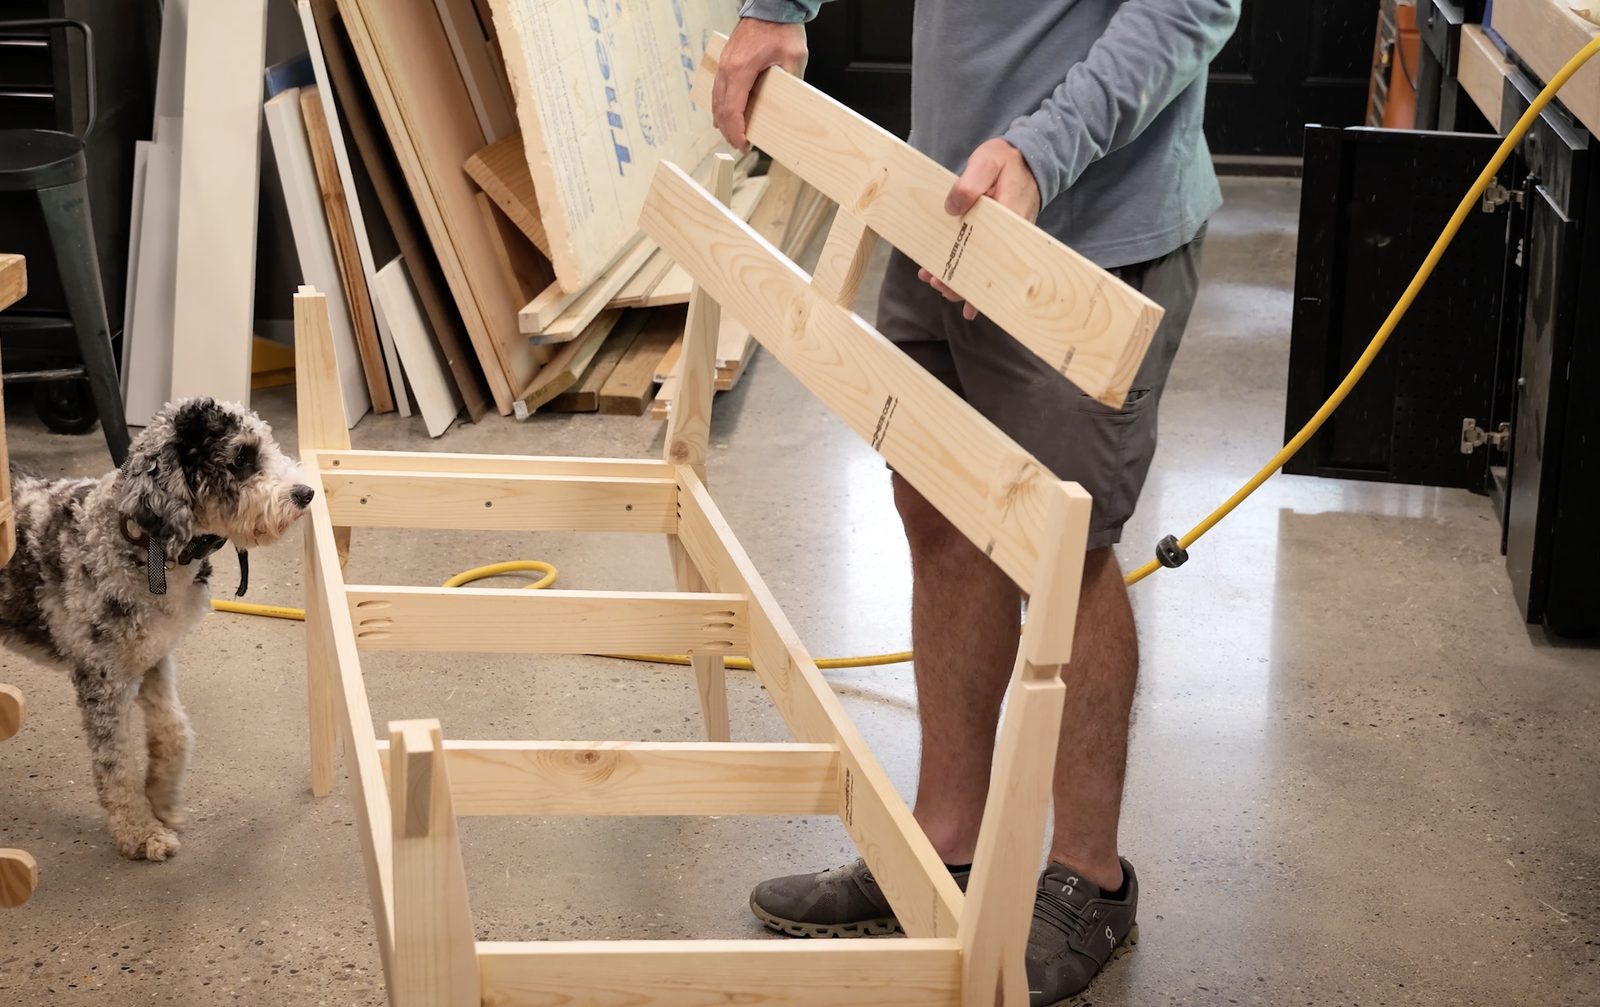
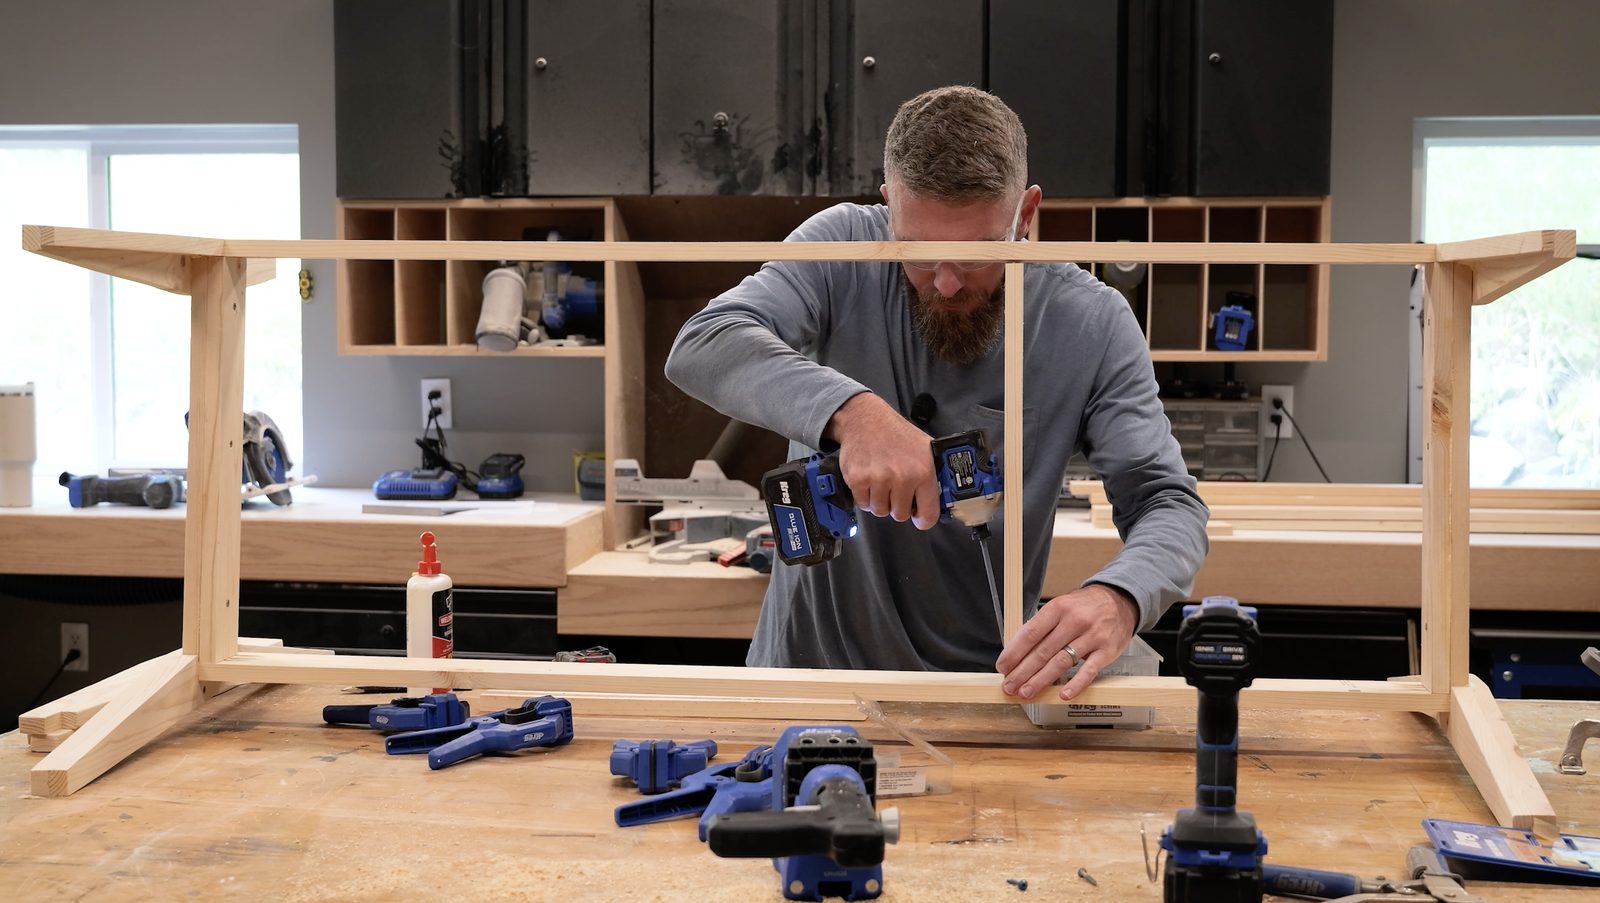
Now it comes together. Attach the front seat rail and side rails, join the front and back legs, and install the seat supports. Pocket holes and the exterior-rated blue screws do the structural work here — and because the glue doubles as a moisture seal at every joint, the bench shrugs off weather. Set the two middle seat supports about 17 inches in from the outside supports so the slats never sag.
Fill, sand, and stain — before the slats go on
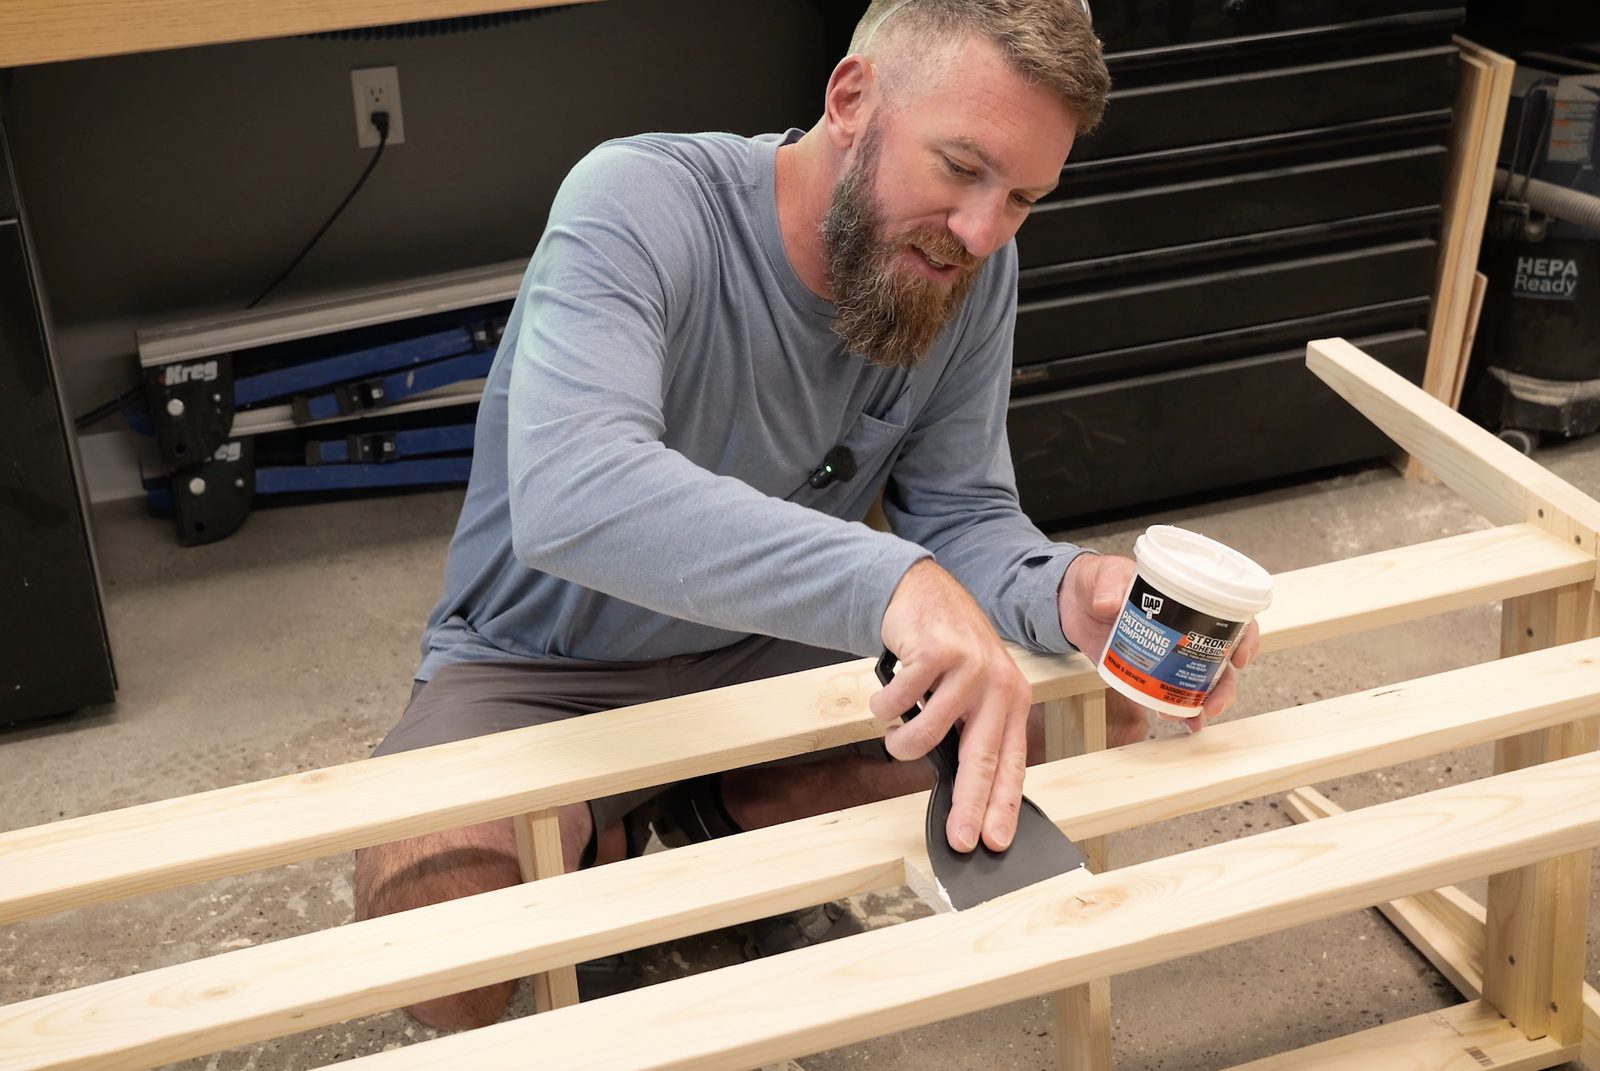
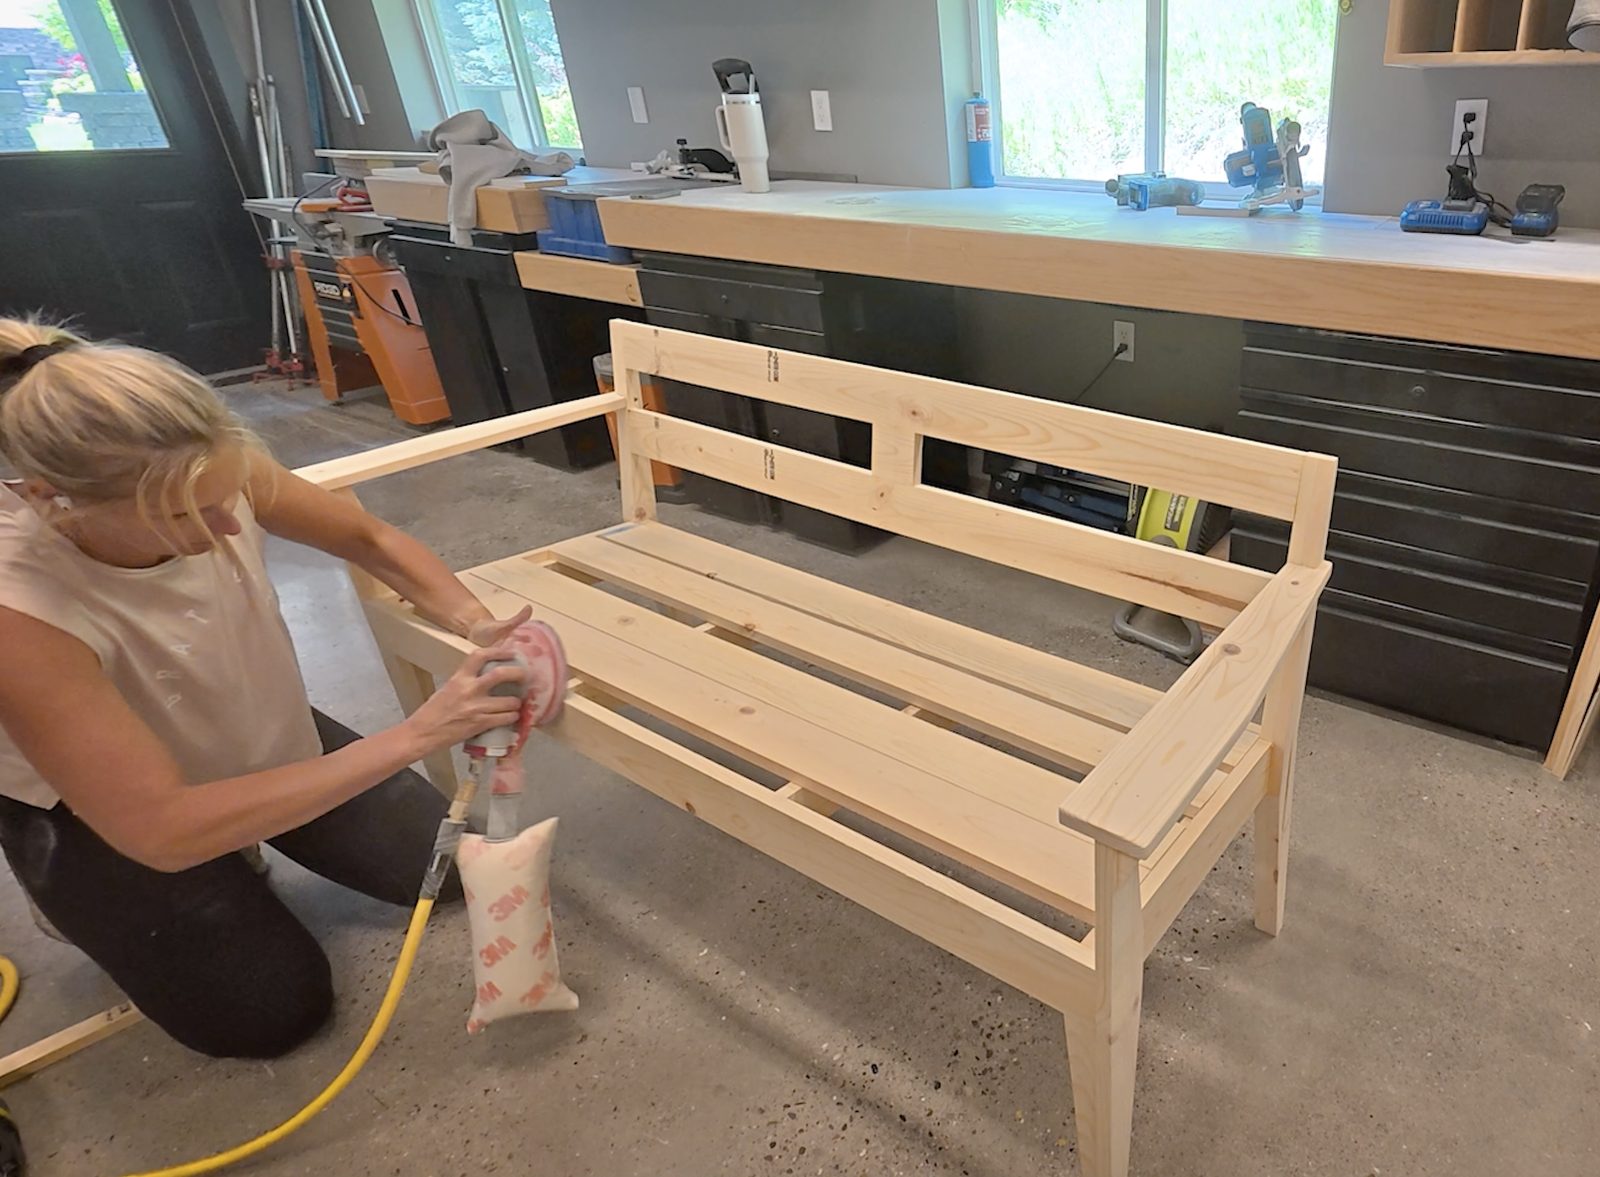
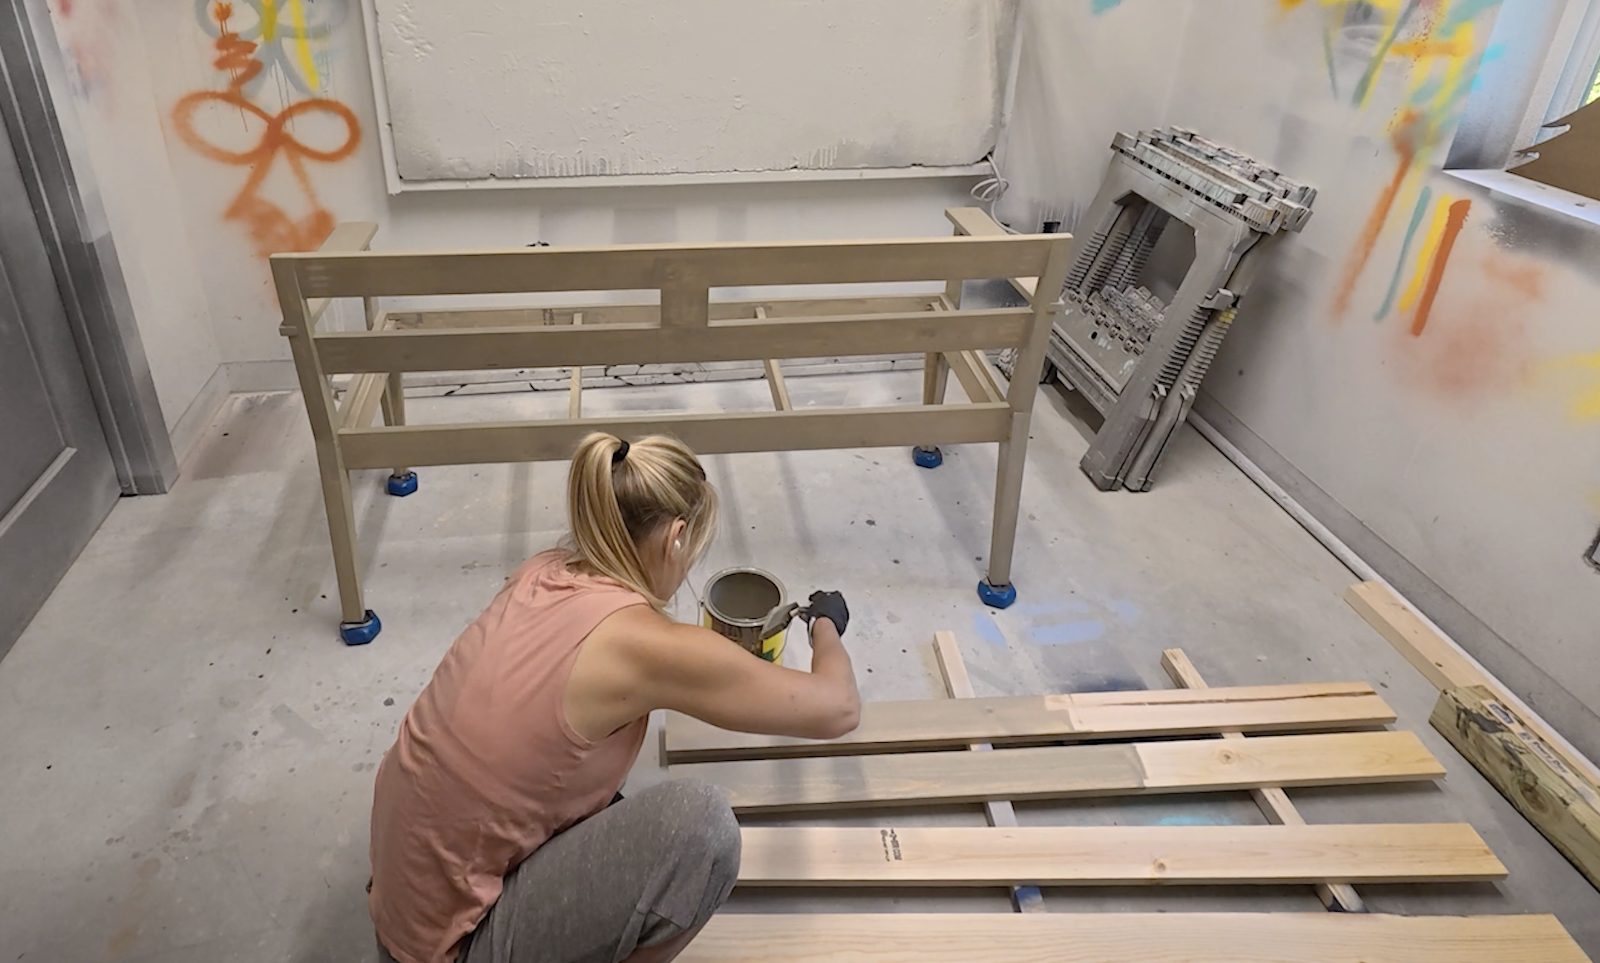
This is the step order that makes the finish look pro: do your finishing before the seat slats are installed. Fill the pocket holes with a weatherproof patching compound, sand everything smooth, then stain (or paint) the whole frame and the loose seat slats while you can still reach every surface. I used Cabot Semi-Solid Exterior Stain in Dune Gray — that soft greige is what gives the finished bench its store-bought look.
Trying to cut in an even coat around already-installed slats is a headache — finishing them loose gets you a clean, consistent result with zero fuss.
Install the slats and armrests
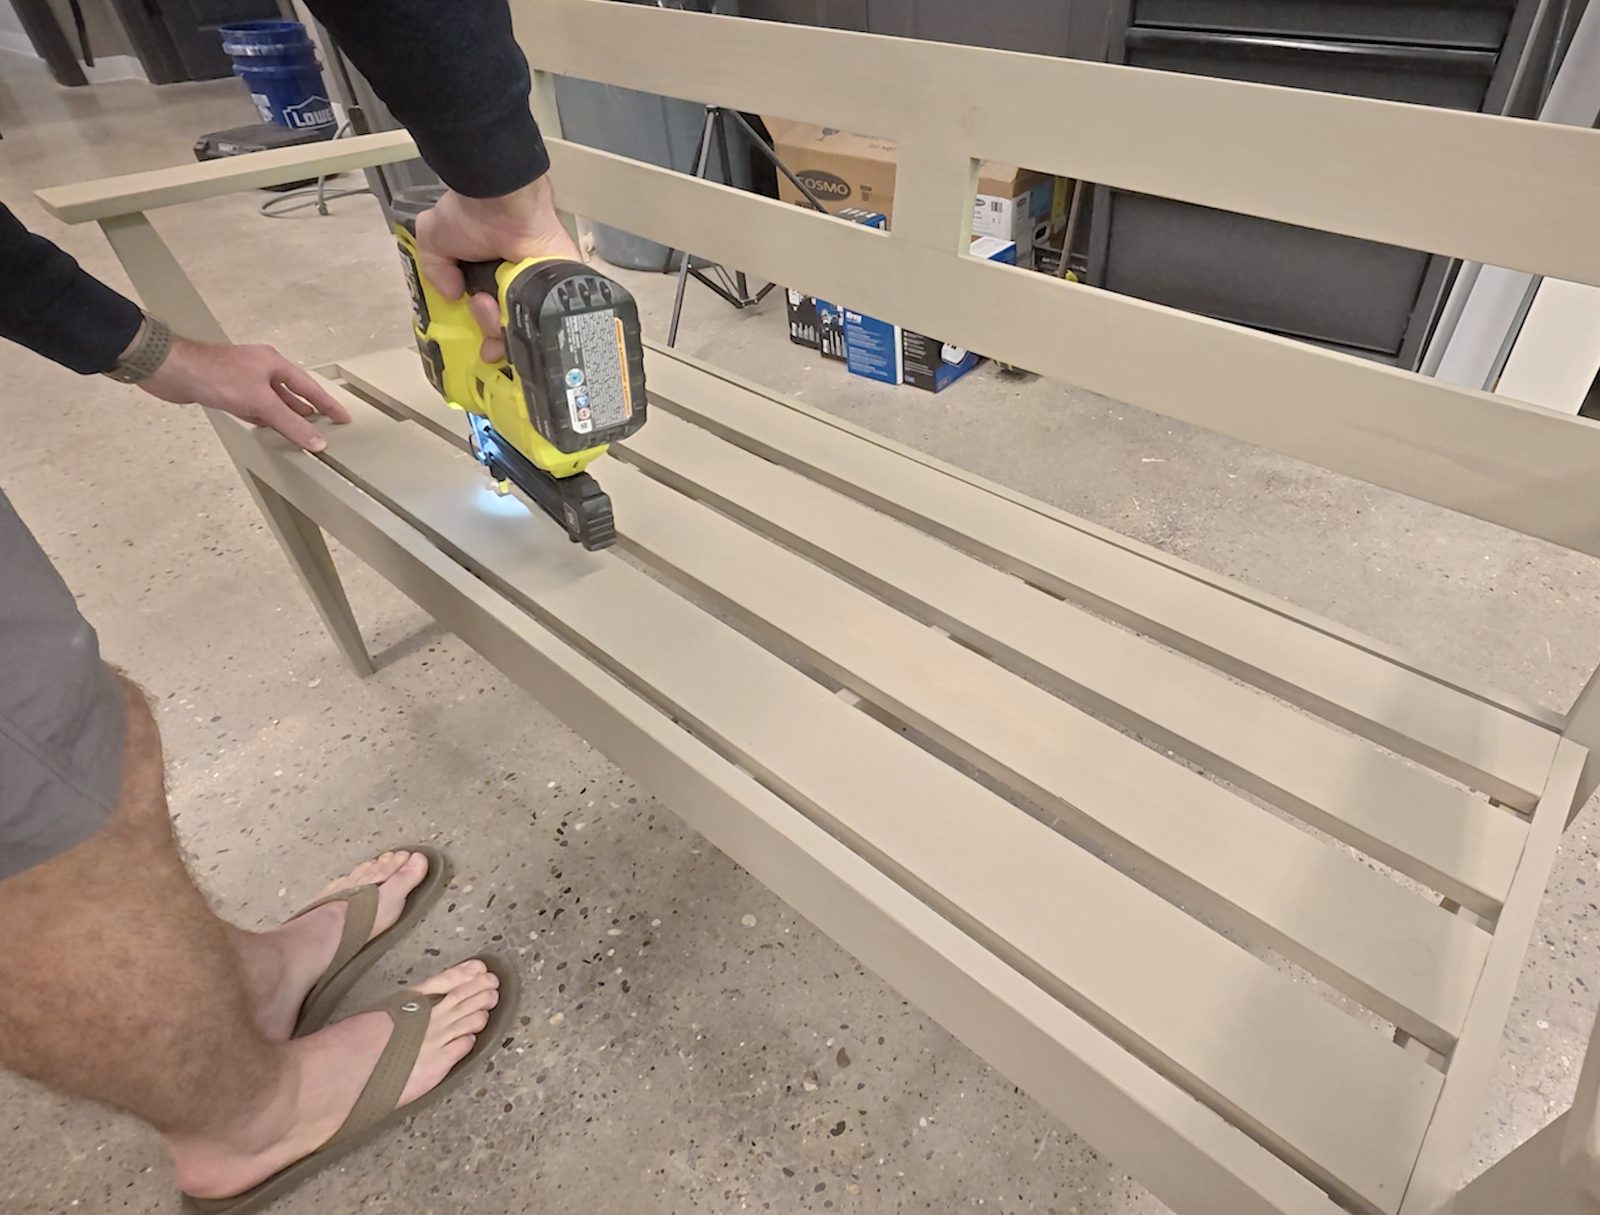
Now brad-nail the pre-stained seat slats down — 18-gauge brads leave almost no hole and keep the top looking clean and fastener-free. Attach the armrests with a little glue, a screw from a hidden spot, and a couple of brad nails so there are no exposed fasteners on top. Touch up any bare spots, and that’s it — the bench is done.
The finished garden bench

Nine boards, about $45 in lumber, and a weekend — and you’ve got a garden bench that looks like it cost ten times that. It’s comfortable enough to actually linger on, sturdy enough to hold up outdoors, and simple enough that it’s a genuinely good “level-up” project if you’ve built a few easier things.
If you liked this one, it pairs beautifully with our English Garden Bench plans — same garden-bench spirit, a more traditional slatted look.
Frequently asked questions
How much does it cost to build this garden bench?
About $45 in lumber — nine 1x4x8 boards from any big-box store — plus a few dollars of screws, glue, and finish. The printable plan is $10.
How long does it take?
A weekend. Most builders will knock out the cuts and assembly in a day, then finish (stain or paint) the next.
Is this a good beginner project?
It’s a great intermediate build — every cut is straight or a simple repeated angle, and it goes together with pocket screws. If you’ve made a couple of projects and own a pocket-hole jig, you can handle it.
What wood should I use?
Standard 1×4 pine or whitewood from the big-box store is exactly what the plan is built around. Seal it well and it holds up outdoors; if you want maximum longevity, cedar 1x4s are a drop-in upgrade.
Do the plans come in metric?
Yes — the printable garden bench plans include both imperial and metric editions.
How wide is the finished bench?
About 61 inches (roughly 1550 mm) wide — a comfortable two-to-three-seater — with an 18-1/2″ seat height.
Your move
This is one of those builds where the “before” (a stack of the cheapest boards at the store) and the “after” (a bench you’d happily put on a front porch or in a garden) are so far apart that people won’t believe the price. That gap is the whole point.
Grab nine 1x4s this weekend, pull up the plan, and give it a go. When it’s done, you’ll never look at the 1×4 bin the same way again.
And if the bench needs a better spot to live, a bench under a pergola is about the best seat a backyard offers — our pergola guide with the free Pergola Builder sizes the whole structure to your yard; mine went up in an afternoon.
Garden Bench Plans — $10
Get the printable garden bench plans: imperial + metric, cut list, diagrams, and shopping list — all ad-free on one document.
Get the Plan →
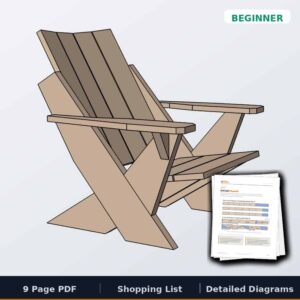
Not sure this is the right bench for your spot? We compared all six of our outdoor benches — cost, tools, time, and skill — on the outdoor bench plans page.
