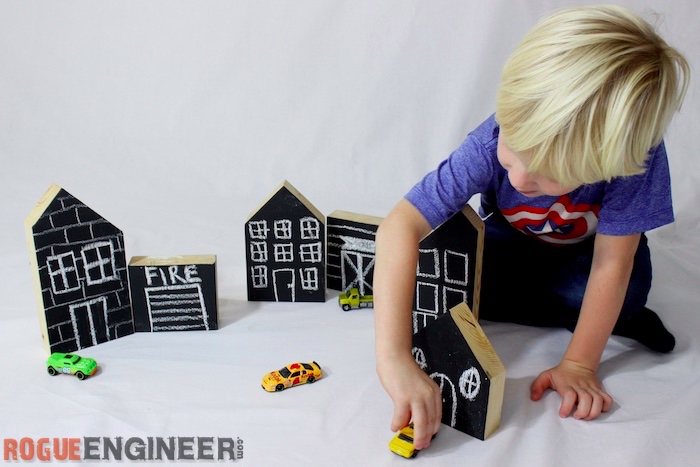
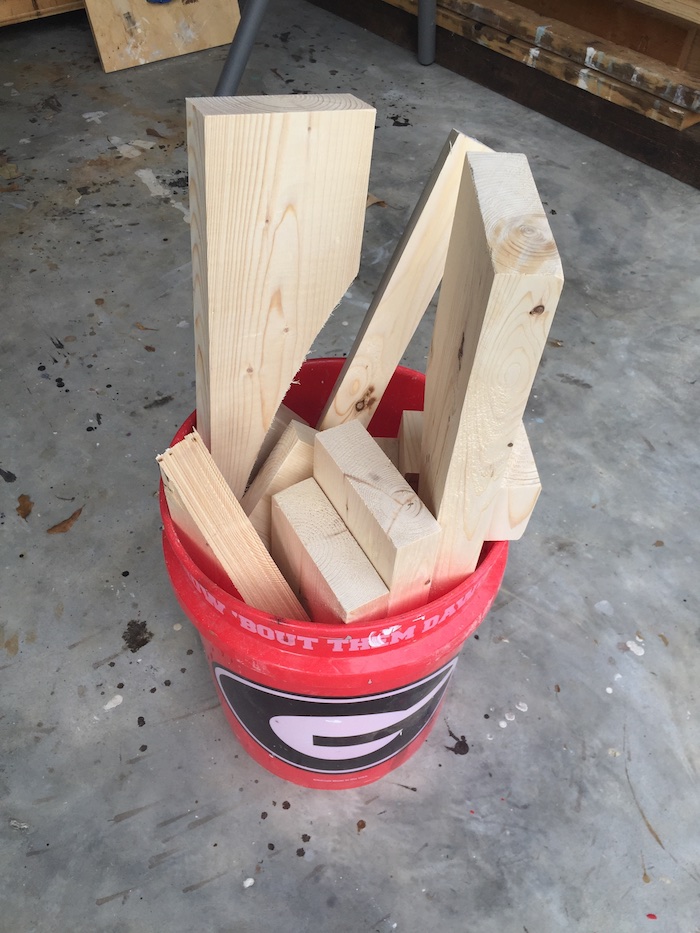
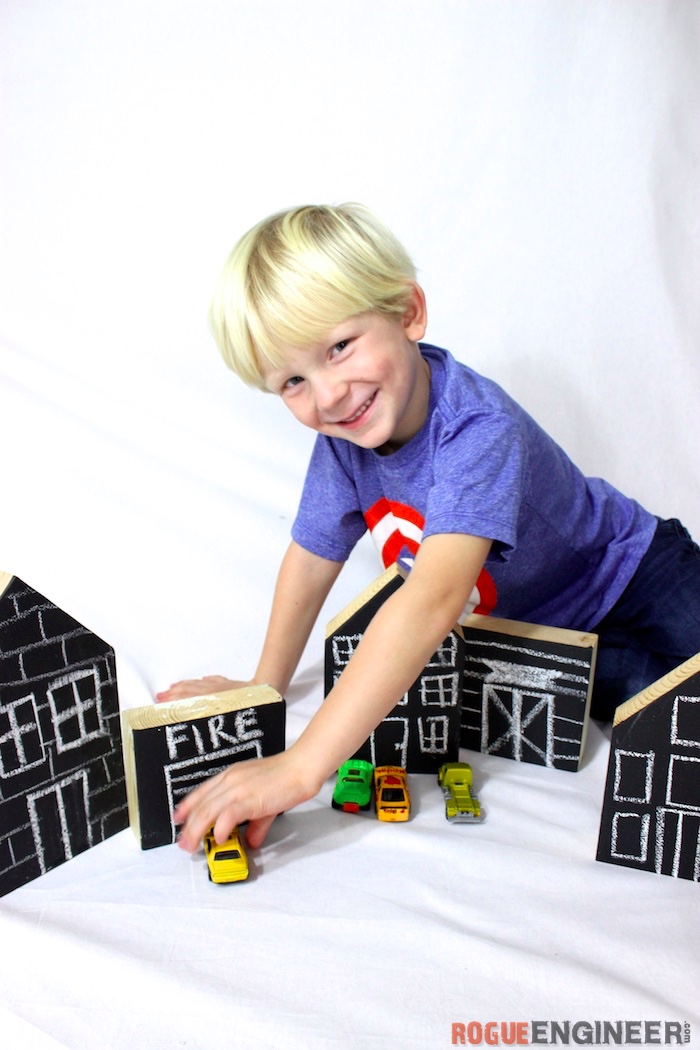
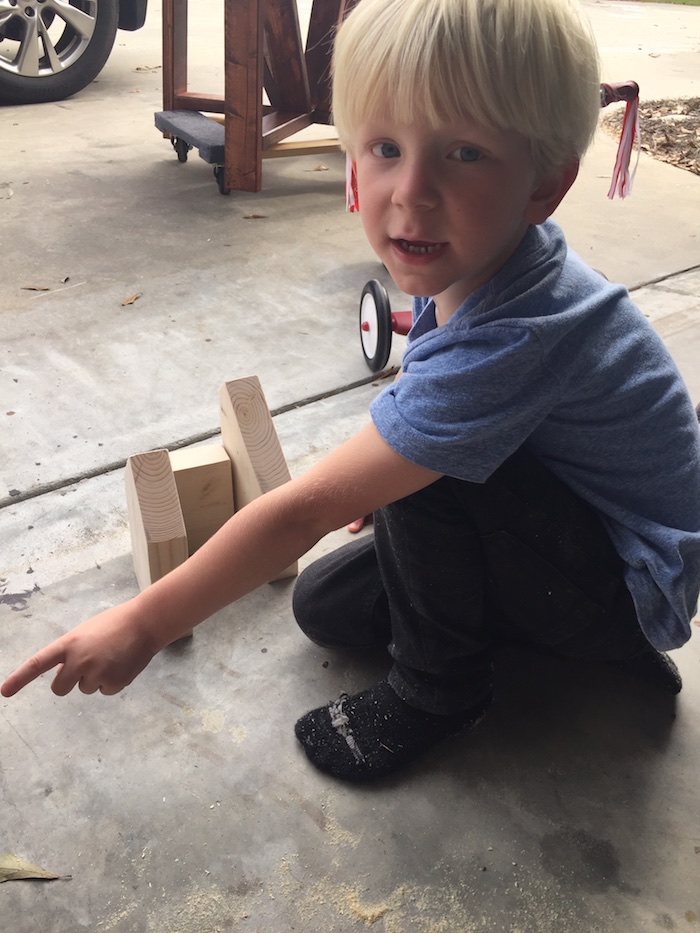
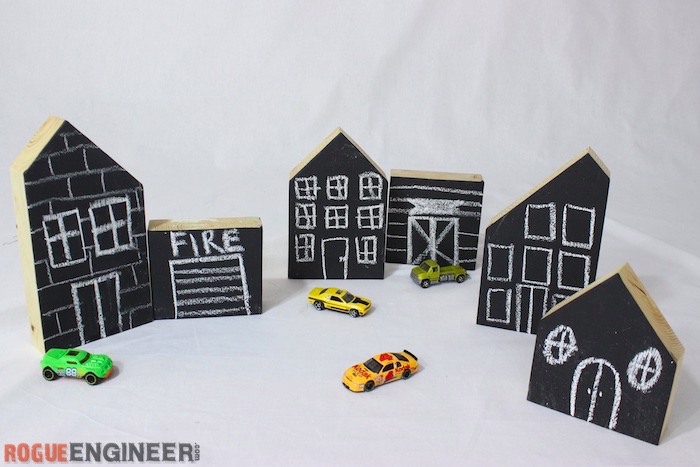
One mom might see a pile of scrap wood, but this mom see’s FREE toys! With DIY projects being the way of life around here, my kids are use to playing in the garage. My 4 year old son is constantly creating and building projects using our scrap wood. So with a little help from me, the scraps from our round trestle table became this chalkboard town!
For sneak peeks of our upcoming projects be sure to follow me on Facebook and Instagram. Also, follow me on Pinterest to get tons of projects plans from all around the web!
Required Tools
Materials
- 2 x 6 Scrap Wood
- Chalkboard Paint
Disclosure: The links provided in the “materials” and “required tools” sections are affiliate links. If you would like to support our site and help keep our content free come find out more about how we can make money with no extra cost to you.
How to build a Chalkboard Town
Step 1: Cut Wood
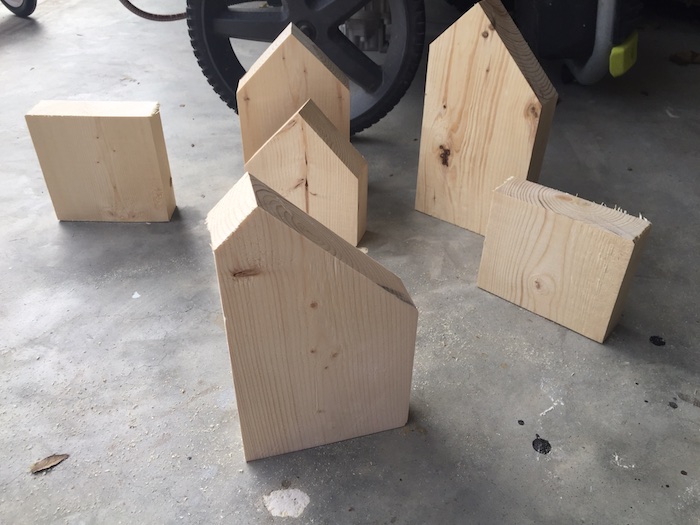
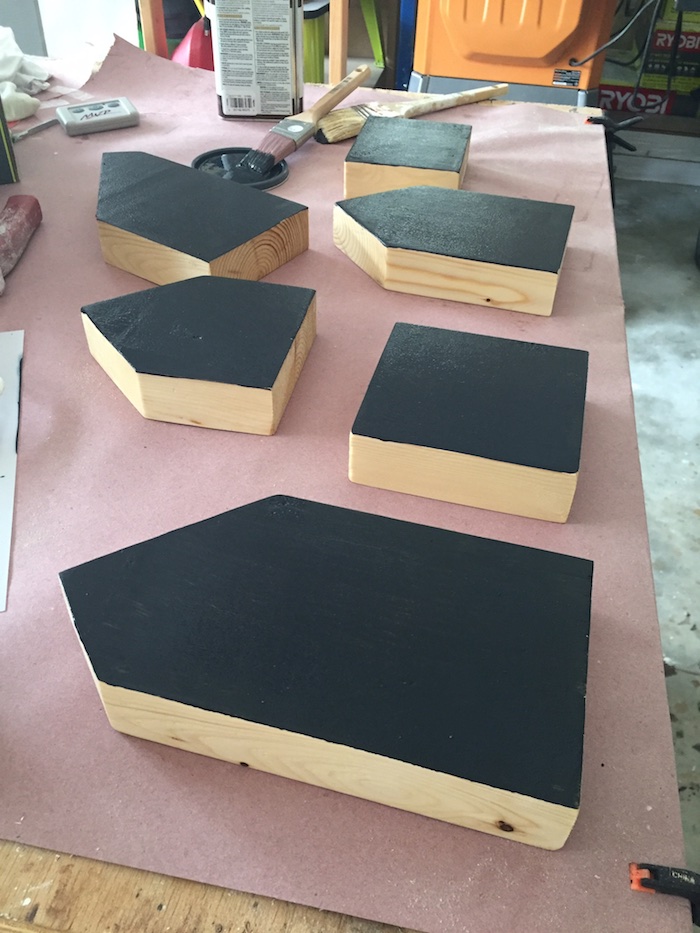
Using the miter saw, cut the scrap 2×6 in pieces that resemble houses or buildings. For some I cut on a 45 degree angle and other pieces I cut straight across. Be creative and have fun. Wonky houses are cool too!
Step 2: Sand
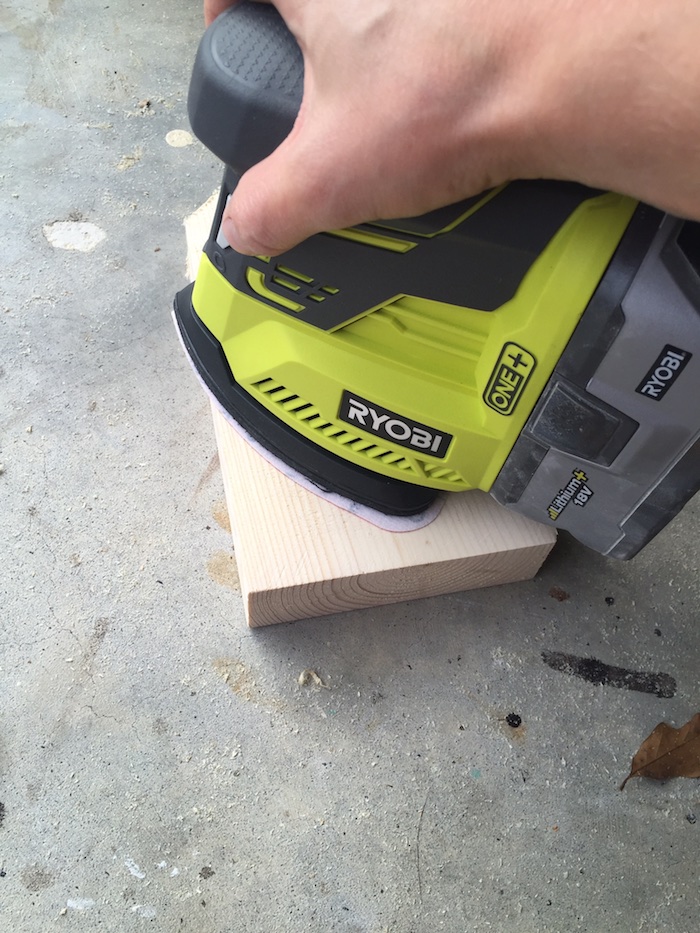
Using 220 grit sand paper, sand all the pieces down. Remember that these are kids toys, so try to knock down any sharp angles. The smoother the wood the better it is to draw on with chalk.
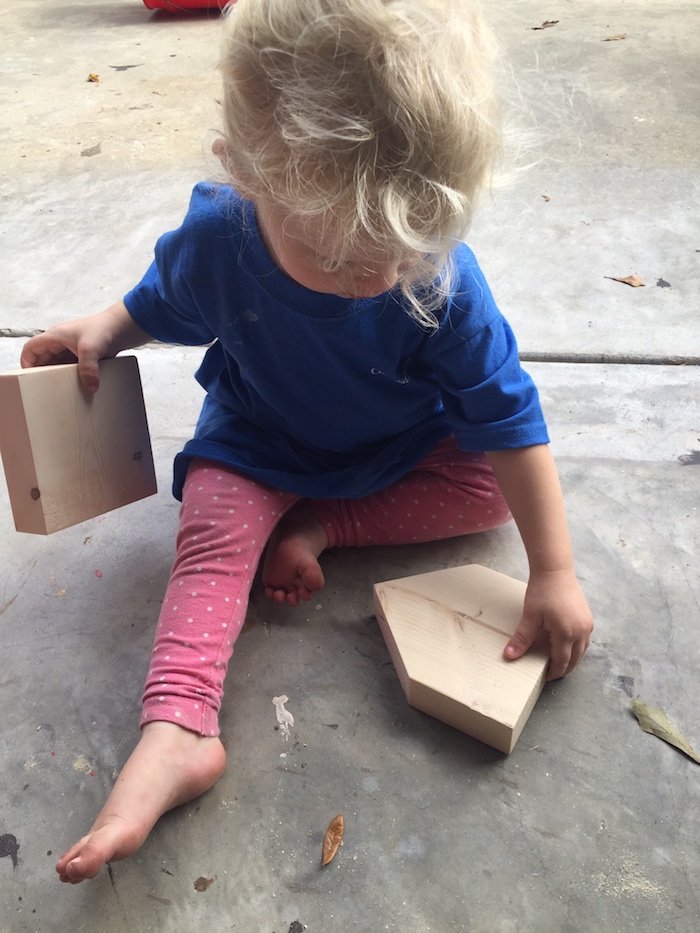
Who needs toys when you have scrap wood!?
Step 3: Finishing
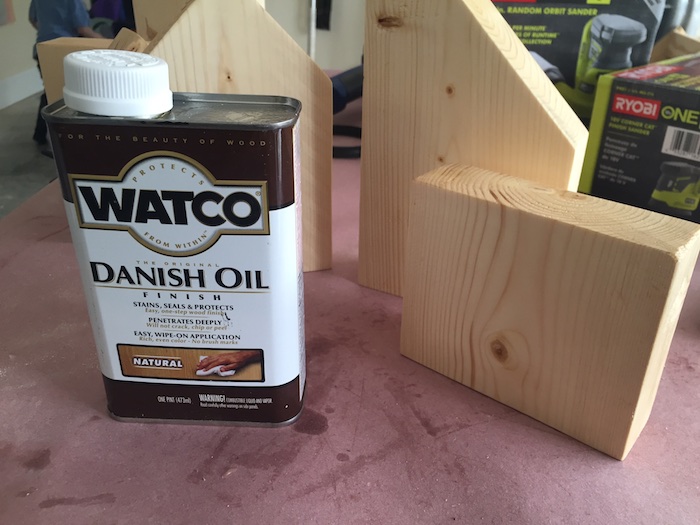
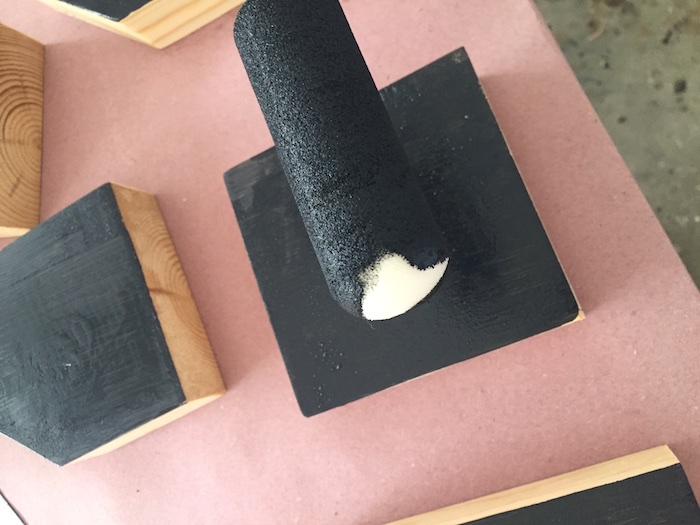
For my town, I chose to finish the wood with natural danish oil. Once I let the danish oil dry overnight, I painted the face of the “houses” with 3 coats of chalkboard paint, allowing time to dry between coats.
Seriously, FREE toys from scrap wood! It’s super simple and a fun project you can do with your little ones. They can even paint the houses themselves. Doing DIY projects as a family is such a great way to teach your children valuable lessons while having fun. My kids have grown up our workshop and I wouldn’t have it any other way. Their little imaginations and creativity help to shape the way we think and it shows them we can do anything with hard work and determination.
Questions? Comments?
As always, if you have any questions don’t hesitate to comment below and especially don’t forget to post pictures of your finished products in the comments! ENJOY!

