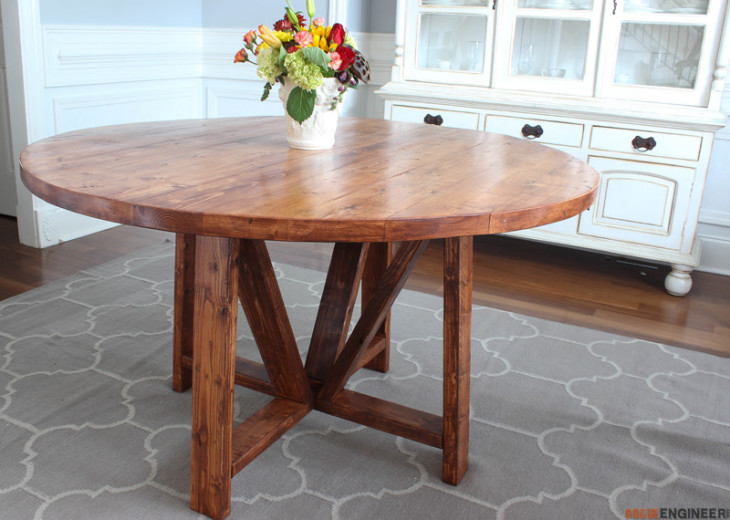
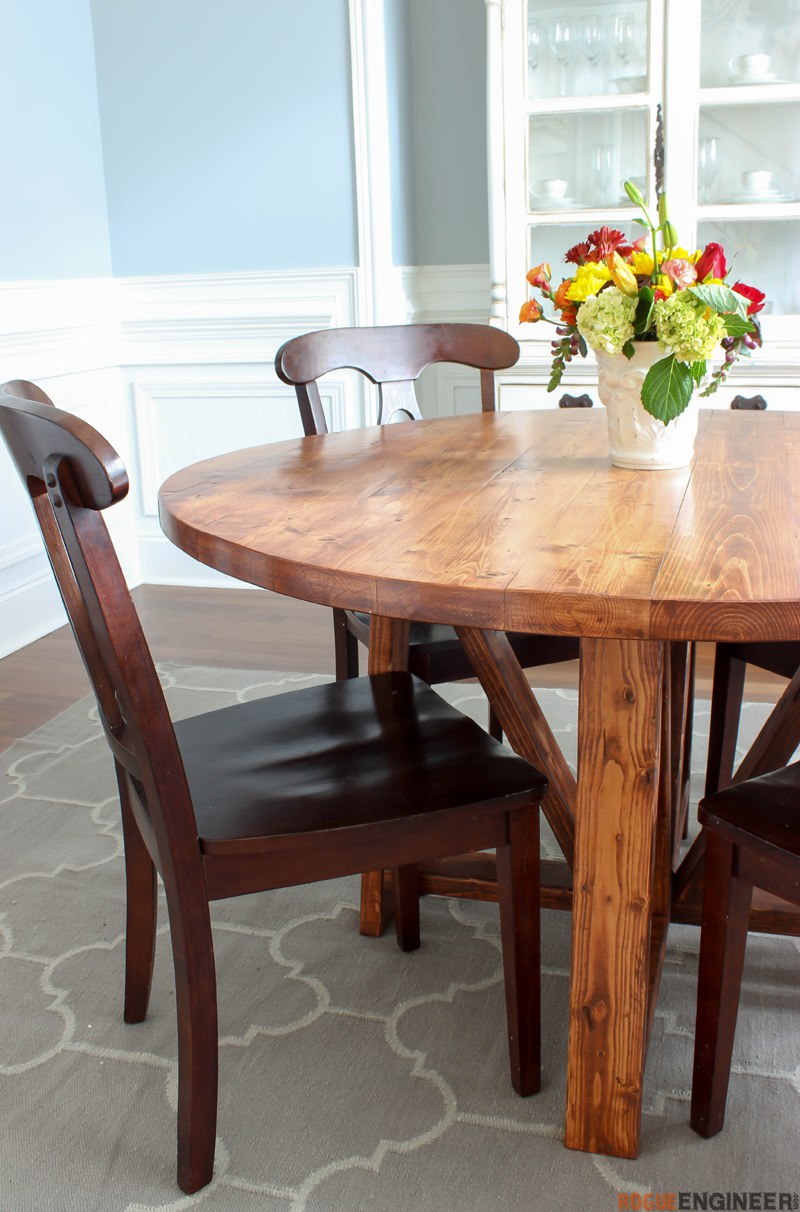
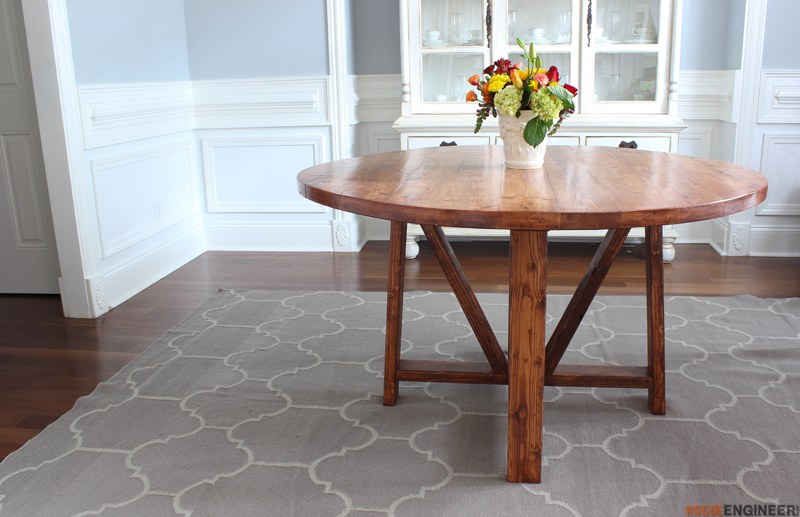
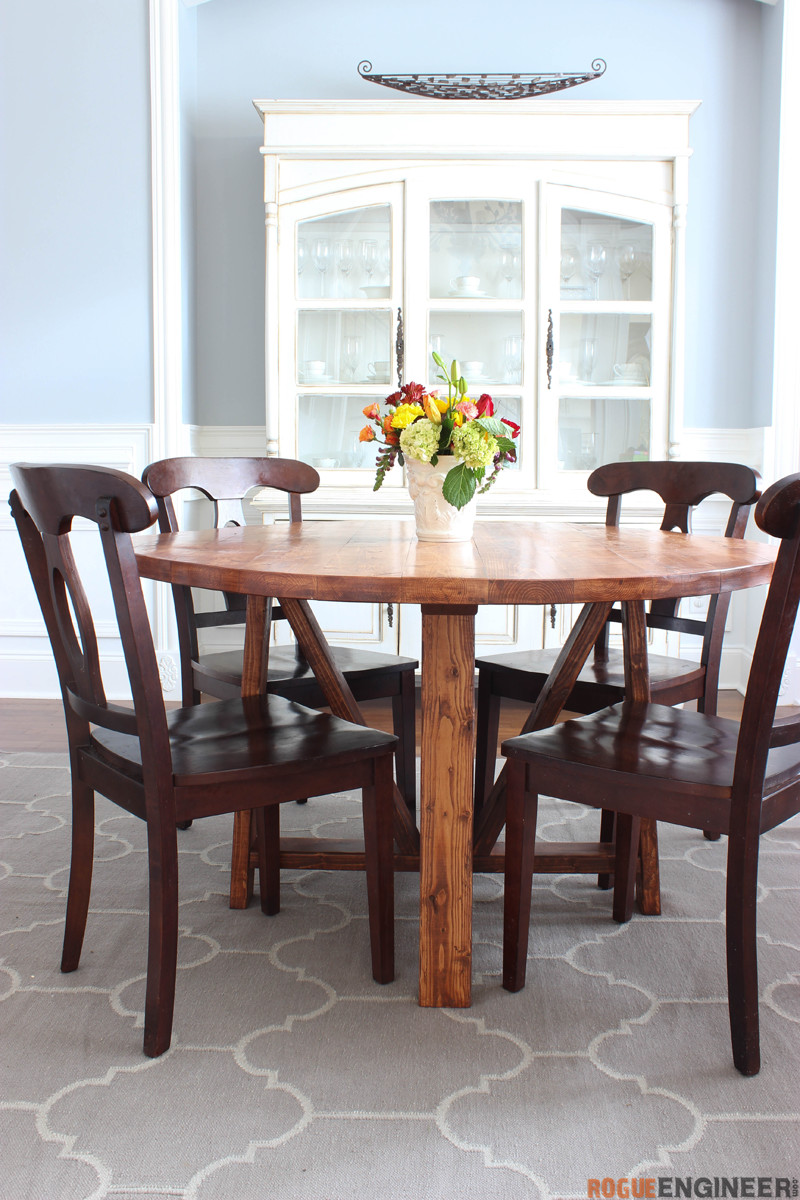
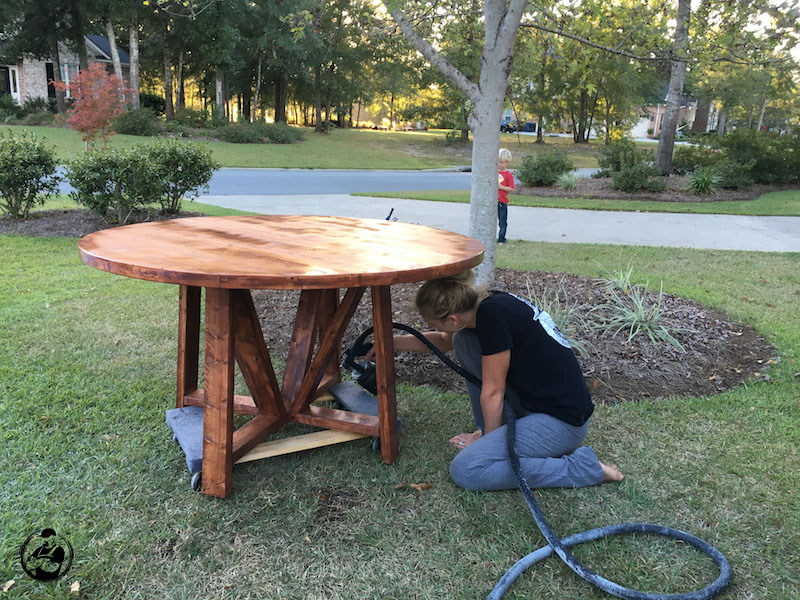
I am really happy with how this table turned out. We were inspired by this $3,350 round trestle table and just new we could build it ourselves for a little less (okay maybe a lot less). We built this table for a whopping $40! Round tables are not as difficult to build as most may think. With a router and a little ingenuity you can make your very own! Enjoy!
For sneak peeks of our upcoming projects be sure to follow me on Facebook and Instagram. Also, follow me on Pinterest to get tons of projects plans from all around the web!
Required Tools
- Pocket Hole Jig
- Drill
- Miter Saw
- Router
- Router Circle Cutting Jig
- Spiral Upcut Router Bit (1/2″ shank or 1/4″ shank)
- Must have at least 1-1/2″ cutting length
- Table Saw (Optional)
- Tape Measure
- Pencil
- Safety Glasses
- Hearing Protection
Materials
Disclosure: The links provided in the “materials” and “required tools” sections are affiliate links. If you would like to support our site and help keep our content free come find out more about how we can make money with no extra cost to you.
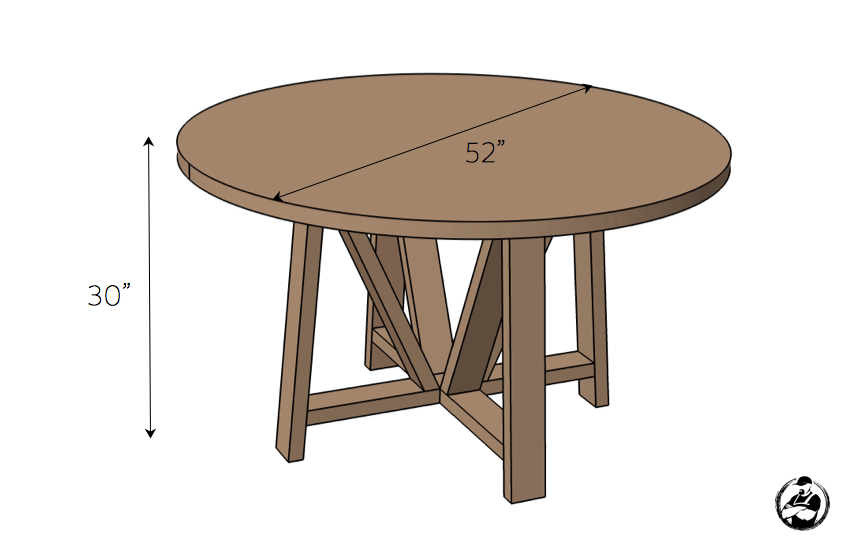
Dimensions
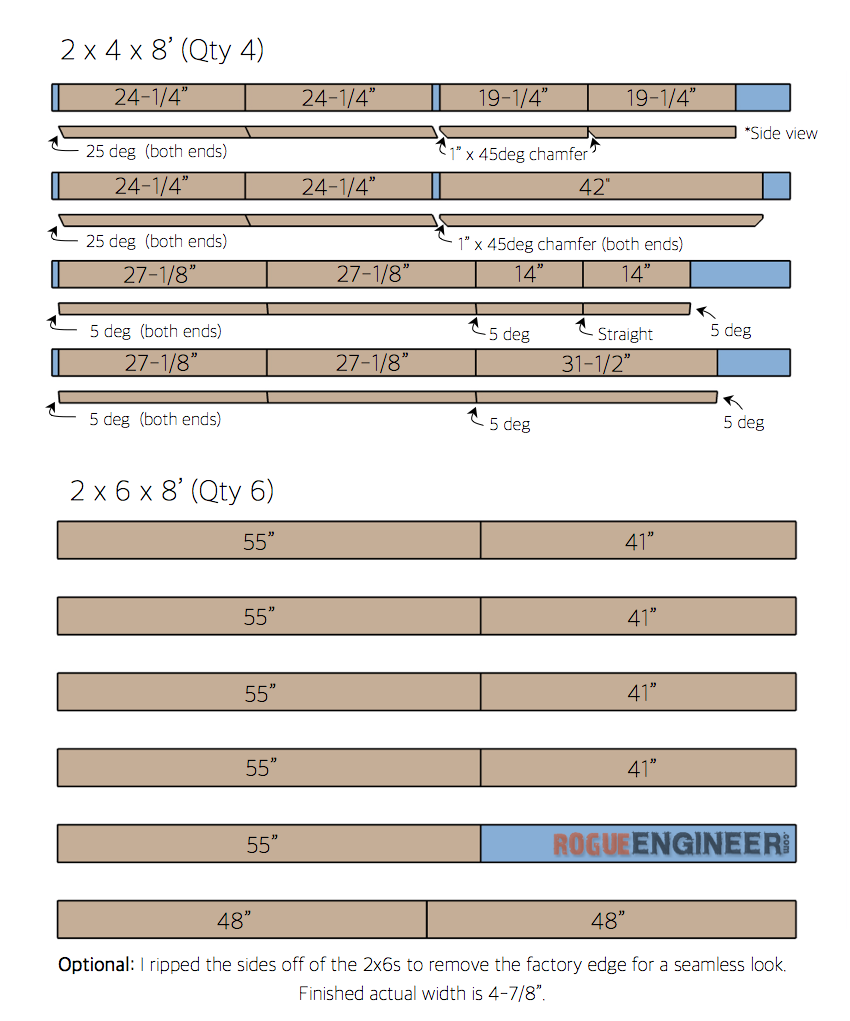
Cut List
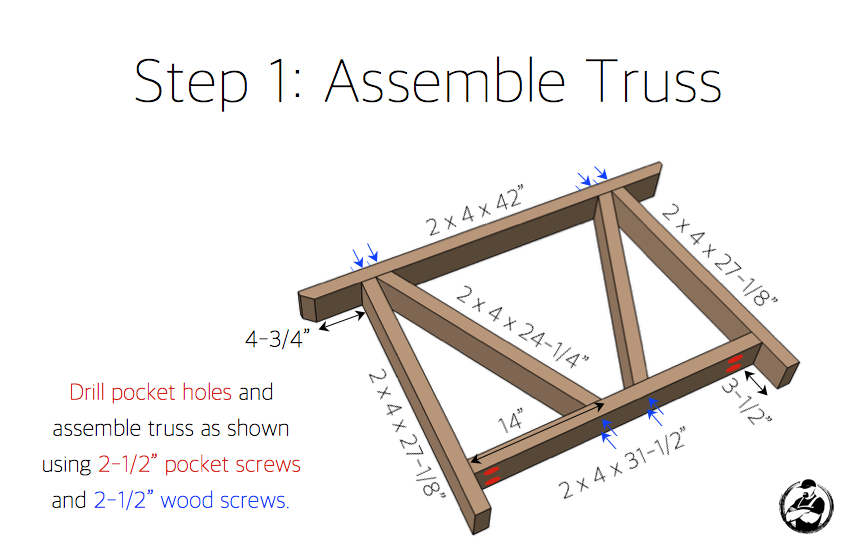
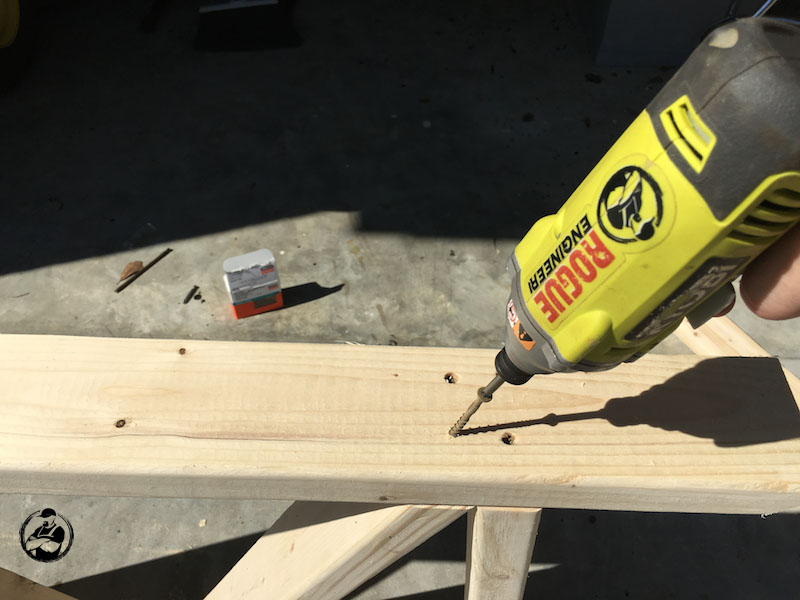
How to build a Round Trestle Dining Table
If you decide to take on this project I highly recommend you download the printable PDF below to have with you during the build. To do so just click the button below and subscribe to get weekly plans in your inbox. In return I’ll instantly email you the PDF for free! It’s a win-win.
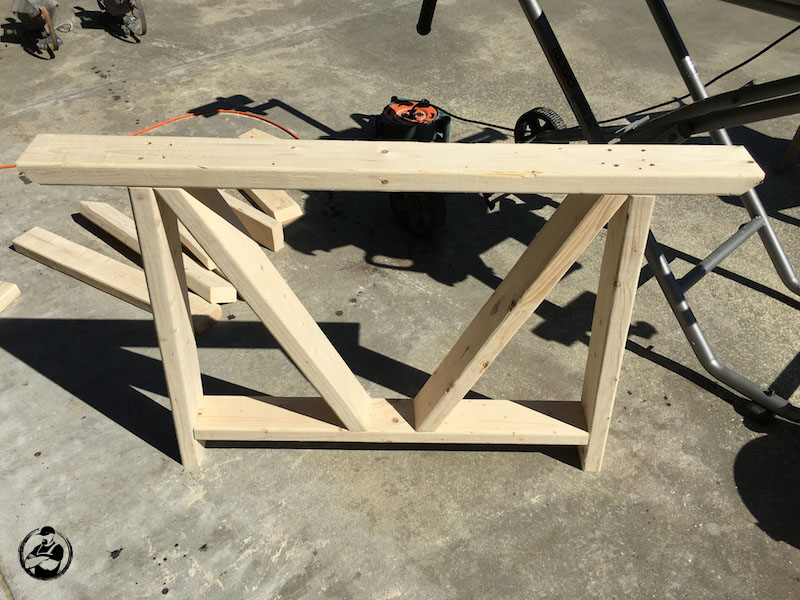
I actually used the existing truss as a template for my sides. This made it a heck of a lot easier.
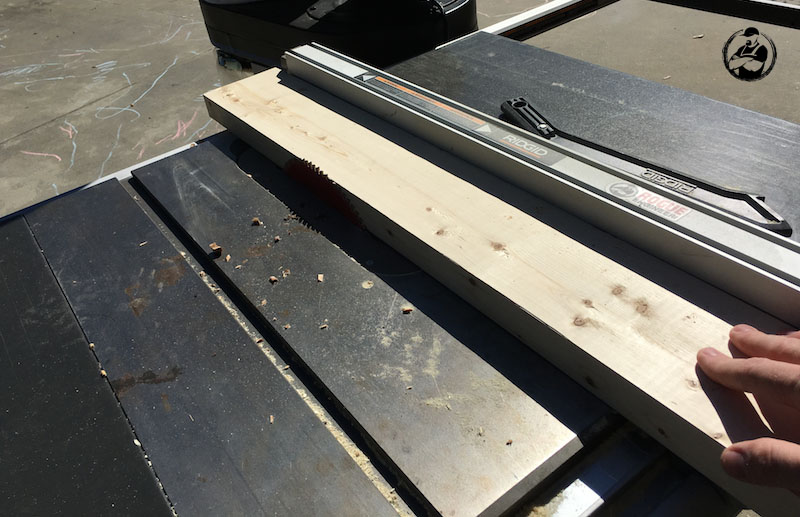
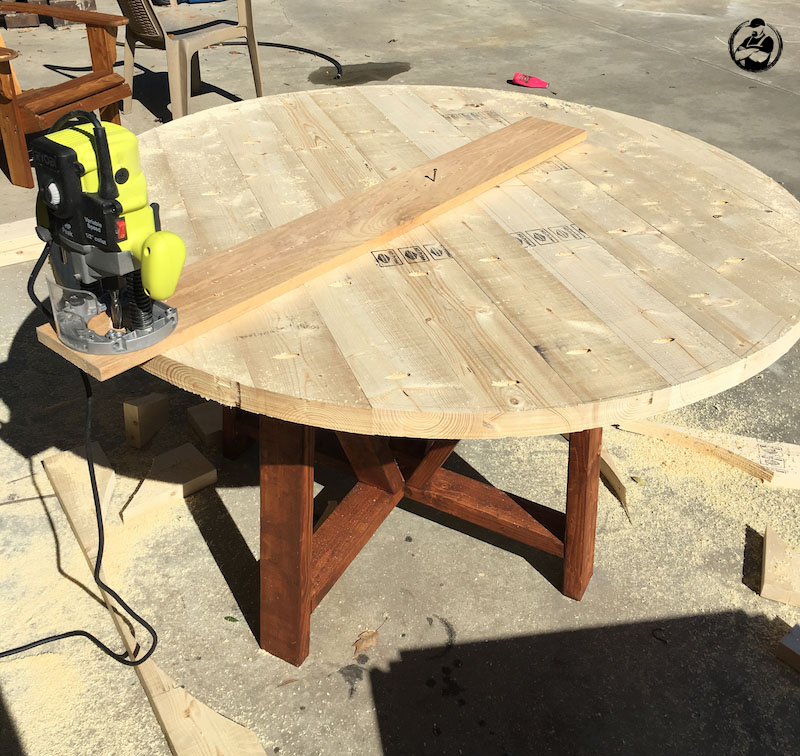
I chose to rip the factory edge off my 2x6s for a seamless look but this is totally optionally.
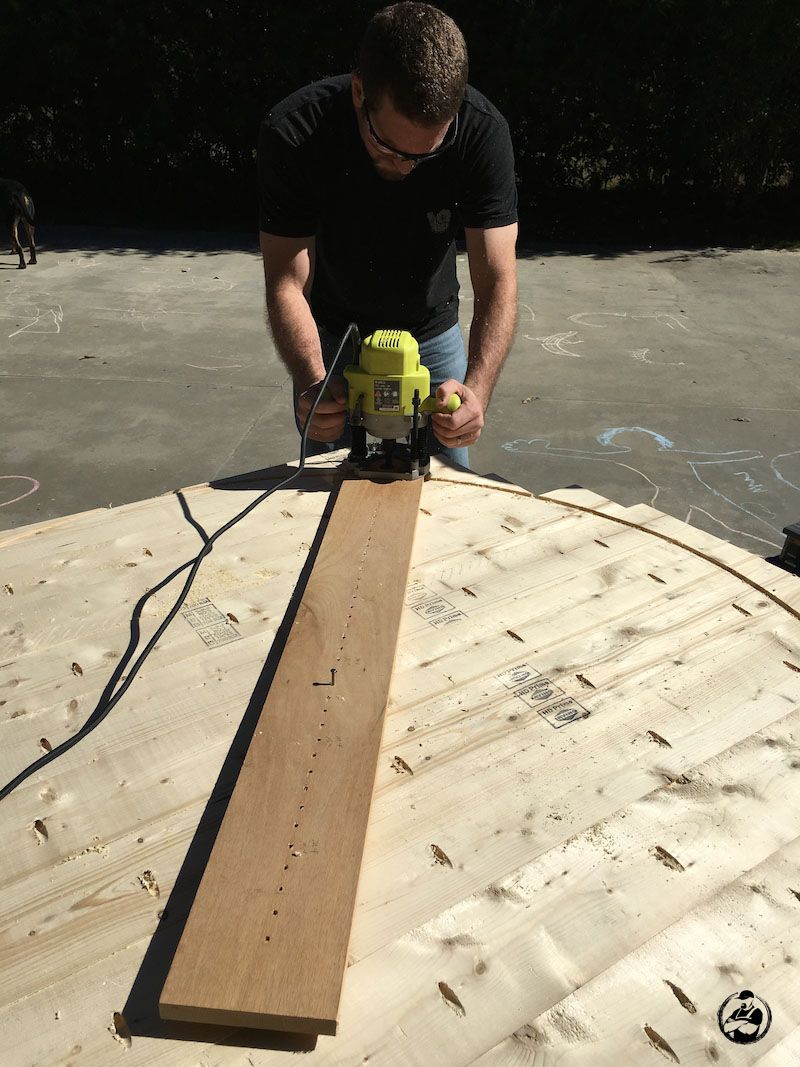
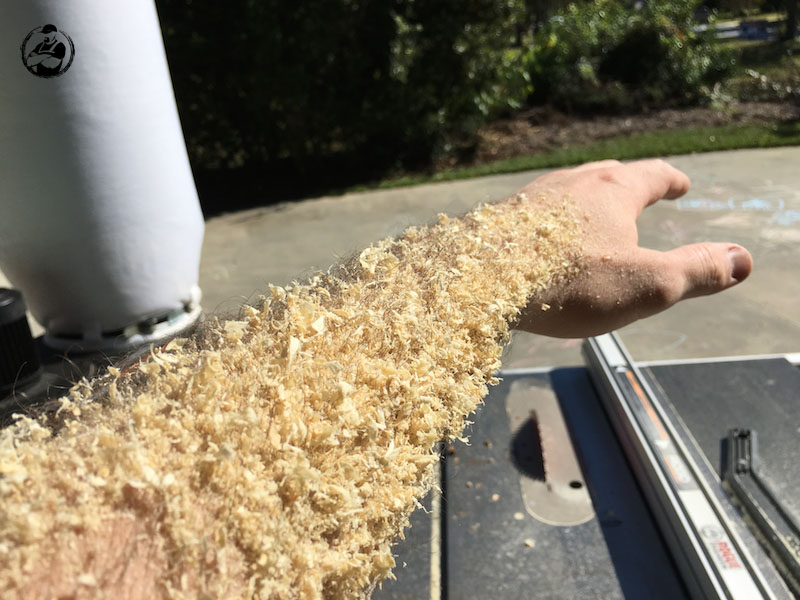
This makes lots of sawdust so after every pass I actually went around and blew out the sawdust from the cut to keep the router from having to work too hard.
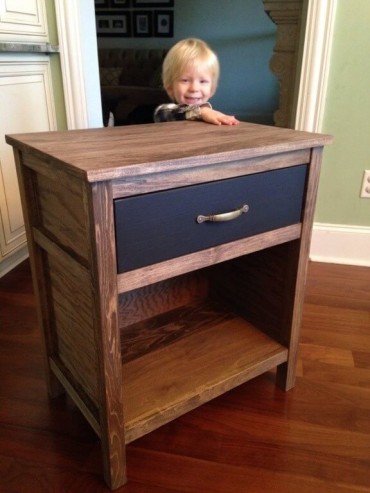
With the final pass the board ends start to drop off so watch your toes! We made a project for the kids with these scraps.
We stained our table with American Walnut wood stain from Varathane and finished it off by spraying with 3 coats of semi-gloss poly through our Finish Max Pro.
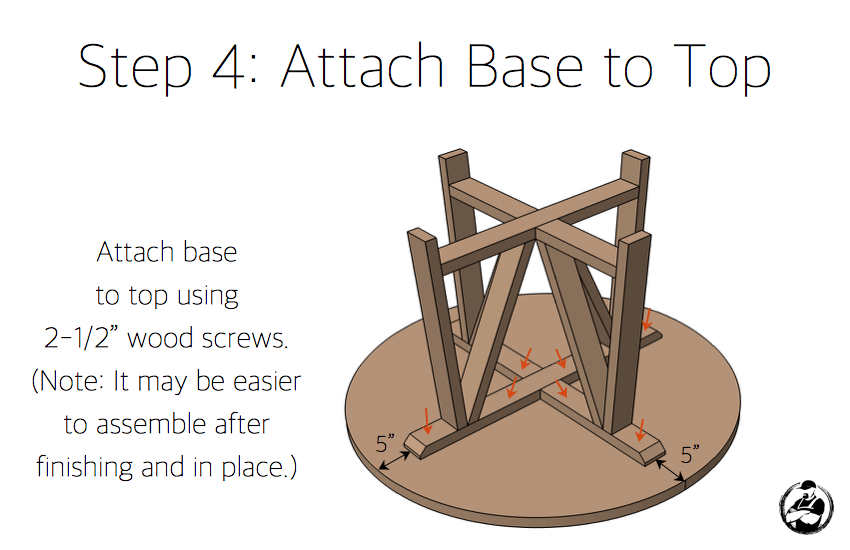
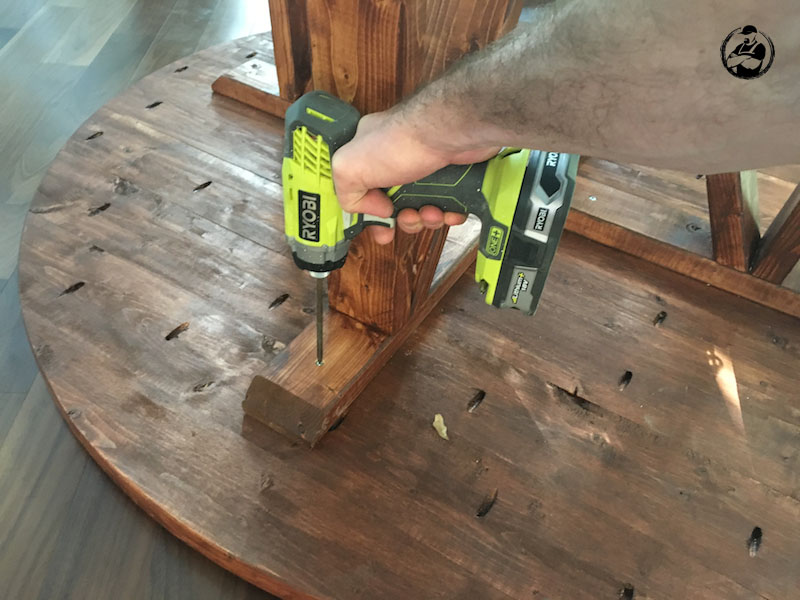
It was much easier to get through the door in two pieces so once we got it in the dining room we attached the base.
Questions? Comments?
As always, if you have any questions don’t hesitate to comment below and especially don’t forget to post pictures of your finished products in the comments! ENJOY!

